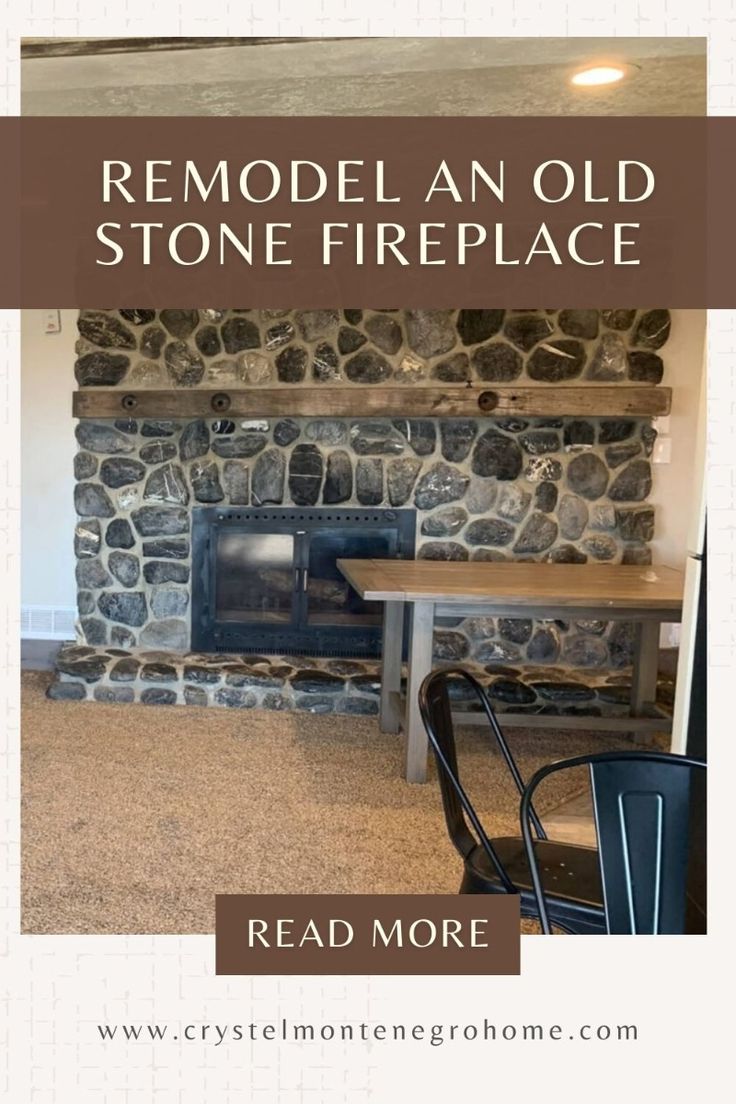
When we redid the kitchen in our old Utah home, we kicked off with a DIY stone fireplace makeover. Having a fireplace in the kitchen is a dream come true—unless it’s an ugly, 1970s stone monstrosity. It’s more like a nightmare! Here’s how we removed the old stone, downsized the fireplace surround, and completely transformed the style to match our modern kitchen.
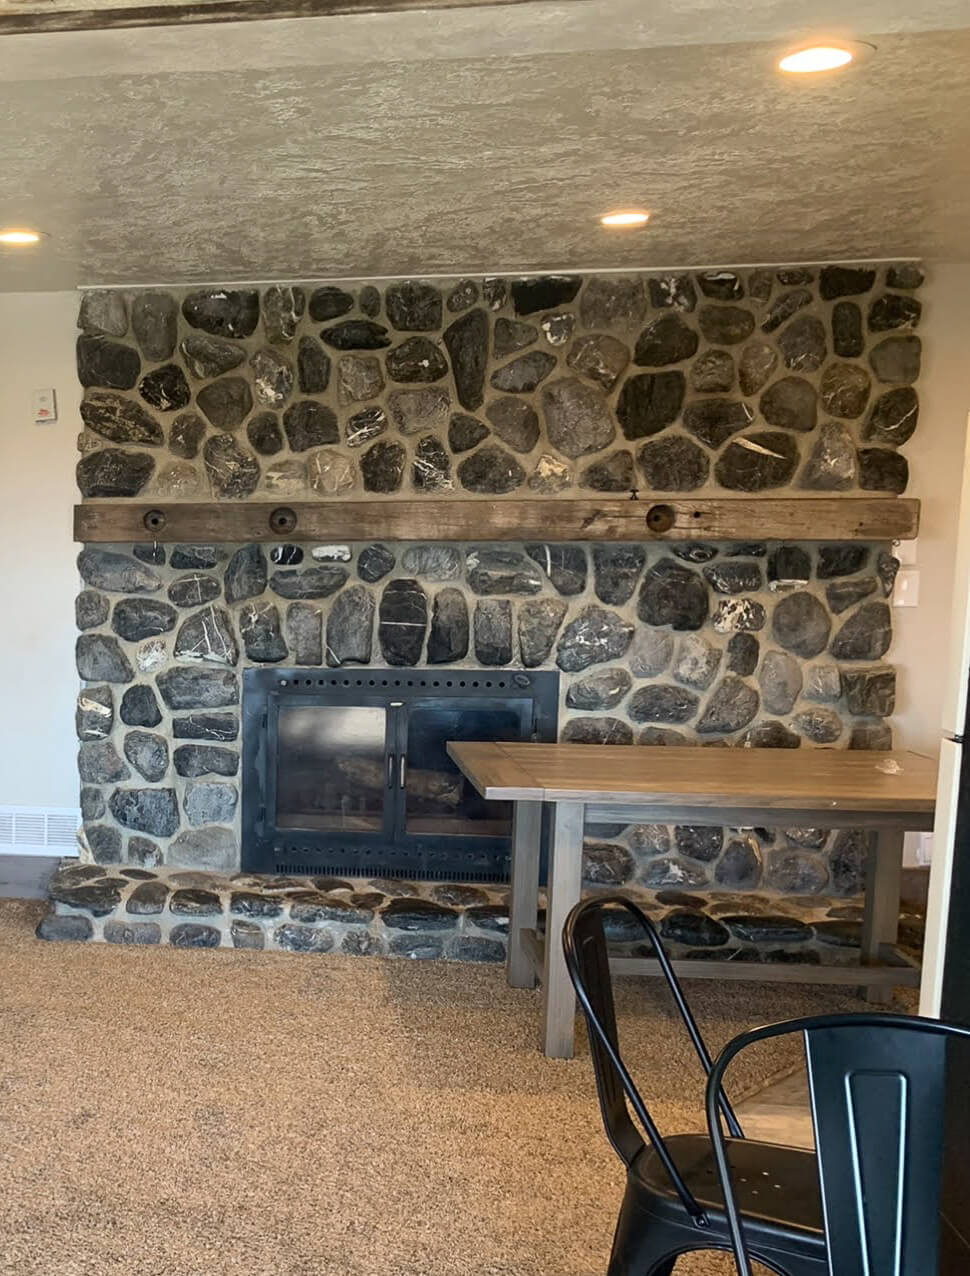
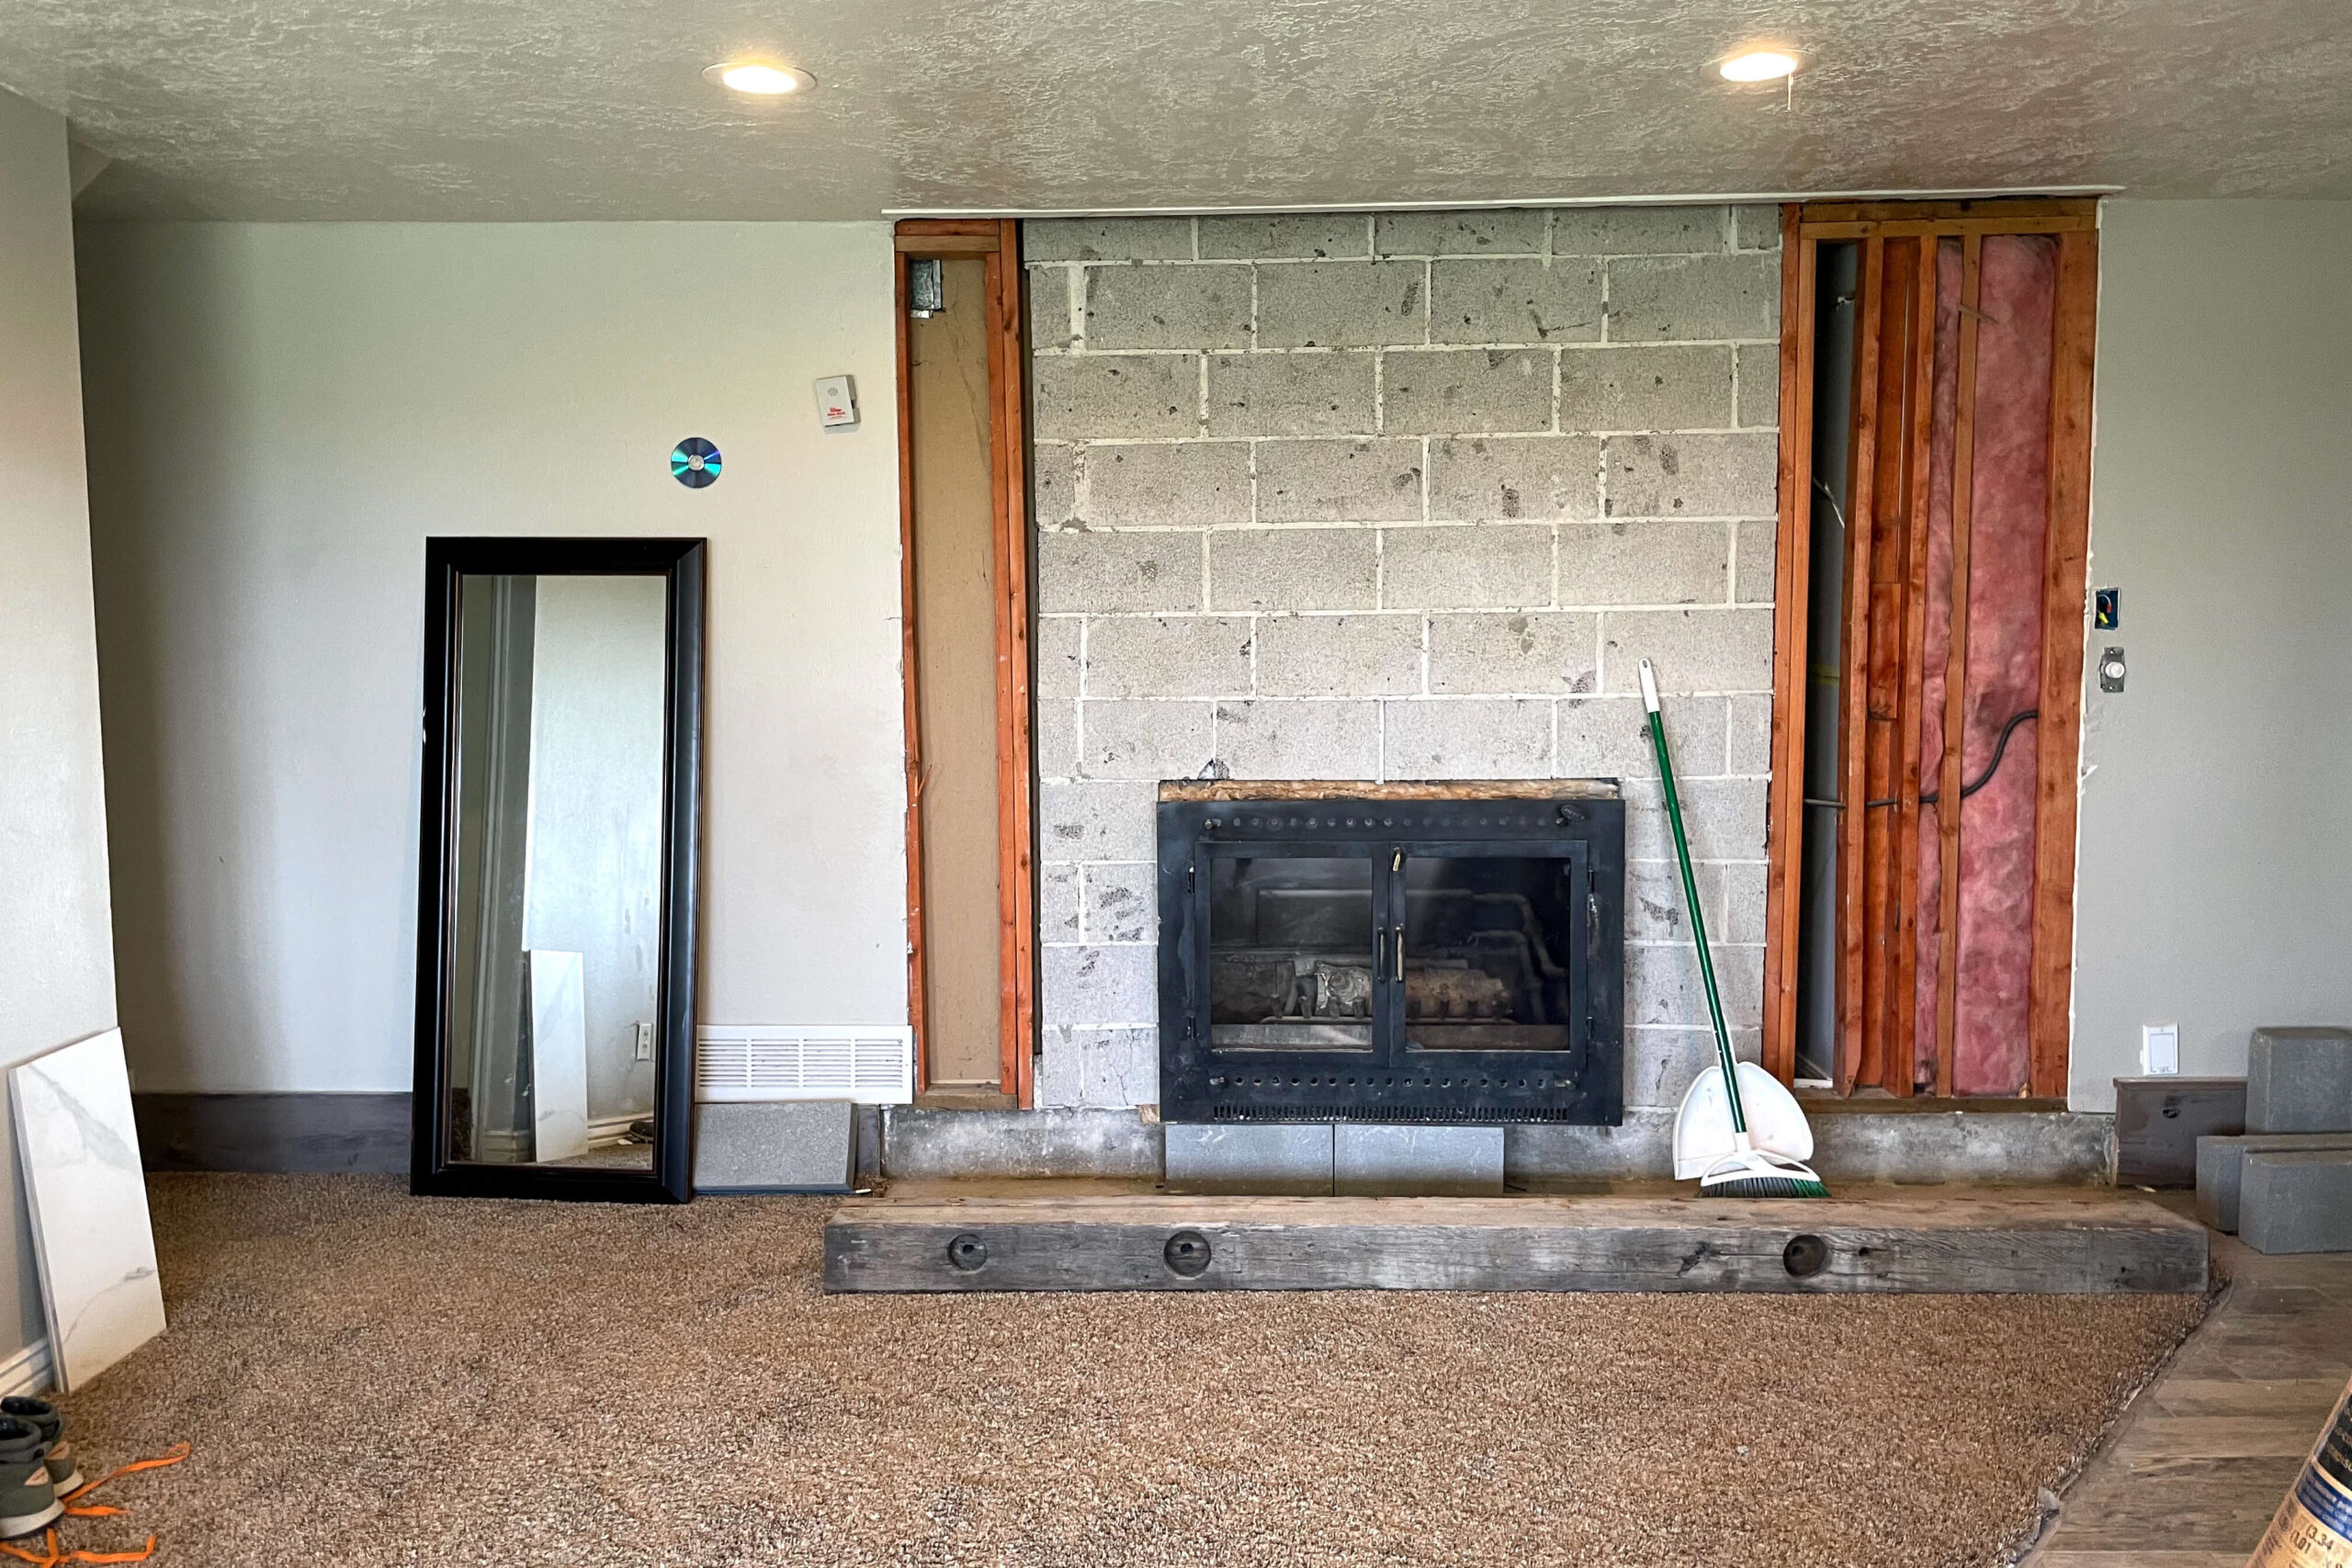
This is what we started with—a dark, dated eyesore that needed serious help. I was itching to tear it out and replace it with something sleek and modern. The new, smaller surround not only looks great but also centers the insert perfectly.
Tools
Materials
- Plastic drop cloths
- High heat spray paint
- Concrete blocks
- Liquid nails
- Mortar
- Cement board
- Carbide tipped drill bit
- Concrete screws
- 2×4’s
- Wood screws
- Drywall
- Drywall screws
- Drywall joint compound
- Drywall mesh tape
- Metal cornerbead
- Cement board drywall joint tape
- Painter’s tape
- Masking paper
- Masking plastic
- Venetian Plaster
Tear Off the Old Stone
The first step in our DIY stone fireplace makeover was demolition! Brace yourself for dust and mess. My husband hung plastic drop cloths around the work area to contain the chaos.

If you don’t have a demolition hammer, rent one. Hand-hammering would have taken forever. Stuart removed the stones in two layers: first the individual stones, then the mortar. Don’t forget your safety gear—gloves, mask, safety glasses, the works.

And voilà, mess galore!

With all the rocks hauled away and the old mantle gone, we had a blank canvas for our DIY stone fireplace makeover.
Before rebuilding this DIY stone fireplace makeover, I freshened up the gas insert with high-heat spray paint. Just like any spray paint, use long, sweeping strokes. The insert was in great shape, so no need to replace it—just a facelift!


Building a Concrete Block Surround
With the old rock gone, I filled the gap with concrete blocks. Everything on this lower section must be noncombustible. I used mortar between the blocks but liquid nails under those sitting beneath the fireplace—they don’t bear any weight.


I built up the wall with more blocks and mortar. To avoid putting weight on the insert, I used a steel angle piece as a support ledge for additional blocks.
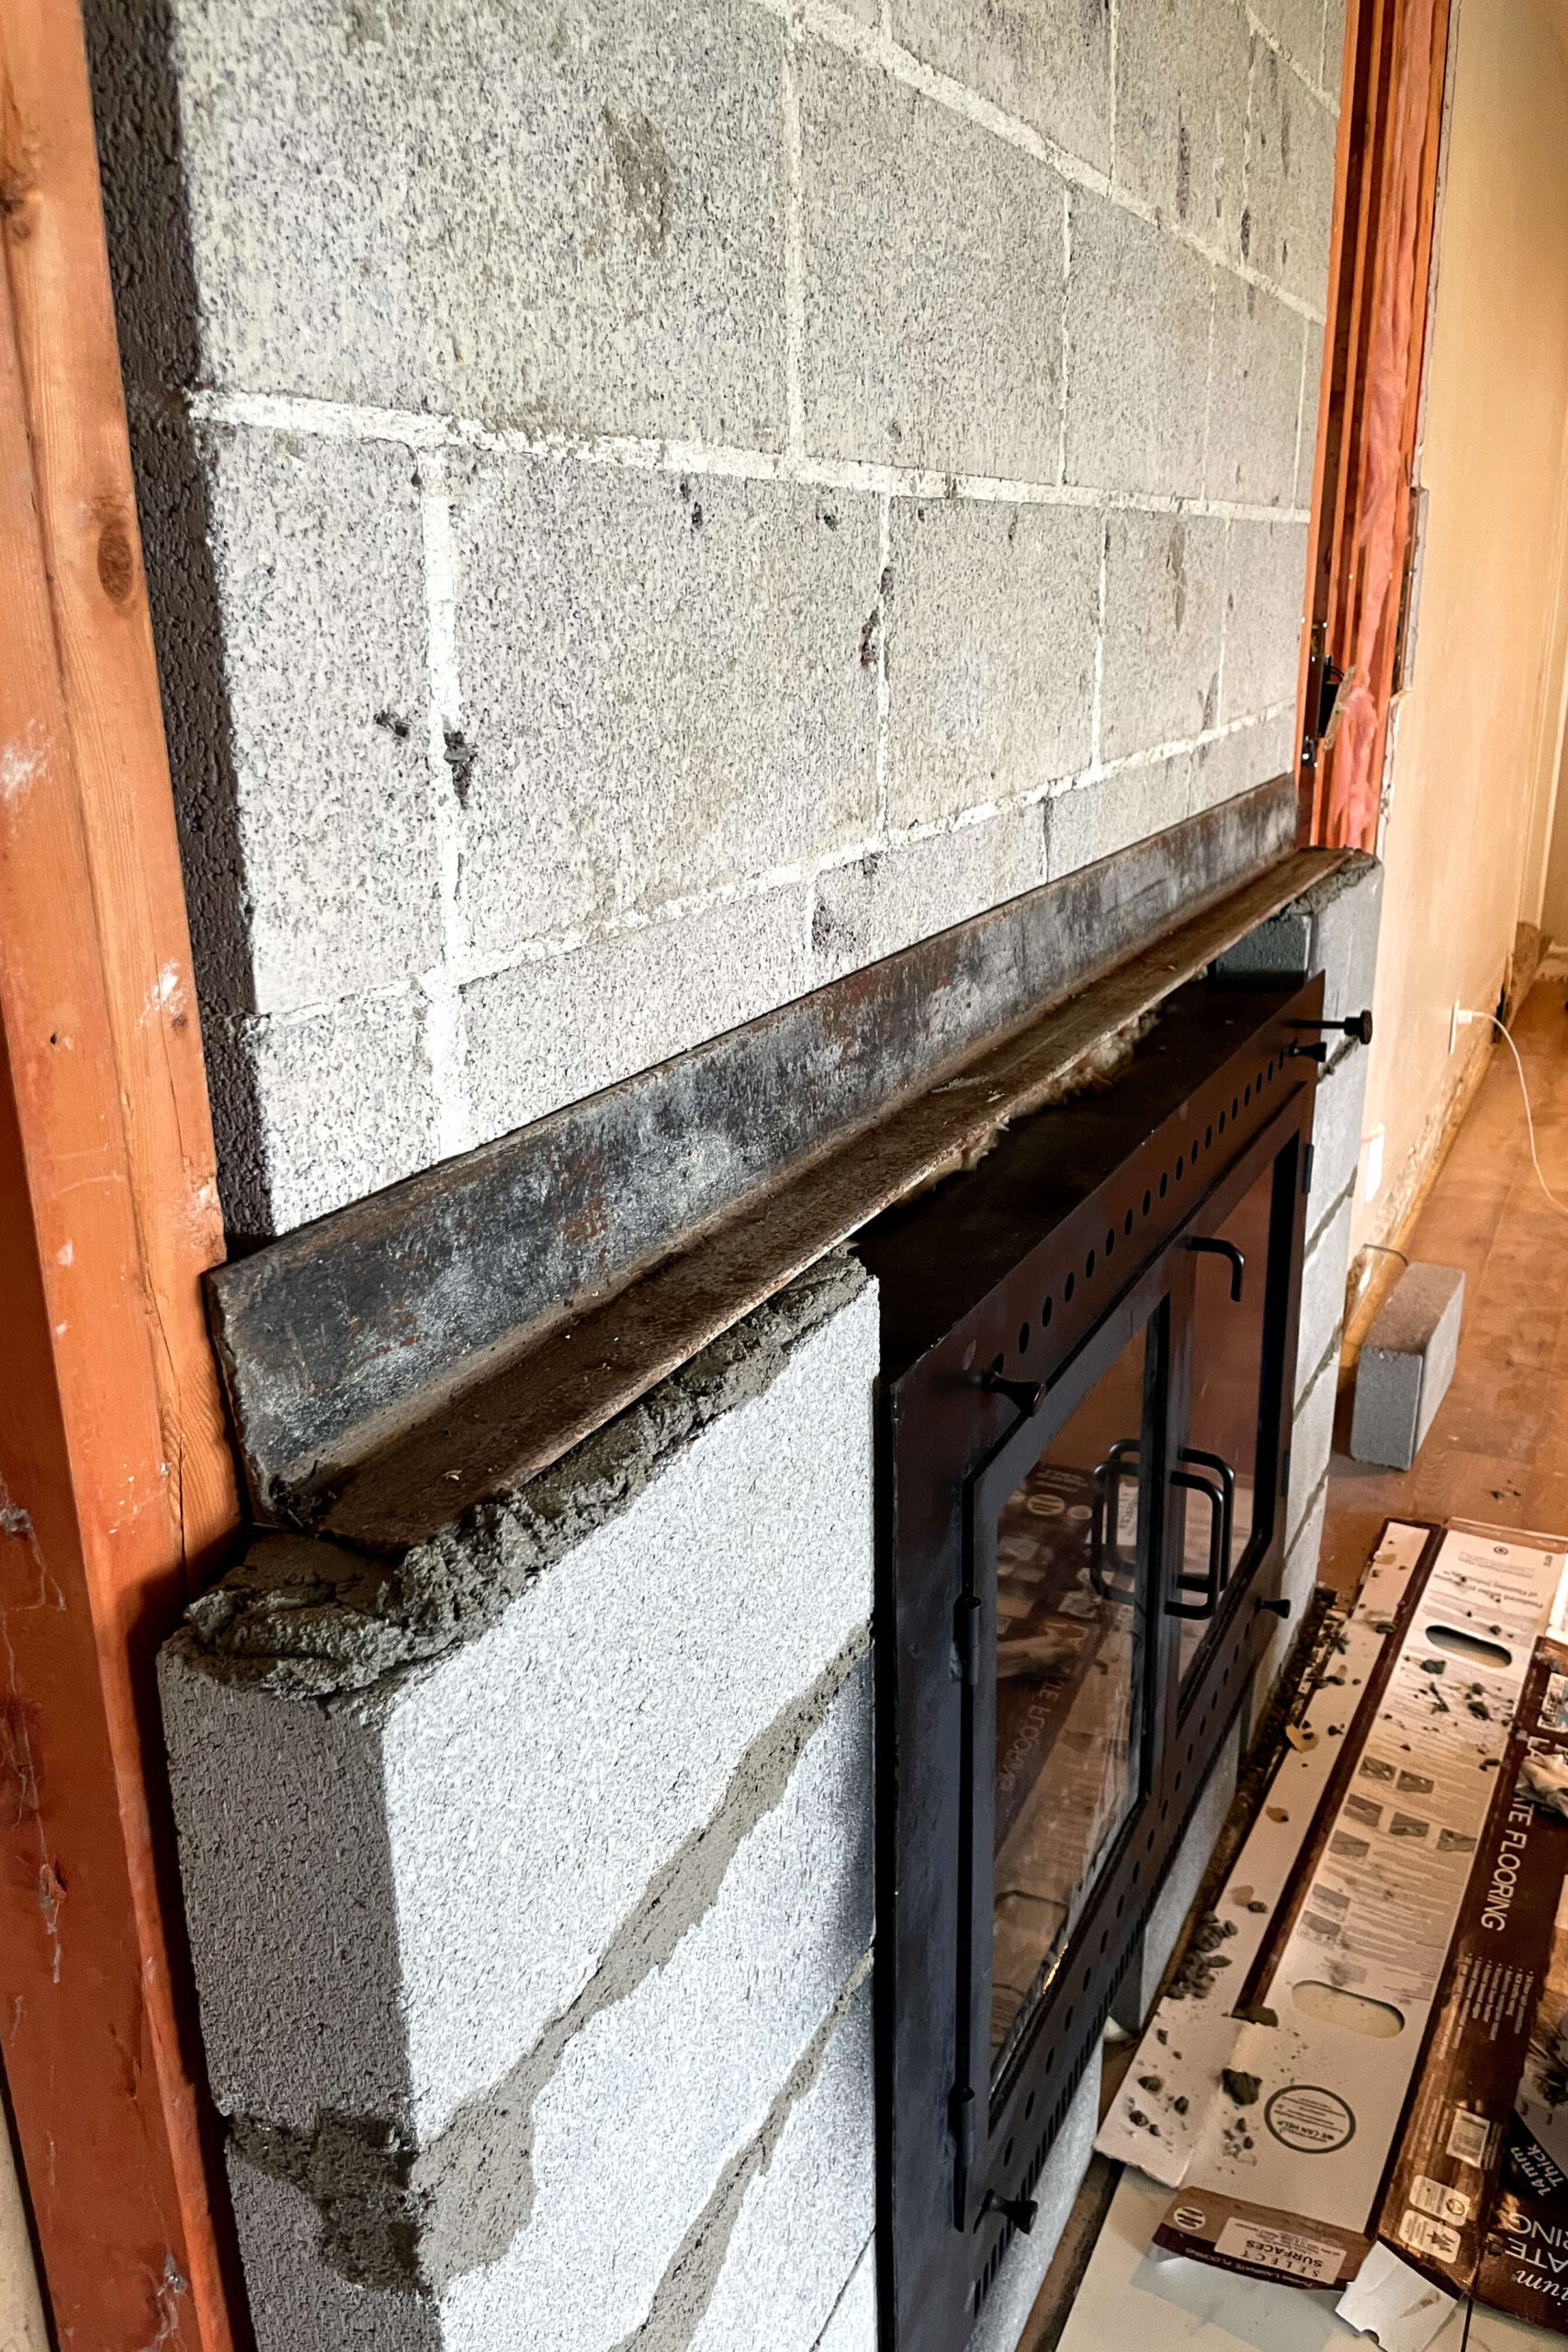
I did two more rows of concrete blocks and I didn’t care about the gaps between the blocks and edges since the entire area will be covered with cement board.

Covering the lower section with cement board is crucial. Use a hammer setting on your drill, a carbide-tipped bit for pilot holes, and concrete screws.

Framing the Top of the Fireplace
For the top section, I framed it in, adding a 2×4 top plate and vertical studs, and added wood blocking for the mantle.

I also added some wood blocking between each stud for the mantle and installed the drywall.


With this DIY stone fireplace makeover, I aimed for a Spanish vibe, so I angled the edges instead of framing them straight. It was a perfect fit!
To find my angle, I lined up the outside corner with the outside corner on both ends. I marked where they intersected, connected the dots, and used my table saw to cut off the angle. Look at that perfect fit!


Updating the Old Mantle
For the mantle, I reused the old mantle which was an old telephone pole. I gave it a good power wash to clean it up and remove the weathered finish.

Then, I trimmed it down using my circular saw for the length and a sawzall for the deeper cuts.


I decided that the mantle was too thick, so the girls helped me make a chalk line for the desired thickness and cutting along the line.


I had to finish the cut with the sawzall. There was a lot to cut, and it was taking a lot of power from my batteries and they were draining quickly.

I’d never used a chainsaw before, but that didn’t stop me. It ended up being the perfect tool for finishing this cut through the center of the mantle. Just make sure you have a nice, sharp chain.

To smooth out the rough cuts from the chainsaw, I used a planer and then sanded it smooth with a belt sander. Once it was smooth, I stained it with Minwax in Early American—the same color I used for my board and batten bathroom wall and stair railing.


To attach the mantle, I drilled new holes for lag screws. I started with a spade bit, and then finished it off with a hole saw to cut out an inset section.


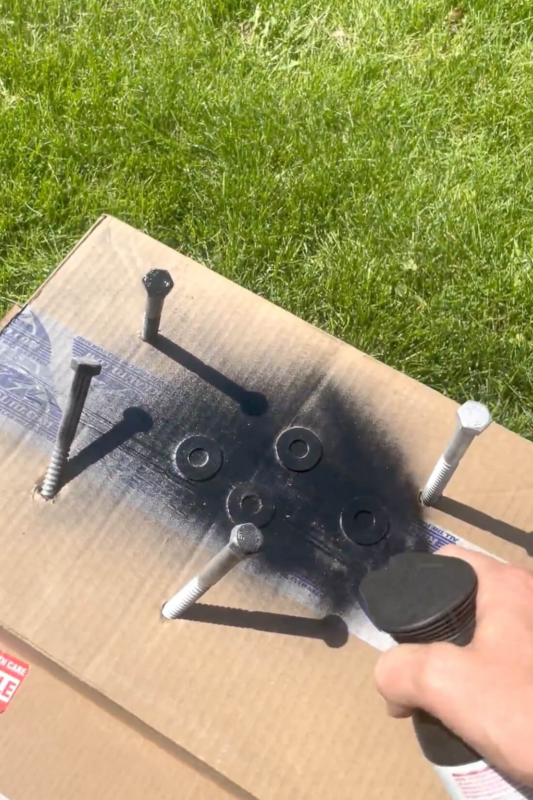
For this DIY stone fireplace makeover, I stained the inside of the holes and spray-painted the screws and washers black.

I used my miter saw to cut off the corners of each end and saved the pieces.

A vertical 2×4 under the mantle acted as an extra hand during installation. Using a socket and socket adapter for my drill, I set the lag screws with washers into the pre-drilled holes, attaching the mantle to the fireplace framing.

I used the cut off the corners of each end of the mantle to attach those sections to make it look like the mantle wrapped around the fireplace.


Drywalling the Fireplace
With the mantle on, I finished drywalling the top section.


Then I covered the seams and screw heads with mesh tape and joint compound. There’s definitely an art to finishing drywall, so be patient with yourself if a DIY stone fireplace makeover ends up being your first drywall project.


Use metal corner beads and noncombustible mesh tape for cement boards around the insert. I used leftover thinset from our tile floor to cover seams and corner bead.


Finishing My DIY Stone Fireplace Makeover
My original plan was to coat the whole fireplace with Ardex Feather Finish concrete in white. After protecting the mantle, tile floor, and insert with pre-taped plastic, painter’s tape, and masking paper, I mixed up my concrete and began applying it with my taping knife. It dries quickly, so you have to work fast and smooth it out as you go.

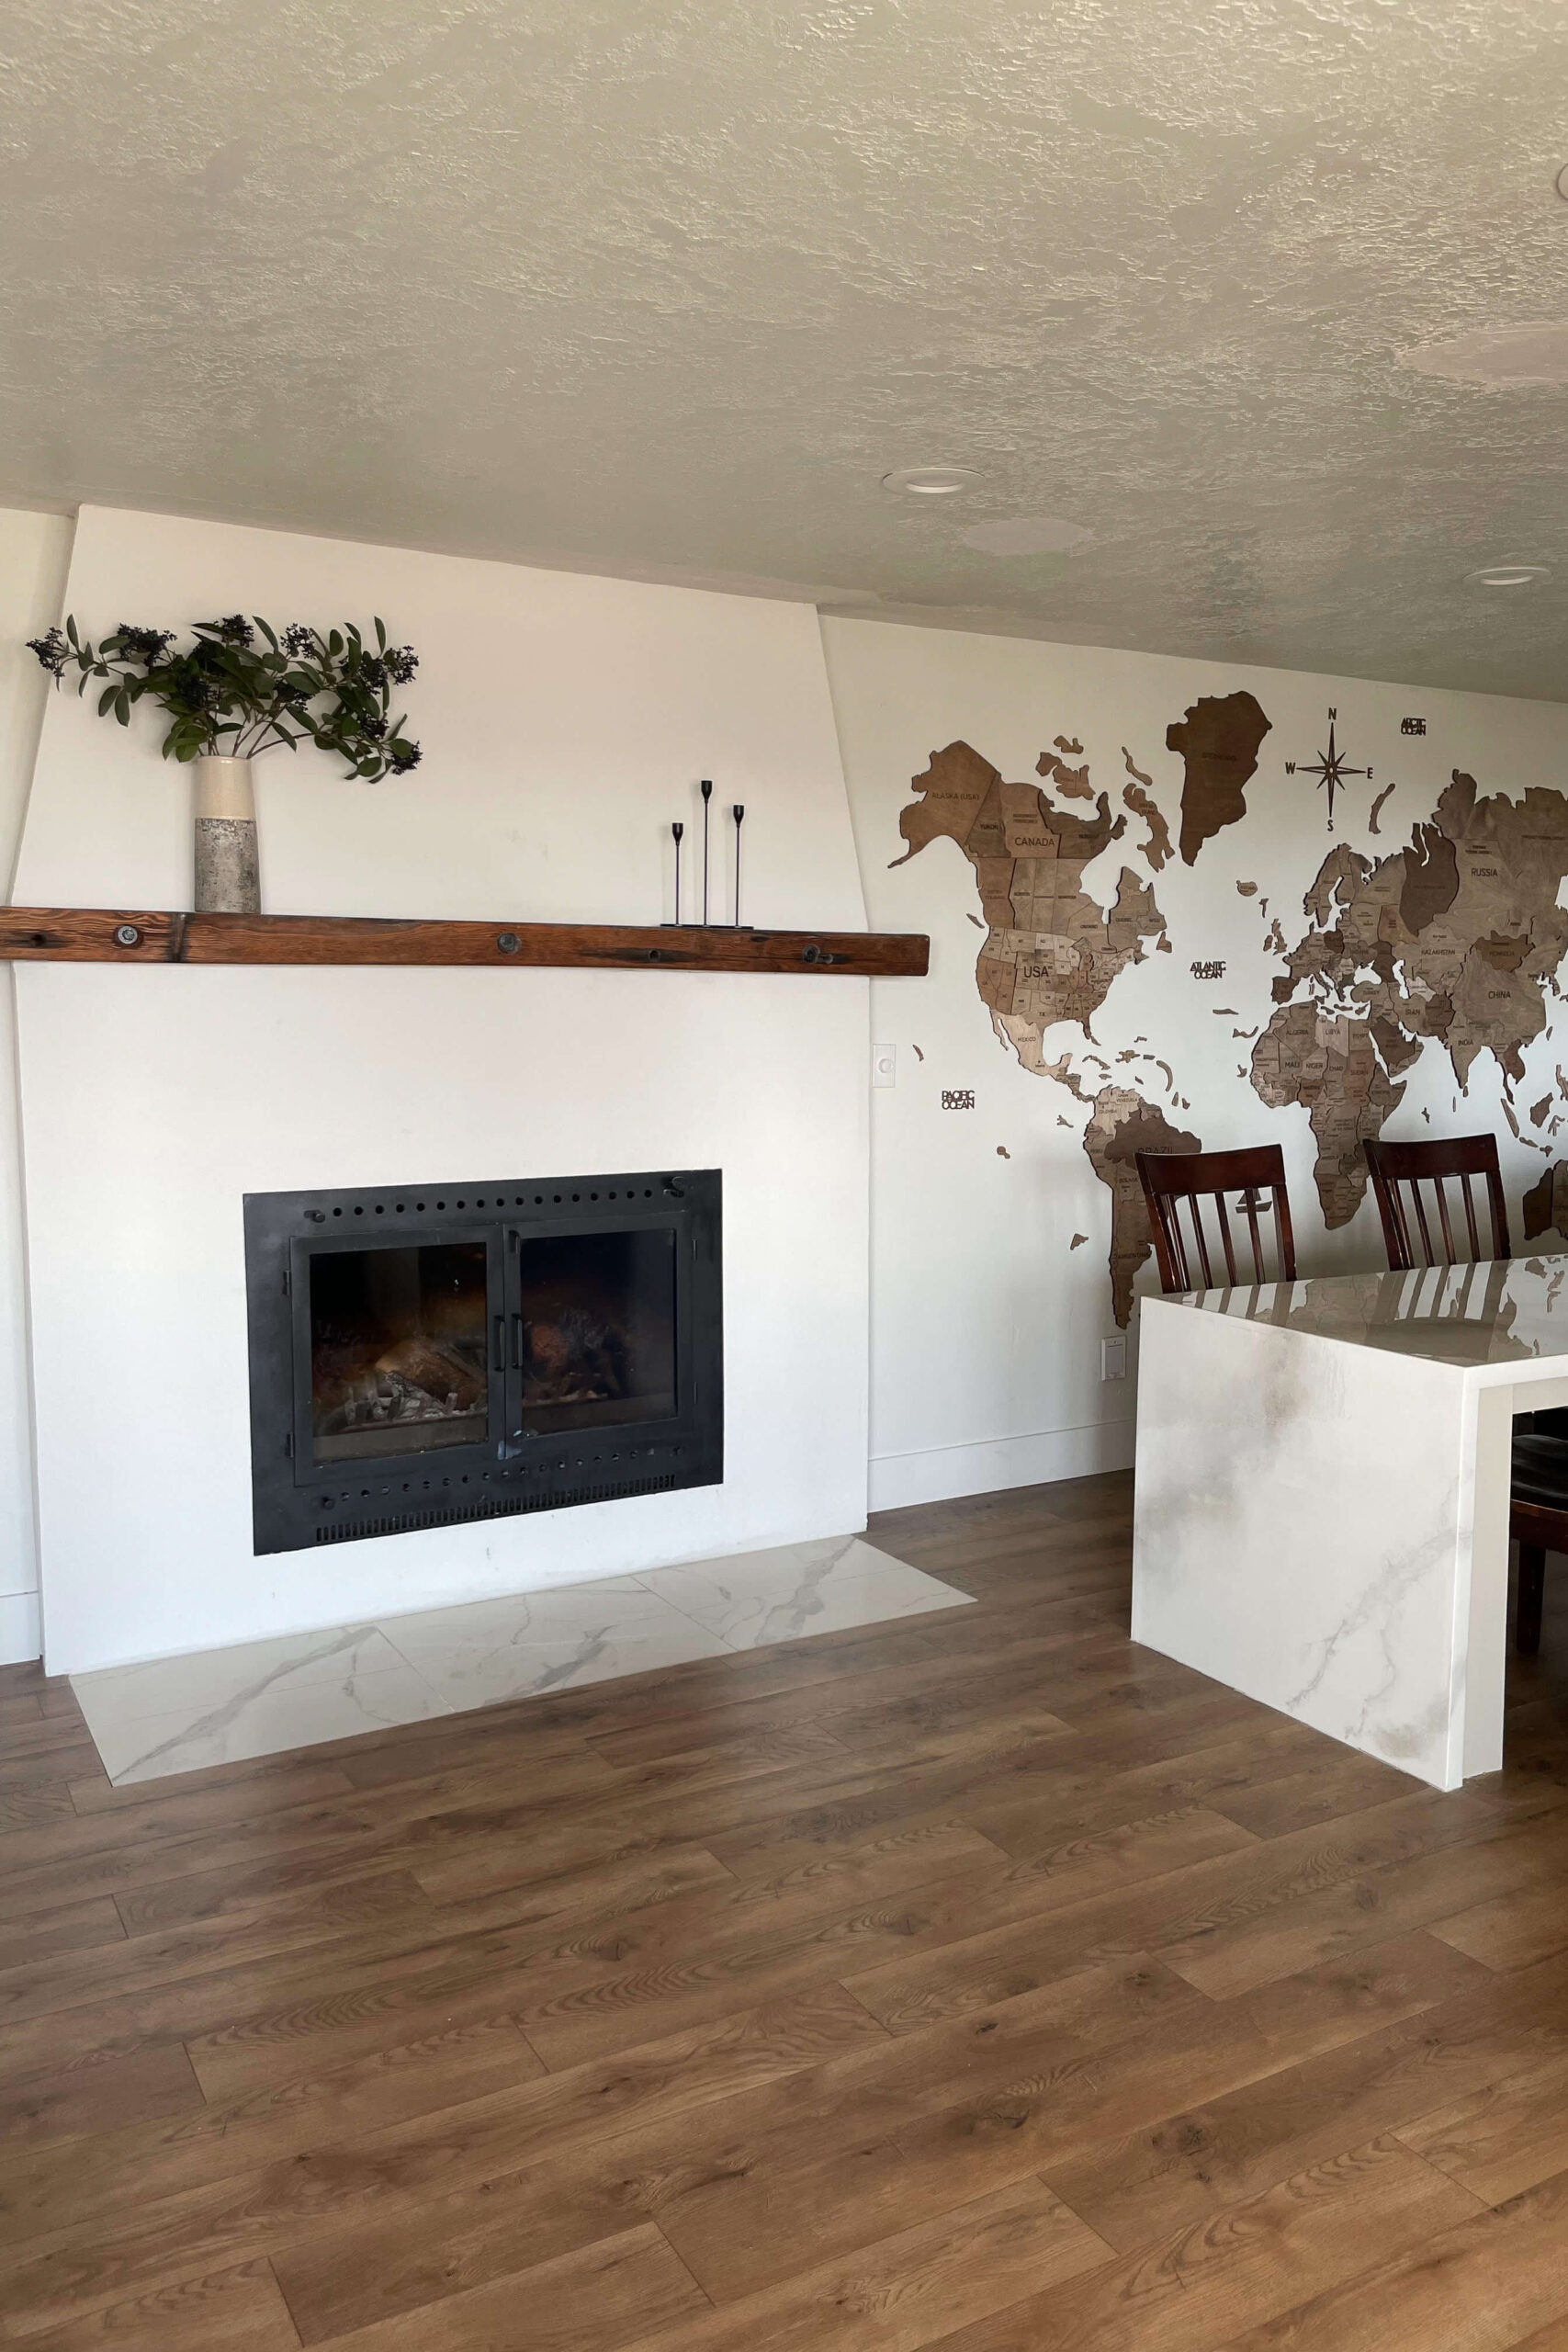
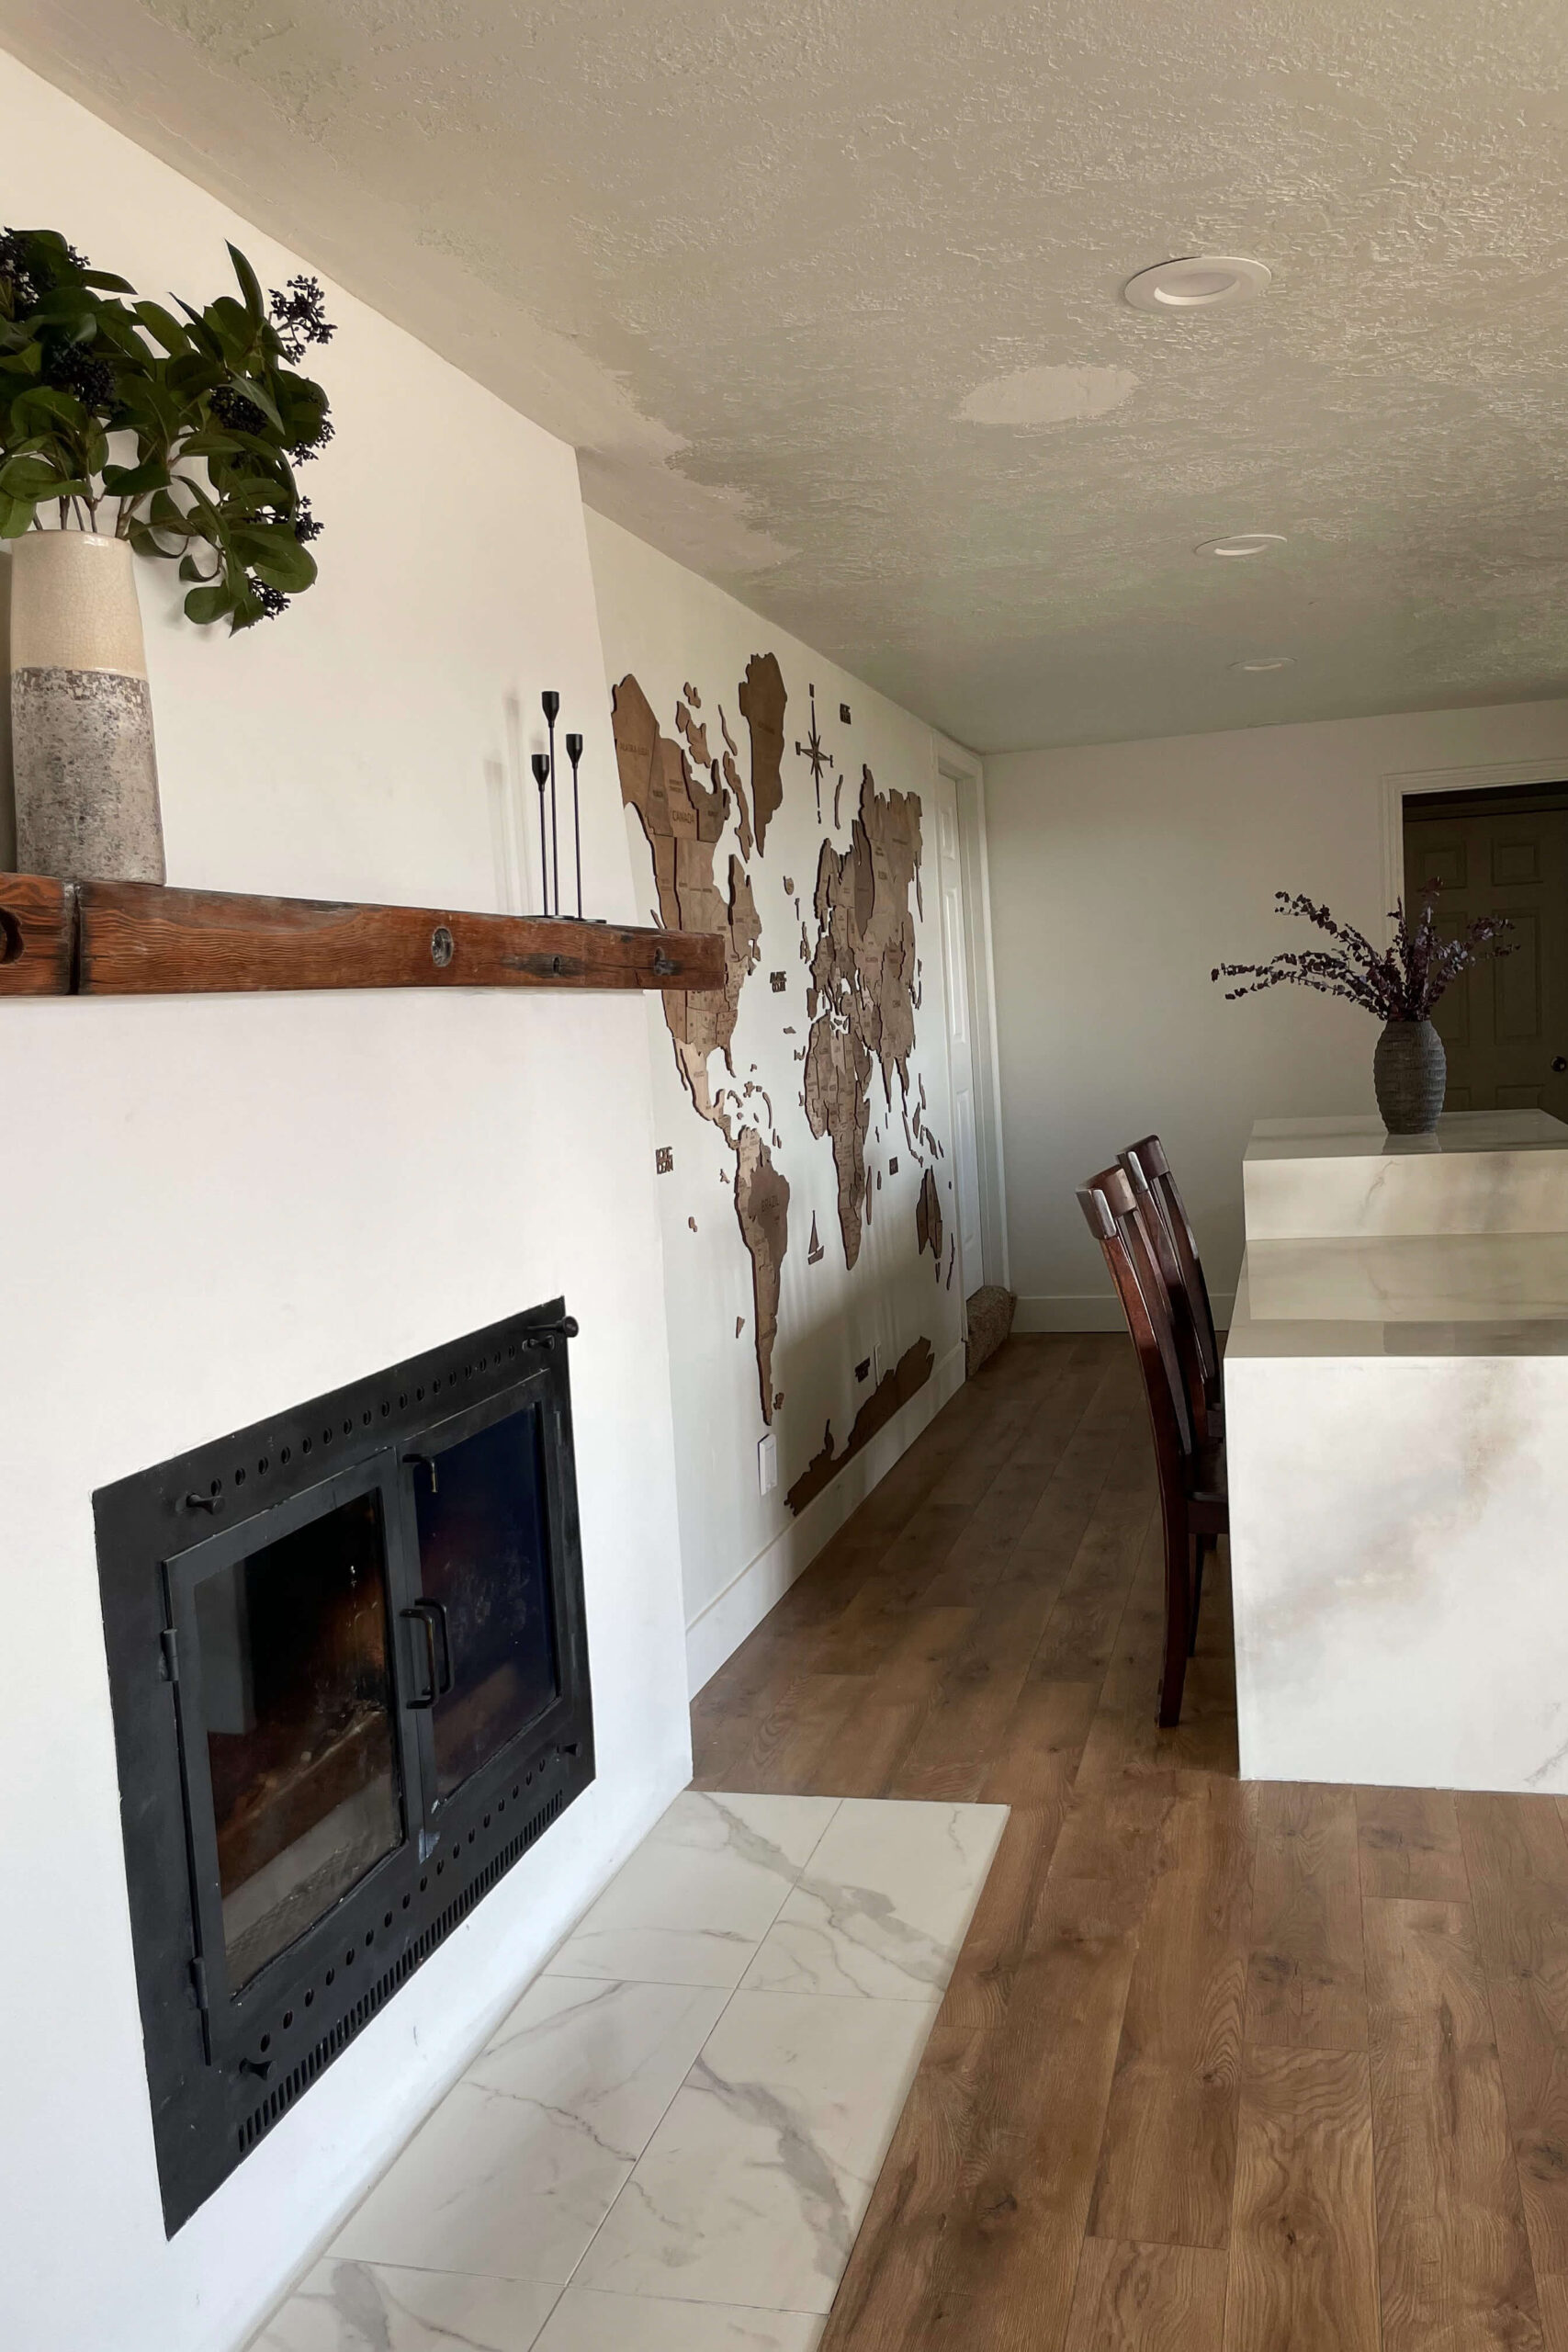
Once the concrete finish had dried, I didn’t like it. It was too grayish and clashed with my Sherwin Williams Alabaster painted walls. I considered painting over the concrete with Alabaster-tinted paint but opted for Venetian Plaster instead. I used my joint knife to apply the plaster and was thrilled with the final result.

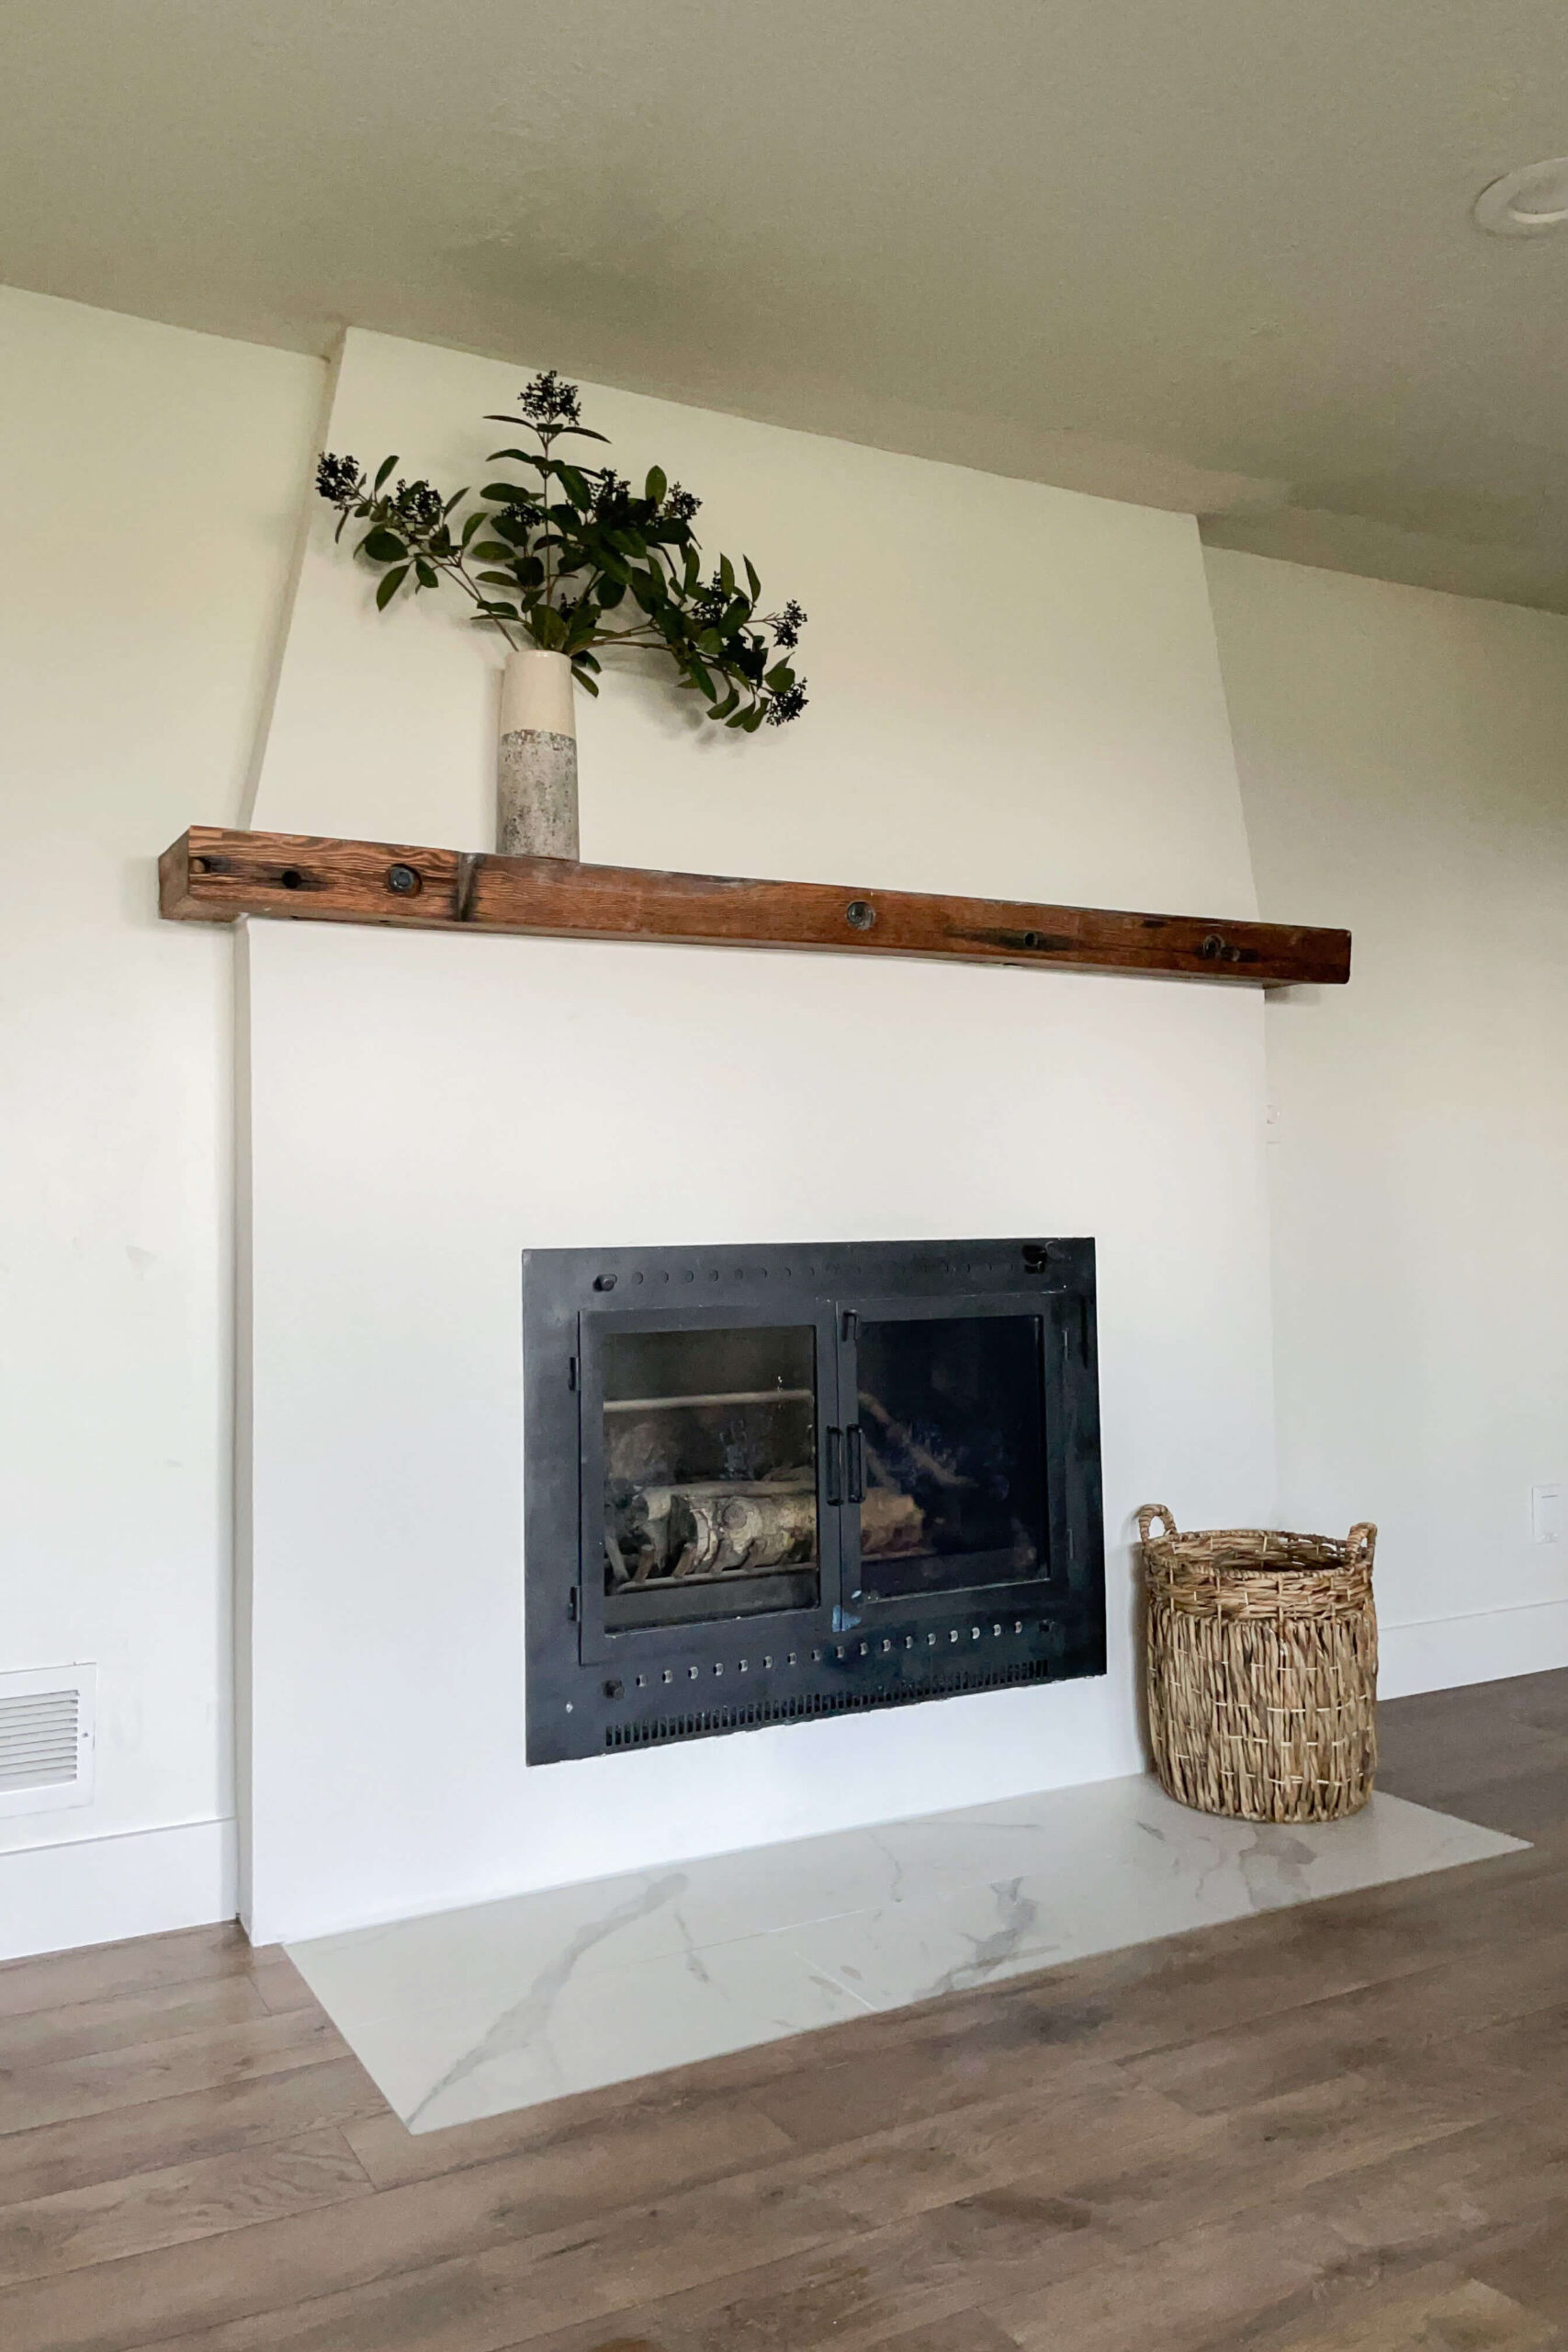
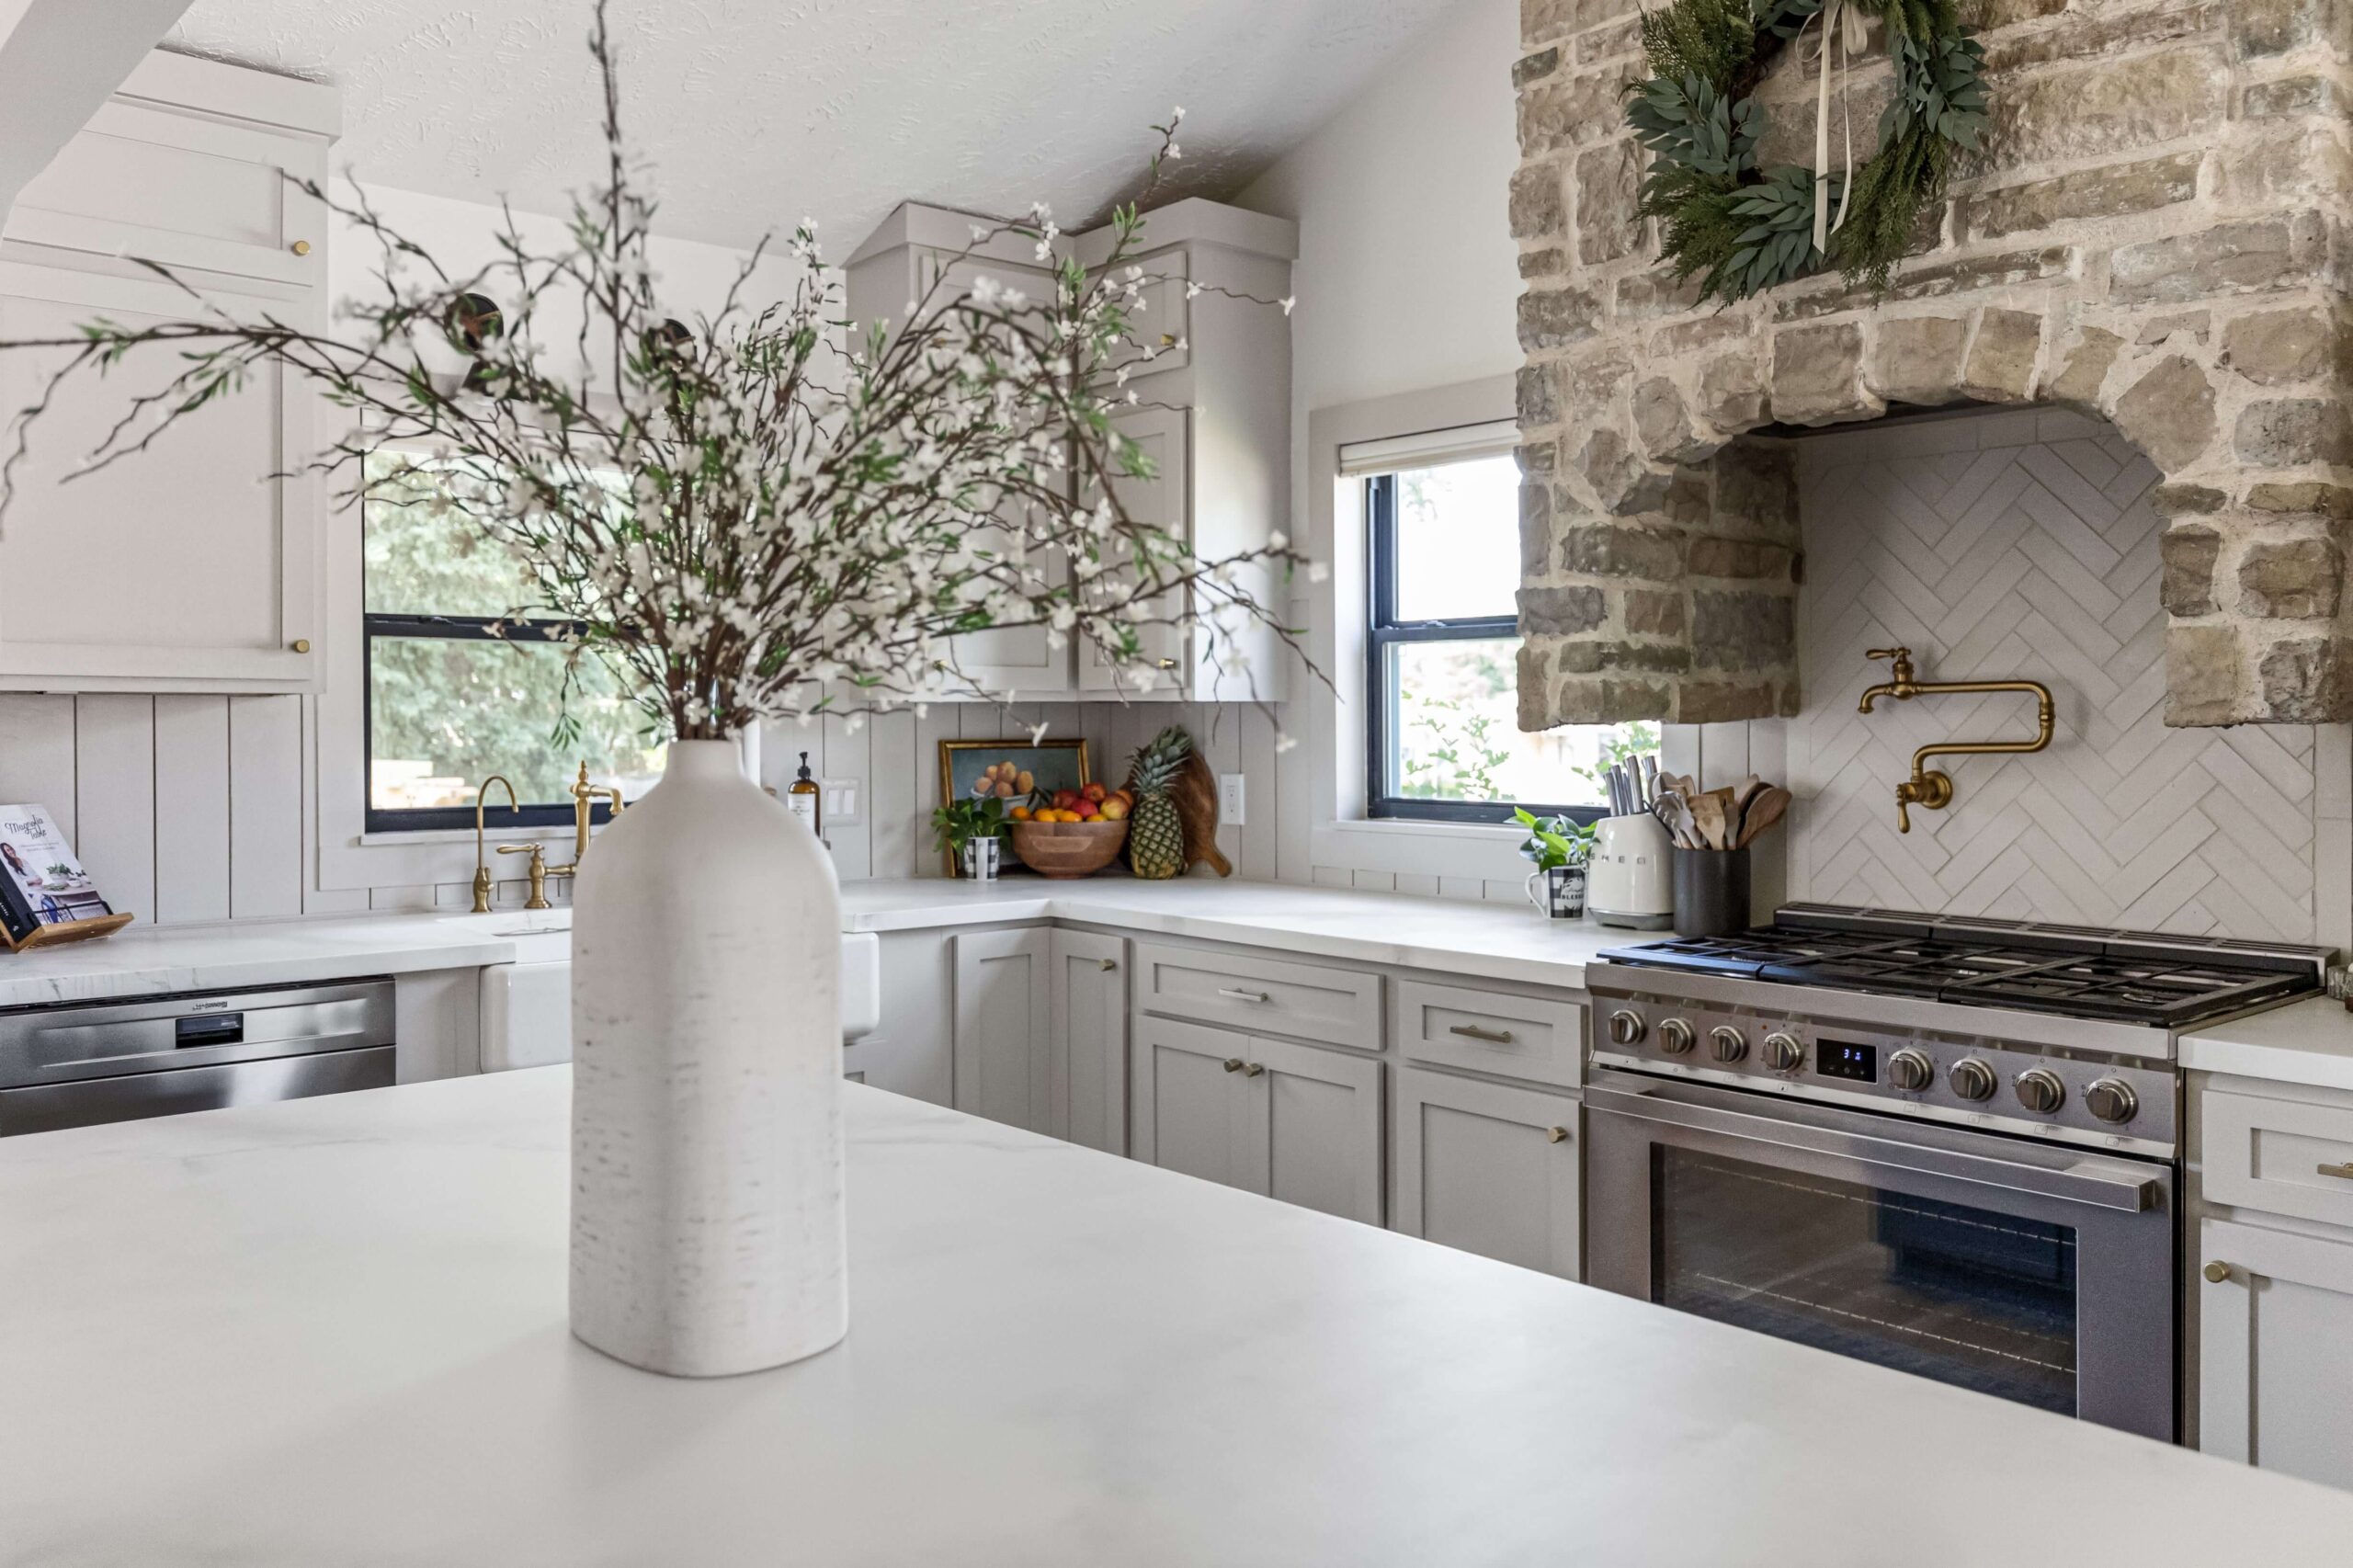
This DIY stone fireplace makeover was done, and I couldn’t be happier. From the slanted edges at the top, to the updated mantle, and the smooth finish on the fireplace surround, it all looked so good!
Just a quick reminder of where this DIY stone fireplace makeover began.
This project was part of a larger kitchen remodel—stay tuned for more blog posts on the rest of the transformation. Currently, I have tutorials finished for…
Although this DIY stone fireplace makeover was in the kitchen in our previous home, when moving into our current home we completely relocated and remodeled the kitchen, and I have all the details here.
Leave a Reply