DIY Arched Living Room Shelves


Updated May 15, 2025
I love the character that built-in living room shelves can bring to a space, but mine needed some major modernizing. I updated the arch at the top and painted them inside and out to match the rest of my home’s style. Now, I have gorgeous, modern-looking living room shelves that I love styling. Follow along as I show you how easy it was to give these living room shelves a total DIY makeover.
Believe it or not, these living room shelves didn’t always look as amazing as they do now! When we first moved into our Nebraska fixer-upper, they were pretty outdated. After finishing a total fireplace redo, I decided it was time to give these built-in shelves a fresh, new look.
Check out these before shots to see what we were working with! Here’s how the living room looked on the day we moved in.
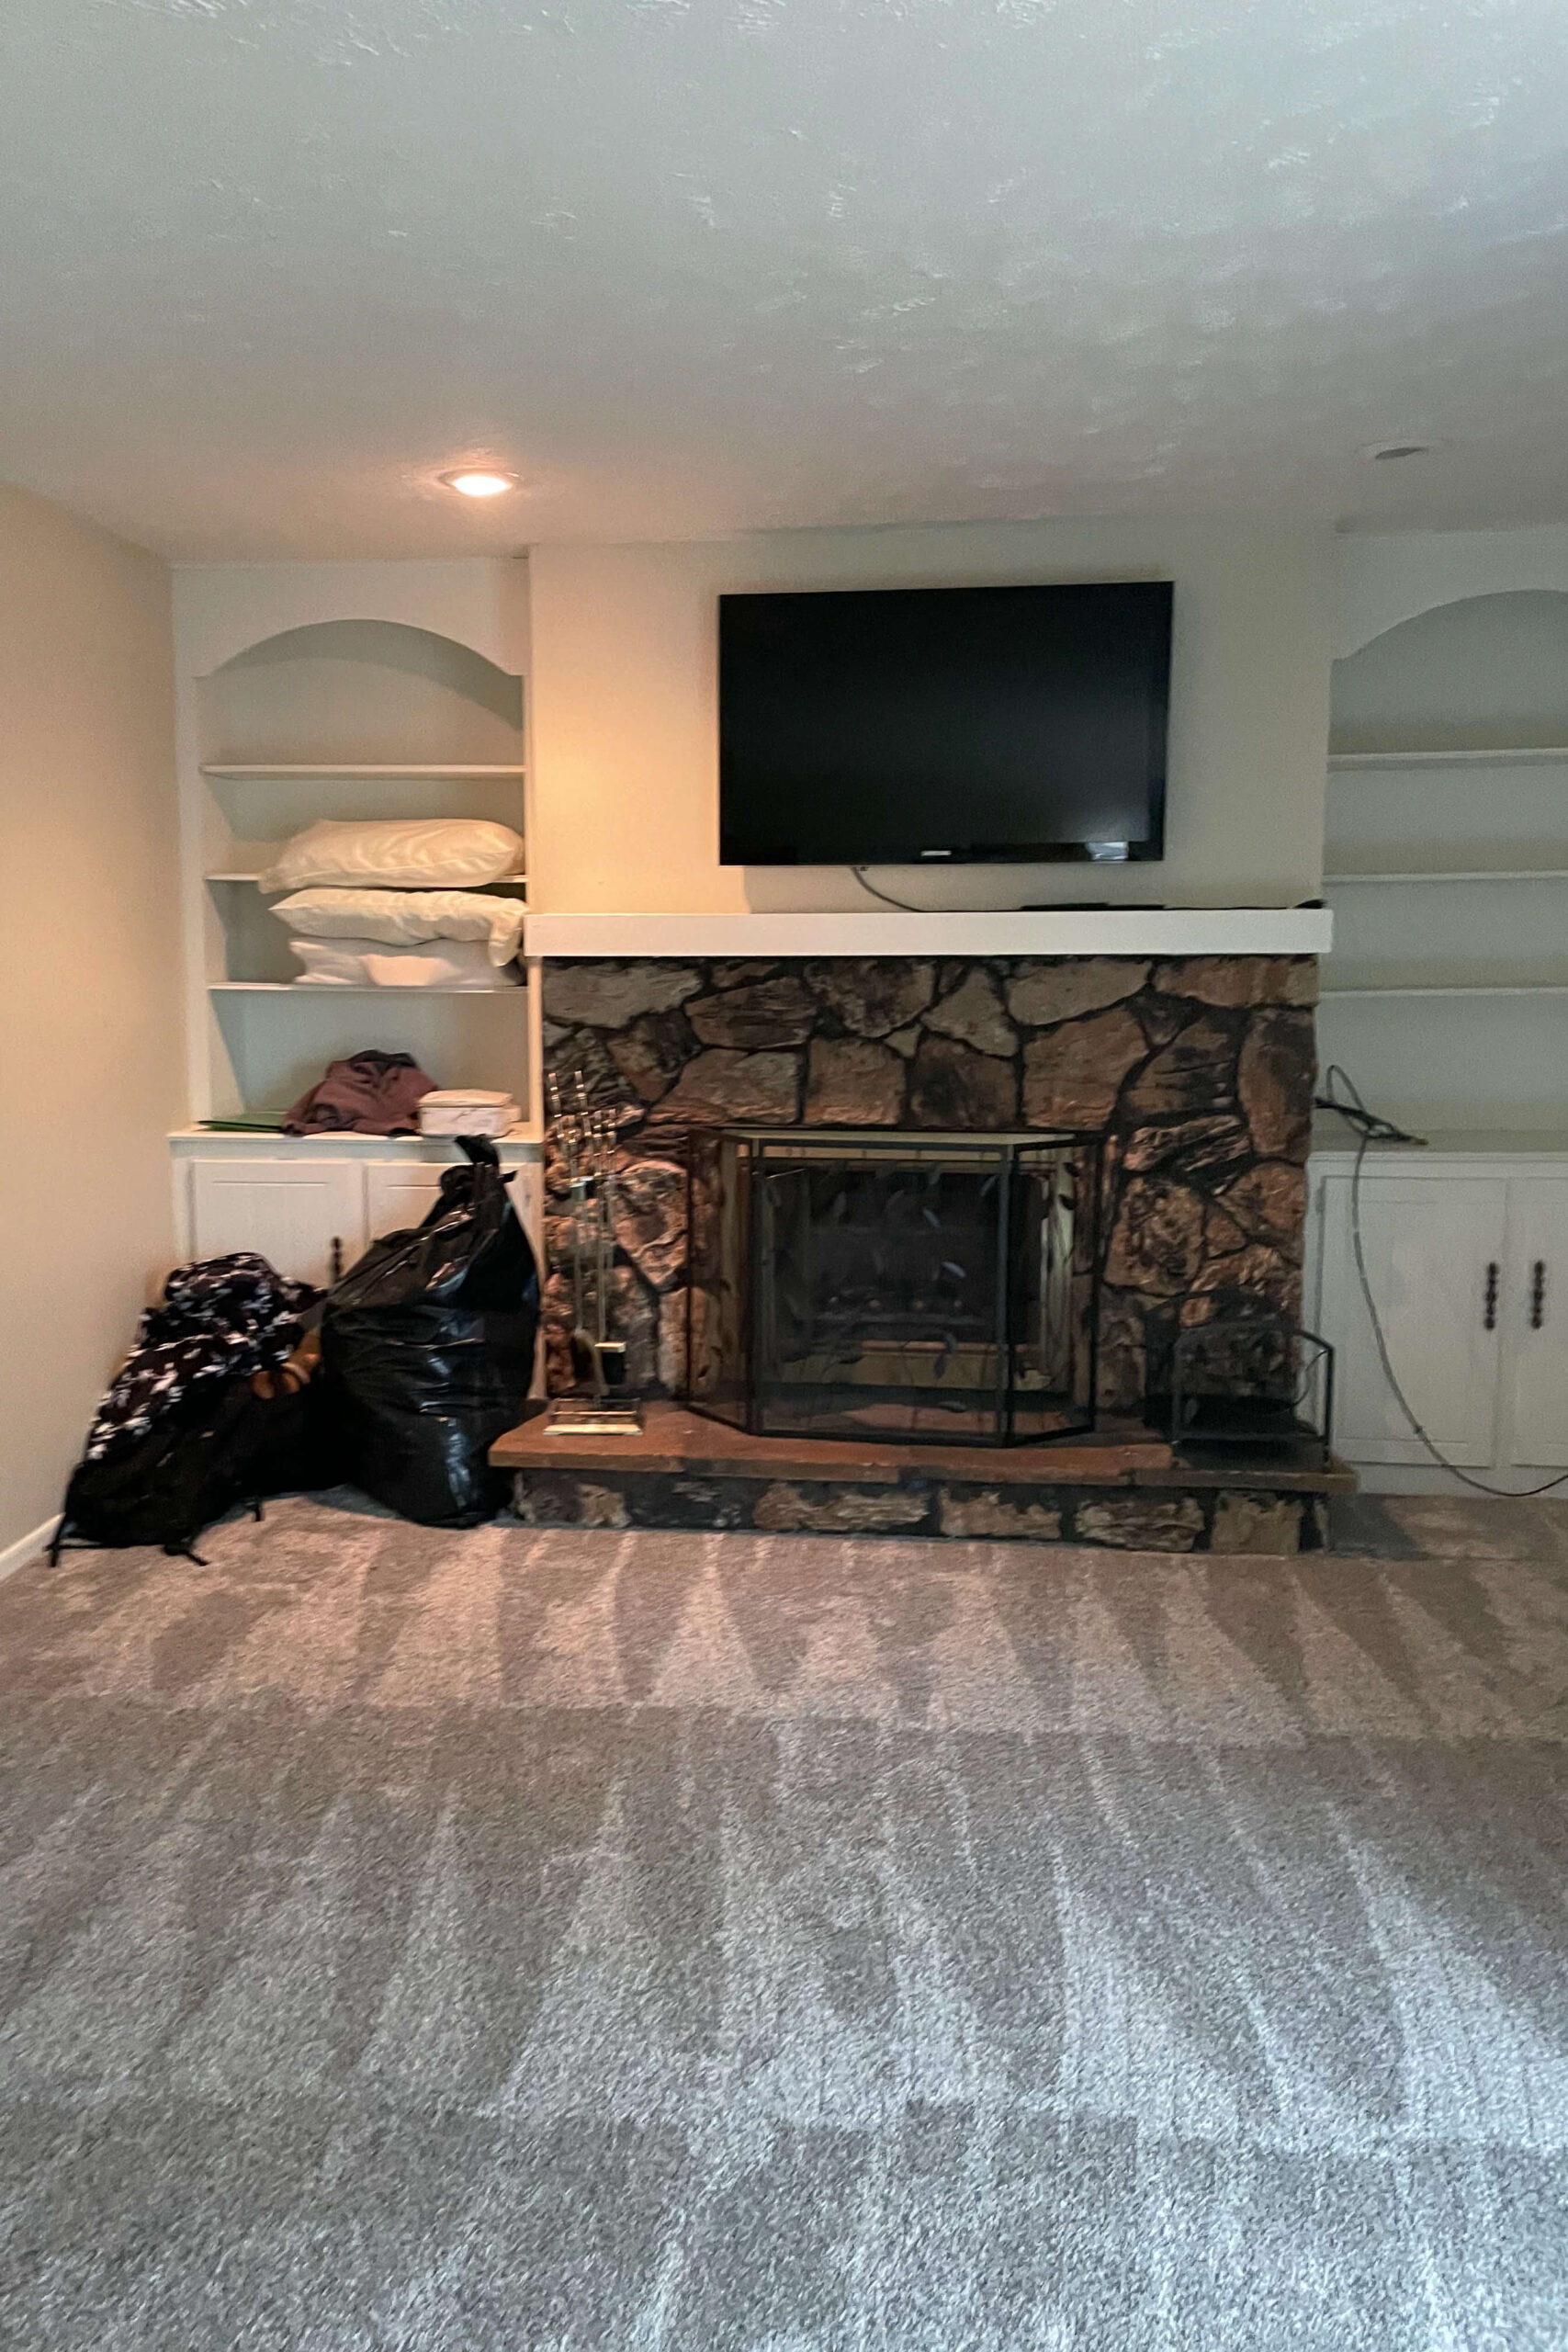
And here’s a close-up of just the shelf. My original plan was to clean and paint them, but I quickly realized that updating the arch would go a long way in modernizing these living room shelves.

This project is super simple and doesn’t require many tools or materials. If you’ve got some scrap plywood and leftover paint, you can update your living room shelves for almost nothing.
Tools
- Utility knife
- Putty knife
- Tape measure
- Table saw
- Miter saw
- Jig saw
- Handheld sander
- Brad nailer
- Iron
- Caulk gun
- Paint sprayer
Materials
- Plywood
- Edge banding
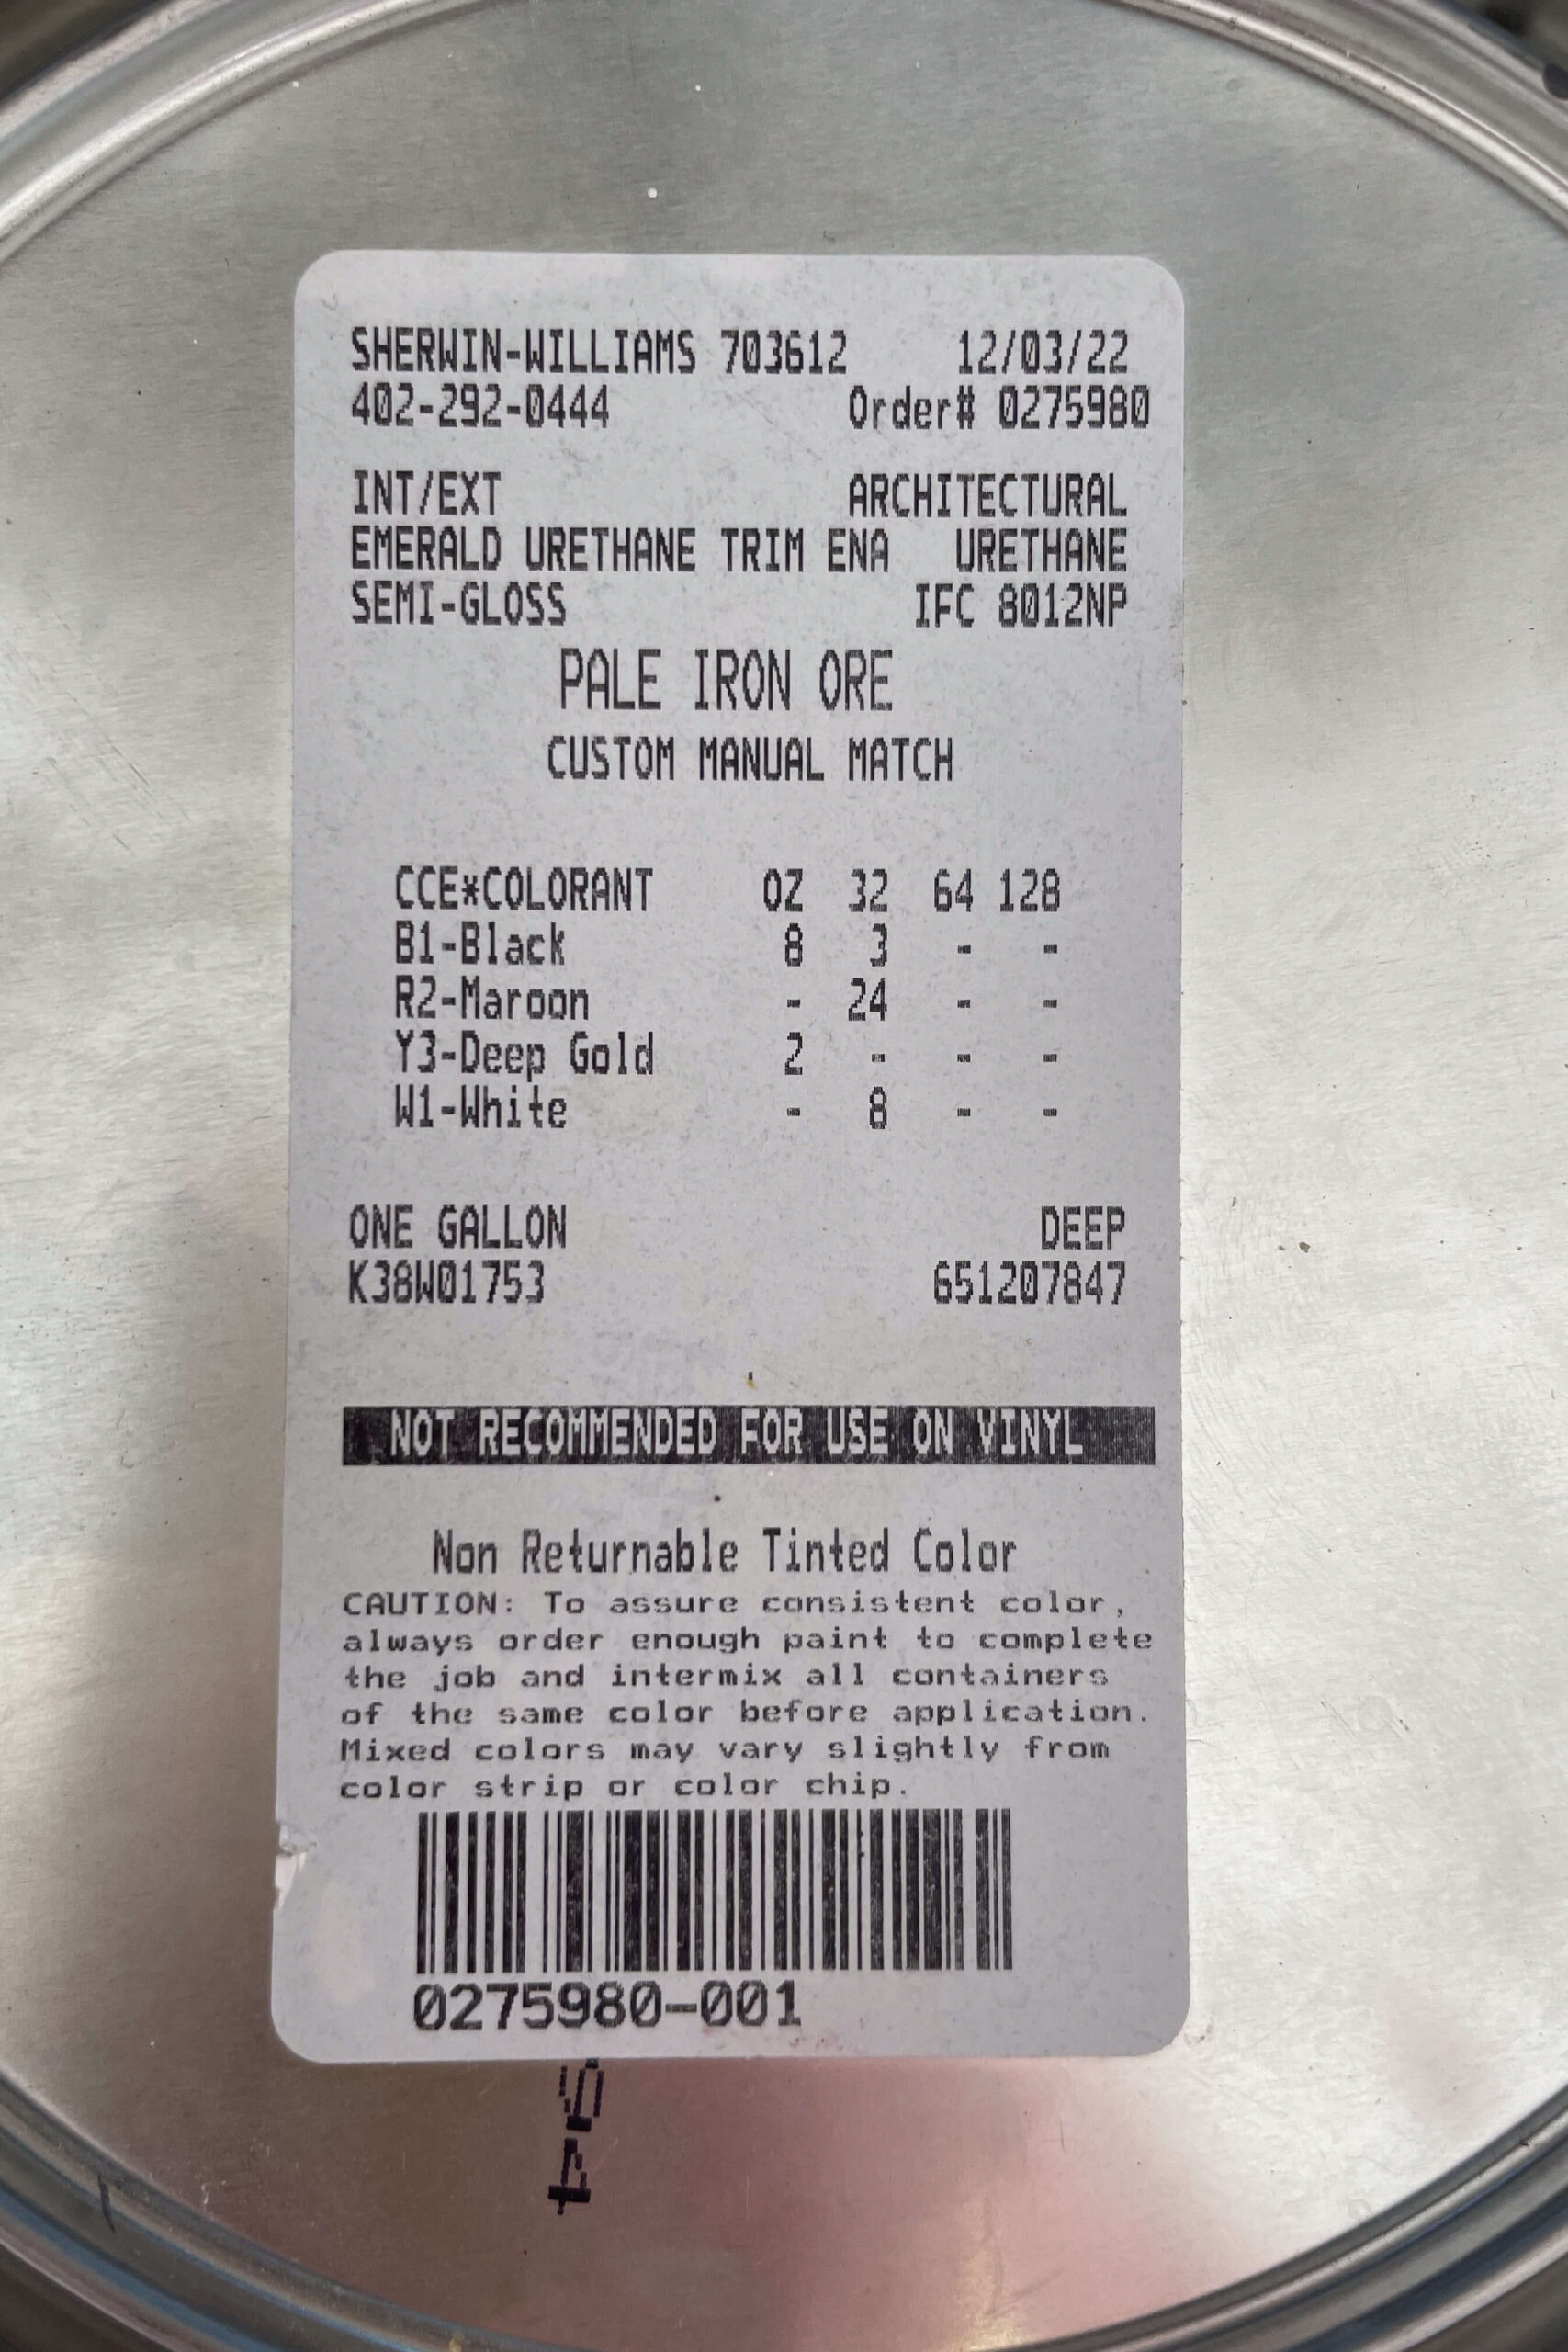
- Paint (I recommend Sherwin Williams Emerald Urethane Trim Enamel)
- Painter’s tape
- Plastic drop cloths
- Pre-Taped plastic
- Caulk
- Wood filler
Step One: Remove Old Trim and Arch
First, we had to remove the small piece of trim and the arch at the top of the shelf.
Pro tip: When removing trim, slice the caulk with a utility knife first—it makes the job much easier! Then, just slide your putty knife behind the trim and start wiggling it off. Easy peasy!


The arched piece in the center came out easily too. I sliced the caulk and knocked it out from the backside with a hammer. With that out of the way, I could build a new arch piece for the top of these living room shelves.

Step Two: Cut and Install a New Arch
I used one-inch plywood for the arch on my living room shelves. I needed to cut out two pieces, one for each shelf, the width of the shelf opening.
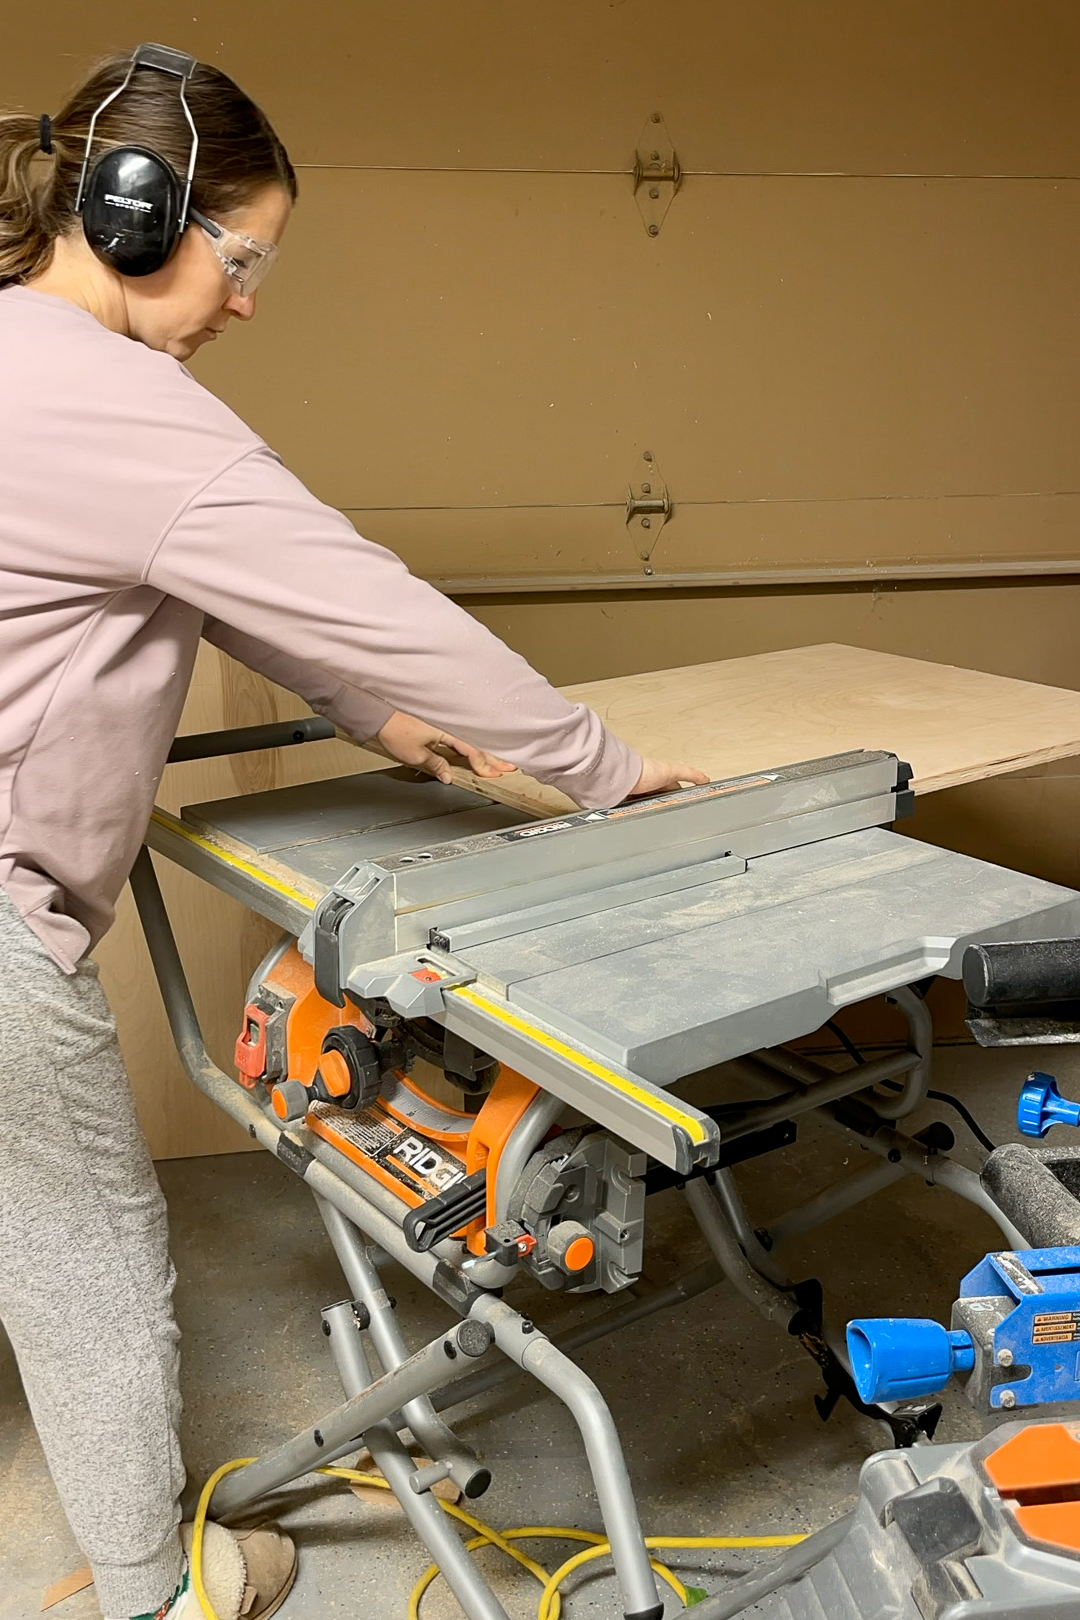
You might not think to use a miter saw for cutting big sheets of wood, but it works great and is much easier than a table saw when you’re working solo. Even with the slide-out feature on my miter saw, it couldn’t quite reach the edge. No worries though—I just cut as far as it could go, flipped the board over, and finished the cut.

Once the boards were more manageable, I ran them through my table saw to get them to the perfect height for the arch inserts.
I’ve shown how to draw arches using a string on several projects, like my pantry doorway, mailbox corbel, and chicken coop door. Since this arch isn’t a perfect half-circle, I had to do things a bit differently this time.
First, I measured down from the top of the board and marked where I wanted the top of the arched opening. Then, I measured the center of my board and hammered in a small pin nail near the bottom.

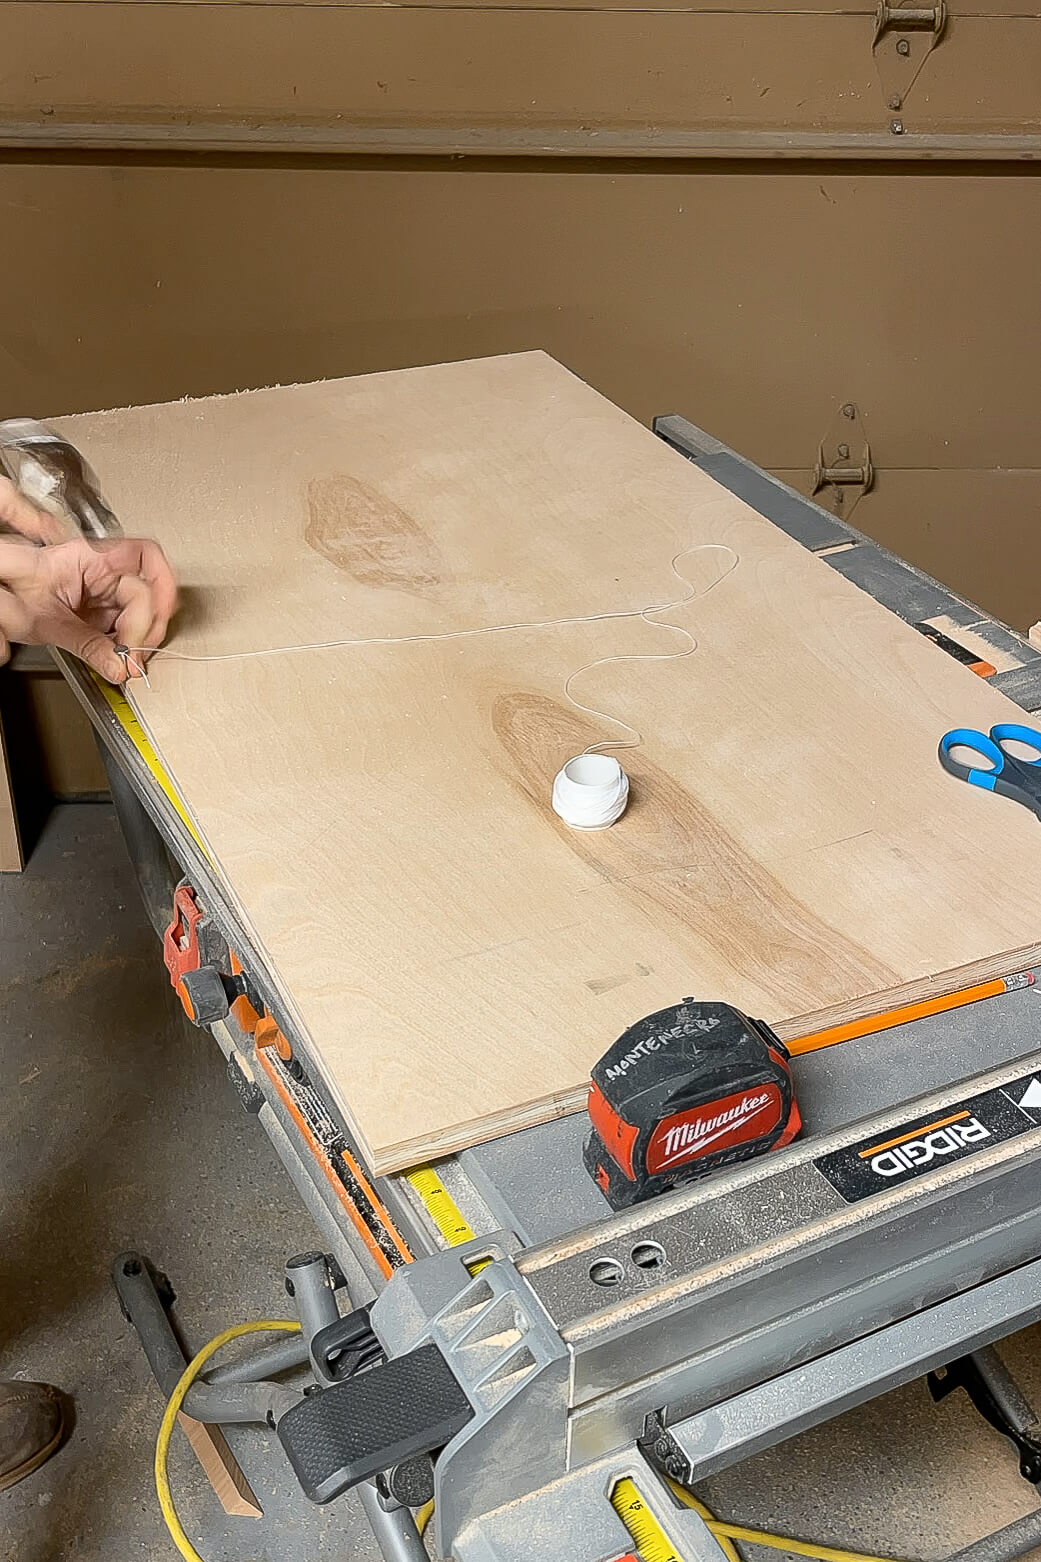
I tied a string around the nail and my pencil. Usually, you’d set the string length to match the distance from the top of the arch to the nail and draw by keeping the string tight and dragging your pencil in a semi-circle.
Since my arch isn’t a perfect half-circle, the edge gets farther from the center as I work my way down to the corner of the board. The string keeps things smooth, but it’s a bit of a freestyle job to get that nice slope from the top middle down to the edge. Don’t hesitate to erase and try again until you’ve got an arch shape you love!
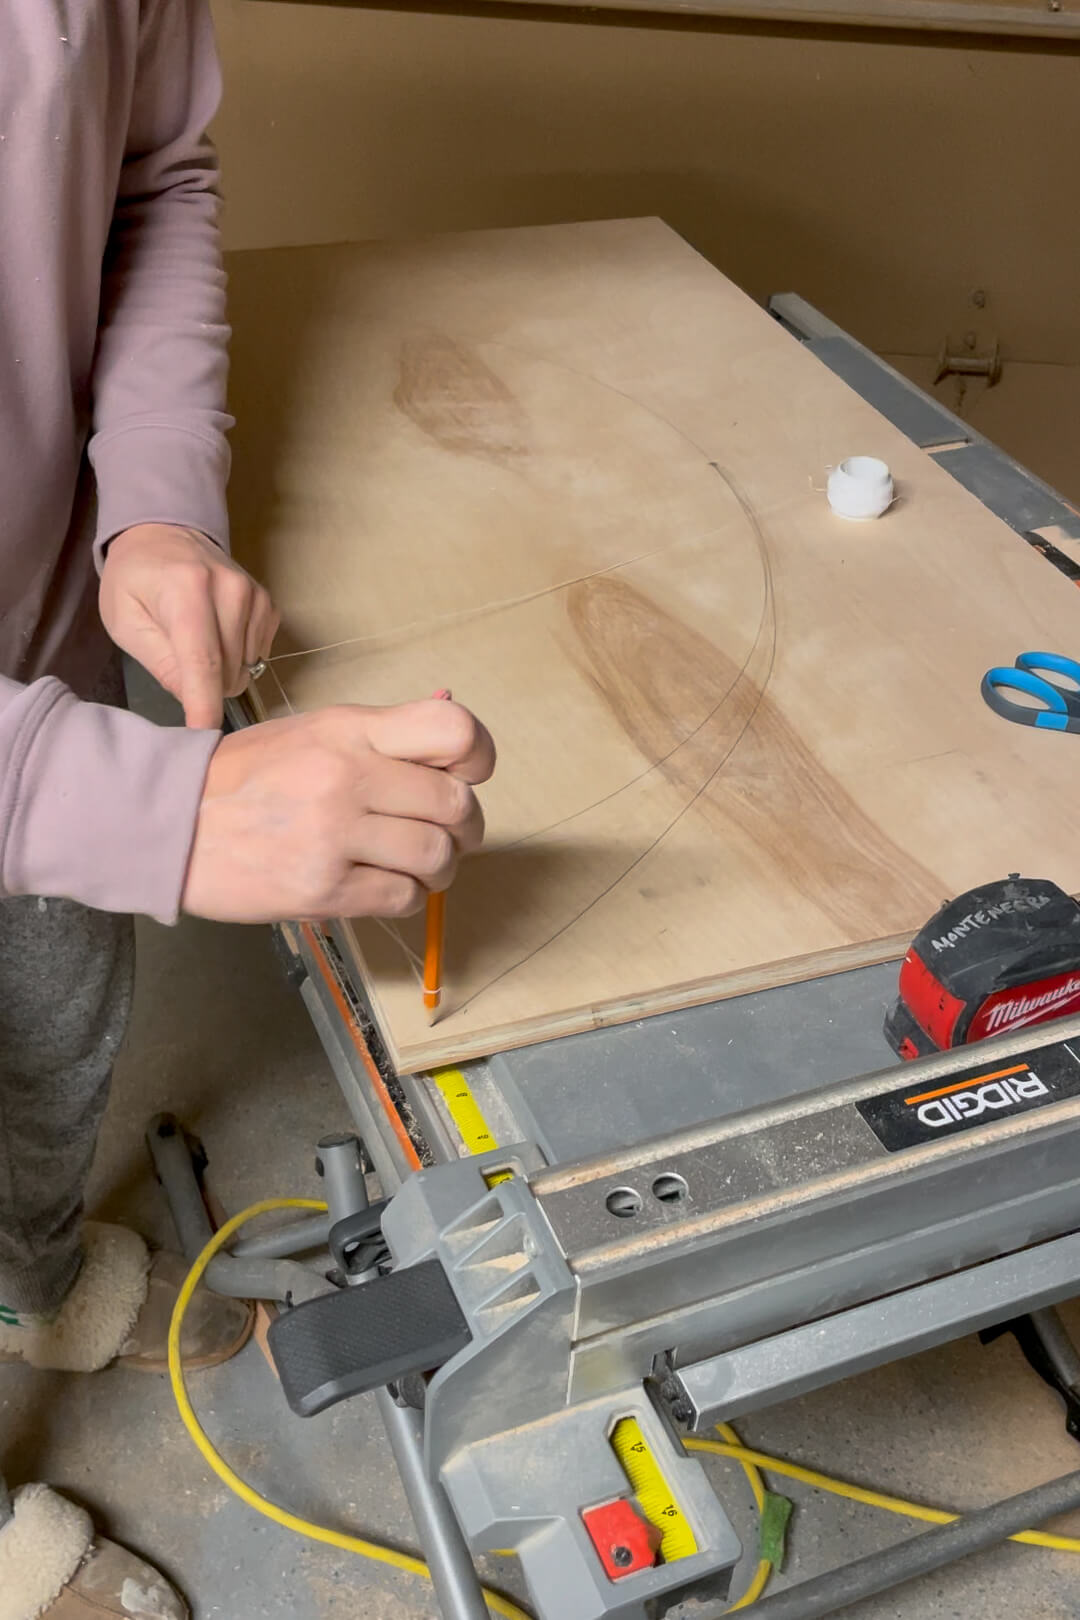
I wanted both sides of my arch to be symmetrical, so I drew the arch on one side and used my jigsaw to cut it out. Then, I traced that cut-out onto the other half of my arch before finishing the cut with my jigsaw.


The jigsaw can leave the edges a bit choppy, but a handheld sander smooths them out easily.

Next, I traced this arch insert onto my second board, cut it out, sanded it, and had two identical arches for my two living room shelves.

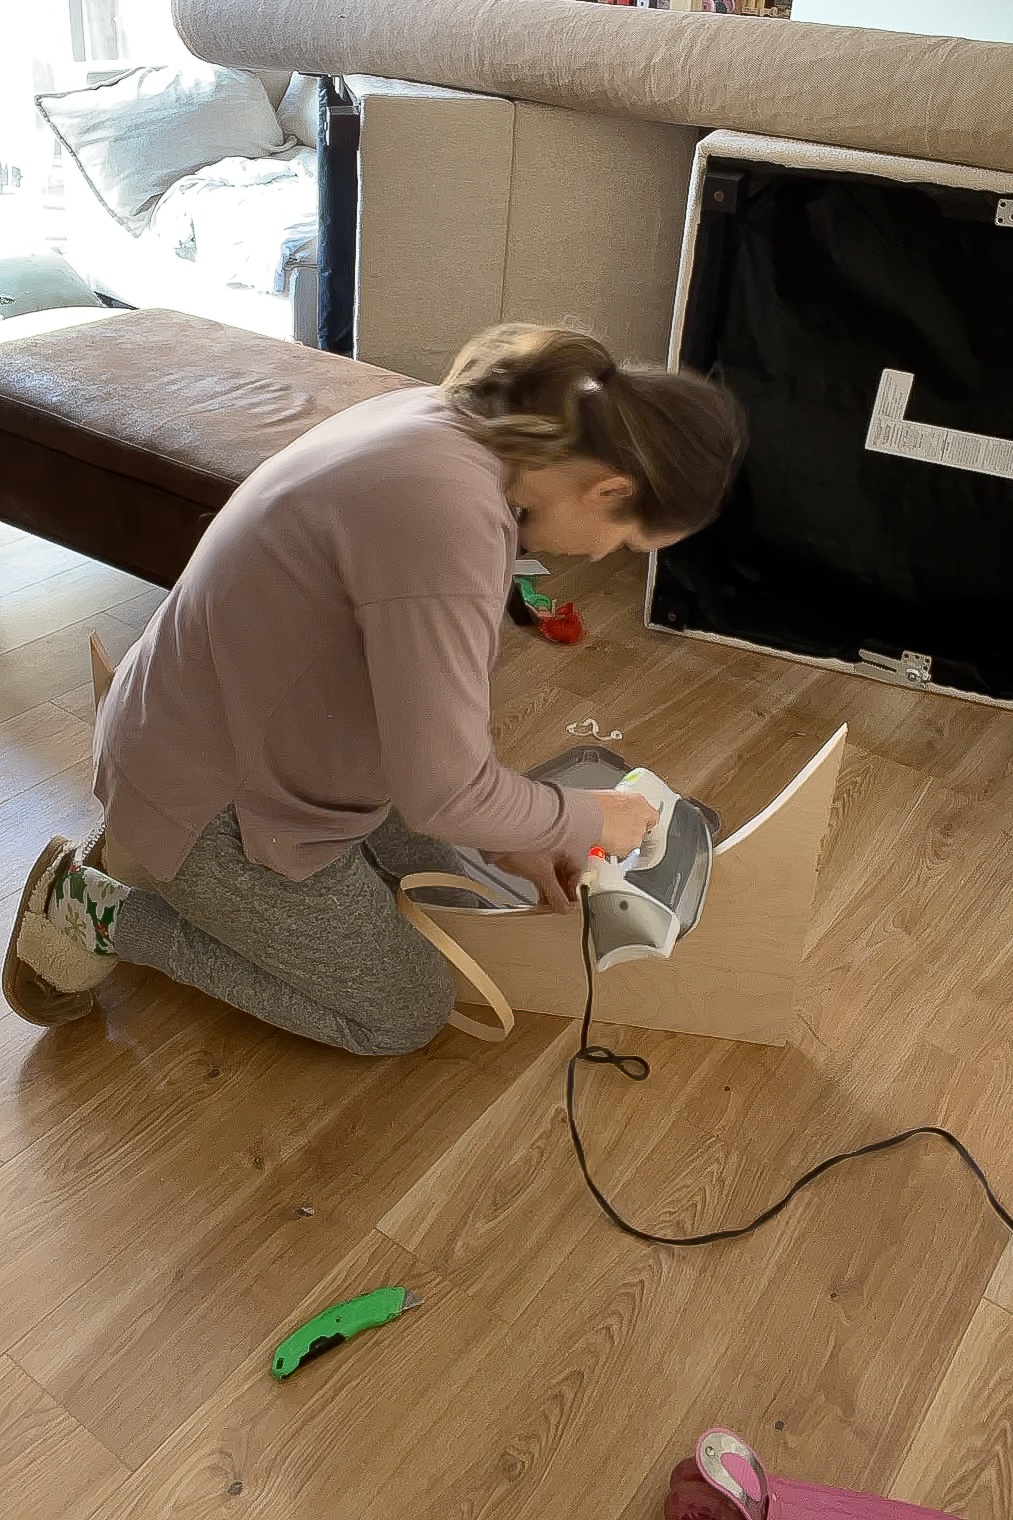
Before installing these arches on the living room shelves, I tidied up the rough plywood edge with some edge banding. It’s easy to use and makes your project look polished.
To apply the edge banding, I cut a piece long enough to cover the inside edge of my arch and ironed it on with a regular clothes iron. The banding has heat-activated glue on the back, so when you iron it, it sticks to the wood. After that, I used an edge banding tool or utility knife to trim any excess.
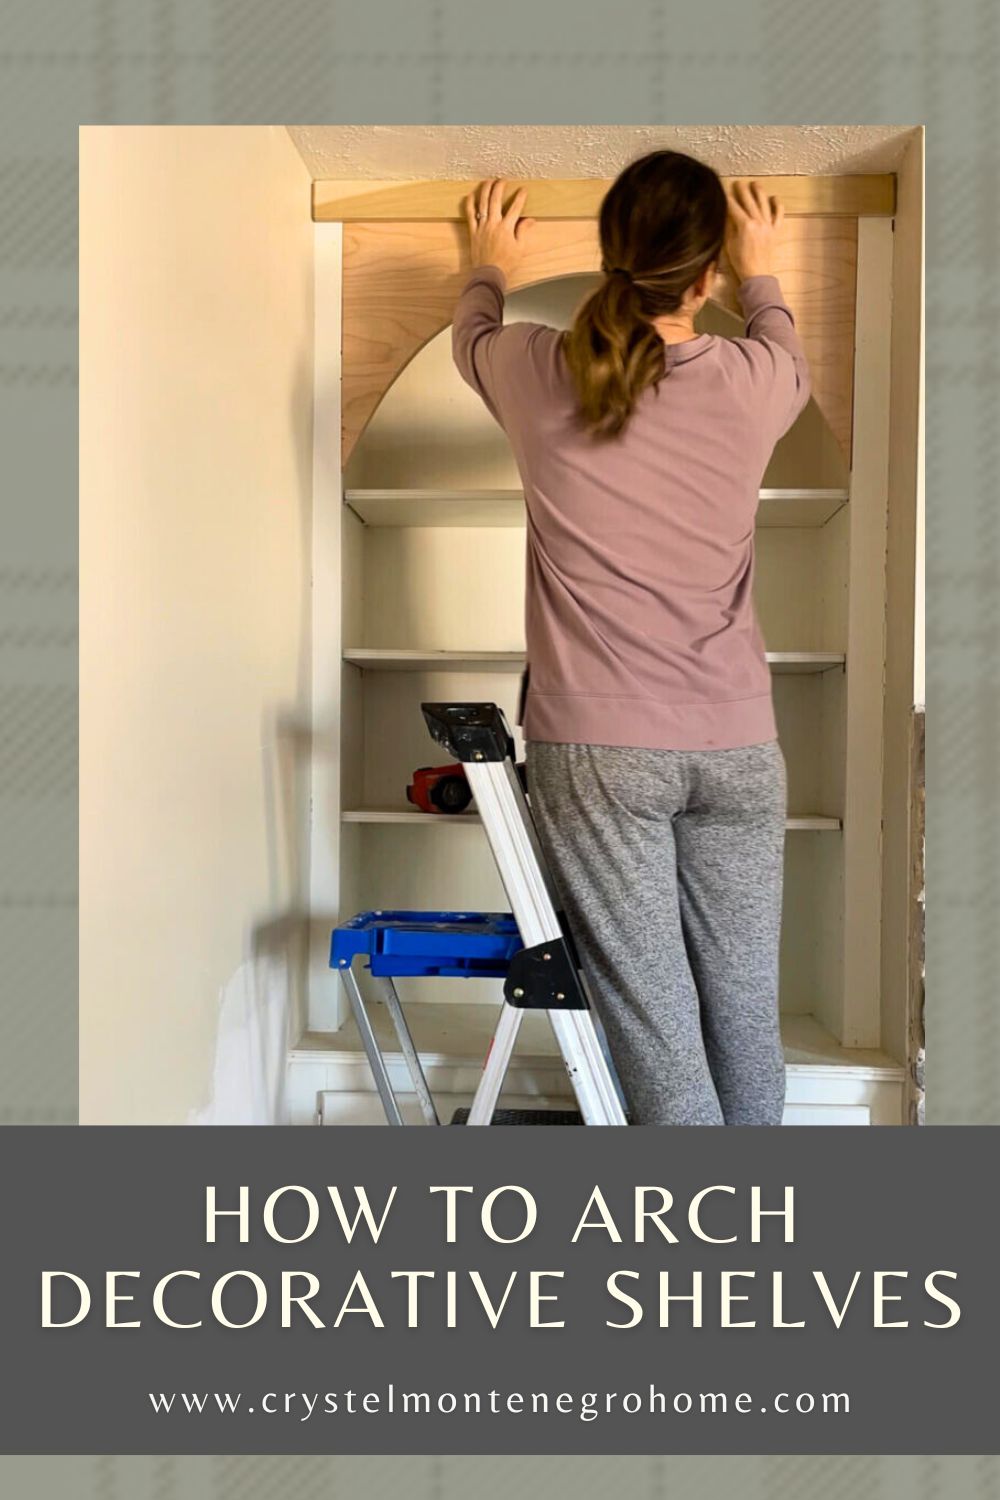
Now my arches were ready to install on the shelves using my brad nailer.

Finally, to cover small gaps at the top and help these shelves look cohesive with the rest of my house, I added a piece of trim at the top, just like I did to my kitchen cabinets.

Step Three: Paint the Living Room Shelves
Before painting, I did a bit of prep work. First, I caulked around the trim piece I added. Then, I used wood filler to fill in all the brad nail holes and the seam between my arch insert and the side of the shelf. Once it’s painted, I want it to look like one solid piece of wood.

Once the wood filler was dry, I sanded it smooth and gave the rest of the living room shelves a good sanding too. Sanding helps the paint adhere better and creates a more even finish.
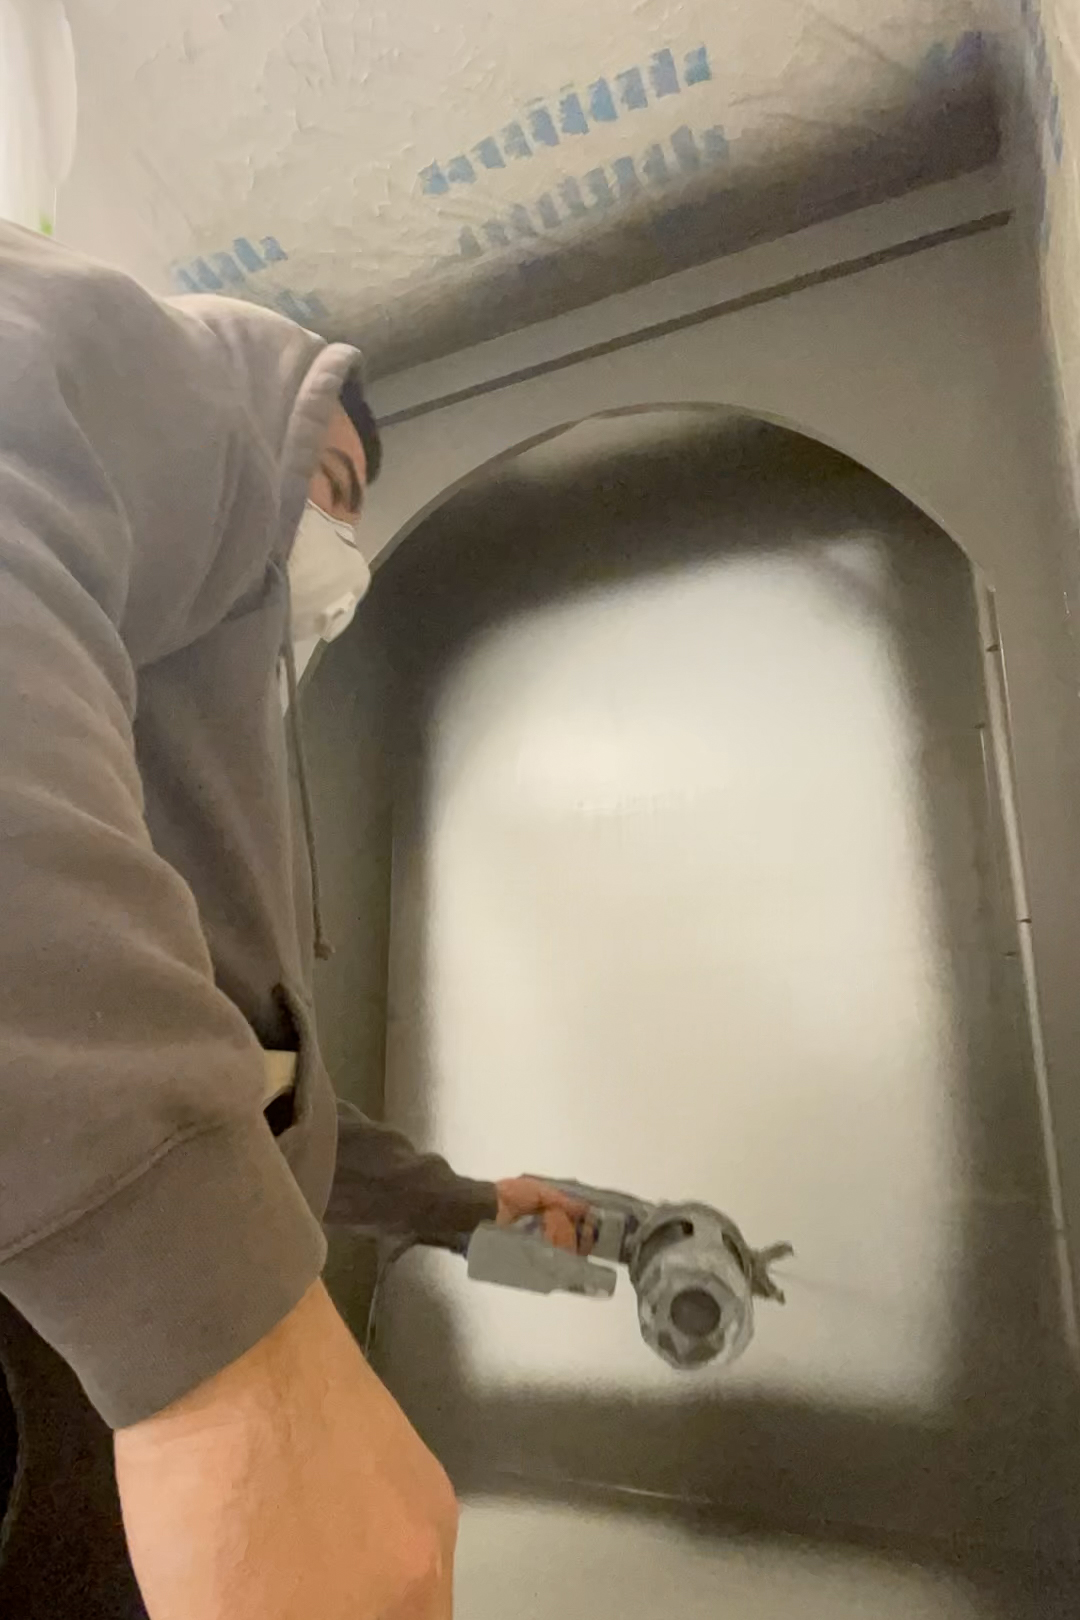
Since I was using my paint sprayer for these living room shelves, I masked off everything I didn’t want the paint to get on. I’m a big fan of pre-taped plastic for this kind of job. Pairing it with some plastic drop cloths, we created a nice enclosed area to paint these built-ins and contain the mess.


My husband, Stuart, helped me paint these shelves. I love our paint sprayer—it can spray in any direction, perfect for getting into every nook and cranny of a shelf or cabinet.
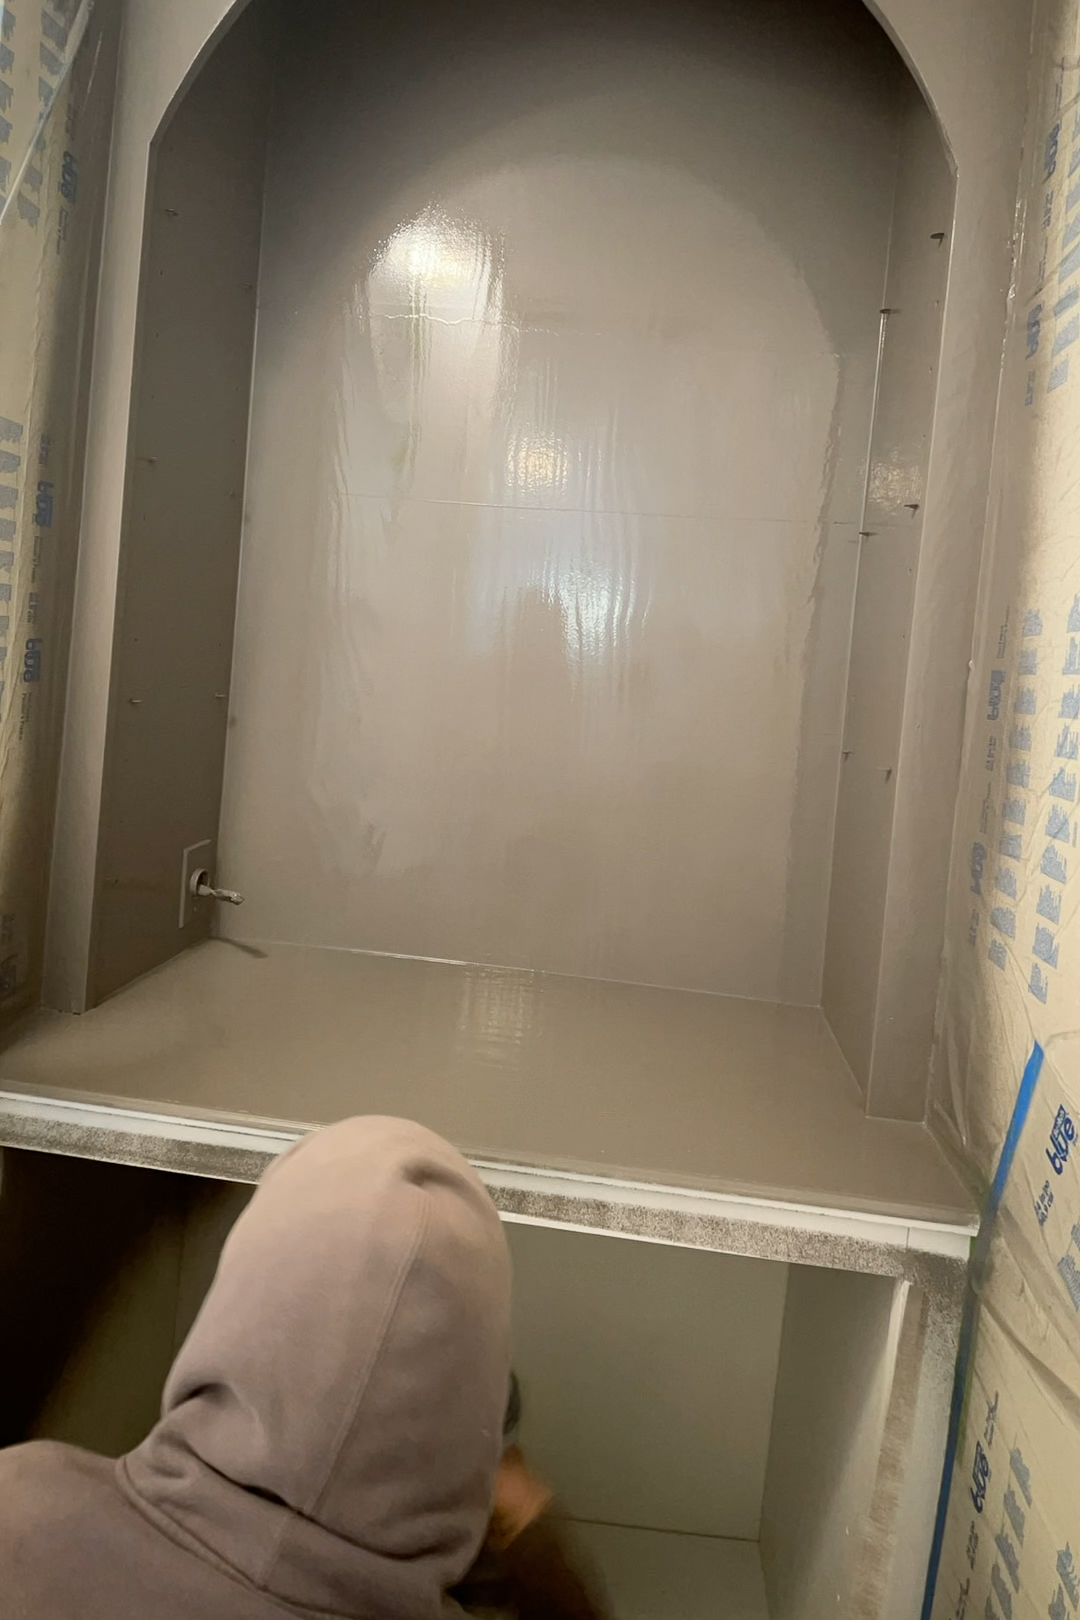
As you can see in the photo above, we removed all the individual shelves and cabinet doors and painted them separately outside. I’ve got a system for painting shelves and cabinet doors by hanging them. You can check out the full tutorial here.

The dark grey we painted on the living room shelves is a custom color. I used the same paint for my kitchen island and pantry shelves. If you want this color, just show this photo at the paint counter.
How to Get Perfectly Crisp Paint Lines
When we sprayed the living room shelves, some paint managed to sneak under the tape despite careful masking. But I’ve got a trick for getting those perfectly crisp paint lines.

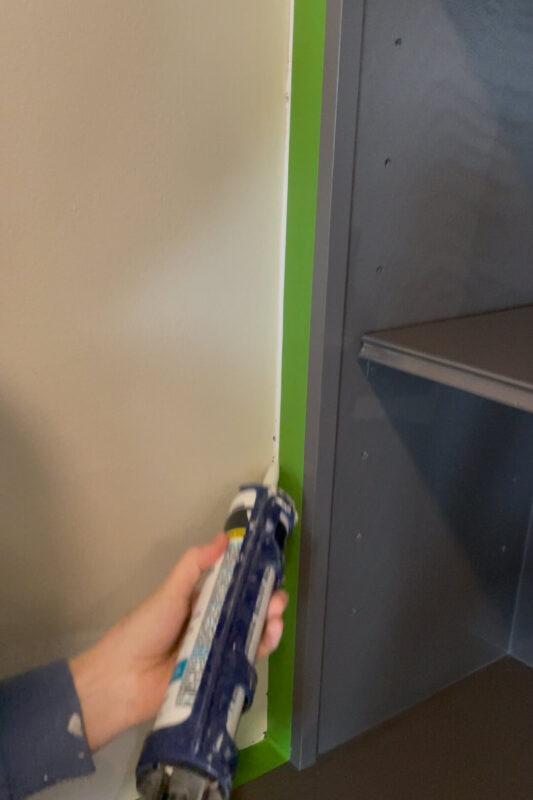
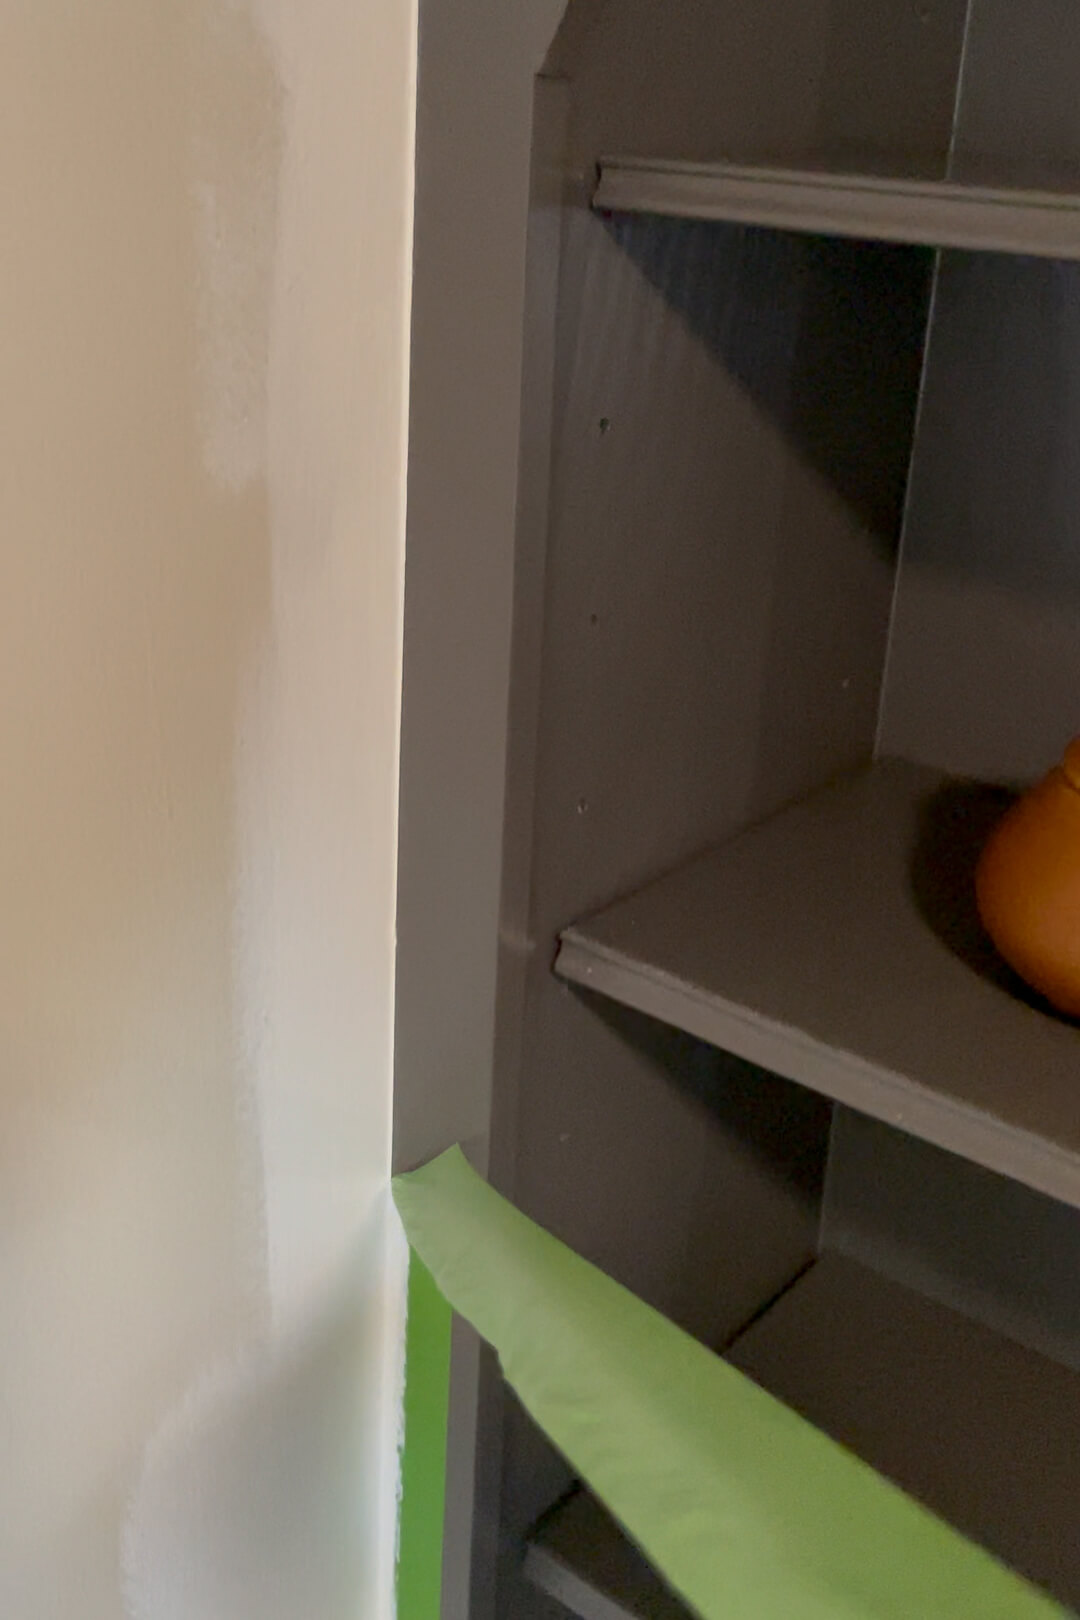
First, I masked the freshly painted living room shelves, then applied caulk along the line where the shelf meets the wall. Caulking is easy—the caulk gun dispenses a thin bead, and you can smooth it by wiping it with a baby wipe or your finger.

Once the caulk dried, I painted over the line and out onto the wall a bit. I used Alabaster by Sherwin Williams, the neutral white I’ll be painting all of the living room walls.

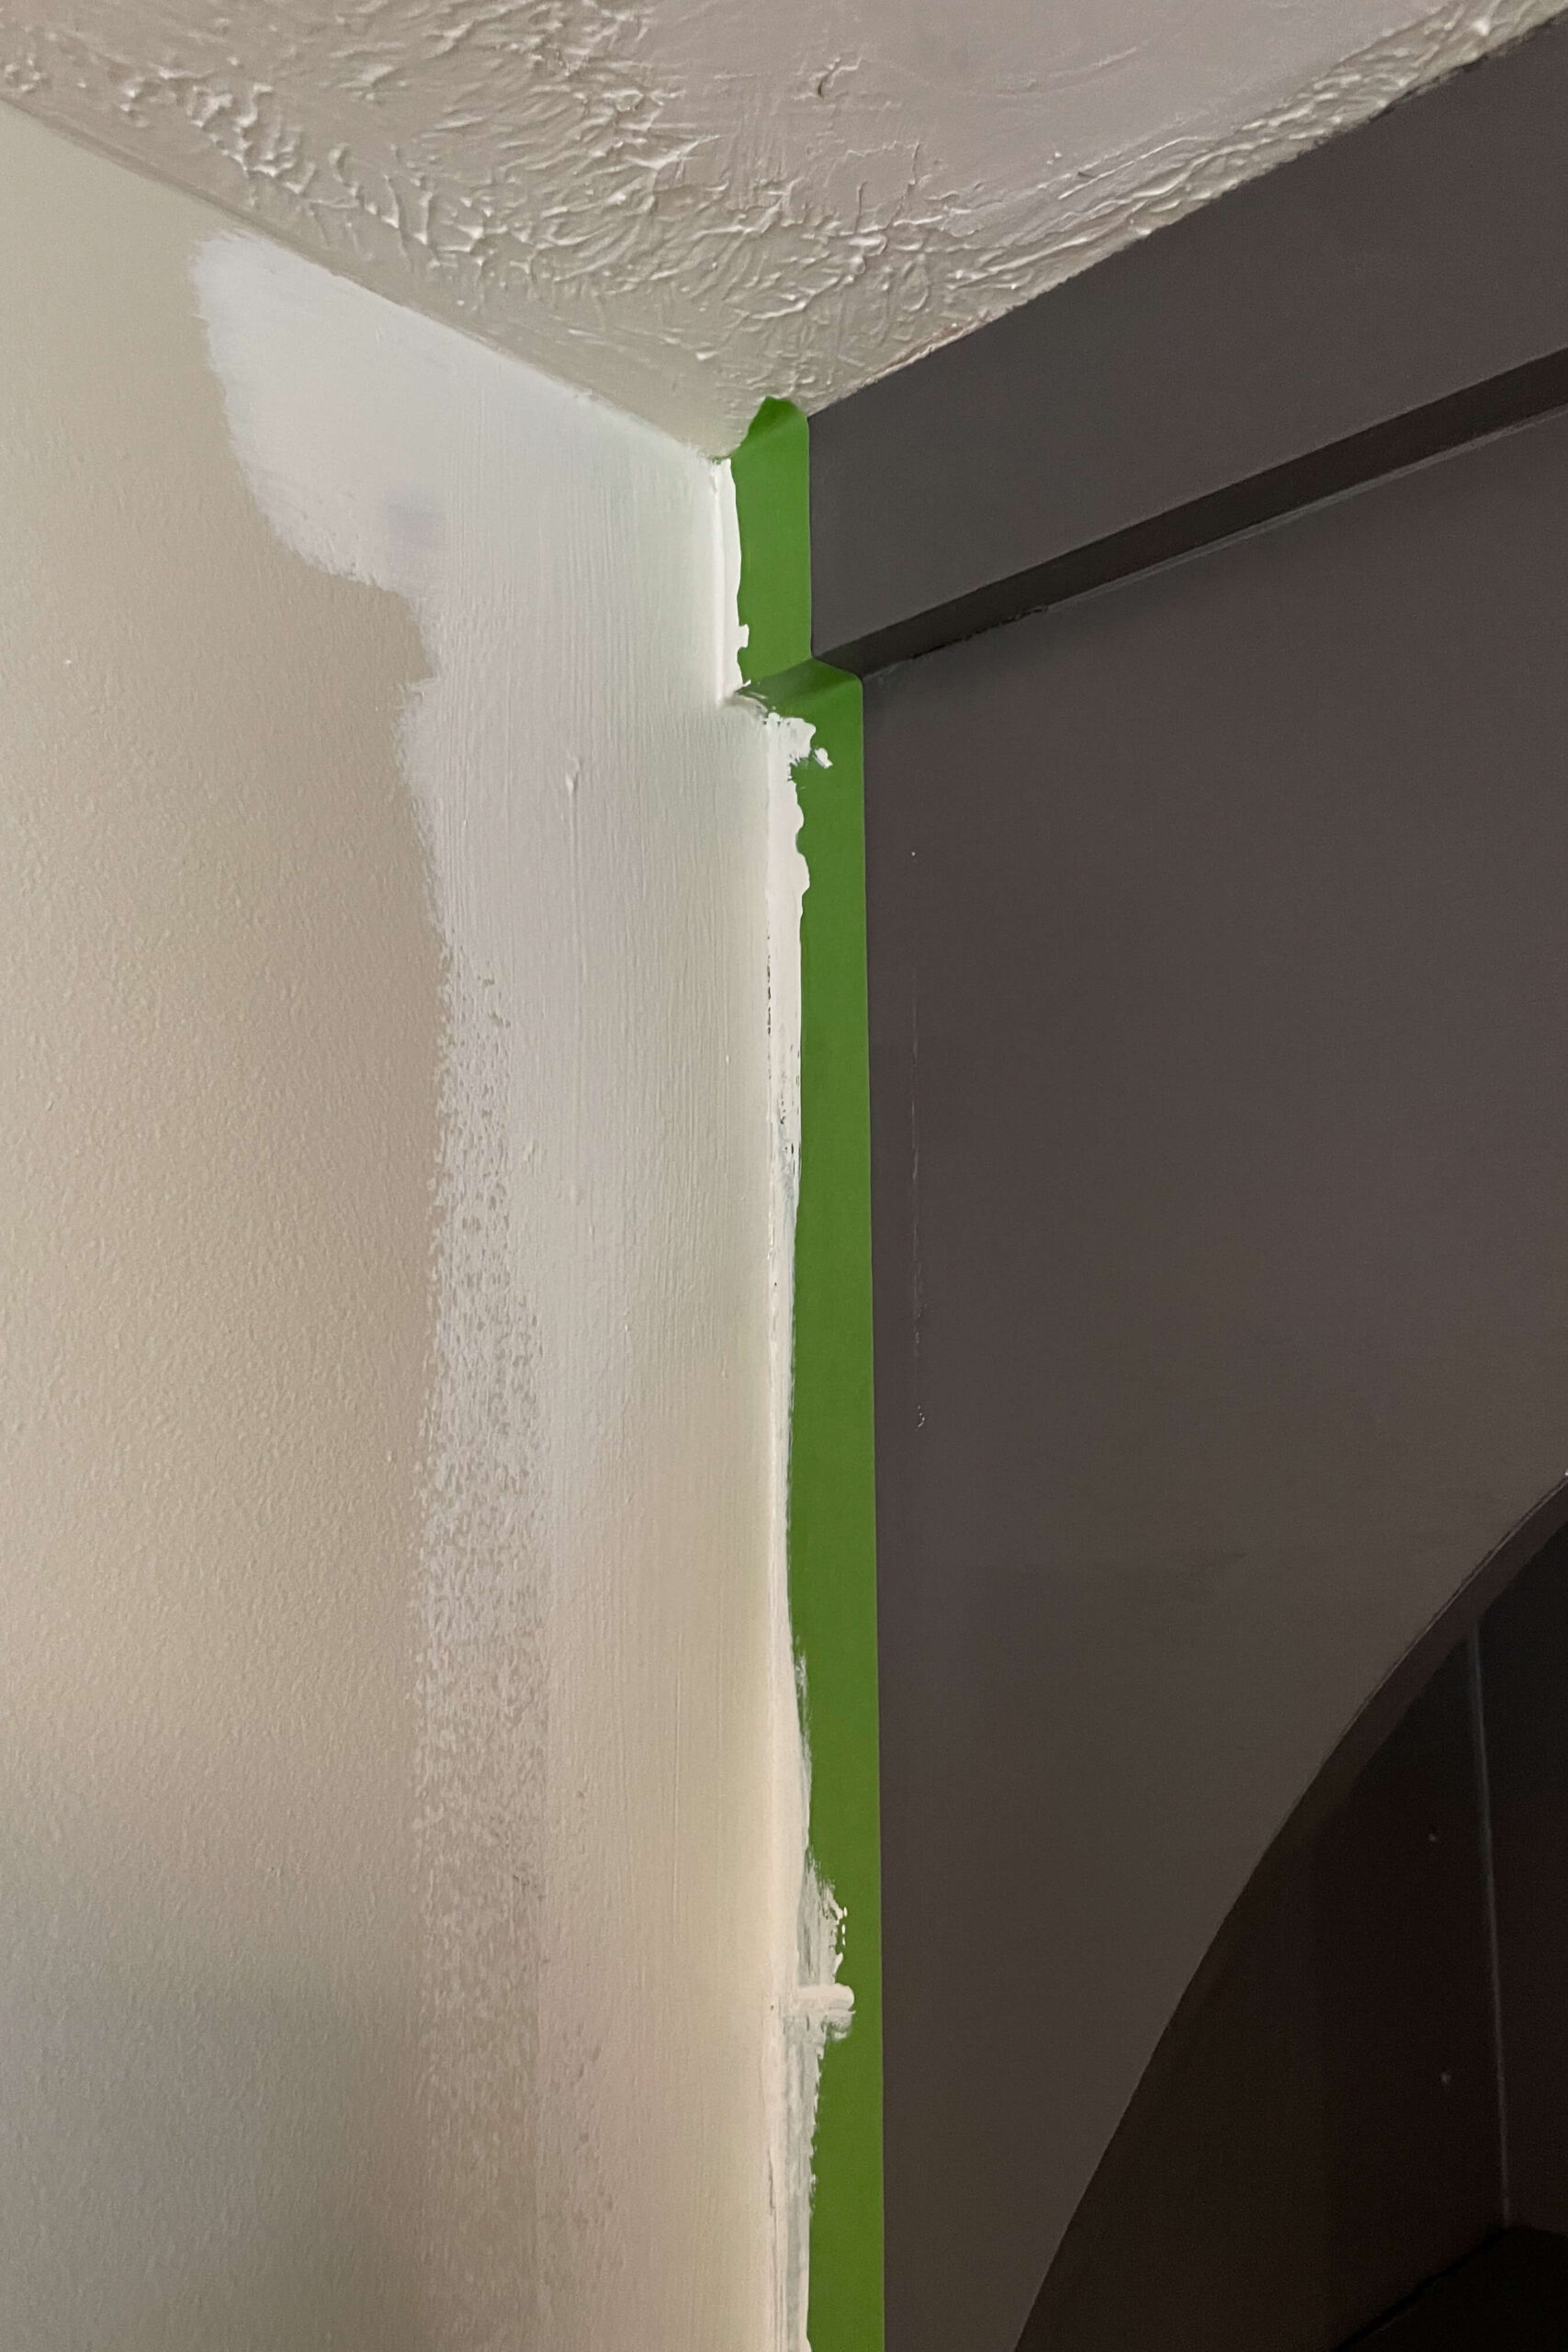
And now for the reveal! When we peeled back the tape, we had a perfectly crisp paint line. It makes me so happy! Does anyone else love pulling off painter’s tape at the end of a project? So satisfying!
All that was left was to finish painting the living room walls and style these shelves.
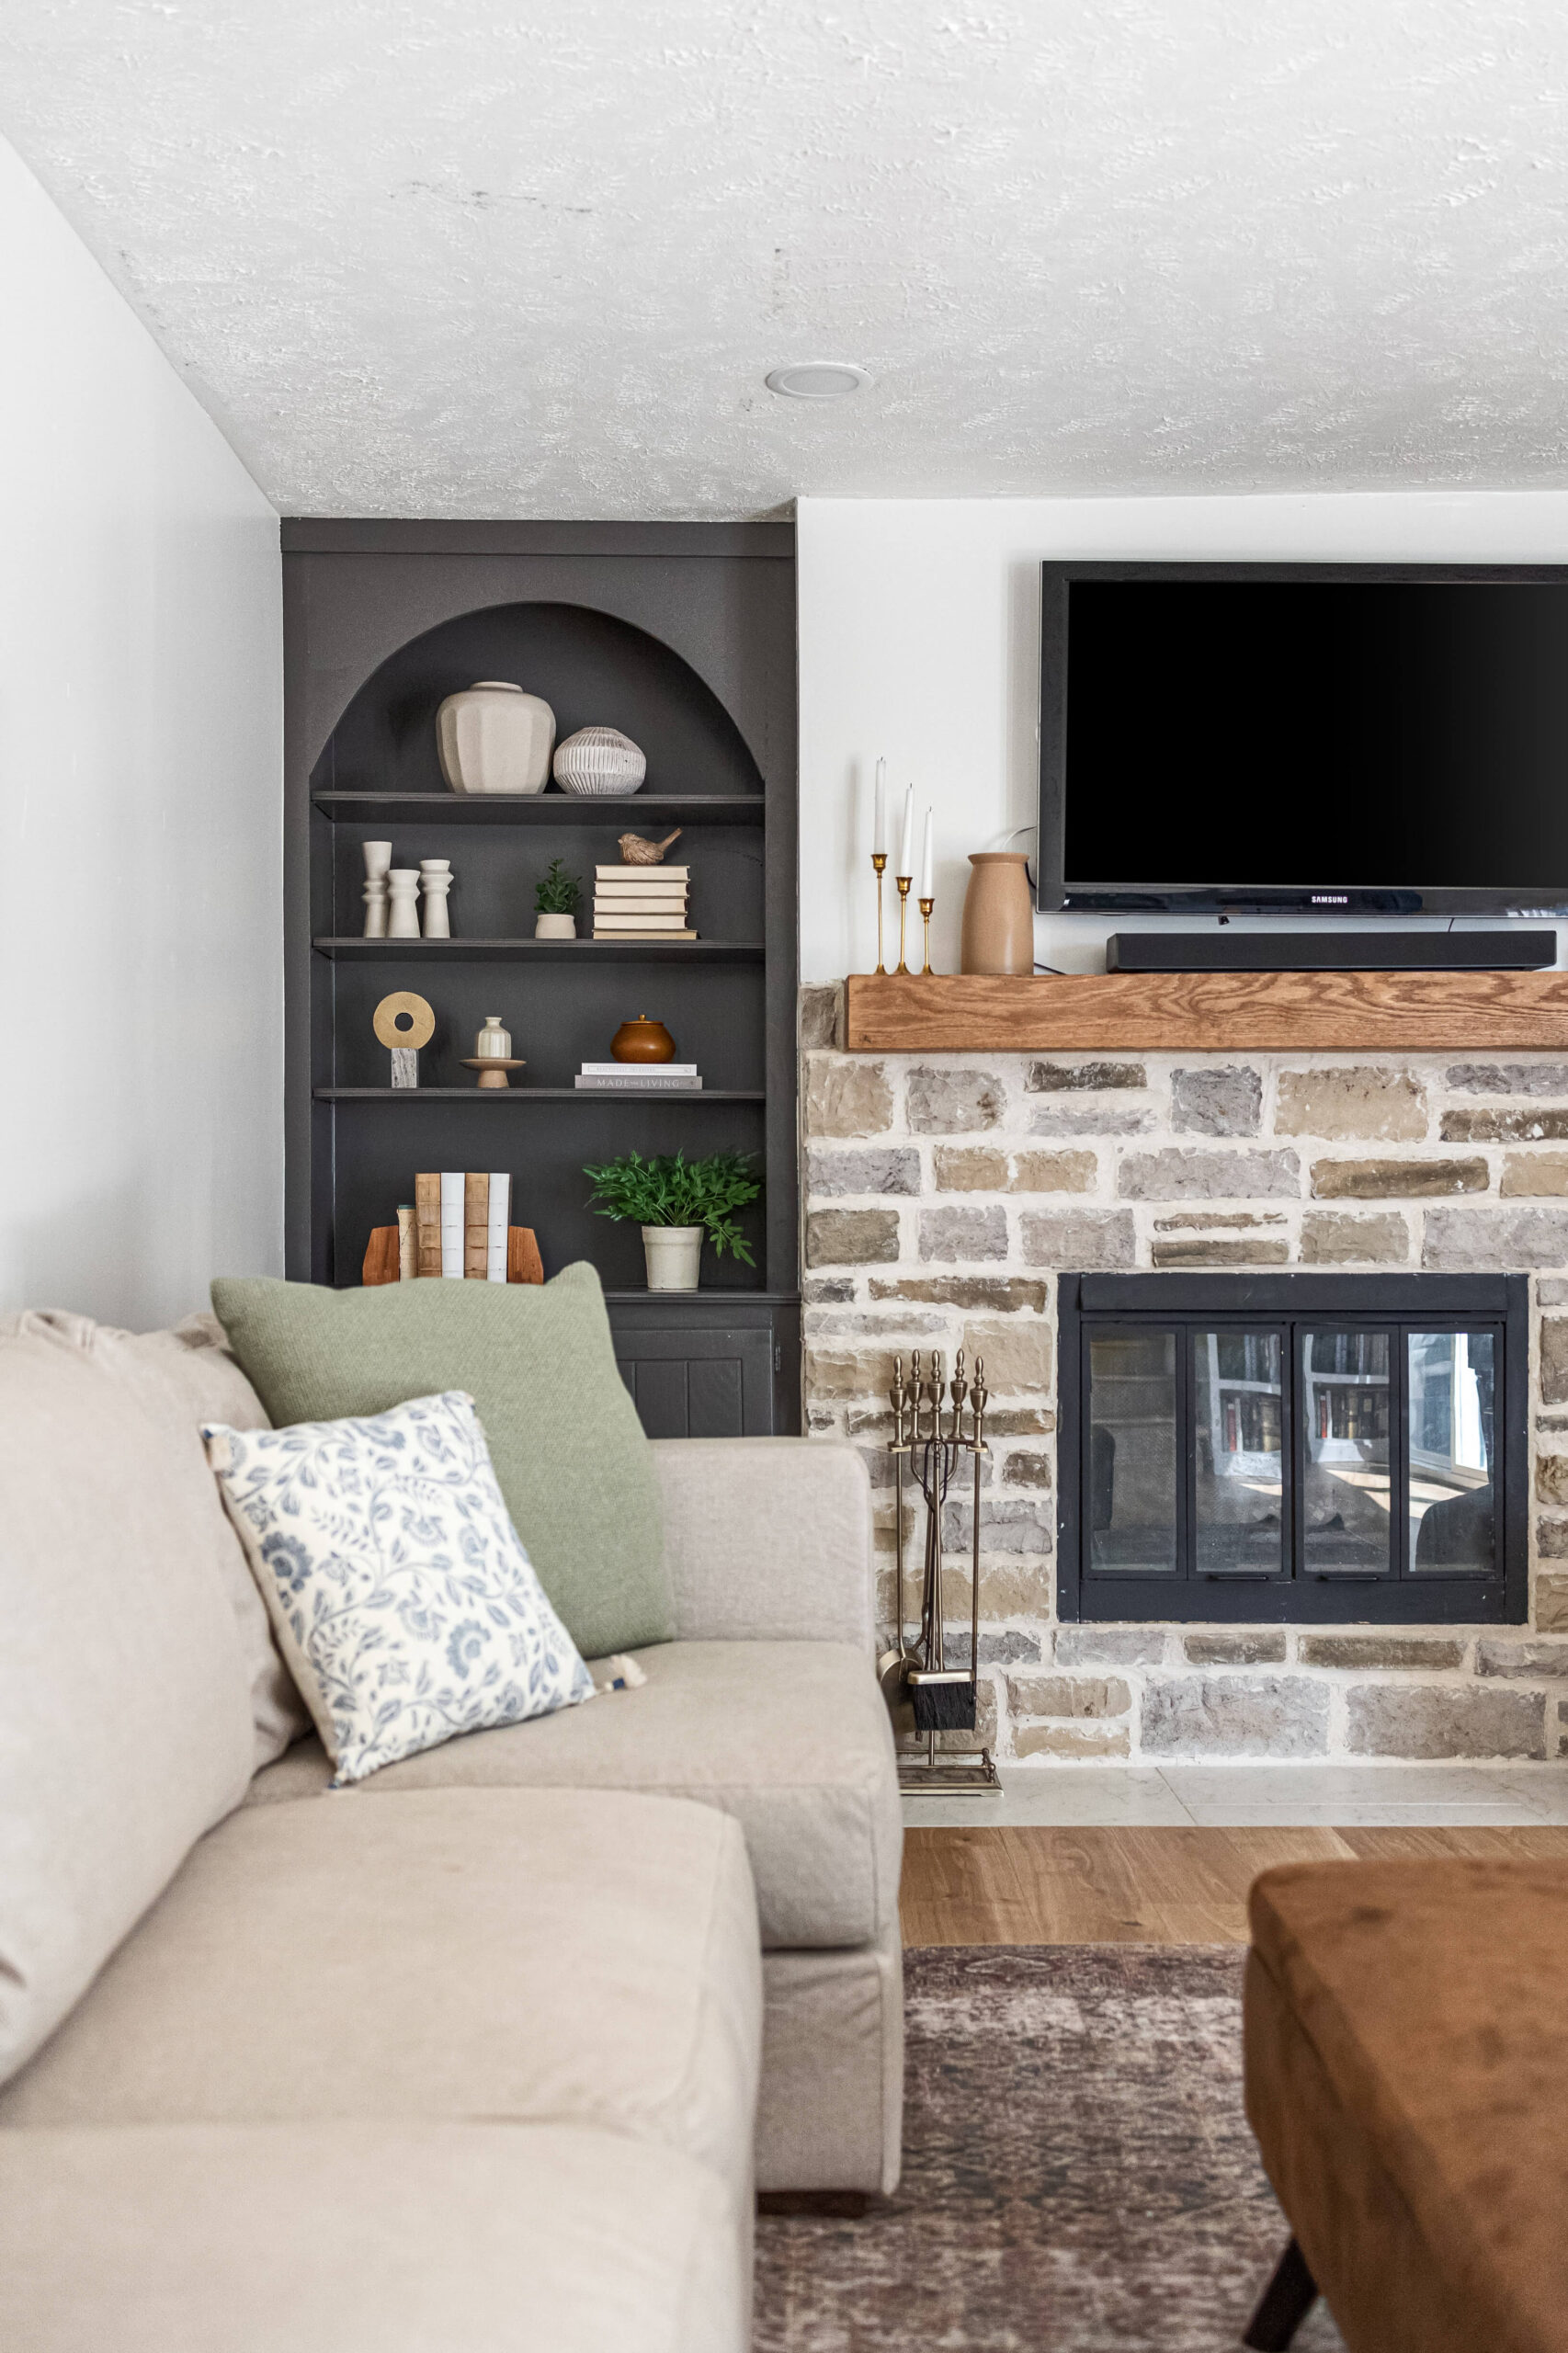
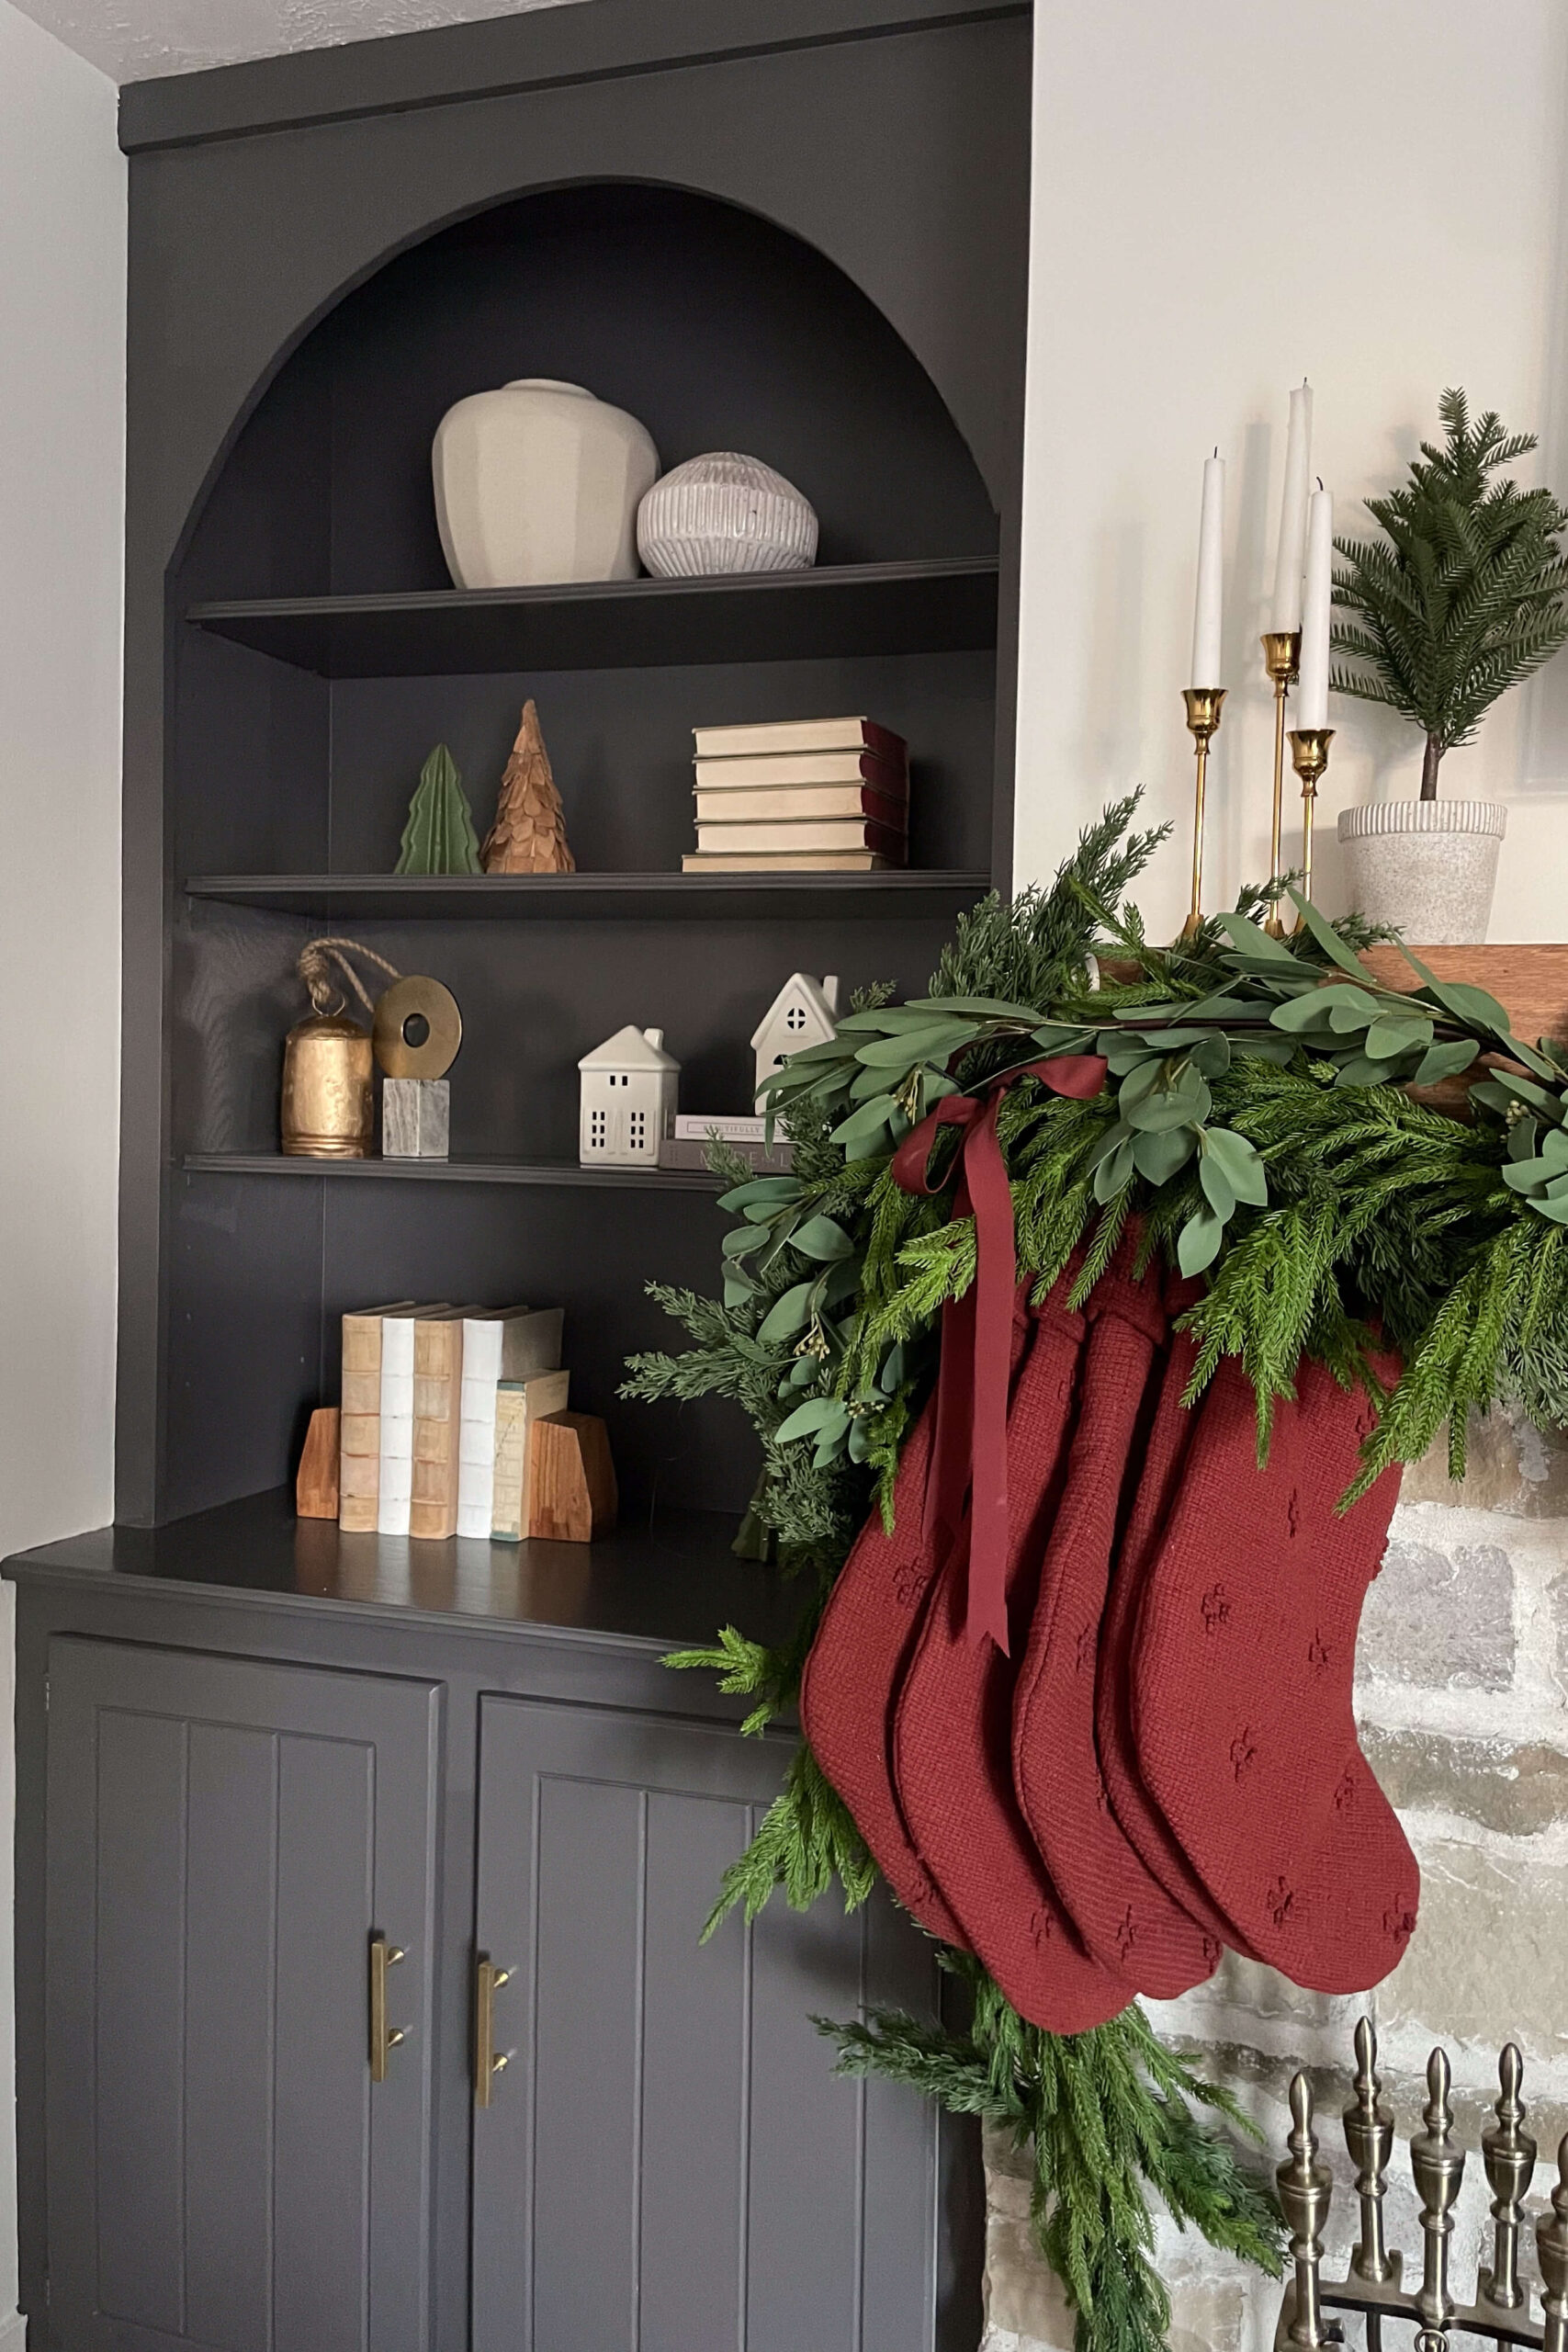
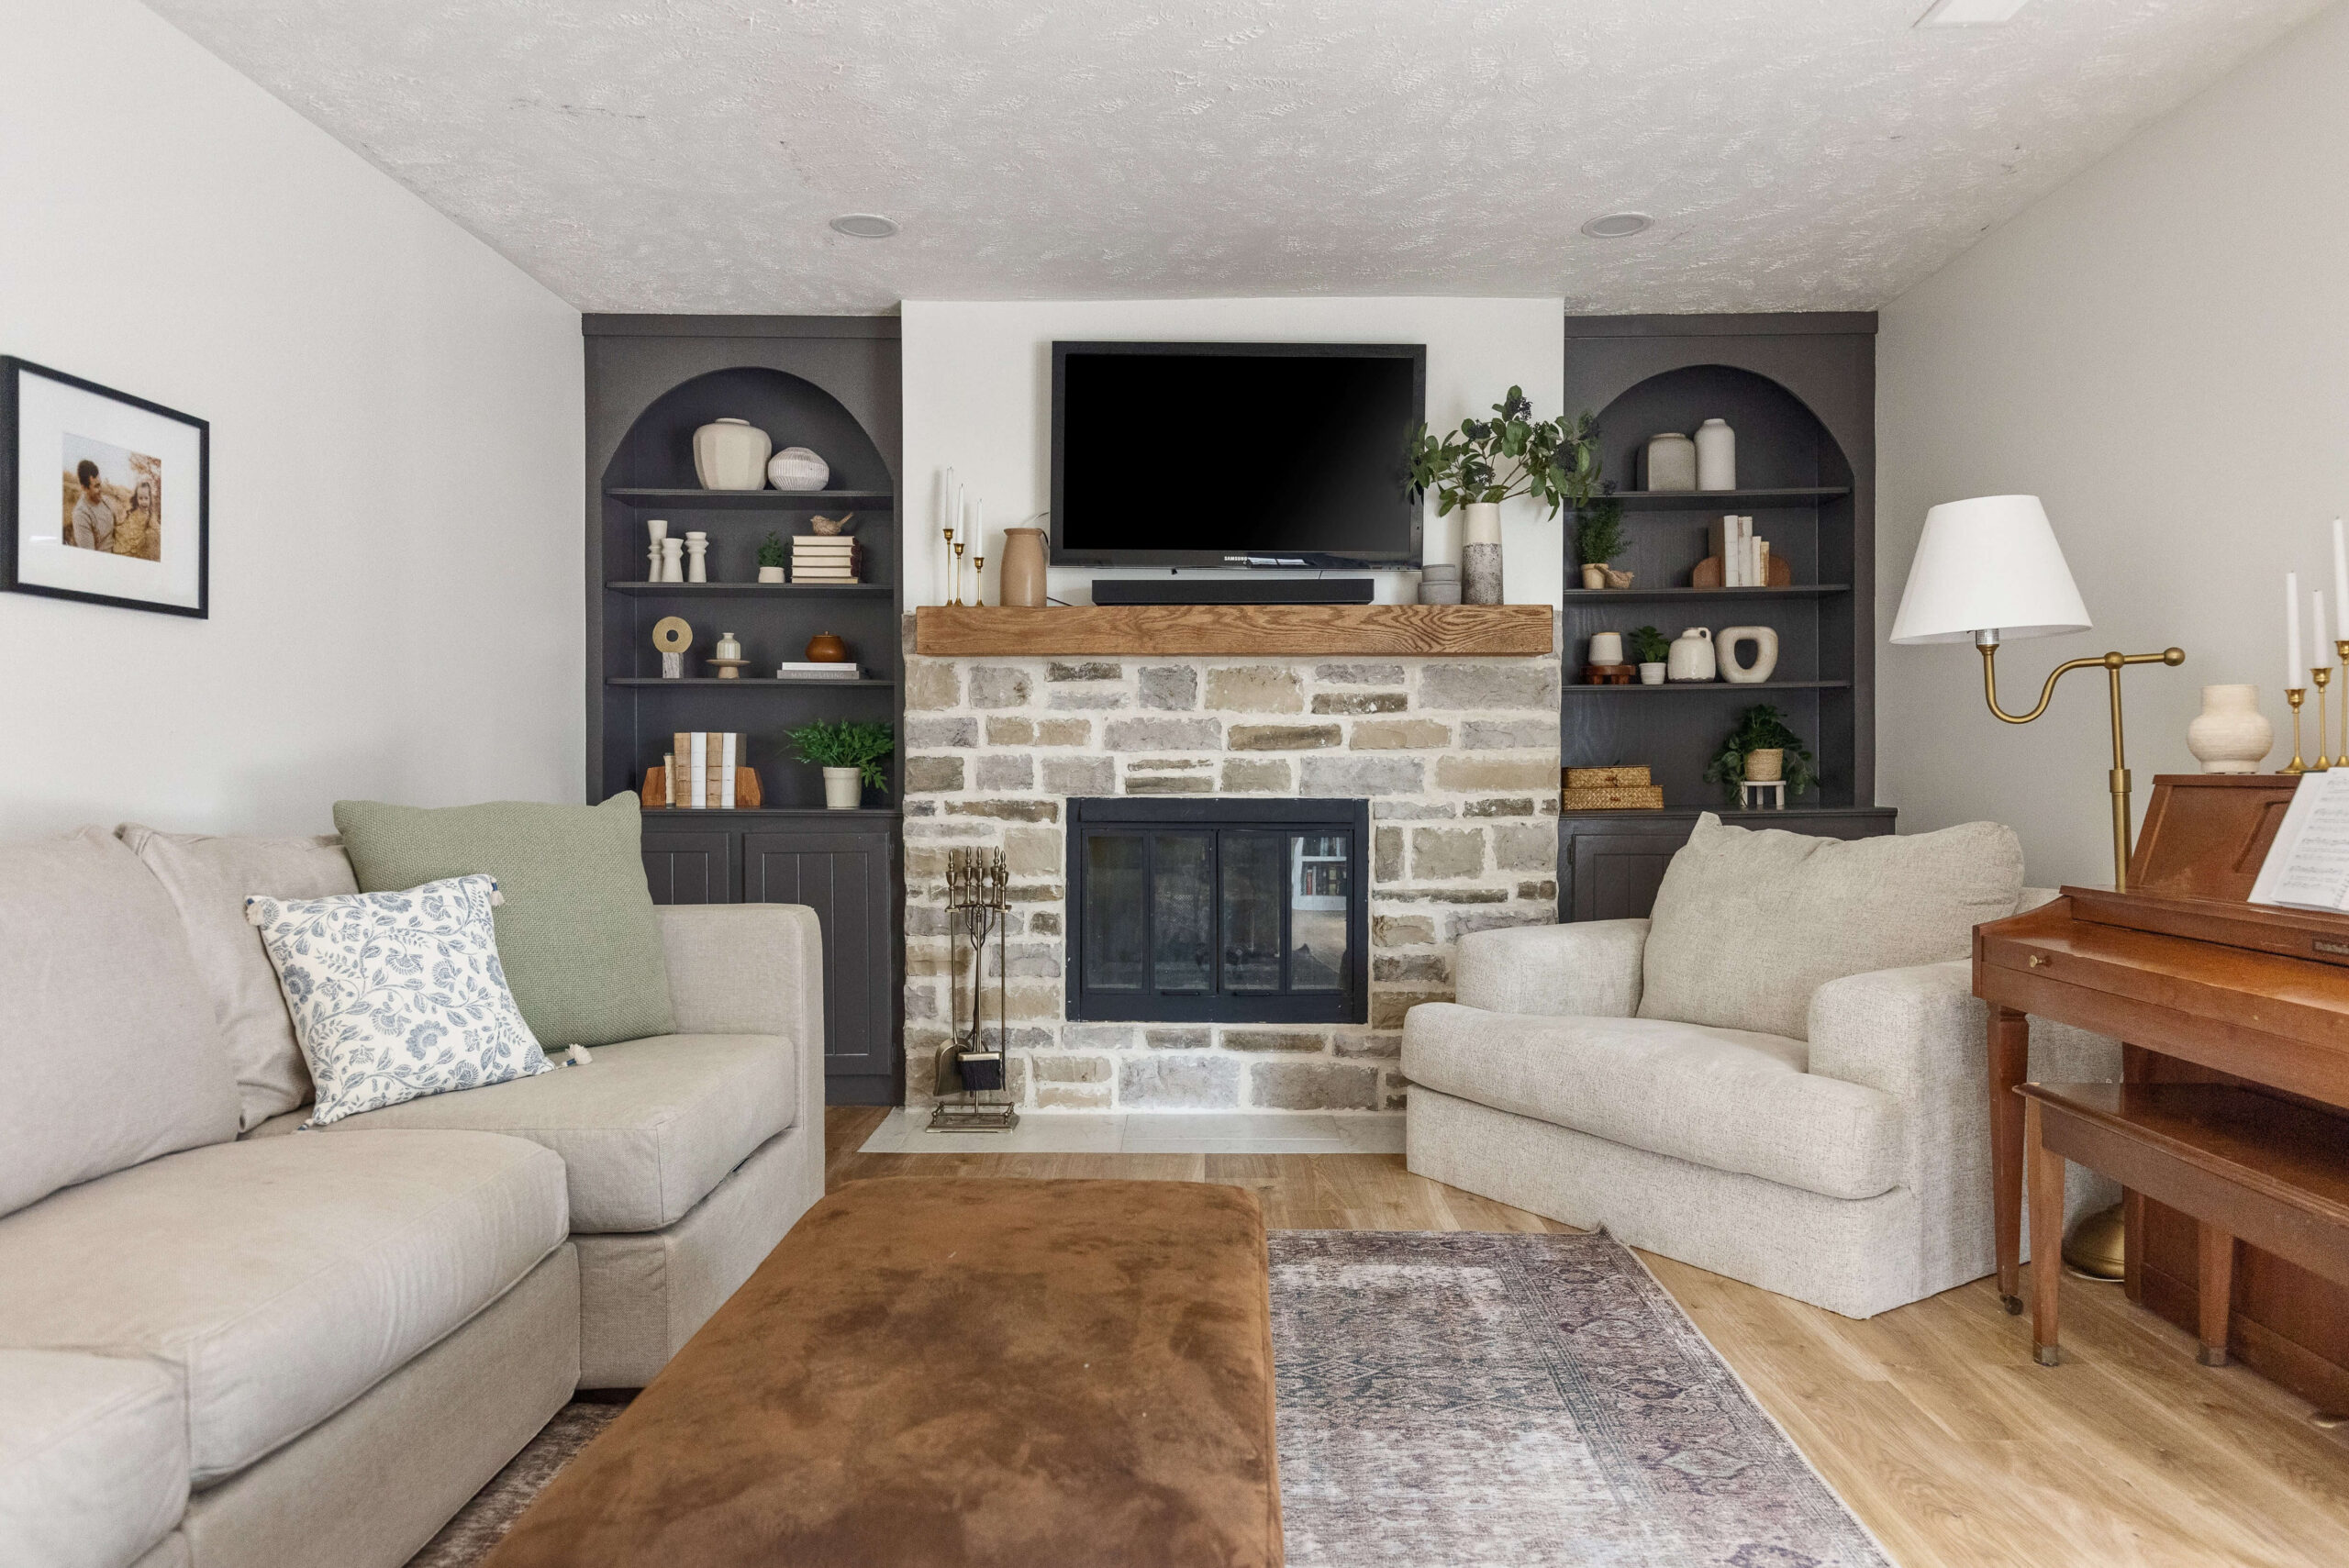
And here’s the after photo! I can’t believe the transformation of these living room shelves. It’s amazing how much more modern these built-ins look just by changing the arch and painting them a nice dark grey.
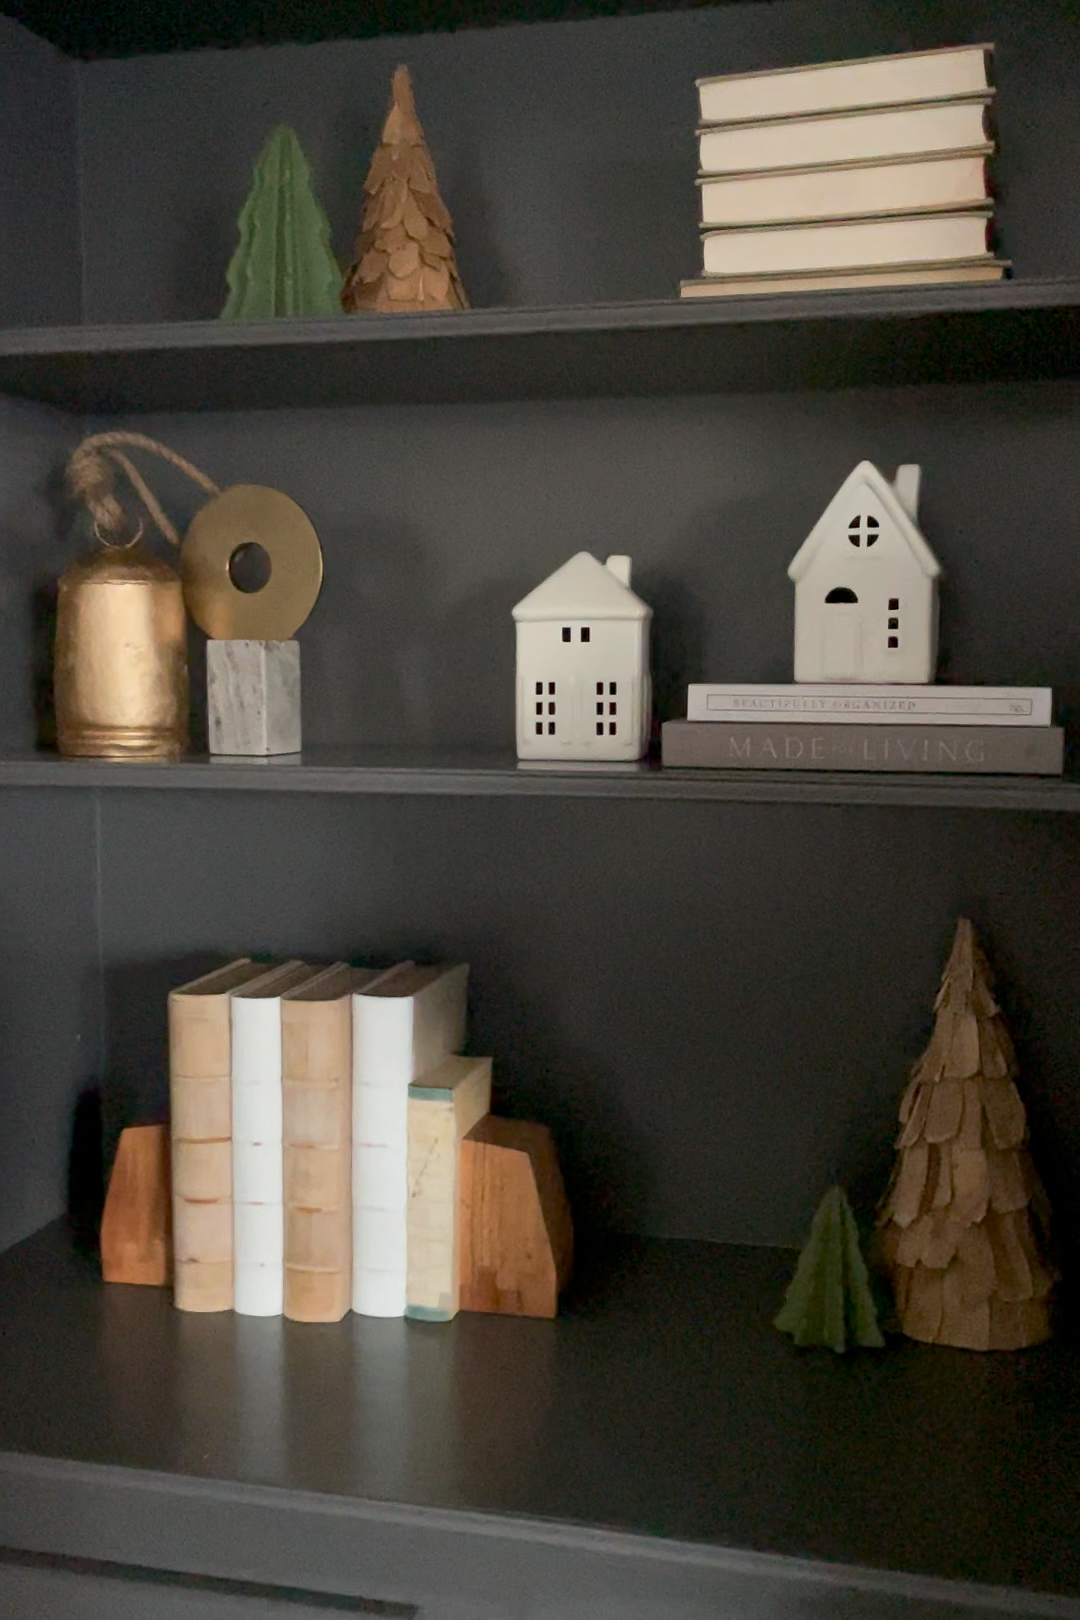
I love decorating these living room shelves throughout the seasons. Just by changing a few pieces, I was able to easily give them a Christmasy feel.
One more look at the before photo, just to remind you how far this living room has come. Updating the fireplace to a modern-style stone also majorly helped!
I love our living room now! Want links to anything you see? I have it all posted for you here.
I have done arches in a few different places in my home, including my pantry doorway. Arching a doorway is not difficult at all, and I have a full, easy-to-follow tutorial here.