How to Install Traditional Wallpaper with Paste


Updated August 7, 2025
Let’s talk traditional wallpaper. It might feel like a throwback, but there’s a reason it’s stuck around. It’s classic, timeless, and gives any room a polished designer feel. While peel and stick wallpaper has become a popular go-to (and I love that option too!), there’s something extra satisfying about doing it the old-school way with paste. It lays smoother, looks cleaner, and adds that high-end finish that’s hard to beat.
If you’ve ever been intimidated by traditional wallpaper because of the paste, don’t worry. With the right tools and a clear plan, you can totally DIY this – even if it’s your first time.
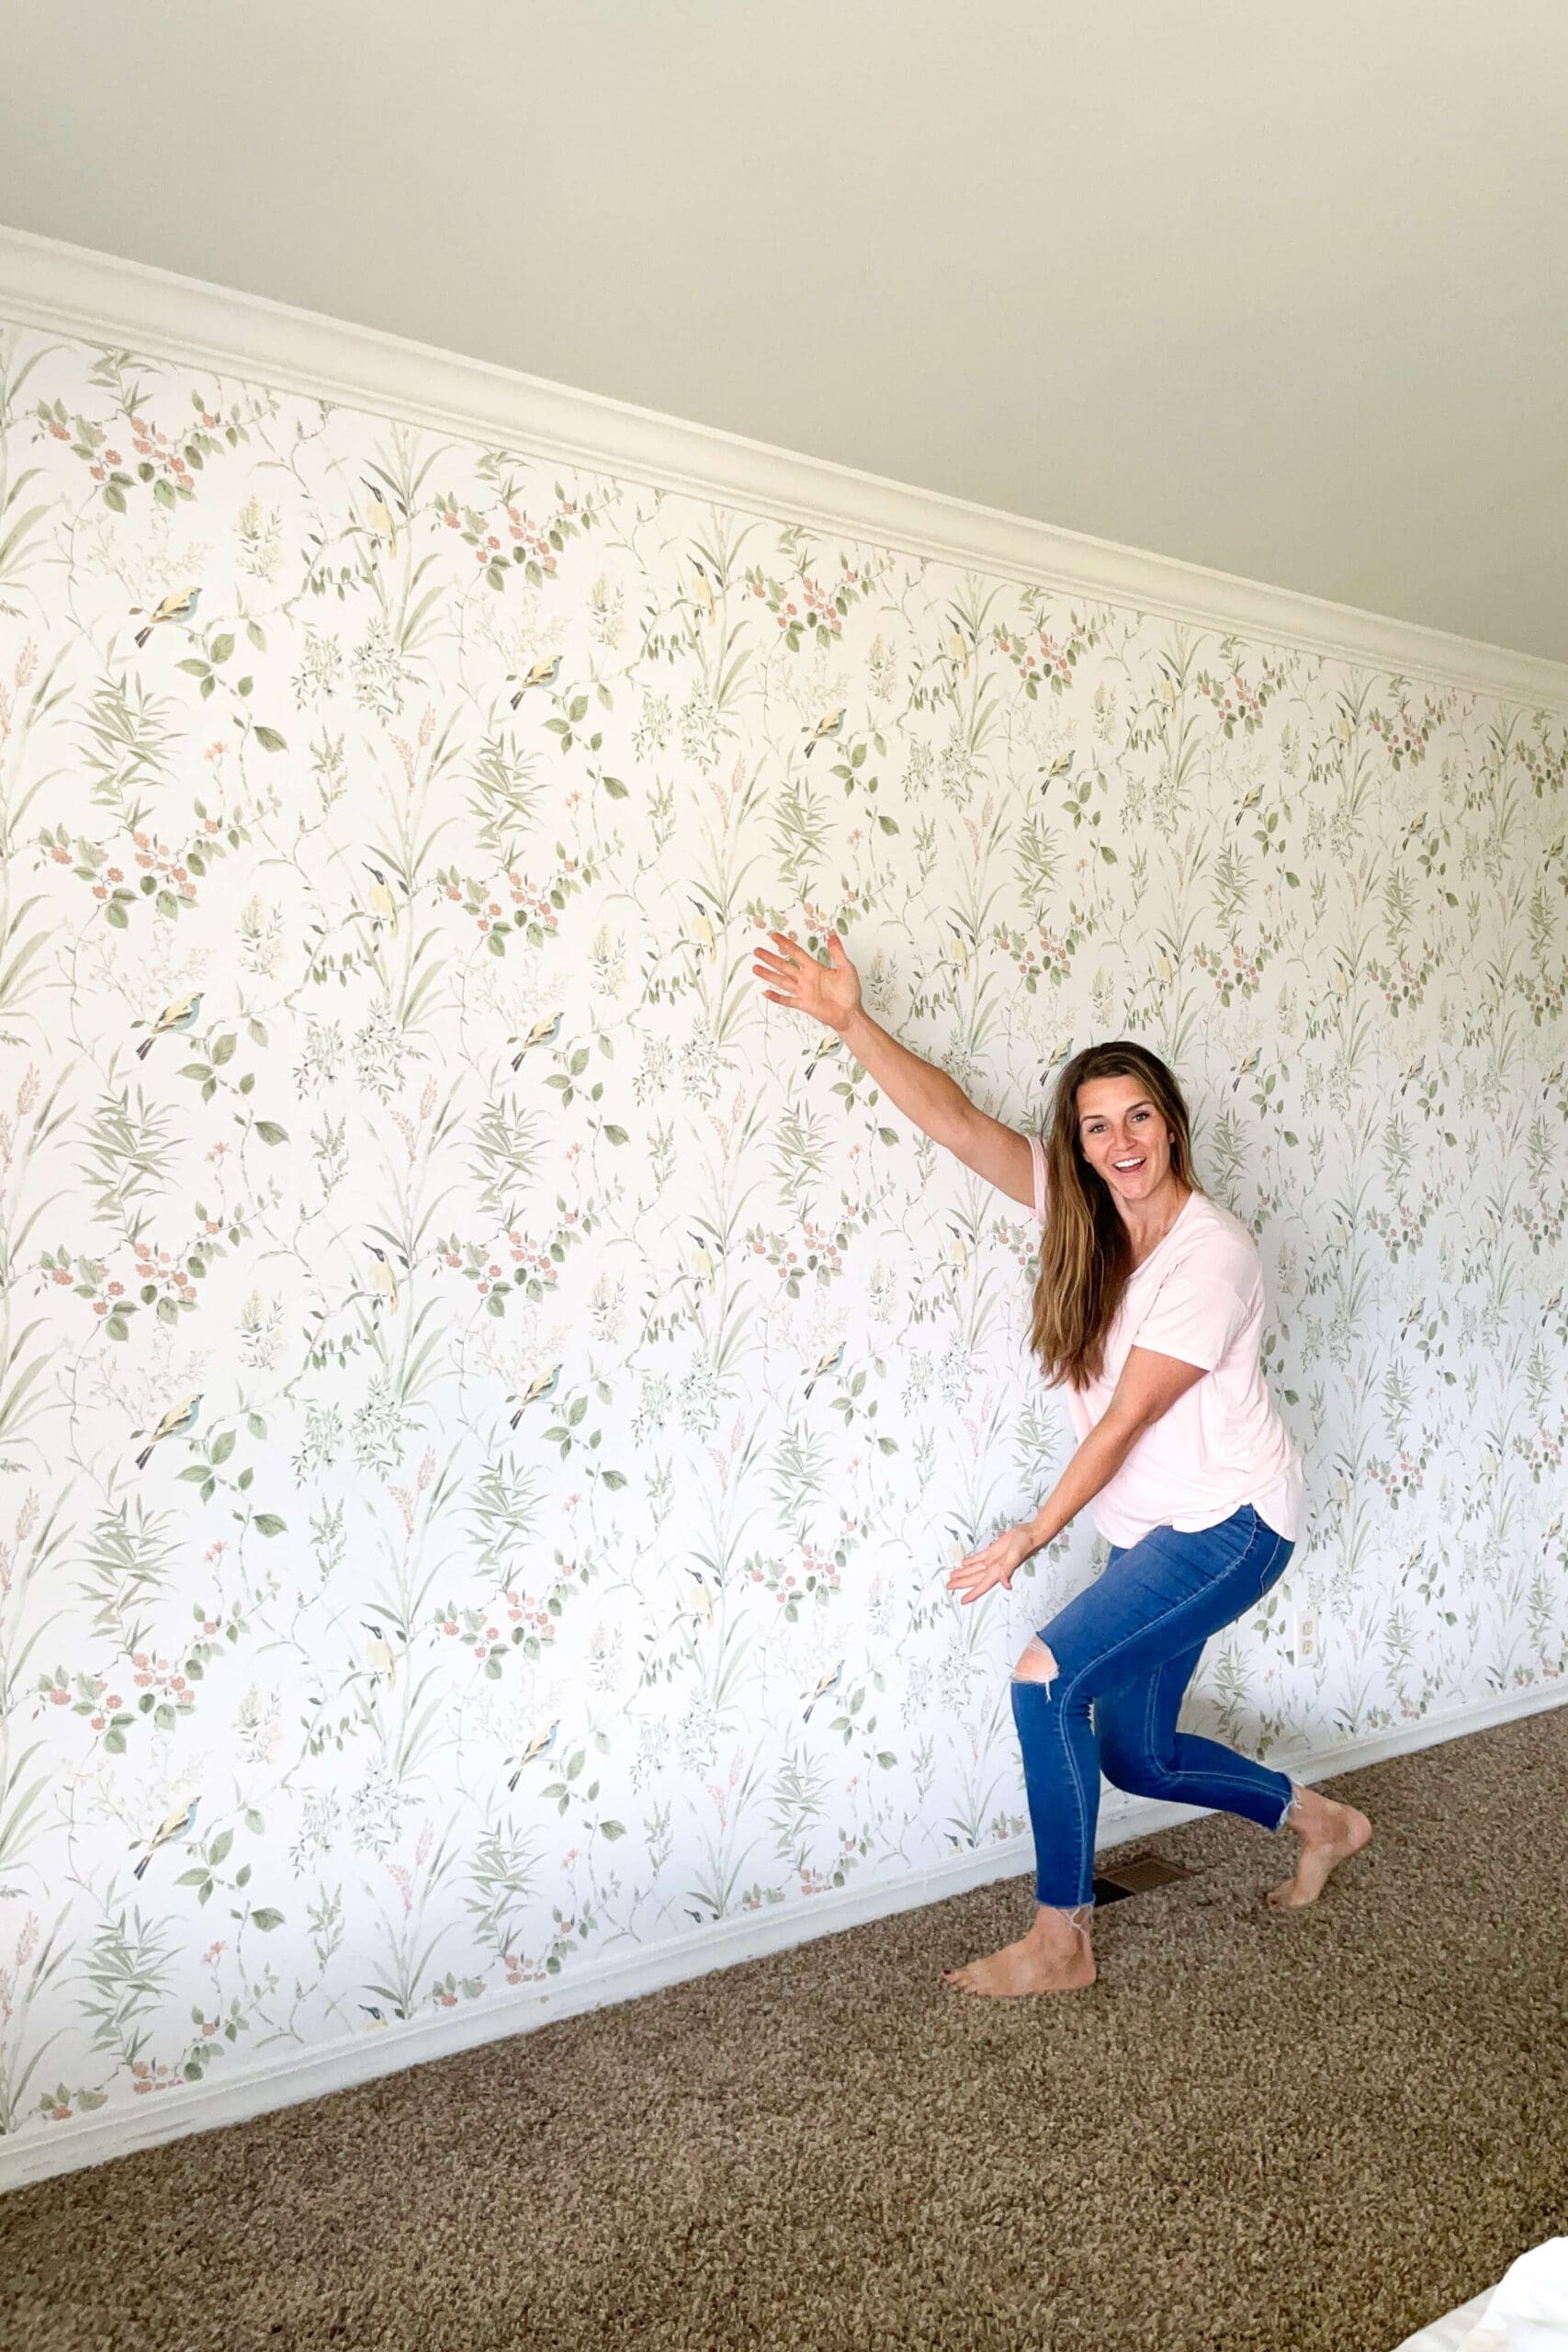
Table of Contents
- What You’ll Need to Install Traditional Wallpaper
- Why I Chose a Traditional Wallpaper Accent Wall
- Step 1: Prime the Wall Before Hanging Wallpaper
- Step 2: How to Align Your First Panel of Traditional Wallpaper
- Step 3: Installing the Remaining Panels
- Step 4: Trimming Wallpaper Edges and Corners
- Traditional Wallpaper: The Final Reveal
- More Wallpaper Tutorials to Try
- 📌 Pin This Traditional Wallpaper Tutorial for Later
- FAQ: Installing Traditional Wallpaper
What You’ll Need to Install Traditional Wallpaper
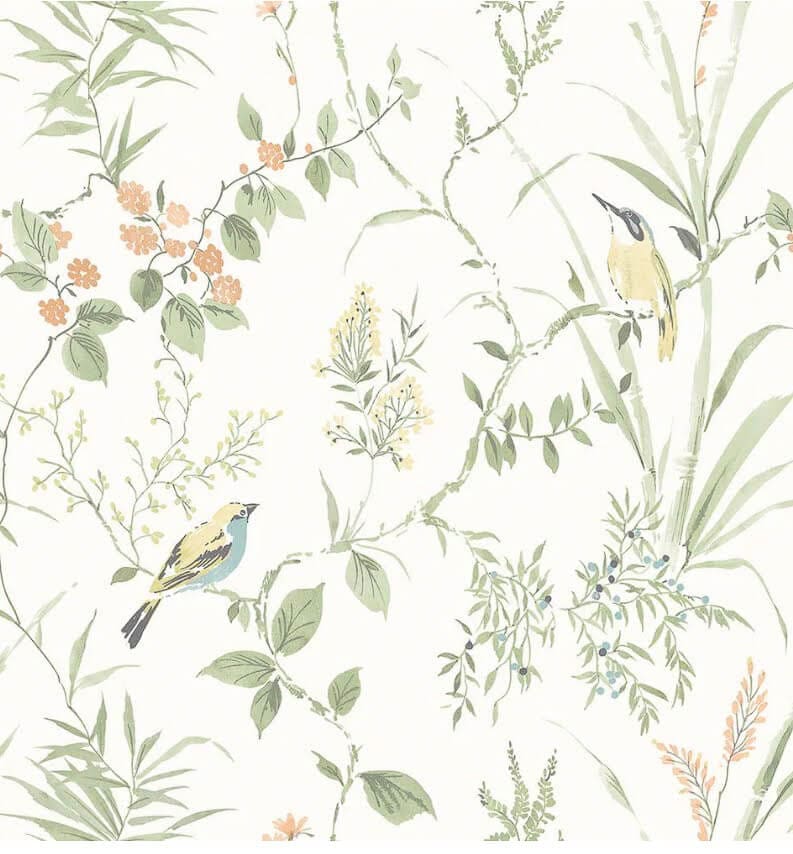
- Wallpaper (I used this one)
- Wallpaper paste
- Roller frame
- Roller sleeves
- Roller tray
- Wallpaper smoothing tool
- Utility knife
- Laser level
- Step stool or ladder
Why I Chose a Traditional Wallpaper Accent Wall
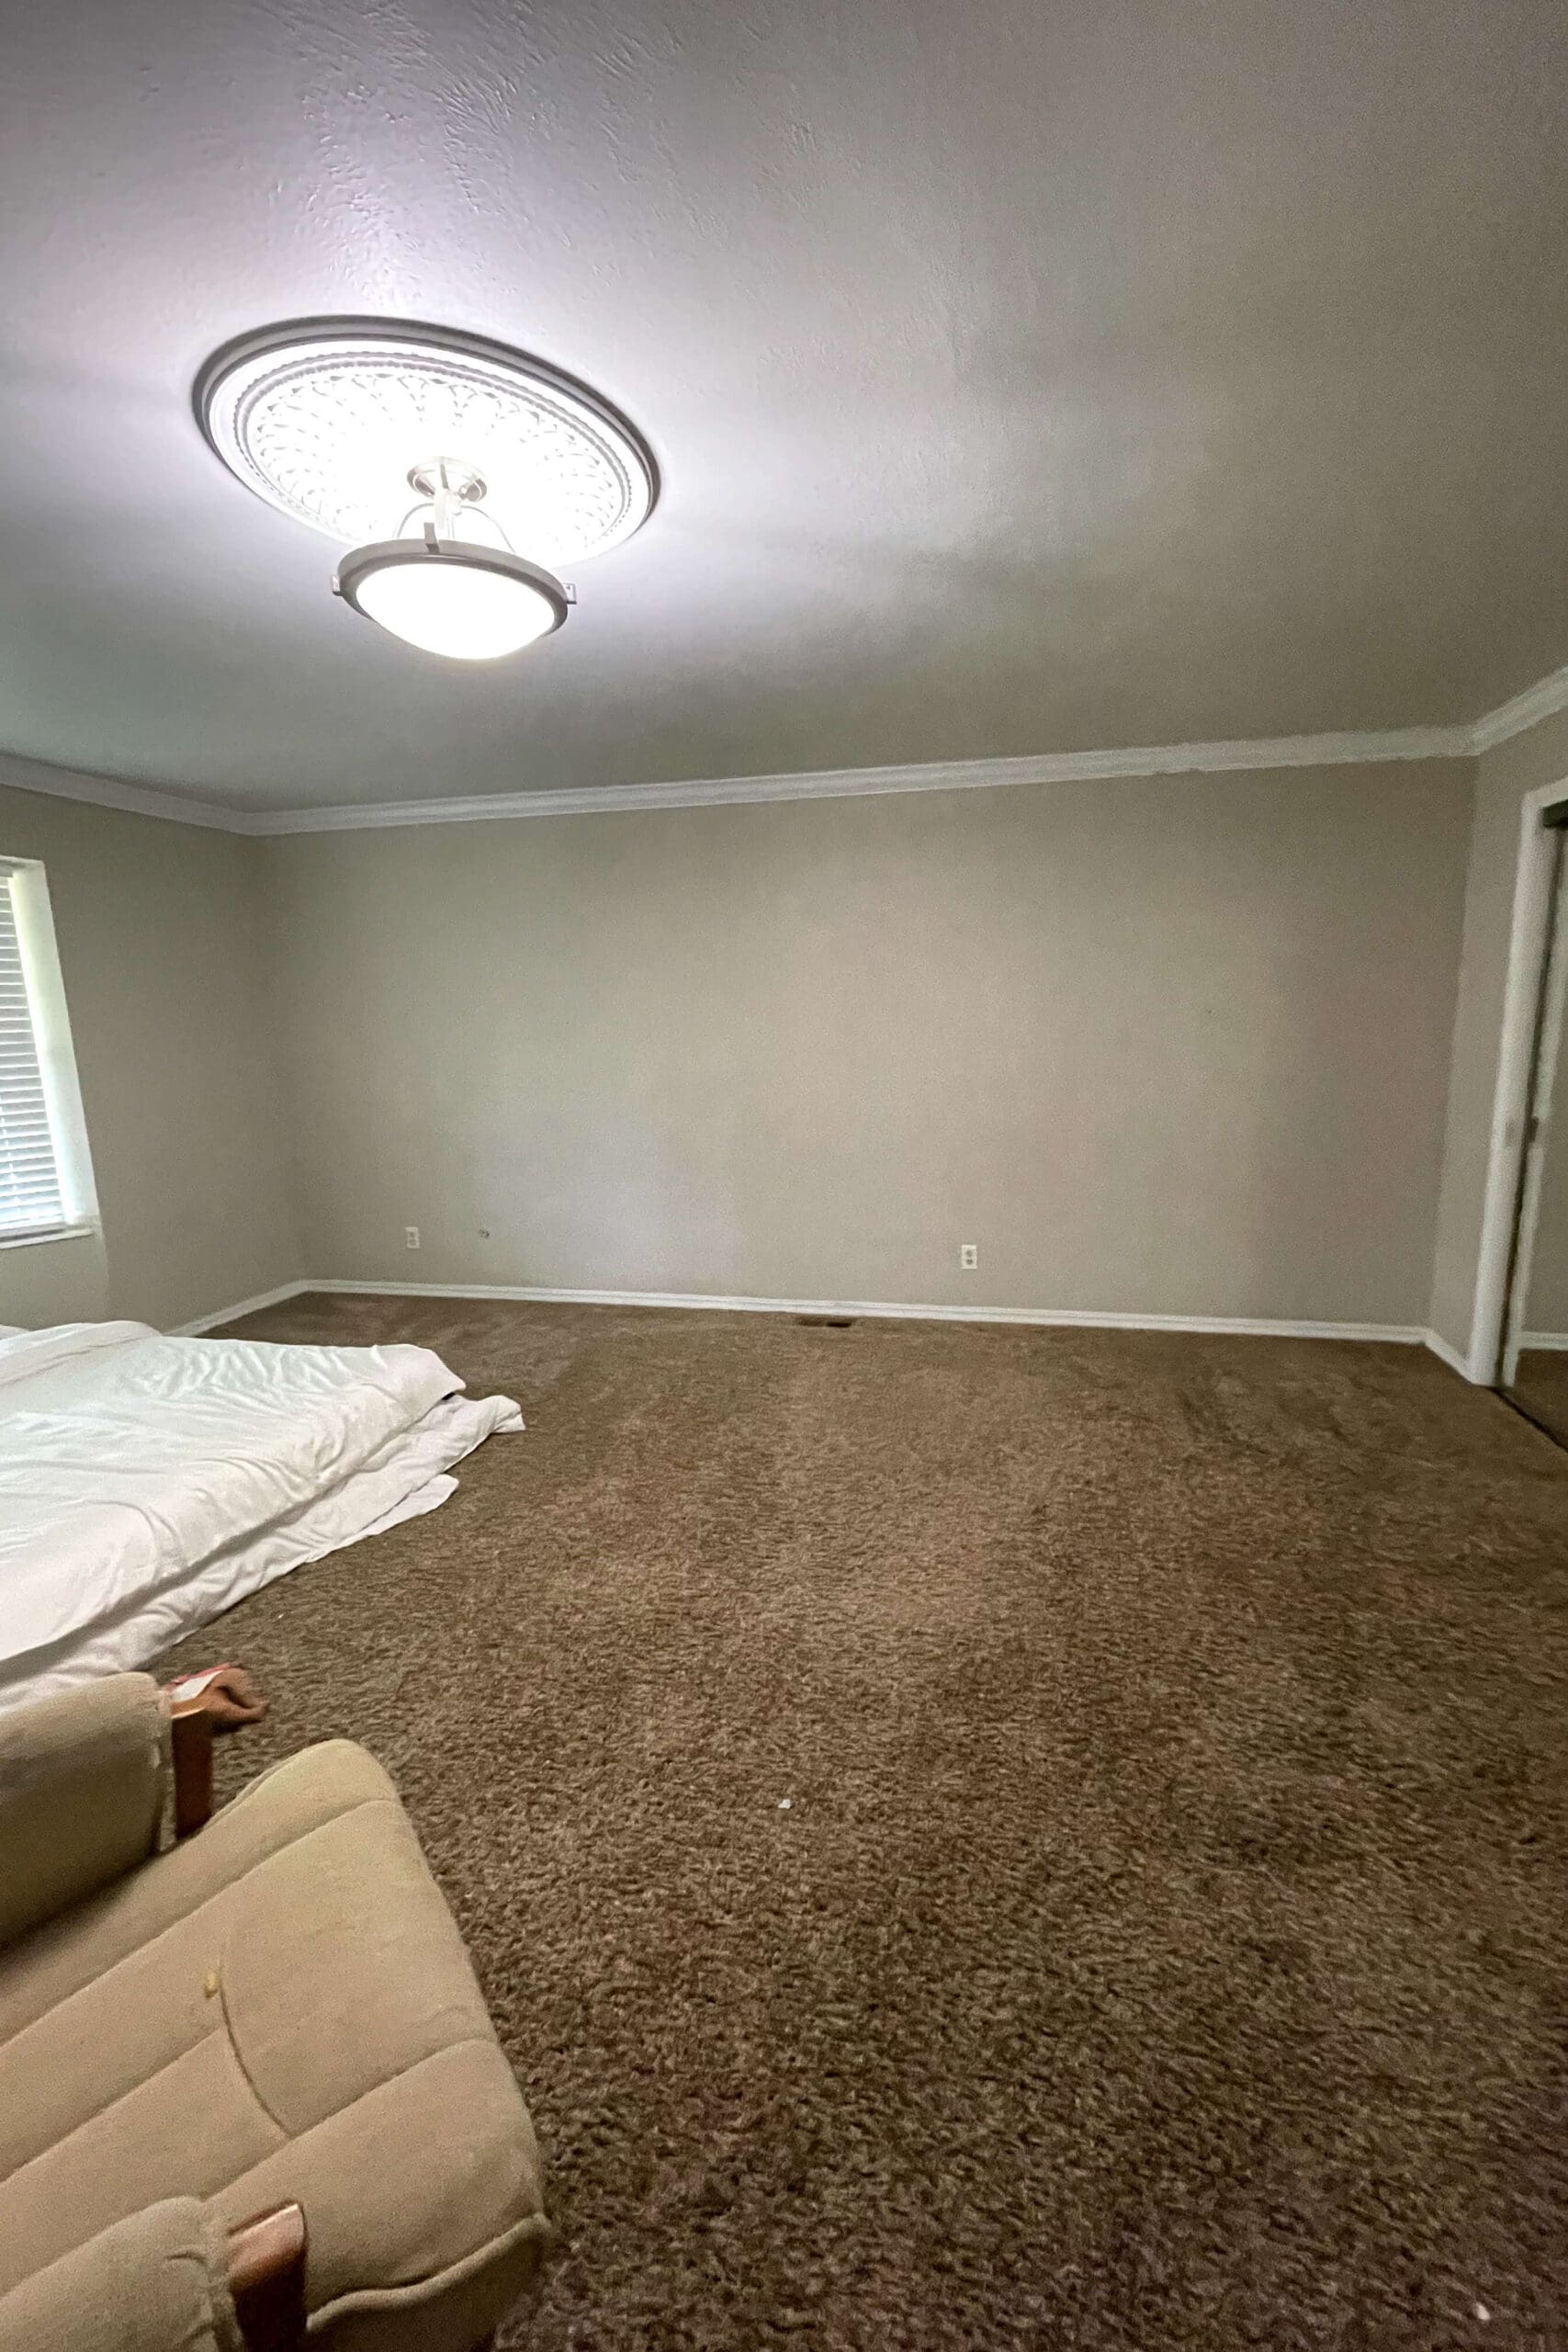
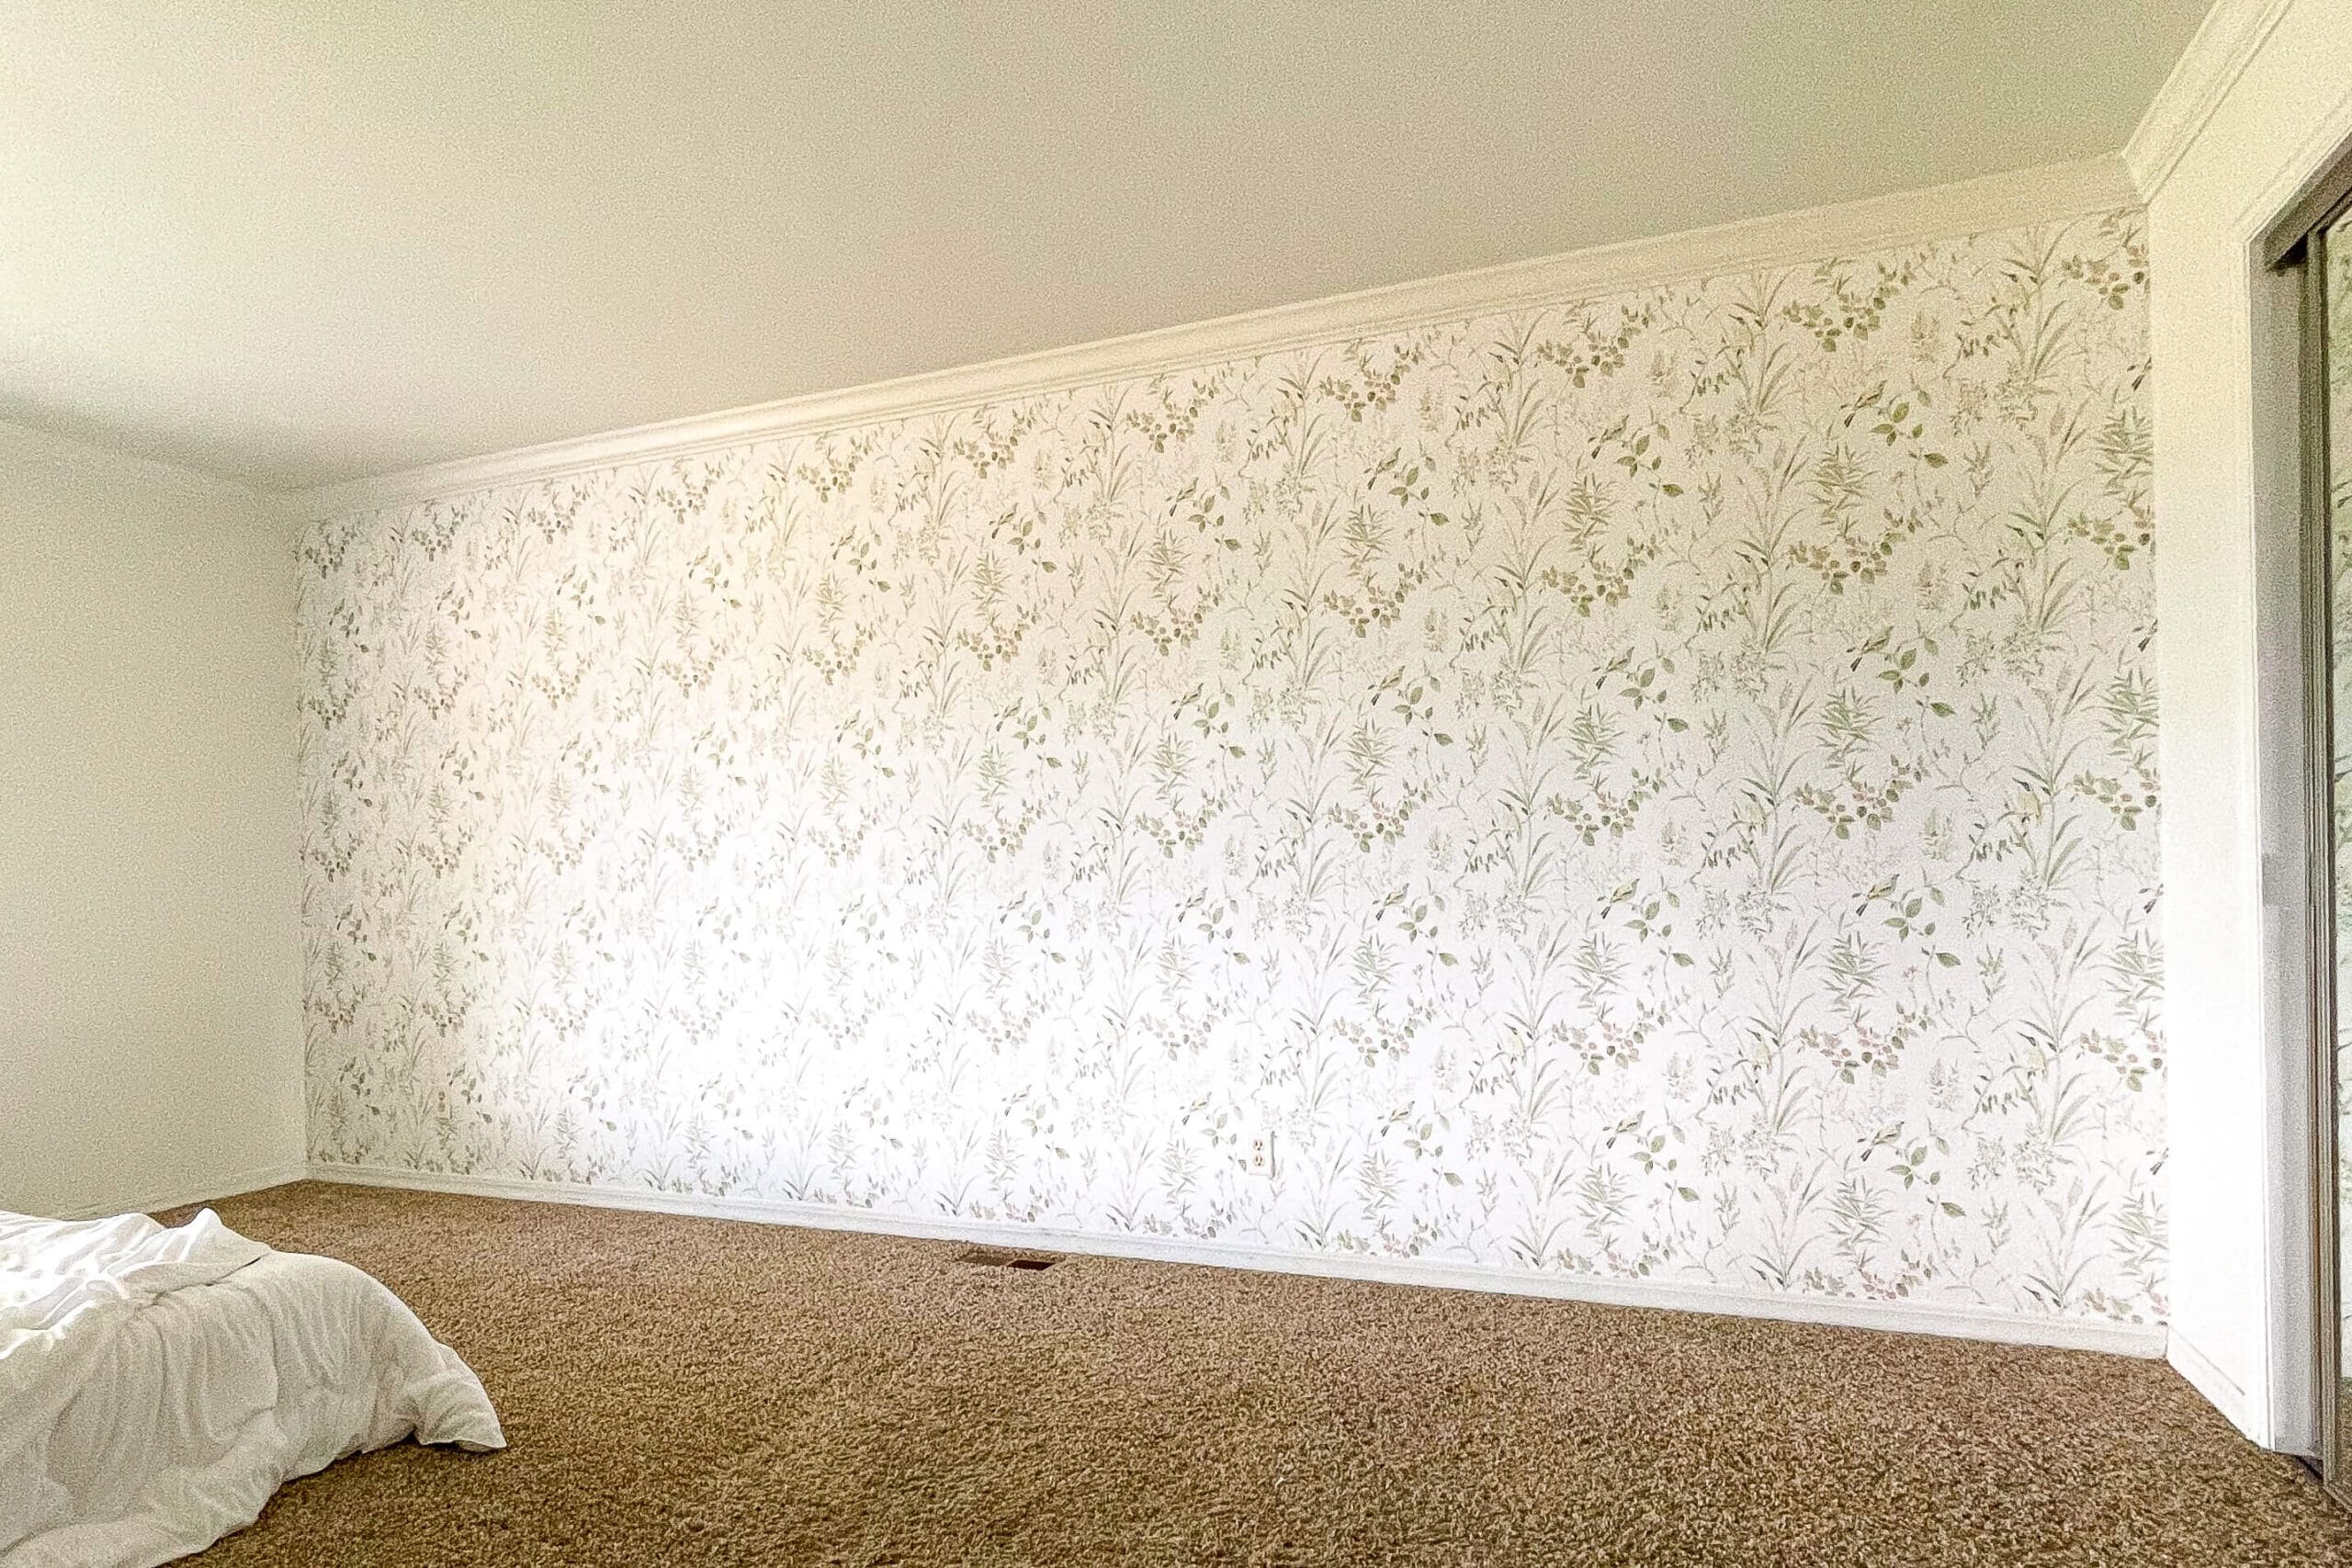
This bedroom is huge. Which sounds amazing… until you’re staring at a big, blank wall that needs some love. I knew I didn’t want to wallpaper the whole room, but one feature wall behind the bed felt like the perfect way to bring some charm and warmth to the space.
I chose this soft, floral traditional wallpaper with the sweetest birds and greenery. It feels peaceful and classic without being too busy – just what I was going for.
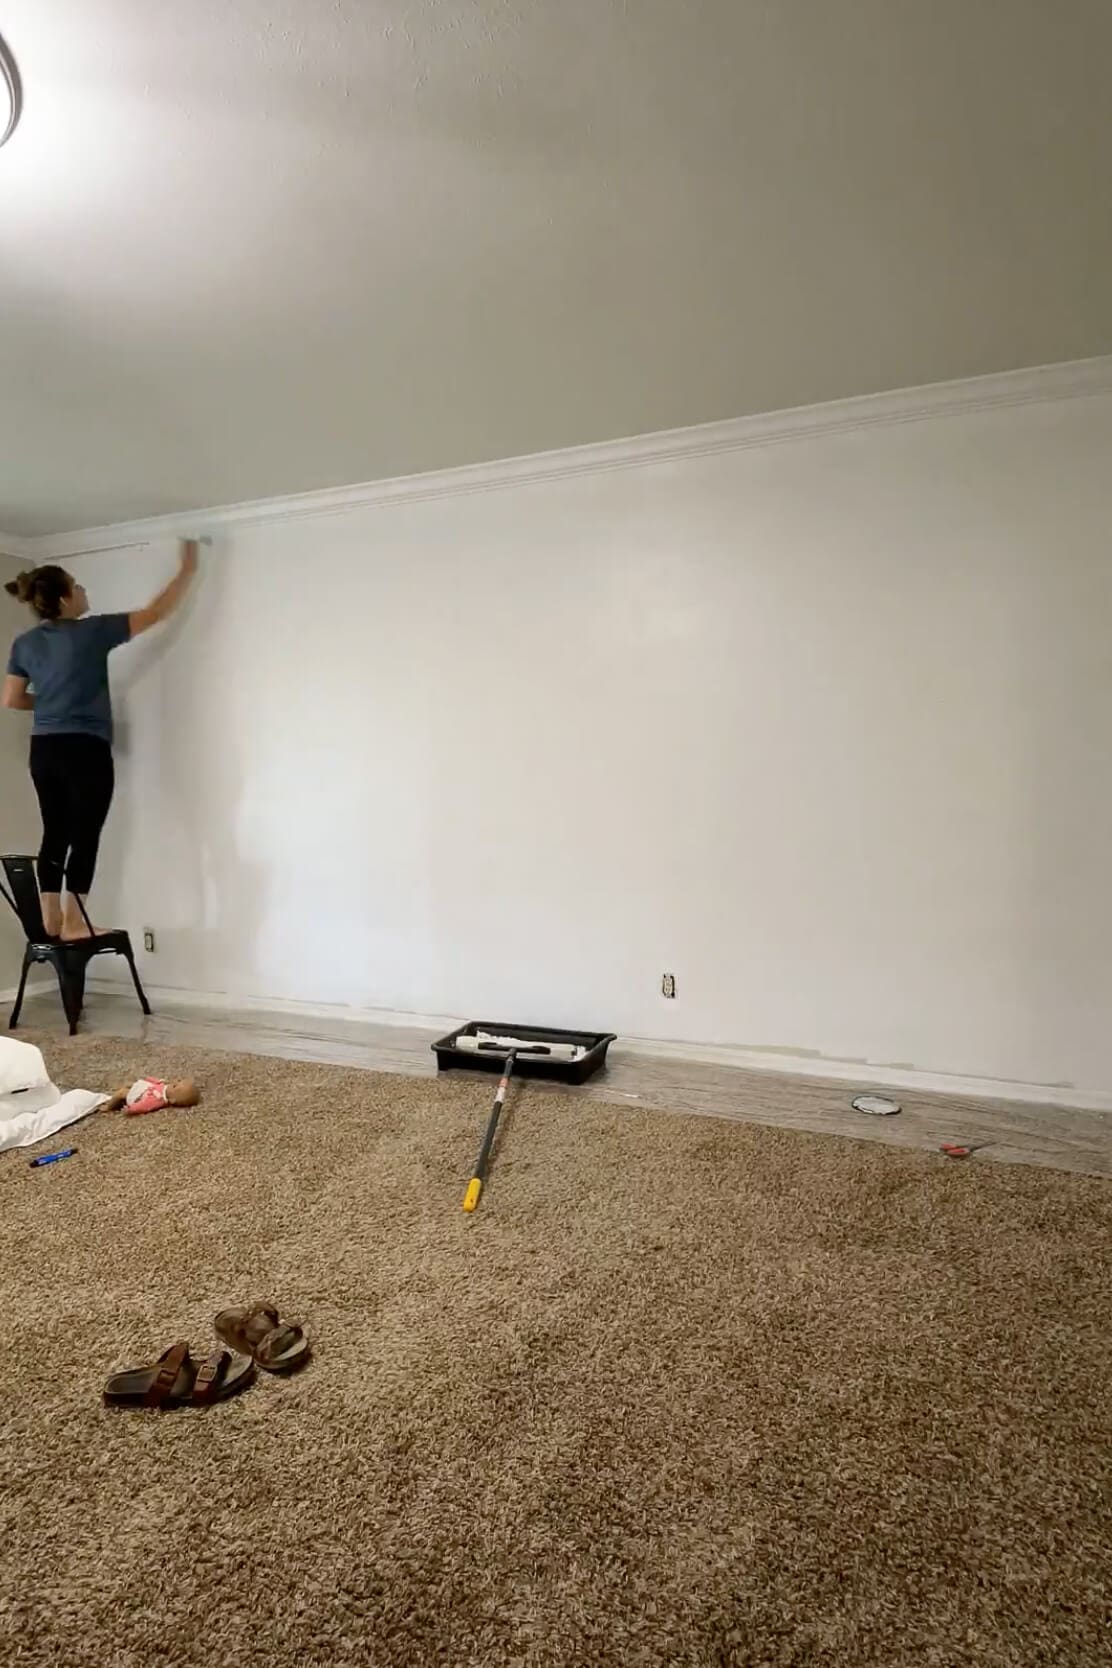
Step 1: Prime the Wall Before Hanging Wallpaper
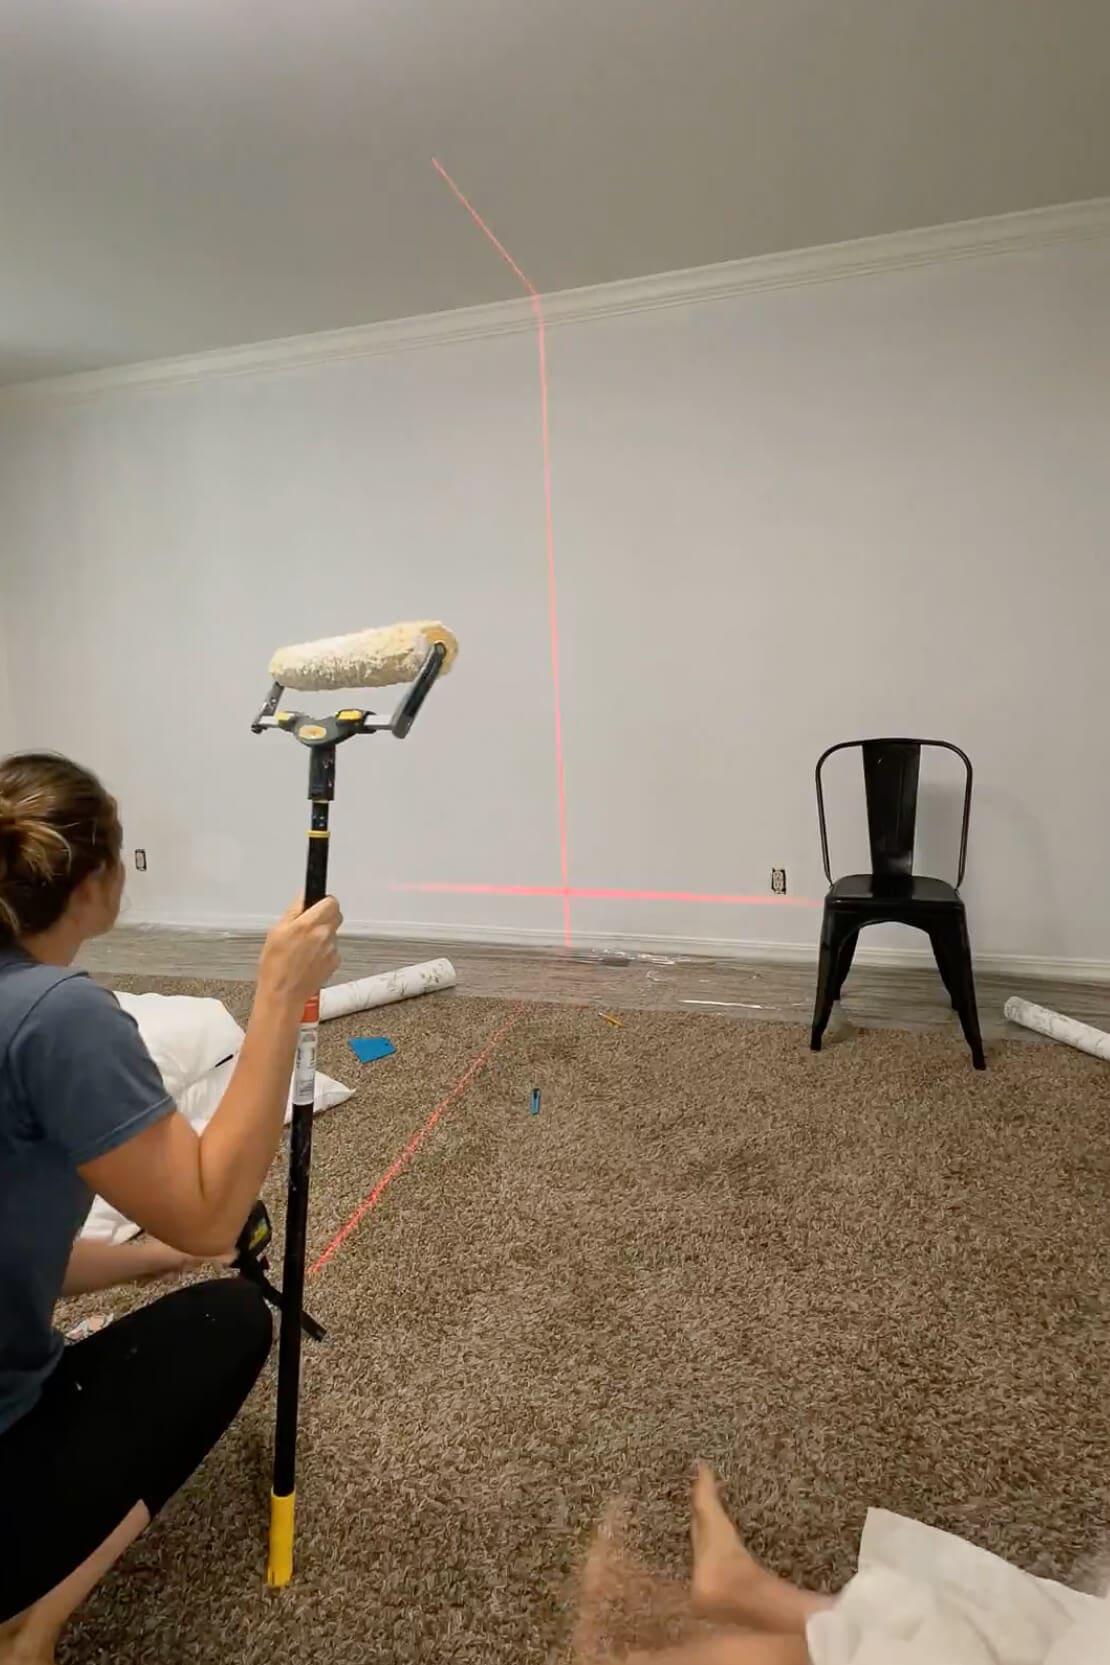
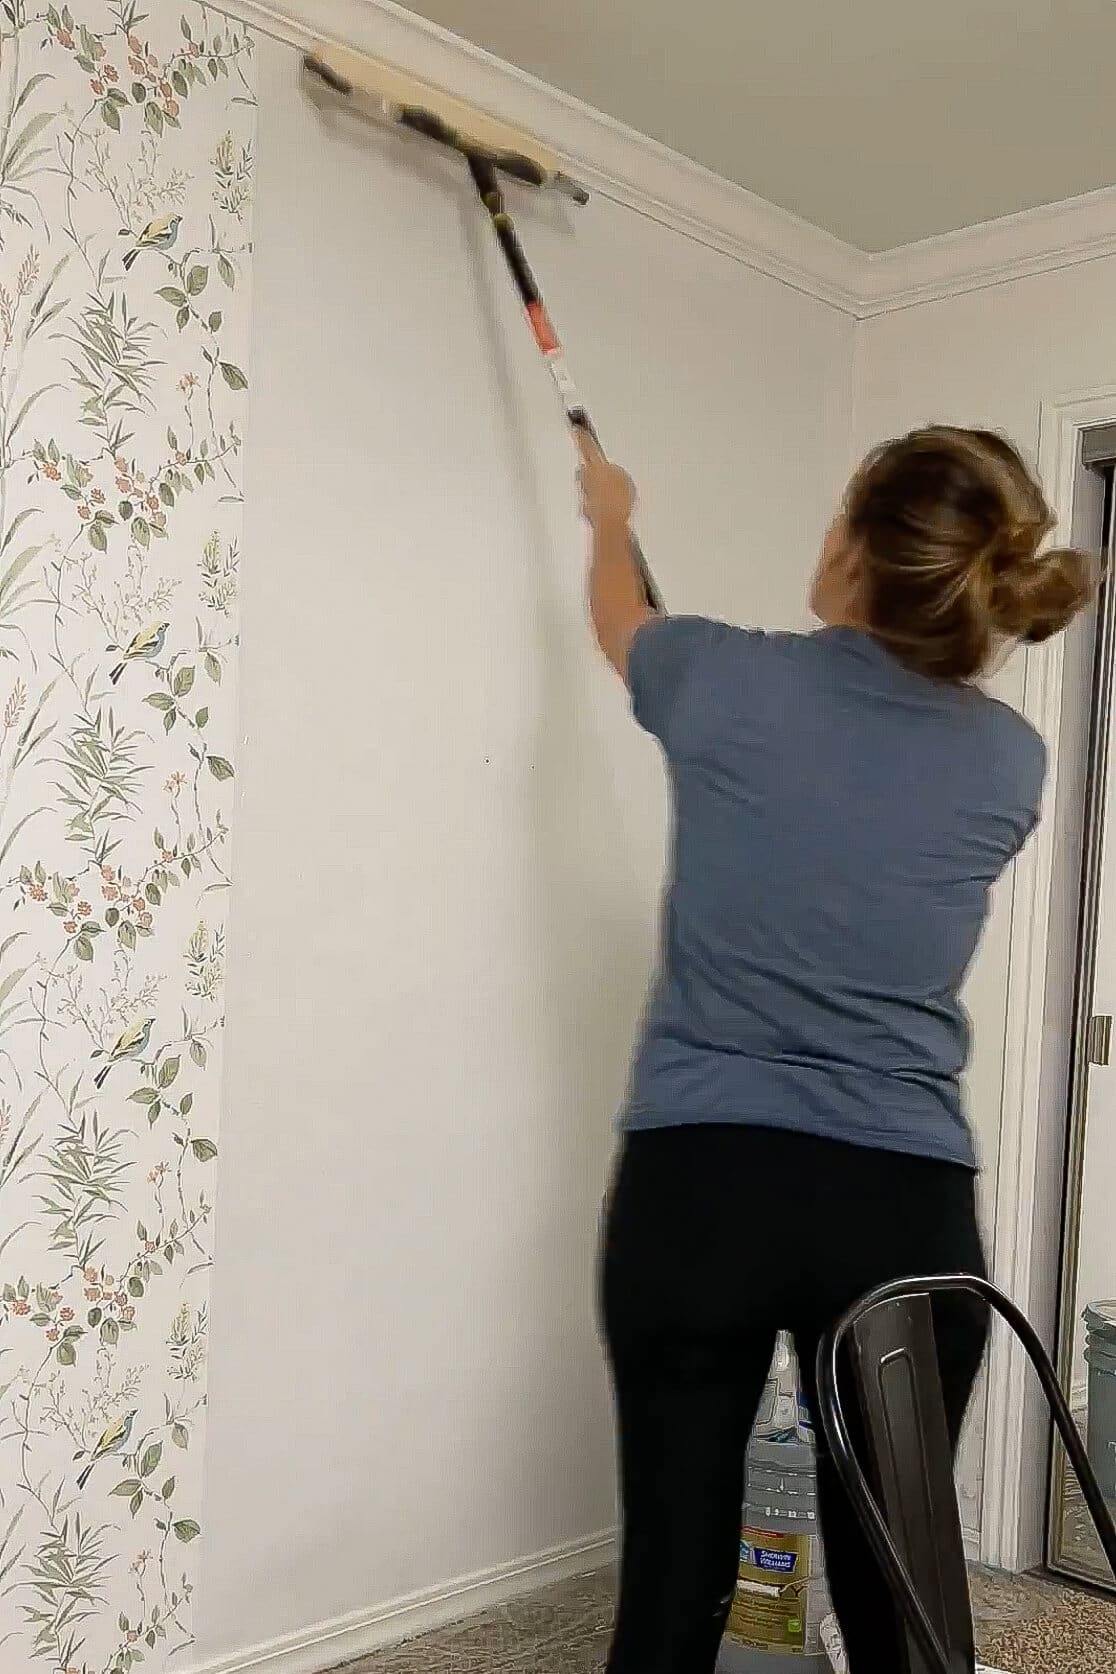
Before any wallpaper goes up, start by priming the wall. It doesn’t take long. Just a quick roll with an 18-inch roller and some touch-up along the edges with a paintbrush. Priming the wall first will make it way easier to remove the wallpaper later if you ever want to switch things up. Your future self will be thank you for not skipping this step.

Step 2: How to Align Your First Panel of Traditional Wallpaper
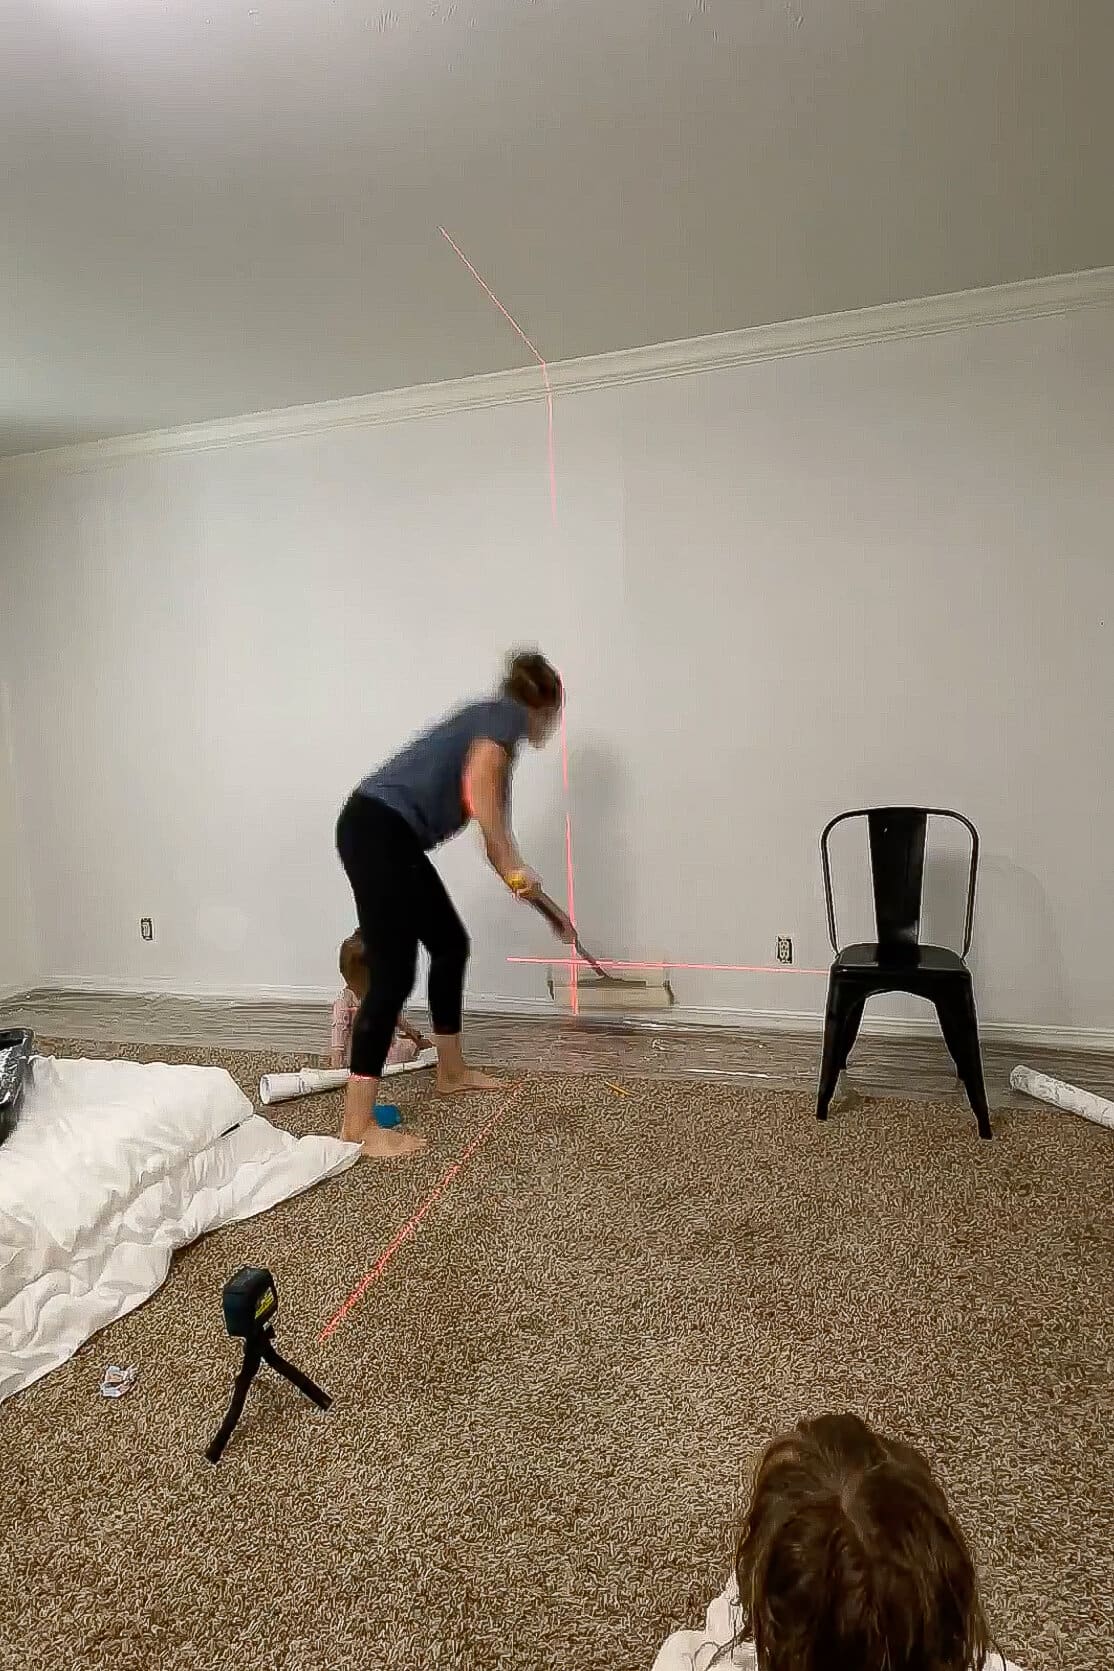
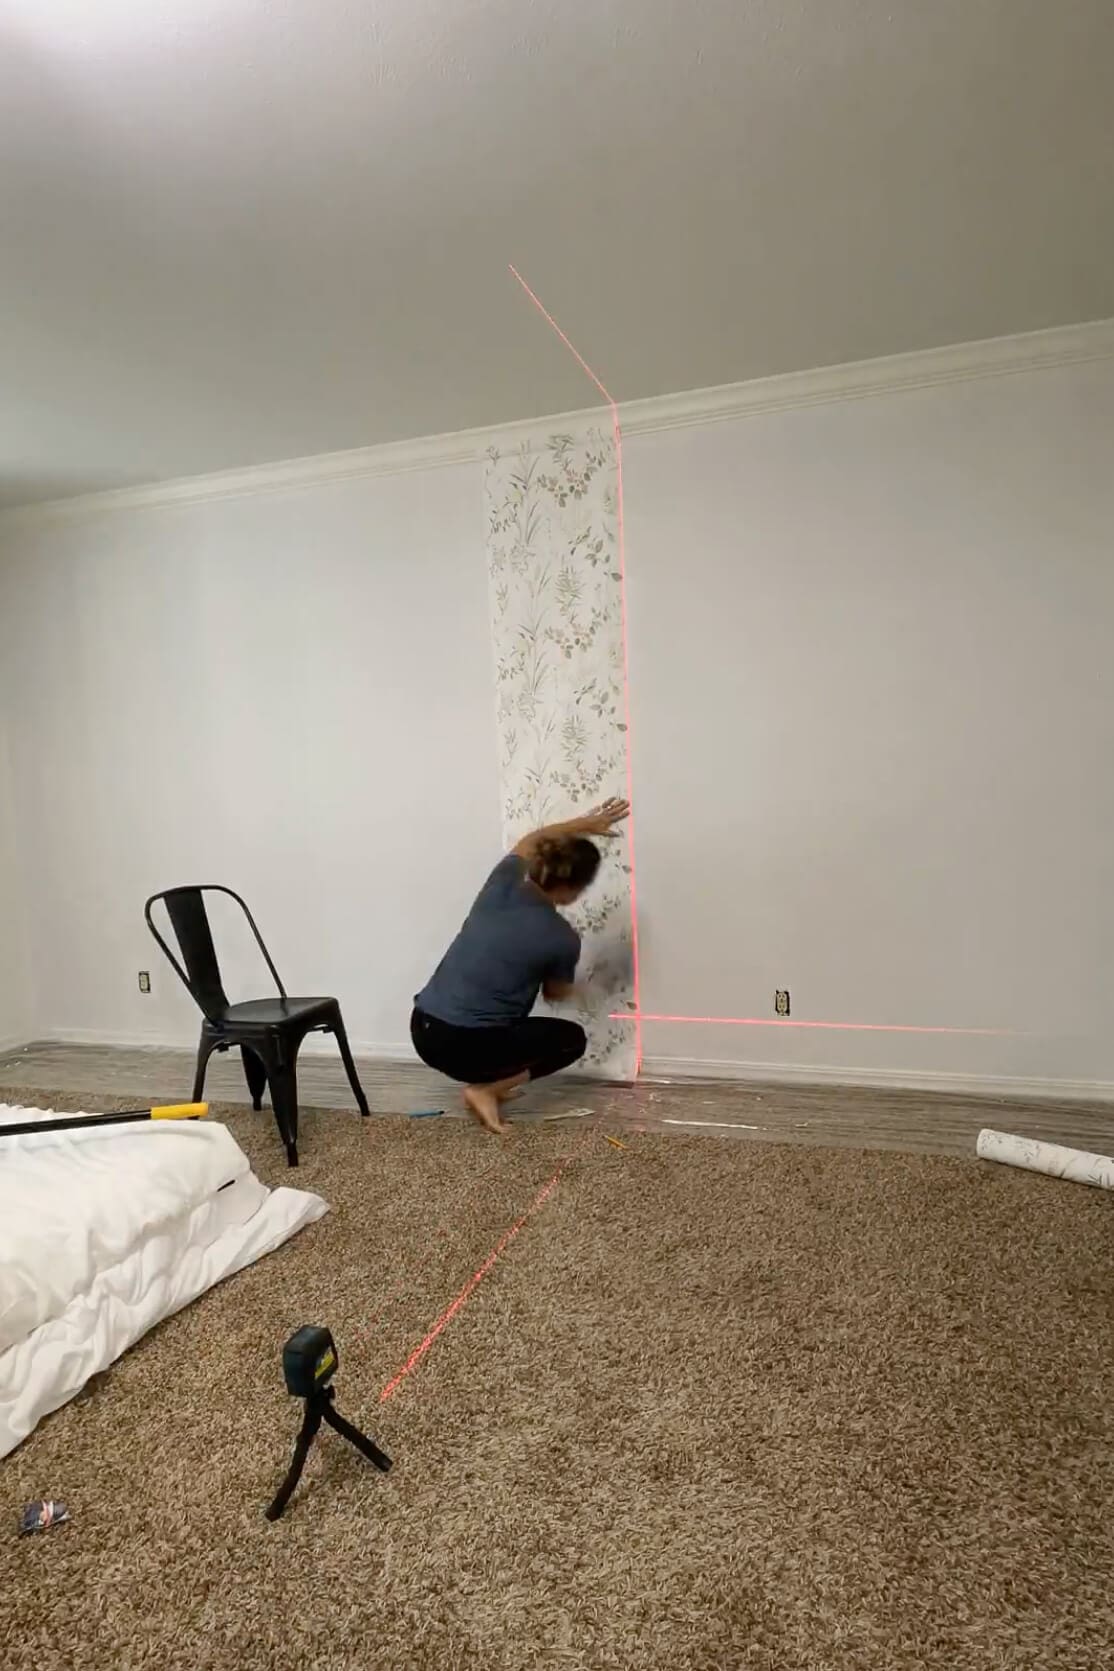
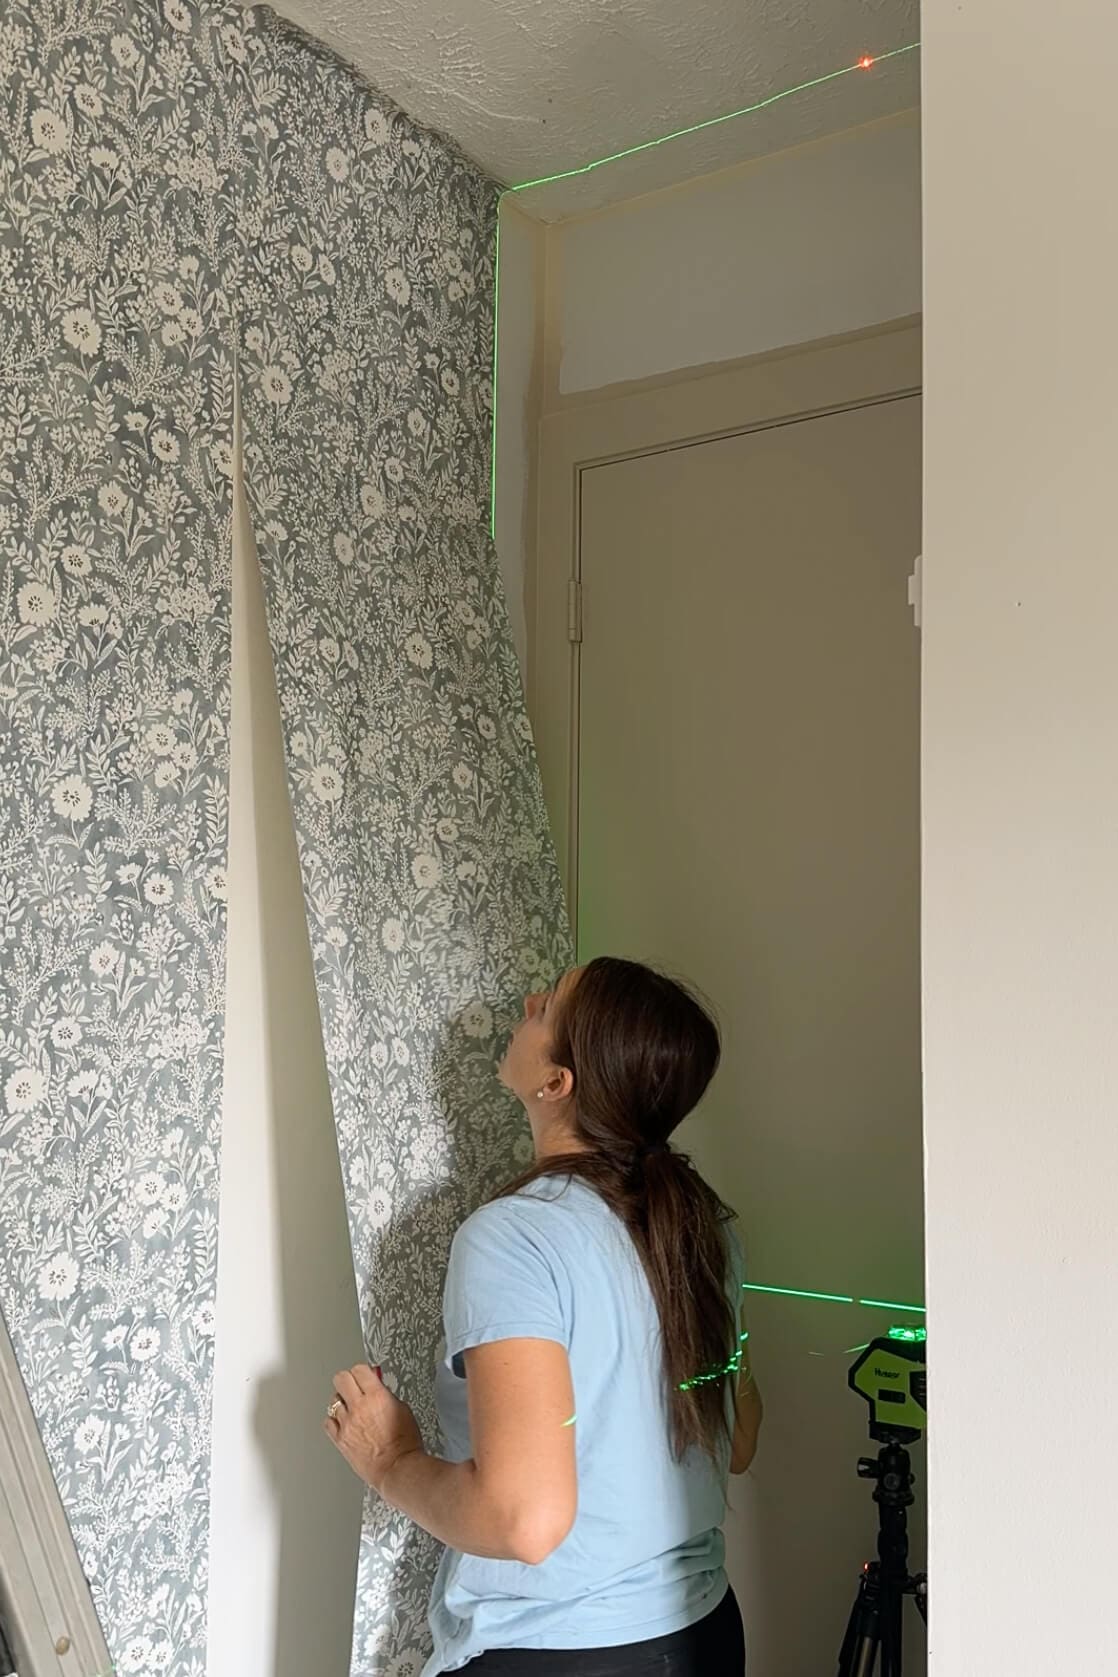
Getting that first piece of traditional wallpaper straight is everything. If it’s crooked, the rest of the wall will be too. I started by pointing my laser level straight down the center of the wall. If you don’t have one, you can use a regular level and draw a pencil line, but a laser level is going to make this project so much easier for you.
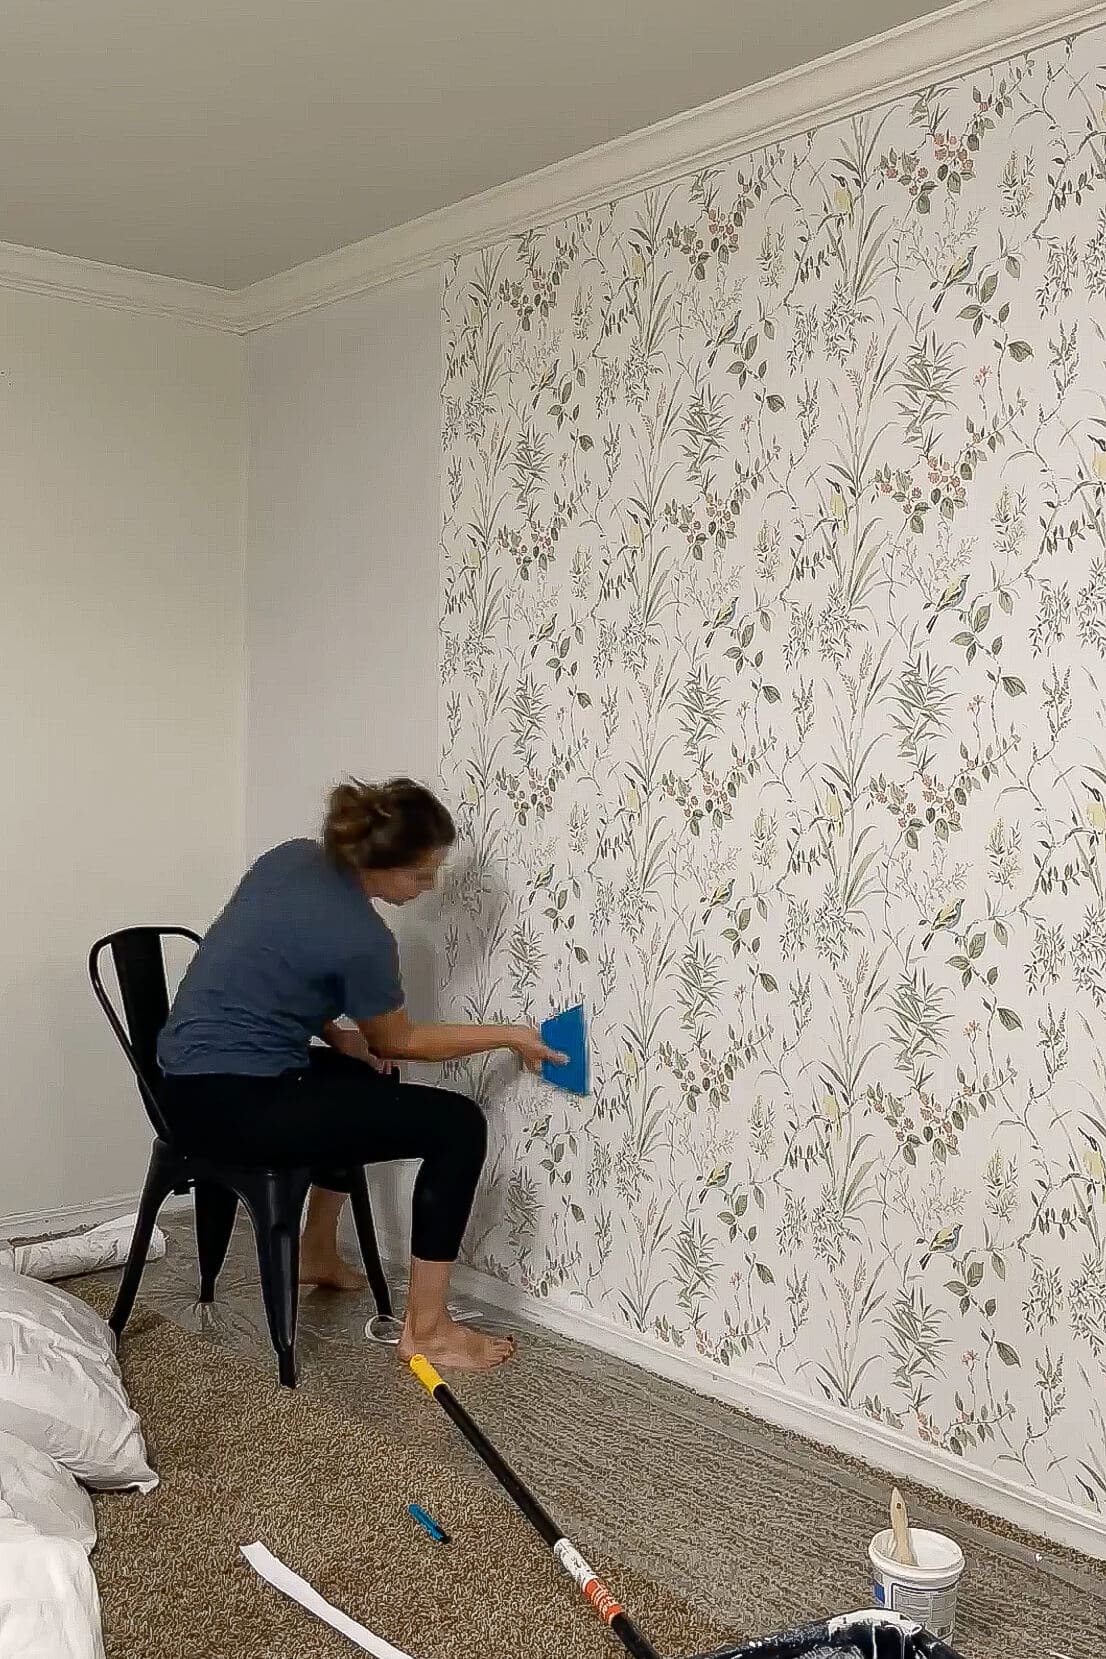
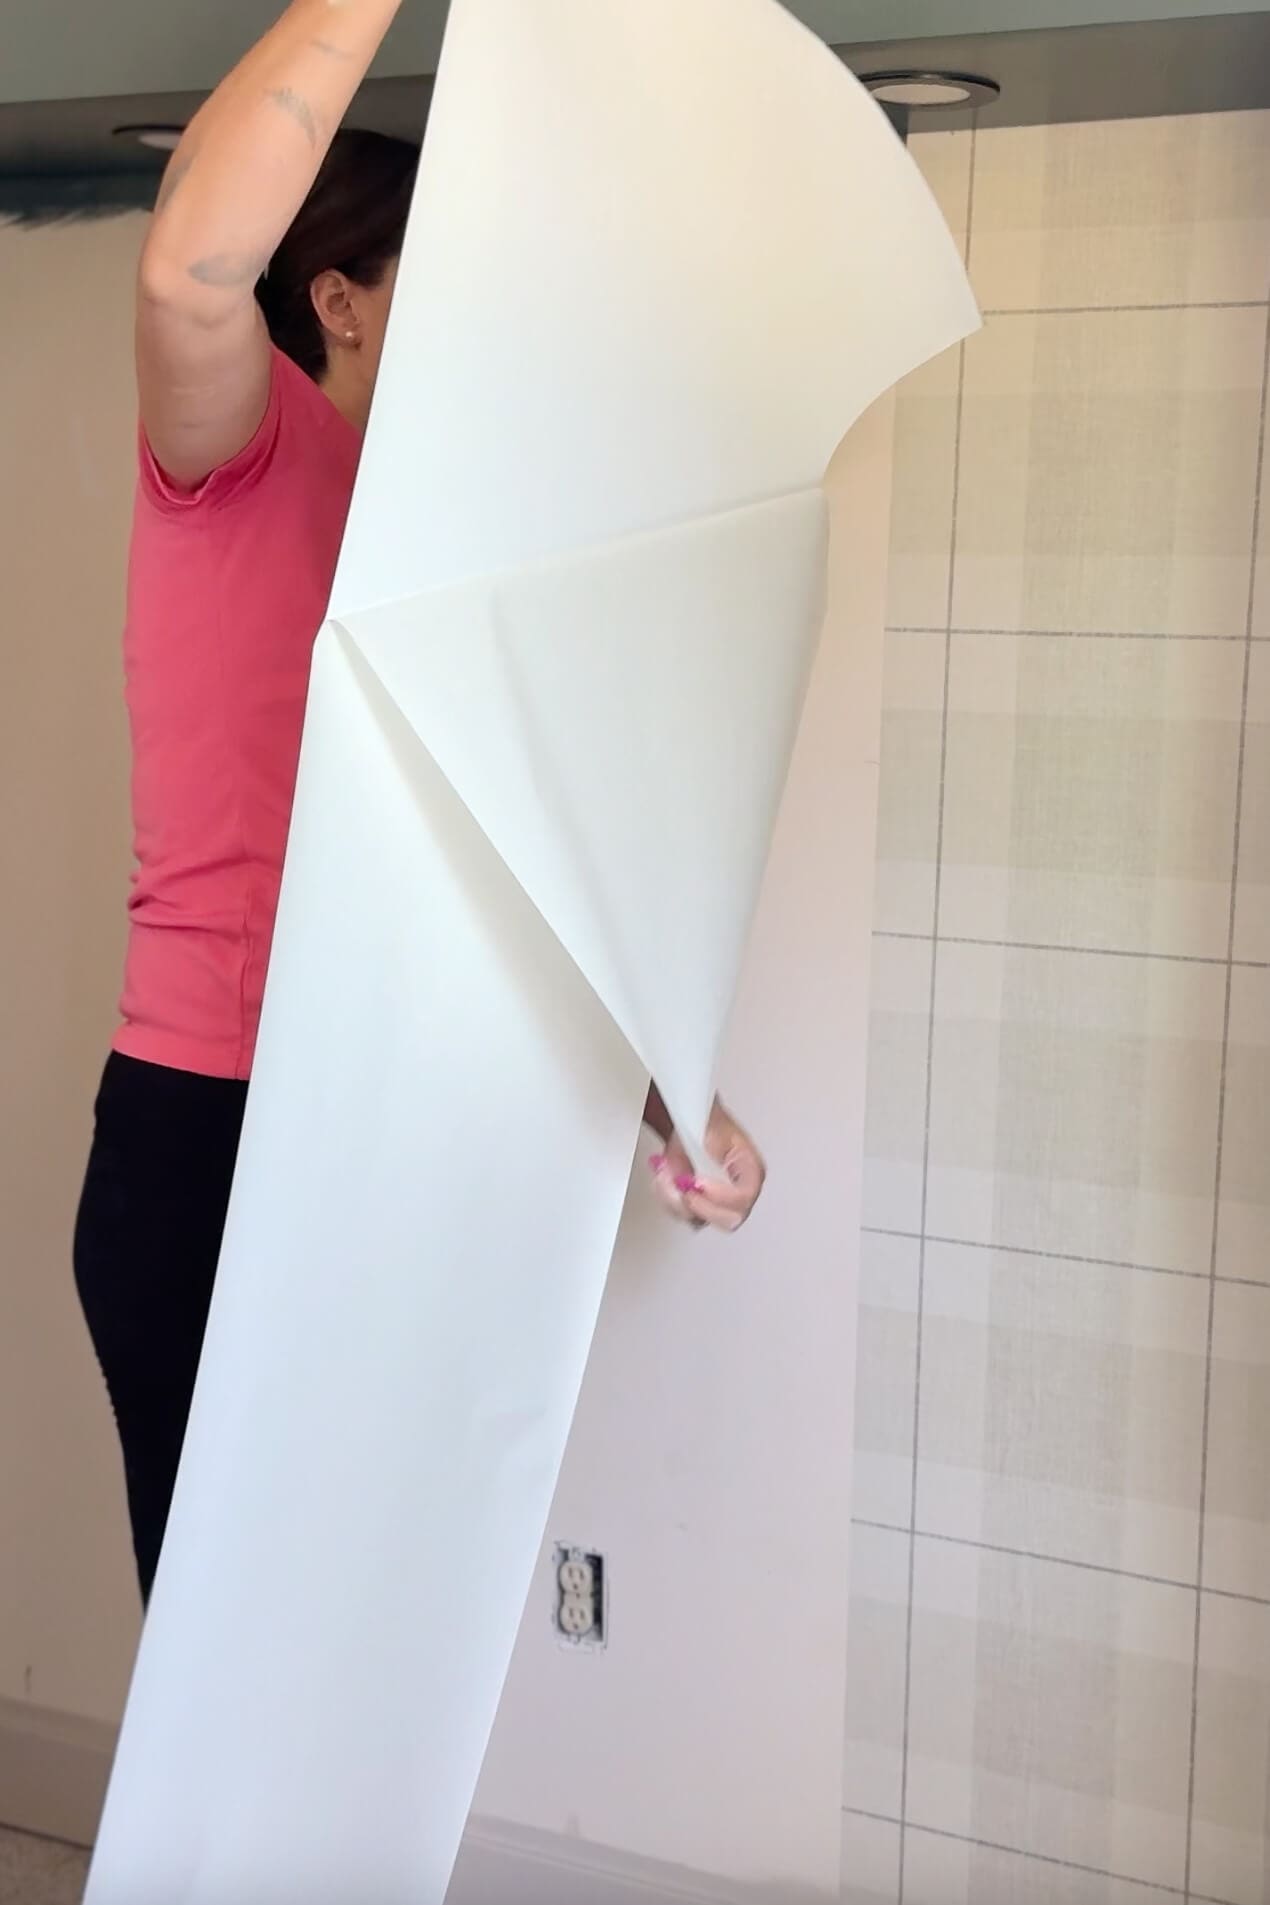
Traditional wallpaper needs paste to stick, but the kind I used in this room makes it easy. You roll the paste directly onto the wall. I applied it where the first panel would go, then cut a piece just a little longer than the wall height. I centered it over the laser line and pressed the top in place—just enough to hold while I adjusted it.
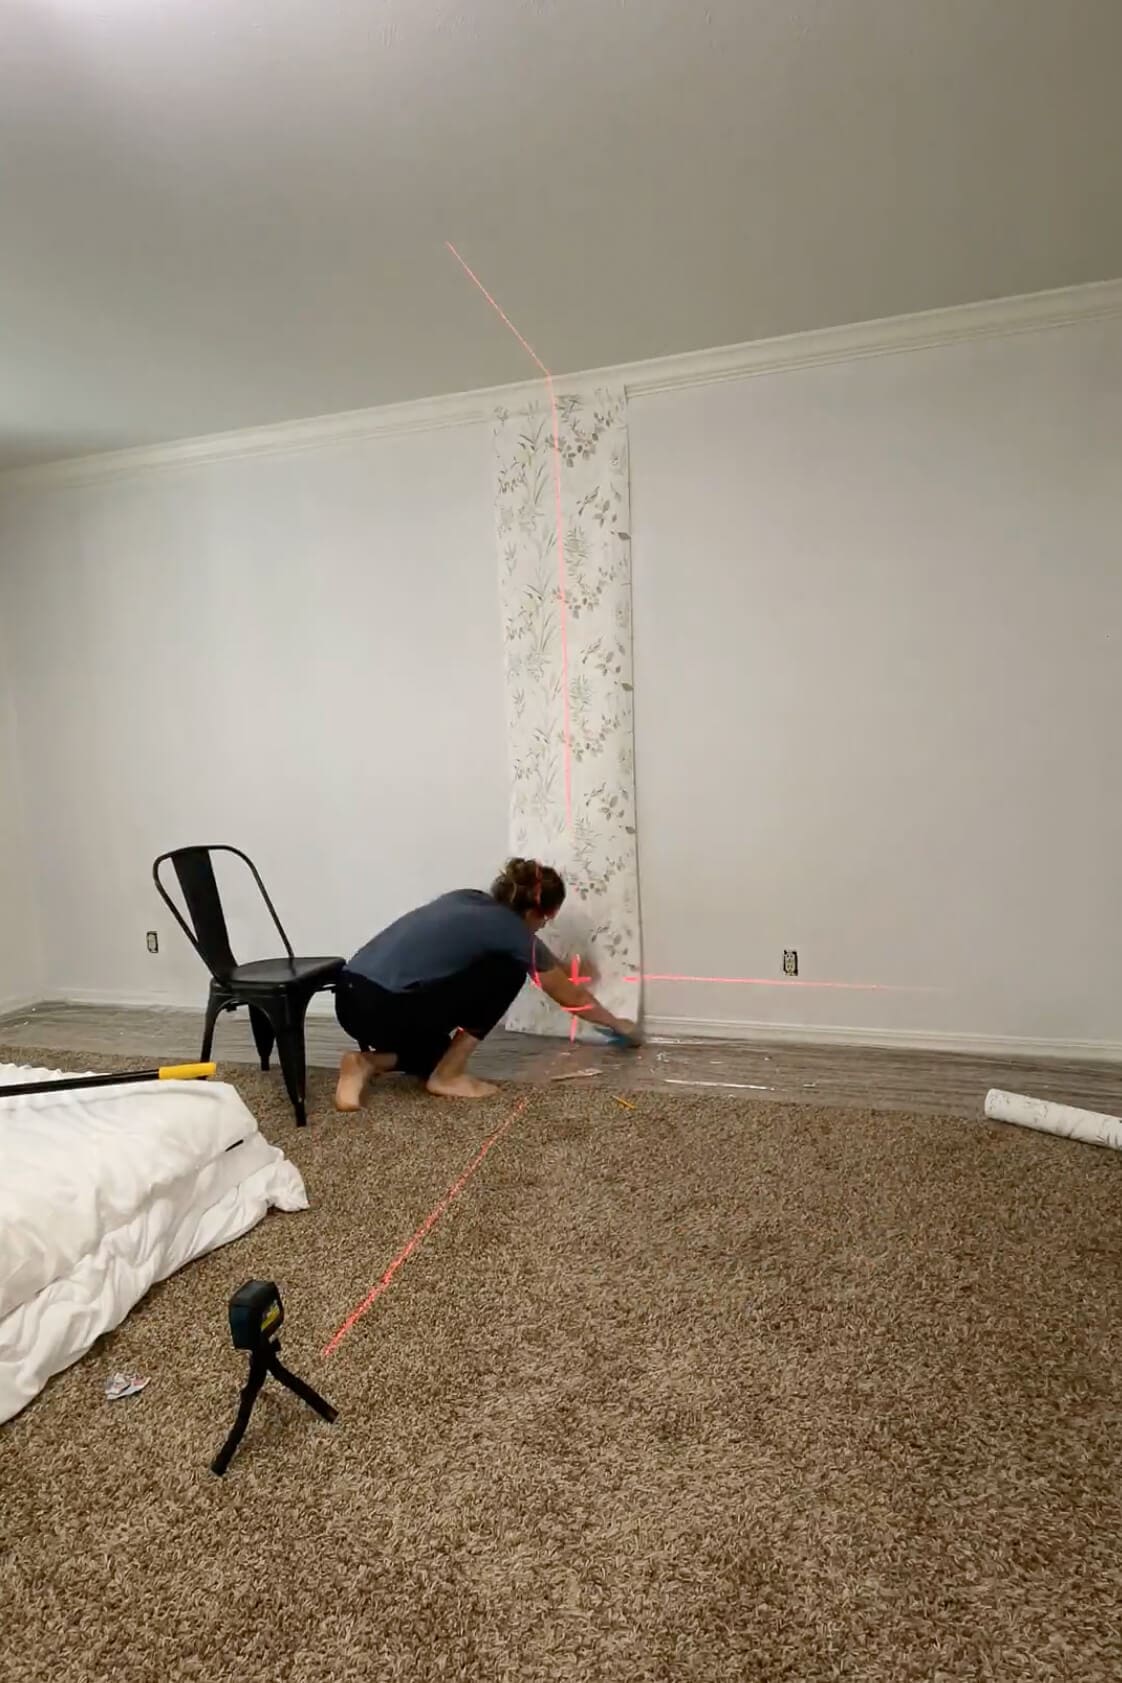
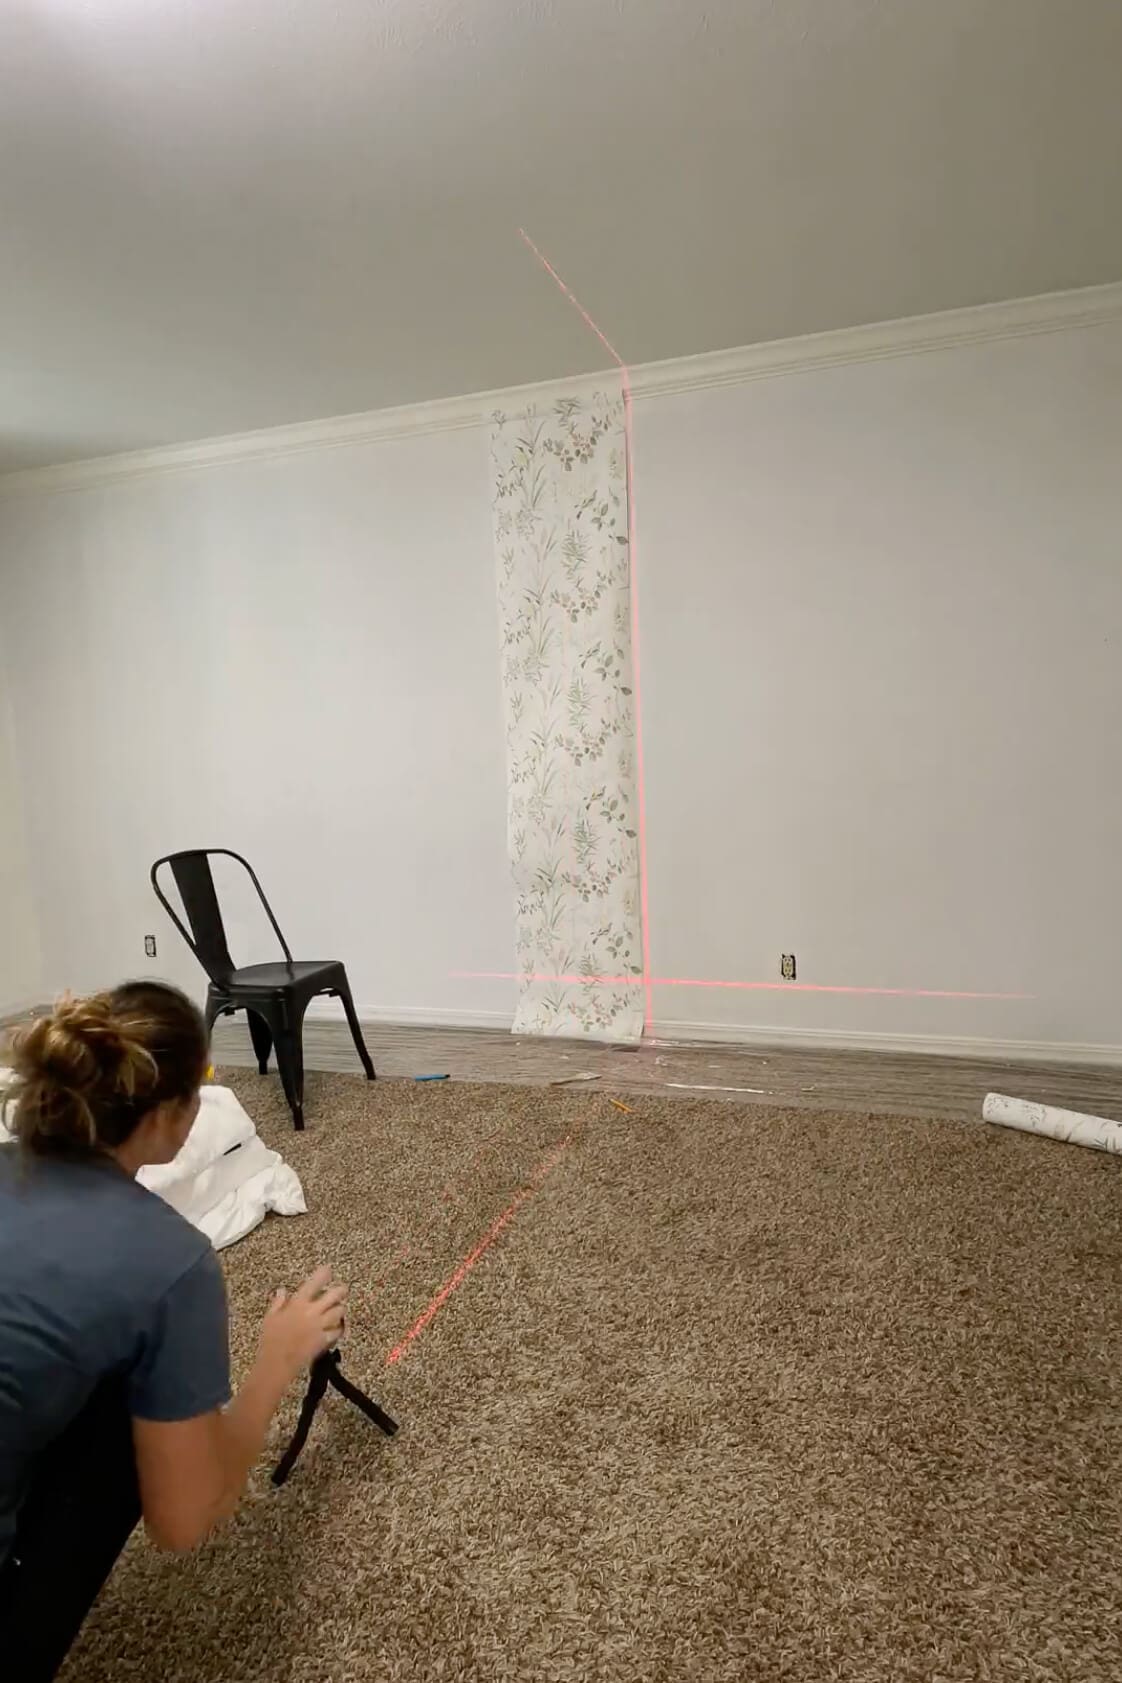
Then I shifted the laser level over to one side of the paper. Now I could adjust the wallpaper so the edge lined up perfectly with the laser line. That made it super easy to get a perfectly straight panel (because spoiler alert: your walls are probably not straight).
Pro tip: If you don’t want to eyeball it, start by finding the center of the room. Next, measure half the width of your wallpaper roll and set your laser level that distance from your center mark. Either method works—it just depends on how precise you like to be. I will forever be someone who eyeballs things.
Step 3: Installing the Remaining Panels
Once that first panel of traditional wallpaper was in, the rest started moving quicker. I rolled on more wallpaper adhesive next to the first panel, lined up the pattern, and smoothed it out. A good utility knife is key here—you’ll need it to trim the extra paper off the top and bottom of each panel.
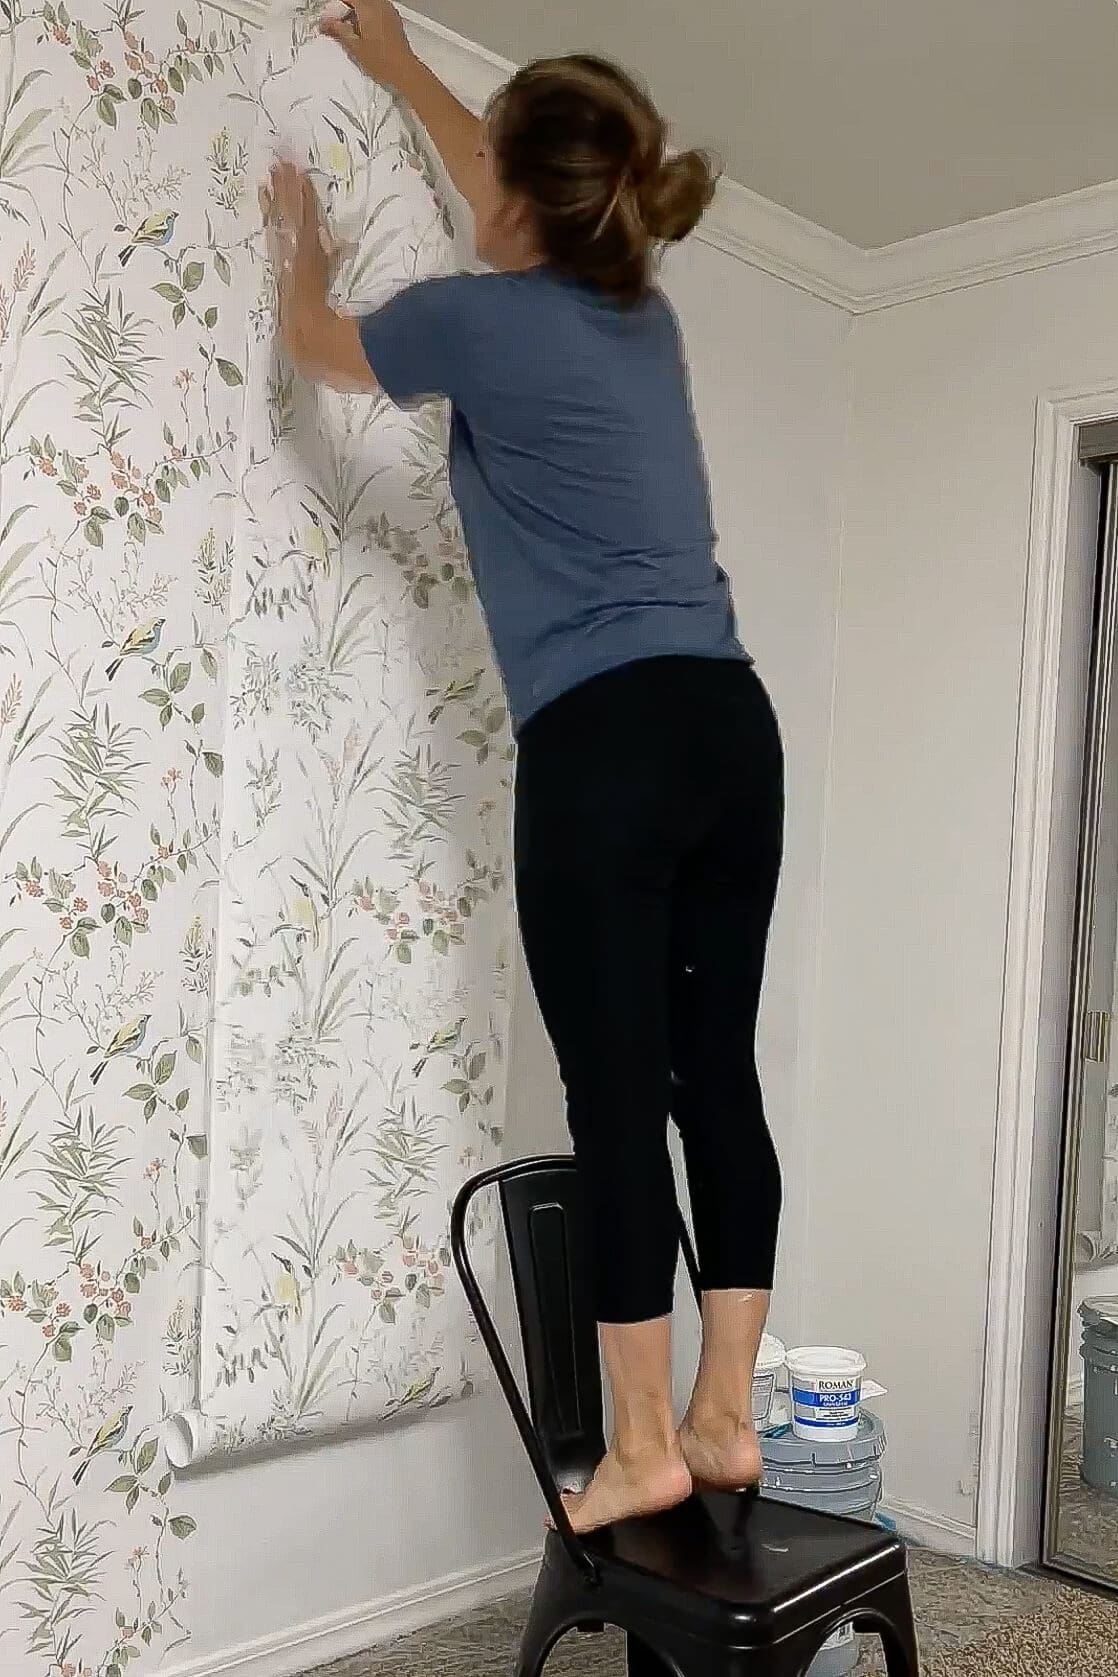
I finished the right side of the wall, then worked my way left – adding one panel at a time and smoothing each one down with my wallpaper smoothing tool. I kept a damp rag handy (highly recommend!) to wipe away any paste that snuck through the seams before it dried.
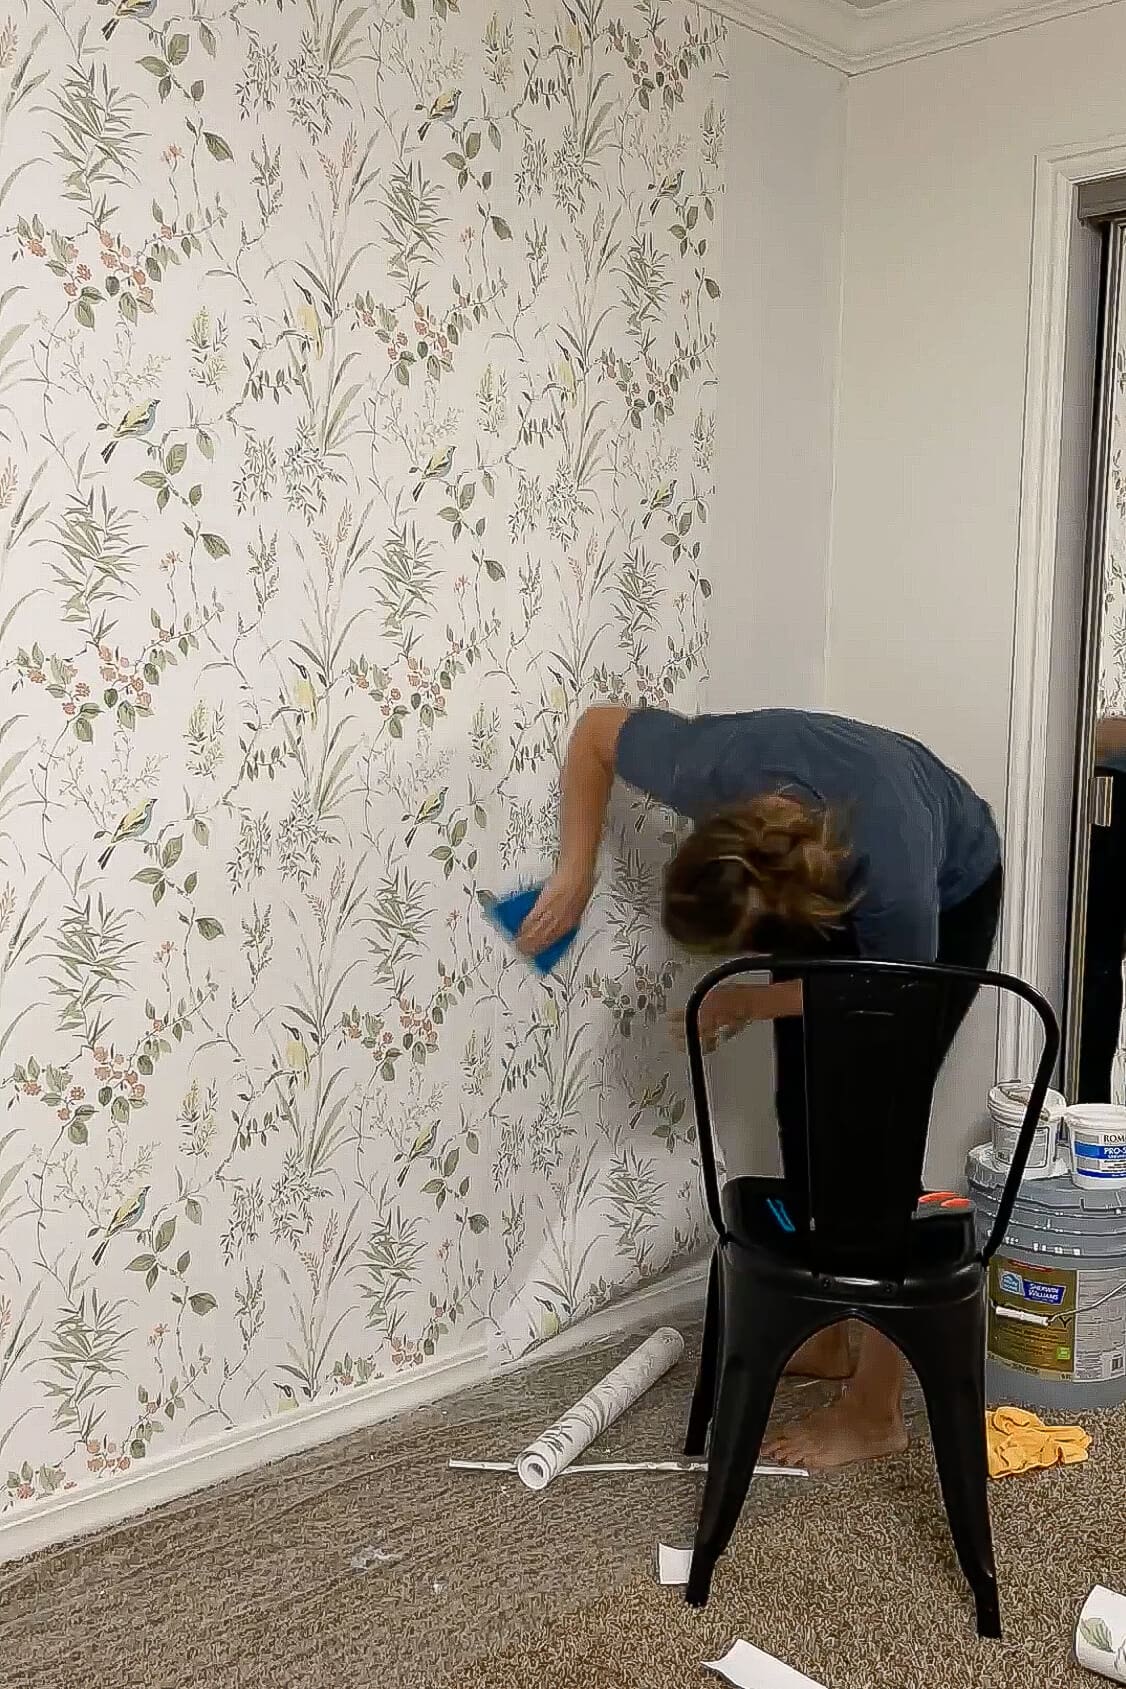
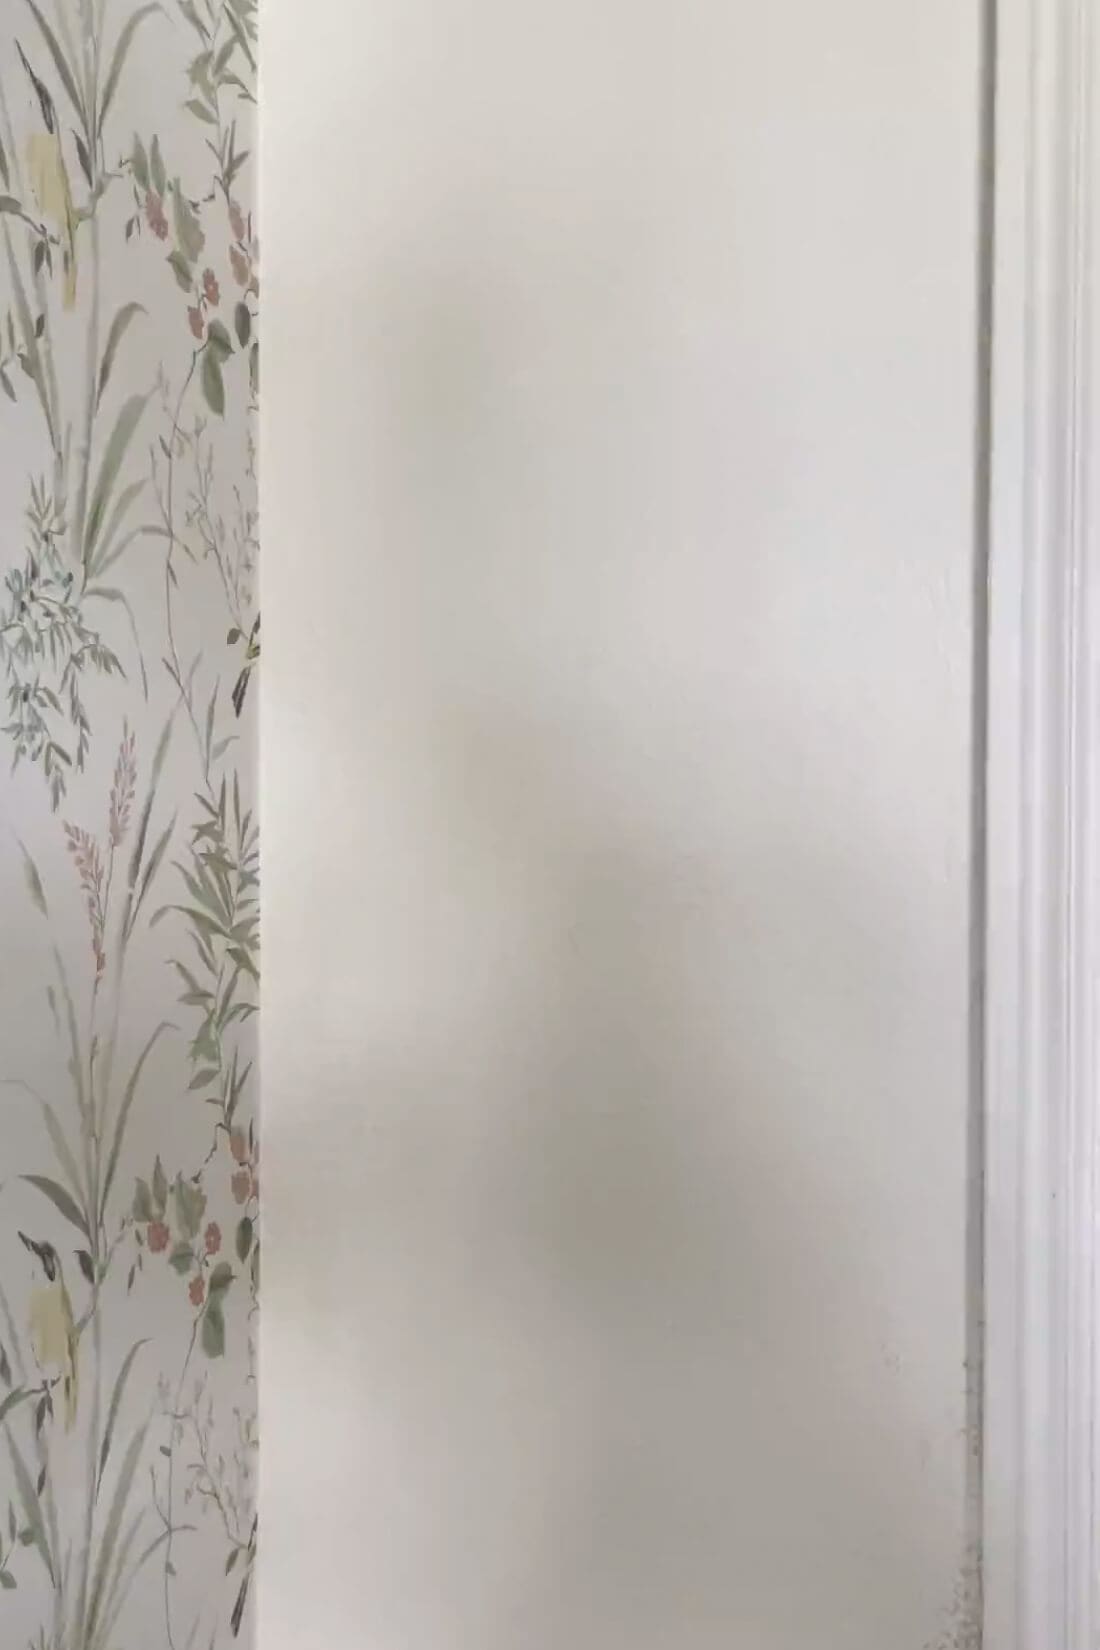
Step 4: Trimming Wallpaper Edges and Corners
Since I was just doing one wall, I trimmed the corners clean with my utility knife. But if you want to continue around the room, you’d just fold the paper into the corner and keep going onto the next wall for a seamless look.
Traditional Wallpaper: The Final Reveal
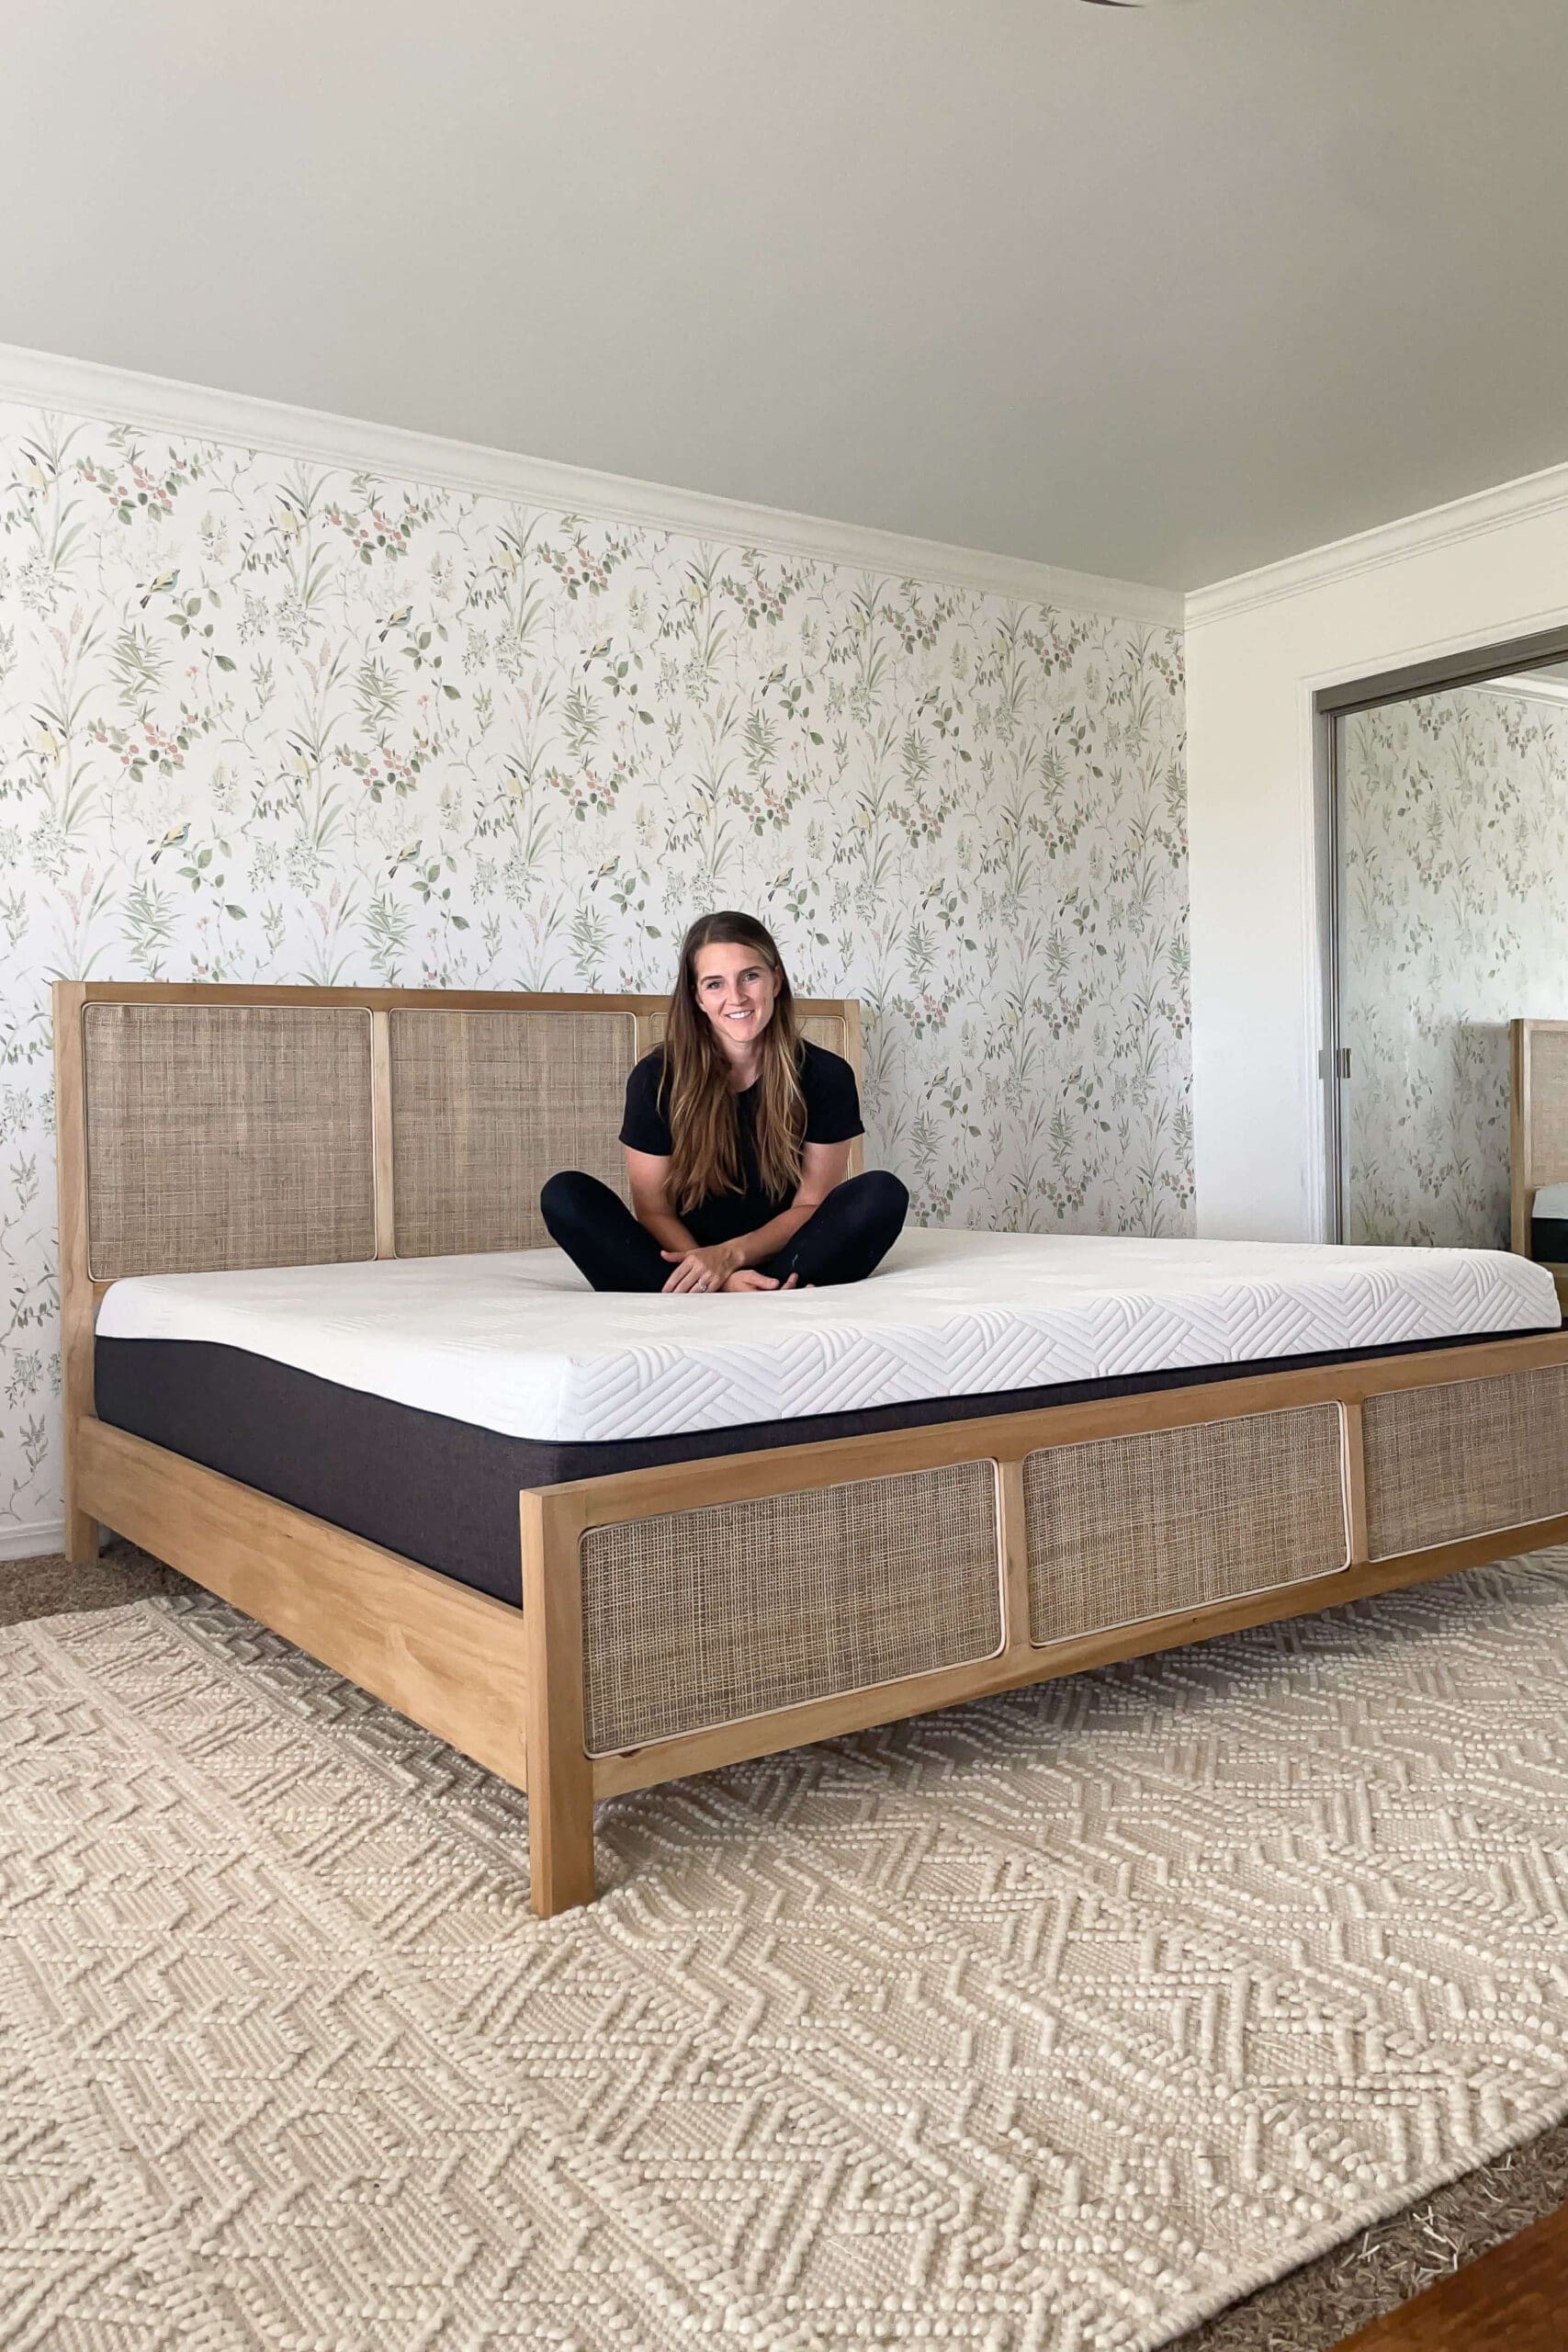
I honestly couldn’t believe how beautiful it turned out. That soft, floral traditional wallpaper completely transformed the space.
Once we brought in the custom cane bed I built, the room finally started to feel finished—warm, inviting, and totally us.
More Wallpaper Tutorials to Try
Curious about the other kinds of wallpaper out there? I’ve got you covered! I’ve also shared tutorials on how to hang peel-and-stick wallpaper and the pre-pasted kind that just needs a little water to activate. If you’re deciding which type of wallpaper is right for you, you’ll want to check those out too.
- How to Install Peel and Stick Wallpaper in a Nursery
- How to Install Prepasted Wallpaper (Beginner DIY Tutorial)
- How to Wallpaper Outlet Covers for a Seamless Look
- Easy Guide on How to Wallpaper a Closet
📌 Pin This Traditional Wallpaper Tutorial for Later
FAQ: Installing Traditional Wallpaper
Apply wallpaper paste to the wall or the paper (depending on the product), line up the panel, press it in place from top to bottom, then smooth and trim the edges.
You’ll need wallpaper, paste, a roller and tray, smoothing tool, utility knife, laser level (optional), and a damp cloth for cleanup.
Yes. Priming helps the paste adhere evenly and makes future removal easier. It also prevents paste from soaking into the wall.
Absolutely. A feature wall is a great way to use bold or detailed wallpaper without overwhelming a space.
