I’m a stay-at-home mom turned home design and DIY expert. I've discovered the thrill of creating a beautiful, functional home, and I'm here to inspire and teach you to do the same
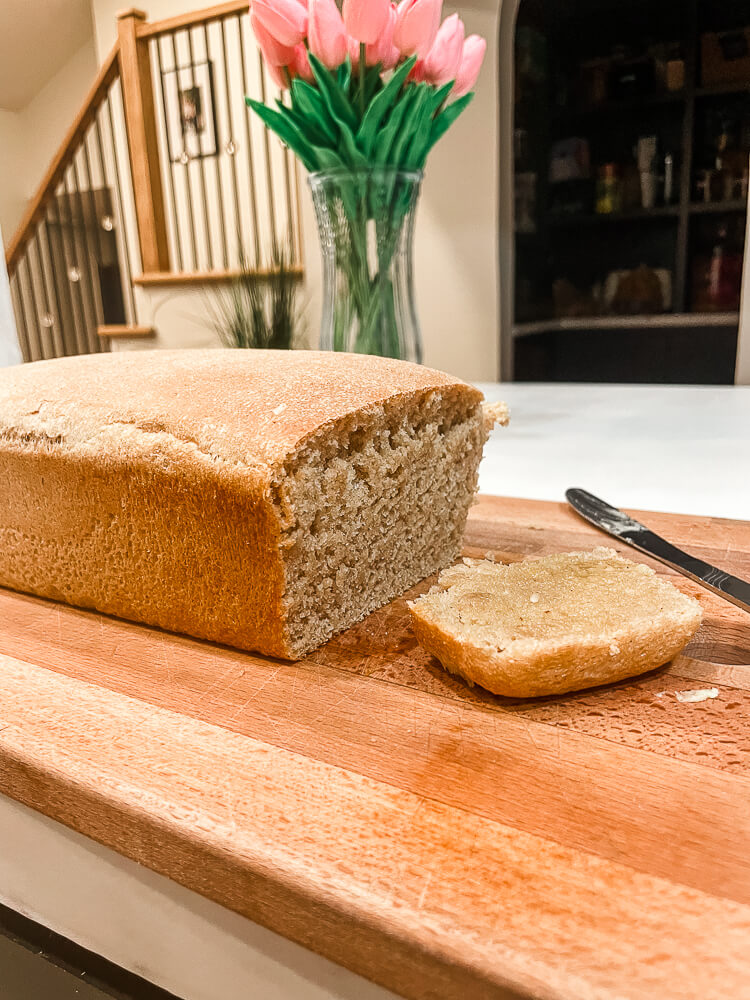
If you’ve been searching for the perfect honey whole wheat bread – one that’s simple to make, uses whole grains, and is delicious – then you’ve come to the right place. I’m sharing my fail-proof recipe for my family’s favorite whole grain bread. Get your apron on because it’s time to bake!
I grew up eating fairly healthy, but since becoming a mom, I’ve become more curious about how nutrition plays a part in health. What I like about this recipe is that is uses natural honey instead of processed sugar, and the flour is made with whole wheat that I grind myself.
Because I bake 4 loaves a week, and I’m frugal, I buy in bulk. And when I mean in bulk, I mean like I’ve got a 5 gallon bucket of honey in my pantry. Also, I try to source my ingredients from reputable companies.
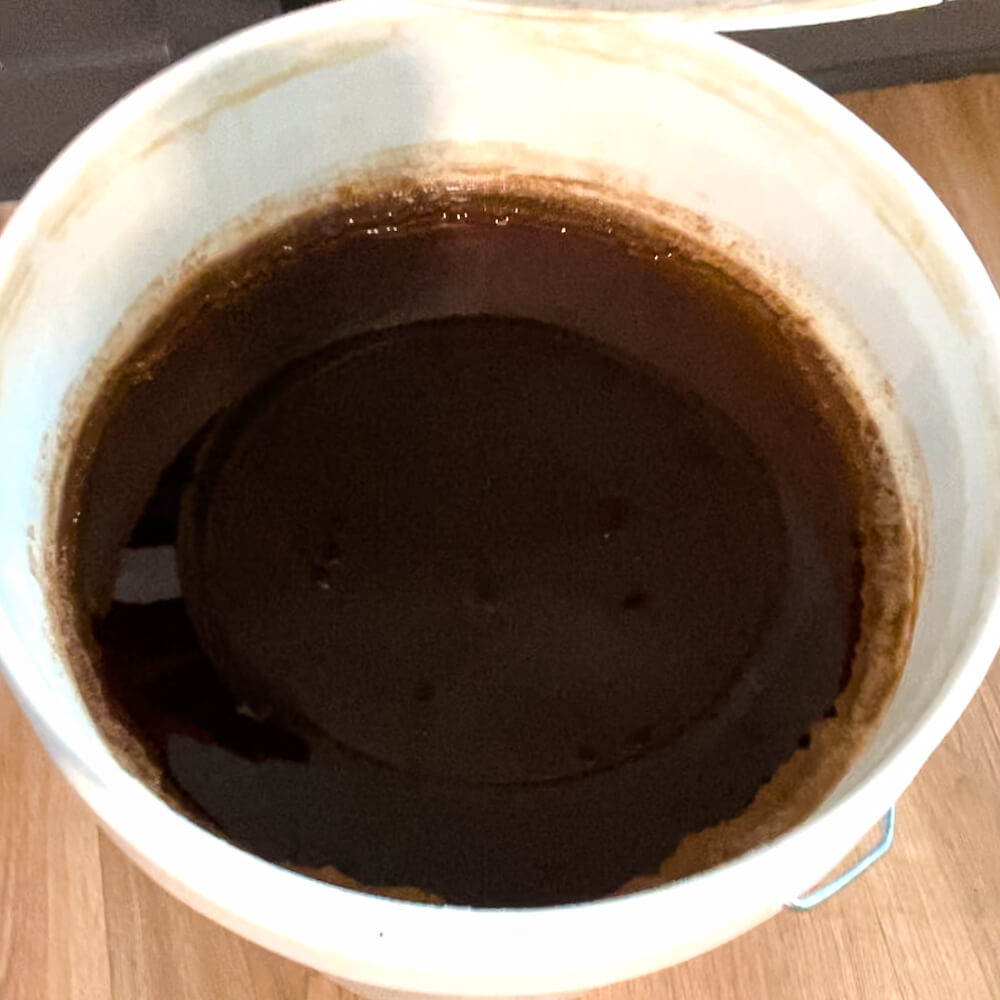
First up on what I use to make my honey whole-wheat bread is honey. Obviously. I buy my honey in bulk from Azure Standard. It’s not pretty to look at, but then most un-processed foods aren’t very attractive. Sometimes that’s a tip off to know if something is actually healthy.
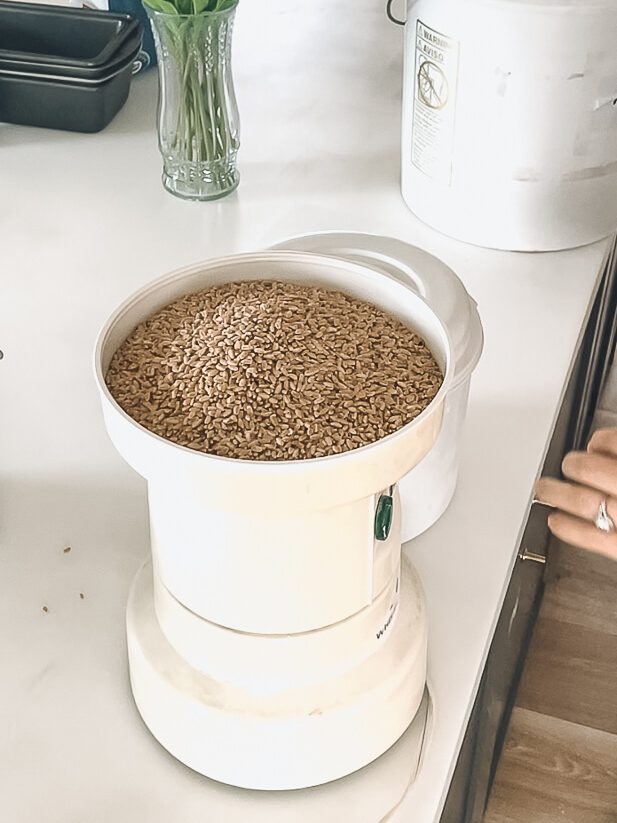
Next, I buy bulk Hard White Wheat from Lehi Mills and use an electric wheat grinder like this one from Amazon. Costco has a 25 lb bag of white flour that I’ll store in a Food Grade 5 Gallon Bucket. I mix a little bit of white flour in with my wheat to make the bread fluffier.
Redmond Real Salt is healthier than typical iodized table salt. I bought a 25 lb bag a couple years ago and it has been so nice to never run out! I’ve still go a few years left of it I think. And no, natural salt doesn’t go bad, in case you were wondering.
A must have for making homemade bread is a Bosch Mixer. This machine is a beast and makes quick work of kneading the dough. It’s a bit expensive, but it will last for years. My mom’s Bosch lasted for a solid 30 years before she finally gave it away. For all I know, it could still be kickin’.
For all you visual learners, here’s me in action making this bread!
Play
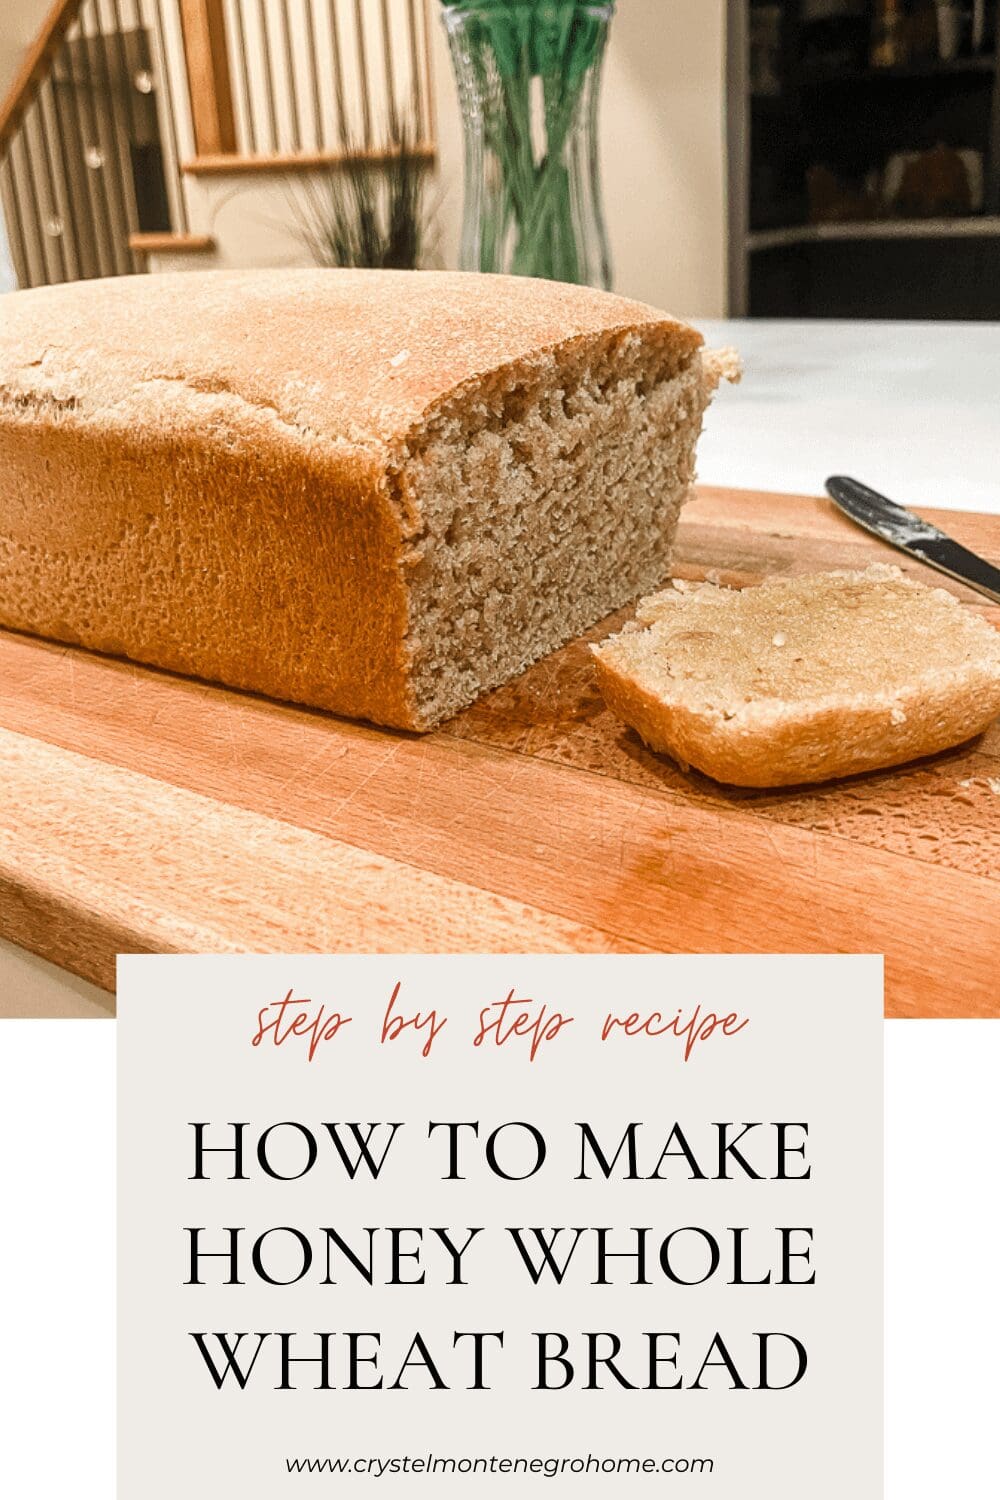
How To Make Homemade Whole Wheat Bread – Step by Step
Here is my tried and true homemade bread recipe. This makes 4 standard size loafs.
15 Cups-ish (I’ll explain why later) Whole Wheat Flour (I sometimes substitute 2 or 3 of these Cups for White Flour)
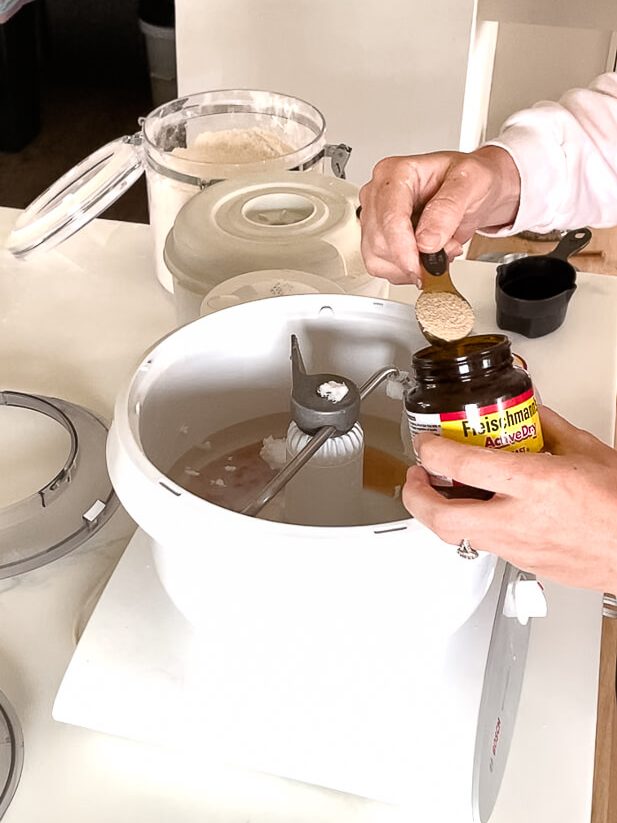
2 T Yeast
2 T Salt
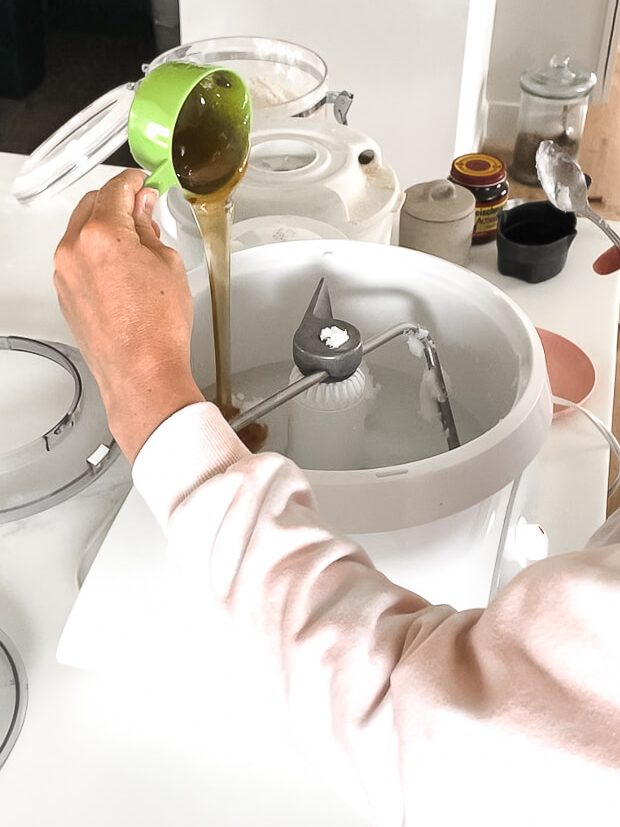
2/3 Cup Honey
2/3 Cup Coconut Oil
6 ¼ Cups Tepid Water – Not too warm or too cold
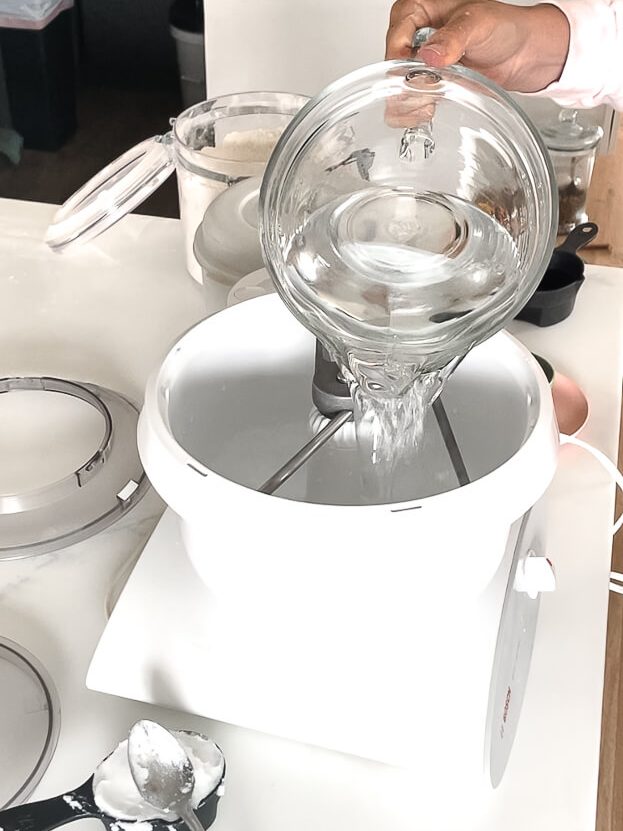
Step 1 – Combine Wet Ingredients Plus Yeast
I keep the Bosch turned off and add everything except the flour. If you want, you can let the yeast proof in the warm water for a bit before adding the other ingredients. I do this sometimes – when I remember.
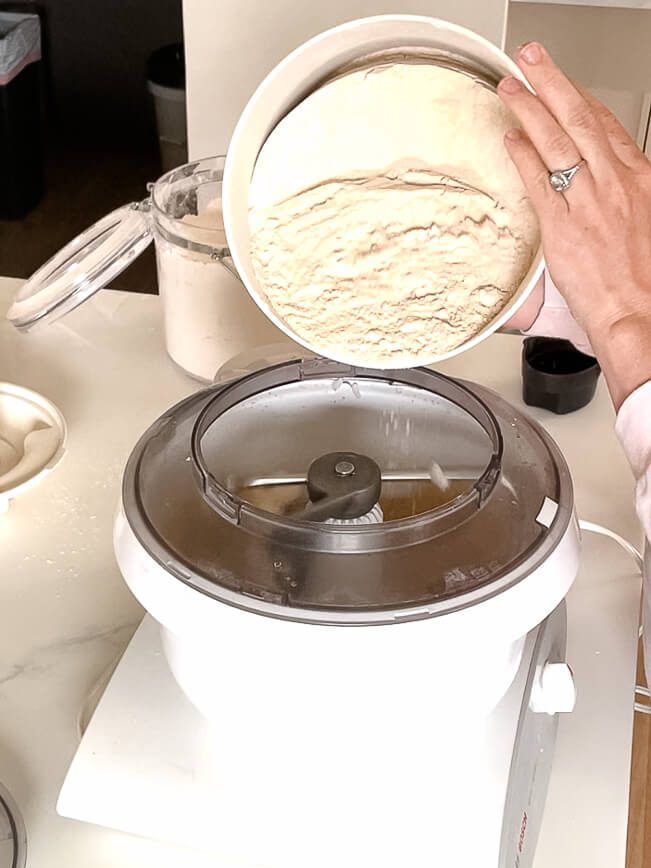
Step 2 – Add Initial Flour
Then I turn the Bosch on for a few seconds and then add about 10 cups of flour until it’s all incorporated.
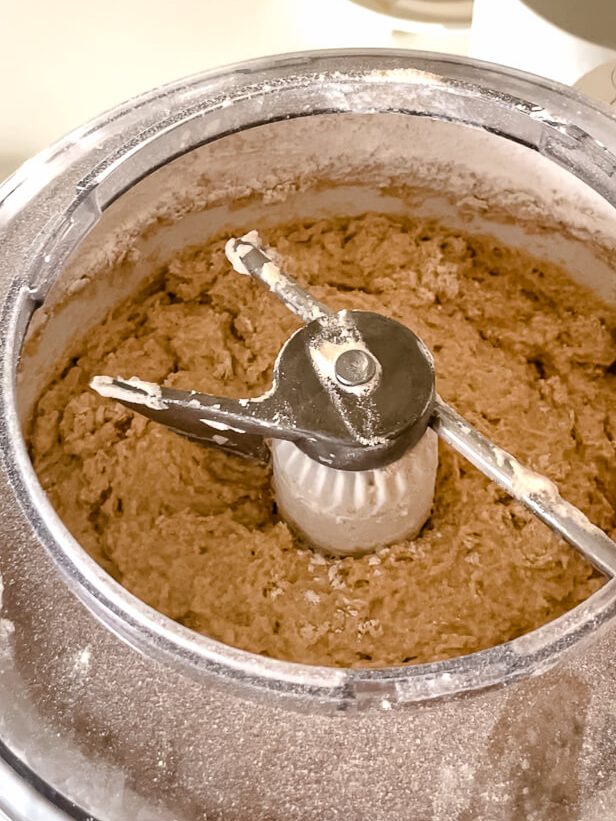
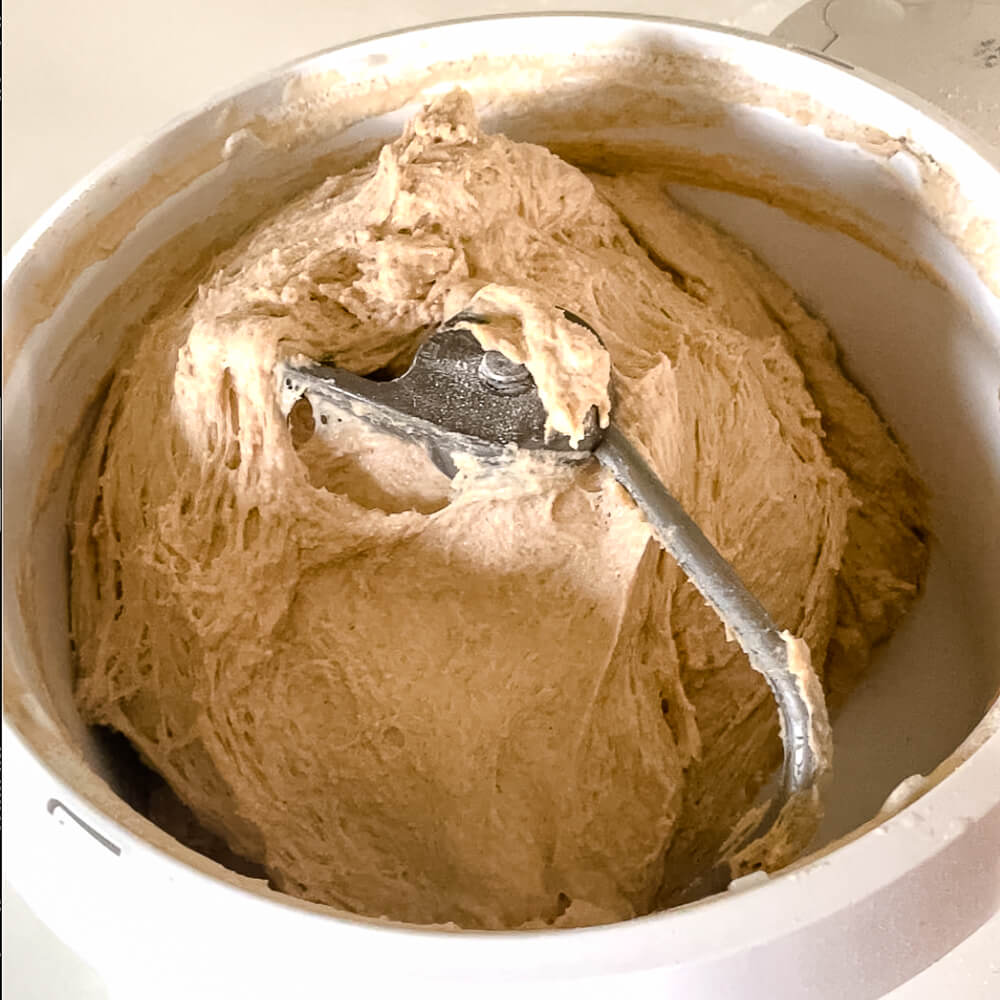
Let the mixer run until your ingredients form a wet dough. When it’s done, it will resemble something like this:
Step 3 – Add Remaining Flour
Turn the Bosch back on, and add remaining flour, about a 1 cup at a time, until the dough starts to pull away from the sides. The kind of flour you use will determine if you will actually need all 15 cups of or not, which is why I don’t actually ever measure how much flour I use.
The tried and true method to know if you’ve added enough flour is to add it slowly, then stop until the dough is just firm enough to start cleaning the sides of the mixing bowl. You don’t want to add too much or your bread will be quite dense rather than light and fluffy.
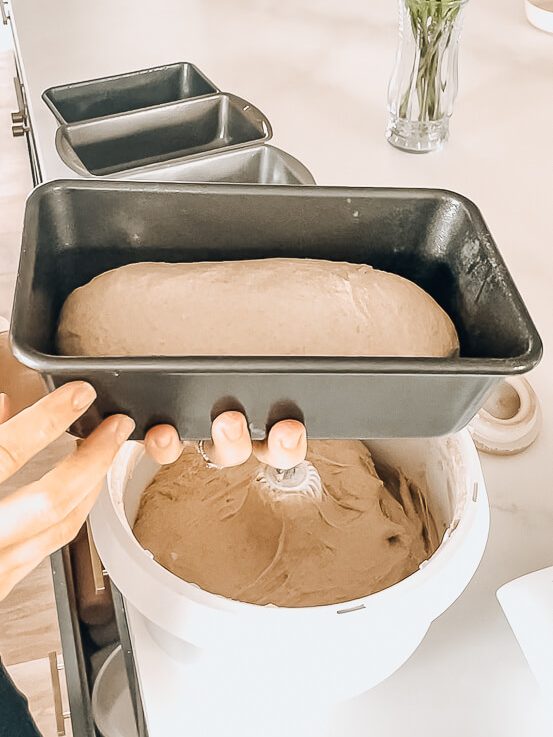
Step 4 – Shape Loaves
Coat the insides of your bread pans with baking spray. I like to spray mine in my sink so the overspray lands in my sink and not on my counter. For a healthier alternative you can coat your pans with butter first, then a dusting of flour.
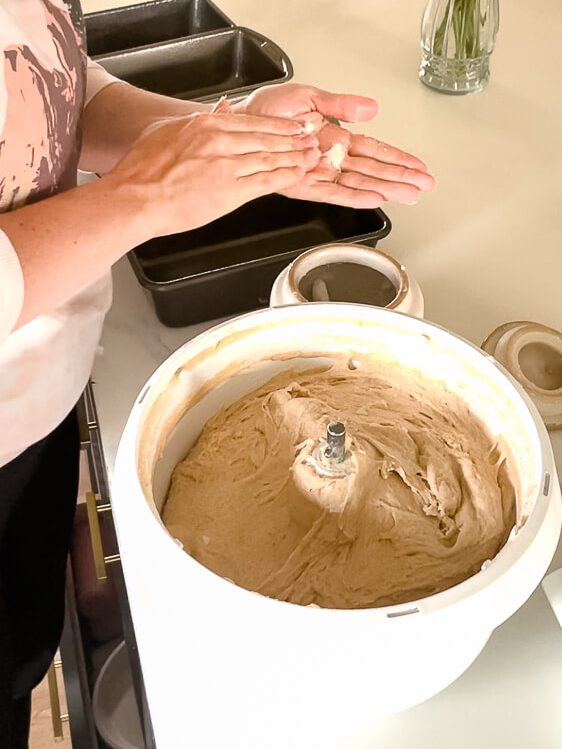
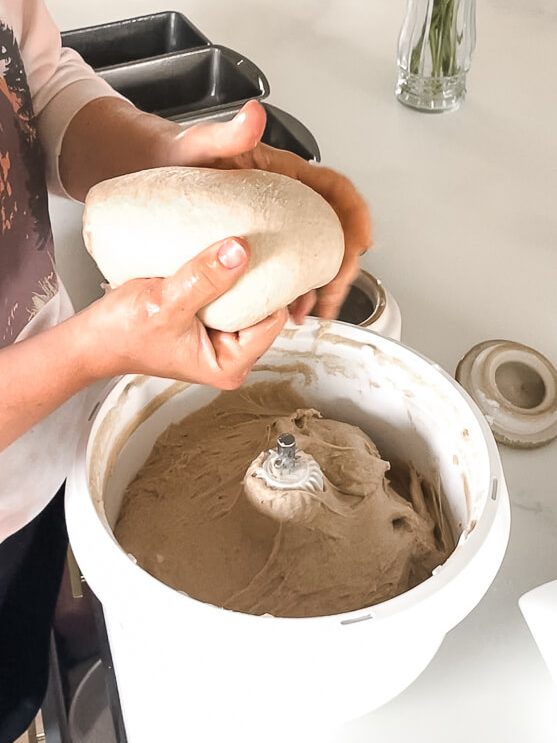
Here’s where you’ll start to feel like a baker. Coat your hands with some coconut oil and eyeball about 4 equal parts of dough. Grab a hunk of dough, and start forming it into a loaf by pulling on the pokey edges and tucking them down underneath until it’s all nice and round.
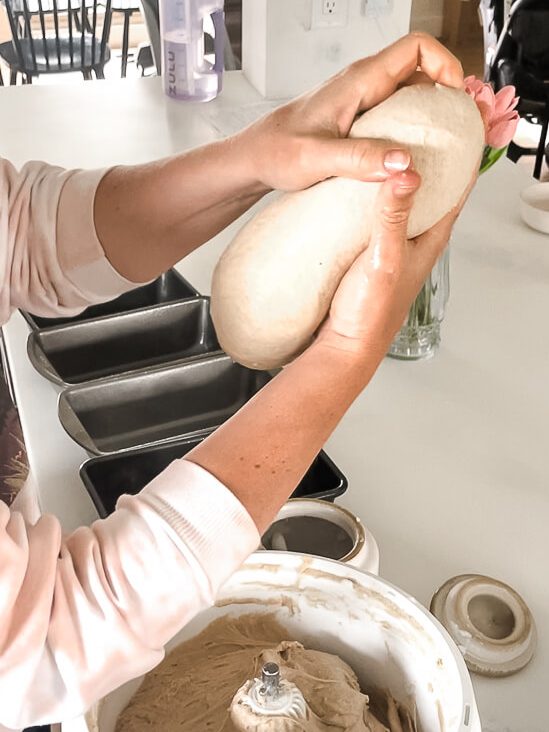
I also like to let the dough sag a bit to stretch it out. Then place the dough in the pan, with the smooth part facing up. The pan should only be filled with dough about halfway.
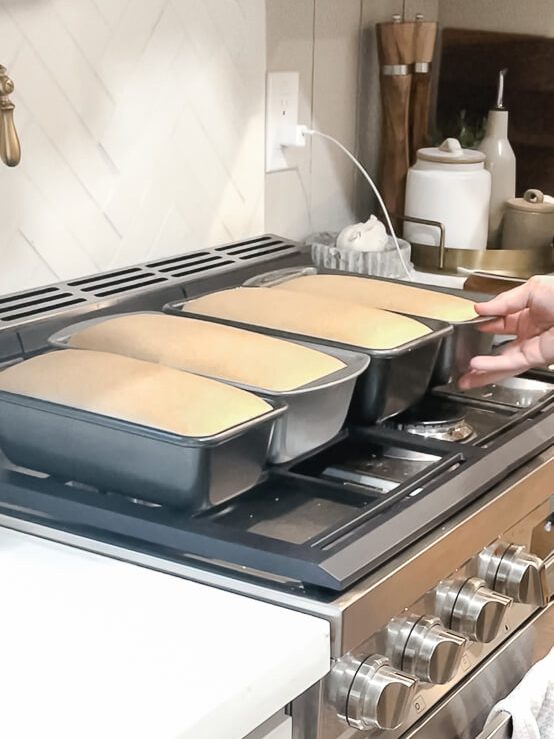
Step 5 – Let It Rise
Place the pans somewhere warm-ish to rise. I preheat my oven at this point to 350 degrees and set the bread on top of the stove. The dough should rise to just an inch or so above the top of the pan, but you don’t want it to rise too much or it will fall when you go to bake it and you’ll have ugly looking (but still great tasting!) loaves.
If your yeast is not old and it’s a reasonable temperature inside, this should only take around 30-ish minutes, although this batch did take a little longer.
Step 6 – Bake
When your dough is risen, place the loaves on the middle rack or staggered on an upper and lower rack.
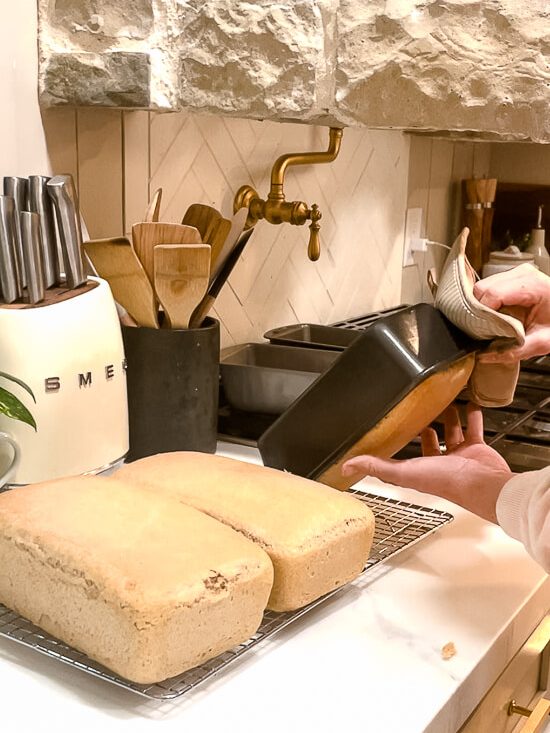
Step 7 – Cool
Let them bake for 30 minutes. When they’re done, take the bread out of the pans and immediately remove the loaves from the pans and set them on a baking rack to cool. If you leave the hot bread in the pans they will begin to sweat, and nobody likes sweaty bread. Usually, this is the point when my family comes running, and at least one loaf never makes it to see the light of the next morning.
After the surviving loaves are cool, I like to wrap them up and store them in these bread bags. I like to keep one loaf out for sandwiches and toast, and the others I stick in the freezer until we’re ready to eat them.
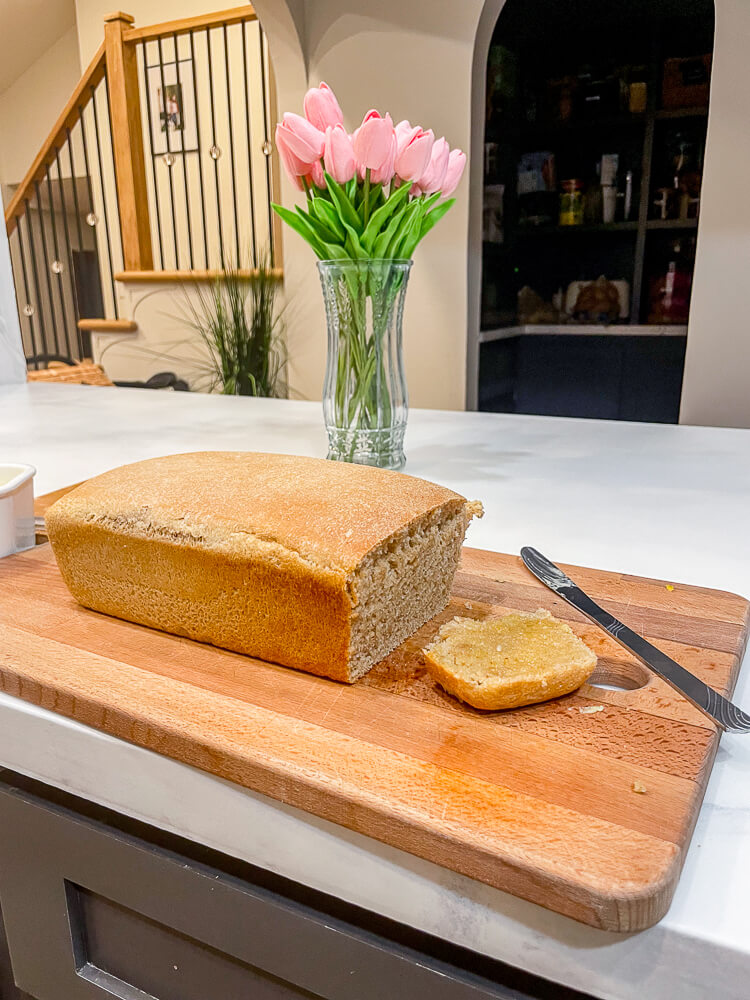
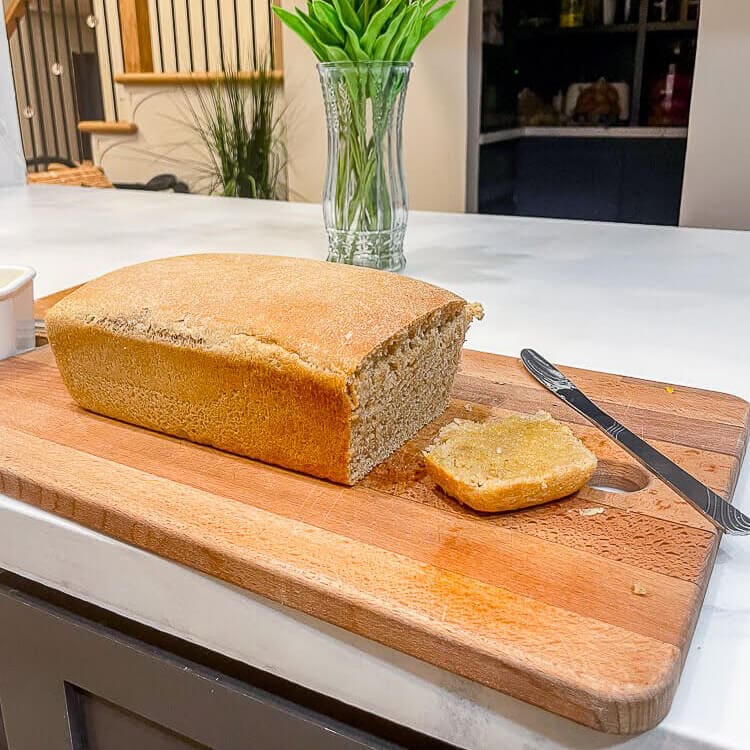
Time to Enjoy Your Honey Whole Wheat Bread!
Making fresh, wholesome bread from scratch isn’t as complicated as people think! If you have any questions about my recipe, or if my this article helped you feel confident to bake your own home made loaves of bread, leave a comment and I’ll be sure to respond!
This homemade honey whole wheat bread is soft, slightly sweet, and perfect for sandwiches or toast.Made with freshly ground whole wheat flour and natural honey, it’s a wholesome choice for your family’s table.
Ingredients
Scale
15 cups whole wheat flour (can substitute 2–3 cups with white flour)
2 tablespoons active dry yeast
2 tablespoons salt
⅔ cup honey
⅔ cup coconut oil
6¼ cups tepid water
Instructions
Combine Wet Ingredients:In a large mixing bowl or stand mixer, combine the tepid water, honey, coconut oil, salt, and yeast. Stir to dissolve the yeast.
Add Initial Flour:Gradually add about 10 cups of whole wheat flour to the mixture, mixing until a wet dough forms.
Incorporate Remaining Flour:Continue adding the remaining flour, 1 cup at a time, until the dough pulls away from the sides of the bowl and is no longer sticky.
Shape Loaves:Divide the dough into four equal portions. Shape each portion into a loaf and place them into greased loaf pans.
Let It Rise:Cover the loaf pans with a damp cloth and let the dough rise until it reaches the top of the pans, about 30–45 minutes.
Bake:Preheat the oven to 350°F (175°C). Bake the loaves for 30–35 minutes, or until the tops are golden brown and the bread sounds hollow when tapped.
Cool:Remove the loaves from the pans and let them cool on wire racks before slicing.
Nutrition
Serving Size:1 slice
Calories:126.6
Sugar:2.9g
Fat:2.8g
Carbohydrates:23.2g
Fiber:3.2g
Protein:3.8g
How do you make honey whole wheat bread at home?
Combine whole wheat flour, honey, coconut oil, yeast, and water in a Bosch mixer or stand mixer. After mixing, let it rise, then bake for 30 minutes for soft, wholesome loaves.
What makes honey whole wheat bread healthy?
It uses natural honey and freshly ground whole wheat, offering more fiber and nutrients than refined ingredients.
Can you freeze honey whole wheat bread?
Absolutely! Freeze extra loaves to enjoy fresh-tasting bread anytime.


Is there a printable version of this recipe?
So sorry but there isn’t. However I’ll try to add printable recipes going forward. Thanks for the suggestions.