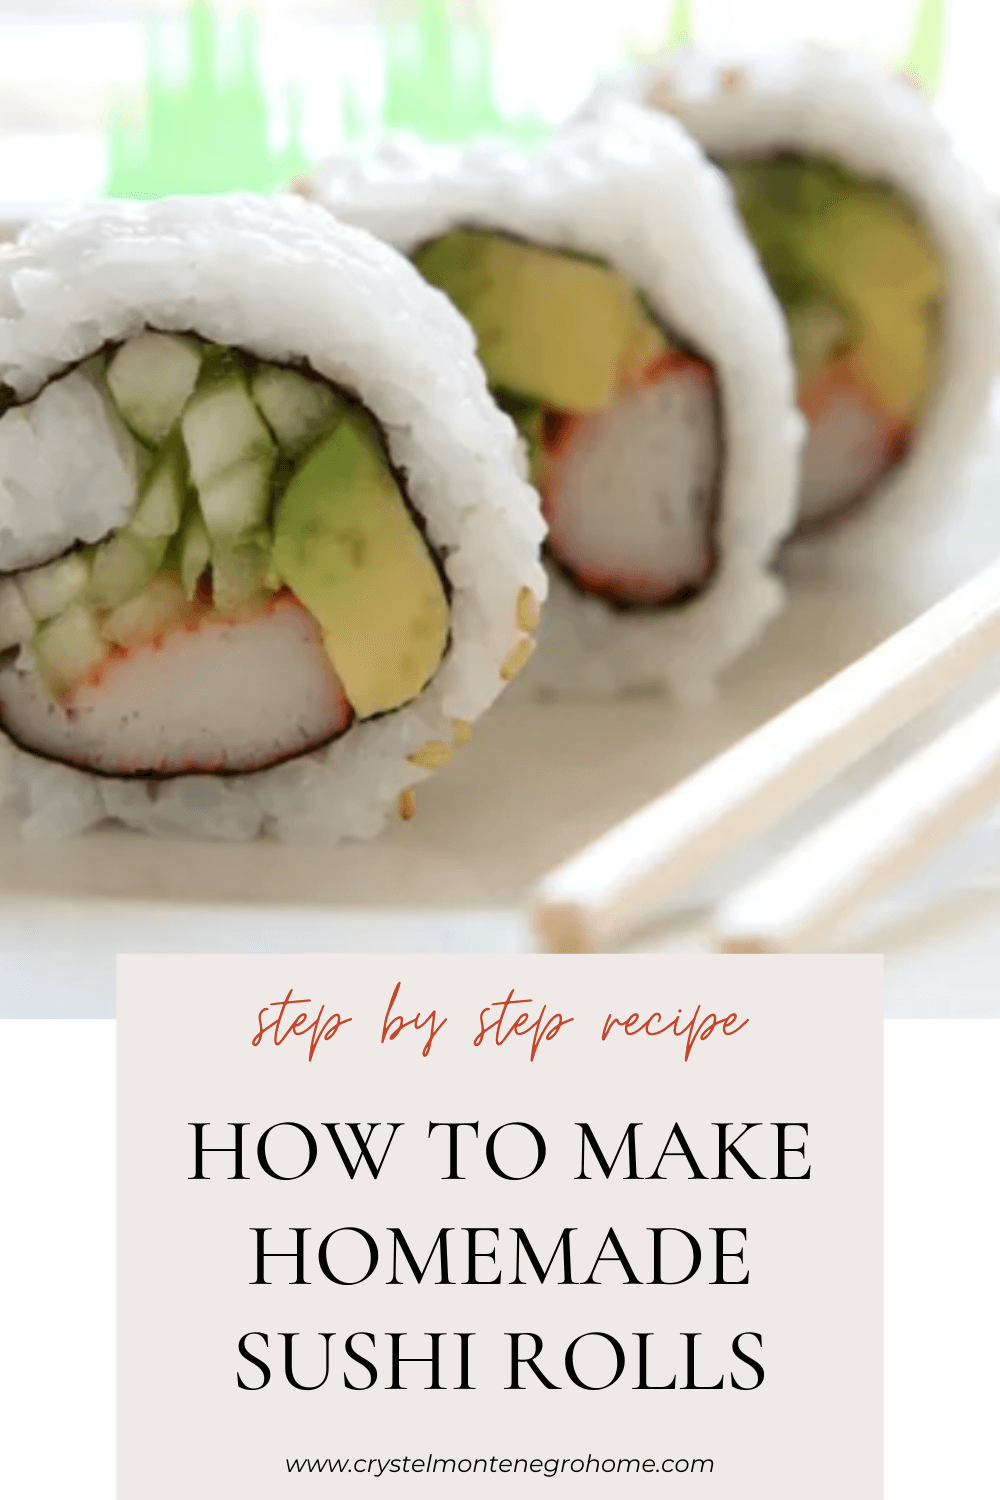
This post includes affiliate links.
Would you like some tips for making sushi at home? Sushi is one of my very most favorite foods and being as expensive as it is and the DIY-er that I am, I decided a couple years ago to investigate making my own.
After a few trial-and-error experiments and a lot of Pinterest research I’ve come up with a very simple and inexpensive method of making sushi that always turns out pretty dang good. My step by step inside-out sushi recipe will give you the confidence to make your own delicious sushi without the expensive bill at the end of the night.
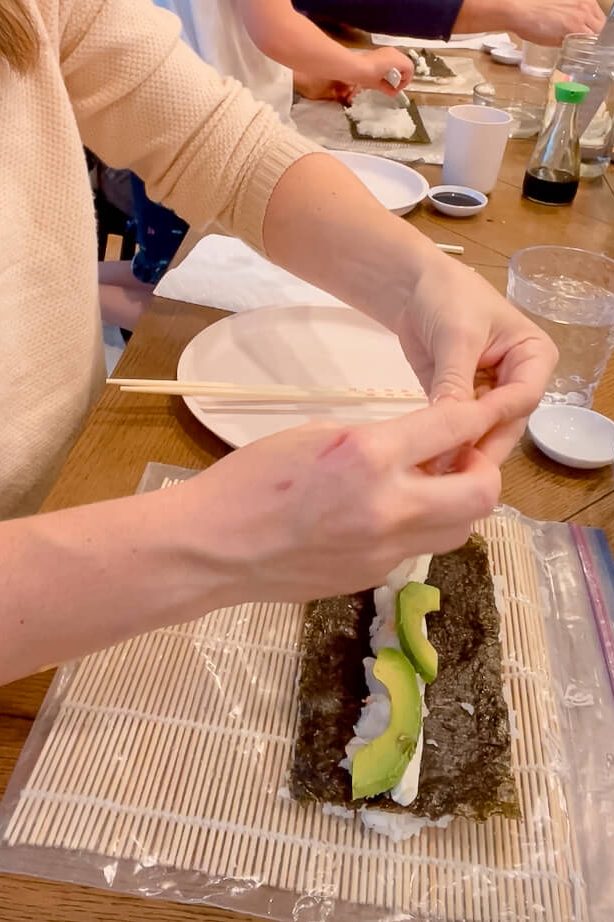
This is one of my favorite dinners to make and it’s converted several sushi haters into sushi lovers. So, let’s get rolling!
Best Tools for Making Sushi Rolls at Home
I like to keep things simple. I’ve seen sushi kits come with items that look more complicated than I care to figure out. Here’s what’s worked for our family.
That’s honestly all you need. And the sushi knife is even optional; any sharp knife will do.
Best Fillings For Sushi Rolls
We’re basic and stick to traditional California Roll fillings:
- Avocado
- Imitation Crab
- Cream Cheese
- Shrimp
- Cucumber
- Sushi Rice
- Nori
How to Prepare California Roll Fillings
Since we make 3-4 rolls each, it’s easier to pre-cut the ingredients ahead of time and set everything out on a platter in the middle of the table.
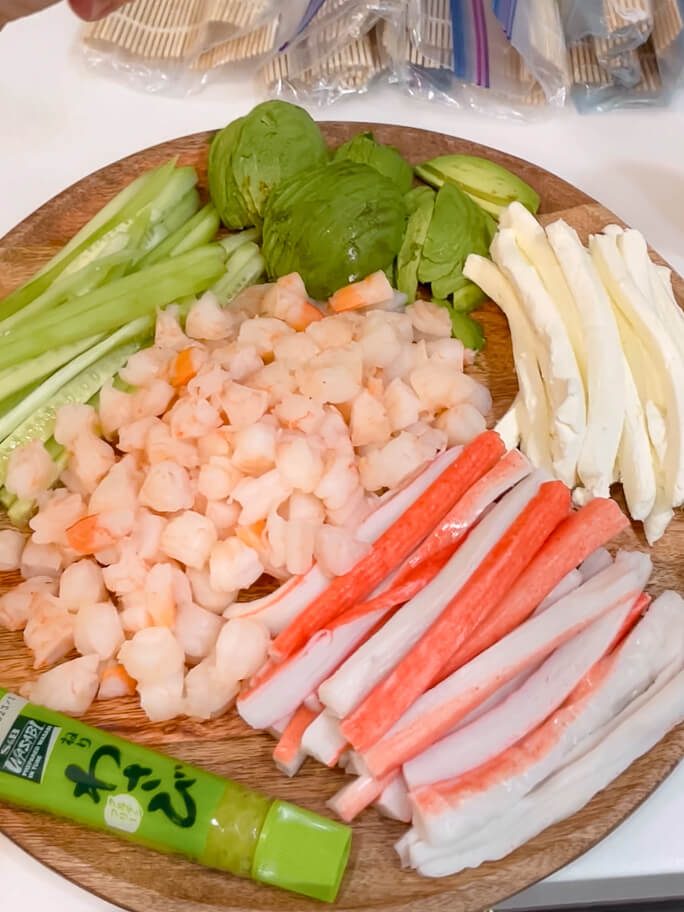
Just slice everything into skinny strips. If you’re curious how to cut cream cheese for sushi, here’s a great tip: use kitchen scissors.
How to Make Sushi Rice
This is where a rice cooker comes in handy. You can buy an actual legit sushi rice cooker, but any basic rice cooker works just fine. The best rice to use for sushi is Calrose because once it’s cooked, it’s soft and sticky.
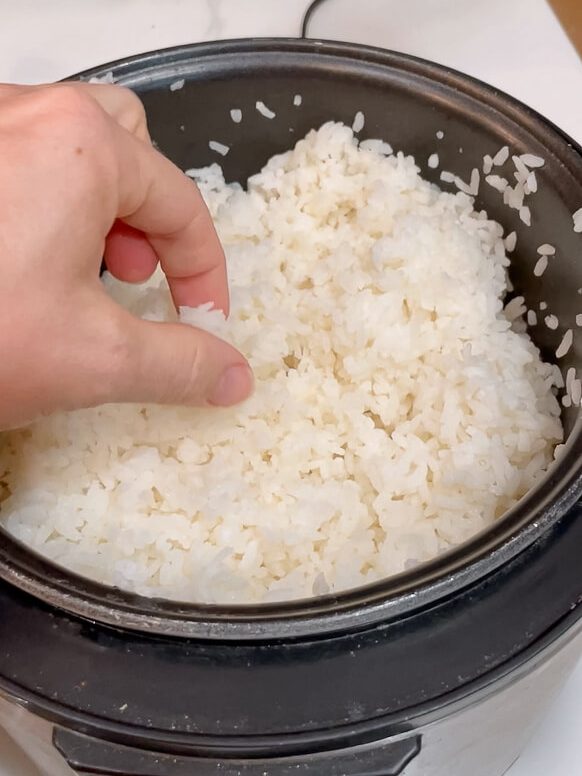
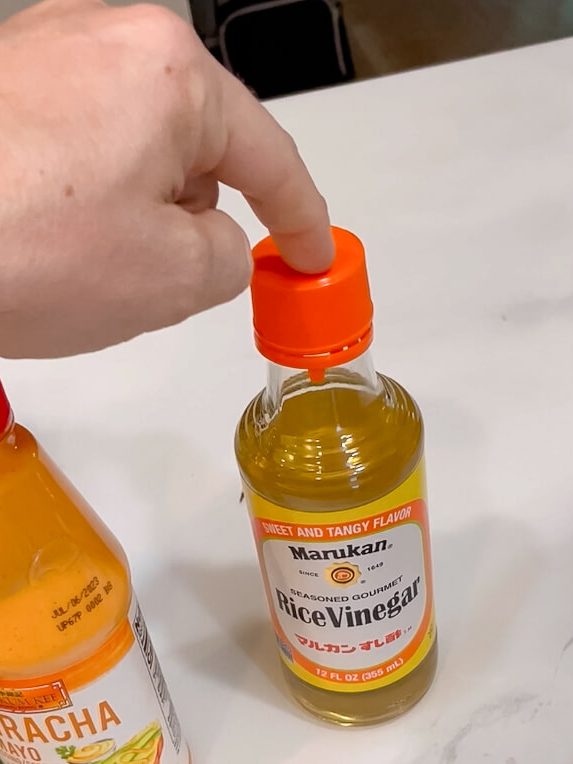
To make true sushi rice, I’ll add rice vinegar after it’s done cooking. My ratio is 1/4 cup rice vinegar for every 3 cups of cooked rice.
How to Make an Inside Out Sushi Roll
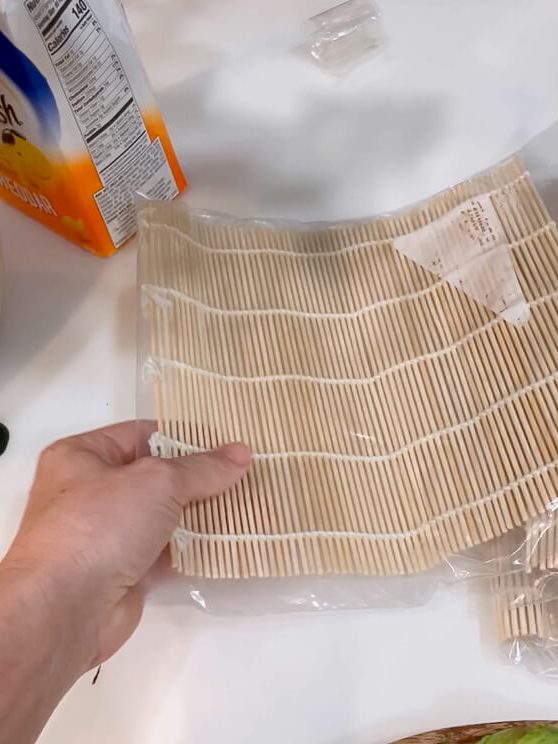
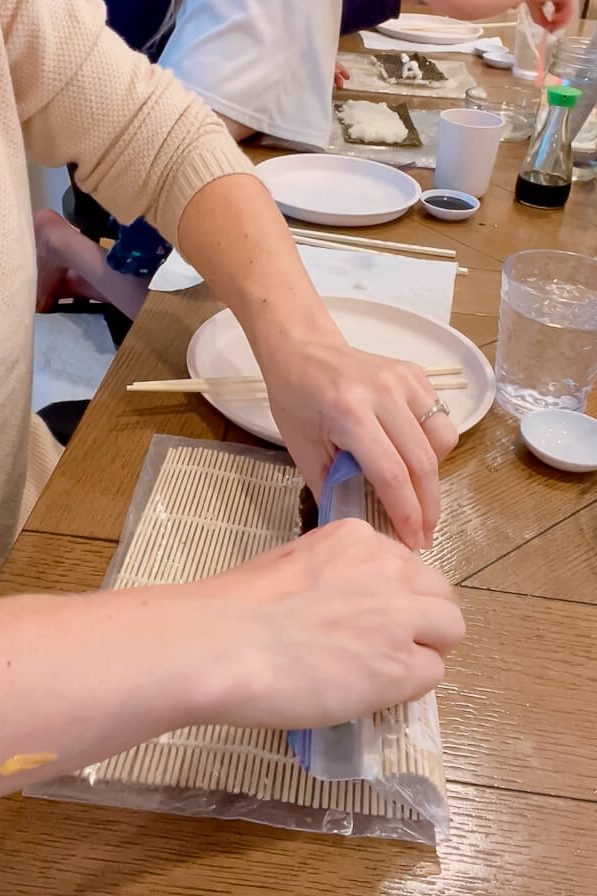
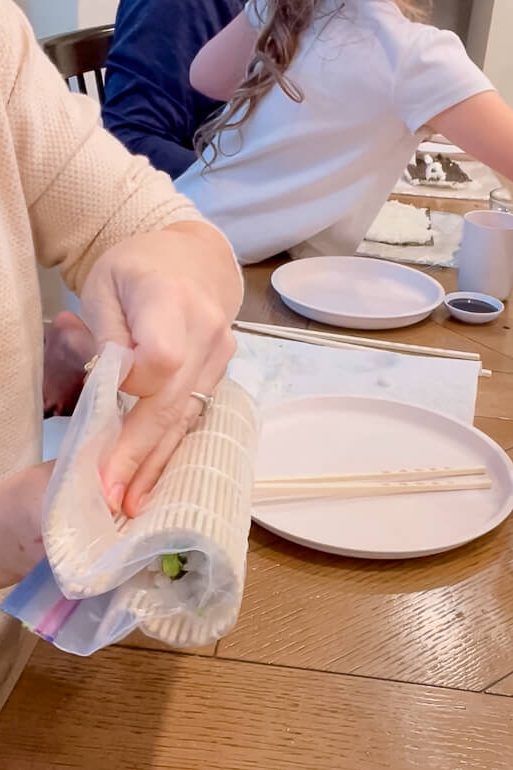
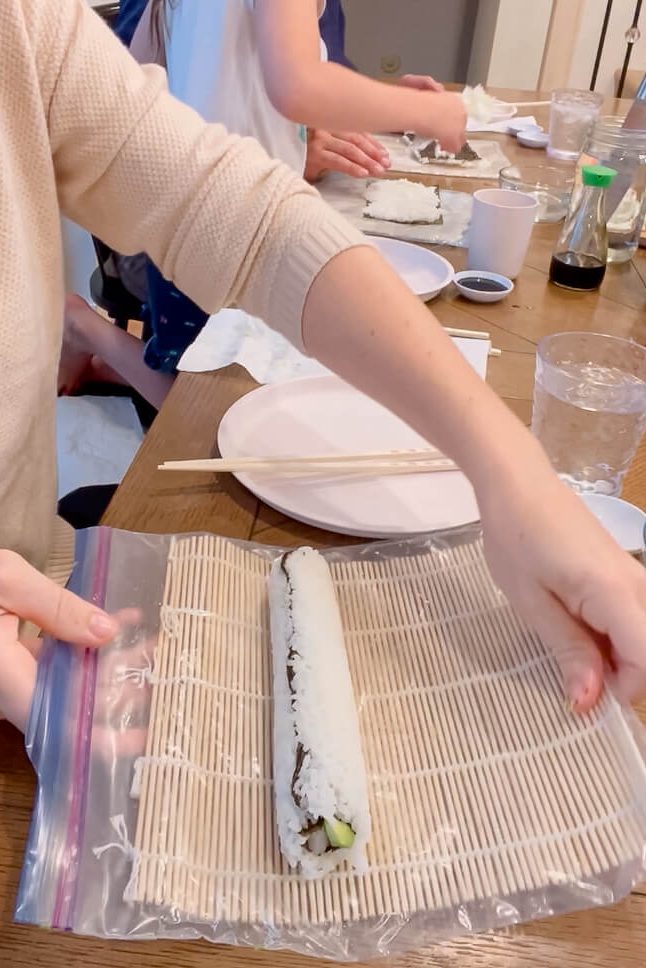
First, you will need a bamboo rolling mat. Here’s a tip for making sushi at home: keep your bamboo rolling mats in gallon sized Ziploc bags. The mat will work the same and you don’t have to clean them after you’re done.
Start by laying a piece of nori on the lower part of your bamboo mat. Nori is dried edible seaweed. I buy mine in bulk and store it in the freezer.
Then spread a thin layer of sushi rice over the nori sheet. Use your fingers to press the rice flat. I always keep a bowl of water nearby to dip my fingers in so they stay wet. This helps keep the rice from sticking to your hands instead of the nori.
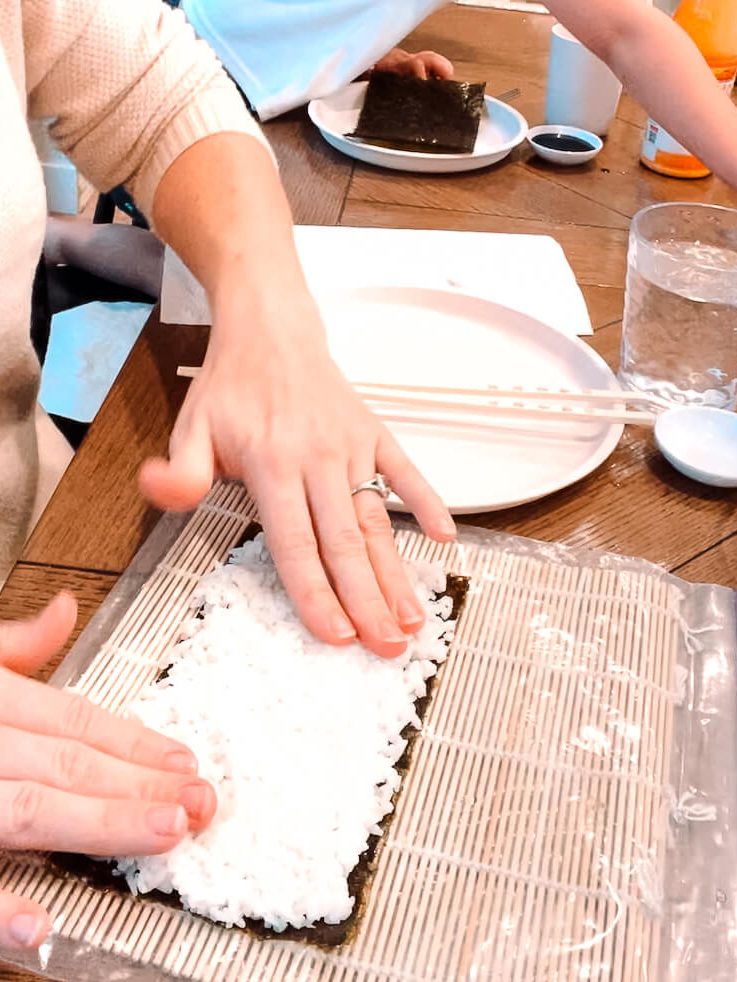
After your rice is flattened, sprinkle a bit of water on the top of your mat and flip the nori over so the rice is now on the bottom.
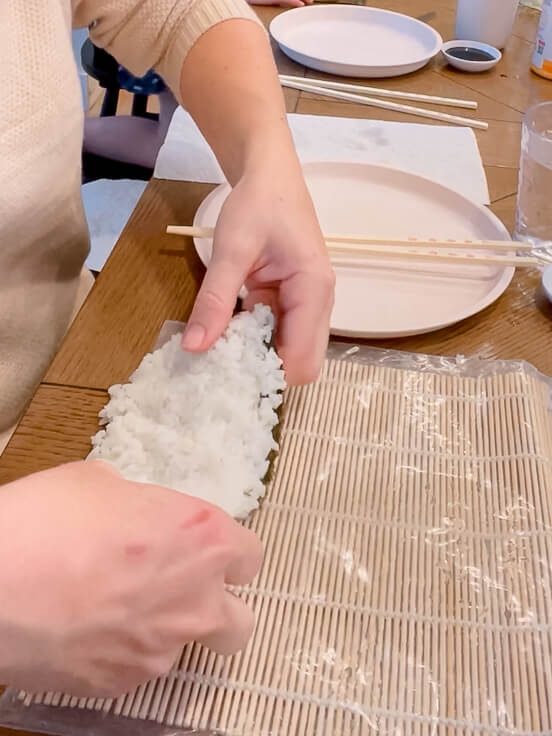
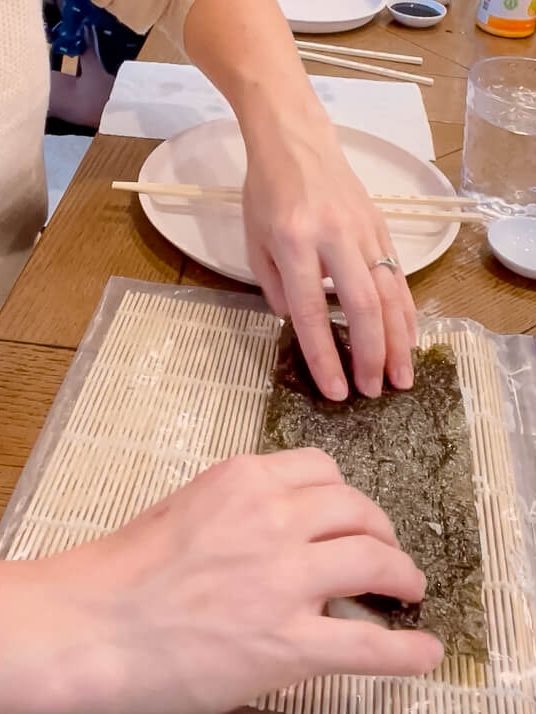
Now you can add your desired fillings to the center of the seaweed.
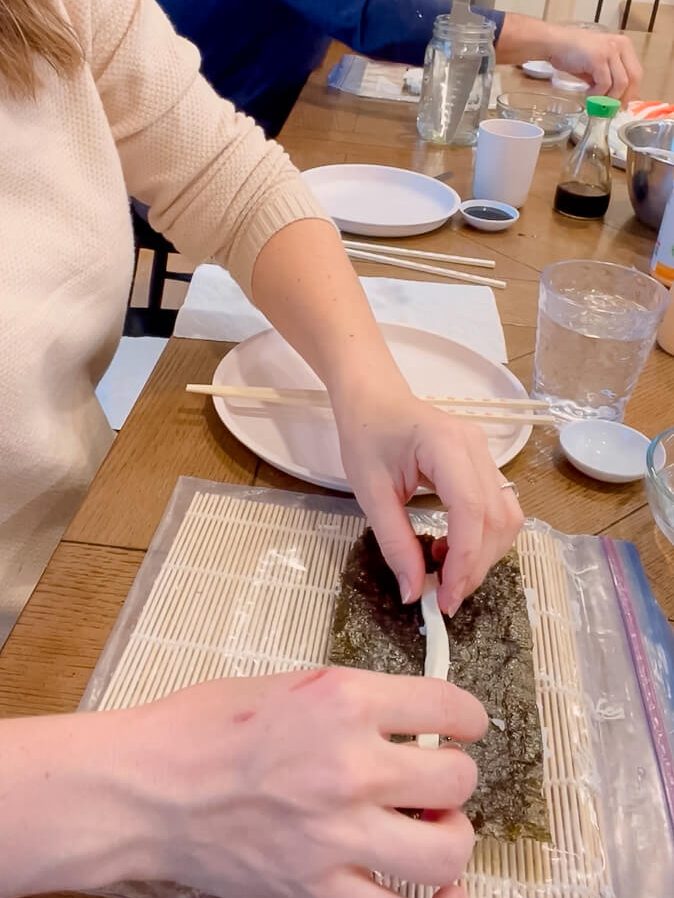
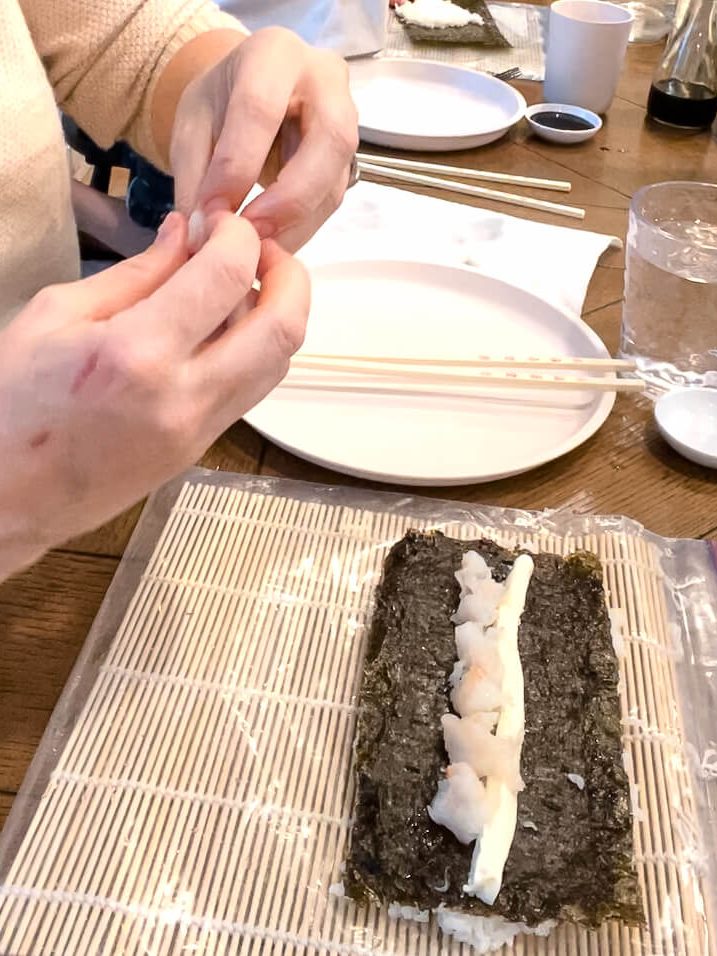
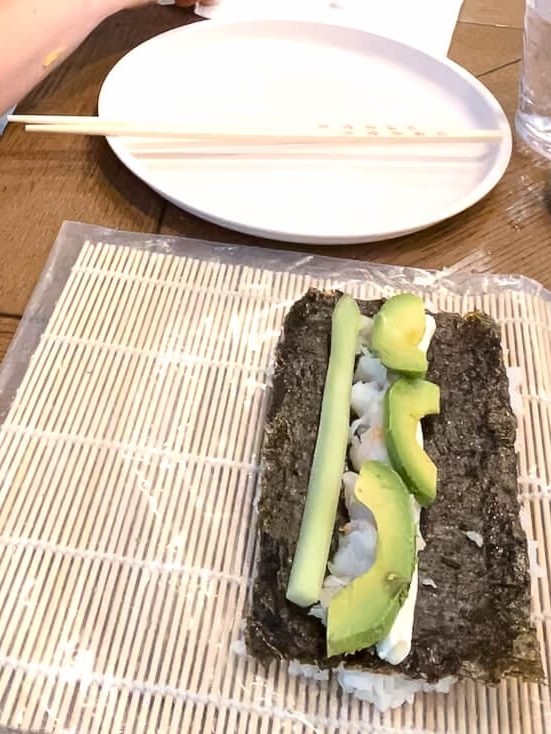
To wrap up the roll, fold it over and start rolling, making sure everything is tight and compact as you roll.
How to Cut Inside Out Sushi Rolls
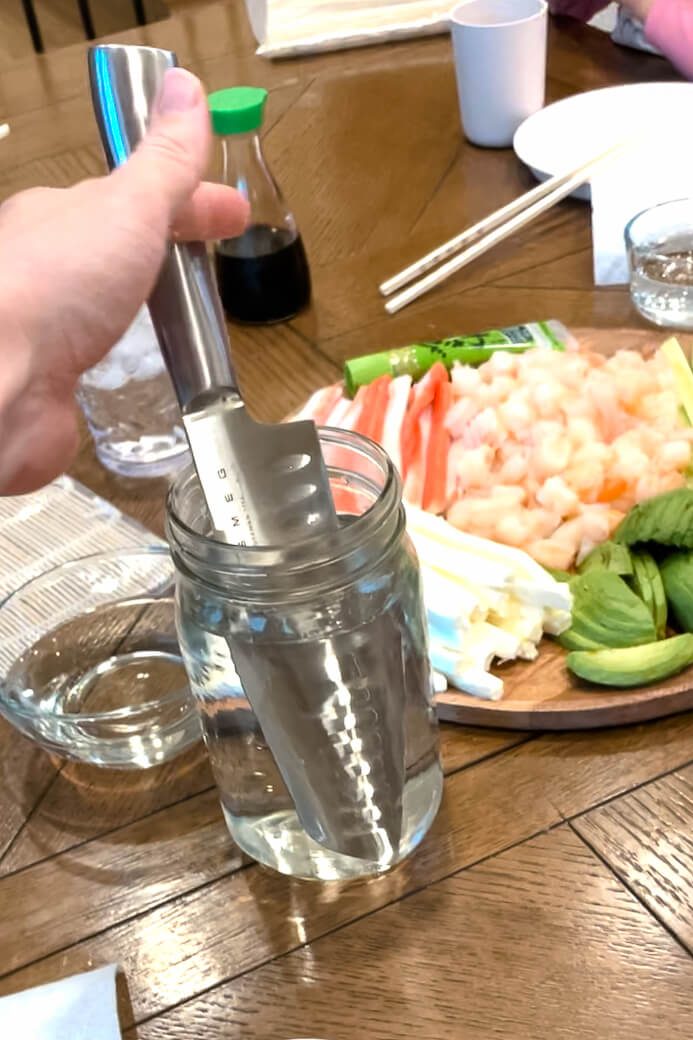
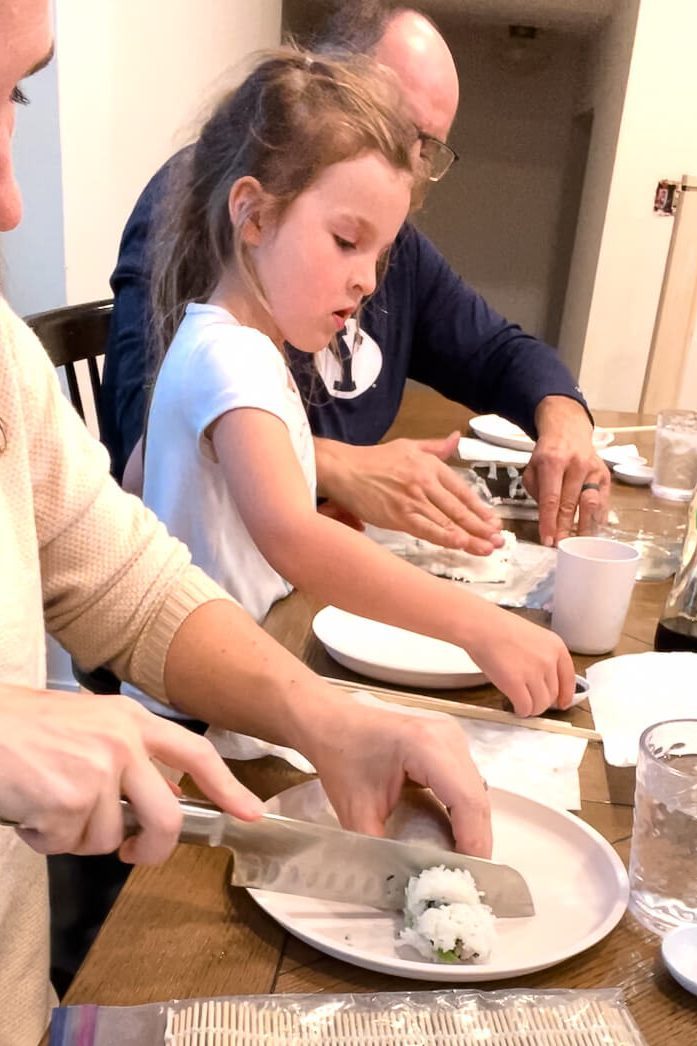
This is the sushi knife I own.
Any sharp knife will do, but this knife has holes which help it not smash the sushi as you cut it. I keep the knife in a mason jar of water until it’s ready to be used because the water on the knife will help it cut through the roll easier. Also, the sharper the knife the cleaner the cut.
Additional Tips for Making Sushi At Home
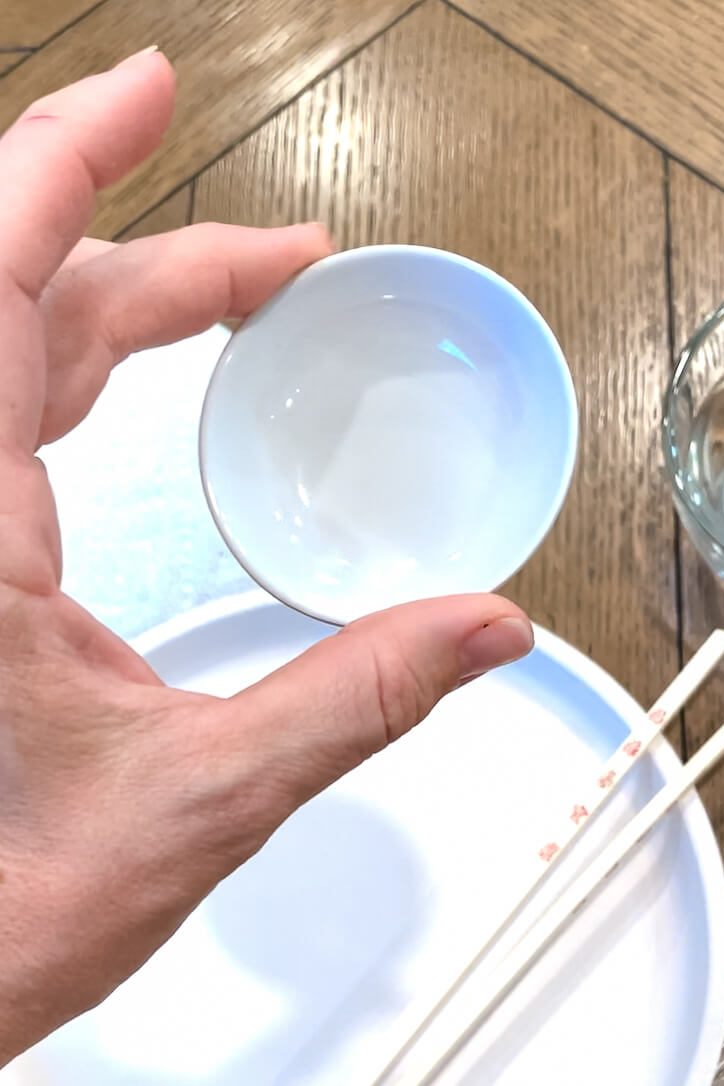
- These little bowls on Amazon are perfect for soy sauce.
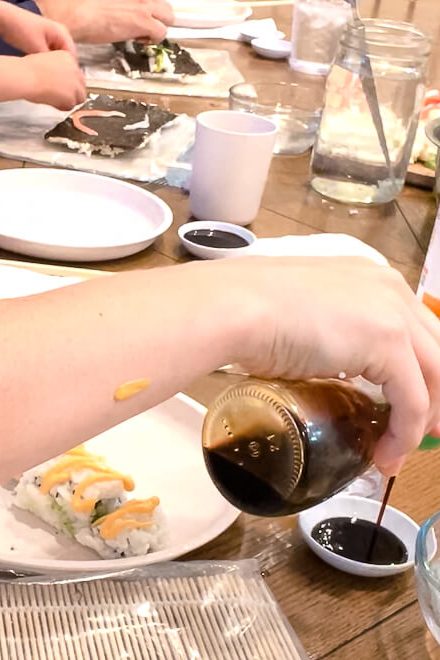
- Chopsticks aren’t a must, but they’re fun.
- We love this spicy mayo, but because my girls are still little, I mix in a bit more mayo to dilute the spiciness.
- Unagi sauce, sometimes also called eel sauce is another favorite. It adds a sweetness that compliments the saltiness of the roll.
- My husband likes adding wasabi on his sushi rolls. I don’t get it because then all you taste is the wasabi and I’d actually like to taste the sushi because that’s what I made.
Now You Can Open Your Own Sushi Restaurant
Making your own sushi may appear daunting at first, but it’s well worth the effort. All you can eat sushi that I can eat in my pajamas? Yes please. My kids love sushi night because they get to make their own food, even if their rolls mostly turn into just ingredients in a bowl.
As Confucius said, “Give a man a fish and you feed him for a day; teach a man to make sushi and you feed him for a lifetime.”
If you’re interested in other healthy homemade recipes, check out my Thanksgiving Turkey Bone Broth recipe.
I posted a YouTube video about making your own sushi so you can see my sushi rolling technique in action.
Leave a comment if you’ve got your own awesome tips for making sushi at home!
XOXO,
Crystel
