Installing a DIY Paver Patio


Updated May 12, 2025
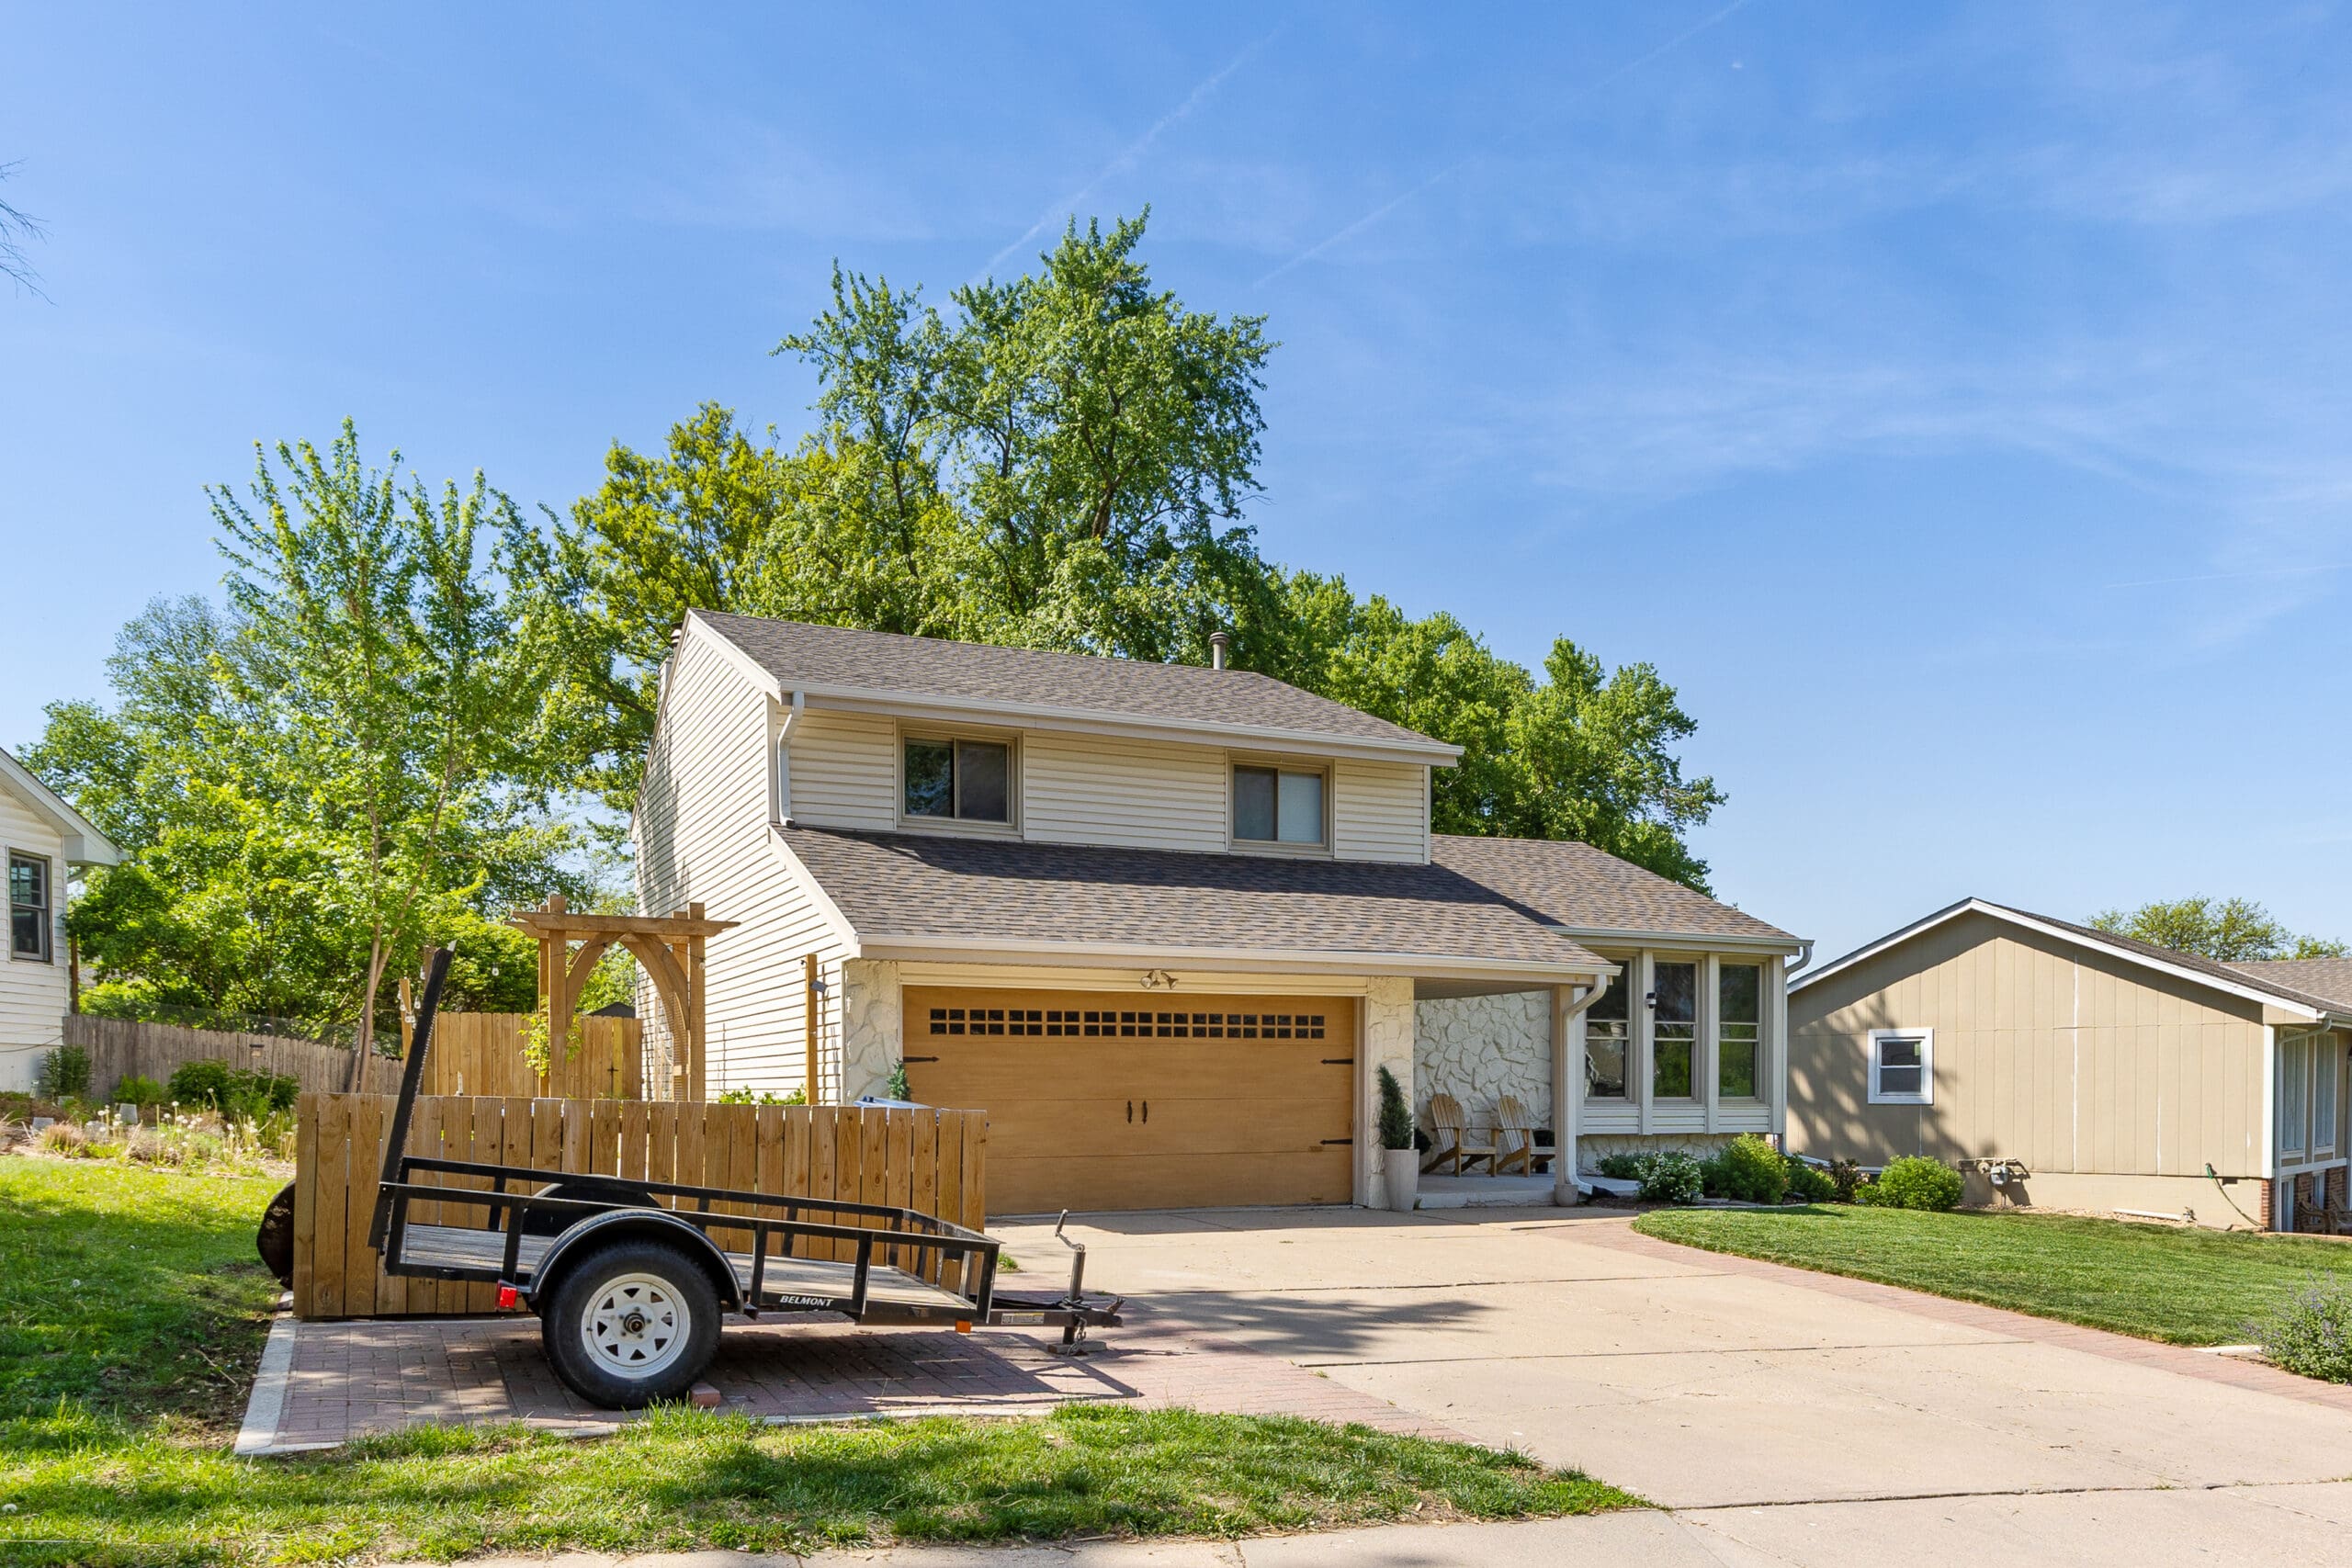
When you think of uses for a DIY paver patio, your mind probably goes to a backyard seating area, or maybe a place for a BBQ, but there is so much more that you can do with pavers. We needed a spot to park our trailer, and a DIY paver patio was the perfect solution. This project didn’t go quite as planned, and I learned a lot along the way. I’m giving you all the nitty-gritty details for how to install your own DIY paver patio.

Tools and Materials
- Tiller
- Shovel
- Wheelbarrow
- Stiff rake
- Tamper
- Rubber mallet
- Tile saw
- Broom
- Pavers
- Rock base
- Sand
- Polymeric sand
Why We Installed a DIY Paver Patio
We thankfully don’t live in a neighborhood with an HOA, but the city does have rules for trailer storage. It can’t be parked in the grass but needs to be on a driveway or pad. While having concrete workers install our backyard patio, we also had them pour a concrete pad next to our driveway. It solved the problem of where to put the trailer but looked awful.
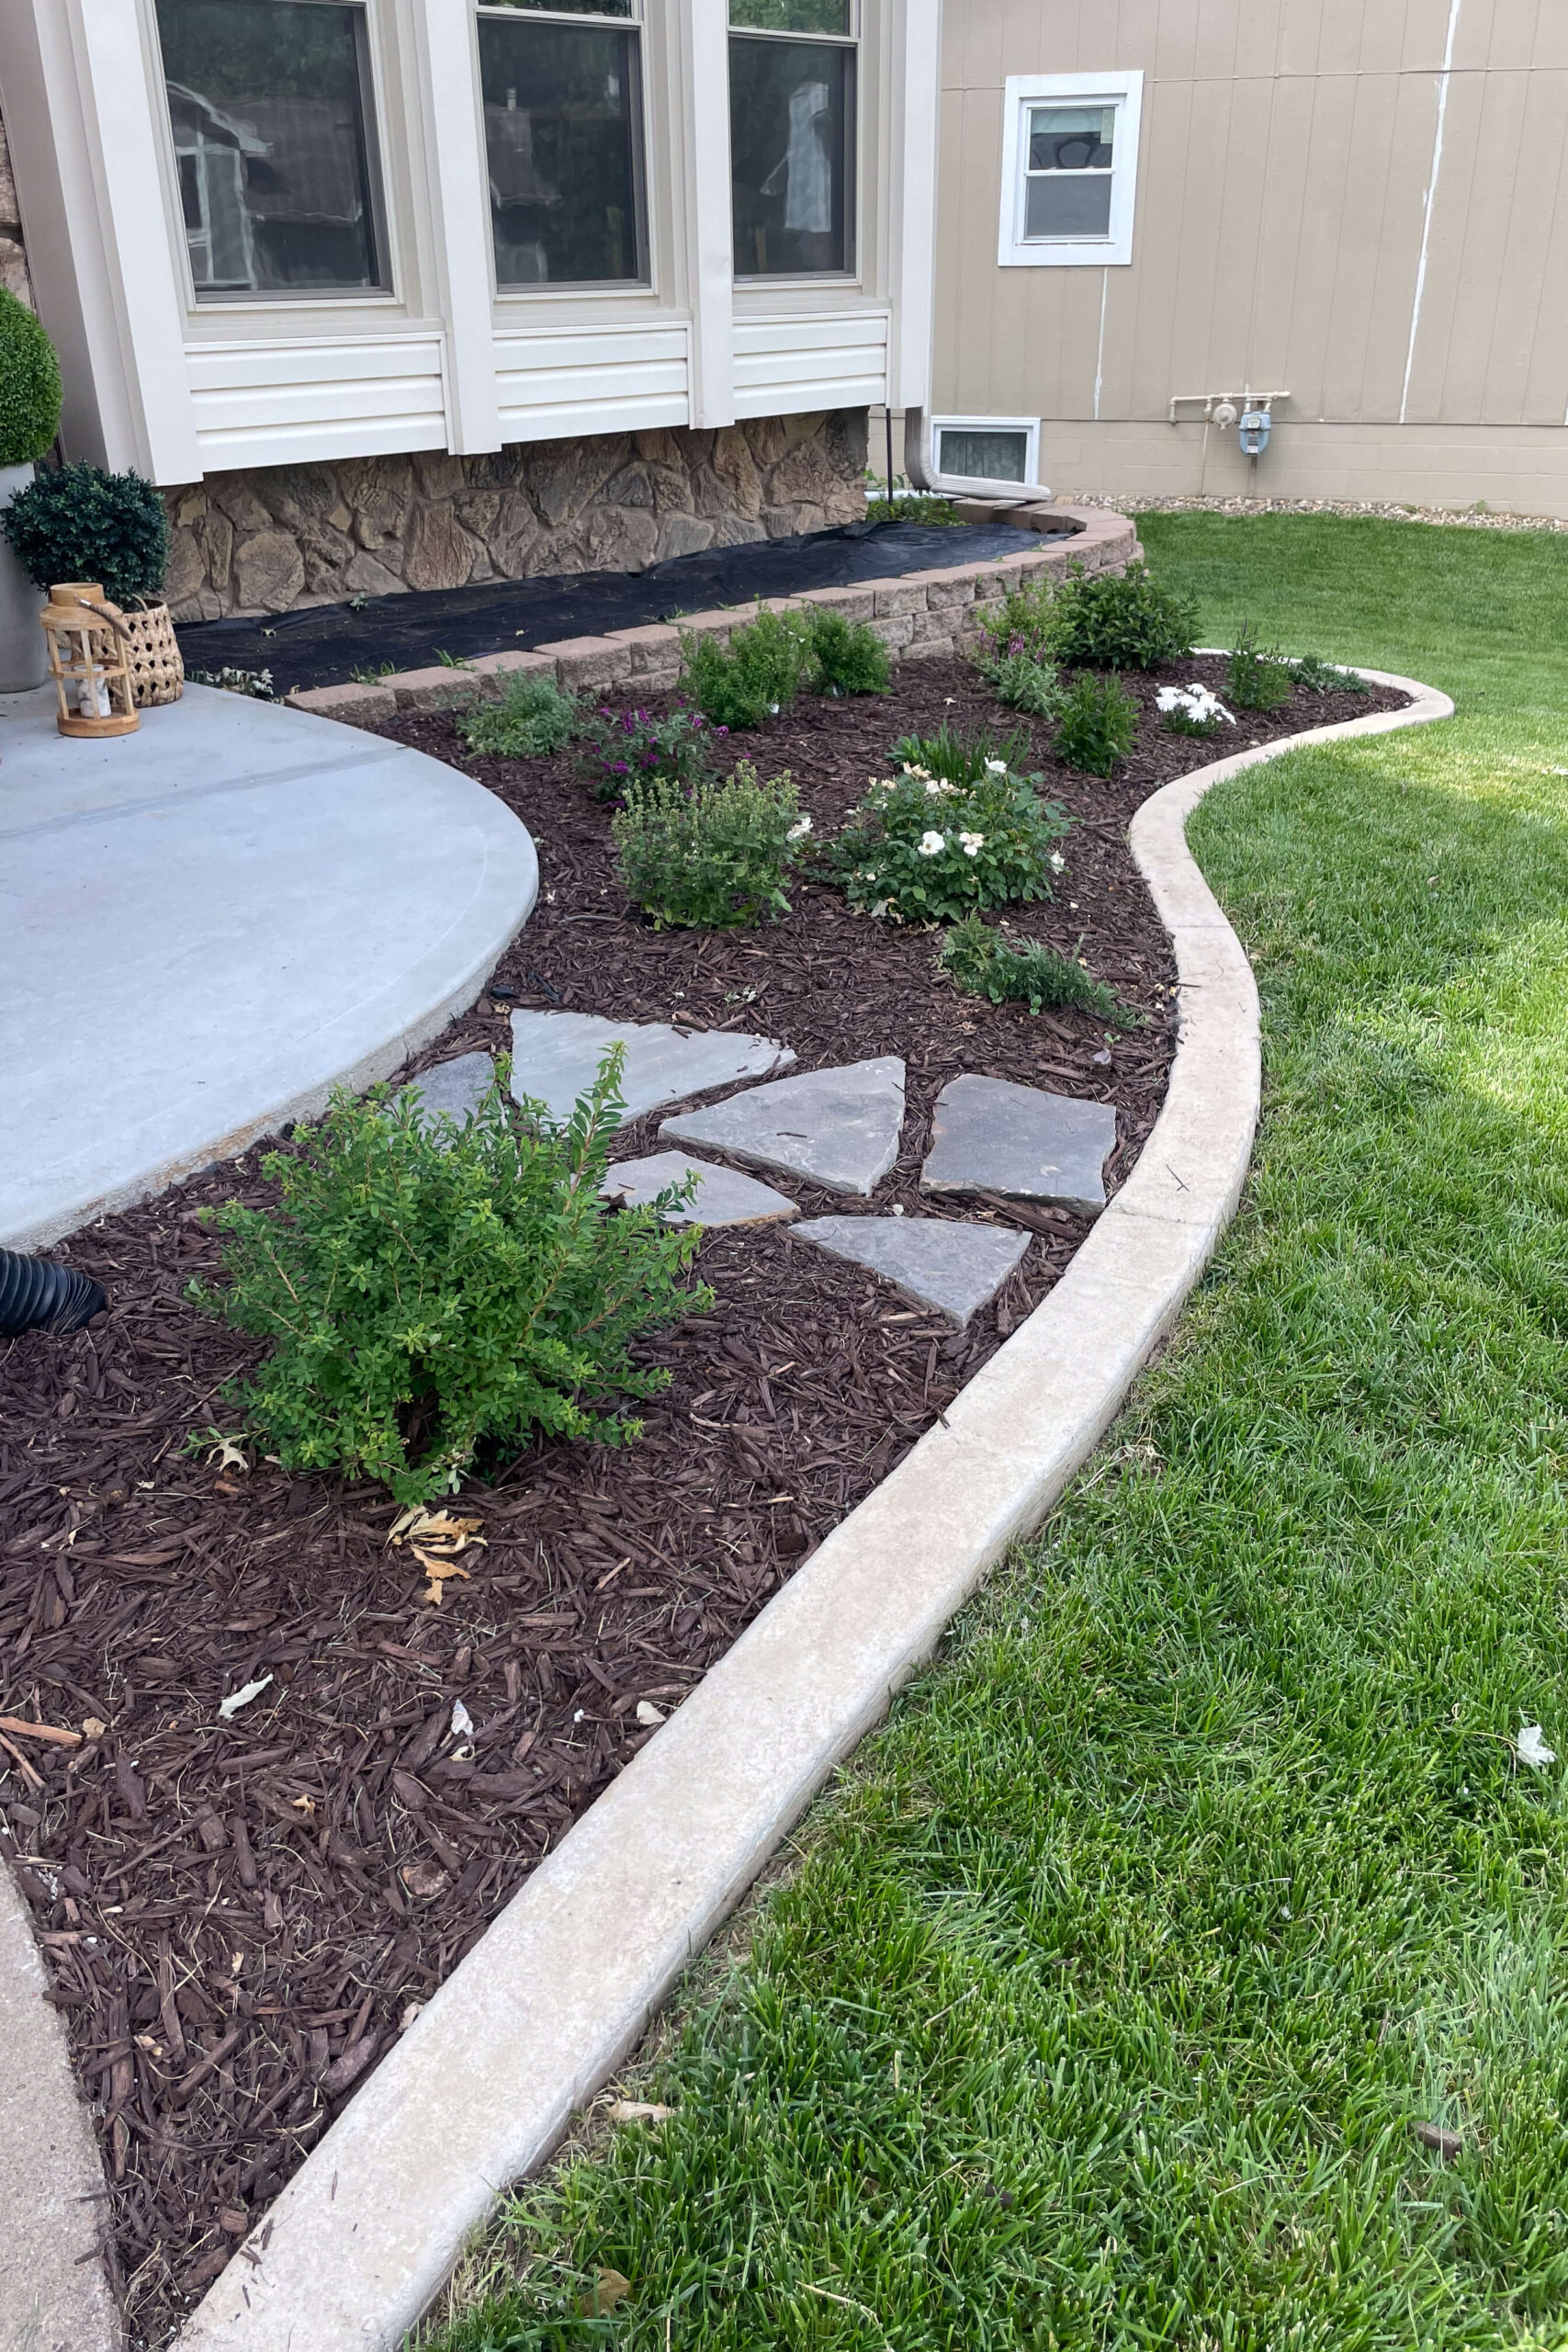
I had beautified our side yard with a garden, so I hated having the trailer block that pretty view. I decided to park the trailer farther away from the garden, closer to the street.
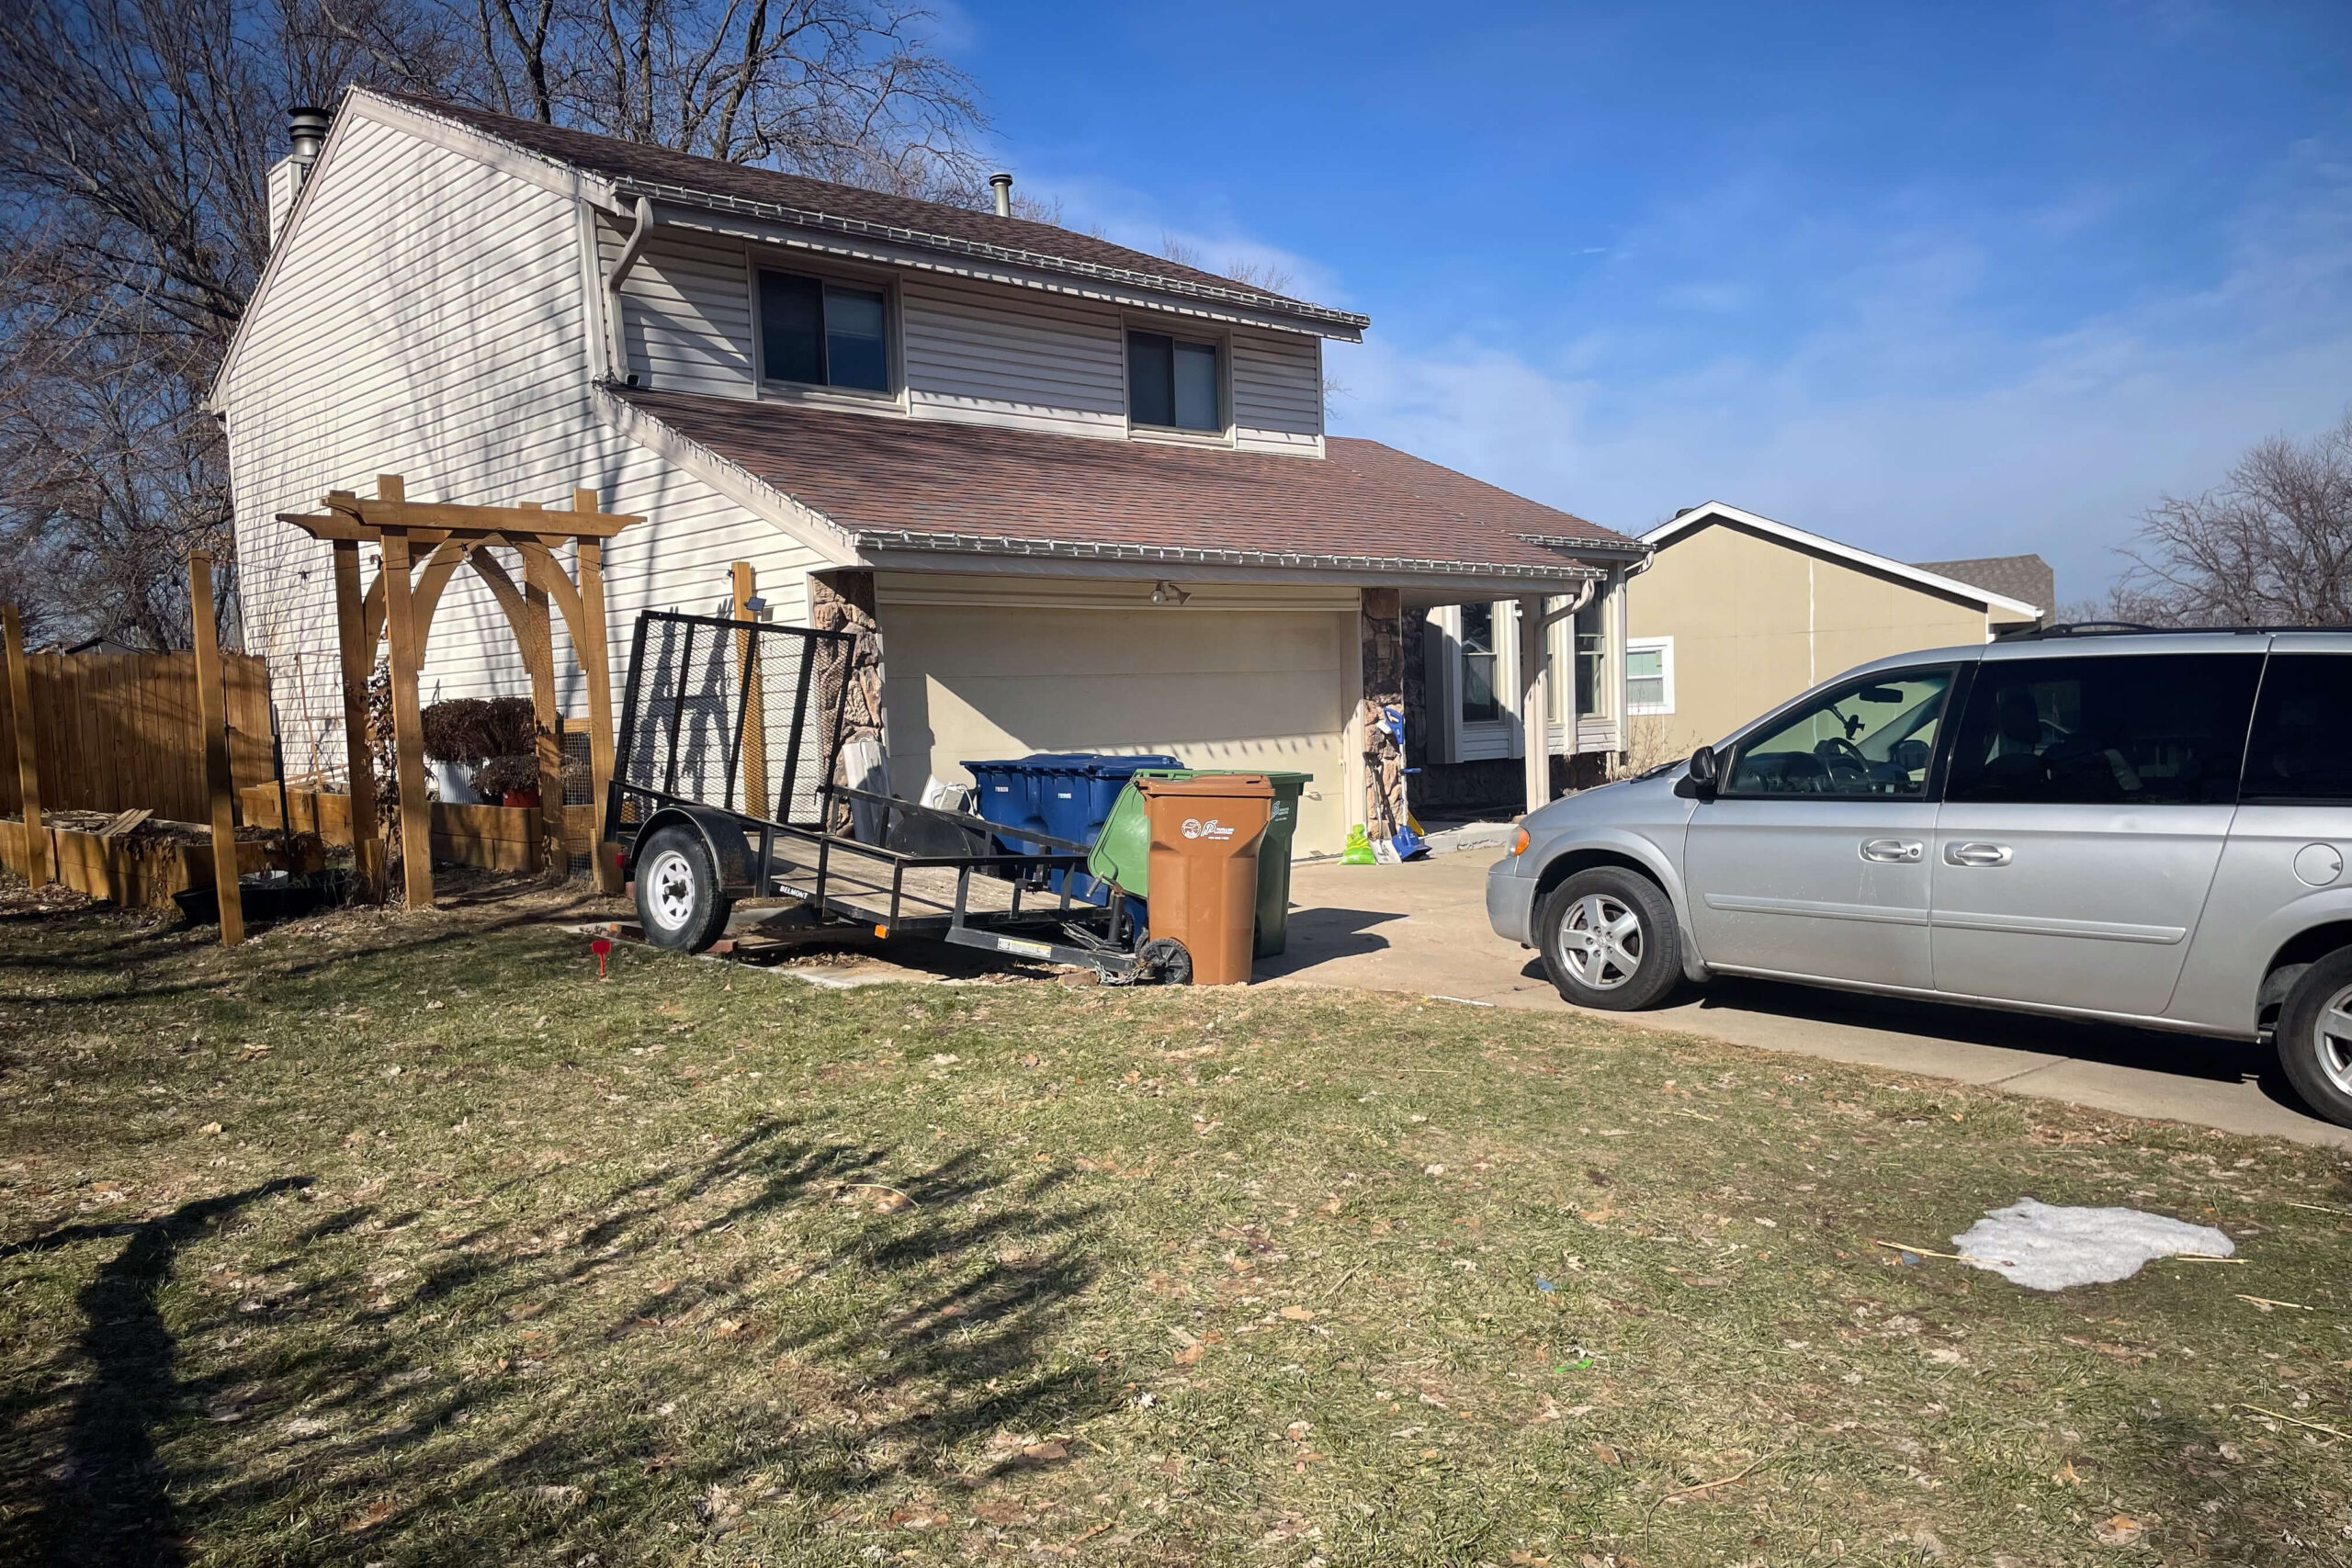
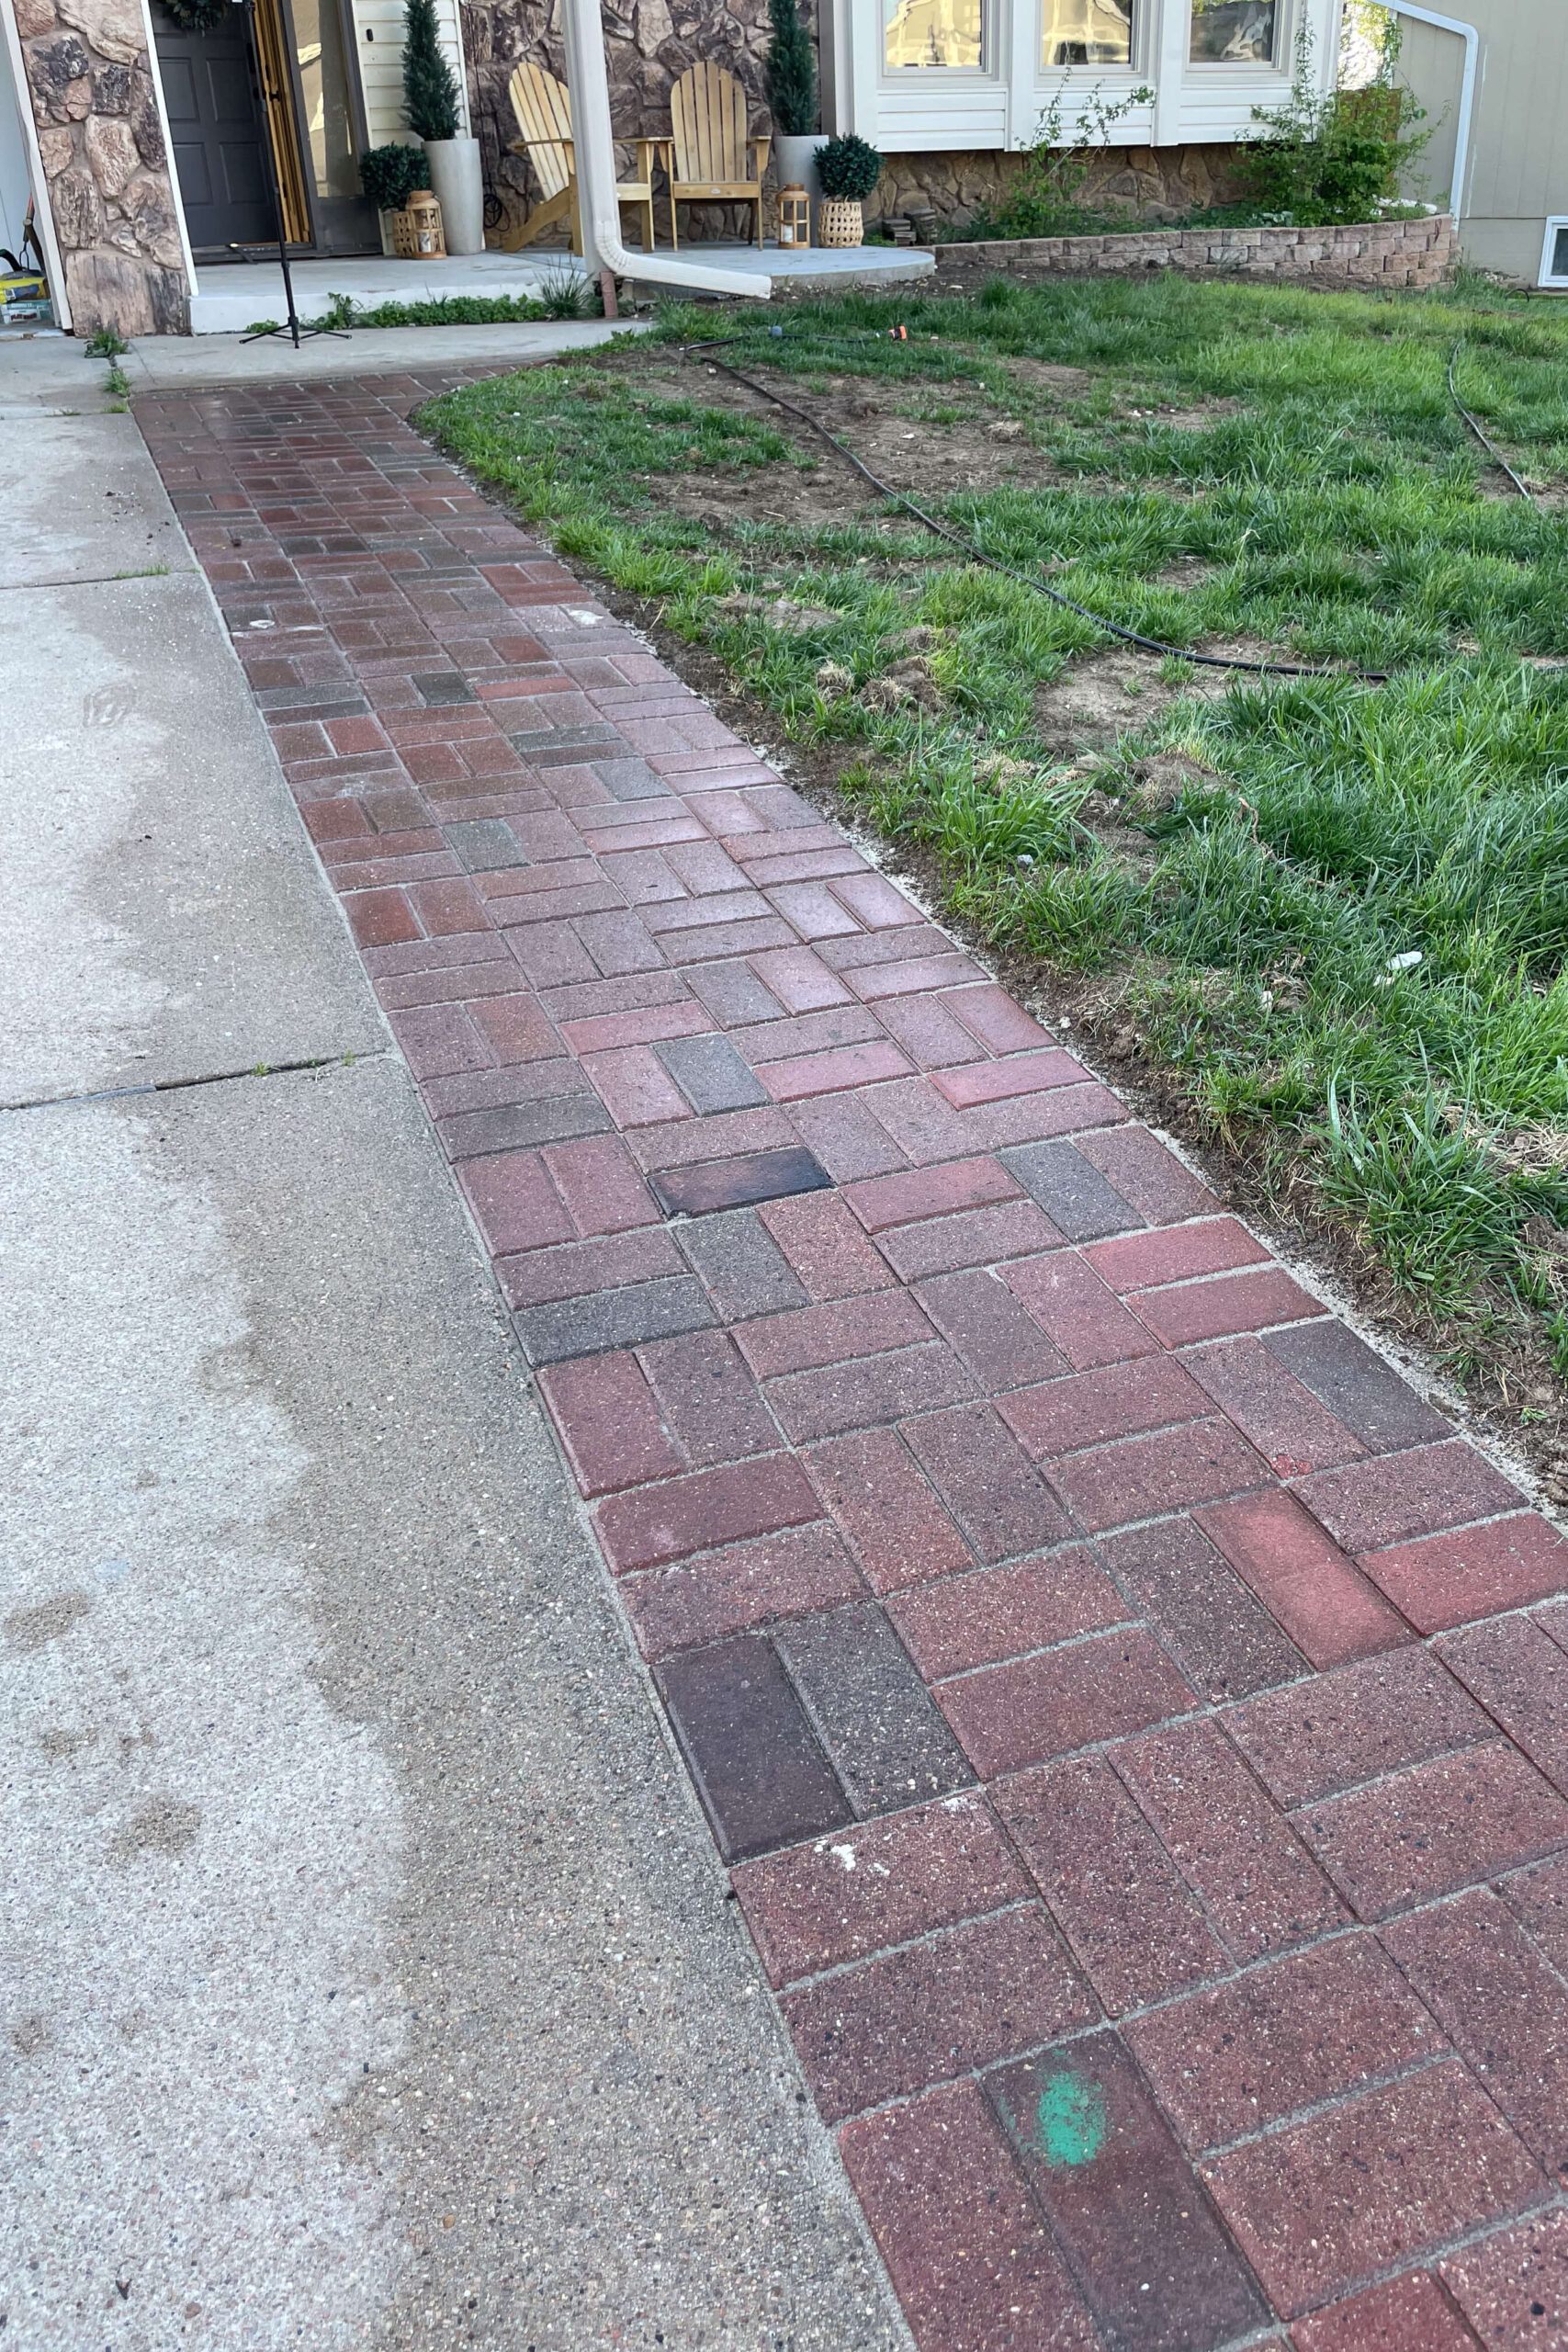
When we hired the same concrete workers to add a sidewalk through the garden, we also paid them to remove the trailer pad. We could have had them pour a new concrete pad, but I decided on a DIY paver patio instead.

Plotting Where to Put a DIY Paver Patio
First, I used marking paint to outline the new trailer parking pad. Then, using string and stakes, we plotted out exactly where to put it.
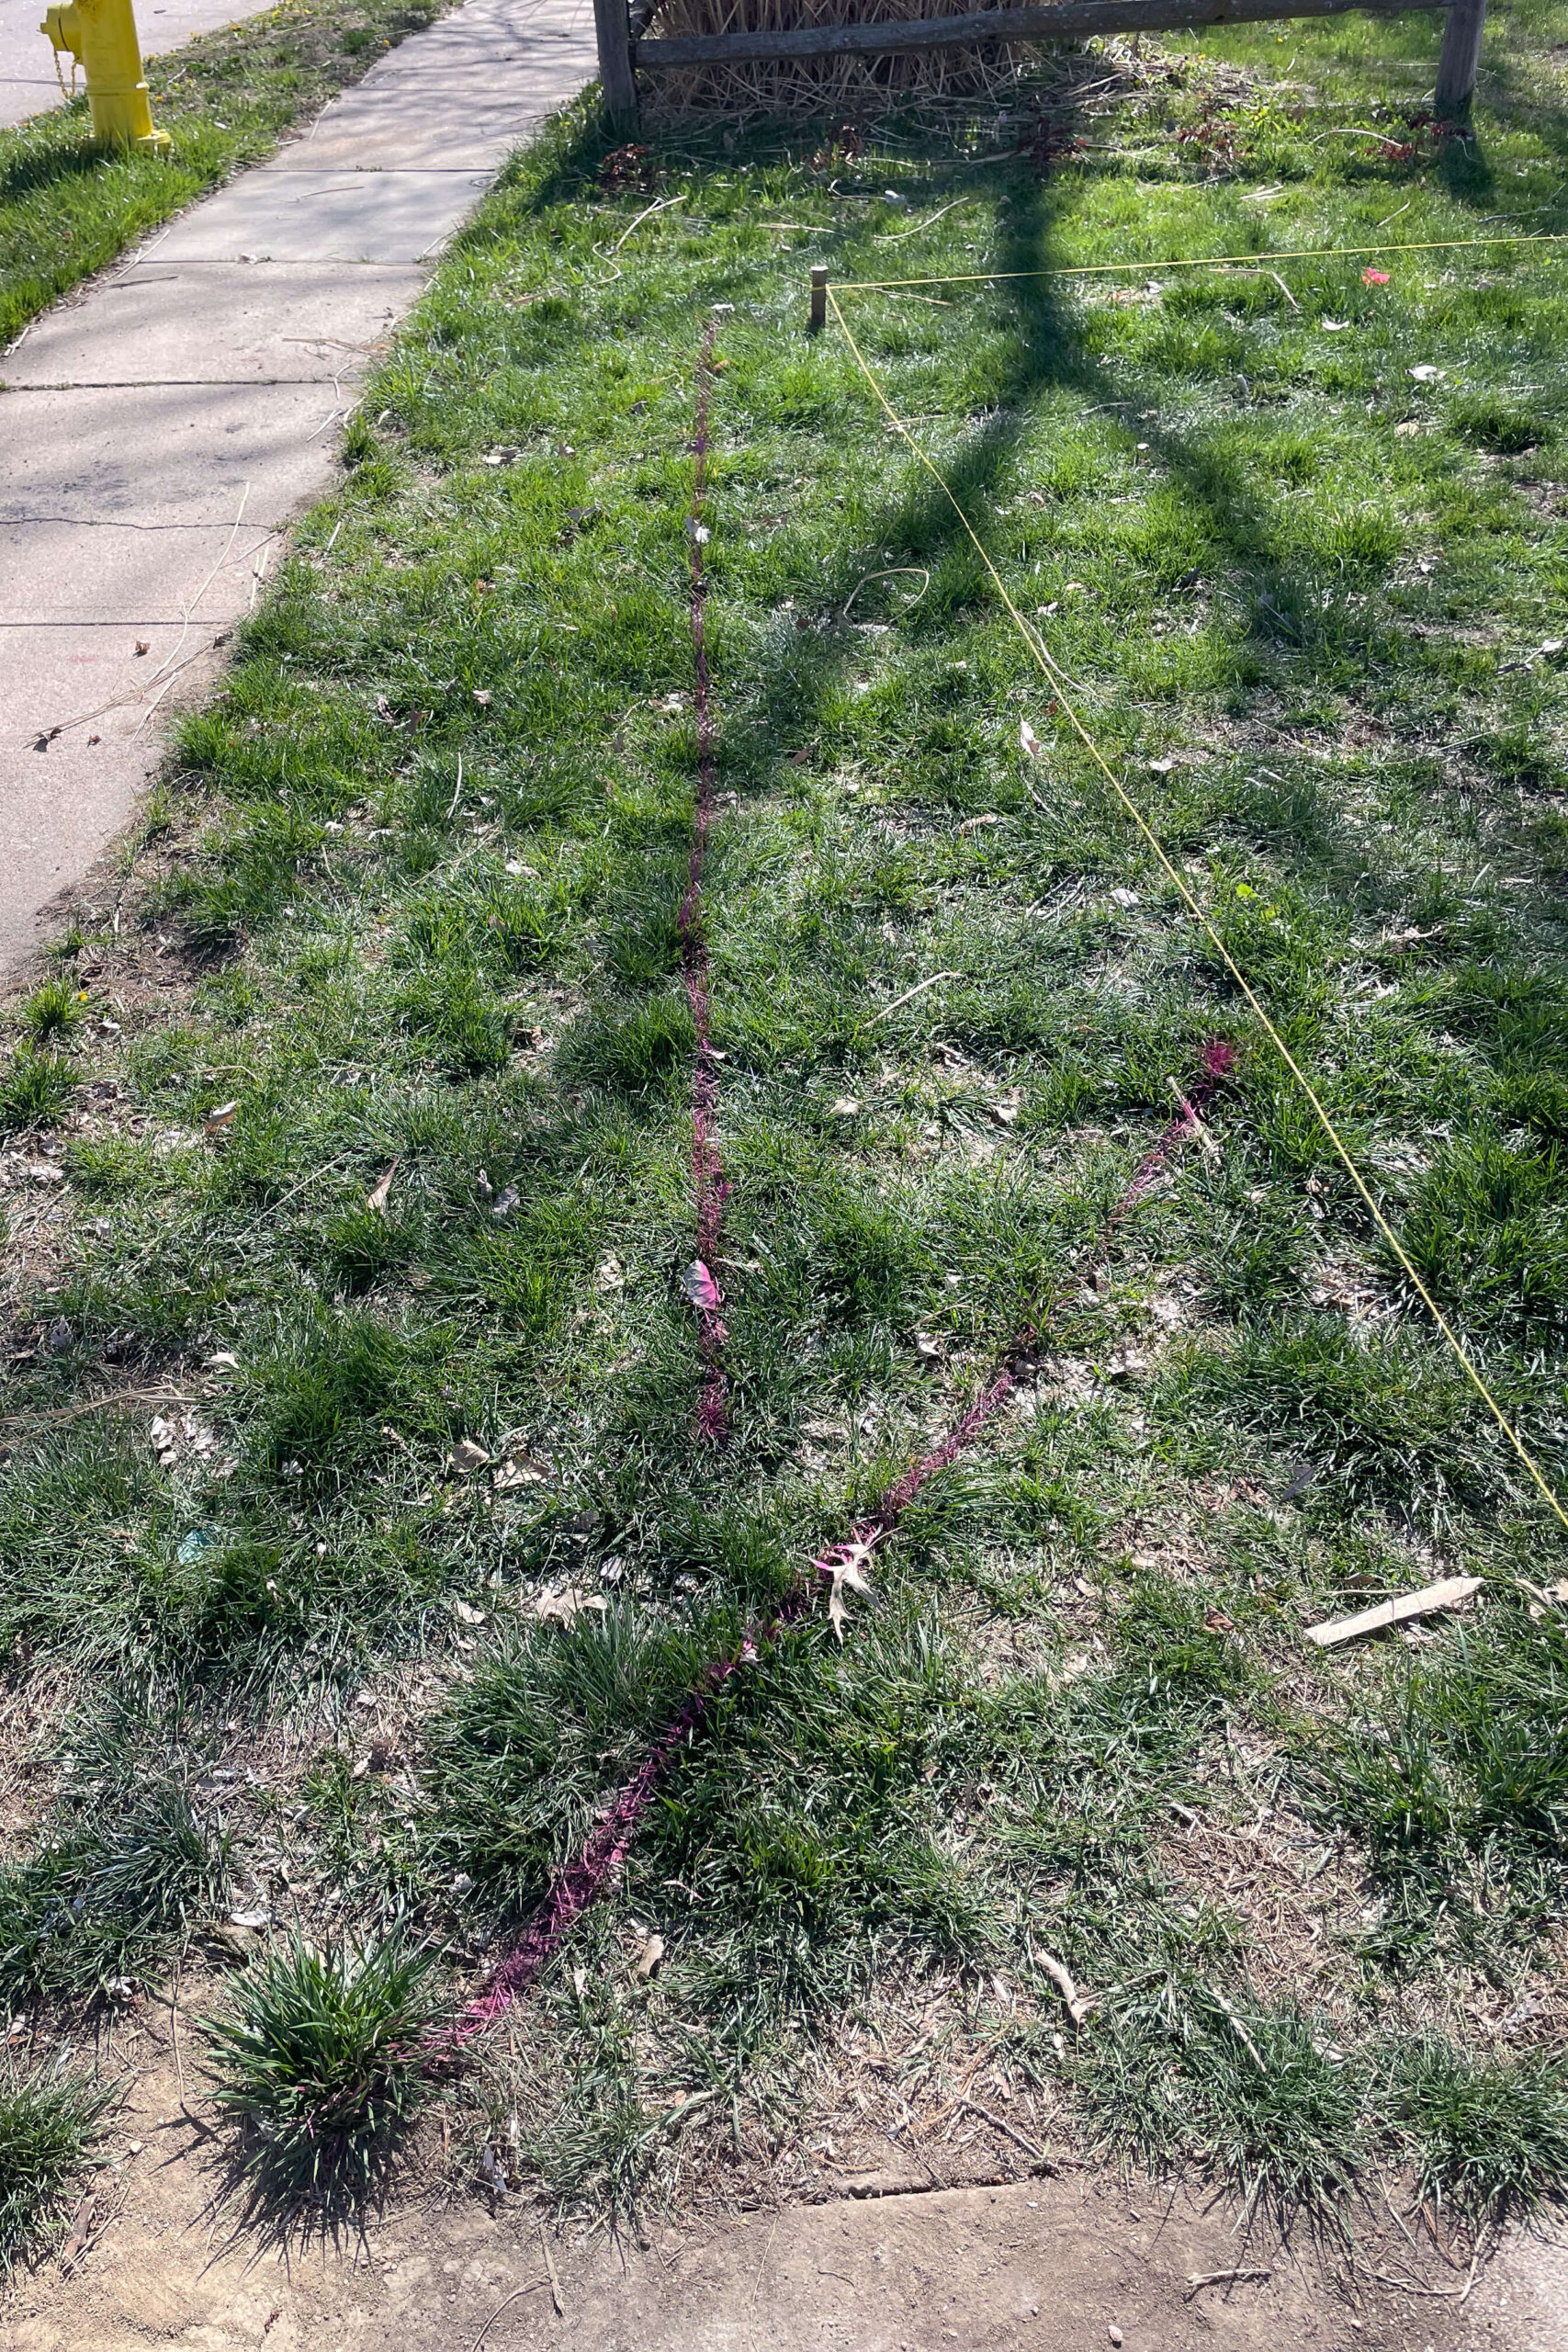
Next, we squared up all our corners by measuring diagonally across the area.

We adjusted the stakes and string until both diagonal measurements were the same.

Prepping the Ground for Pavers
Once squared, we moved out all the extra dirt. I wanted my DIY paver patio to be level with the driveway, so I had to dig down. I used a tiller to break up the dirt, then raked and shoveled to get it out of the way.
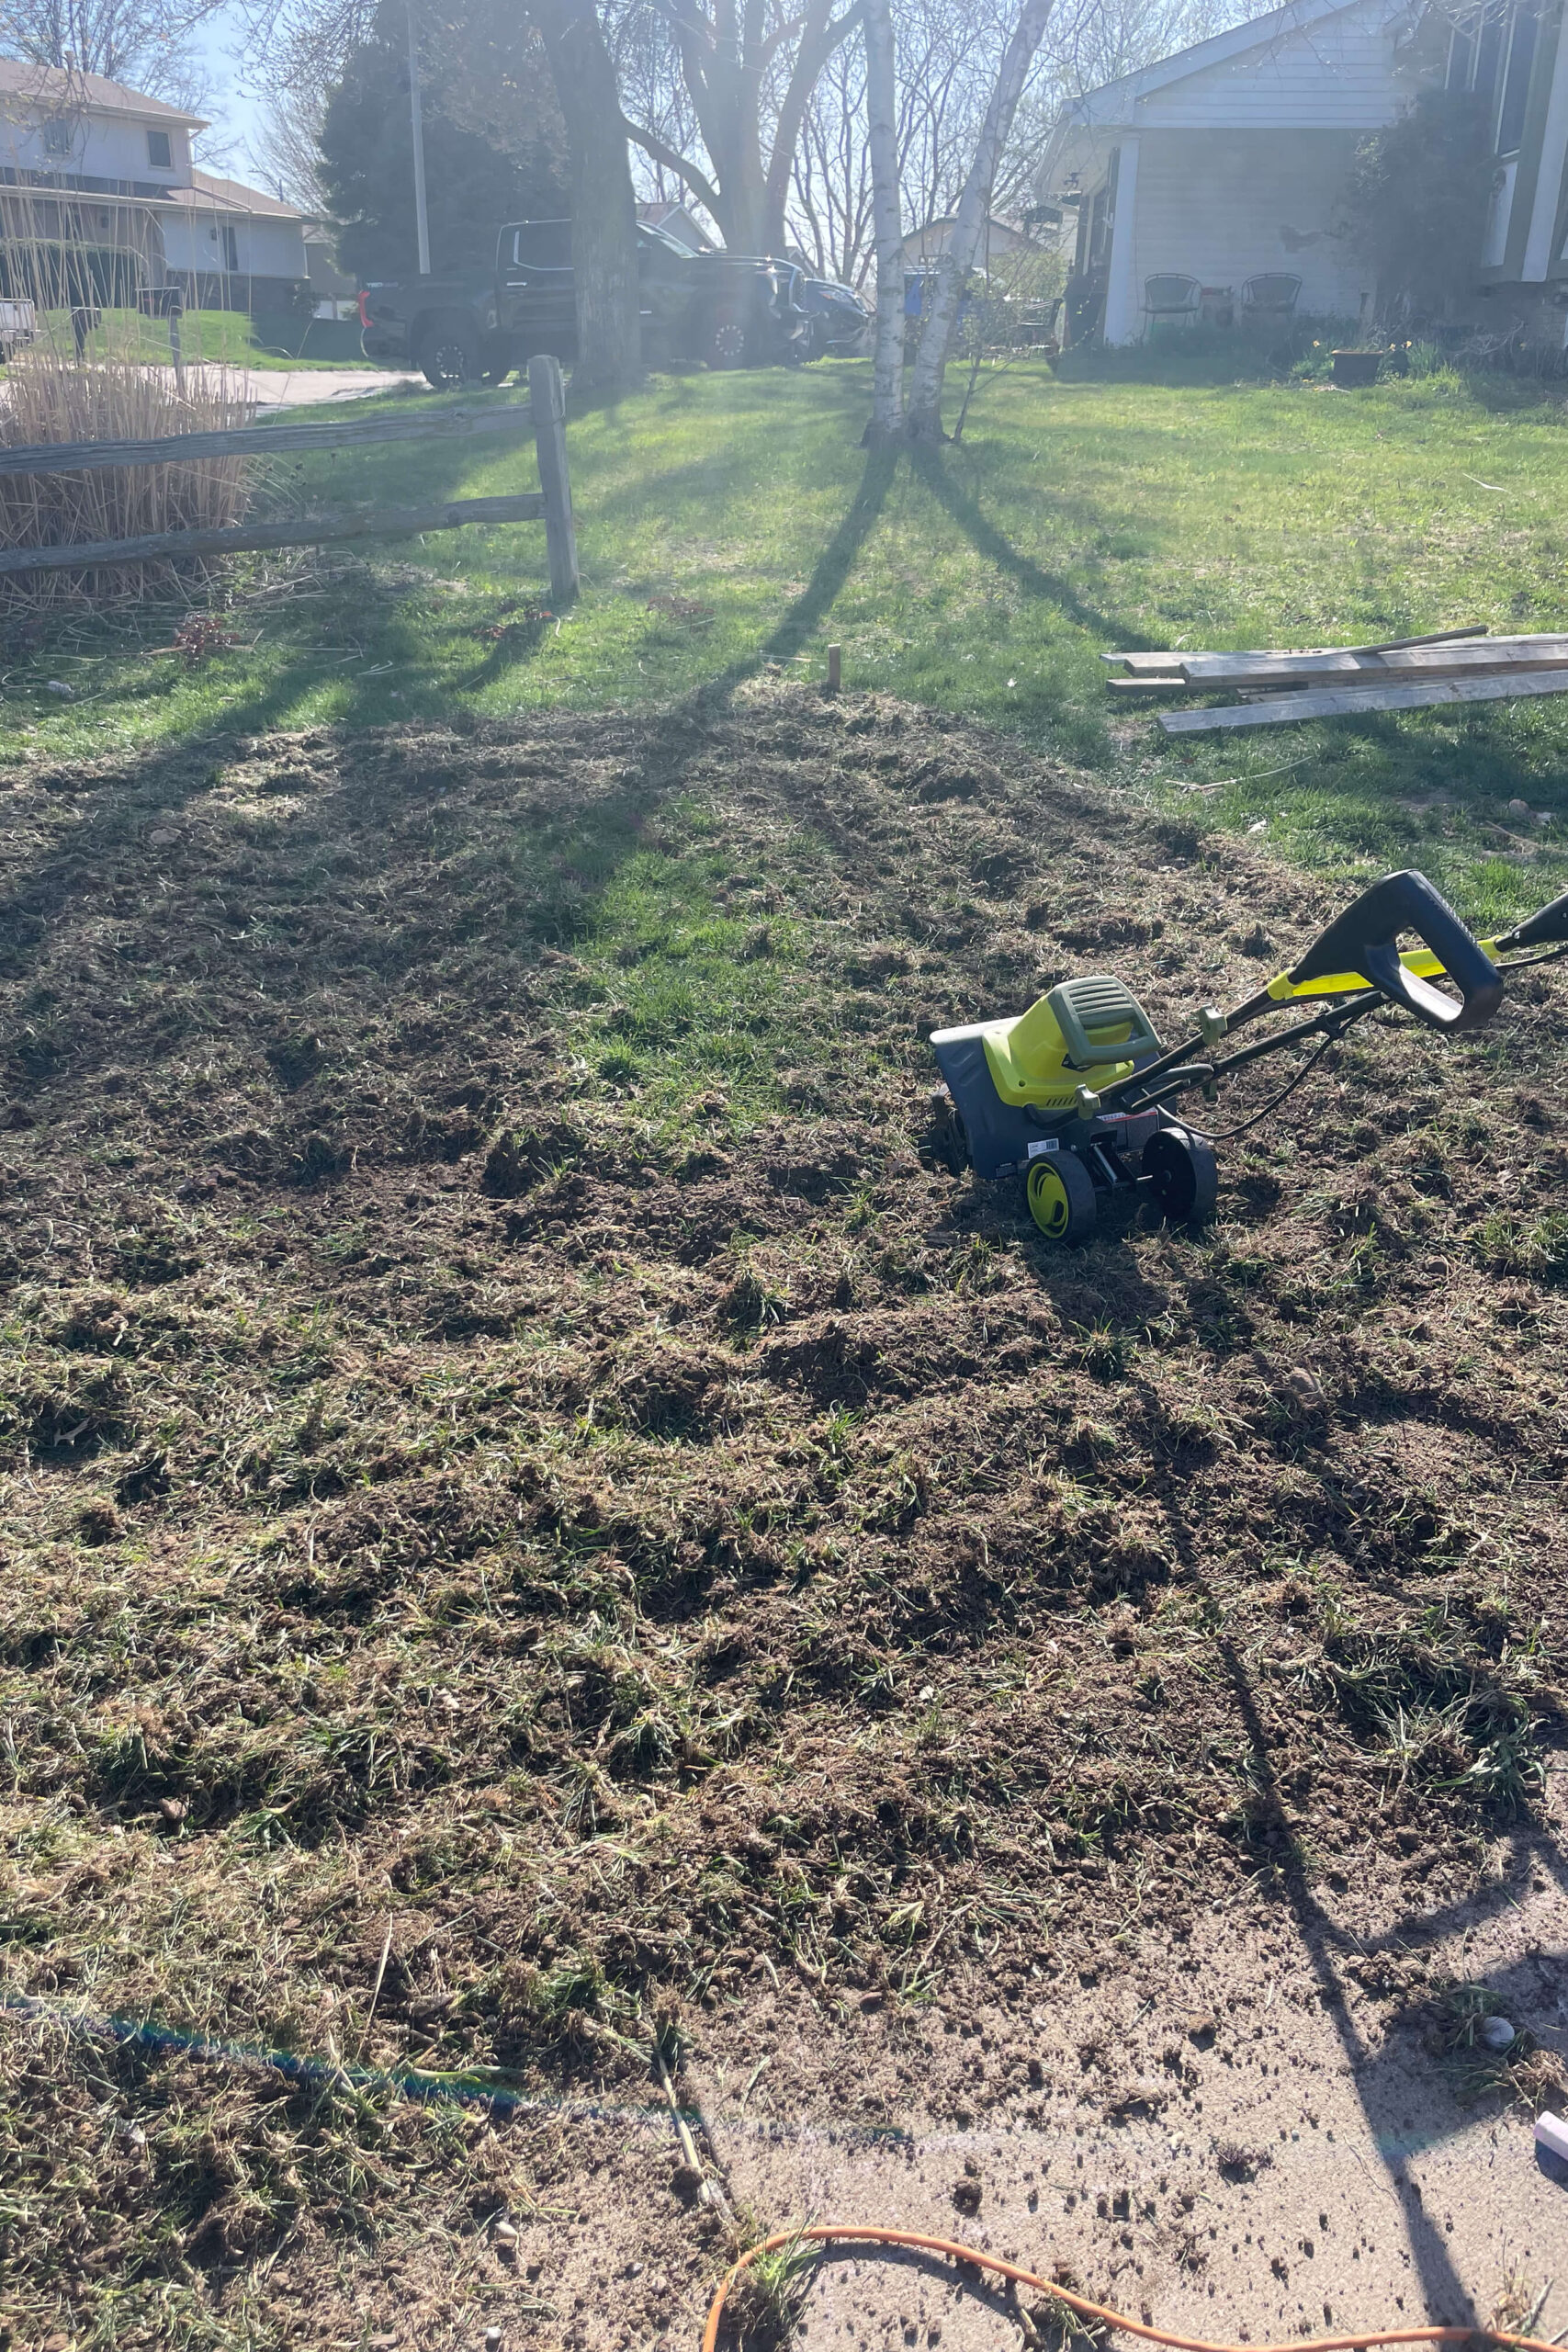
You have to keep tilling and shoveling until you reach the depth needed for fitting your pavers and base materials.

How NOT to Lay a DIY Paver Patio
Here’s what NOT to do.
I often say, “I don’t know if I’m doing this right. I’m just doin’ it.” I say it so often that I even put it on a t-shirt. The upside to that way of thinking is I just go for it when it comes to projects. The downside is that I do end up making some mistakes along the way as I figure things out.

I started by adding sand under my pavers but learned there should be a rock base first. I had to shovel out all the sand, add the rock base, level and pack it, then add sand back on top, level and pack it. I thought I was good to go, but to hold up to vehicle weight, I needed a thicker road base compacted with a commercial compacter. Being a military family, our time in this home is limited, and I don’t want future owners to have issues with this paver patio, so we pivoted.
If you want to see videos of all the behind the scenes discussions and hard work on this project, check out my Paver Patio 1 and Paver Patio 2 Story Highlights on Instagram.


Pouring a DIY Concrete Curb
We decided to add a concrete curb around the DIY paver patio to hold the pavers in place and match other concrete curbs in our yard. We dug a trench using 2x4s and built forms for pouring the concrete.

We screwed in these boards across the top of the 2×4’s as spacers so that we keep our forms at the same width all the way around.

To make it easier for parking, we added a curved edge at the entrance of our DIY paver patio, using composite boards for the curve.

Saturday night, with rain forecasted and a trailer full of concrete bags, we decided to stay up and get the concrete curb done. Our neighbor helped, and we finished quickly. After pouring the concrete, I smoothed it with a float and banged the sides of the forms to work out air bubbles.


After running an edger along the concrete edges and making a few relief cuts, we were done for the night.
Here’s how it looked after removing the forms. Even though a curb wasn’t in the original plan, it was the right choice for our DIY paver patio. For detailed instructions on making a DIY concrete curb, check out my full tutorial.

Compacting the Ground
Now, all the hard work on the base had to come out. So… once again, I removed the sand and road base and dug down another 6 inches.

I rented a commercial compacter from Home Depot.

In an attempt to control the dust, I sprayed this area down with water. DO NOT do that. It turned this area into a muddy mess and made the compactor even harder to push around.

Next, I laid down a weed barrier to keep weeds from growing up between the pavers and prevent the rock base from sinking into the dirt.

Adding Road Base and Sand
When buying rock base and sand, it’s cheaper in bulk from a landscape supply. Since we don’t have a pickup truck, I lined my trailer with a tarp, had it filled with a front loader, and closed the tarp.


After I got the trailer load of rock base home, the fastest way to unload it is with a shovel and a wheelbarrow. A stiff rake works great for spreading it around.
To unload the rock base, I used a shovel and wheelbarrow. A stiff rake works great for spreading it around.

I used a 2×4 to level the rock base and a compacter to pack it down. While Stuart ran the compacter, I touched up the edges with a hand tamper.


I only needed a one inch layer of sand, so I placed these 1 inch pvc pipes on top of the rock base as a guide for me to know how deep to go.

I moved the sand with a rake, then used a 2×4 to pull it level with the PVC pipes.

Laying Pavers
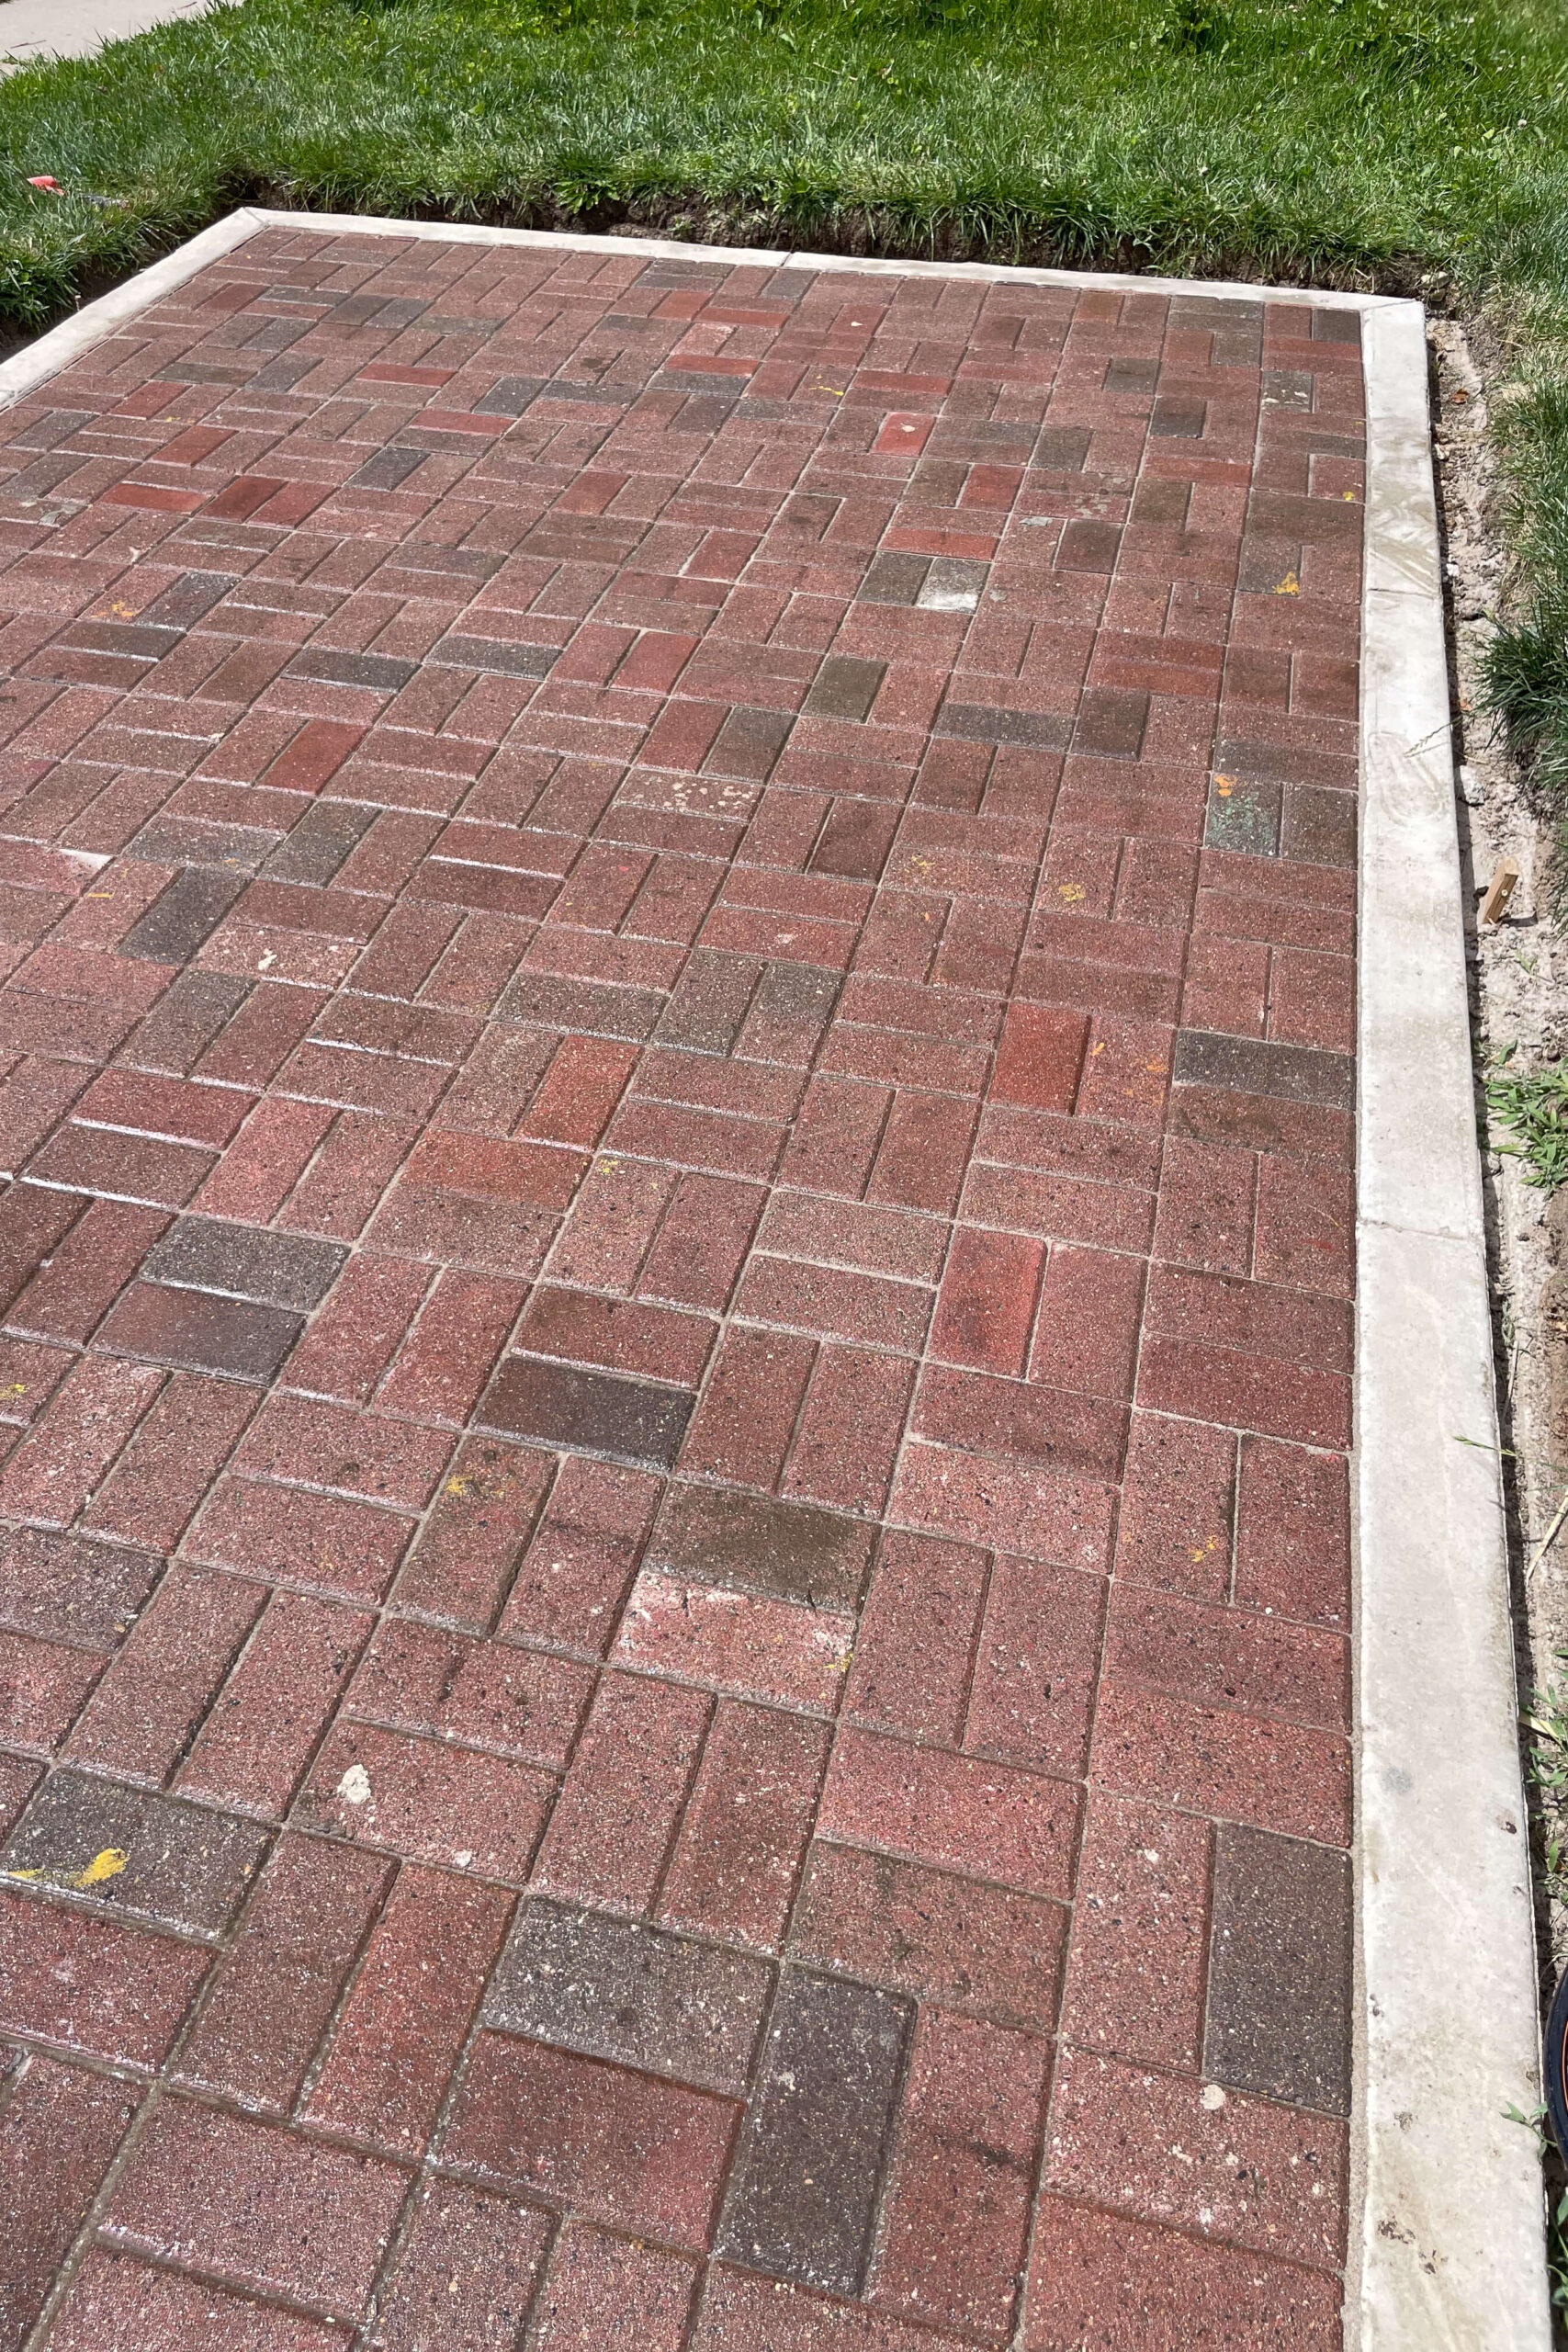
Finally, it was time for pavers. We removed the PVC pipes, and I placed the pavers, following the same pattern as my paver driveway extension.
The sand should be slightly high so the pavers stick up about 1/2″ above the driveway. Tapping the paver with a rubber mallet compacts the sand underneath and levels the paver.

We worked our way up the DIY paver patio, installing the pavers and filling the PVC pipe gaps with sand.

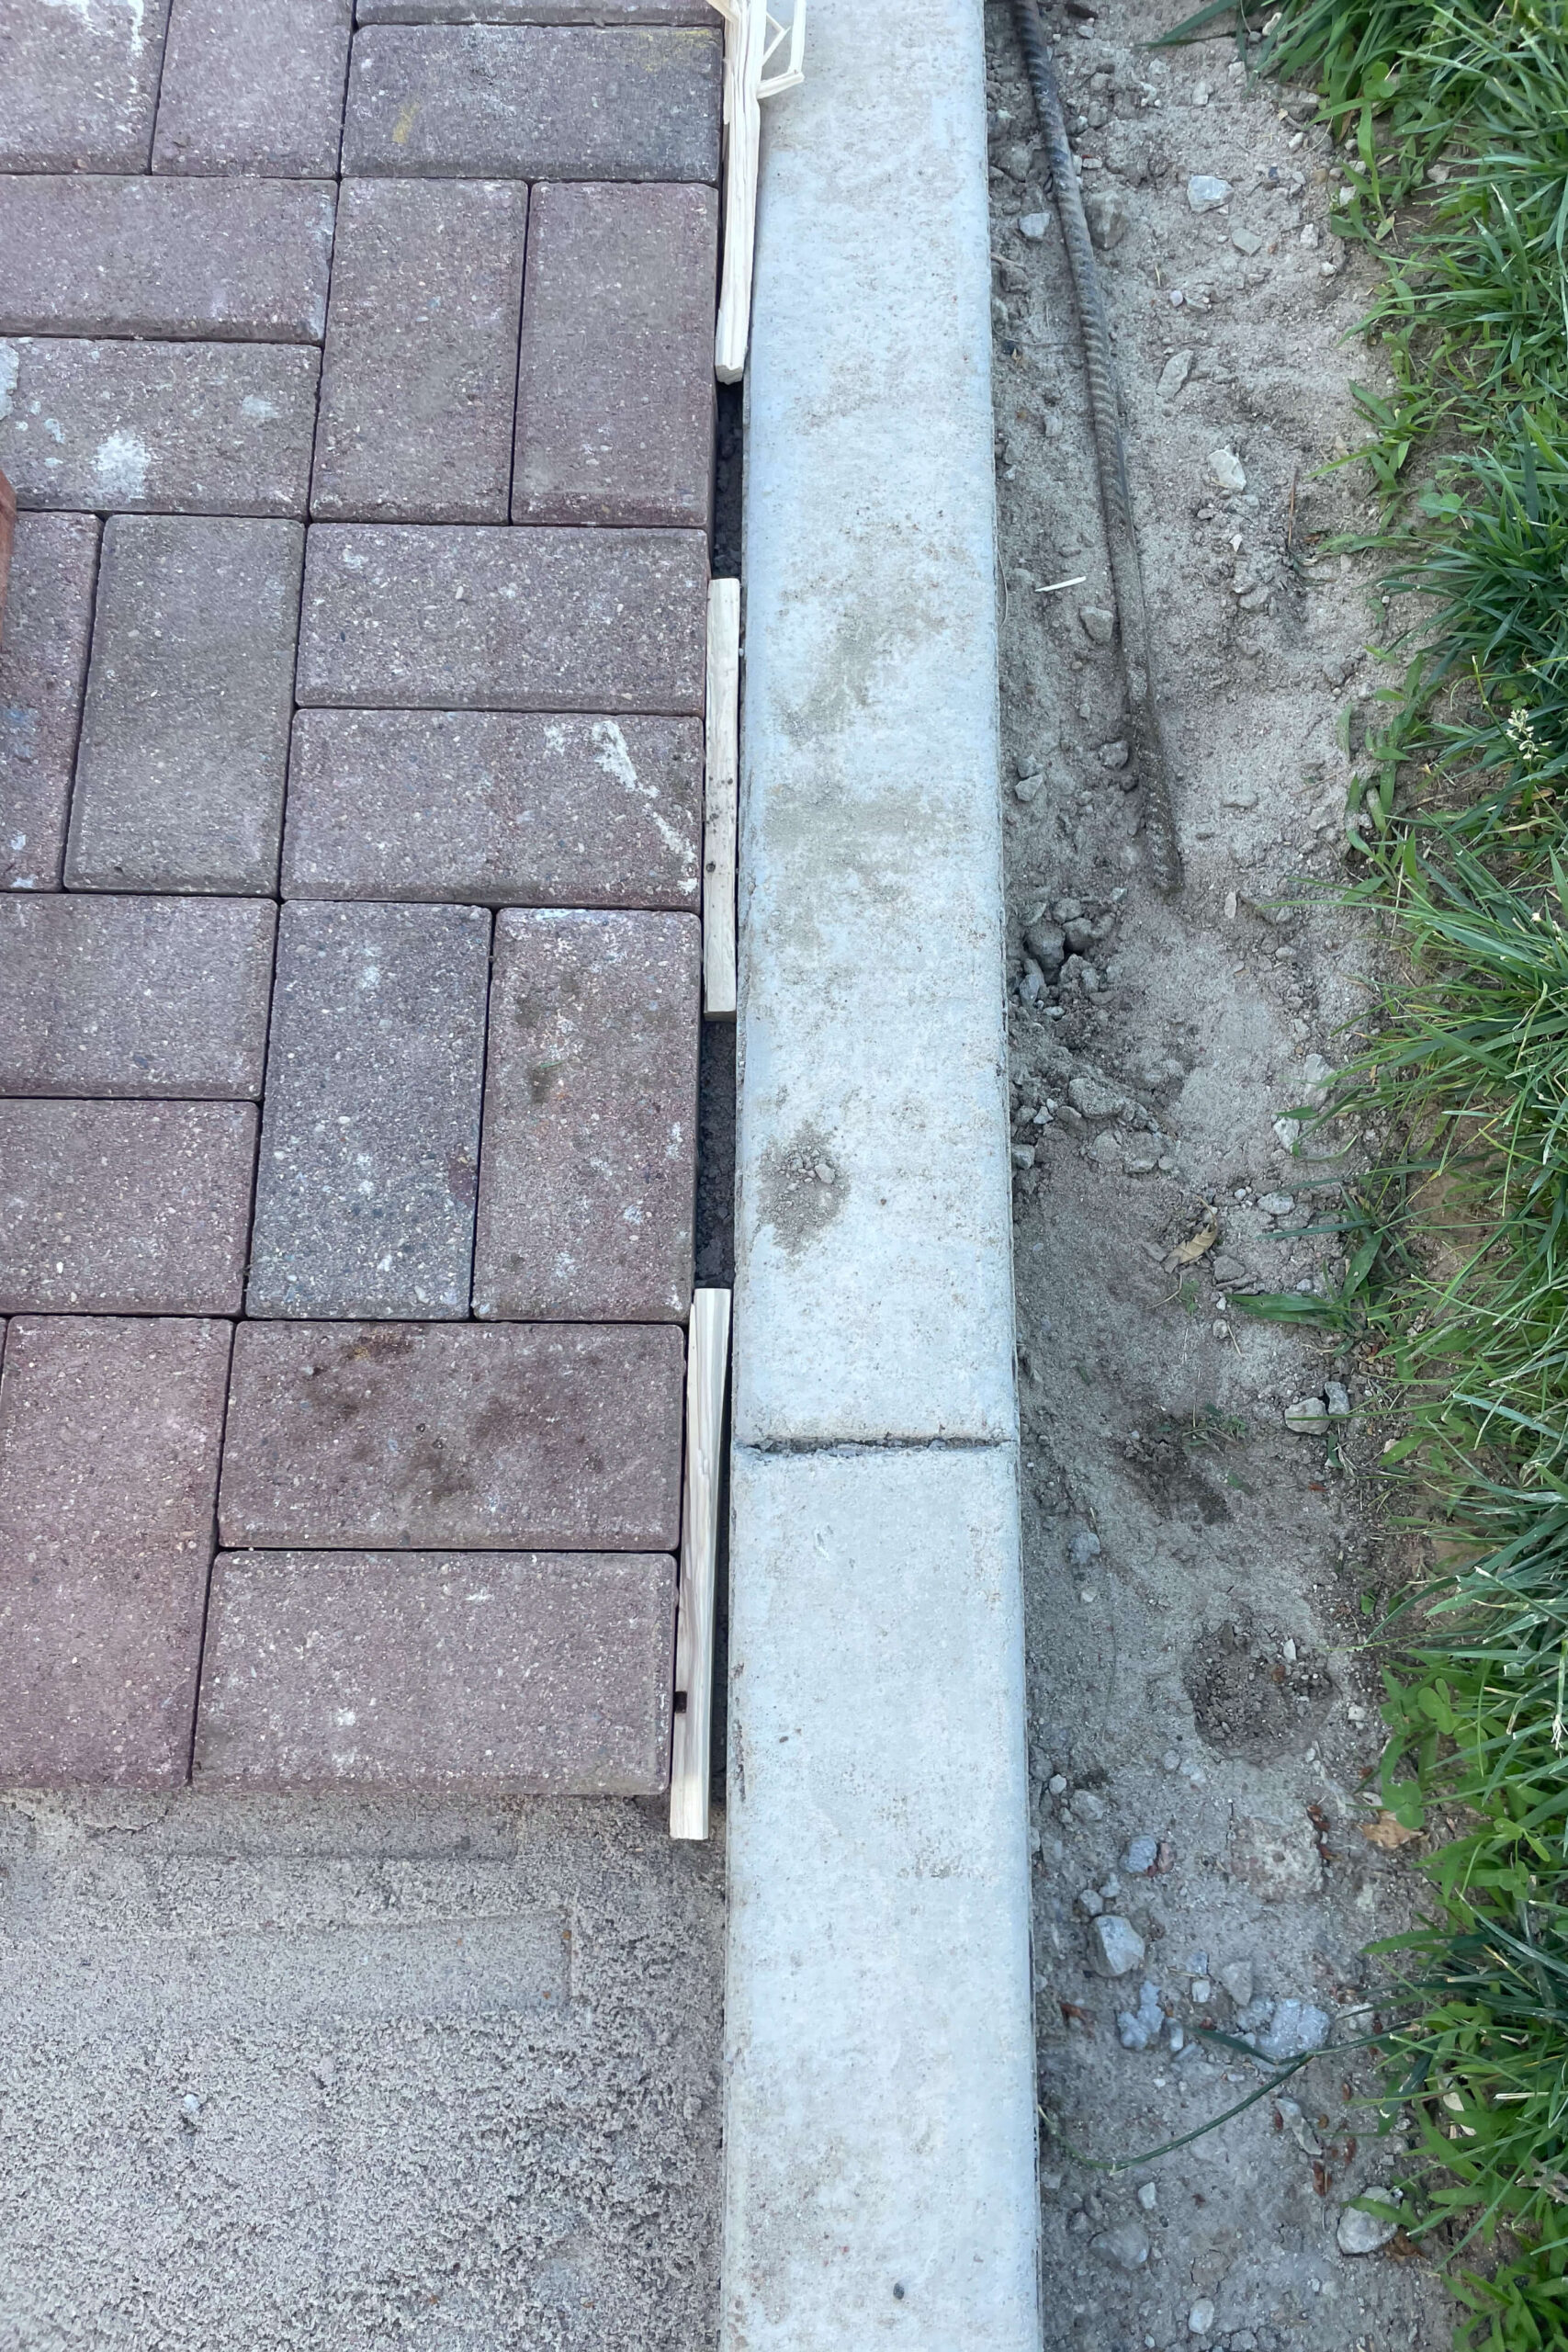
Despite careful planning, we ended up with a small gap around our pavers. To keep them tight until we could cut some down, we filled the gaps with scrap wood.
Cutting Pavers
I used our tile saw to cut the pavers, flipping them over to complete the cut.
The gap all the way around our DIY paver patio was even. I cut skinny pieces and then hammered them in place with a rubber mallet.

For the curve, I marked where the paver needed to be cut, connected the marks with a straight edge, and cut it with the tile saw.

Using a scrap paver I connected the two marks together giving me my cut line.

After cutting the paver, I hammered it in place and repeated until all the gaps were filled.

Finishing the DIY Paver Patio With Polymeric Sand
The final step for the DIY paver patio is to seal and fill the tiny gaps between pavers with polymeric sand. First, I cleaned off the pavers with a handheld blower.

Then, I poured polymeric sand all over and spread it evenly with a broom, making sure to spread it evenly across the whole DIY paver patio.


I used a hand tamper to press the sand into the gaps, then sprayed it with water to activate the binding agents, making it harden like concrete.


I set my Giraffe hose reel to the lowest pressure setting because you don’t want a strong spray or you may push sand out of the gaps.

After wetting the DIY paver patio, wait 24 hours before walking on it and 48 hours before driving on it.
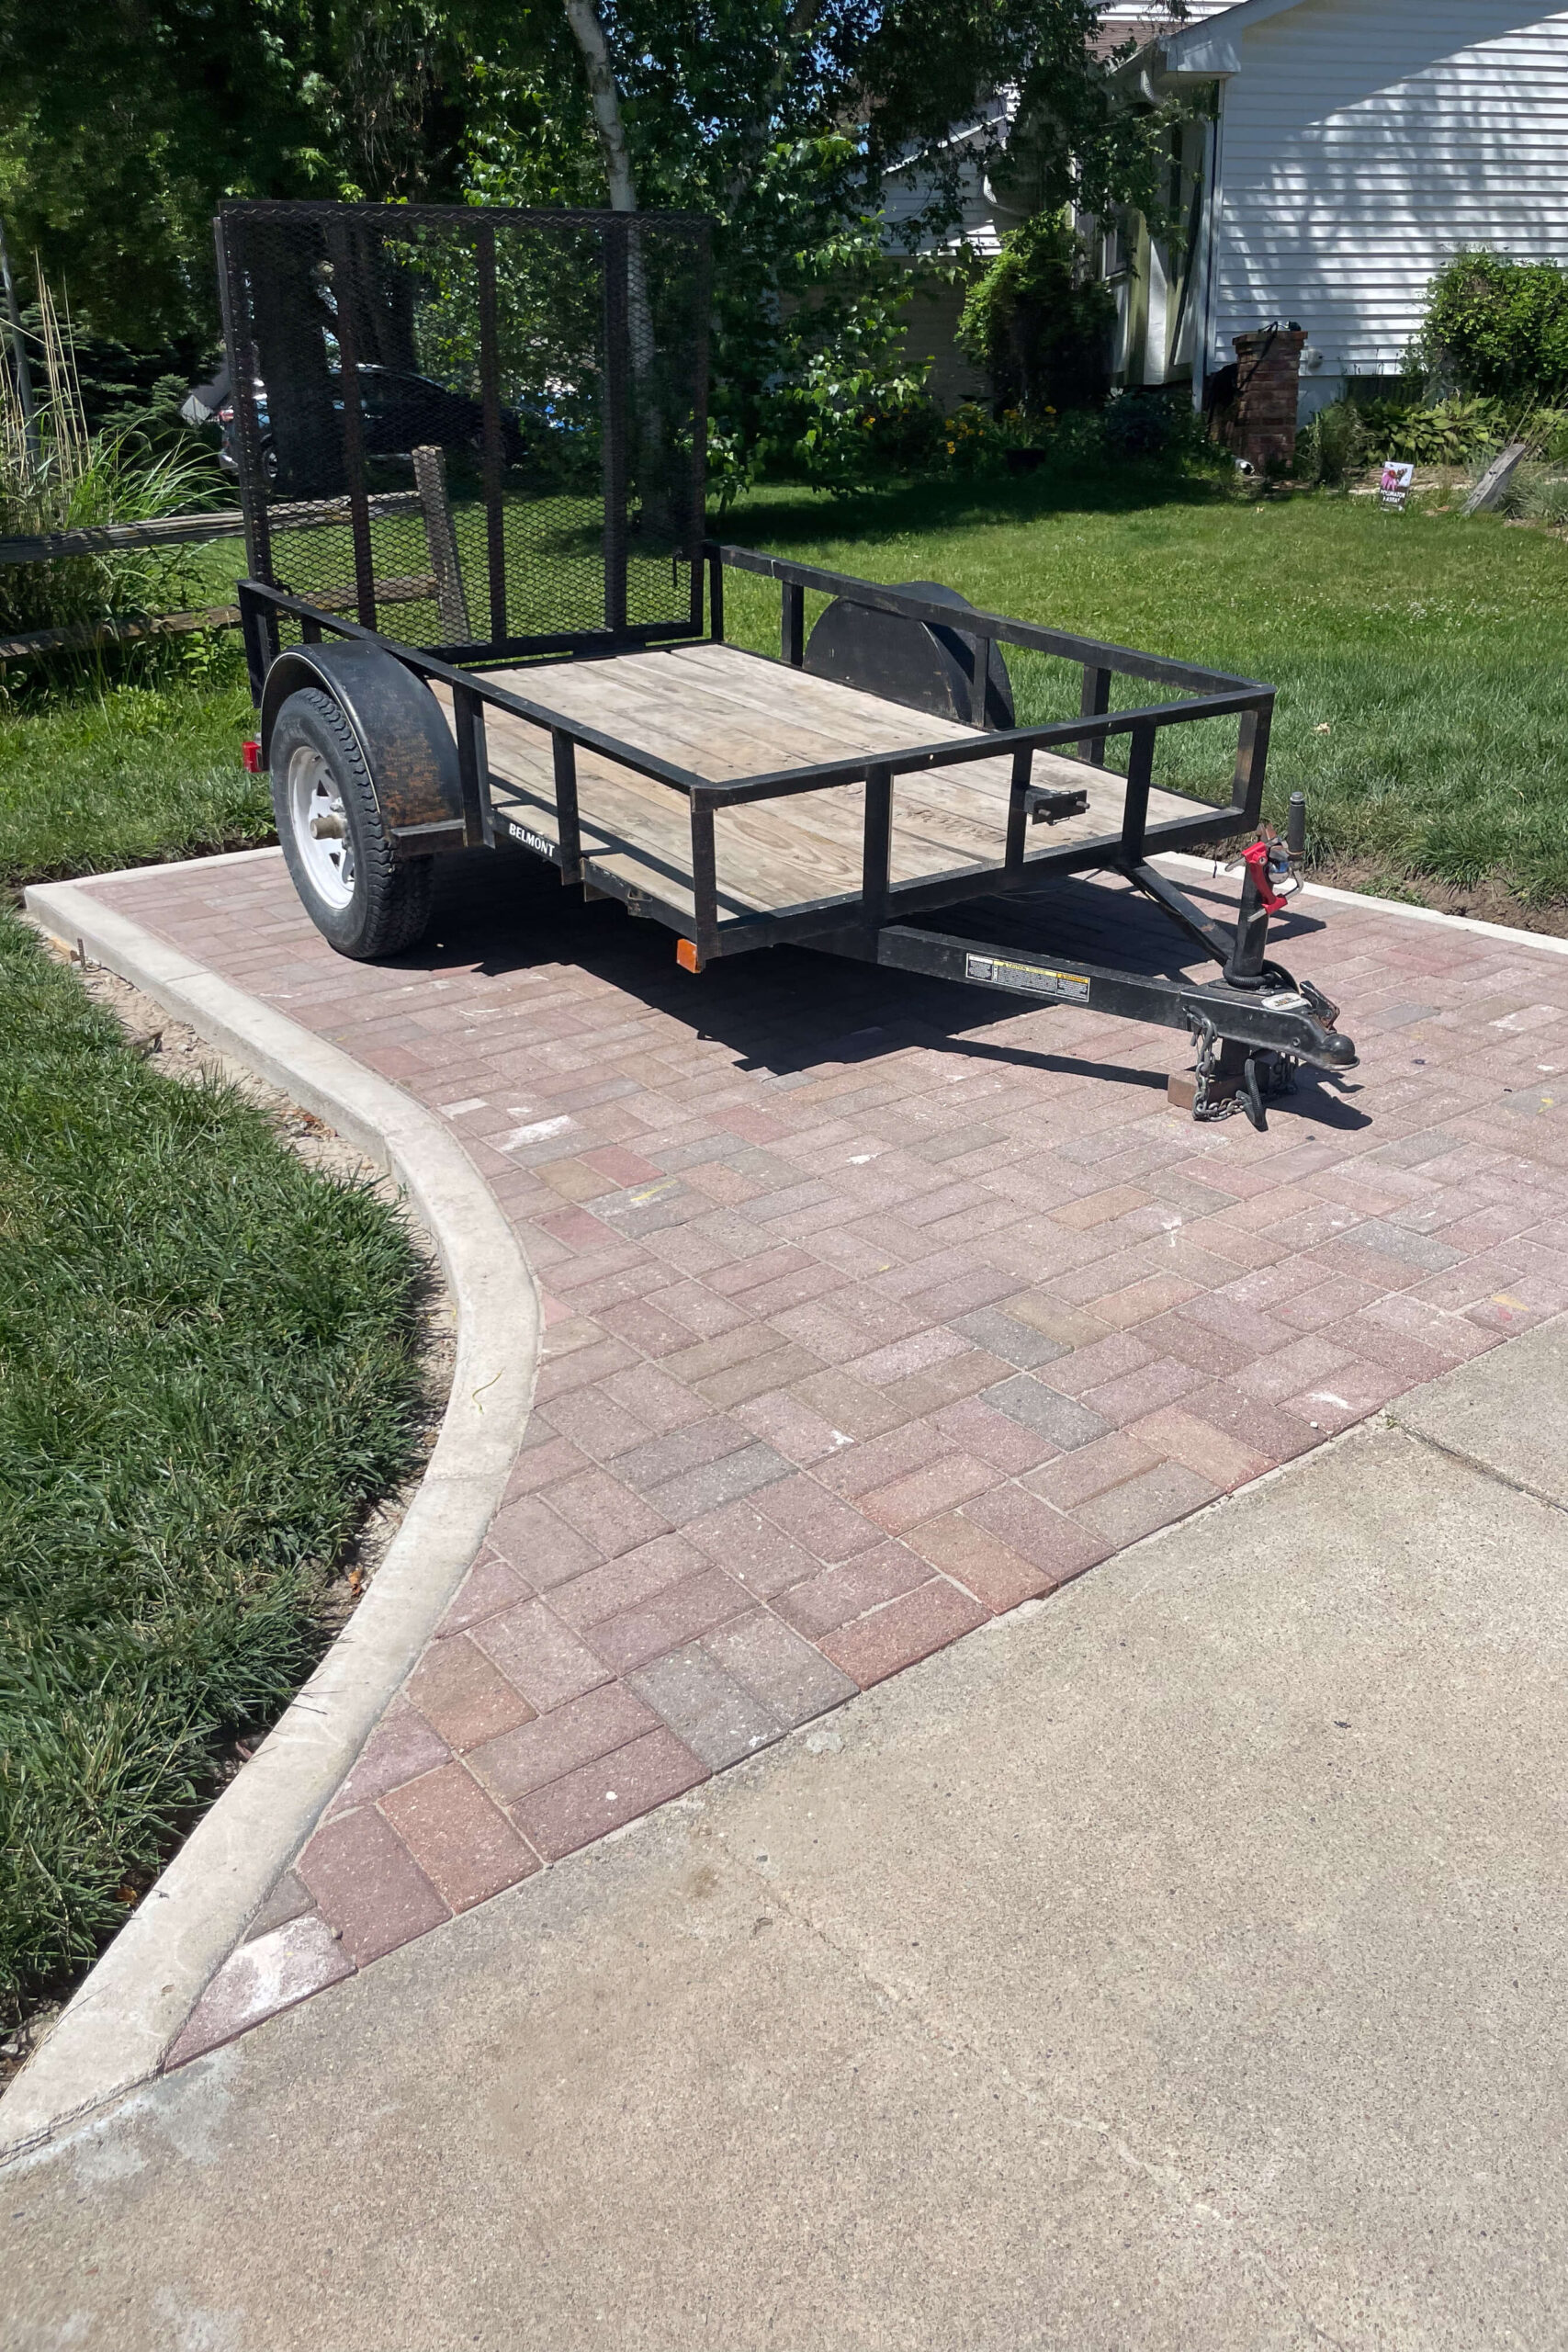
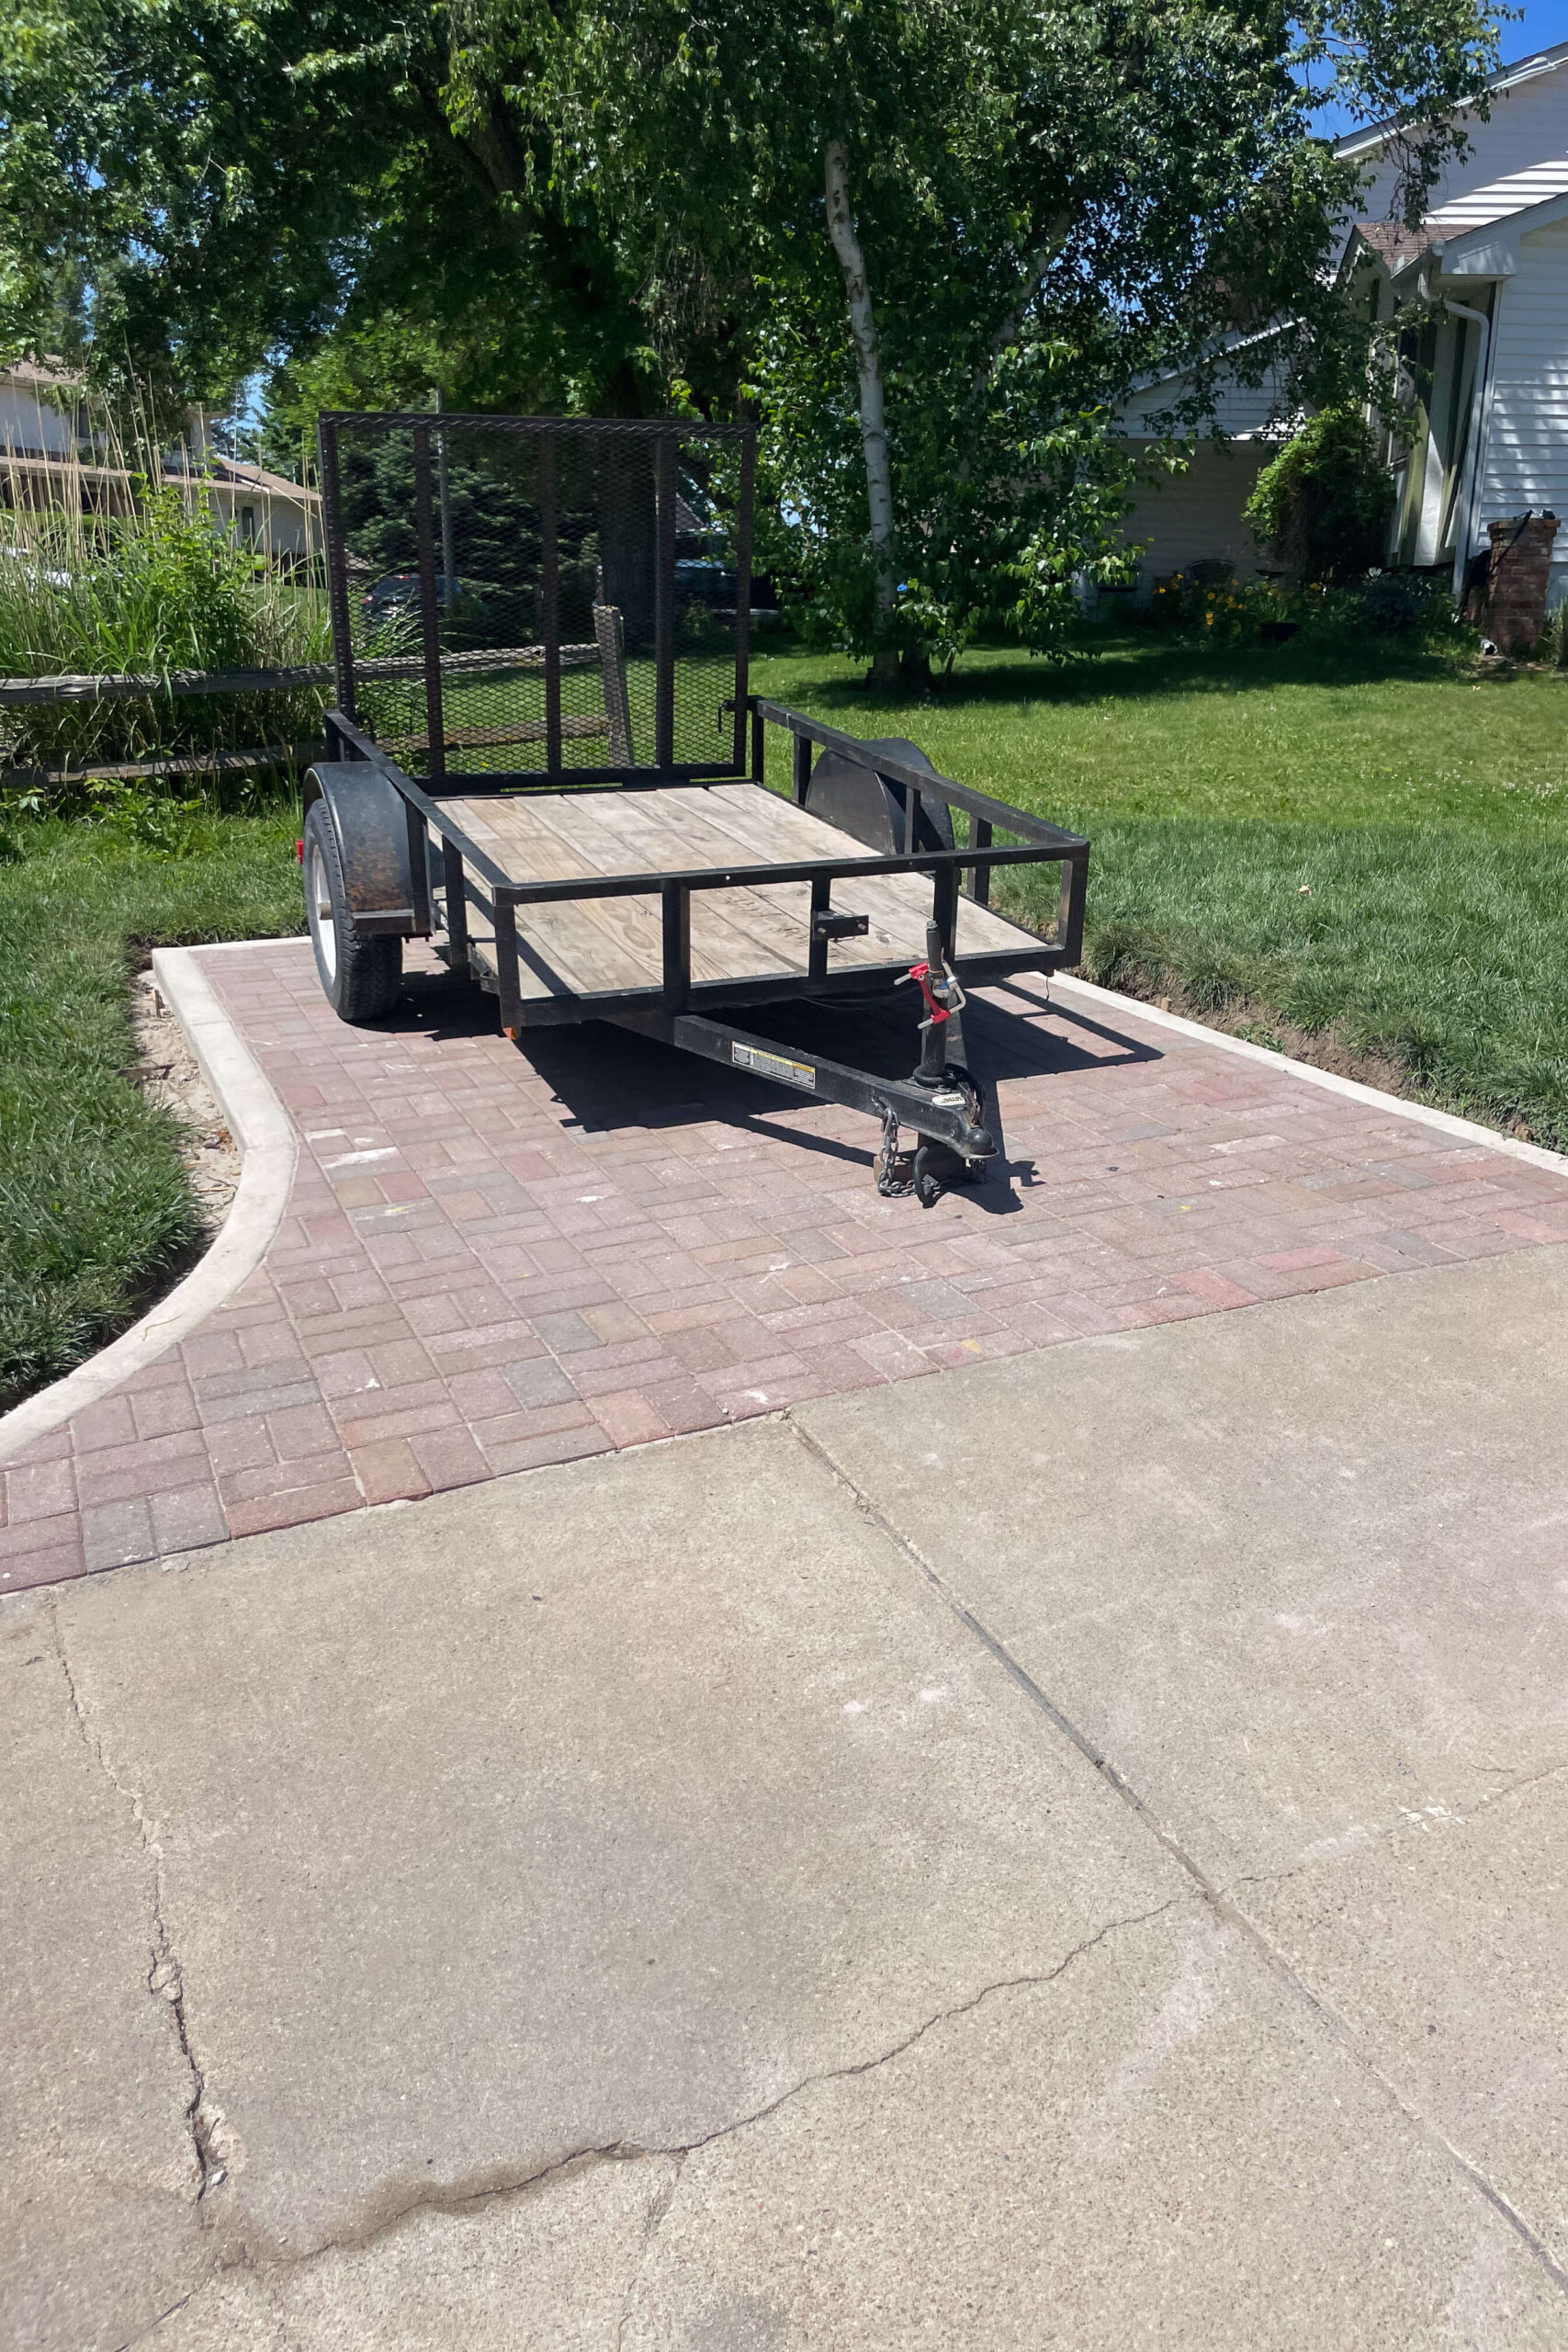
Doesn’t it look great? This DIY paver patio is a perfect extension of our driveway.
The trailer fits just right, and the curve gives more room for backing up the trailer. I’m so happy with how this DIY paver patio turned out, and I’m glad I did it “the right way” to bear the weight of a vehicle for future owners.
We did so many projects in our front yard in addition to the paver patio for parking our trailer. I can’t believe the transformation!
If you want a complete tutorial for how to do a DIY concrete curb, I have all the information here. And if you are looking for more projects using pavers, I have this post where I widened my driveway using pavers.
Check out the Garden & Yard section of my blog for detailed tutorials and inspiration on so many other outdoor projects from laying sod to building a hammock stand.