


How to Touch Up Ceiling Paint Without Repainting the Whole Thing


Updated July 13, 2026
If you’ve been wondering how to touch up ceiling paint without repainting the entire thing, this post is for you. I found a super simple way to get an exact color match, even years after moving in, and I’m walking you through the entire process step by step.
When we moved into our fixer-upper three years ago, we had no idea how much work we were really signing up for. Since then, we’ve tackled all kinds of DIY projects, like:
And while we were quick to paint over that bold yellow wall color with Sherwin Williams Alabaster, we never touched the ceiling.

With all the ceiling holes, patches, and dings left behind from our projects, it was finally time to figure out how to touch up ceiling paint without painting the whole thing. Spoiler alert: I found a trick that gave me an exact match, and I’m walking you through every part of it right here.
Table of Contents
- What You’ll Need to Touch Up Ceiling Paint
- Step 1: My Trick for Matching Ceiling Paint Exactly
- Step 2: How I Patched the Hole in the Ceiling
- Step 3: Painting the Patched Area with My Color Matched Paint
- Step 4: Touching Up Ceiling Paint Throughout the House
- Want to Follow Along?
- 📌 Save This Ceiling Touch-Up Hack
- Frequently Asked Questions About How to Touch Up Ceiling Paint
What You’ll Need to Touch Up Ceiling Paint
Step 1: My Trick for Matching Ceiling Paint Exactly
Why do you need to know how to touch up ceiling paint? Most people have no idea what their ceiling paint color is – and even if you do know, chances are the original color has faded or changed over time. Cracking open a new can probably won’t give you a perfect match. So here’s what I did:
I found a relatively smooth spot in our hallway ceiling (which has a rough knockdown texture overall) and used a utility knife to carefully cut out a teeny tiny square. The key here is to just peel off that top paper layer of the drywall (don’t cut all the way through!). Once I had that little square in hand, I popped into my local Sherwin Williams, and they scanned it for a custom match.

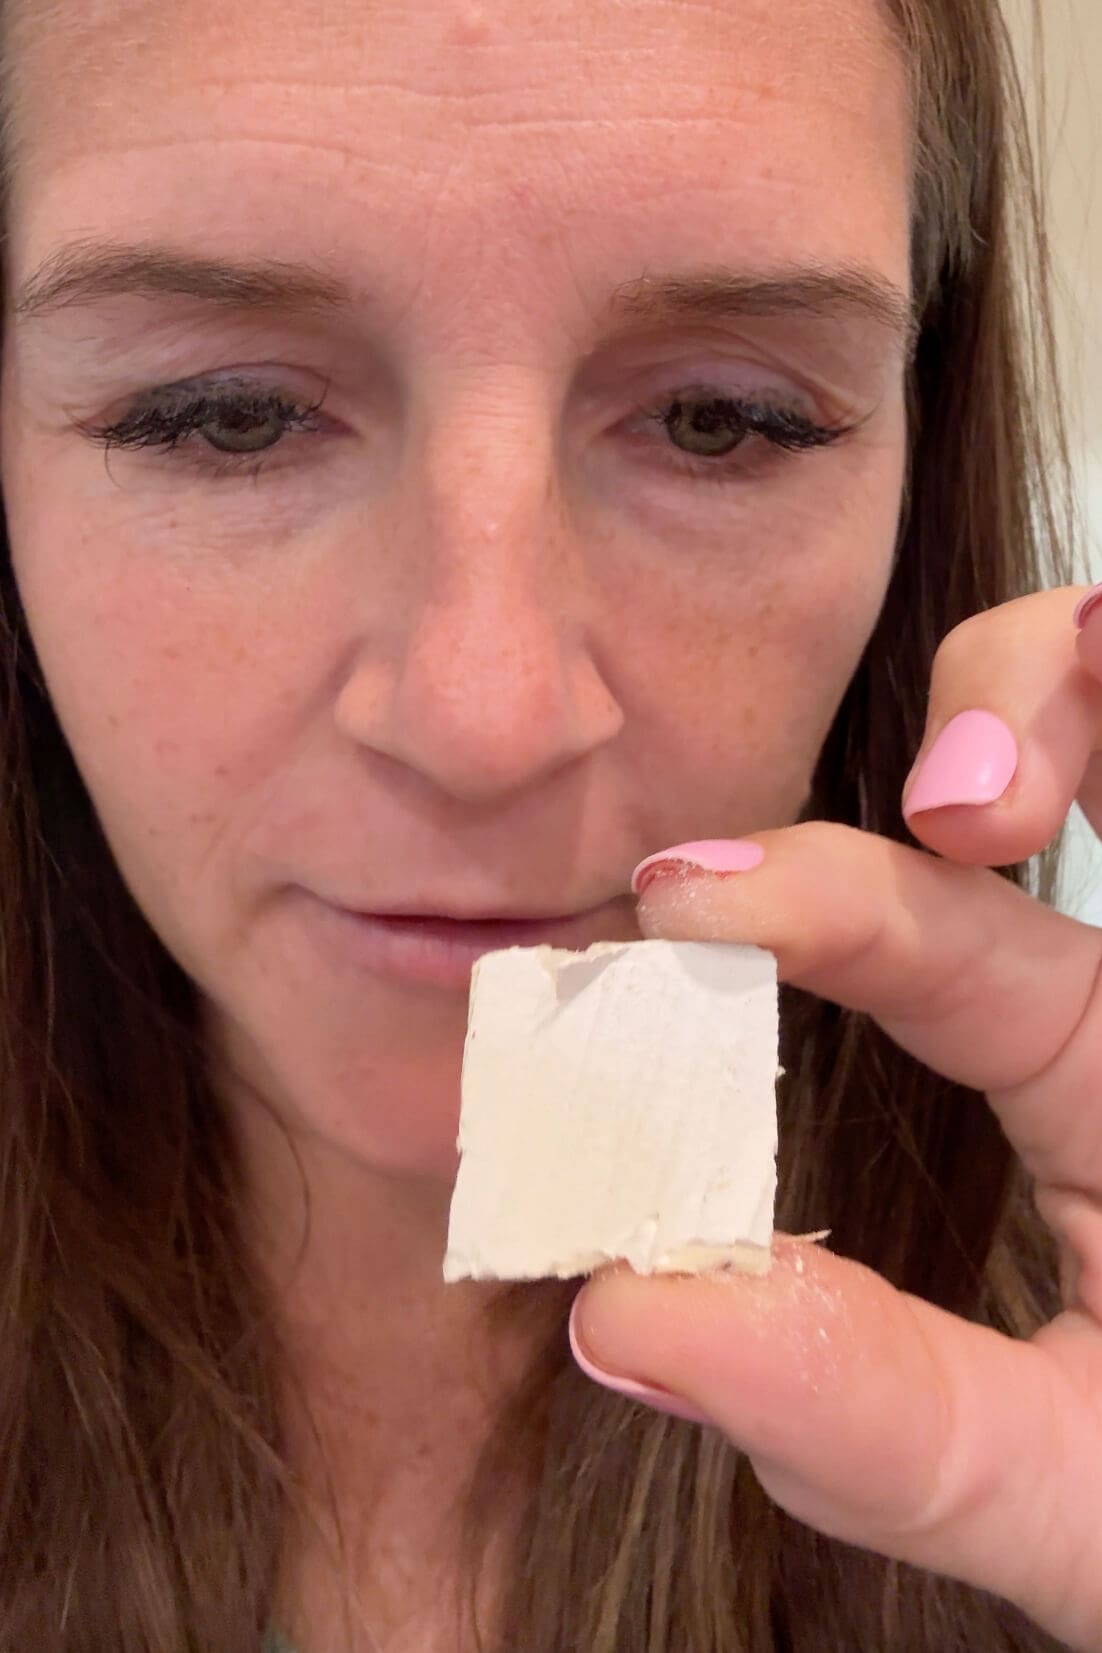
And let me tell you – it was spot on. In fact, in the photo where I’m holding up the sample, half of it is painted with the color match, and half is the original ceiling color. I couldn’t even tell you which side is which. That’s how good the match is.
Step 2: How I Patched the Hole in the Ceiling
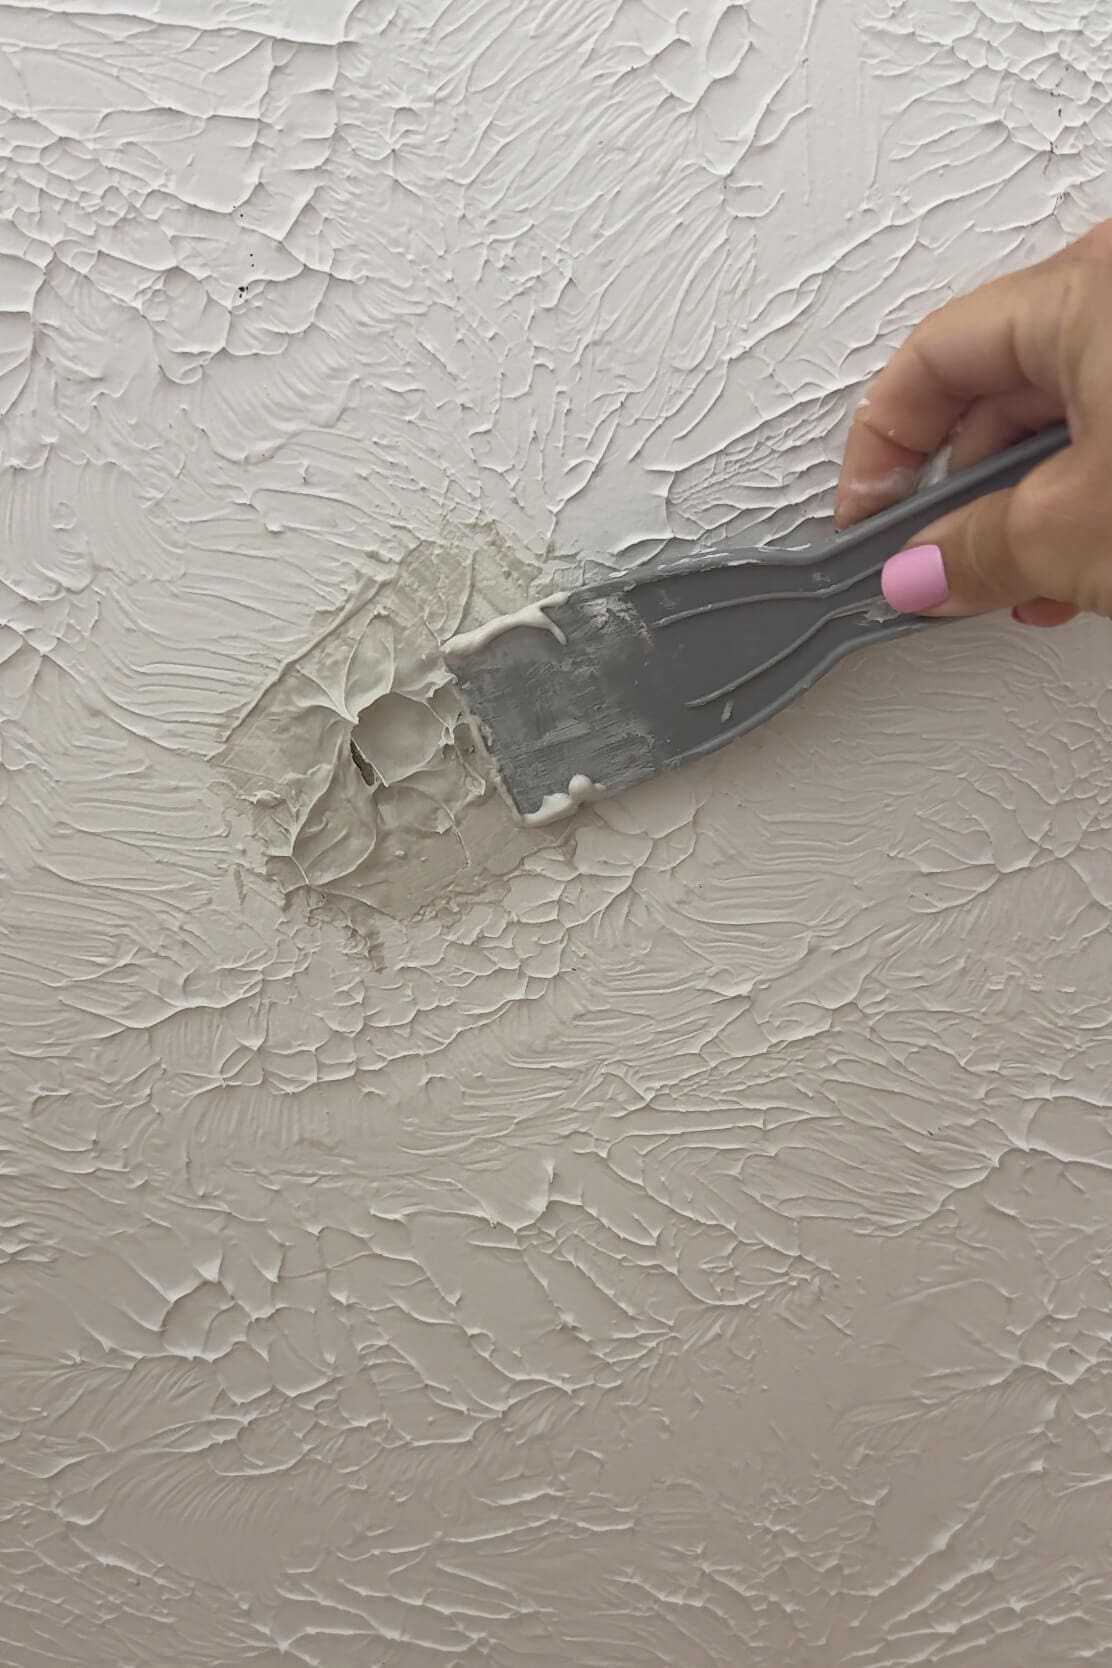
Before I can touch up the ceiling paint, I have to patch the tiny square I removed. I used a putty knife and some joint compound to fill it in. Nothing fancy—just enough to make it level again.
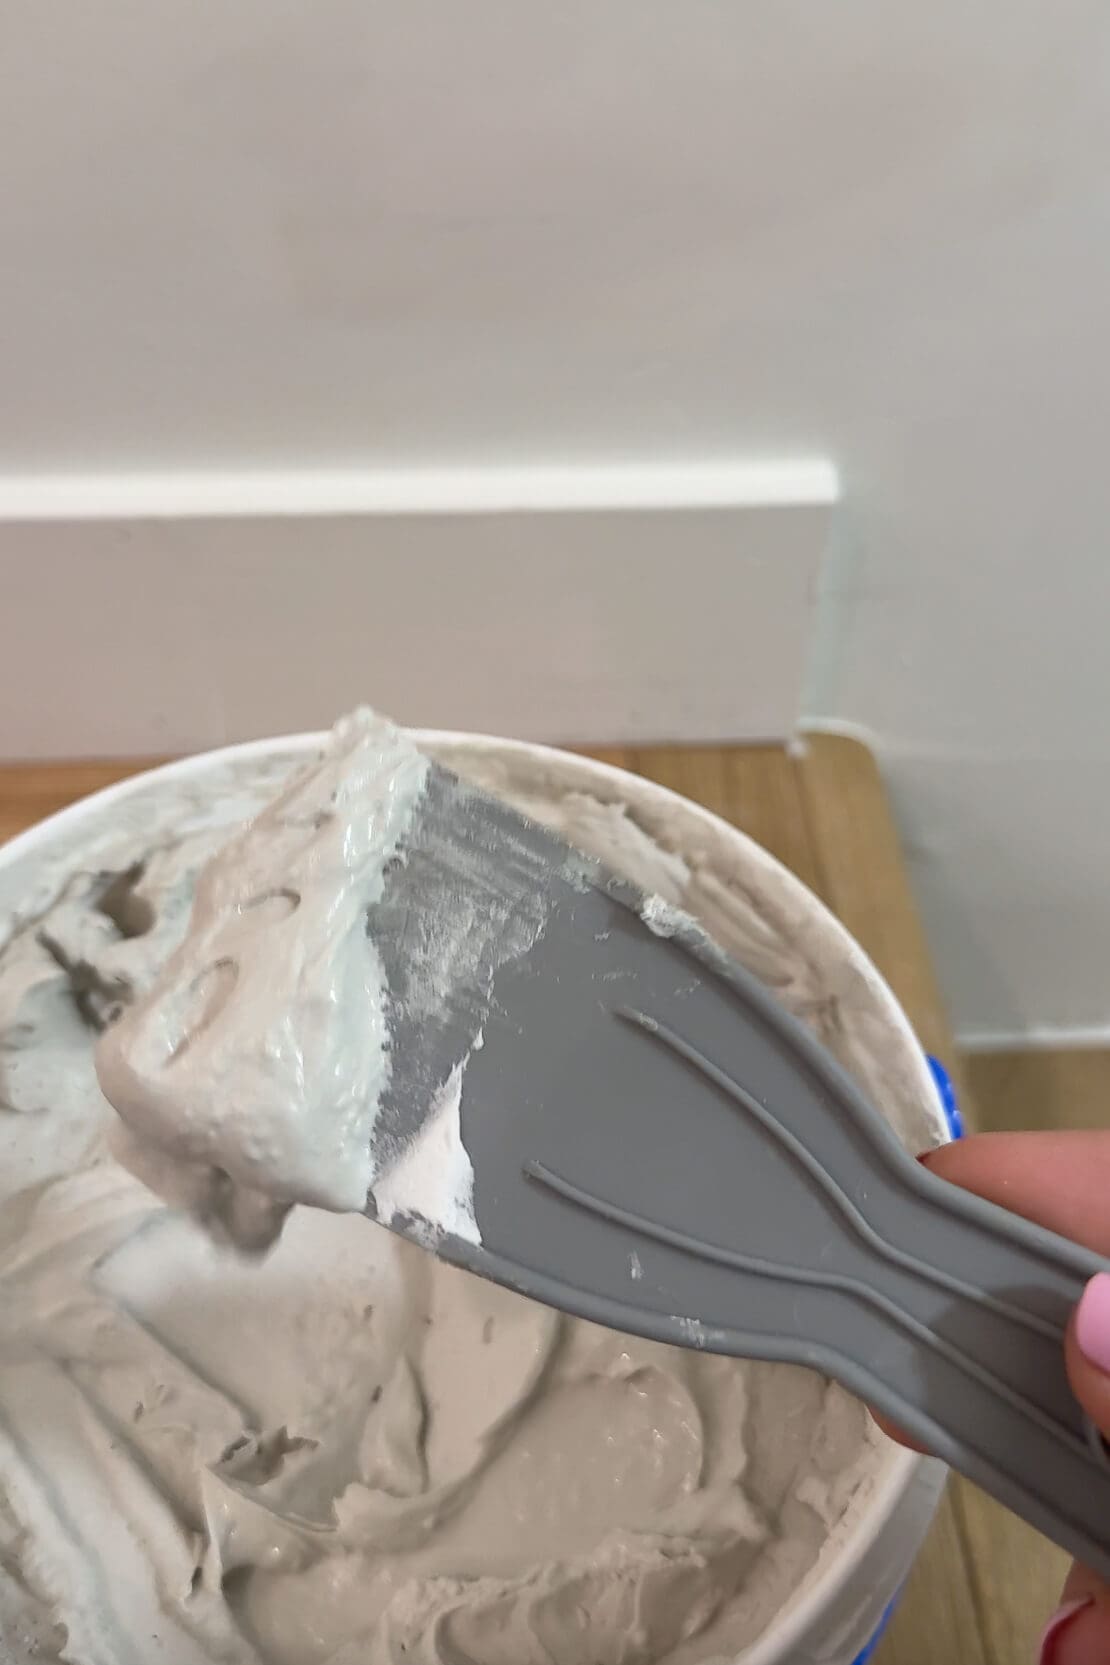
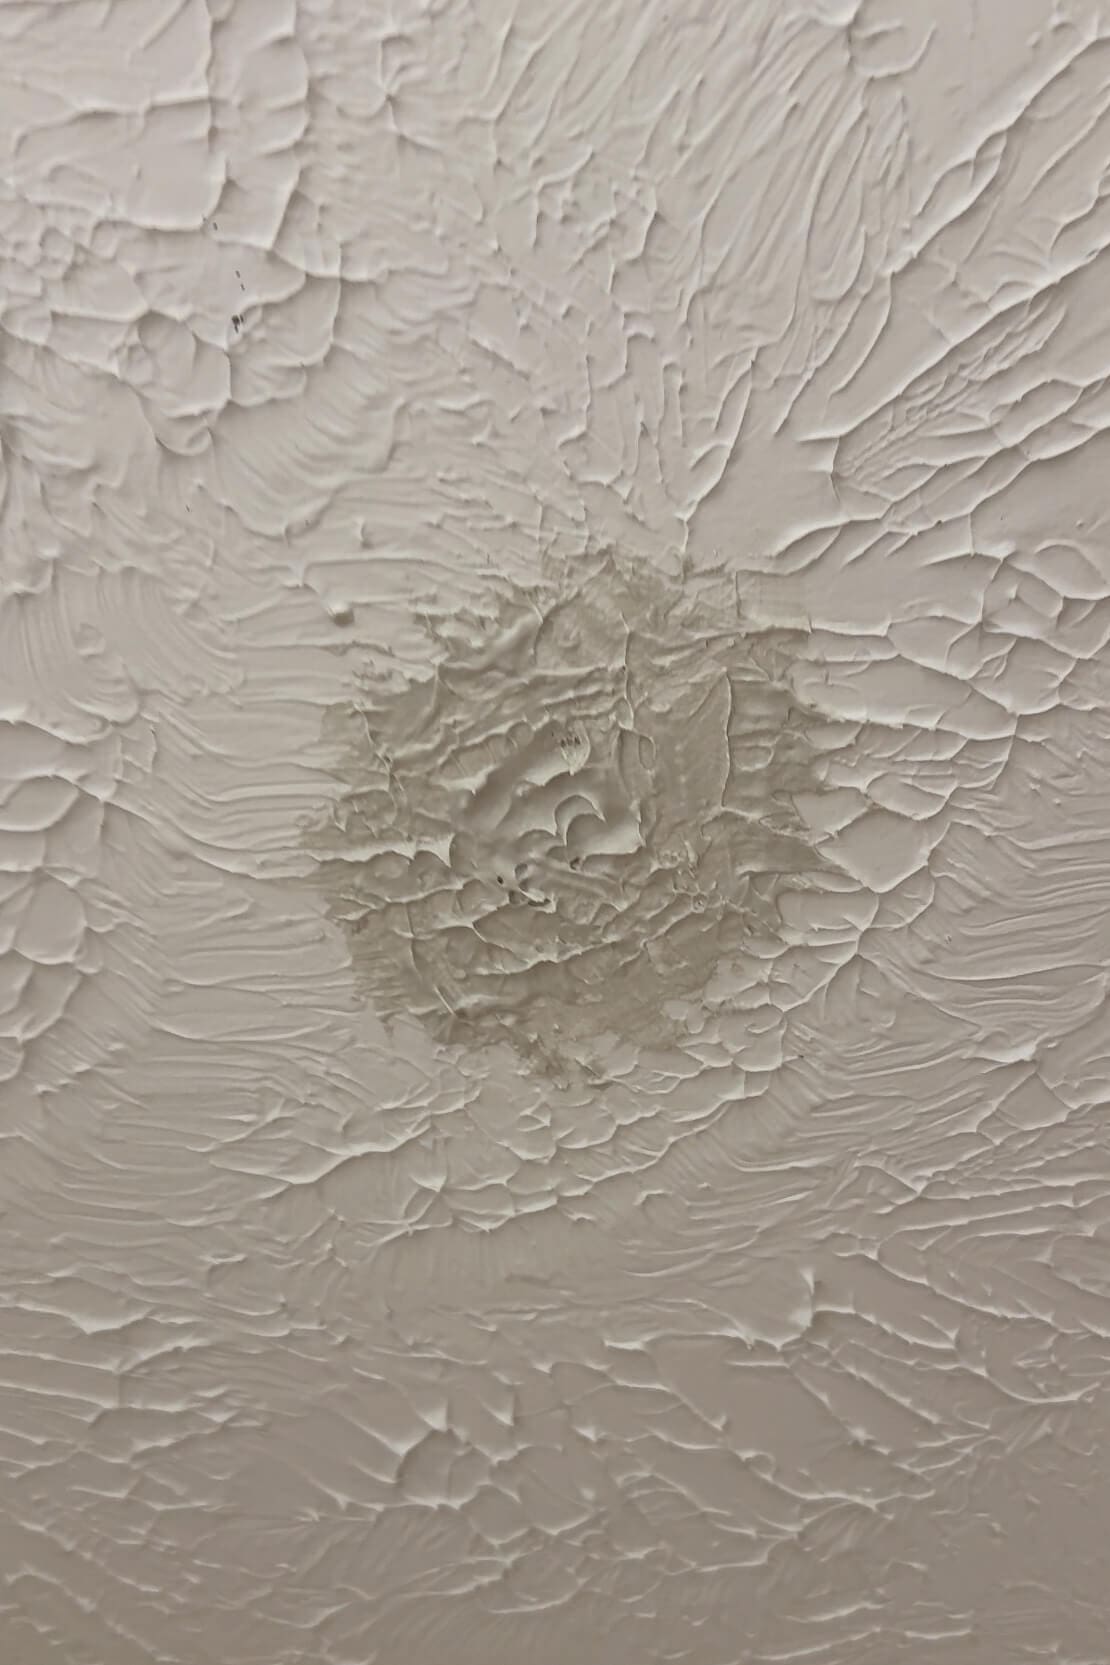
After letting that dry, I came back with more joint compound and started replicating the texture of my ceiling by tapping the surface with my putty knife. If you’ve got a knockdown texture like mine, this part is more art than science. Just keep tapping and playing with it until you’re happy with the look.
Step 3: Painting the Patched Area with My Color Matched Paint
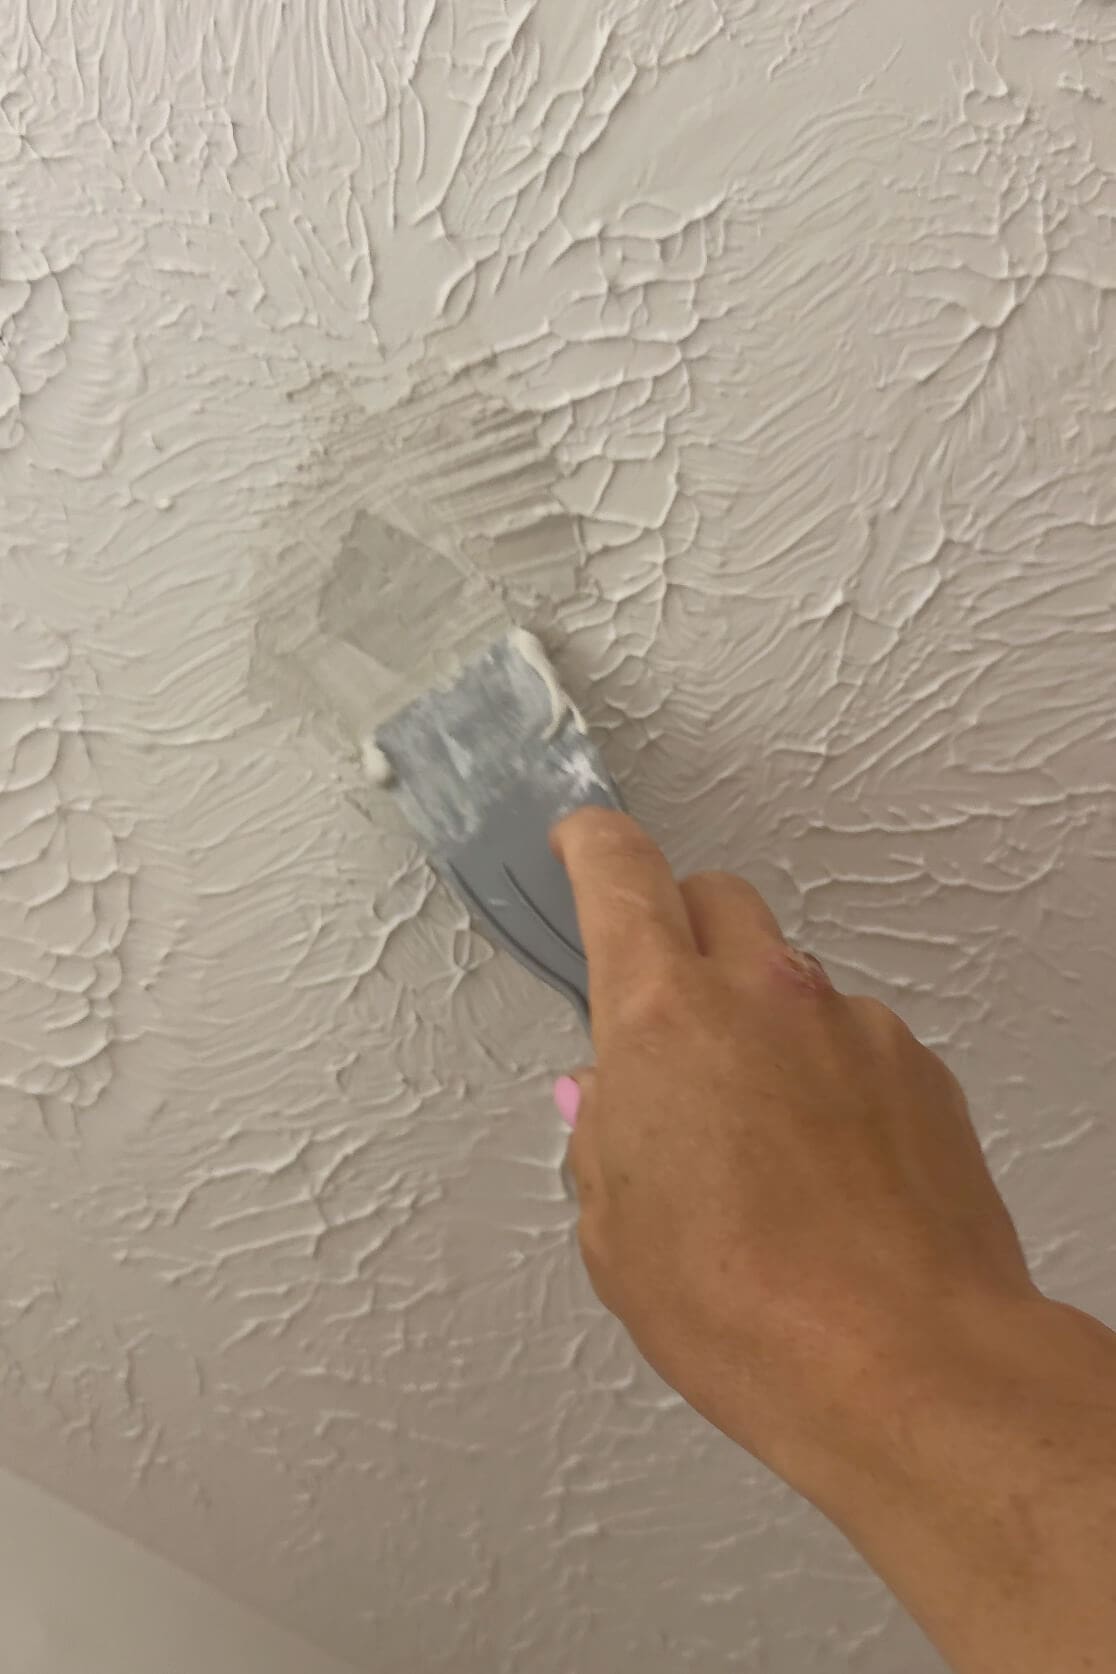
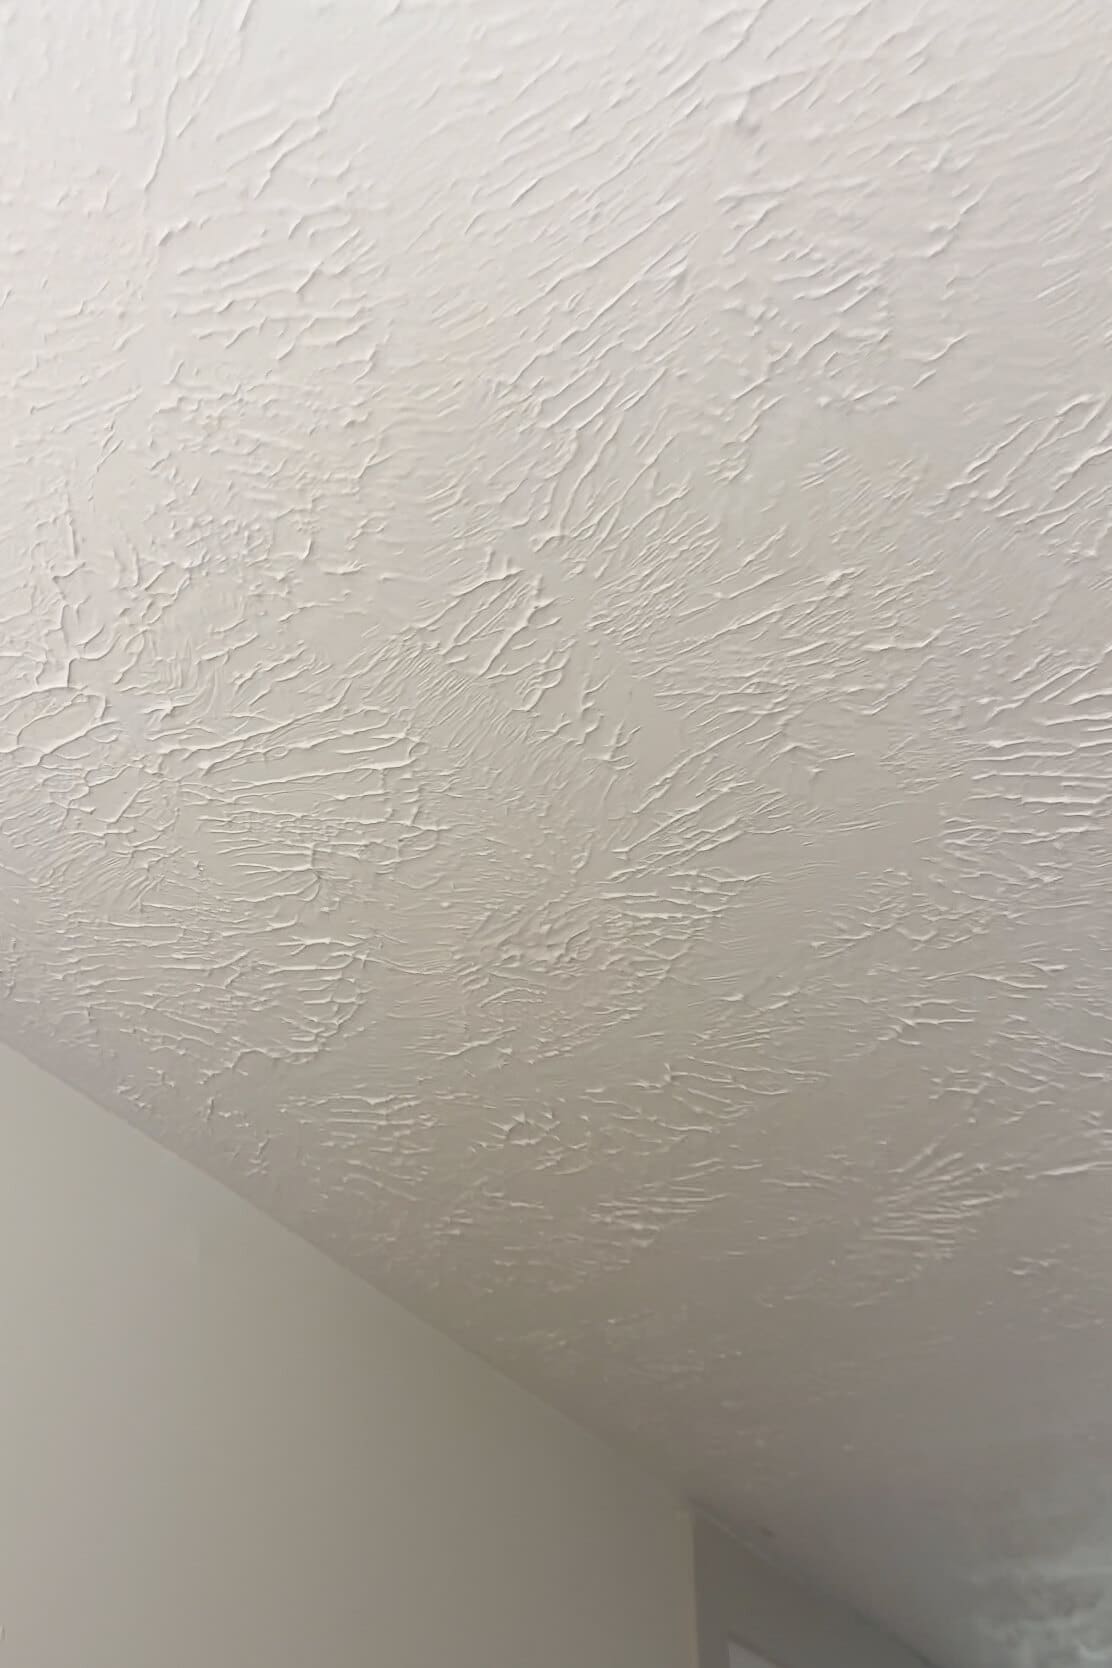
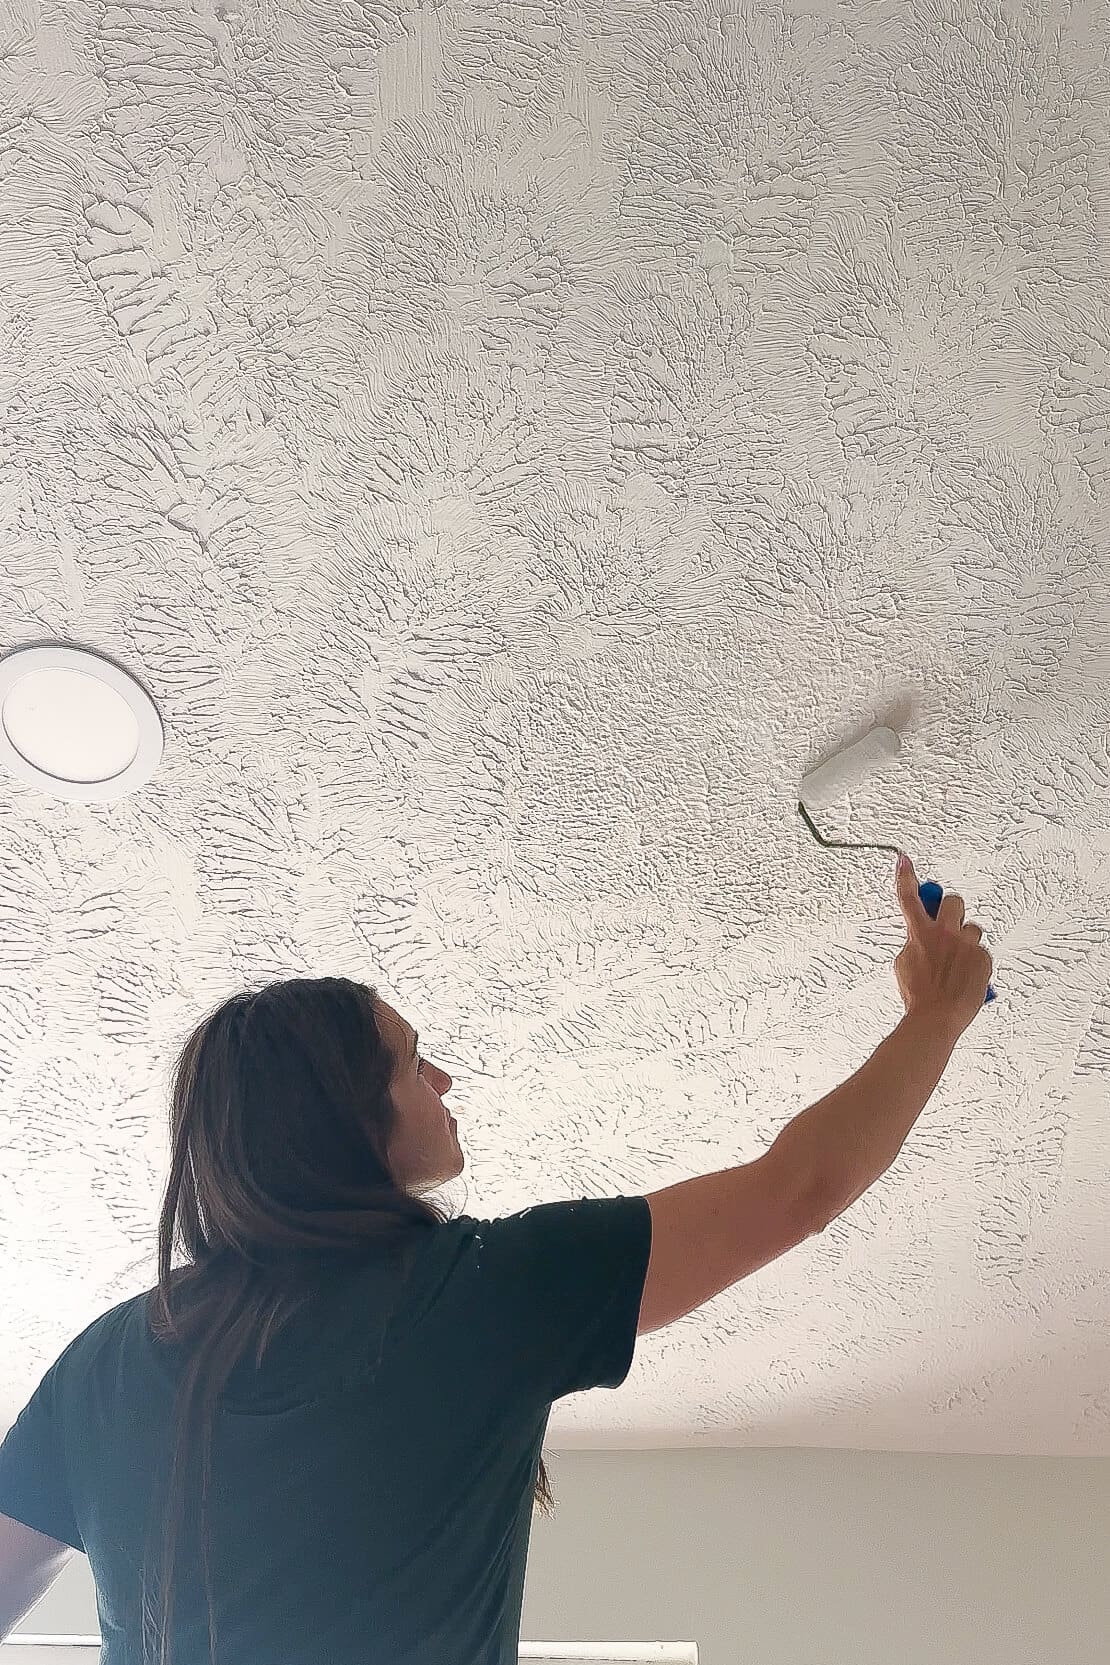
After letting the joint compound dry for about 24 hours or so, it was time to paint. I used a basic brush and flat ceiling paint (in my brand-new custom-matched color) and gently covered the patch. After it dried, the texture blended perfectly into the surrounding ceiling.
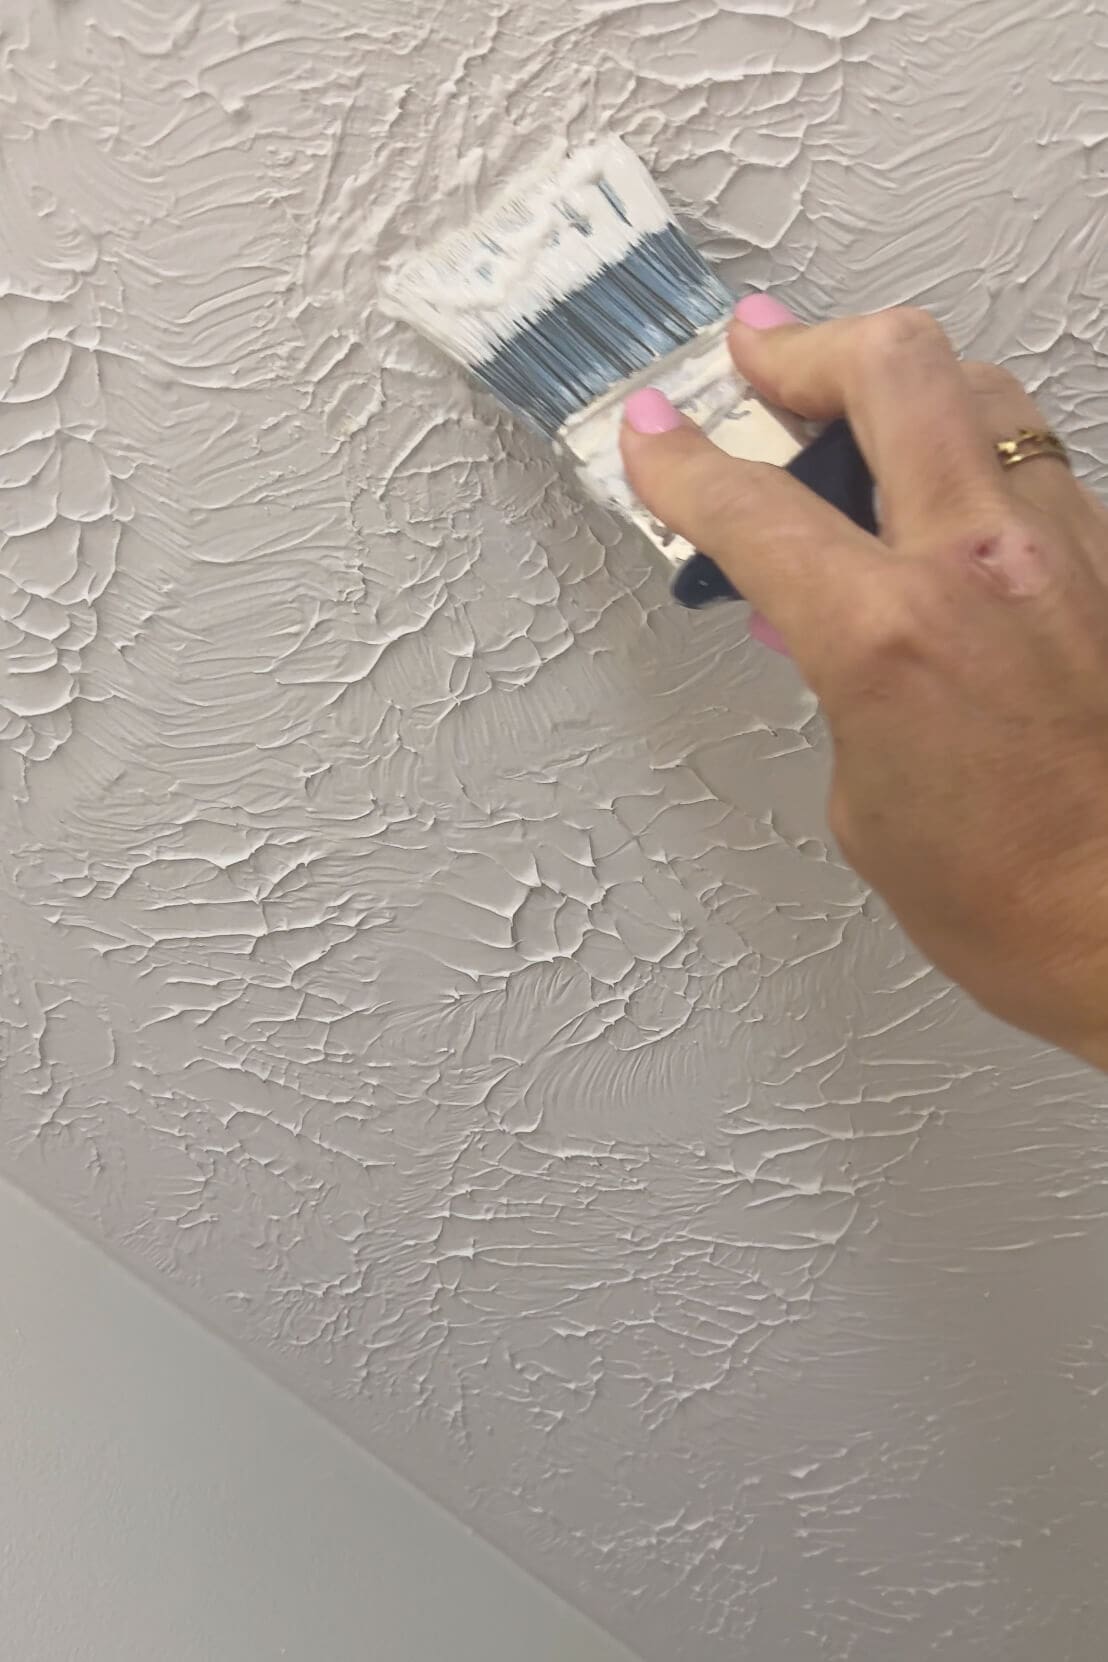
You seriously cannot tell where the repair was made. It’s one of those satisfying little DIY wins that just makes your day. If you’ve been wondering how to touch up ceiling paint without it looking obvious or splotchy, look no further! This is it.
Step 4: Touching Up Ceiling Paint Throughout the House
With my new custom color in hand, I’m making my way around the house, patching up all those little ceiling scars from the last few years of projects. I’m keeping busy knocking out the last 5% of our house projects. You know, those finishing touches you ignore for way too long until you’re ready to sell.
And yep, that’s where we’re at. We’re prepping to list this house so we can head into our next big adventure—a move to St. Louis and a brand new DIY remodel (you know I can’t stay away from a good project).

Want to Follow Along?
If you want to keep up with all the behind-the-scenes, last-minute projects and get a peek at what we’ll be doing in our next house, make sure you’re following me on Instagram. I share all the real-life mess, budget-saving tips, and all the good before-and-afters over there.
Now let’s finish these ceilings and get this house sold!
📌 Save This Ceiling Touch-Up Hack
Frequently Asked Questions About How to Touch Up Ceiling Paint
Try this trick: gently peel a thin layer of the ceiling’s drywall paper using a utility knife, then take that sample to your local paint store for a color match. I used Sherwin Williams, and the match was flawless.
Yes! If you can get a good color match and recreate the texture, you can absolutely spot-paint a ceiling without it looking obvious. It takes a little finesse, but it’s totally doable.
Flat ceiling paint is best for blending repairs, especially if your ceiling has texture. Make sure to use the same sheen as your existing ceiling paint—typically flat or matte—to avoid flashing.
Once you’ve patched the area with joint compound, lightly tap or blend it with your putty knife to mimic the existing ceiling texture. For knockdown ceilings, wait a few minutes before smoothing the peaks for that flattened texture look.