How to Skim Coat a Wall to Remove Texture (No Sanding Mess)


Updated January 5, 2026
Our new house has texture on every wall, and once the light hits, it’s all I can see. I wanted smooth, modern walls, so I decided to do something about it. If you’re searching for how to skim coat a wall to remove texture without a sanding mess, you’re in the right place. I’ll walk you through what I used and exactly how I got a flat, paint-ready finish.
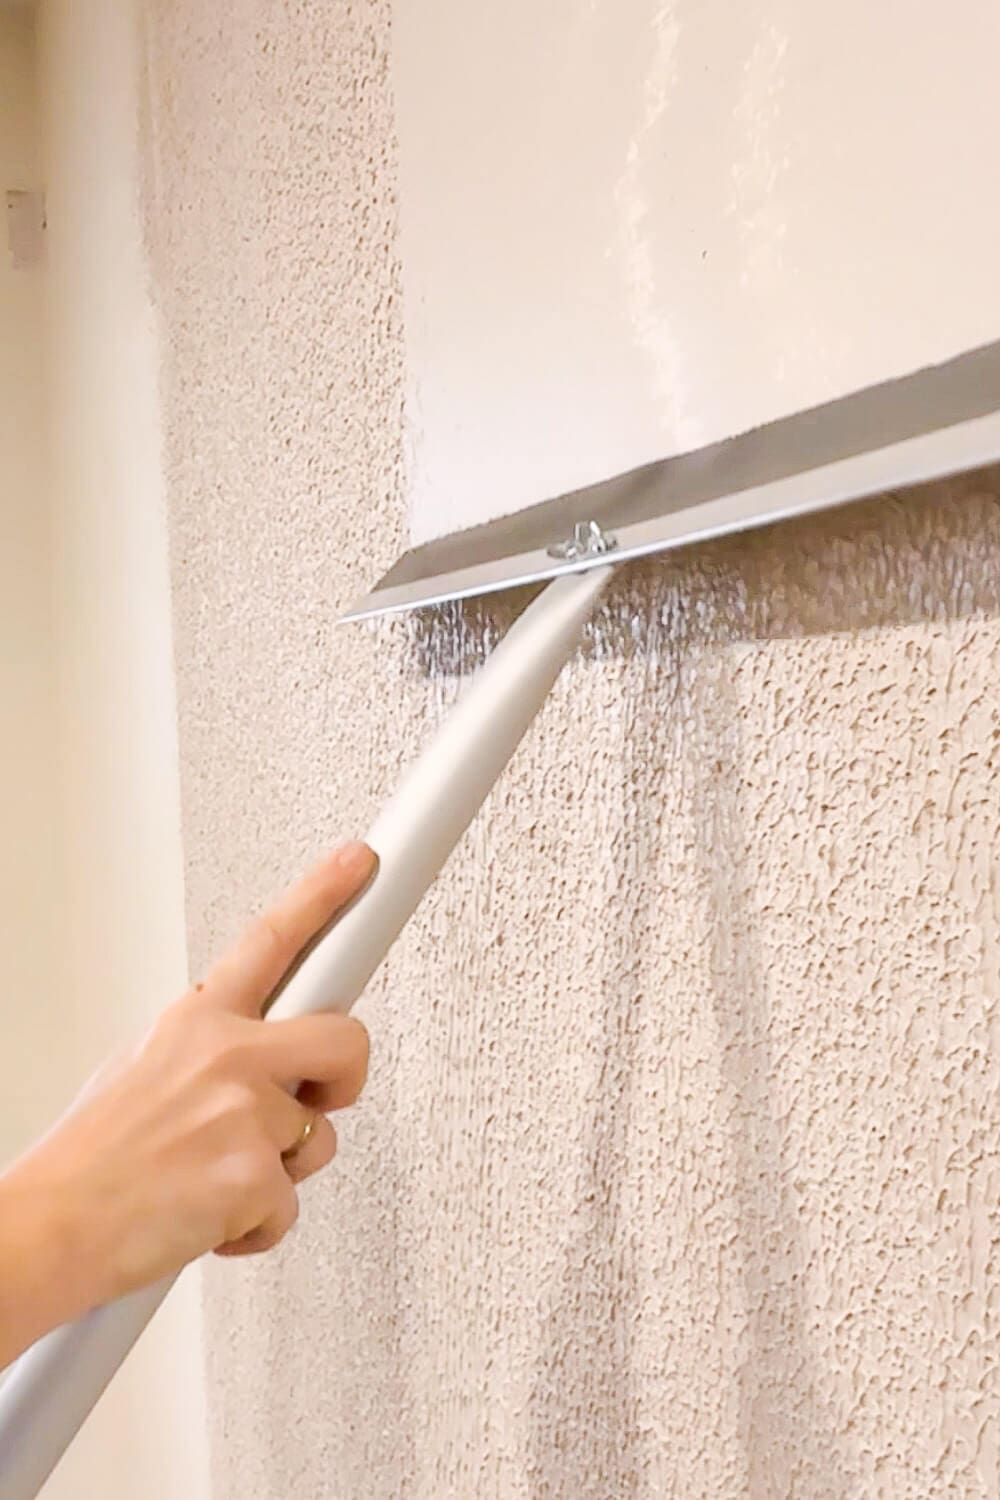
Table of Contents
- What You Need to Skim Coat a Wall
- Step 1: Prep Drywall for Skim Coating to Remove Texture
- Step 2: Roll On Joint Compound for a Low-Dust Skim Coat
- Step 3: Smooth the Skim Coat with a 24-Inch Knockdown Knife
- Step 4: Wet-Smooth Ridges for a Dust-Free Finish
- Step 5: Apply a Second Coat for Smooth, Paint-Ready Walls
- Before and After: Orange Peel Texture vs Smooth Skim-Coated Wall
- Why I Want Smooth Walls
- 📌 Save This Project for Later
- FAQ: How to Skim Coat a Wall and Remove Texture
What You Need to Skim Coat a Wall
These are the essential tools and materials for how to skim coat a wall to remove texture (orange peel or light knockdown) and get a smooth, paint-ready finish without messy sanding.
- Joint compound (pre-mixed “all-purpose”)
- Paint roller + textured roller cover
- 24″ knockdown knife
- Large sponge
- Drill
- Mixing paddle
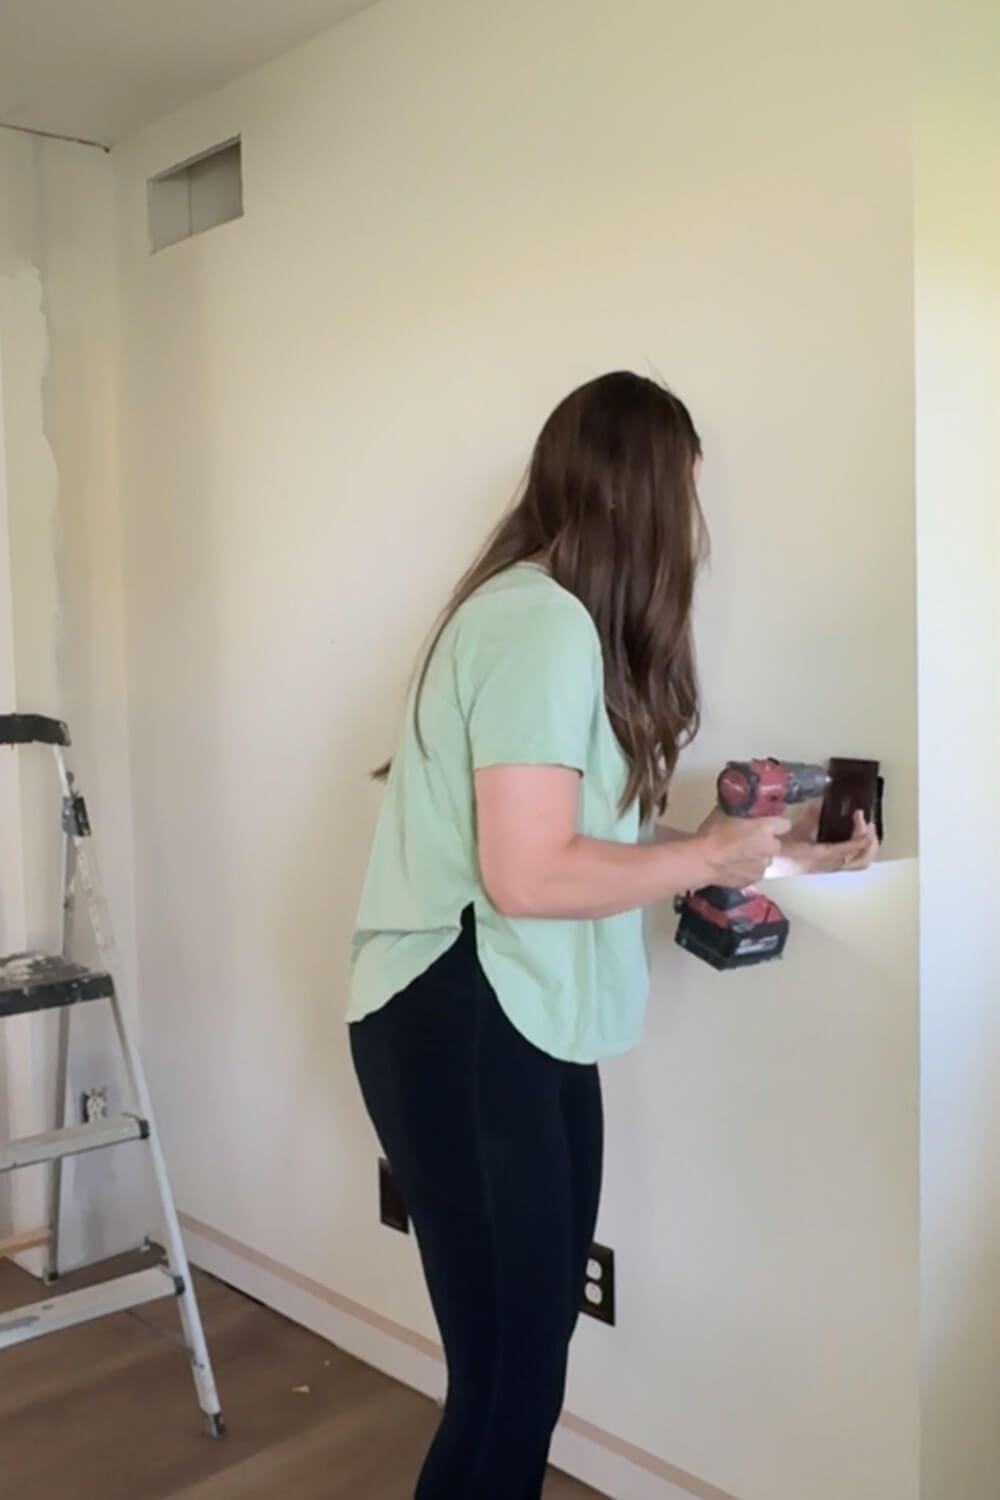
Step 1: Prep Drywall for Skim Coating to Remove Texture
Before we skim coat the wall, you want to take off anything that you don’t want joint compound getting on. Remove vent covers, outlet and light switch plates, and any hardware. You may want to tape off your baseboard or protect your floors with a drop cloth.
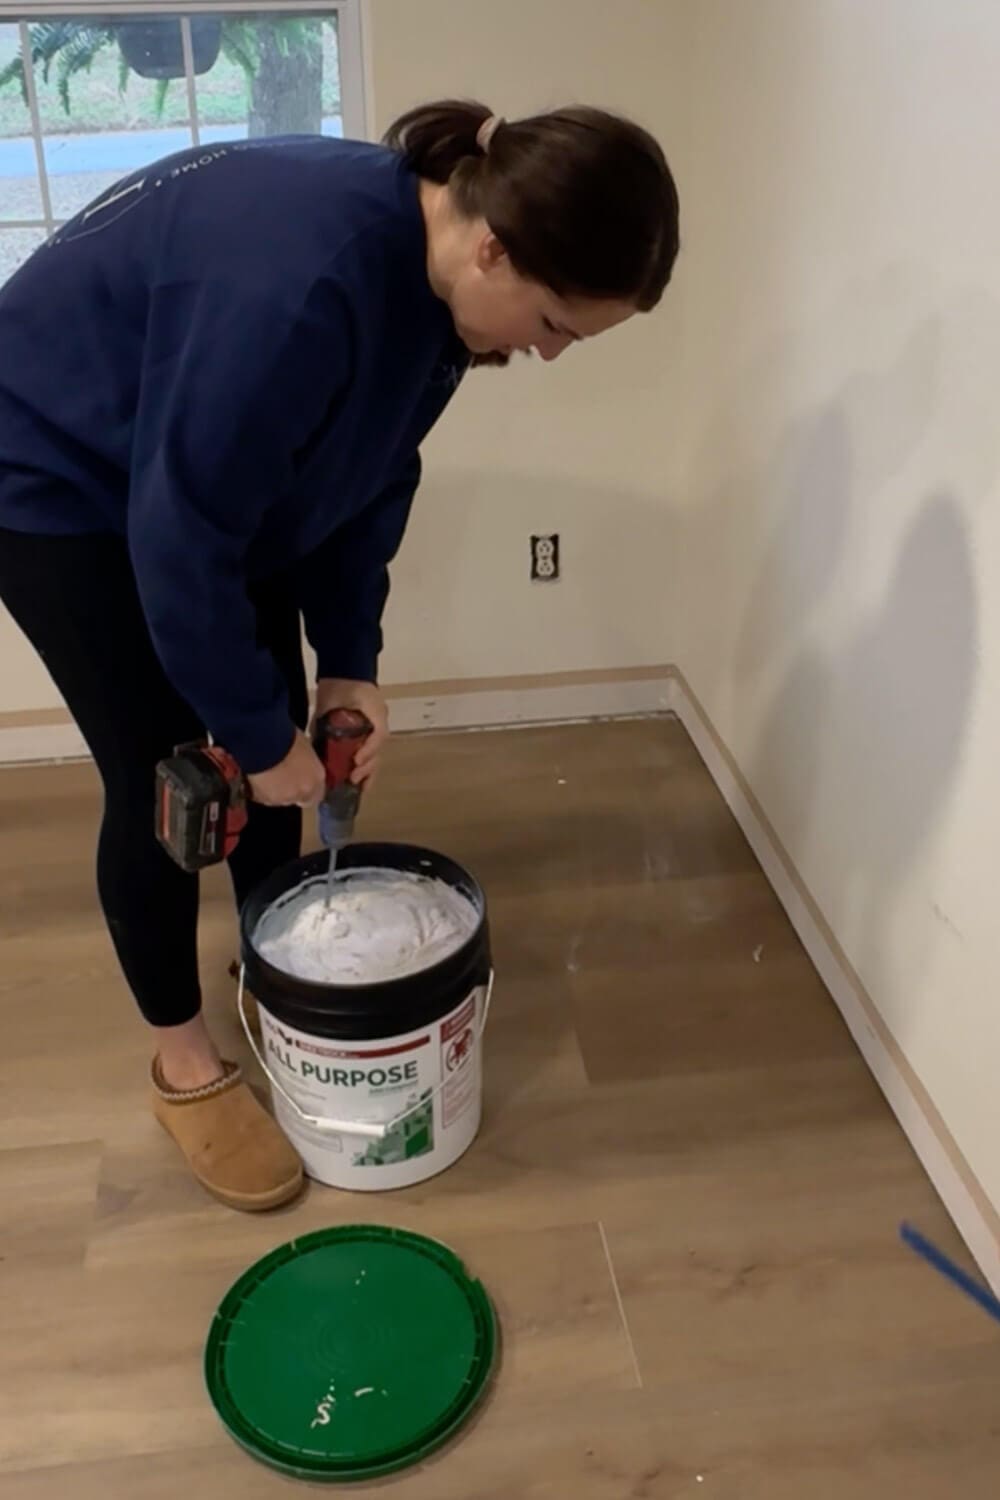
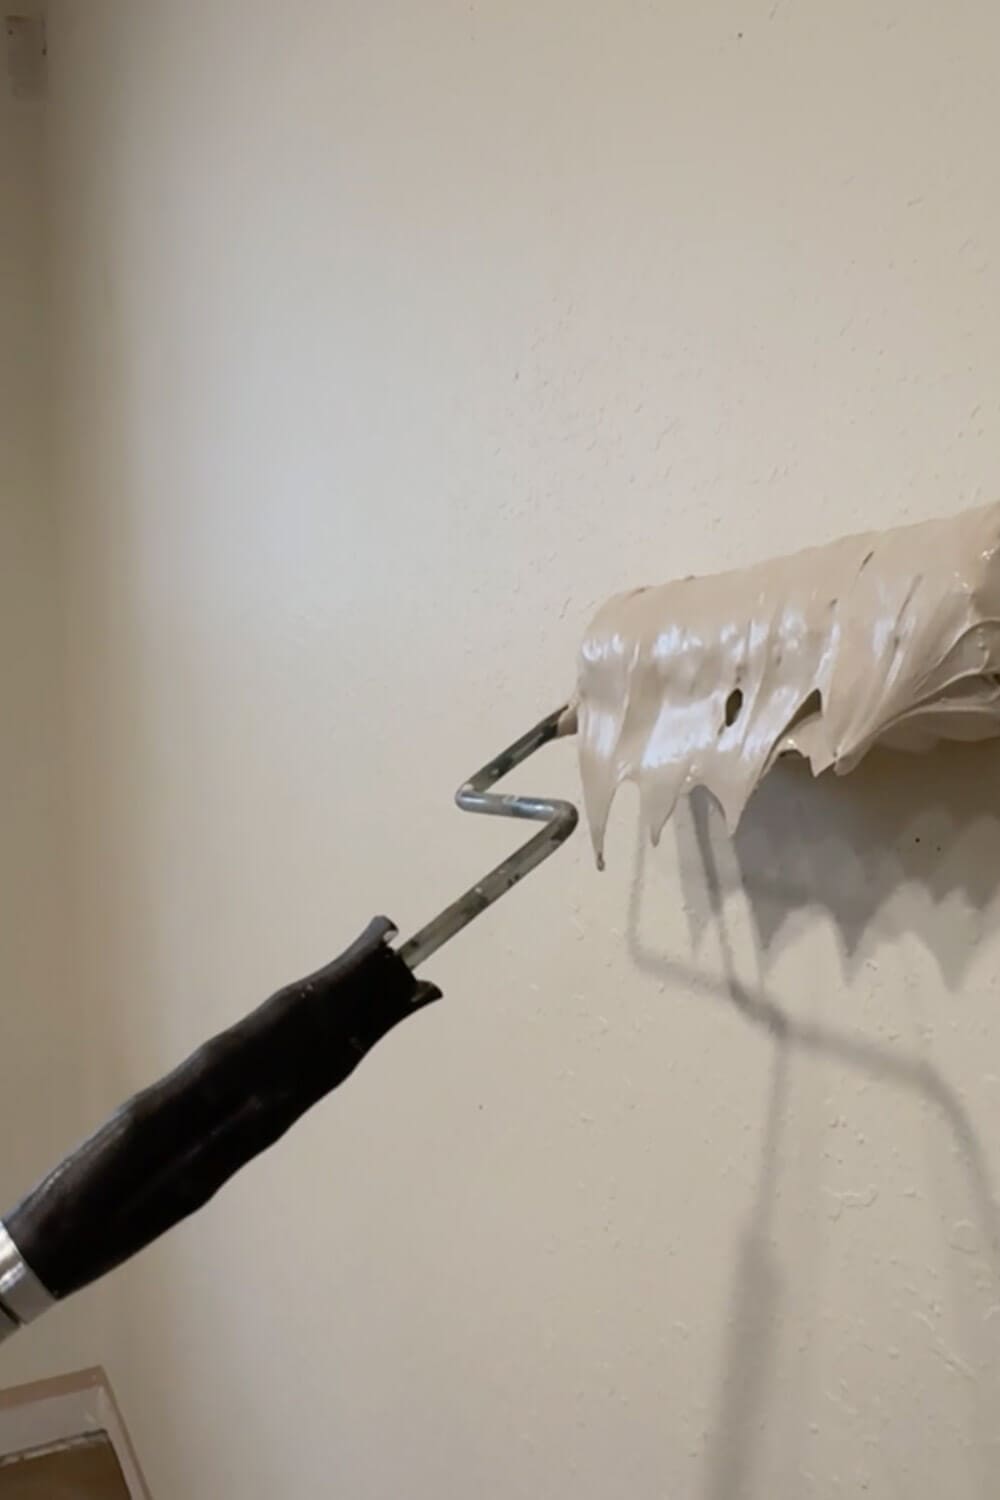
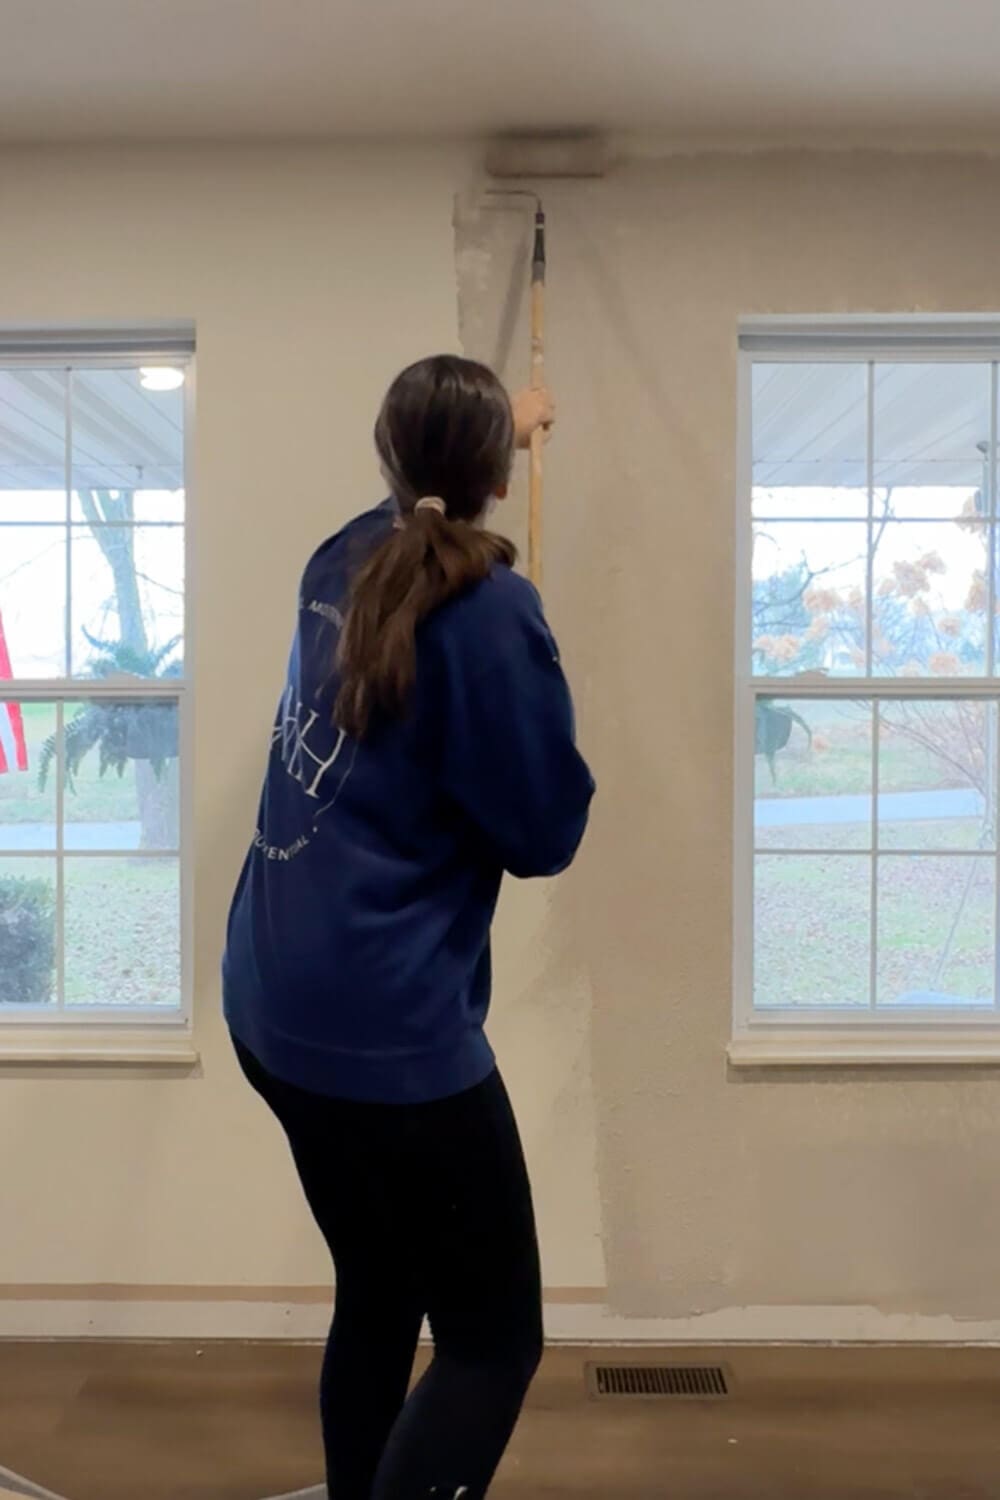
Step 2: Roll On Joint Compound for a Low-Dust Skim Coat
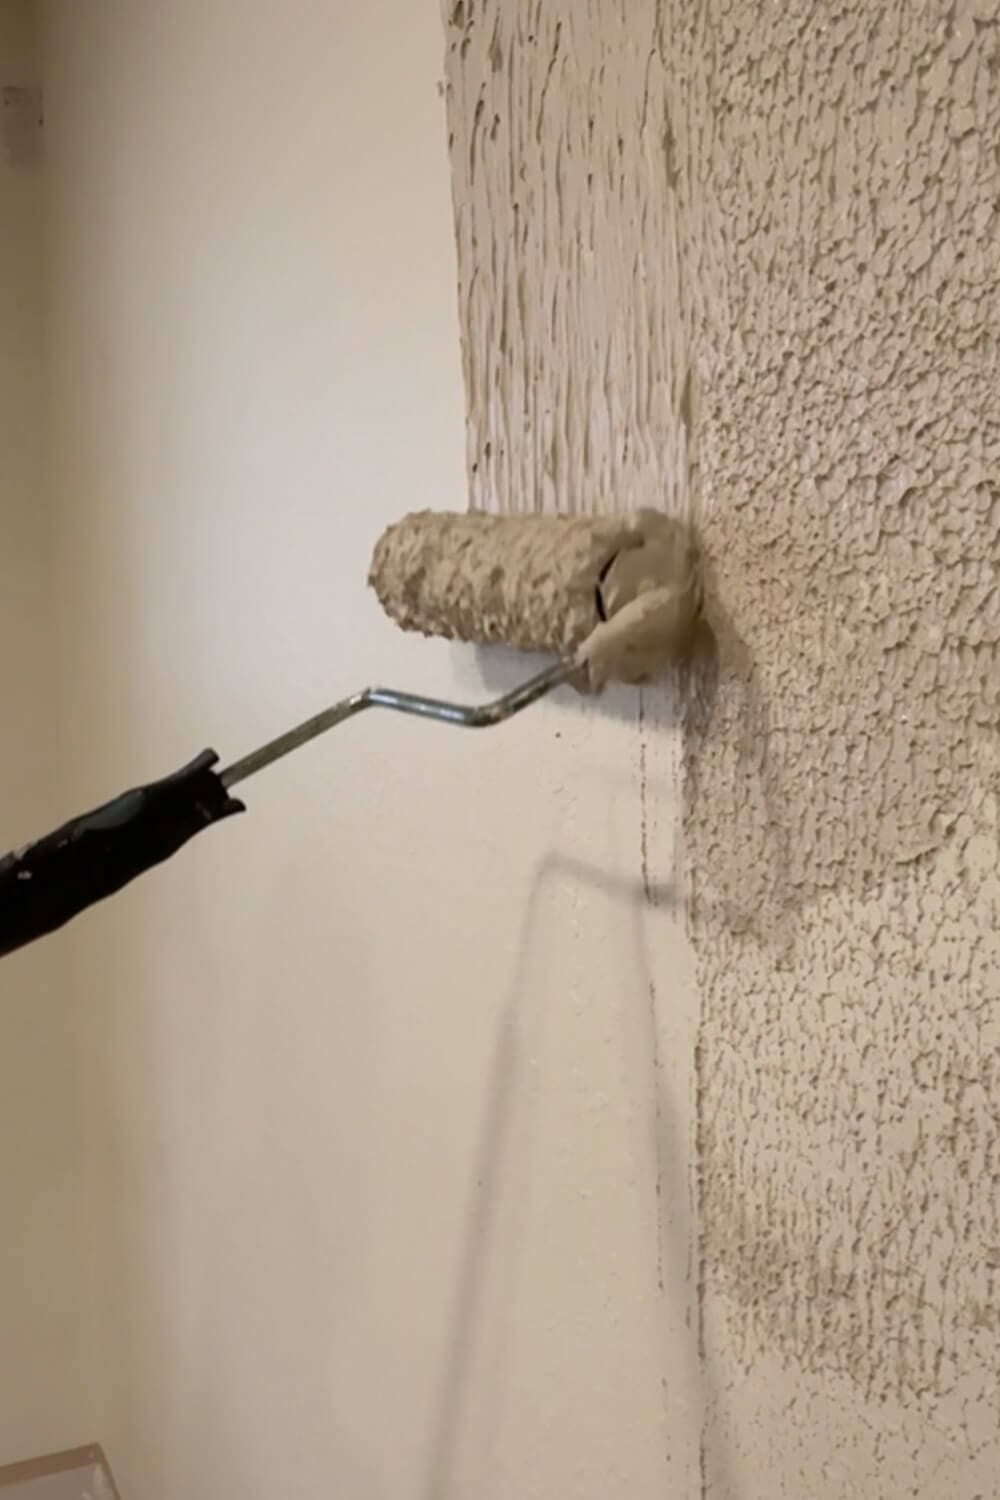
Stir the joint compound until smooth (a drill with a mixing attachment makes this so much easier!). Then grab your roller. For this project, you’ll want to use a textured roller sleeve so it picks up and applies a good amount of joint compound to the wall.

Load up the paint roller and work in small sections, a few feet wide. Roll on an even coat to cover the textured wall. It’s going to look like a mess at first, but trust the process. The magic happens in the next step.
Step 3: Smooth the Skim Coat with a 24-Inch Knockdown Knife
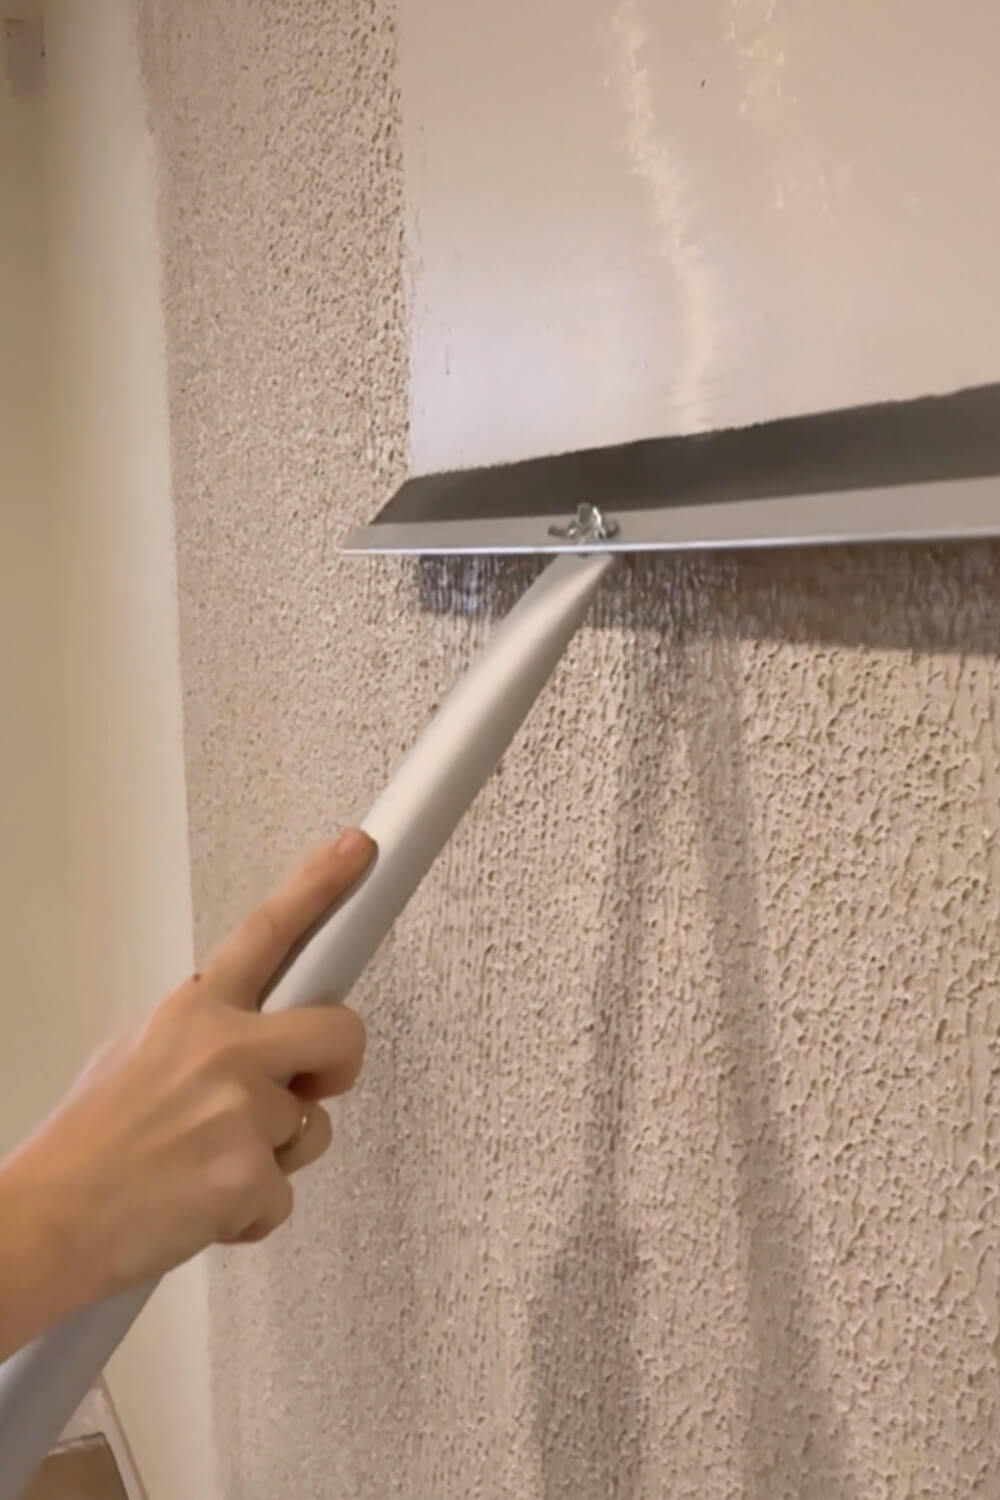
Now, it’s time to smooth out the skim coating on your wall. Hold the 24-inch knockdown knife at a slight angle, making long overlapping strokes to flatten the mud and scrape off excess. Aim for consistent pressure so the surface of your skim coating levels out.
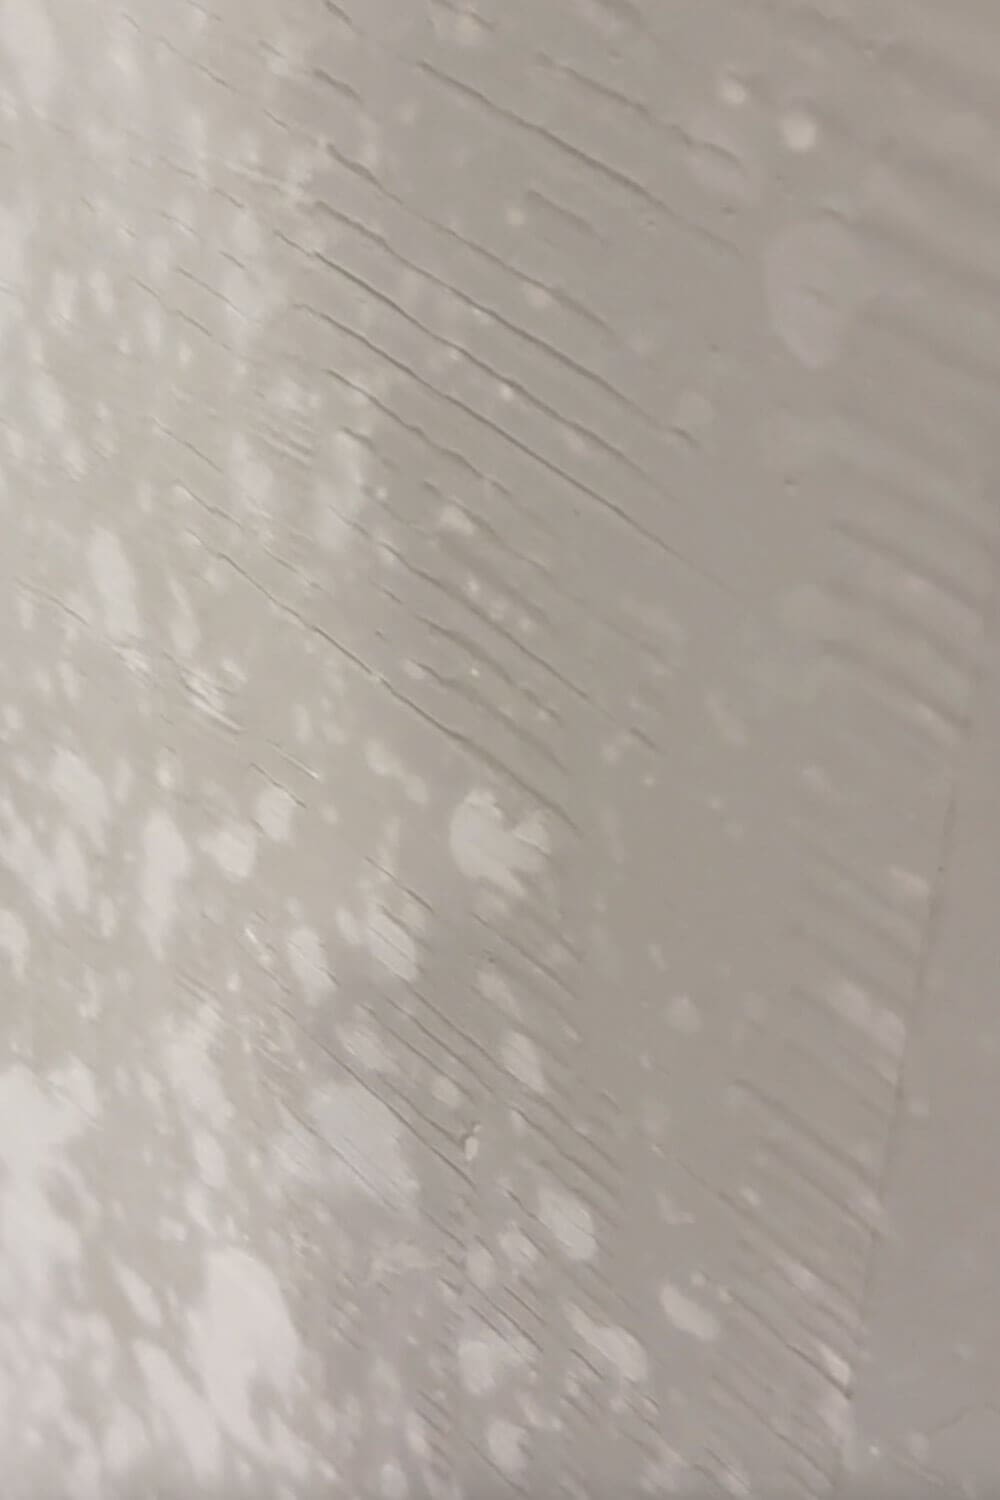
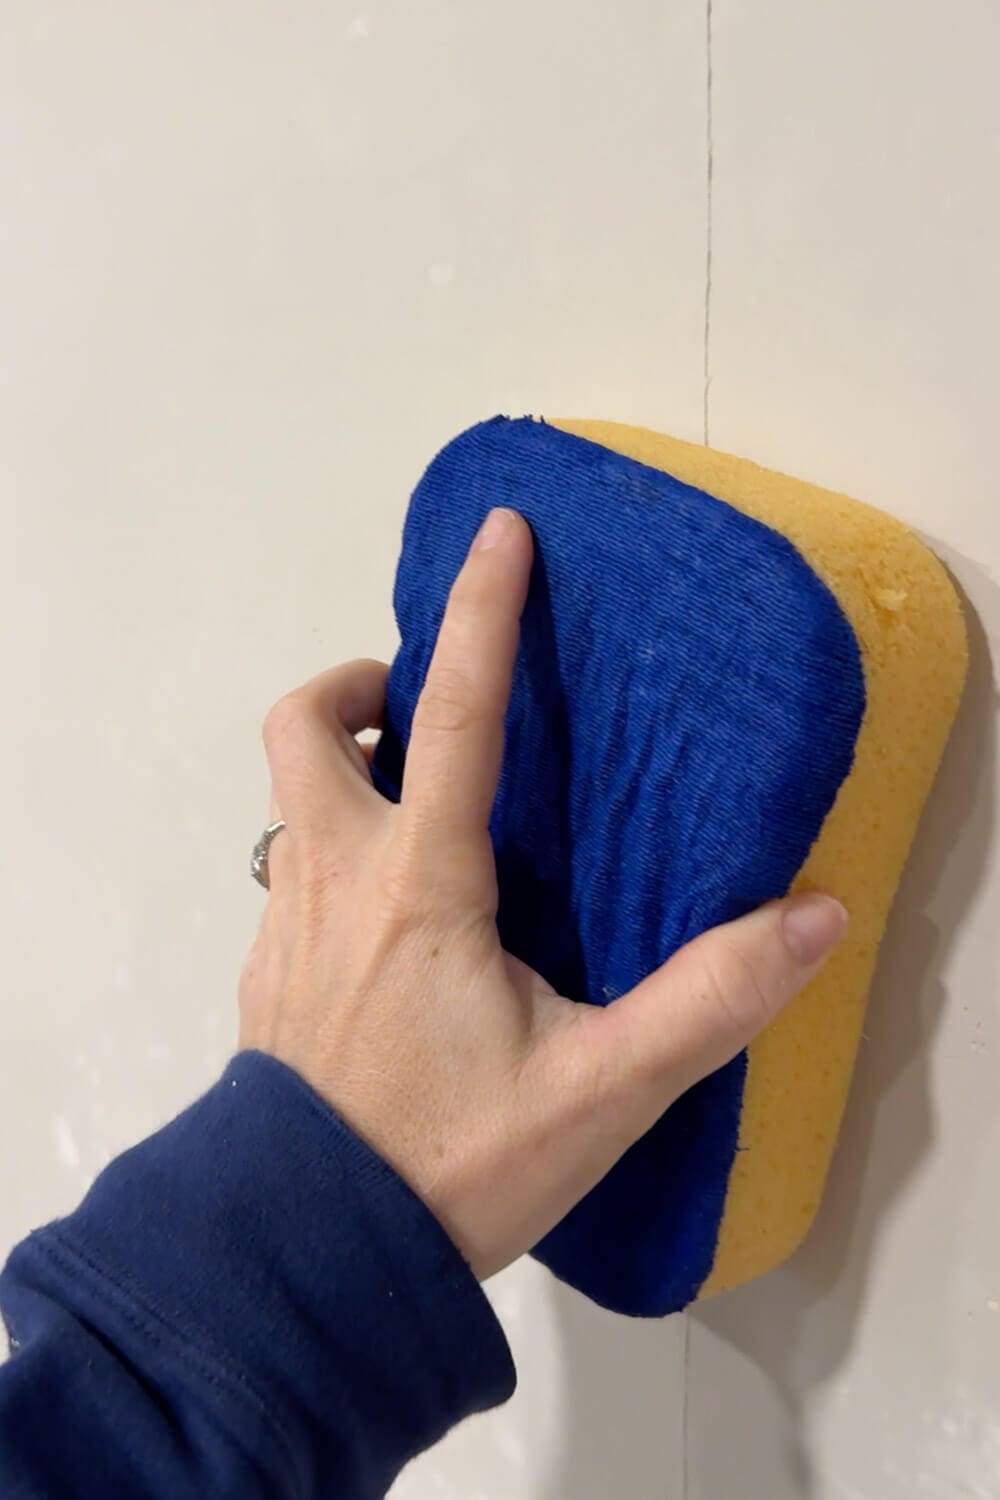
Step 4: Wet-Smooth Ridges for a Dust-Free Finish
As the first coat starts to dry, you may see a few streaks or ridges. You can smooth all those imperfections out by lightly wiping the joint compound with a large, damp sponge. Keep a bucket of water nearby, so you can rinse out the sponge often.

Step 5: Apply a Second Coat for Smooth, Paint-Ready Walls
After applying the first layer of skim coating to the wall, we can go ahead and repeat Steps 2-4 for a second coat if needed. Roll on the joint compound, smooth with the knockdown knife, then finish with a damp sponge after it dries. Two coats are usually all that’s needed to erase orange peel or a light knockdown texture.
After the joint compound has fully dried, you’ll need to prime your new, perfectly smooth walls before moving on to paint or wallpaper.

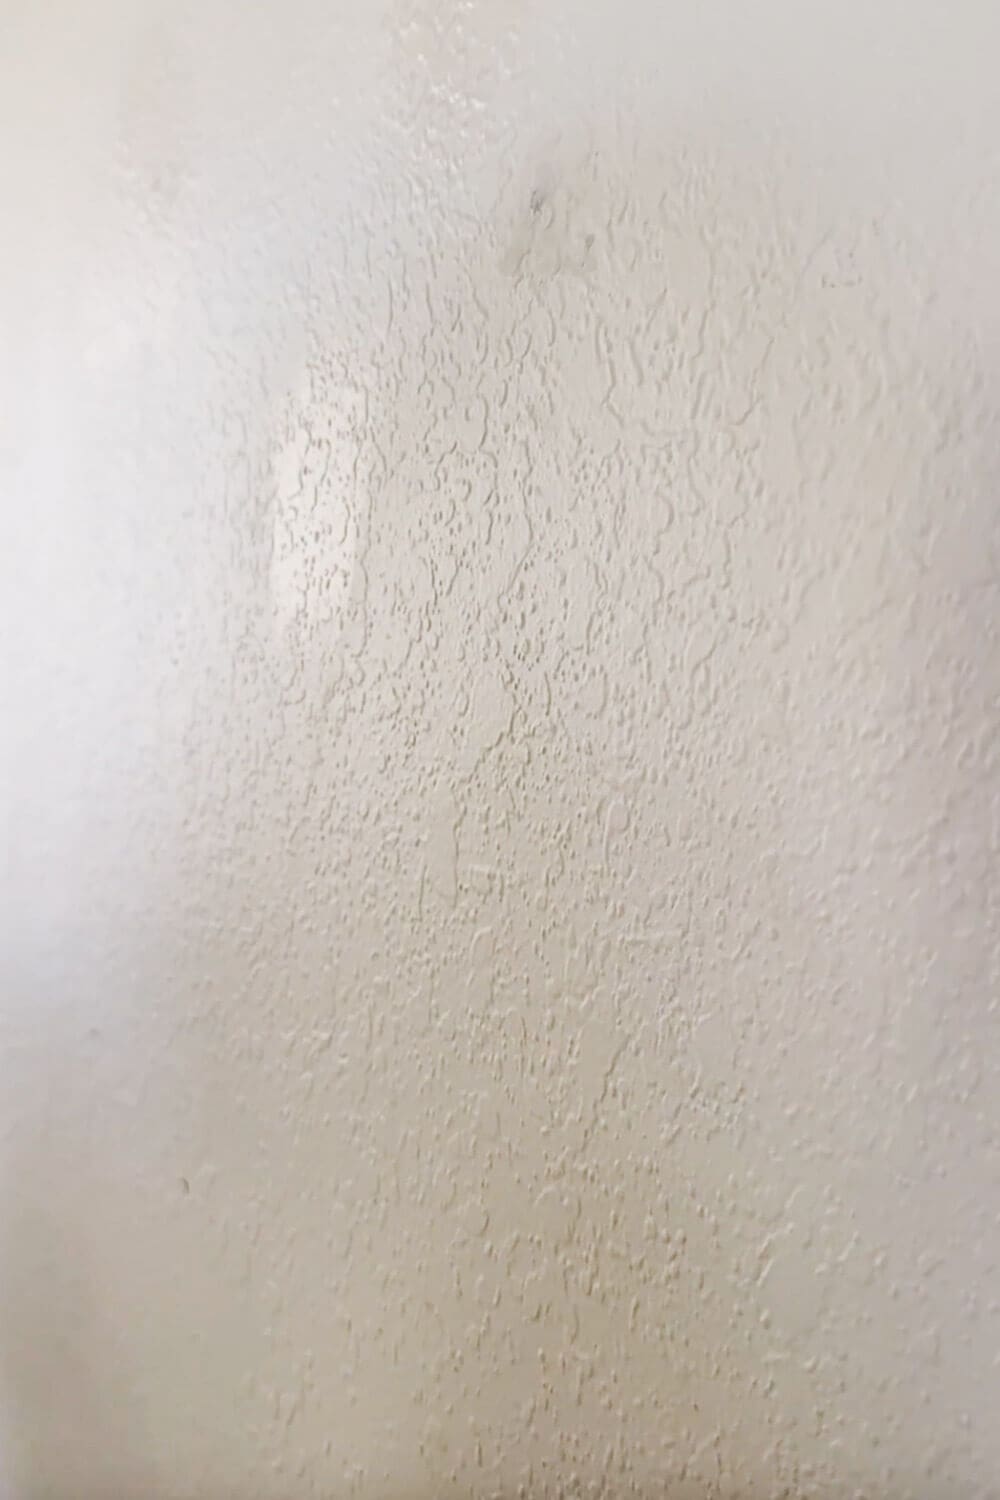
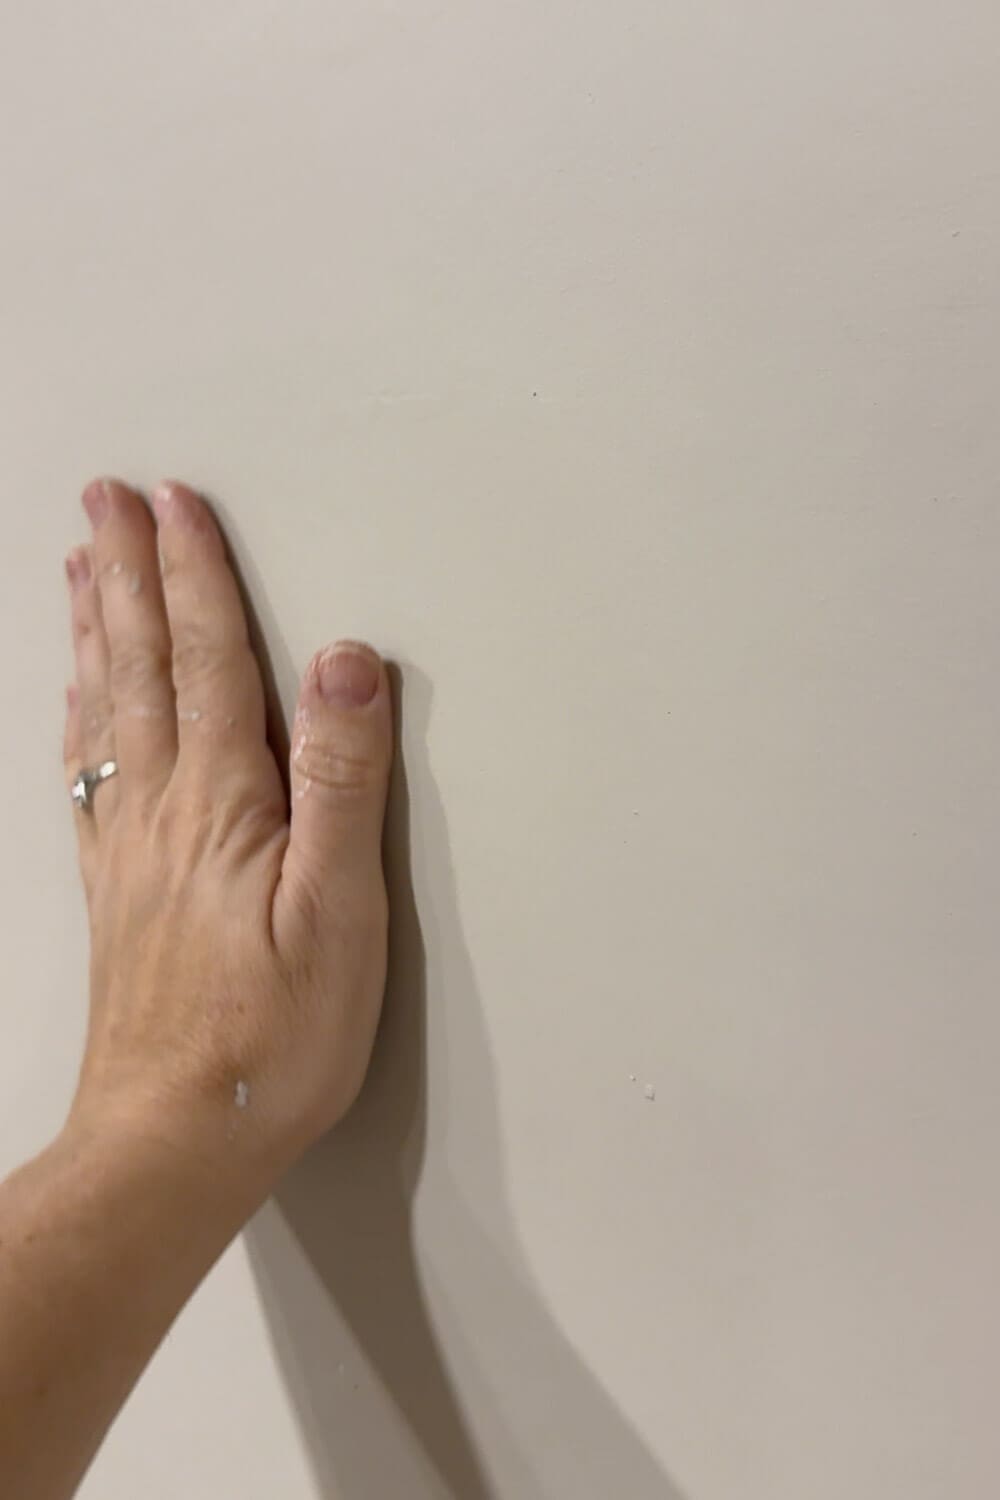
Before and After: Orange Peel Texture vs Smooth Skim-Coated Wall
Here’s the side-by-side that tells the whole story. On the left, you’ll see the heavy orange peel texture that used to catch every bit of light. On the right is the smooth, paint-ready wall after two skim coats and a quick damp-sponge pass. This before-and-after is proof that skim coating is the way to go to remove wall texture and have a smooth finish.
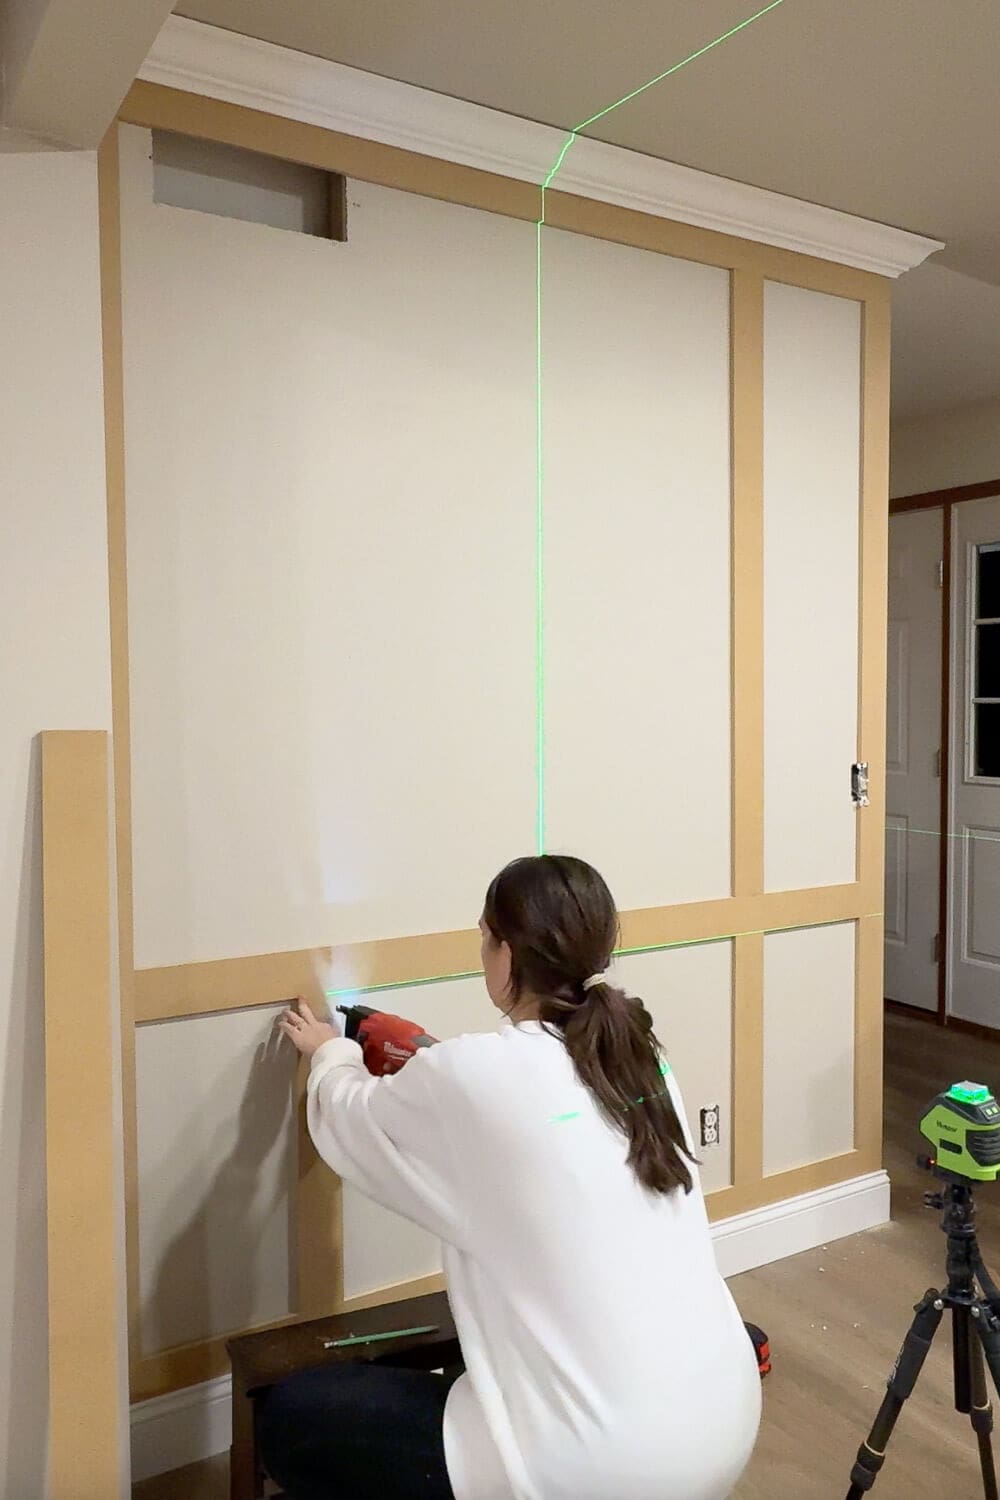
Why I Want Smooth Walls
I’ve got big plans for this house, and smooth walls are the blank canvas I need. Whether I add wallpaper, board and batten, or picture frame molding, texture gets in the way.
I’m no stranger to wall treatments, so I’ve linked step-by-step tutorials for my past projects below. Check them out and jump in when you’re ready.

📌 Save This Project for Later
Pin this guide on how to skim coat a wall to remove texture so you can come back when you’re ready to prep and paint.
FAQ: How to Skim Coat a Wall and Remove Texture
Most walls need two coats. Very heavy texture may need a third light pass.
Use pre-mixed all-purpose joint compound.
For a standard 10×12 room with 8-foot walls and light texture, expect roughly 3 to 4 gallons for two coats.
After the final coat is fully dry and sponged smooth, apply primer. Once the primer is dry, paint the same day.
