Updated March 3, 2025
Kitchen range hoods can be ridiculously expensive, but by buying a basic insert and framing my own DIY range hood cover around it, I was able to save some serious dough and get the exact look and style that I wanted. That’s why I love DIY!
Tools
Materials
- 2x3s
- 1/4″ hardboard or 1/4″ plywood
- Venetian plaster
- Painter’s tape
- Range hood insert
- Duct clamp
- Ducting
- Corner bead
- Mesh drywall tape
- Paper drywall tape
Framing My DIY Range Hood Cover
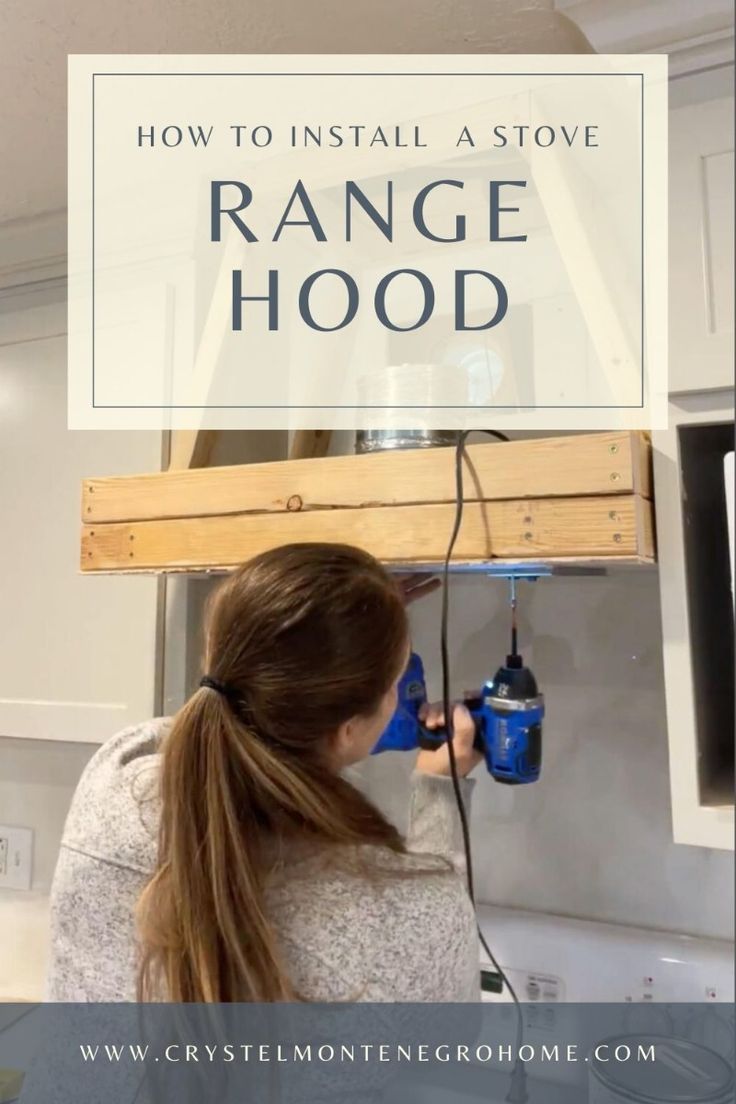
The first step for building a DIY range hood cover is the framing. In typical Crystel fashion, I didn’t have much of a plan. I knew what look I wanted and just went for it. Using 2x3s, I built a basic frame to fit the range hood insert I’d ordered, making it deep enough to stick out a few inches past my upper cabinets.

This thing needs to be sturdy enough to hold some weight, so I attached it to the studs with my drill. I screwed it in from both the top and bottom, on both the left and right of the lower framing piece. This thing isn’t going anywhere!


The frame wasn’t wide enough to fill the space between my cabinets, so I added a couple of spacer blocks on both sides, then added another board across the front to finish it off.


Based on the look of my inspiration photos, I knew I wanted the front of my DIY range hood cover to look thicker. To beef it up, I made a “U” shaped piece and attached it on top of the framing.


Before I got too far along in the framing, I started cutting the hole for my ducting. I’ll use the white cap piece to attach the ducting to the wall, so it was my guide to trace out a hole. Using my multi-tool, I cut through the plywood inside the house. The outside of this house is brick, so I’ll finish cutting through the outside layer later.


To frame the top portion of my DIY range hood cover, I had to cut a hole in my ceiling. I needed everything to be attached to studs, so after adding some additional support up top, I attached this top framing piece to the ceiling.
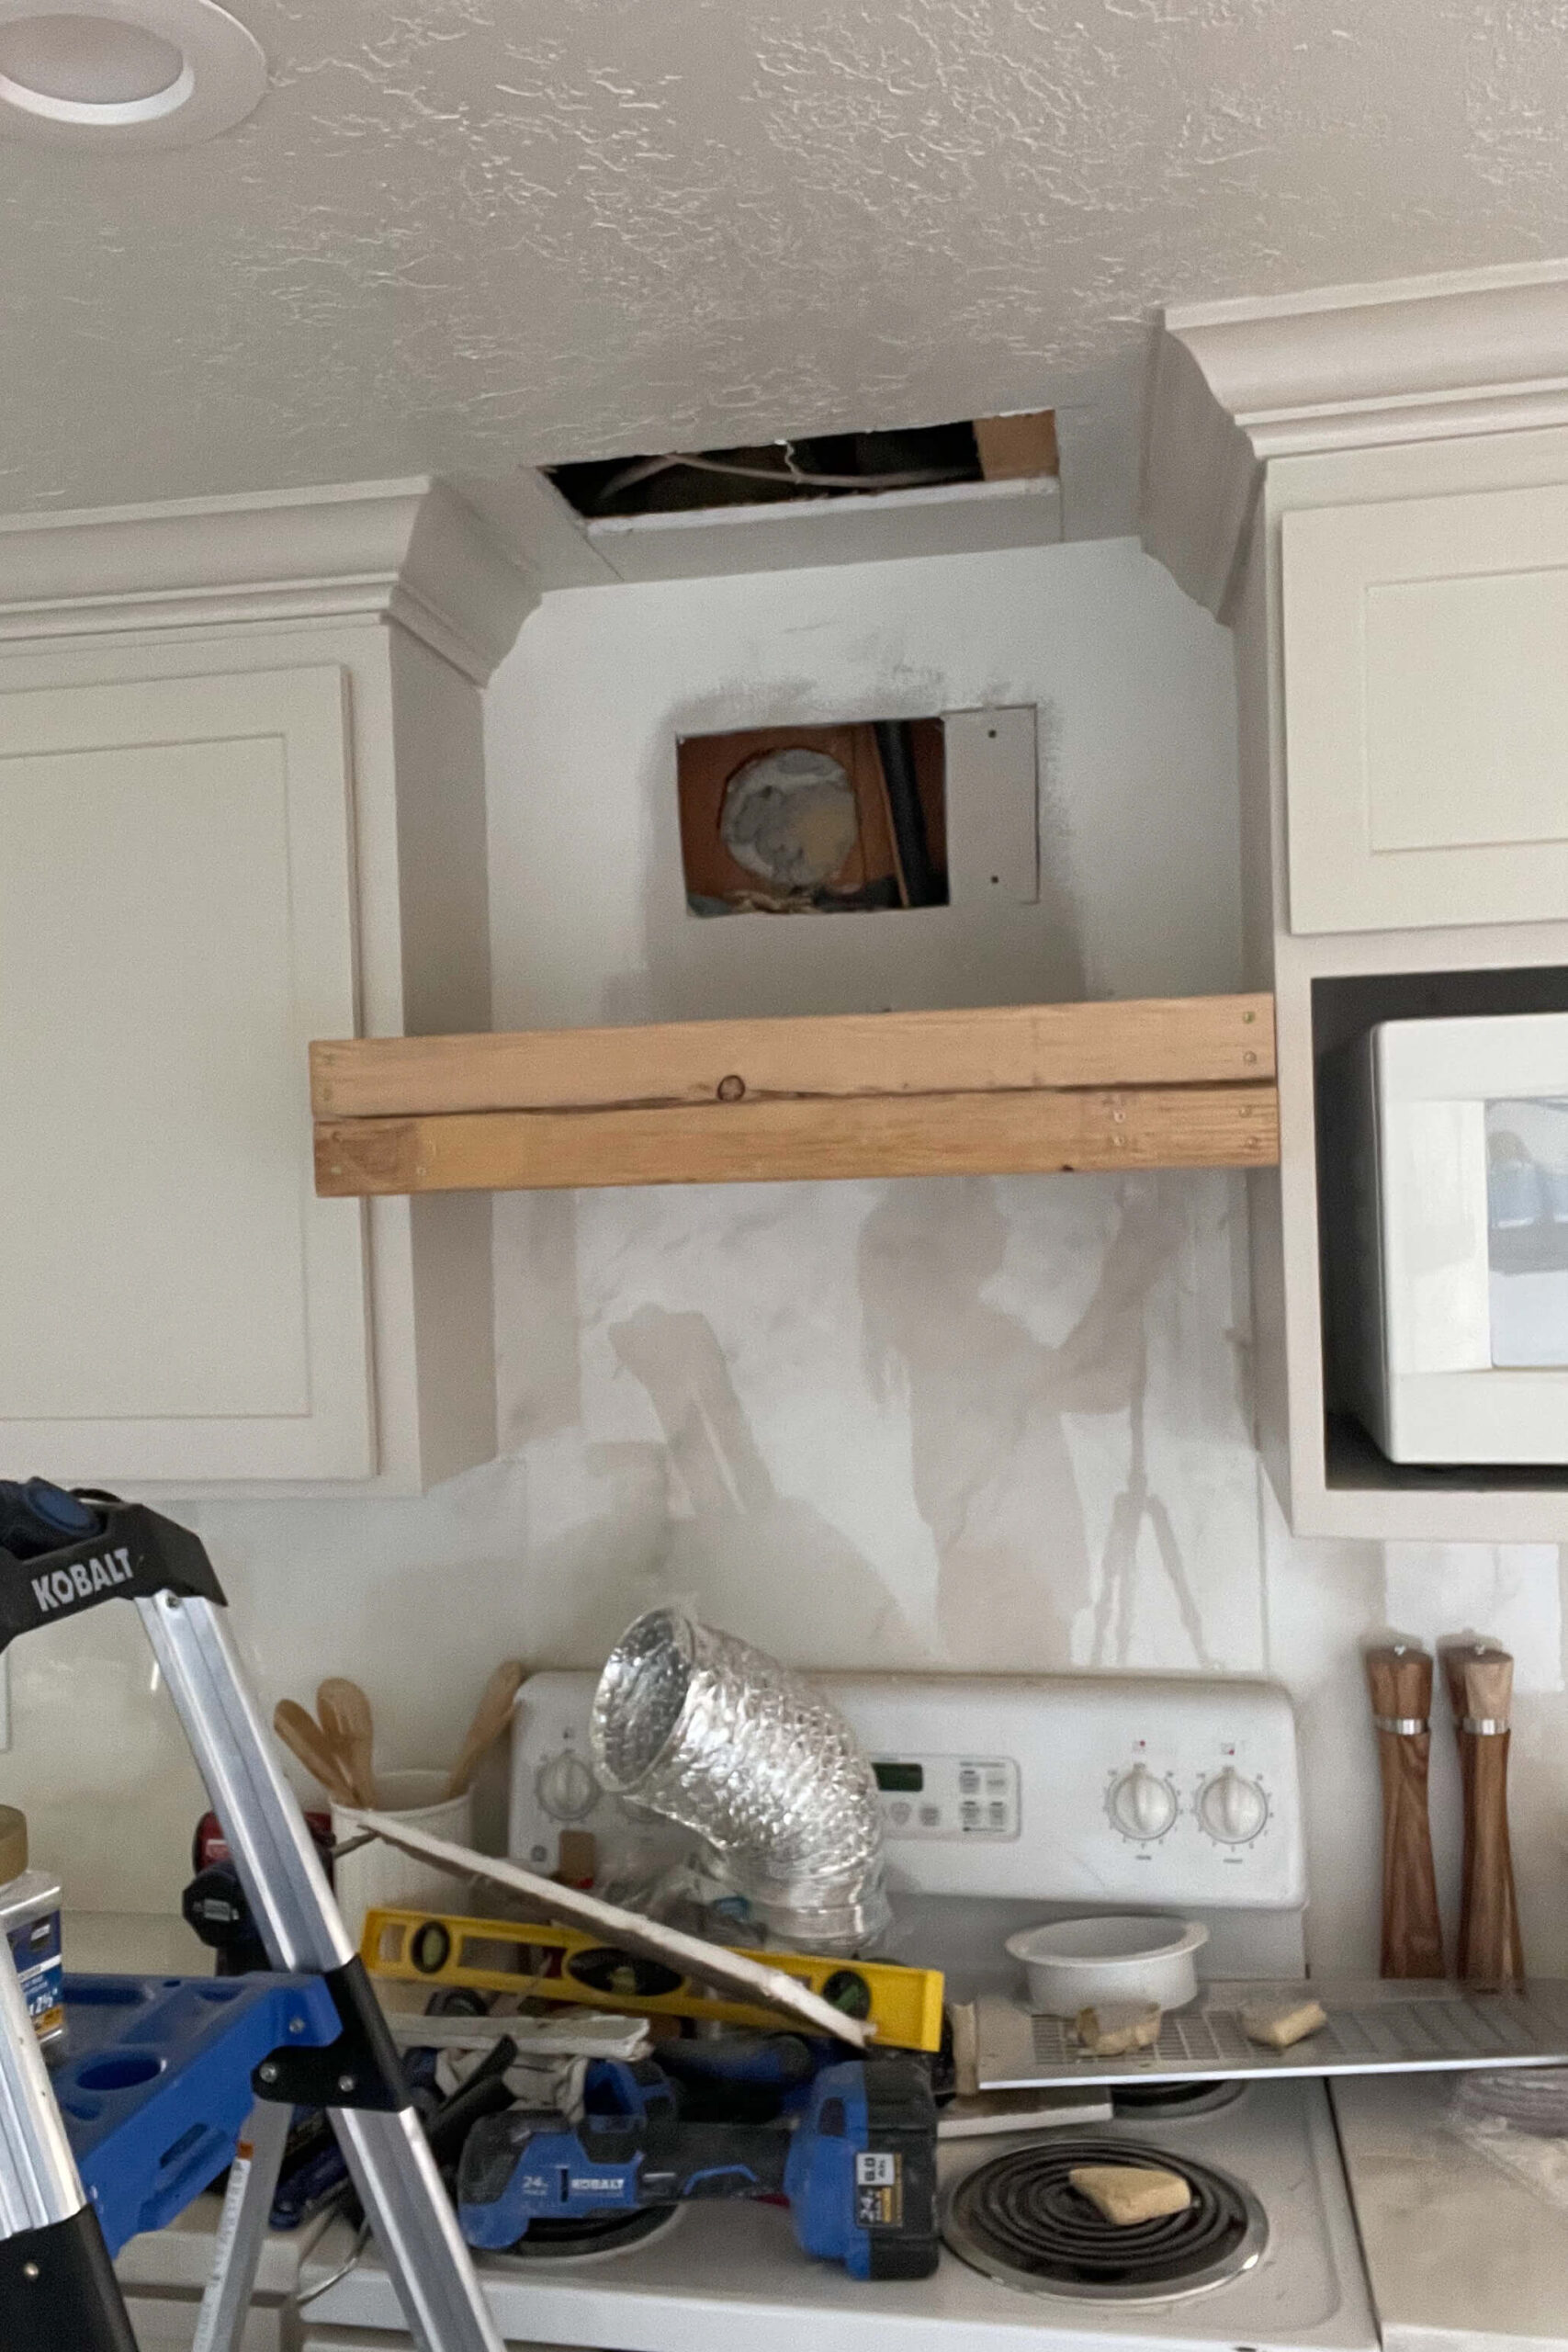

I wanted the sides to be slanted, but I didn’t know at what angle. I held up my piece of wood where I wanted it and used a pencil to mark where it overlapped with my framing, then extended that pencil line the rest of the way down; that was my cut line.


See how it looks now that it’s cut off? It’s the perfect angle for a nice slope.

I cut off that same angle on three more pieces of wood and attached those angled pieces to all four corners of my DIY range hood cover. I can already see the shape coming to life, and I’m so excited!


Installing the Hood Insert
II’ll be using thin 1/4 inch plywood to cover the entire frame. My priority is to cover the underside before installing the range hood insert. I cut a piece of plywood and securely attached it to the frame using a brad nailer.

Then, using my jig saw and multi-tool I cut out an opening for my insert.


This DIY range hood cover will be covered in Venetian plaster, which has the texture of really thick paint. Using a putty knife, I spread it on the undersaide.

Using a large hose clamp, I attached the ducting to the hood insert. Now it’s all ready to go in!

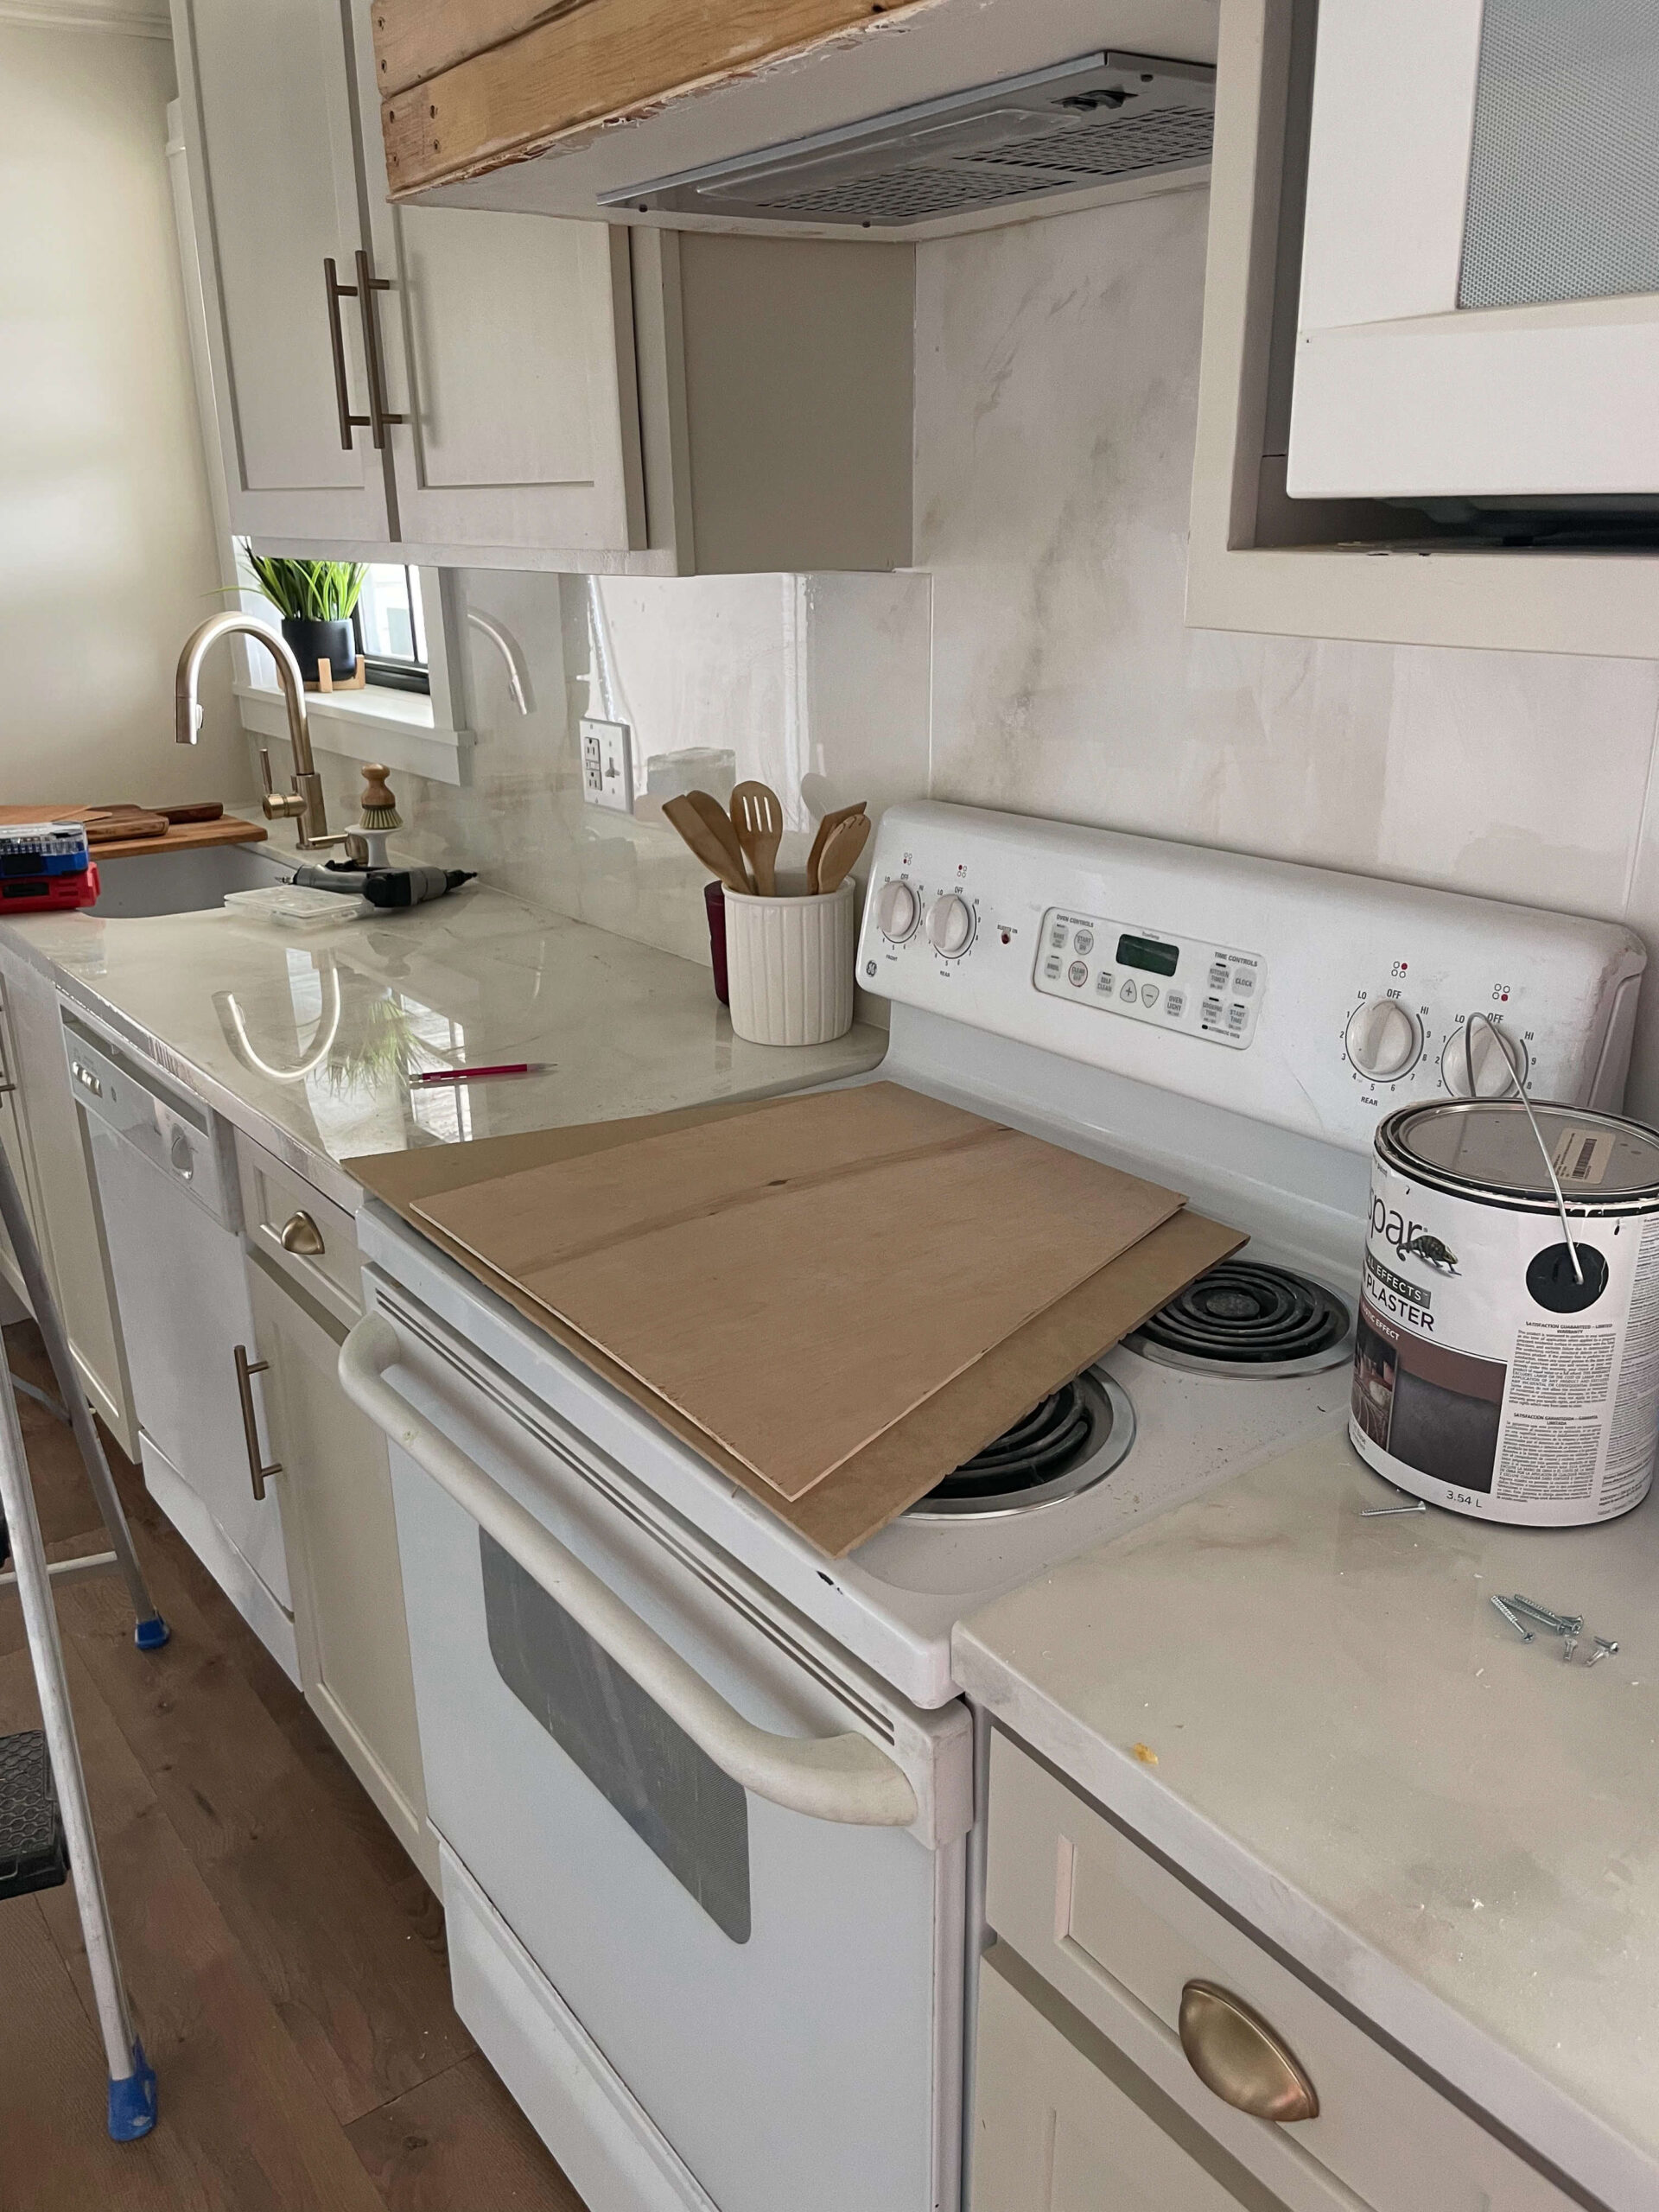
My range hood insert was installed by screwing through the holes in the insert and attaching it to the frame. Installation may vary based on which insert you buy.

After I plugged it in for power and finished connecting the ducting, we were in business! Everything was working great!

Finishing My DIY Range Hood Cover
I measured and cut the hardboard and plywood to finish covering all my framing on this DIY range hood cover.
This whole DIY range hood cover is getting coated in plaster, but I coated the side pieces before since they would be impossible to reach after attaching them.


While those side pieces dry, I start attaching all of the other sections using my brad nailer.


Next, I covered all the edges by using metal corner bead on the corners and mesh drywall tape for that bend on the front to keep the coating of Venetian plaster from cracking.

I taped off my cabinets and then applied a thin layer of Venetian plaster over the corner bead, then covered it with paper drywall tape, and then more plaster.


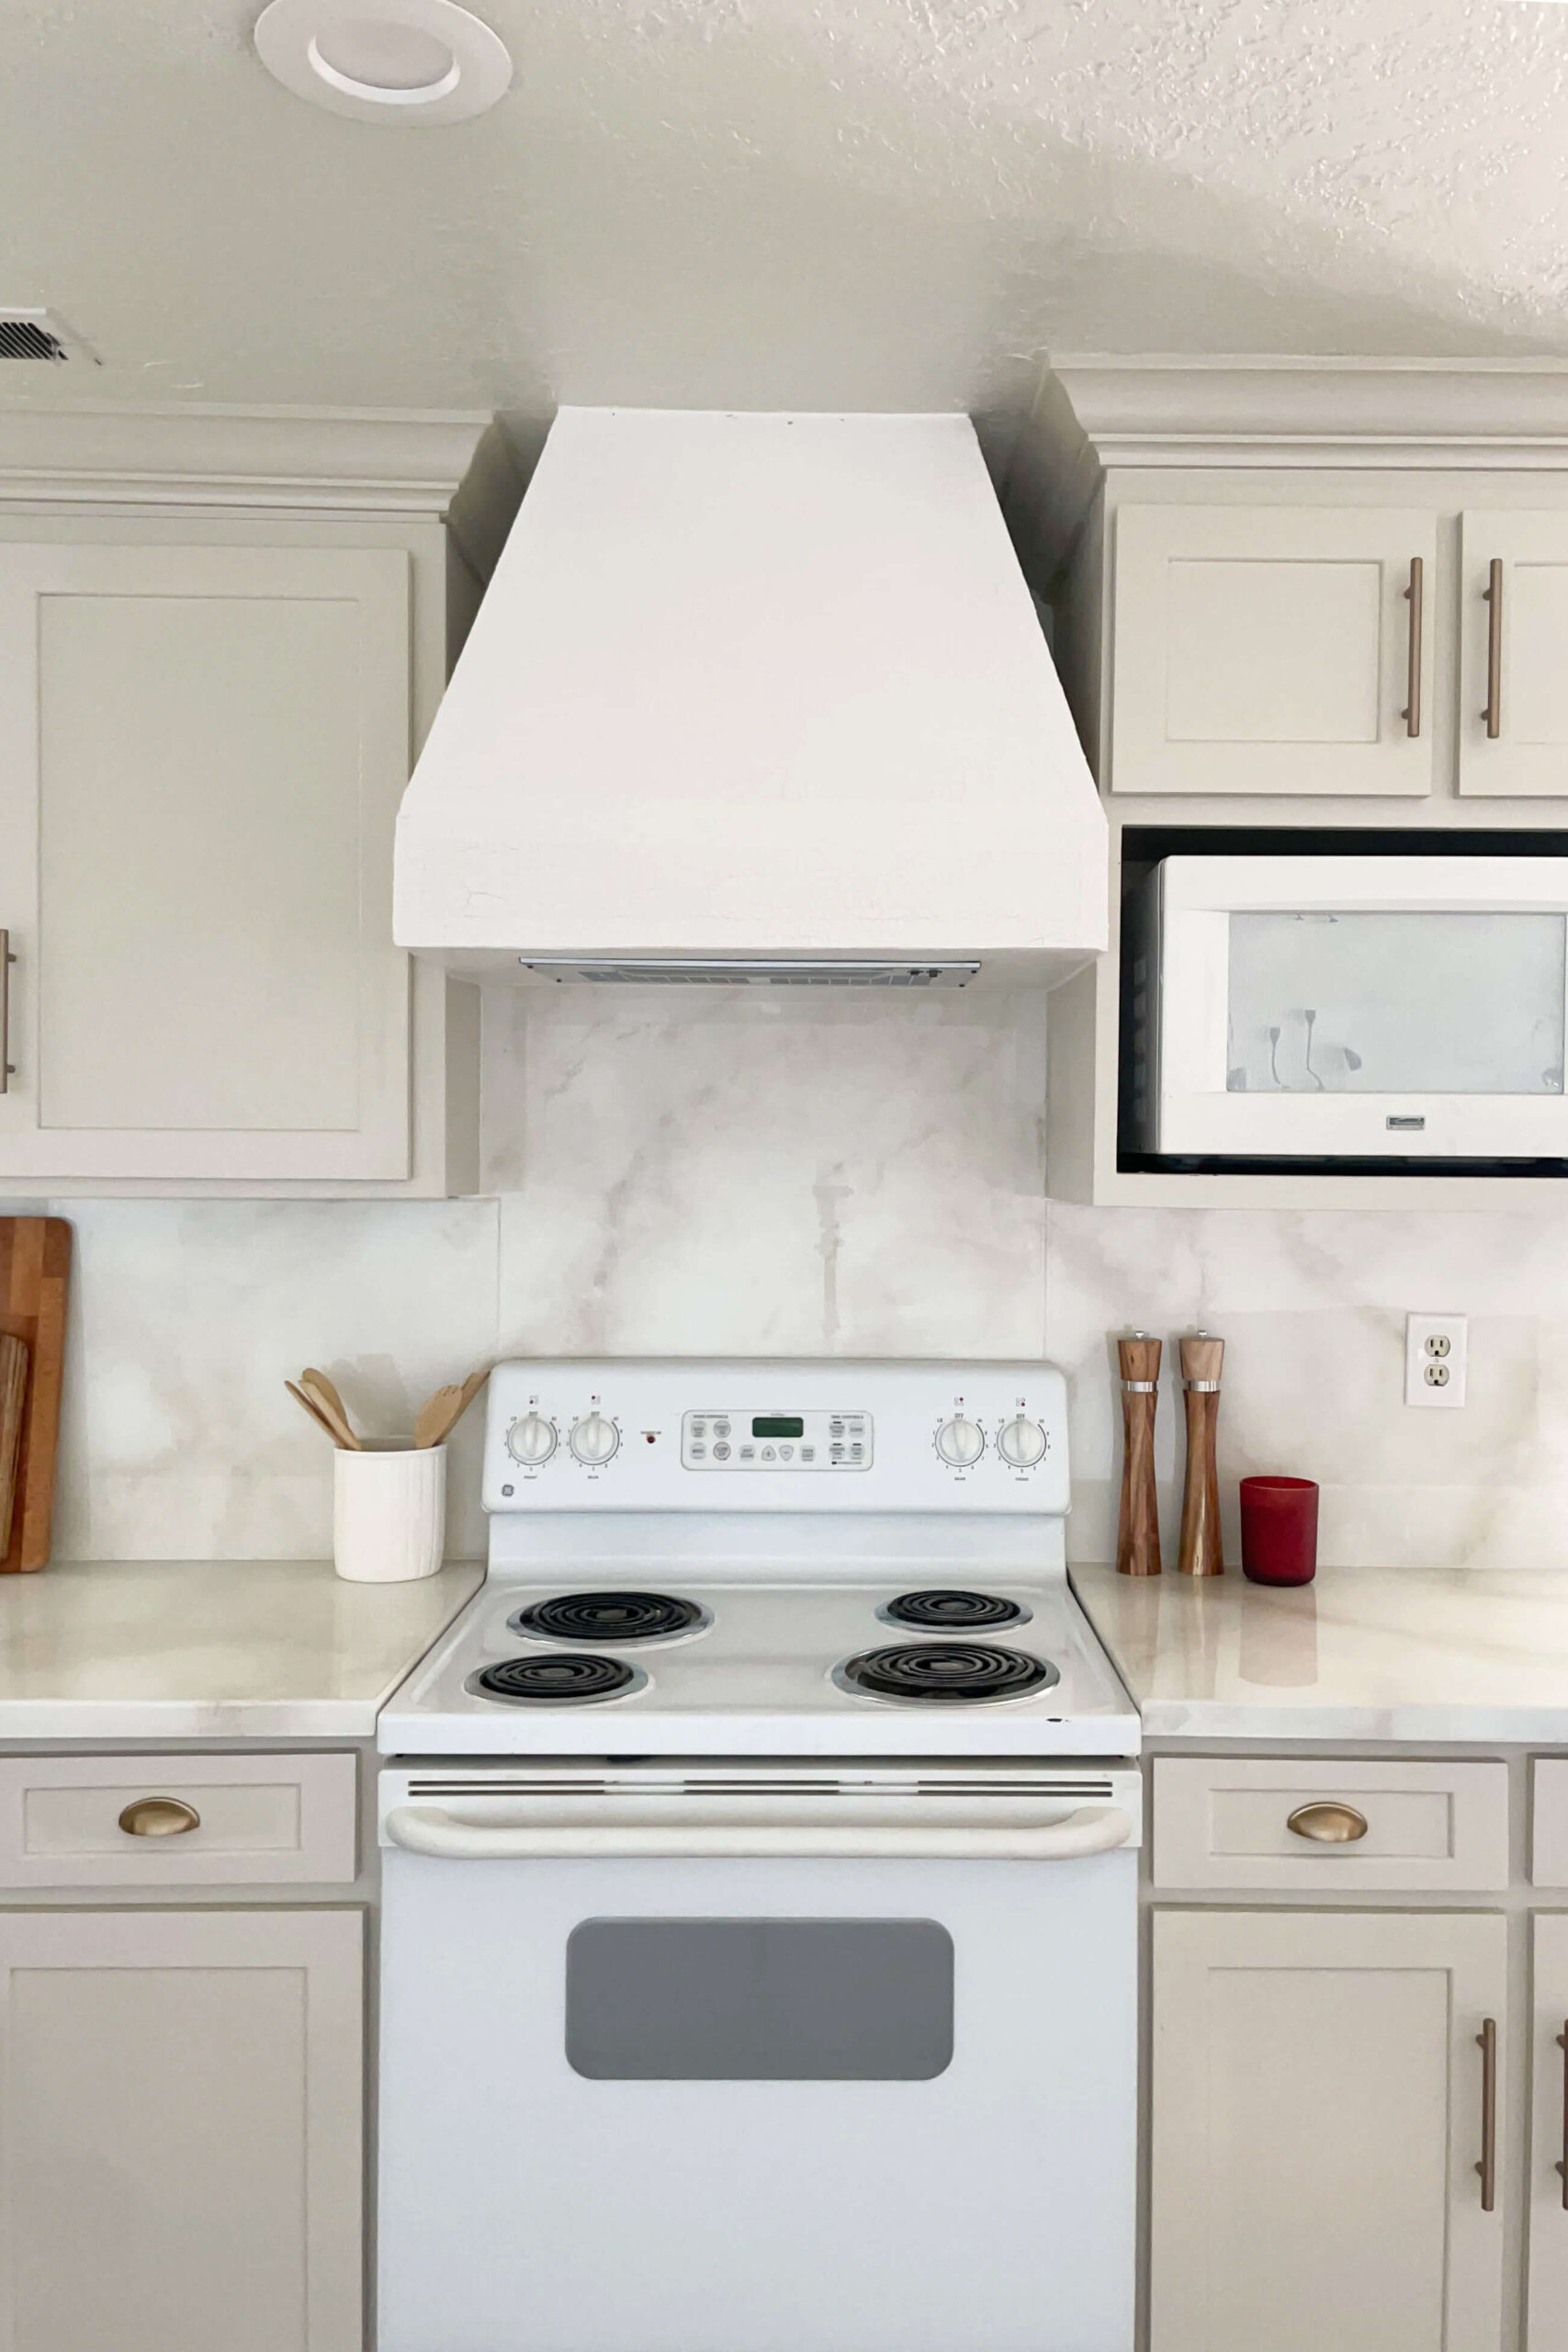
Lastly, I coated the entire DIY range hood cover with plaster, doing two full coats to achieve the look I wanted.

As the Venetian plaster dries it gets really splotchy and changes colors. Just trust the process.


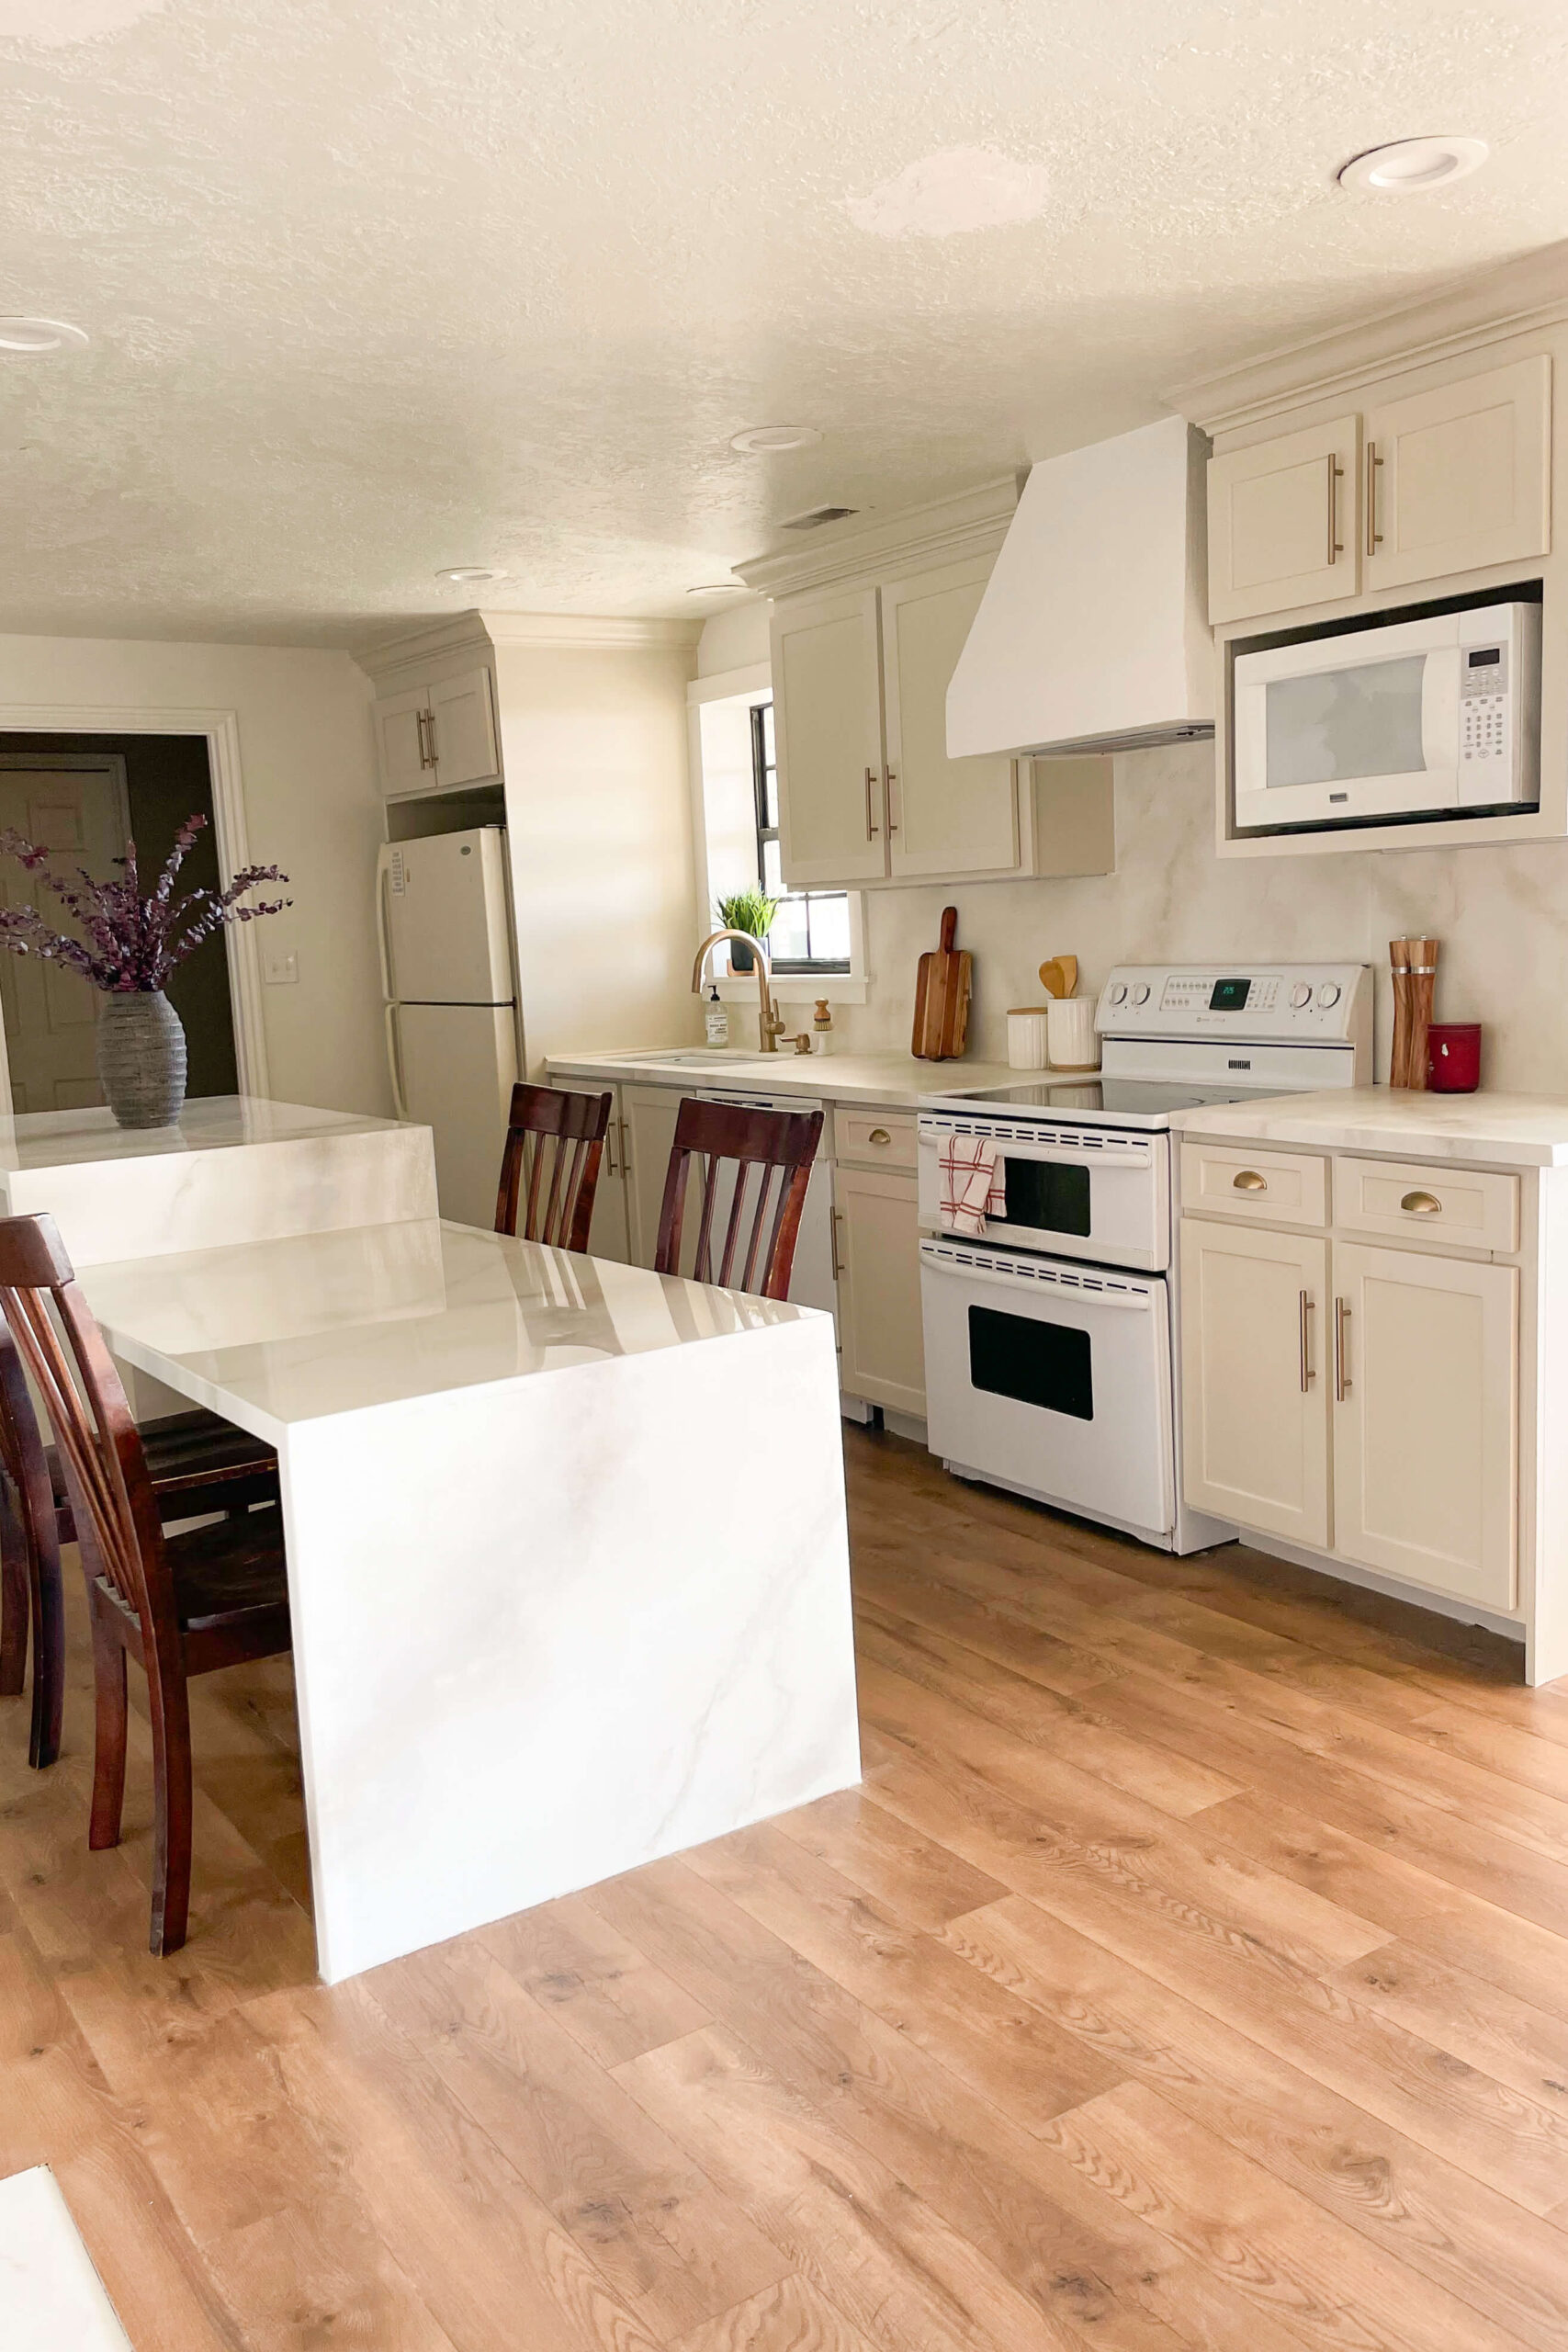
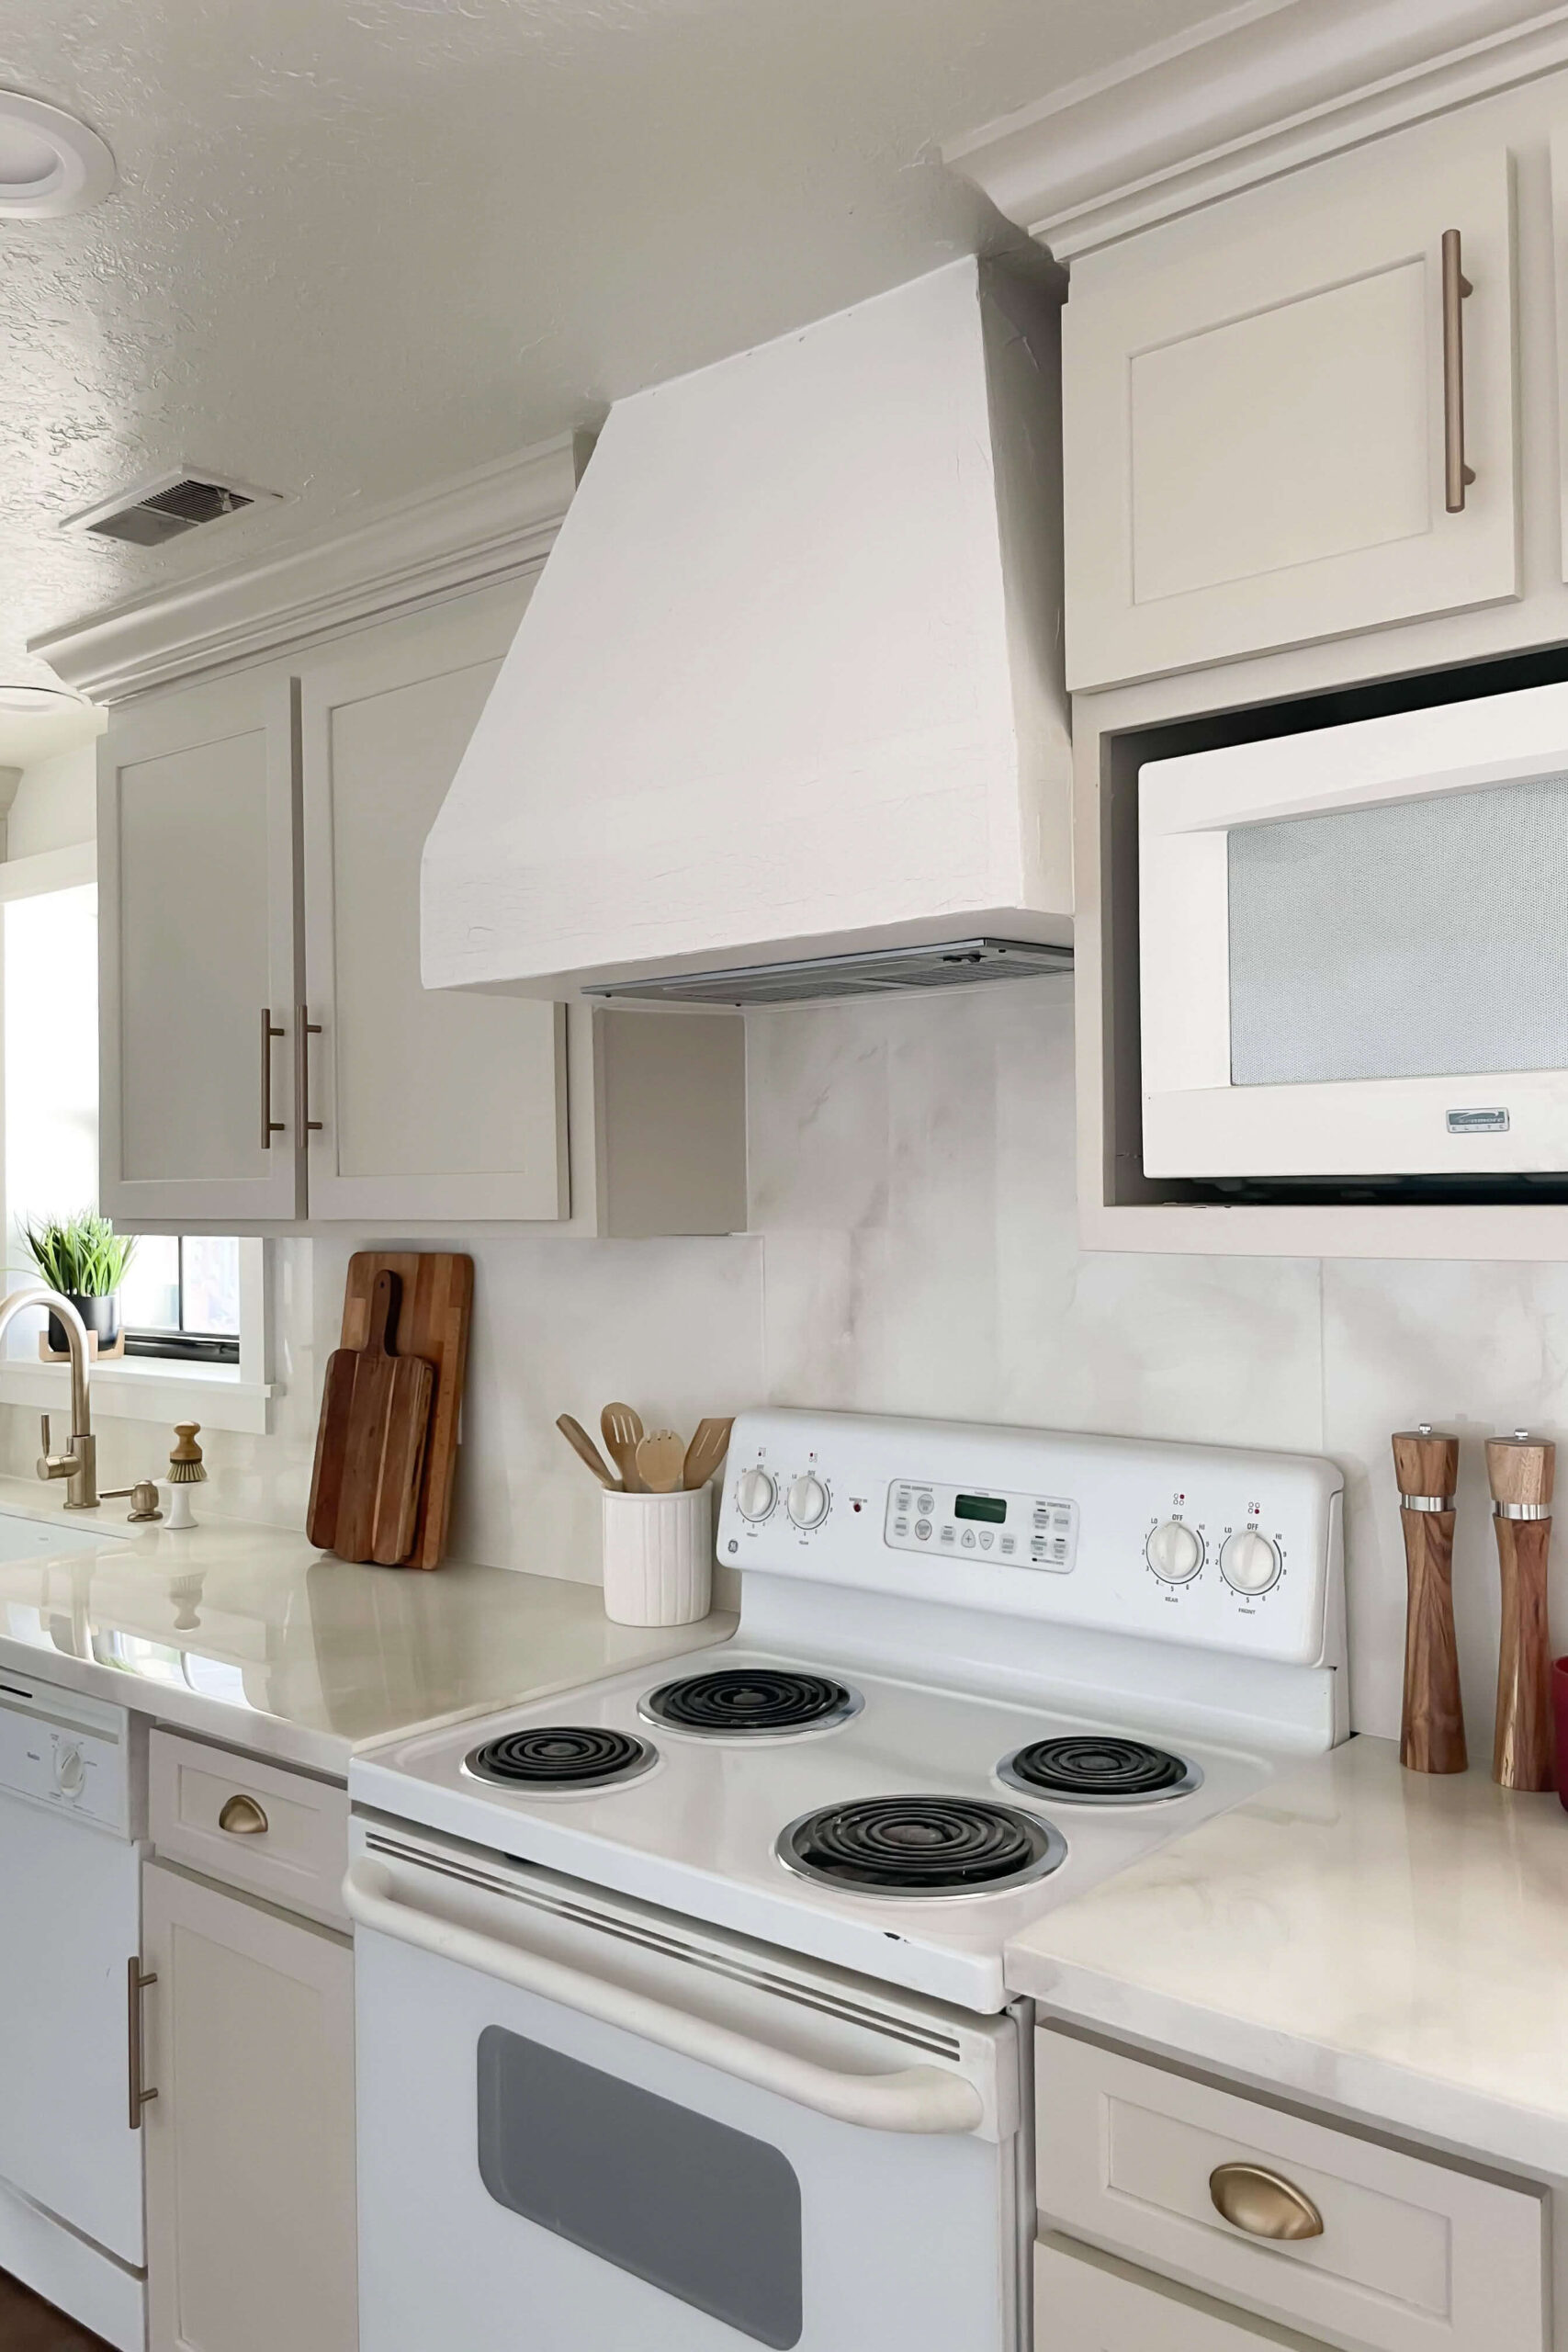
I’m so happy with the finished result—it looks amazing! The Venetian plaster resembles stone and fits in perfectly with the modern Spanish vibe I was going for here.
This DIY range hood cover looked so good in my kitchen! It’s an easy and affordable project that can be done during a DIY kitchen remodel or even as a style upgrade in your current kitchen.
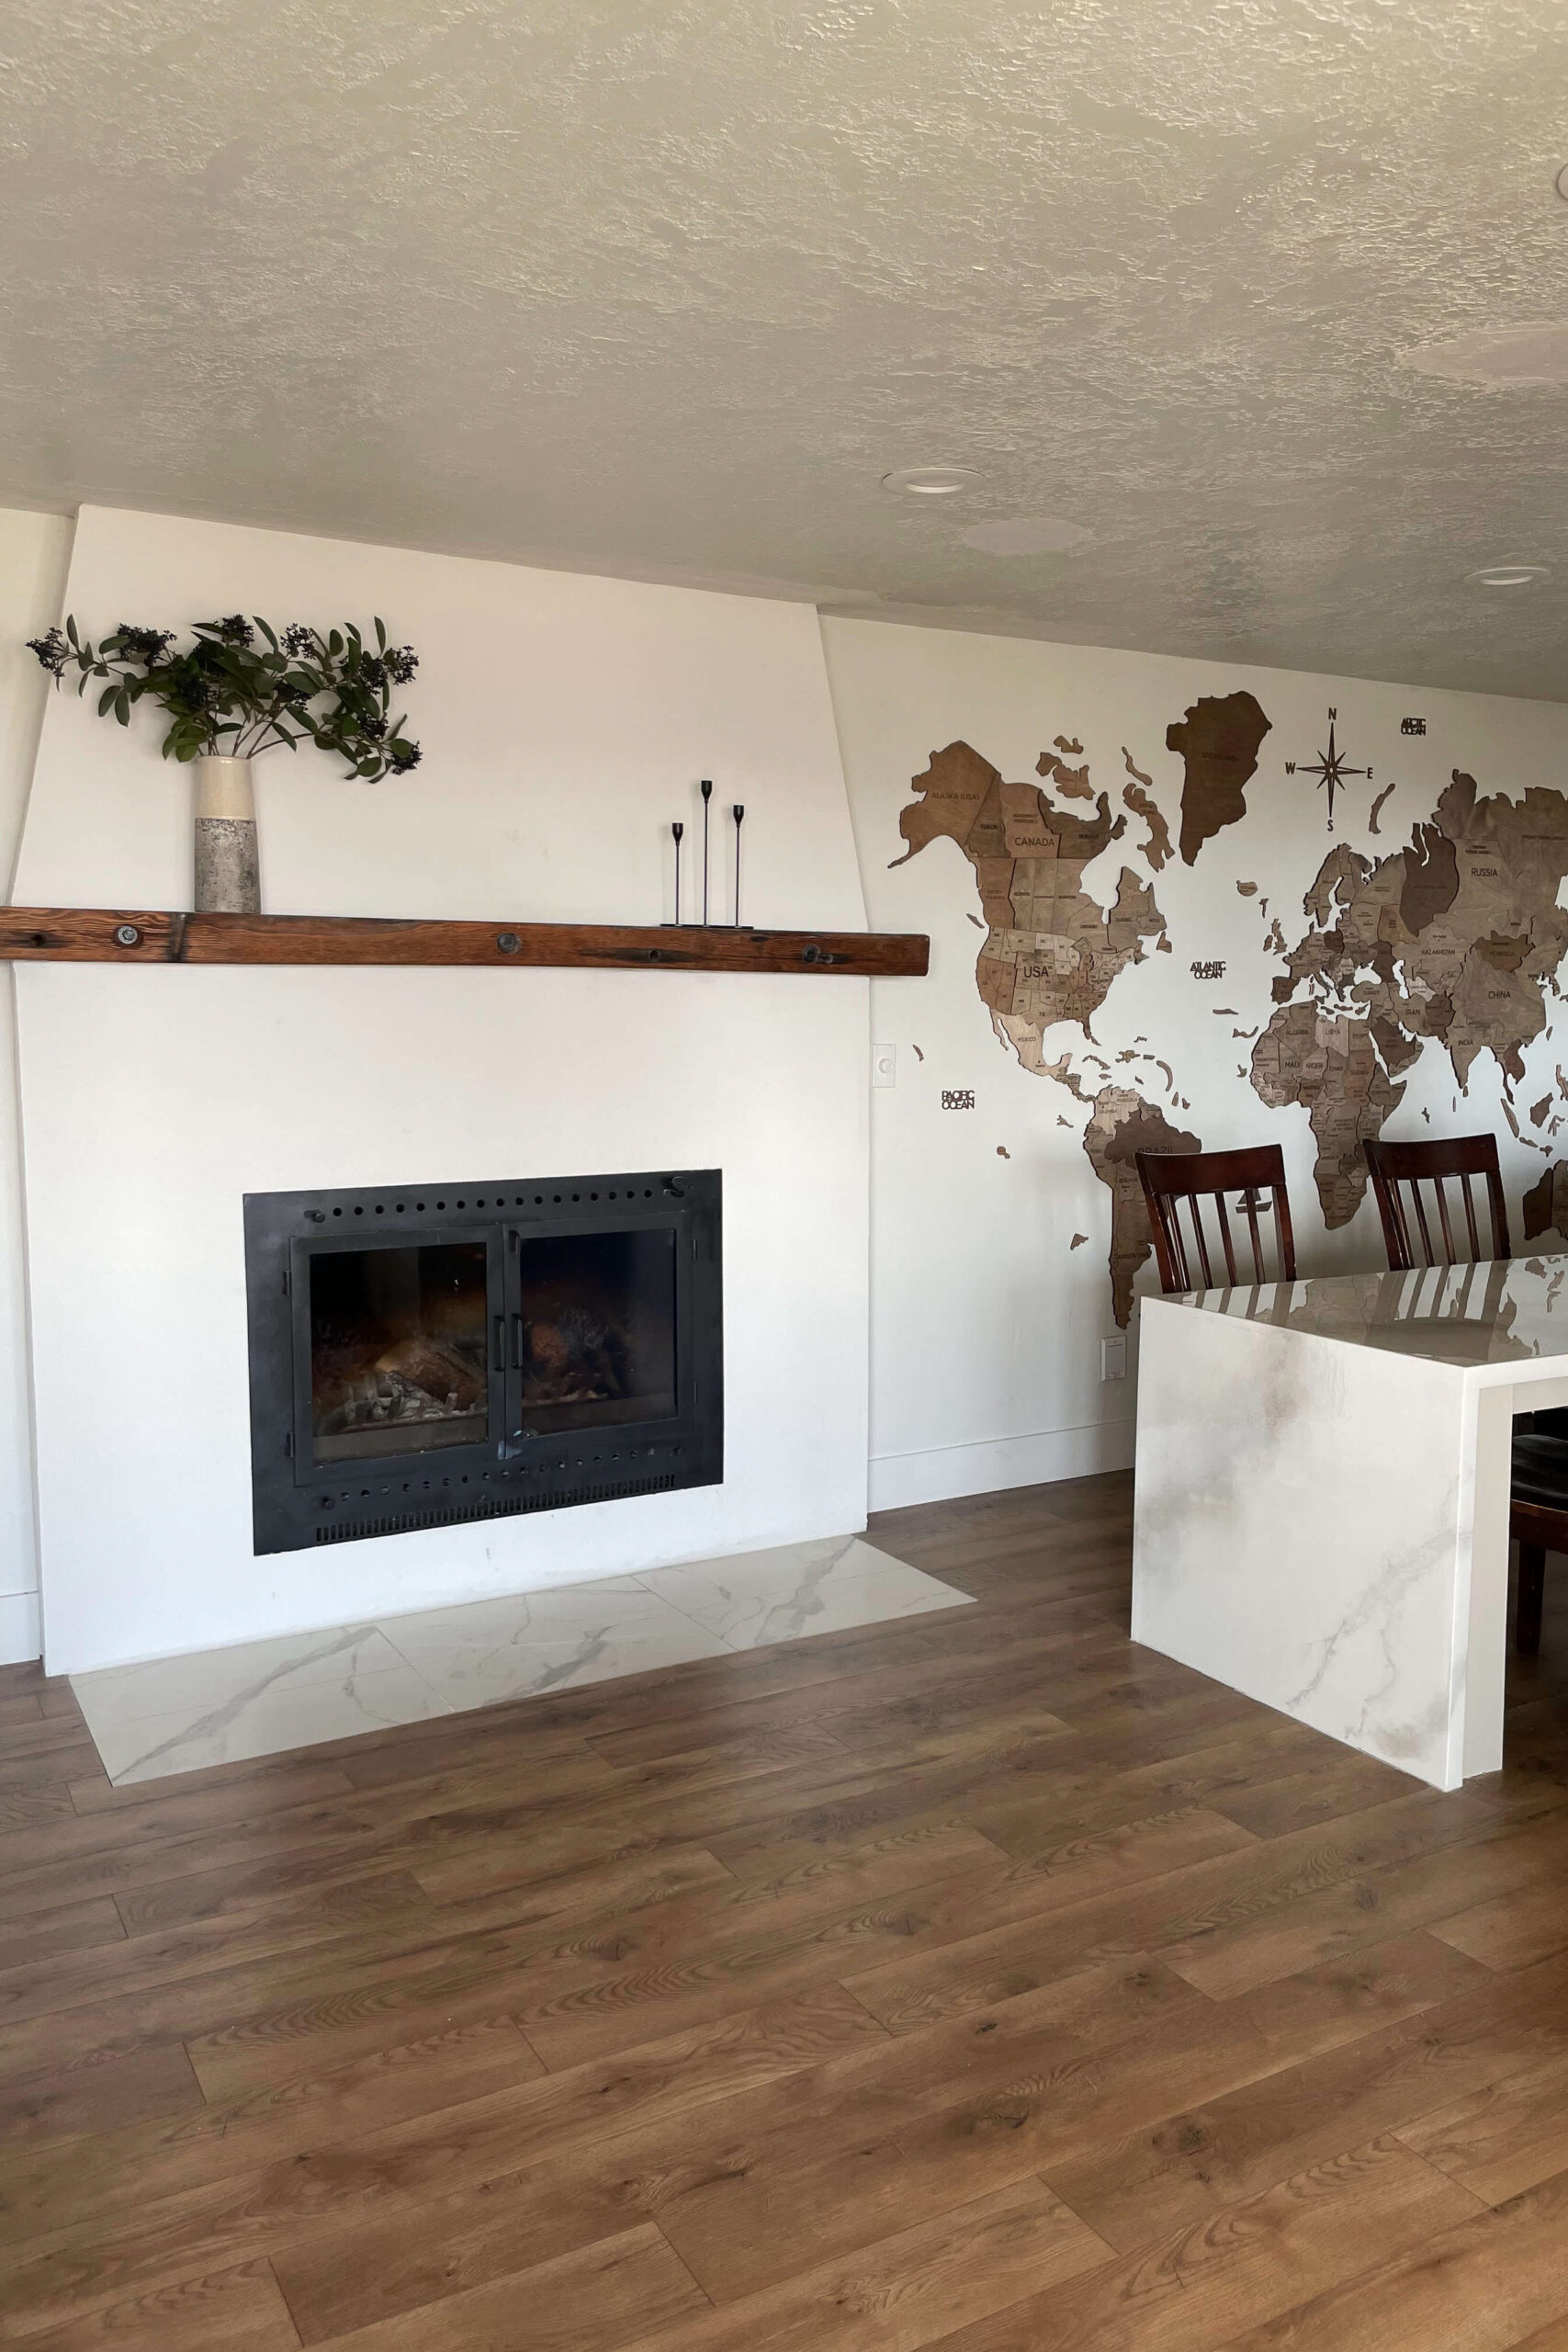
The angled edges and the Venetian plaster finish ties together perfectly with the fireplace that I redid in this same room.
I’m working on posts for all of the projects that I did in this kitchen remodel. This was a top to bottom remodel with everything from removing and installing flooring, to painting and moving the cabinets. Even the faux marble counters are a DIY. Be sure to follow along on Instagram and my blog, as I post about each of these projects.