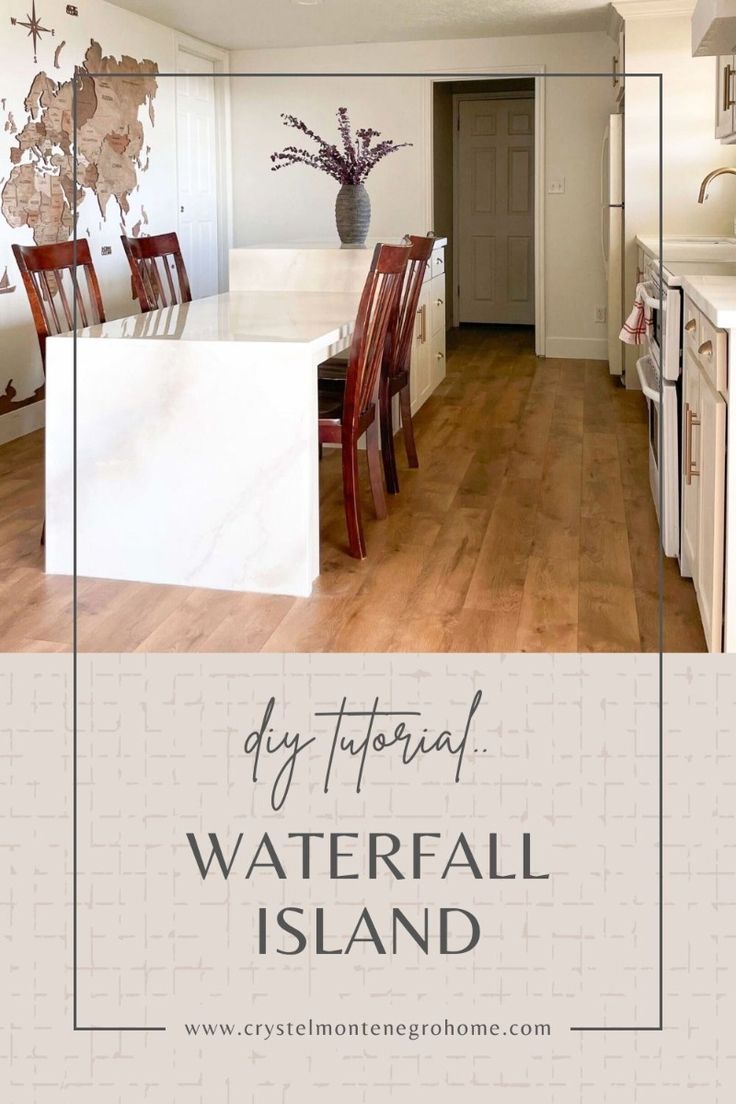
DIY a Gorgeous Waterfall Kitchen Island


Updated March 14, 2025
Ever heard of a waterfall kitchen island? It’s where the countertop flows down the sides, creating a smooth, continuous look. When I started my DIY kitchen remodel, I didn’t plan on it, but switching to a waterfall design turned out amazing!

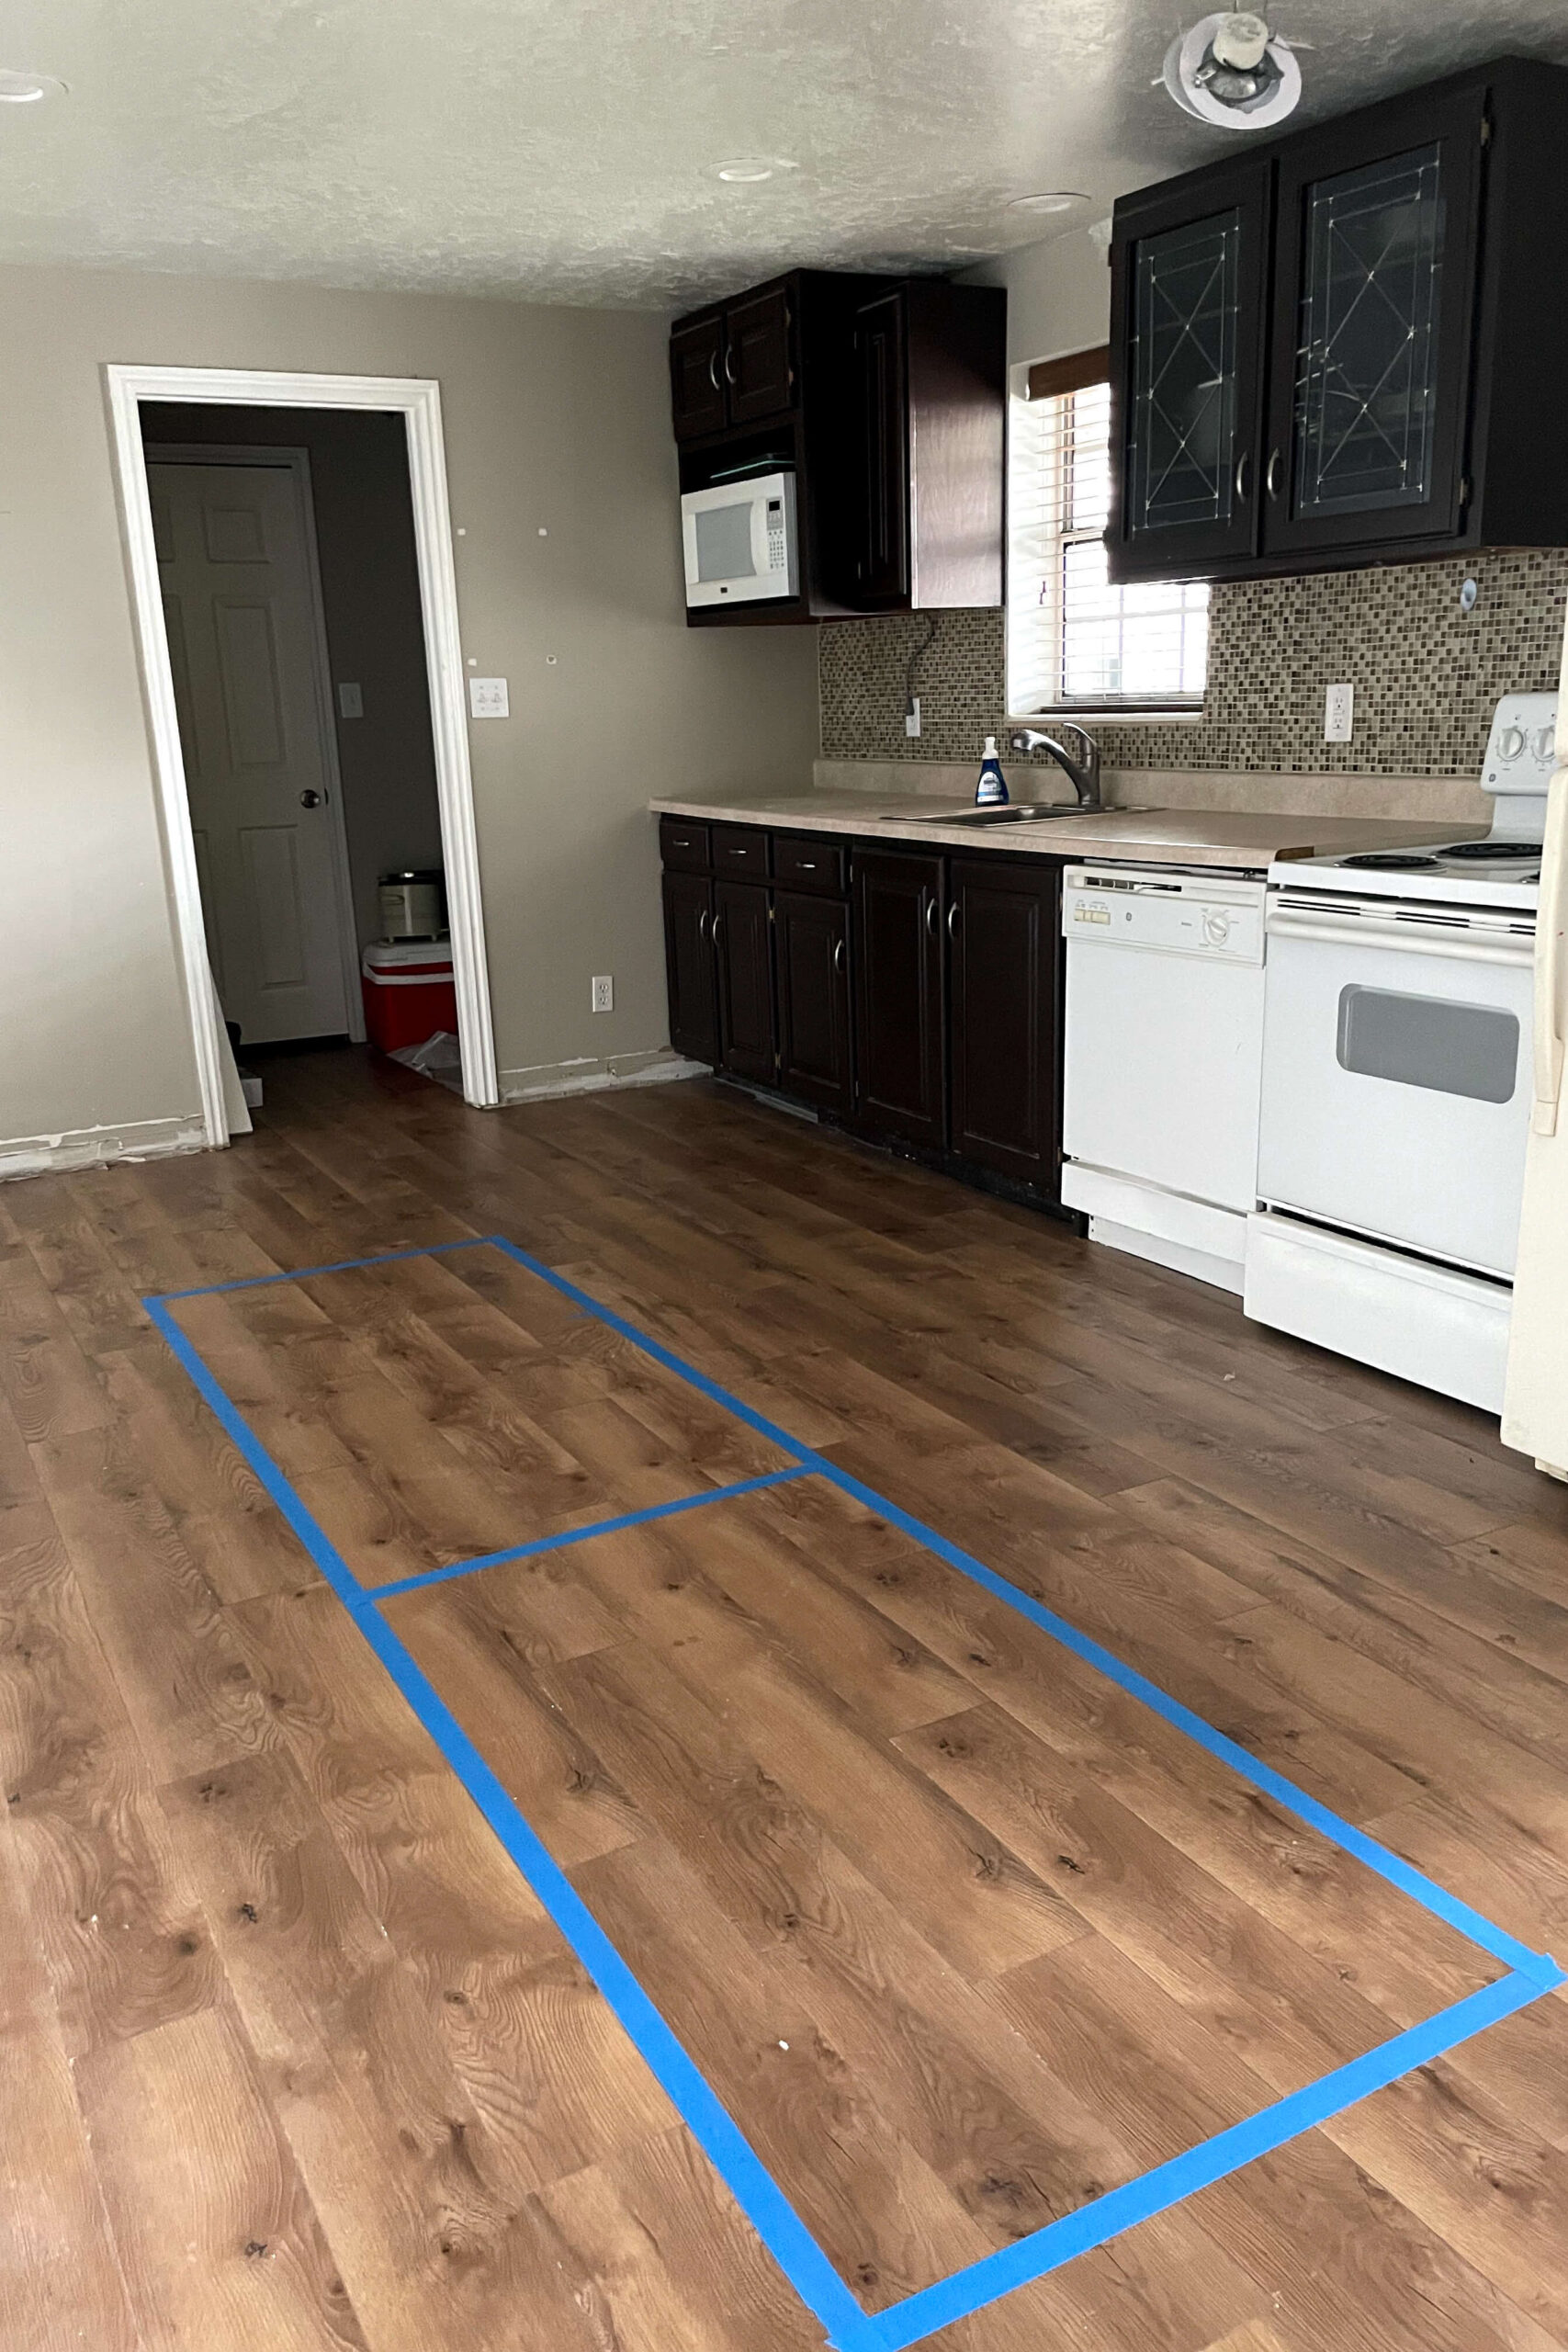
Just to catch you up on things… shockingly this is what we started with when I first took on this basement kitchen project.
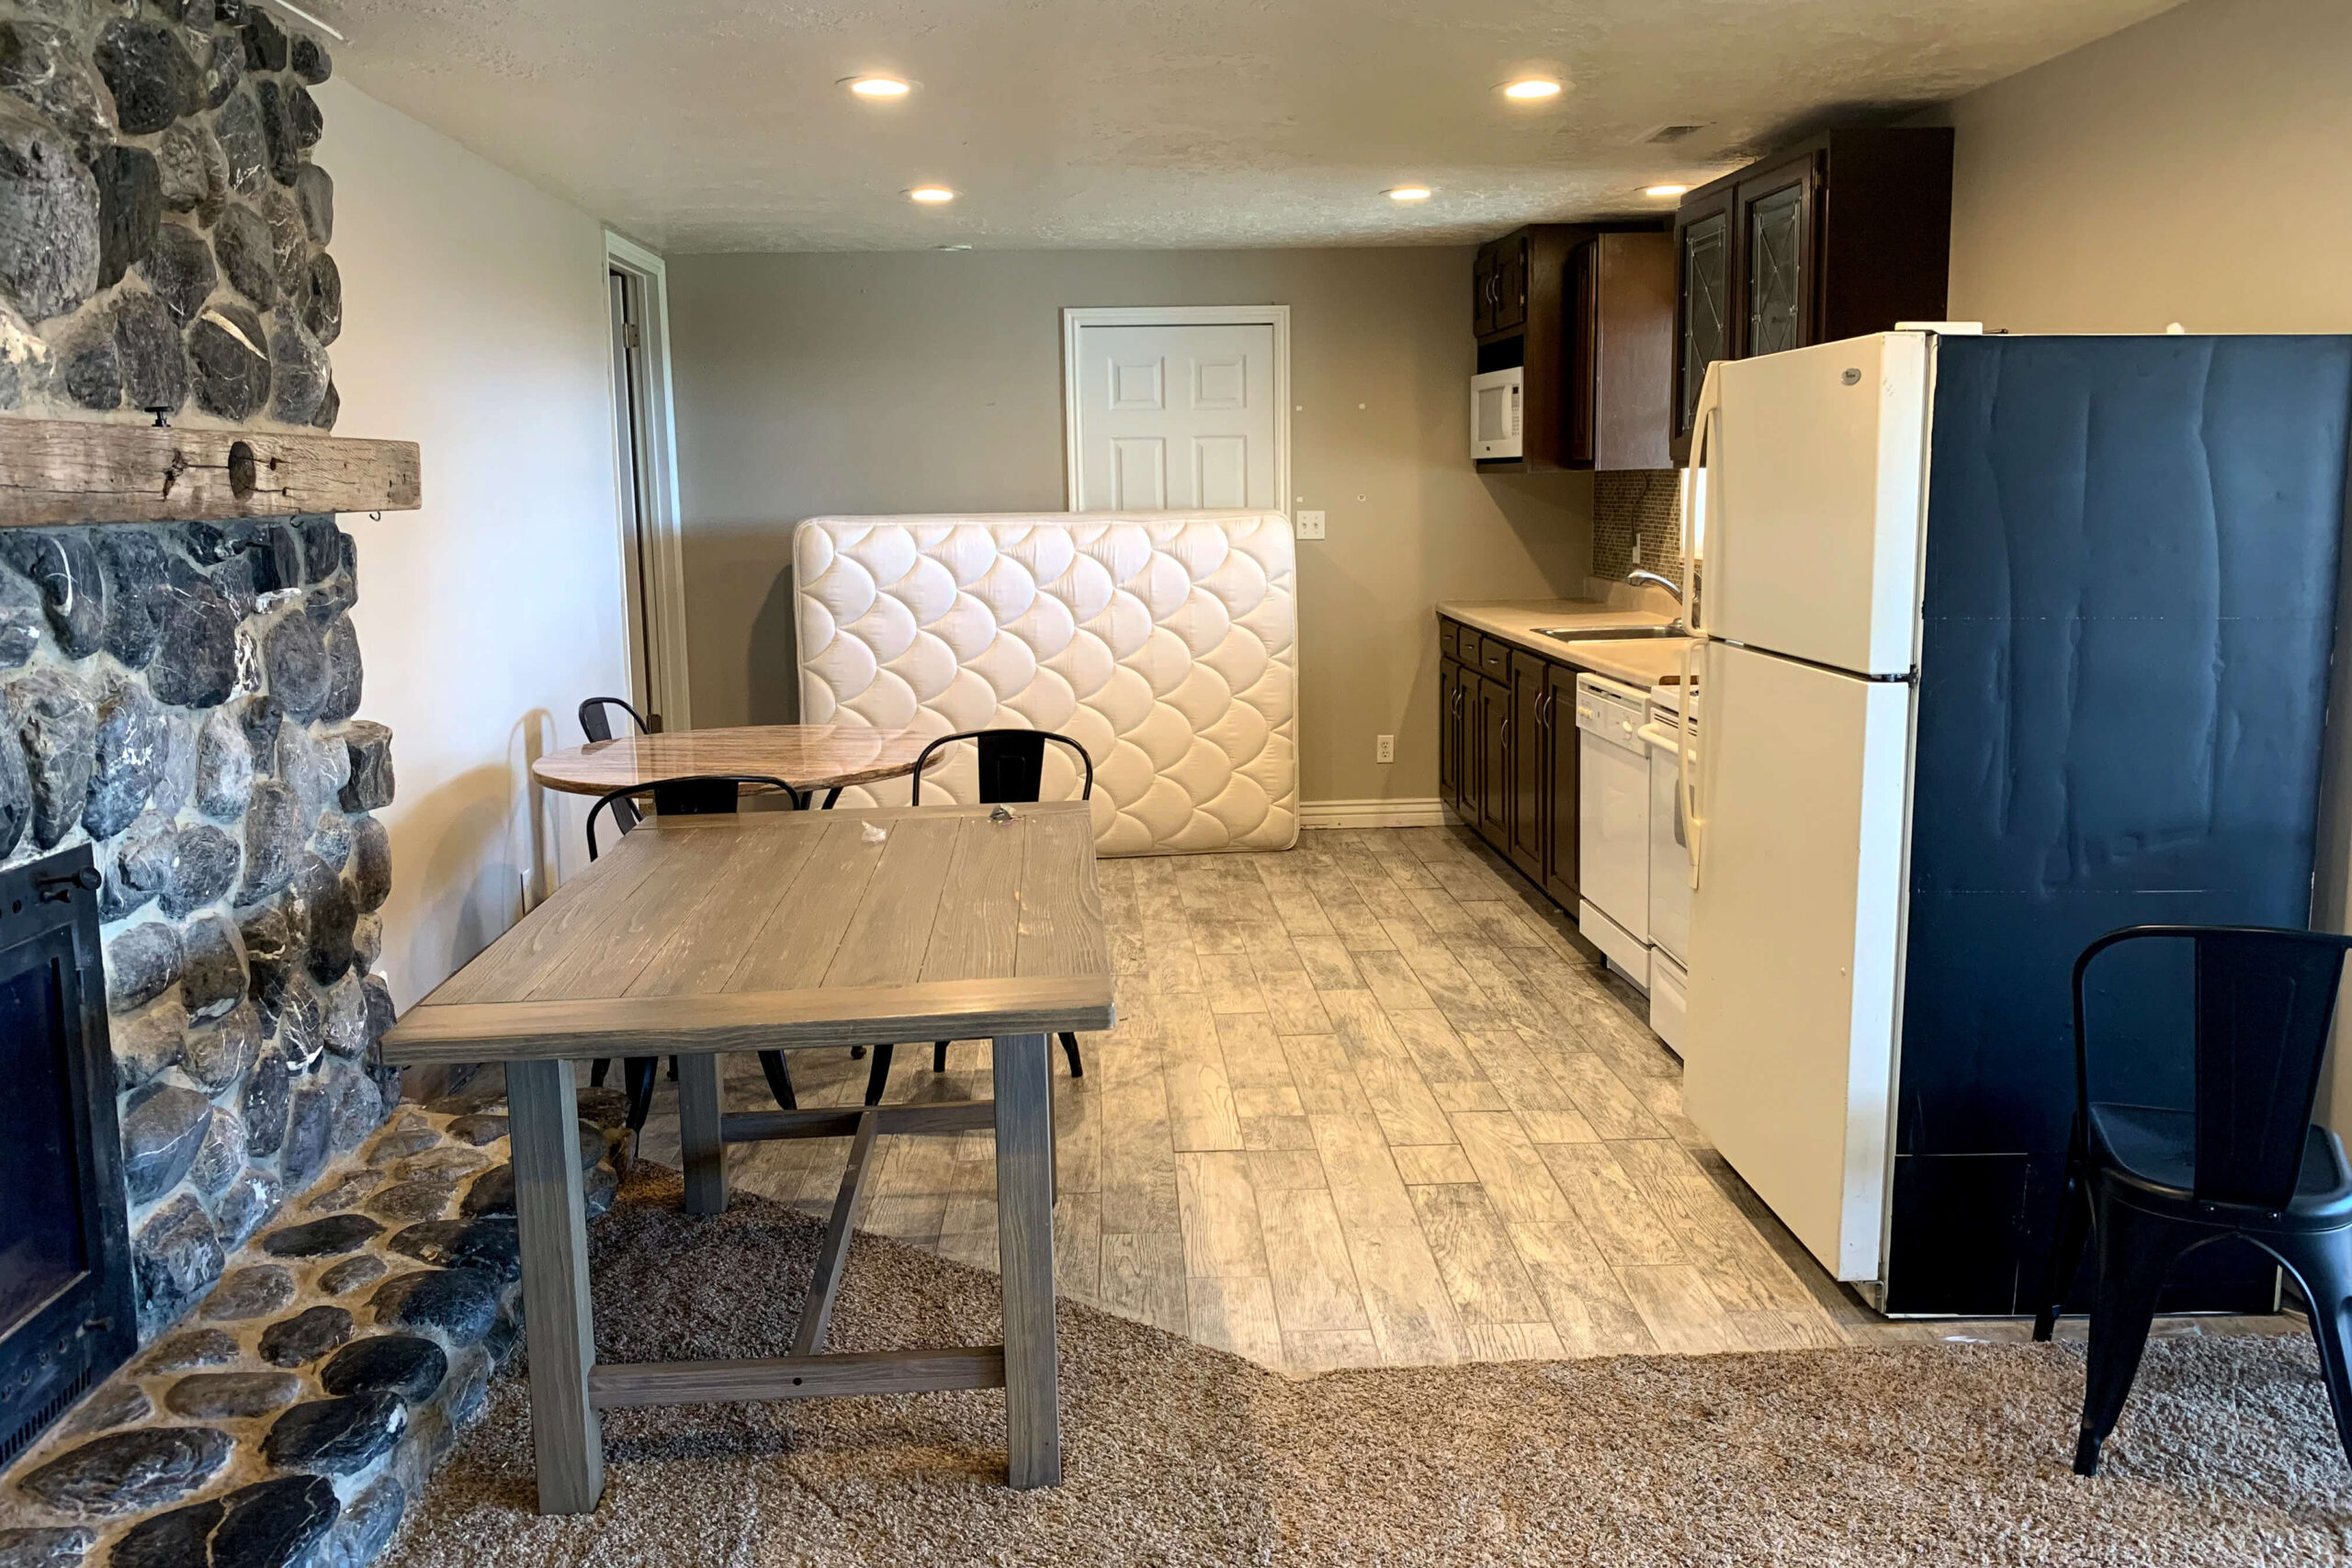
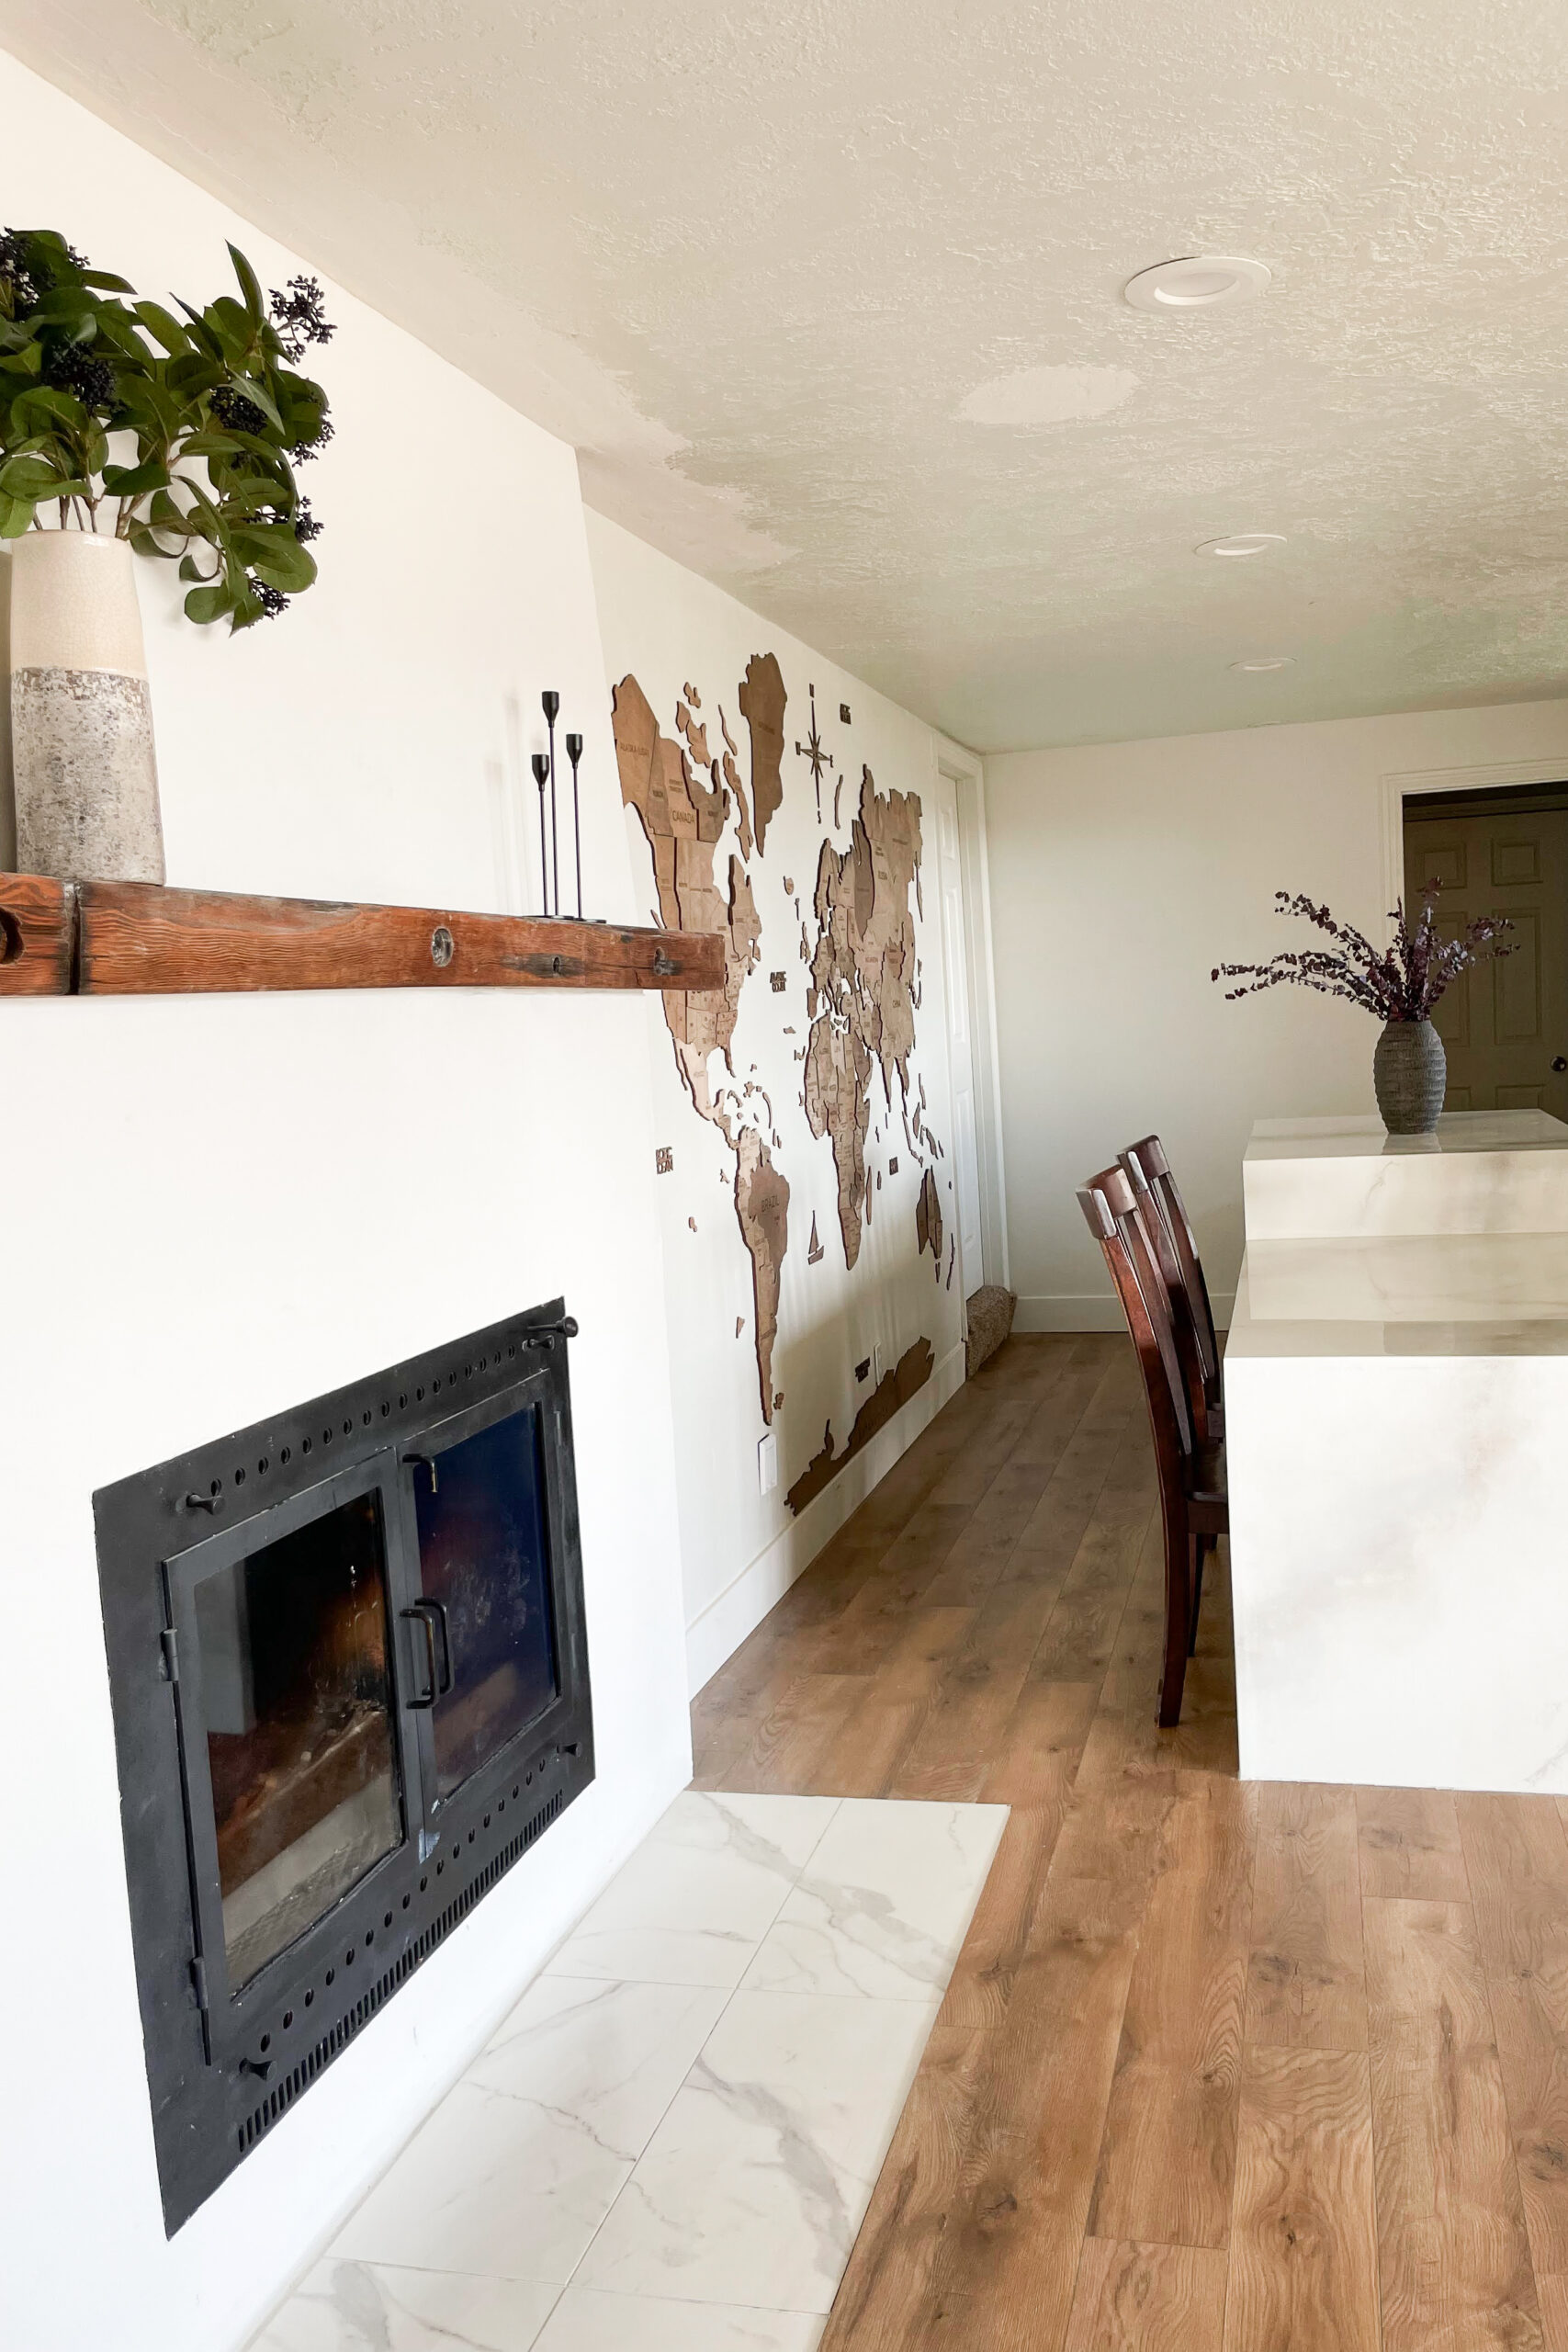
We started with a bare basement kitchen. After redoing the floors and the ugly fireplace, I began planning the cabinet and appliance layout and marked where the island would go with painter’s tape.
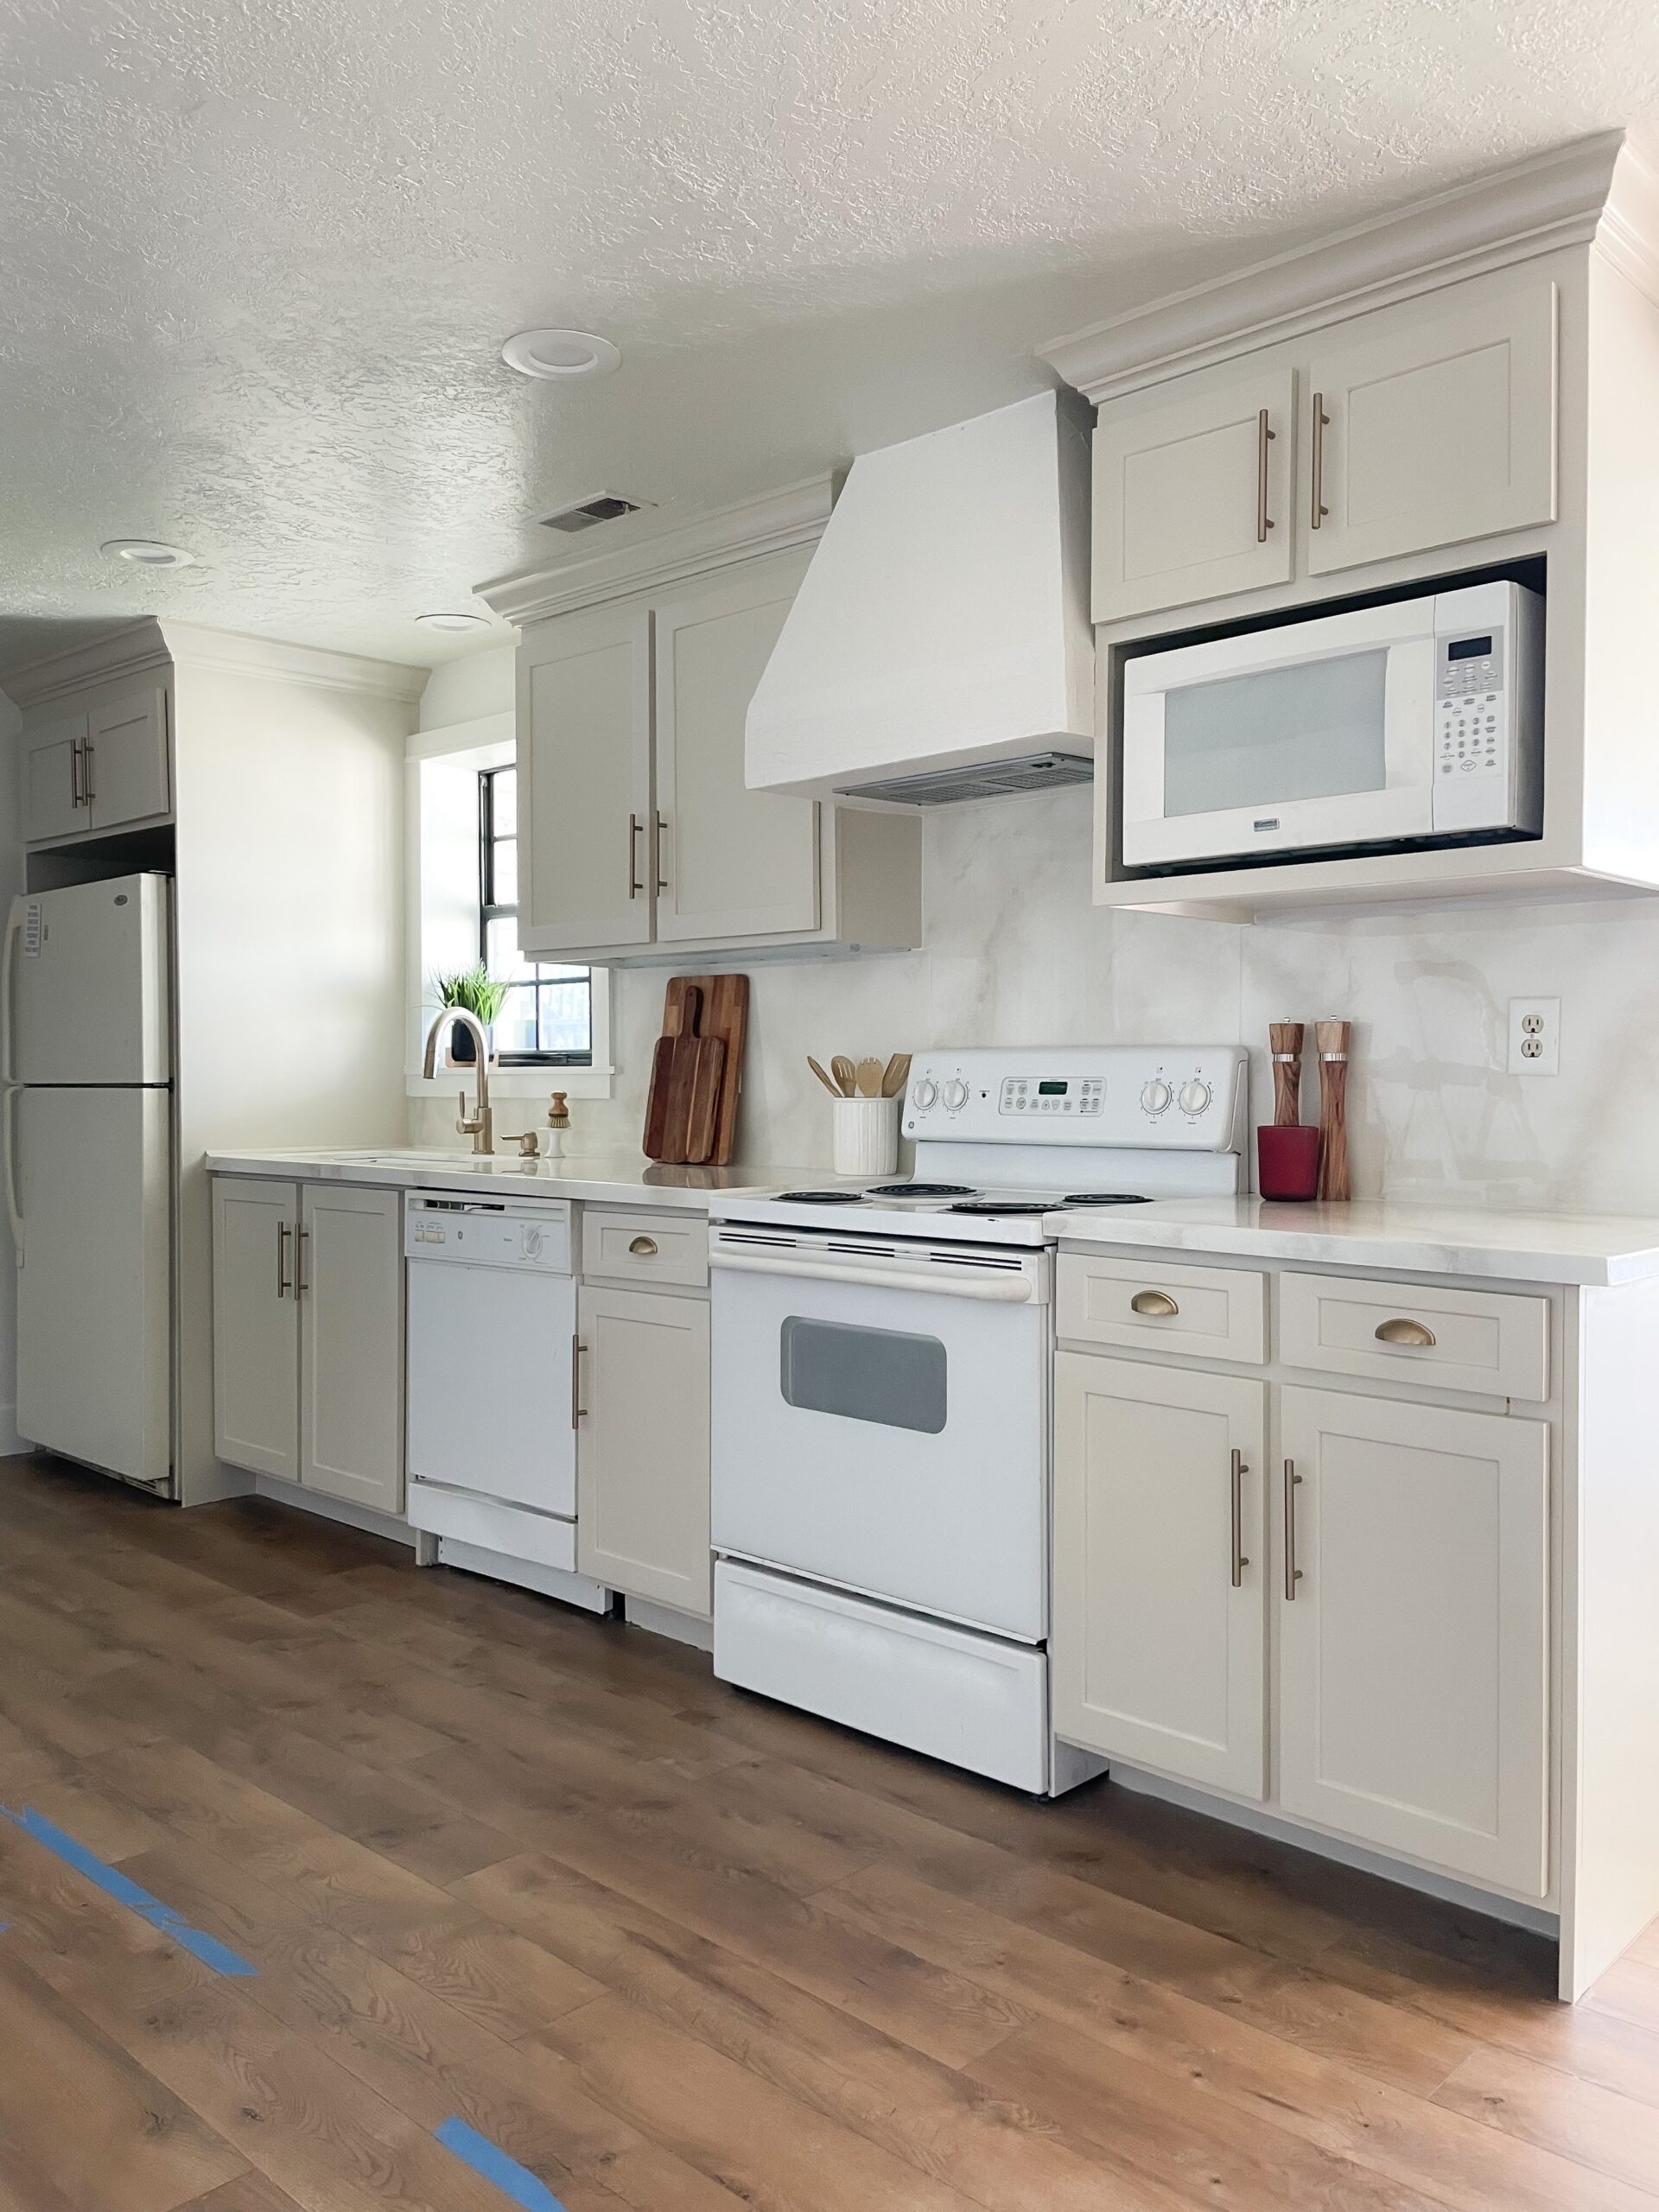
Once I finished moving and painting cabinets and building a custom range hood, it was time to start on the DIY kitchen island.
Tools
- Drill
- Masonry bit
- Clamps
- Multi-Tool
- Circular saw or table saw
- Brad nailer
- Jig saw
- Handheld sander
- Foam paint roller
- Heat gun
- Paint brush
- Notched trowel
Materials
- Stock cabinets
- Scrap wood
- Concrete screws
- Wood screws
- Angle brackets
- 4x4s
- 1 inch plywood
- 1x6s
- 1/4 inch plywood
- Wood filler
- Primer
- Paint
- Glaze
- Feather
- Sea sponge
- Lint free rag
- Plastic drop cloths
- Painter’s tape
- Disposable bucket
- Epoxy
Installing Stock Cabinets
I used stock cabinets from the hardware store as the base, placing them directly on the laminate flooring. To keep the island from sliding, I anchored it to the concrete floor using a masonry drill bit and concrete screws.

After securing a block of wood to the floor, I placed the cabinet on top and nailed it to the block.

I repeated this with the second cabinet, making sure everything was secure and square using the flooring planks as a guide. It’s not going anywhere!
Pro Tip: When I laid my flooring, I made sure everything was perfectly square, and now I can use the flooring planks as a guide to keep my island nice and square.


The final step was to attach them to each other. I clamped them together and secured them with screws. Don’t forget to drill a pilot hole first! I skipped that step on the first one and ended up splitting my cabinet. Learned my lesson for the lower portion!


Building a Kitchen Island
With limited space for a table, I added extra seating at the island’s end using 4x4s for legs. First, I traced around a 4×4 for the outline, added an extra half-inch on just two sides, and used my multi tool to cut out the flooring—easy peasy!

I placed the 4×4 flush in the corner against two sides, then used small angle brackets to attach it to the floor on the sides where I left myself that extra 1/2 inch.

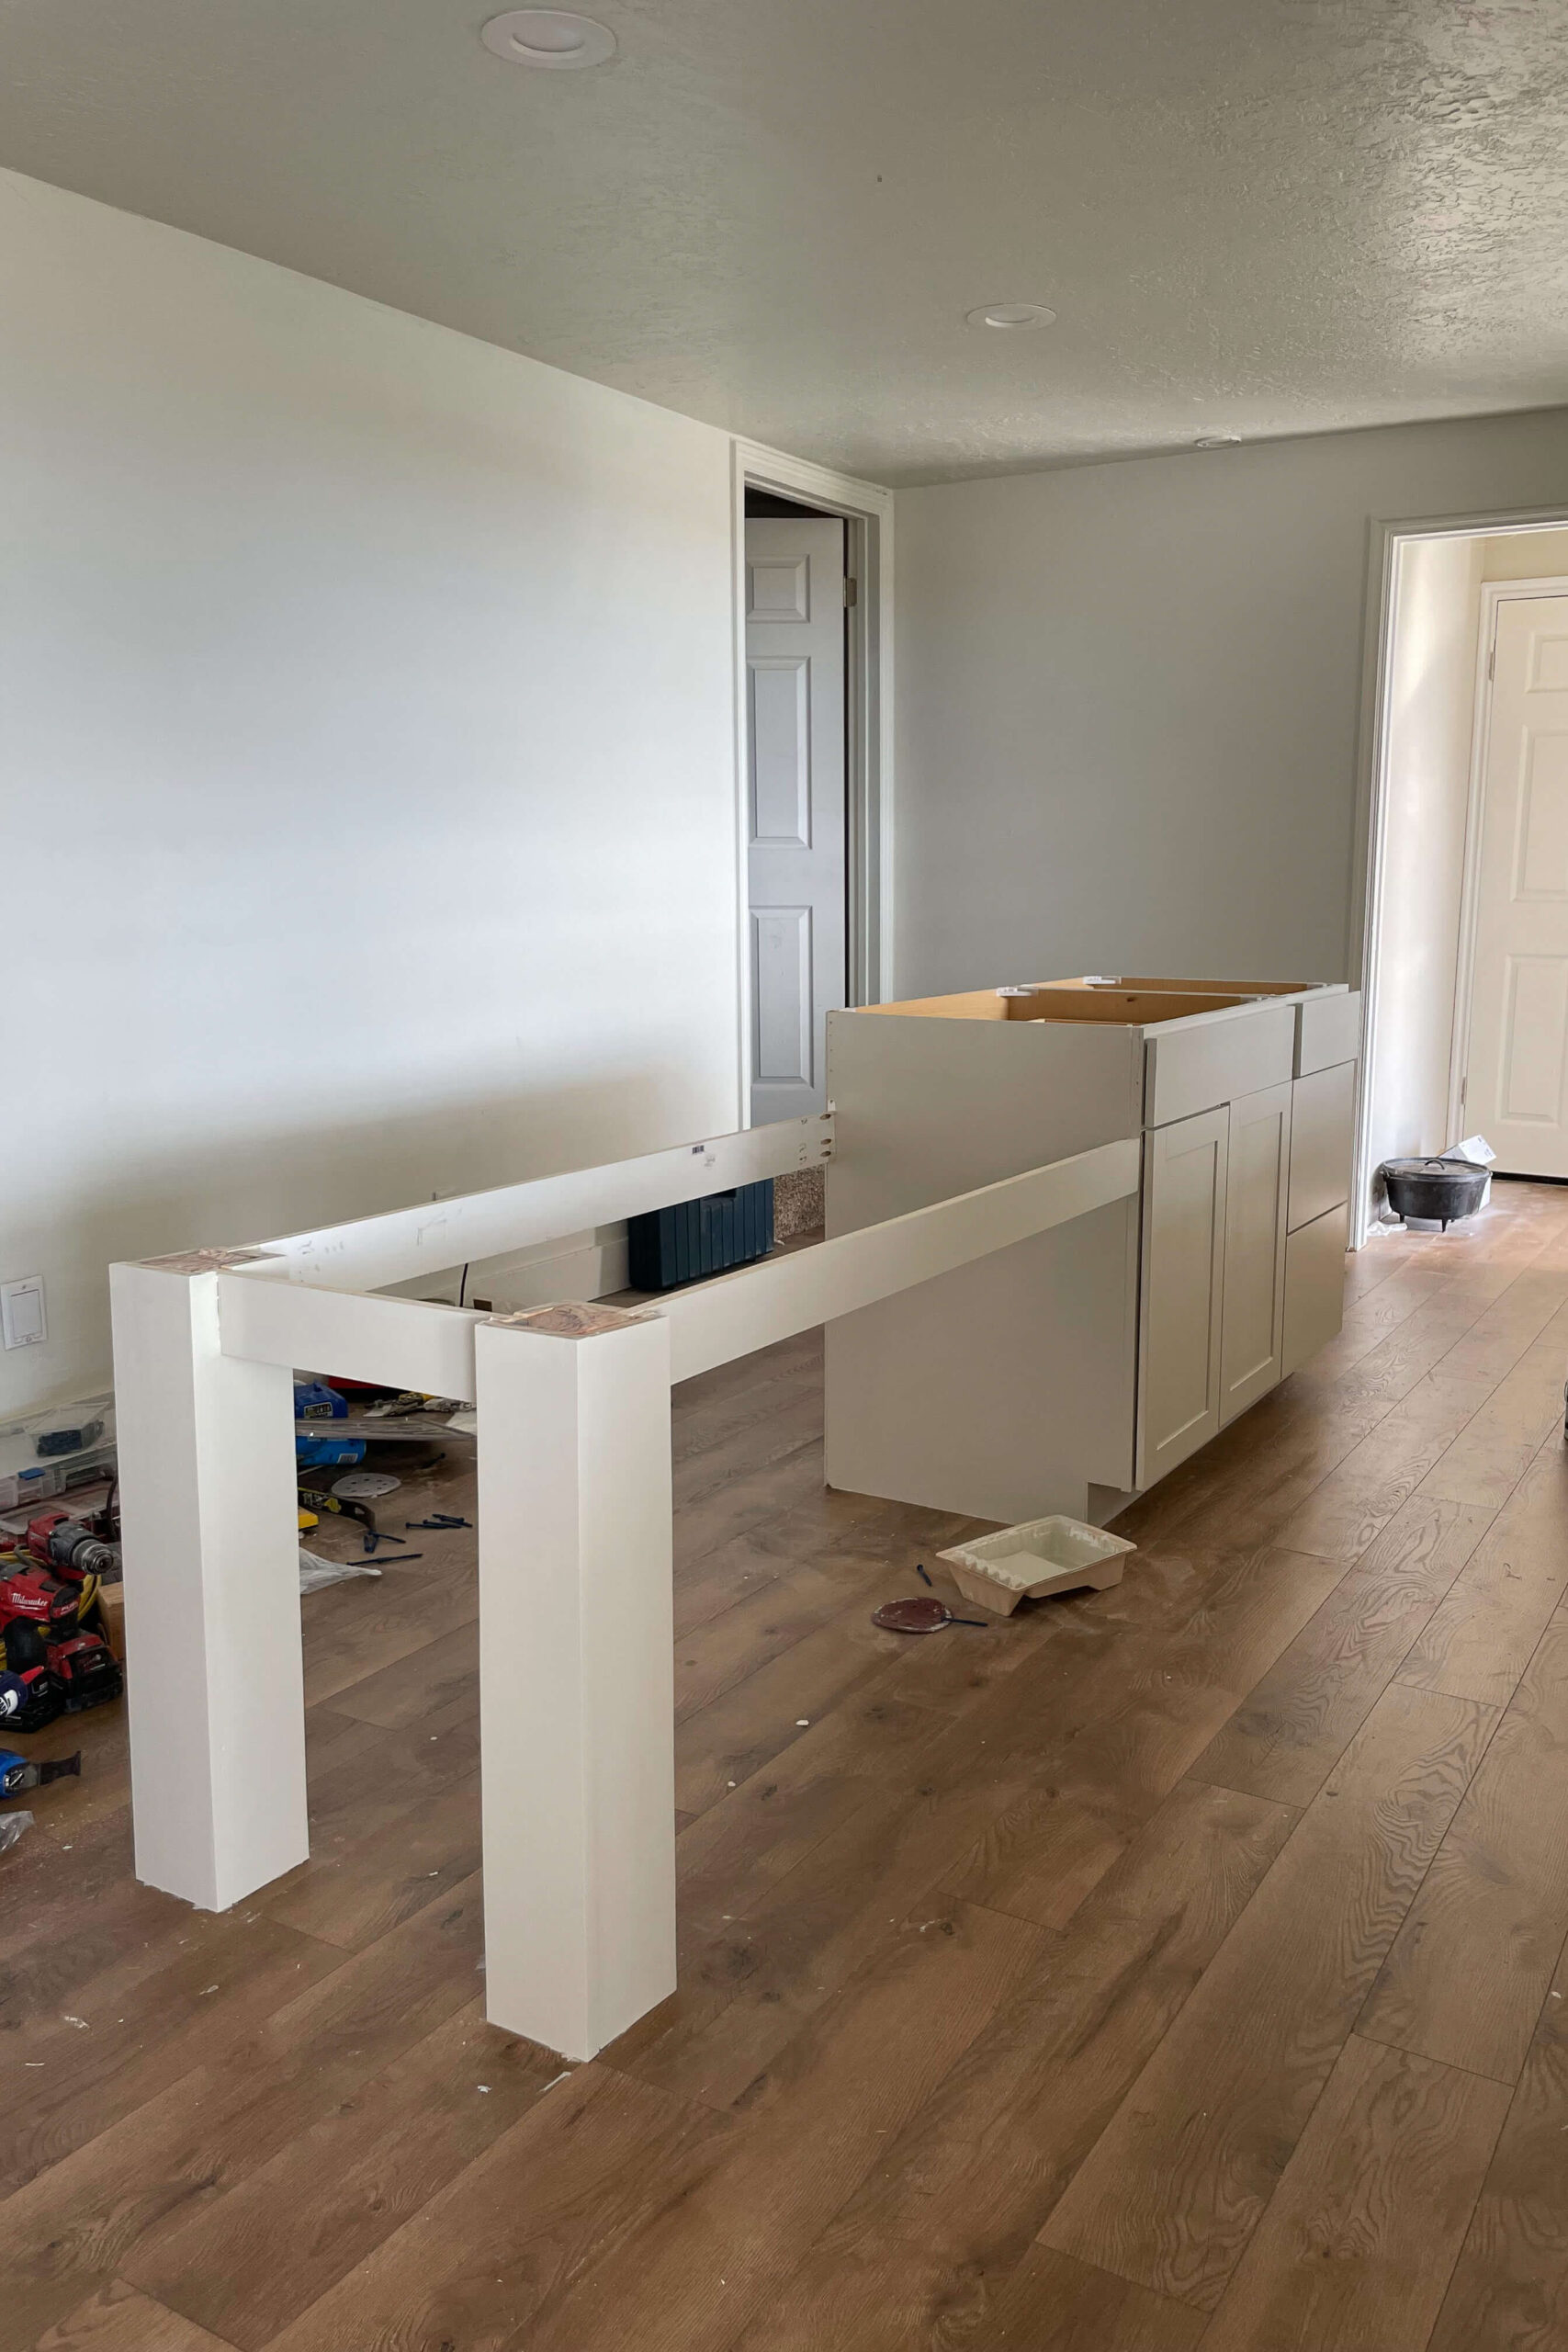
I then built a frame for the countertop and had a sudden brilliant idea: what if half of the island were table height?
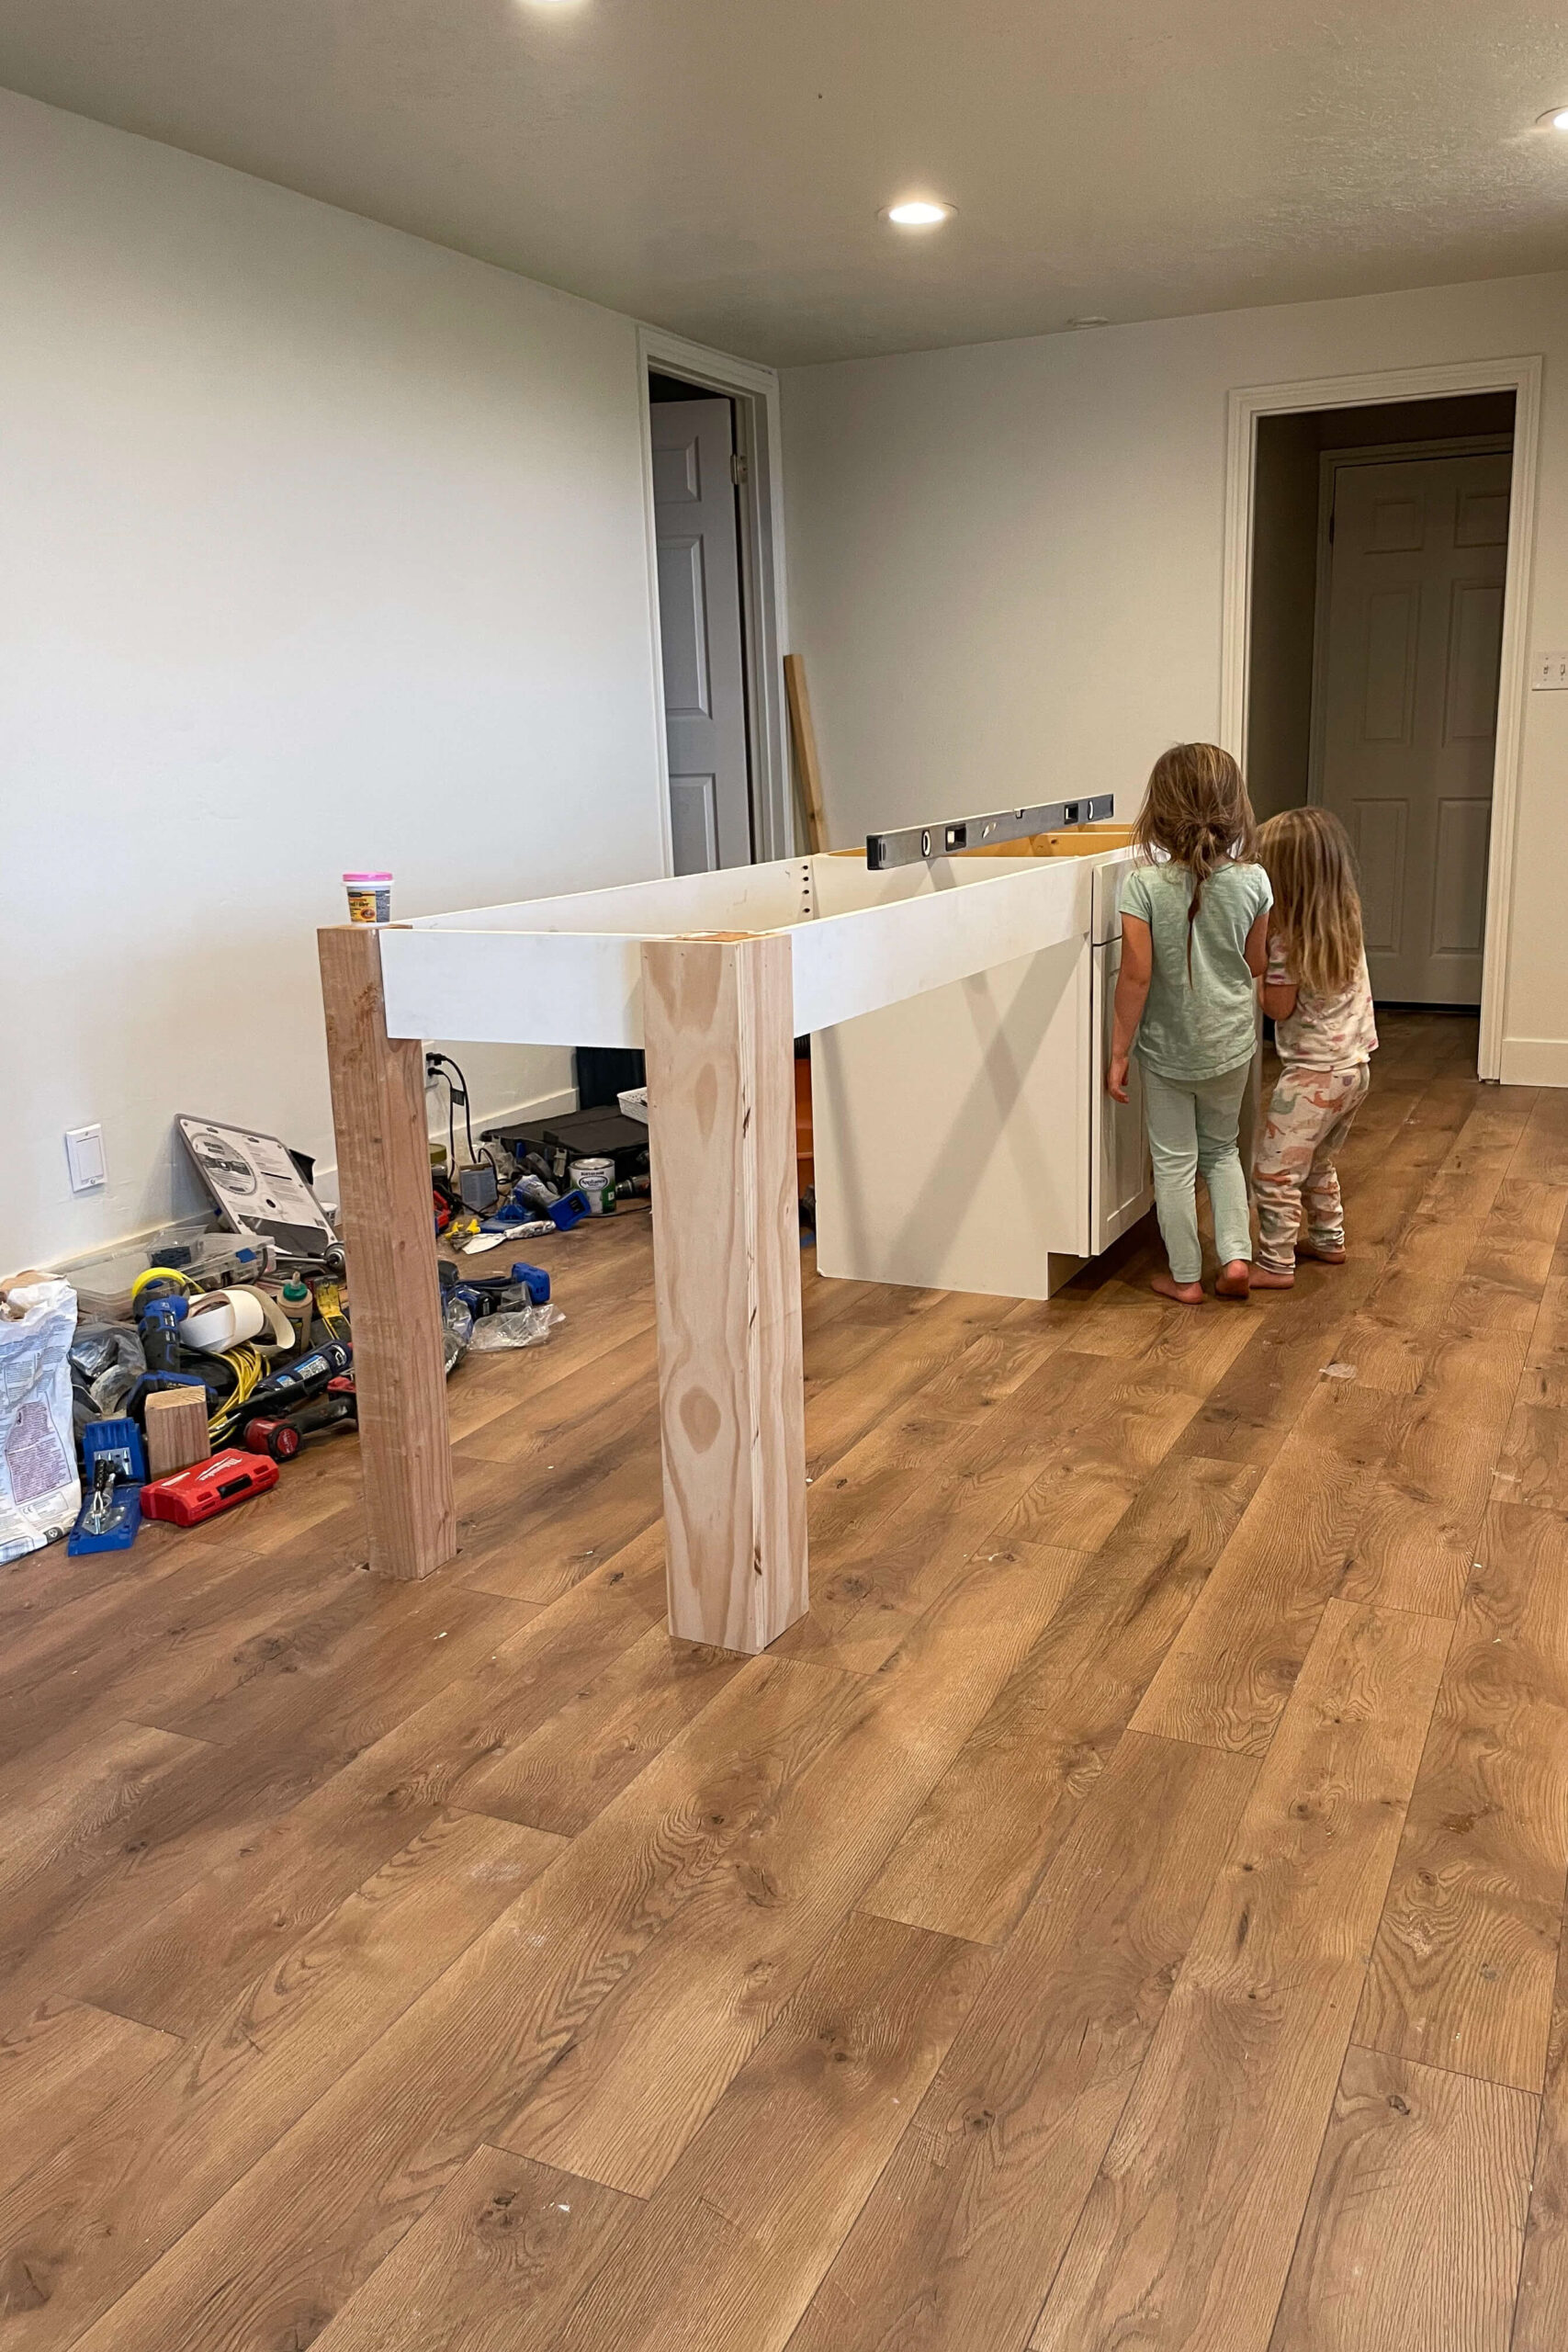
So, I took apart the framing I had started, cut the legs, and experimented with the look. It was a hit—I decided to go for it!

I rebuilt the framing with 1x6s at the lower height and wrapped the legs for a beefier look. Check out how much better that right leg looks now, scale-wise!
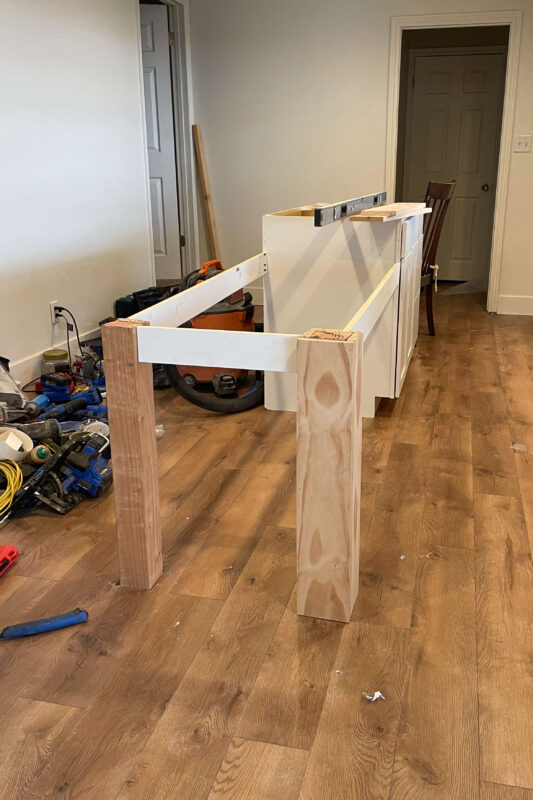
I wrapped the legs with 1-inch plywood. For the side of the leg that meets the countertop frame, I used my jig saw to cut a notch to fit around it. Attach everything with a brad nailer, and you’re done.


Finally, I had to deal with the backs of my two stock cabinets. They were meant to be against a wall, so they were ugly and unfinished. To make them look like one solid cabinet, I attached a piece of 1/4-inch plywood with my brad nailer. Problem solved—they look fantastic now!


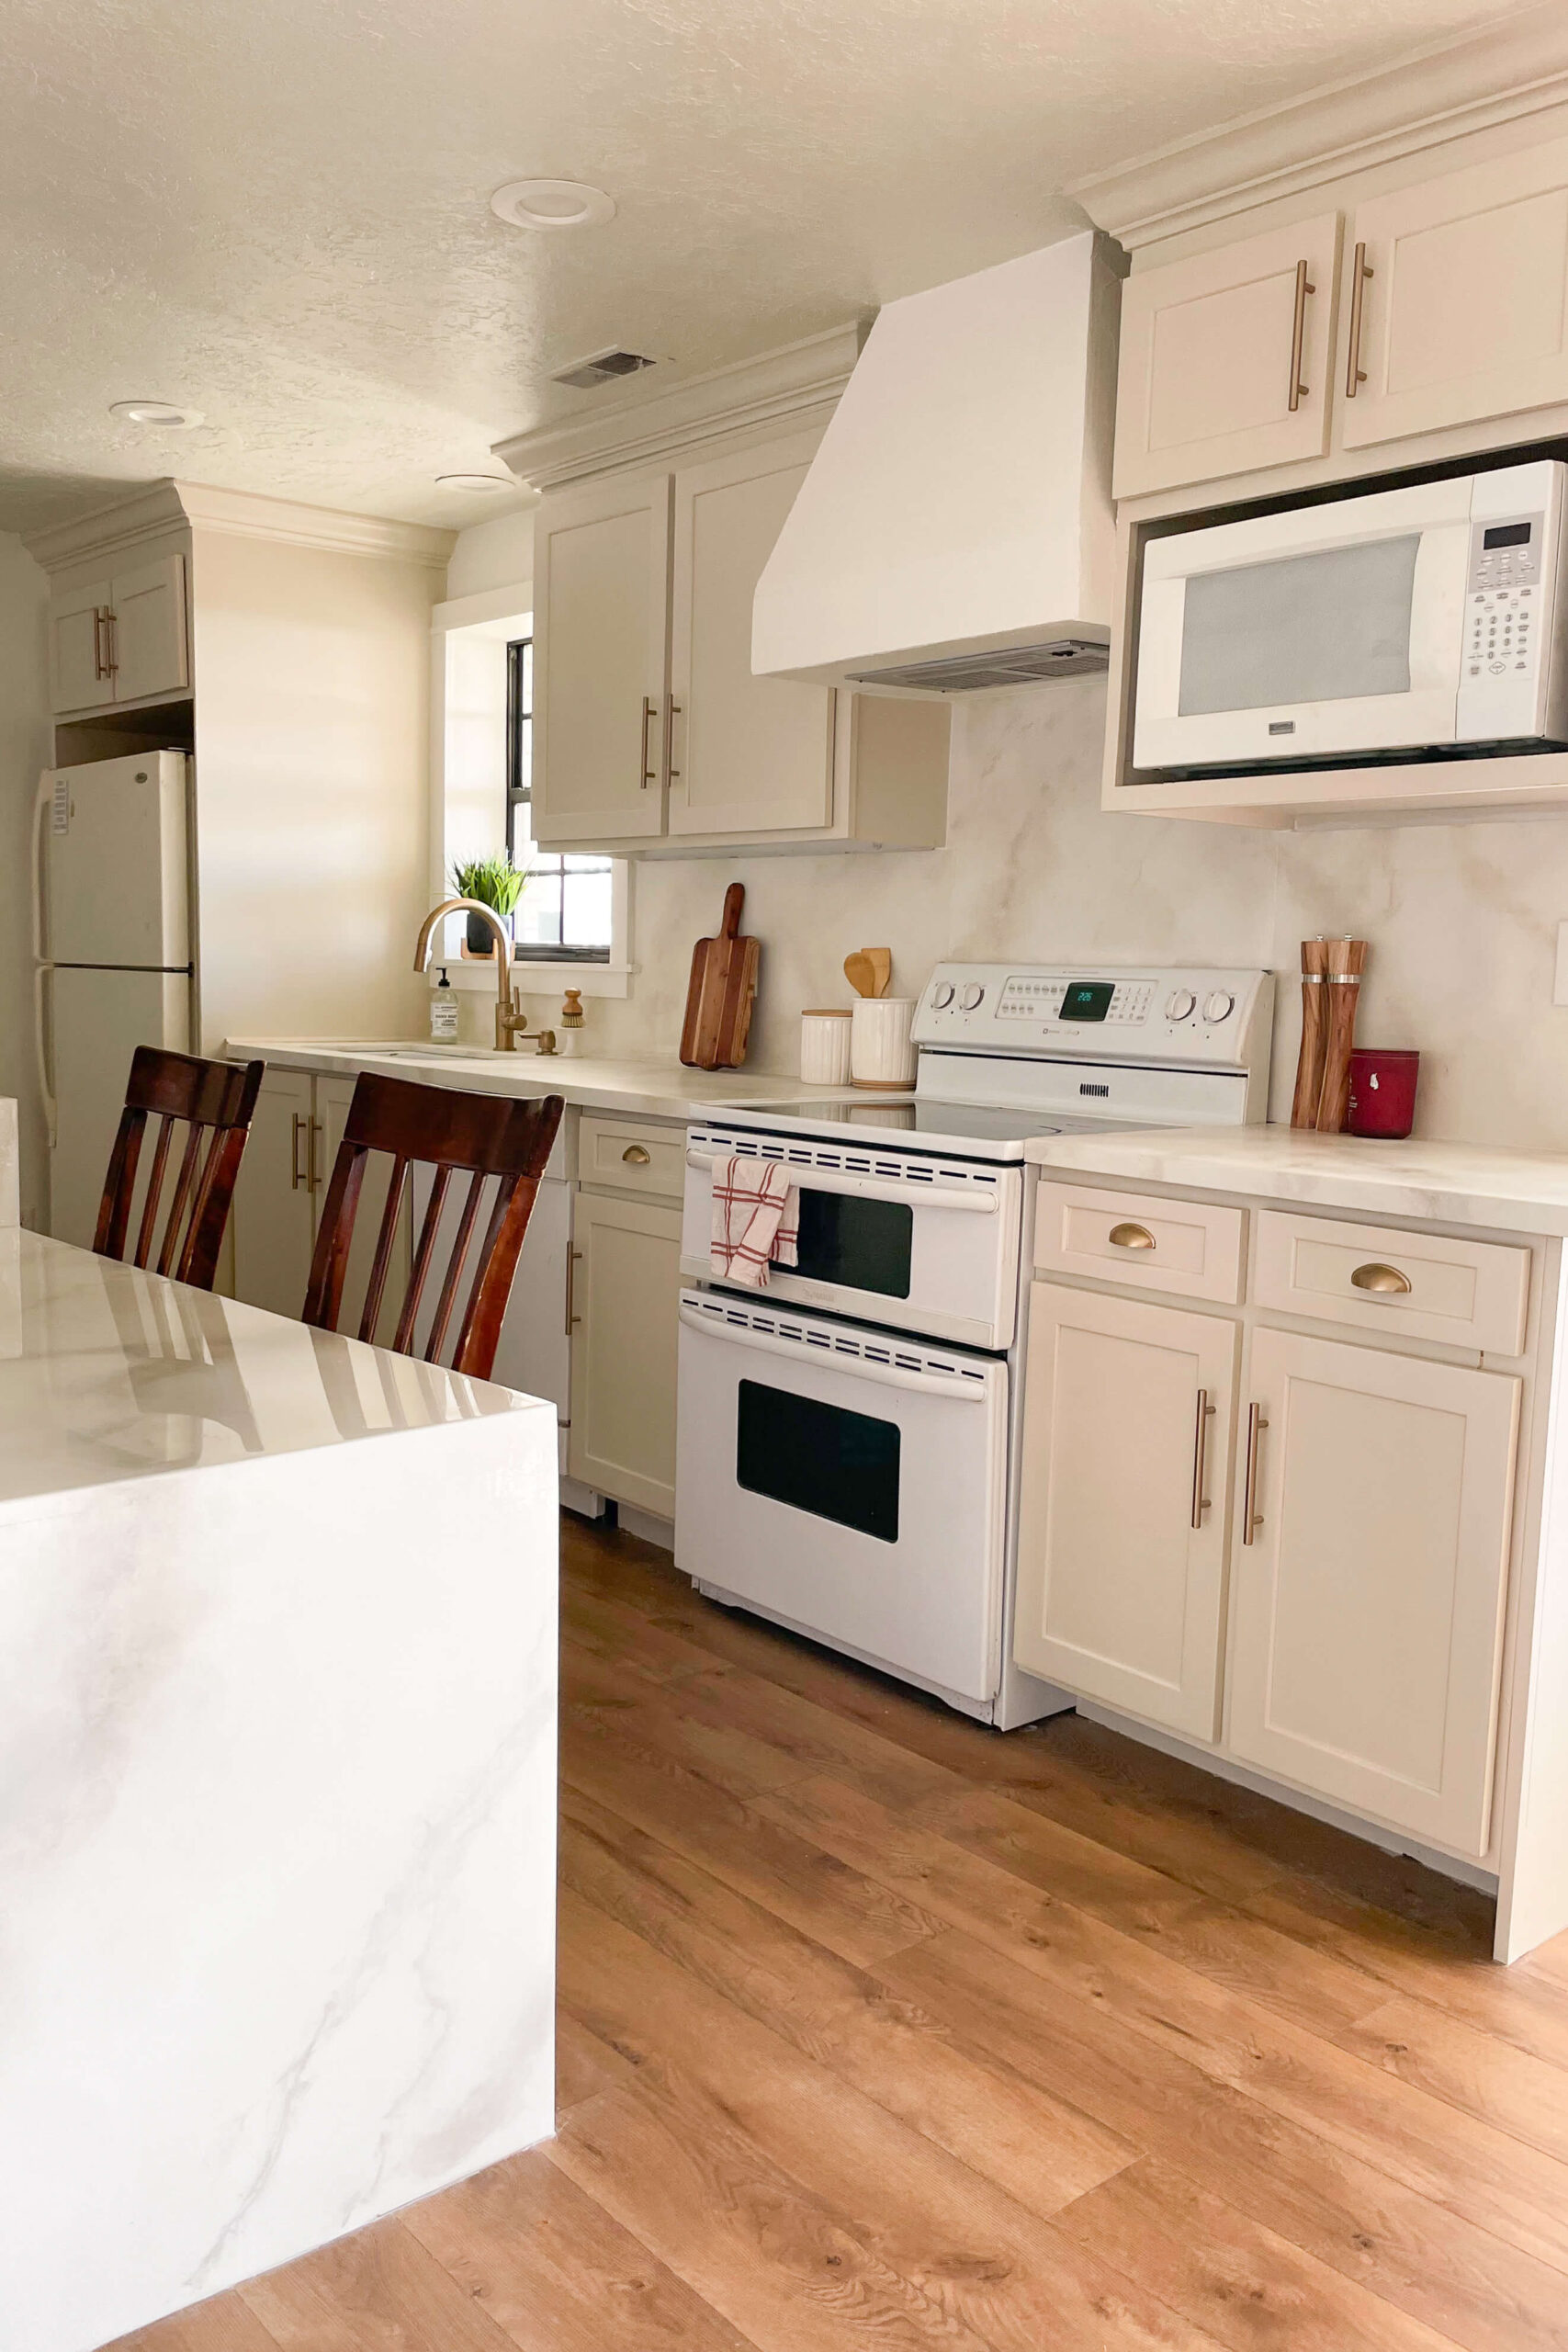
I primed and painted everything to match the kitchen cabinets. The kitchen was coming together nicely!
Building My Waterfall Kitchen Island Countertop
For the island, I used the same DIY epoxy countertops as the rest of the kitchen. Initially, I planned a traditional look but pivoted to a waterfall design.

To transform this basic island into a waterfall kitchen island, I swapped out the end trim piece for one that extends all the way to the floor. Then I beefed up the edges for a thicker, more substantial look. I want this thing to look like a genuine slab of marble when I’m finished, after all!

A key part of the waterfall kitchen island’s impressive look is its seamless appearance. I filled all the joints and nail holes with wood filler and sanded everything smooth. Then I primed and painted it for a seamless, solid marble look.
Pro Tip: Sanding indoors can be messy— attach your shop vac to the sander to keep things cleaner!

Check out this waterfall kitchen island now! I’ve already primed it with my favorite primer and painted it with the base color. Notice how all the joints and seams have vanished? Once I’m finished, it’ll look just like a solid piece of real marble!

Painting and Pouring Epoxy
It’s time to create the marbling effect on this waterfall kitchen island. I created the marbling effect using a sponge for big veins and a feather for smaller ones. For detailed instructions on my technique and products, check out my blog post on epoxy countertops.


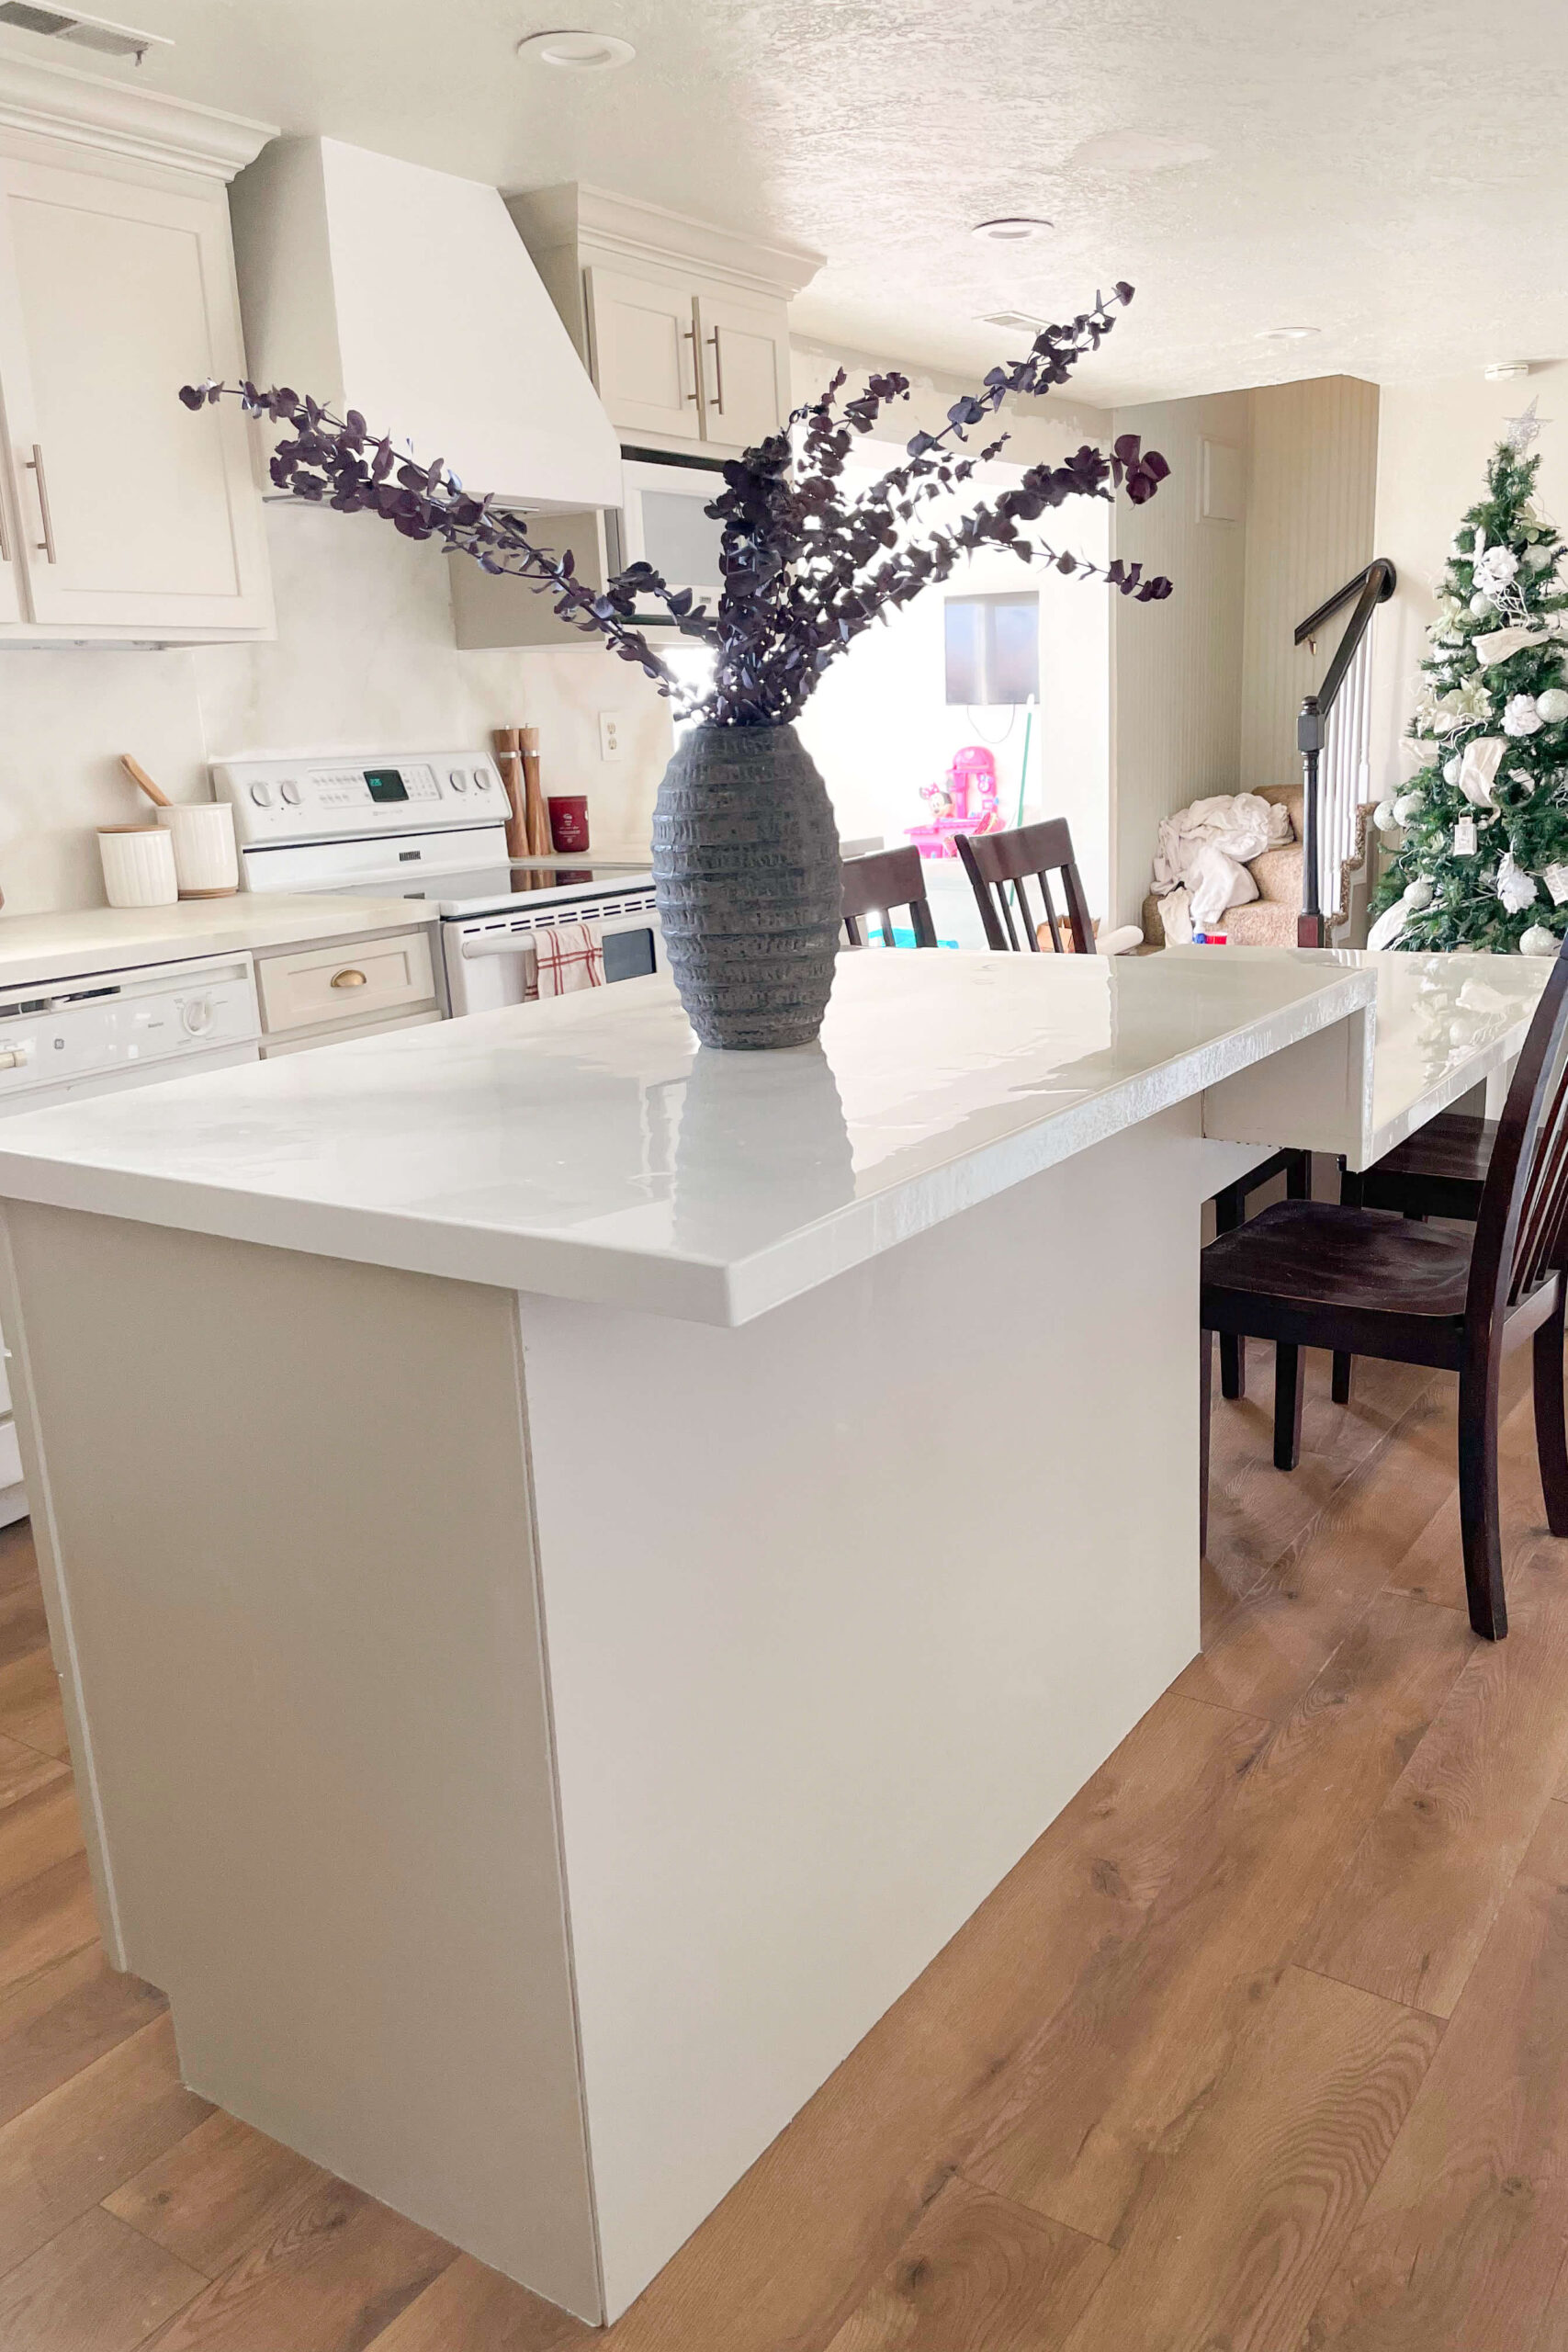
Check out how stunning this waterfall kitchen island looks when I’m finished! People often mistake my stone countertops for the real deal—it looks totally authentic in person. I’ve perfected my special technique over the last several years, and I’ve compiled all the details into an e-book with thorough step-by-step instructions, available here.

As amazing as that marble finish looks on this waterfall kitchen island, I need to cover and protect it. After carefully covering and taping off the floor and lower parts of my island, I’m ready to pour the epoxy countertop.

The main difference between pouring epoxy countertops for the rest of the kitchen and the waterfall kitchen island is the completely vertical edge. I let the epoxy flow over the side and down the waterfall edge, applying additional coats with a brush. Using a high-quality paintbrush is crucial to avoid bristles in the epoxy.
Remember, for more in-depth instructions on painting the marble effect and for pouring the epoxy, check out my e-book or my blog post.

Just a quick reminder of what this kitchen looked like when I started…
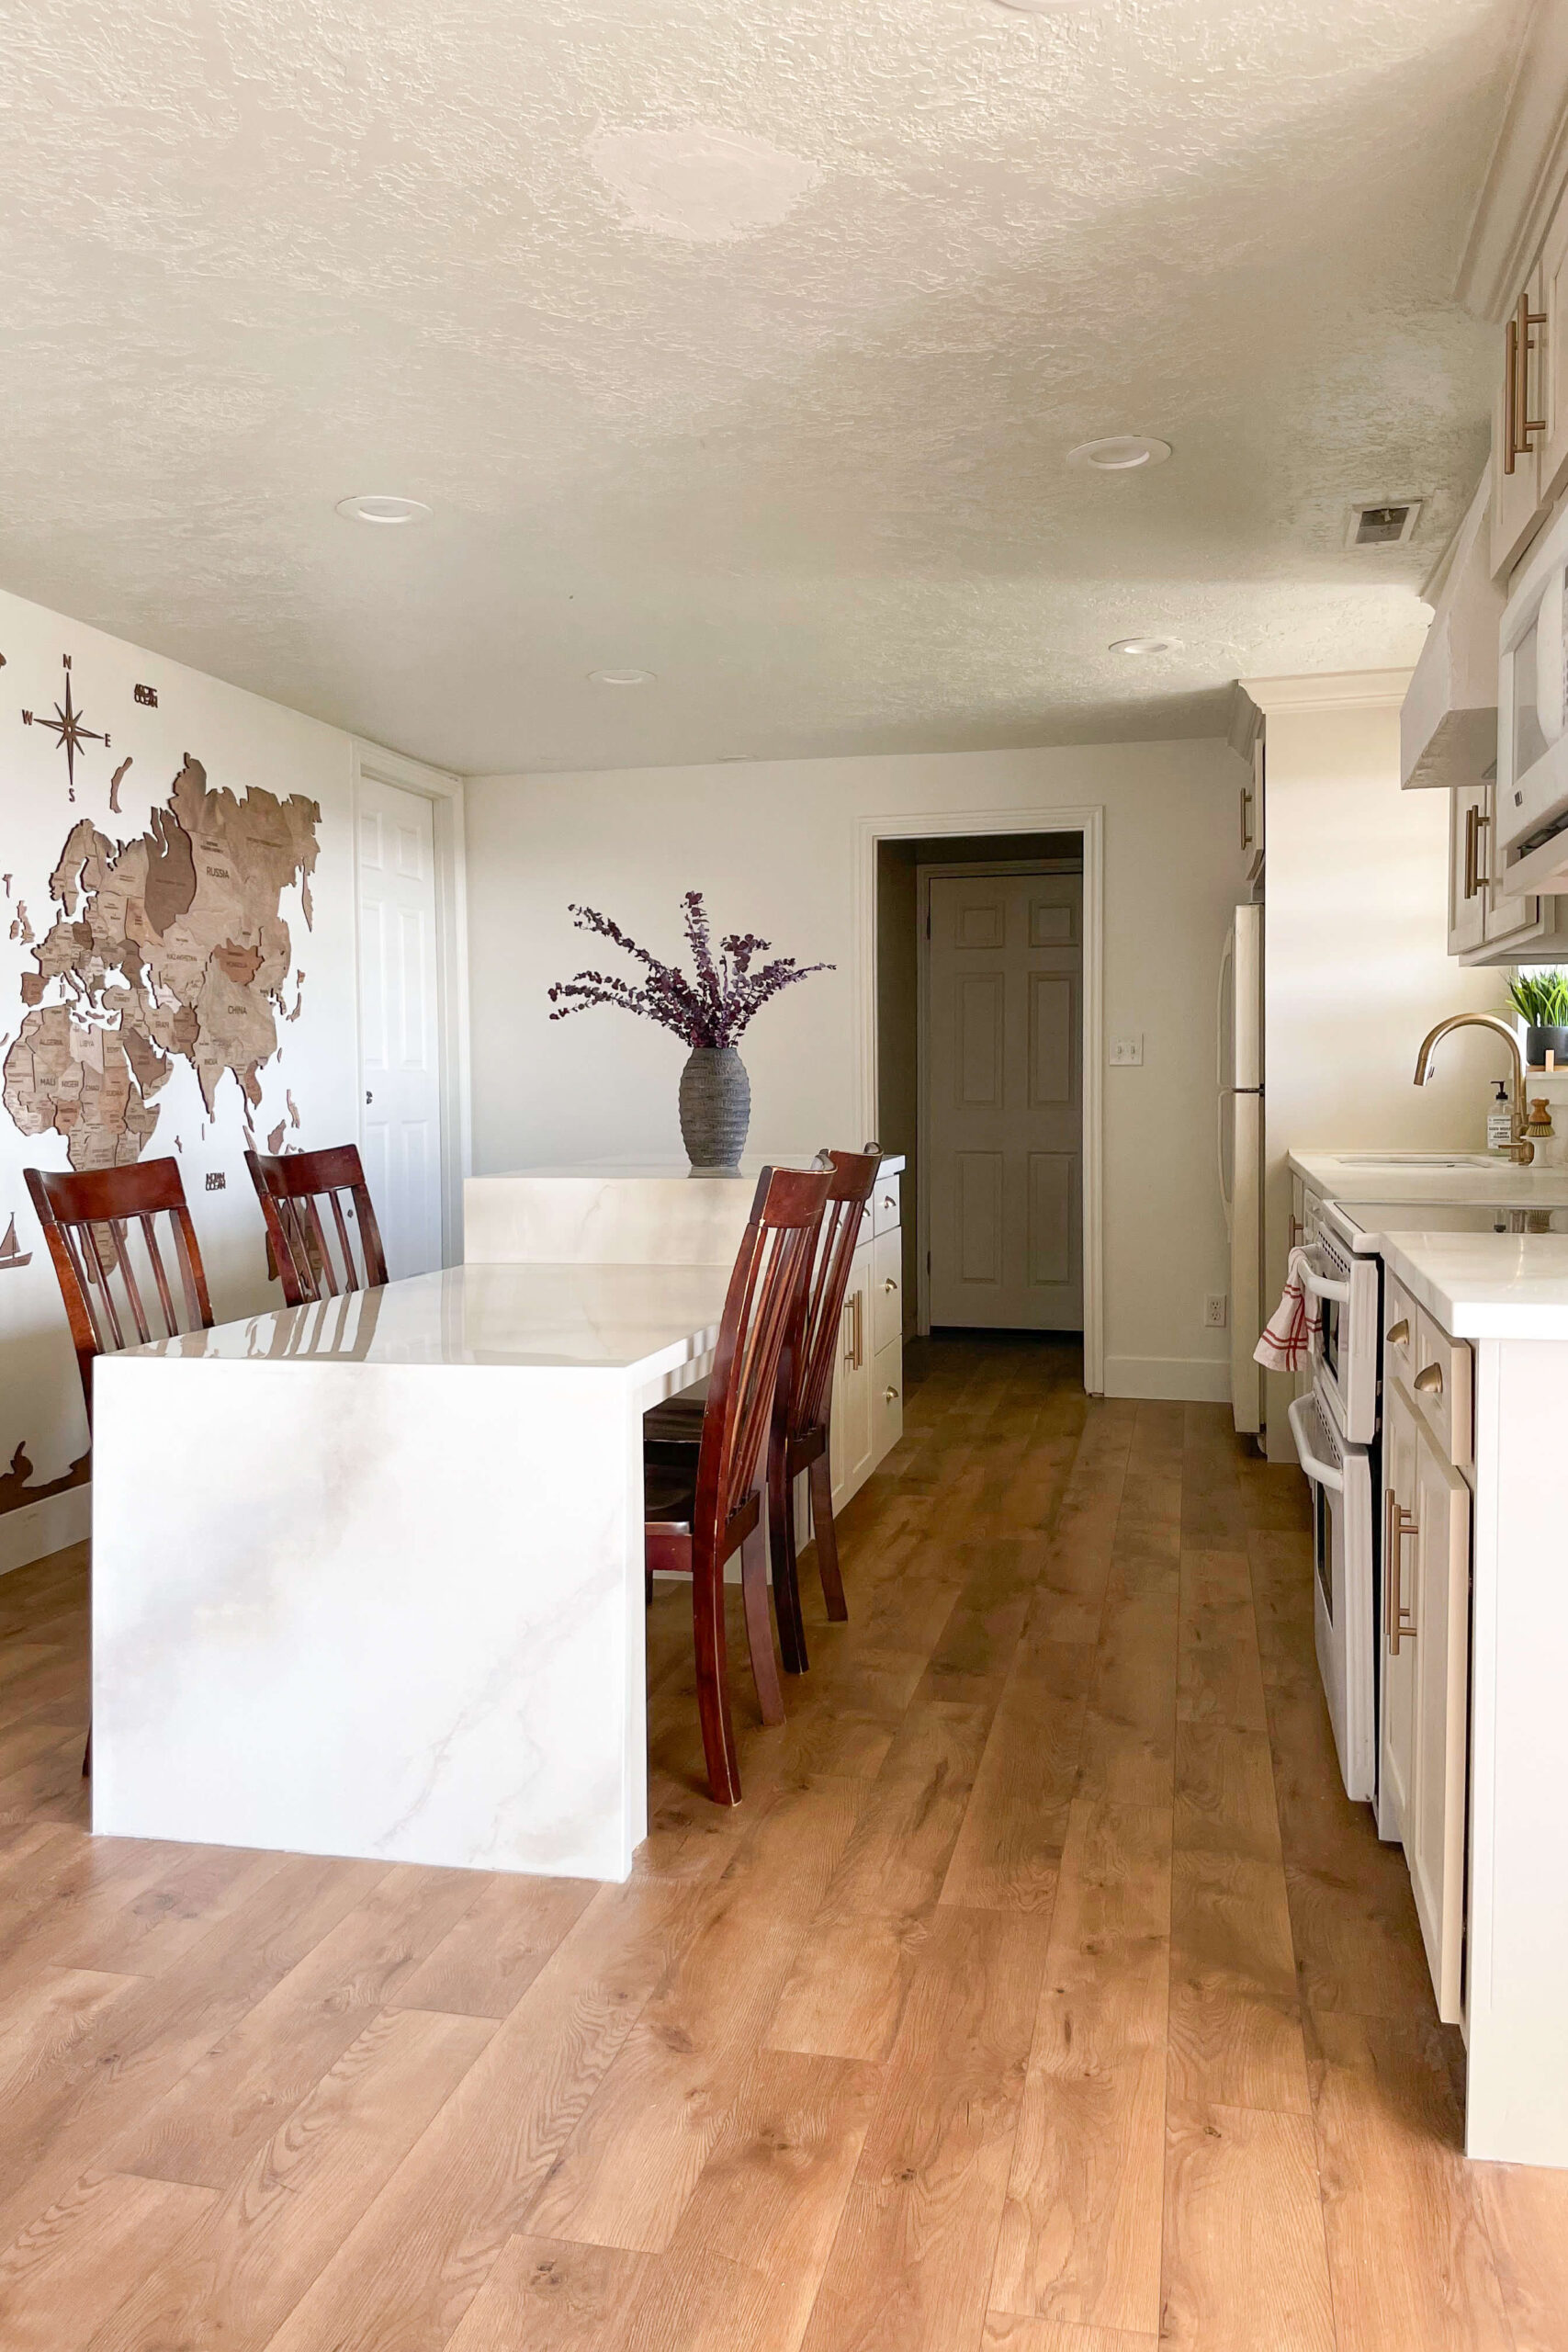
Now check out this finished remodel with the waterfall kitchen island—it’s absolutely stunning! The table height on one end adds some much-needed seating.
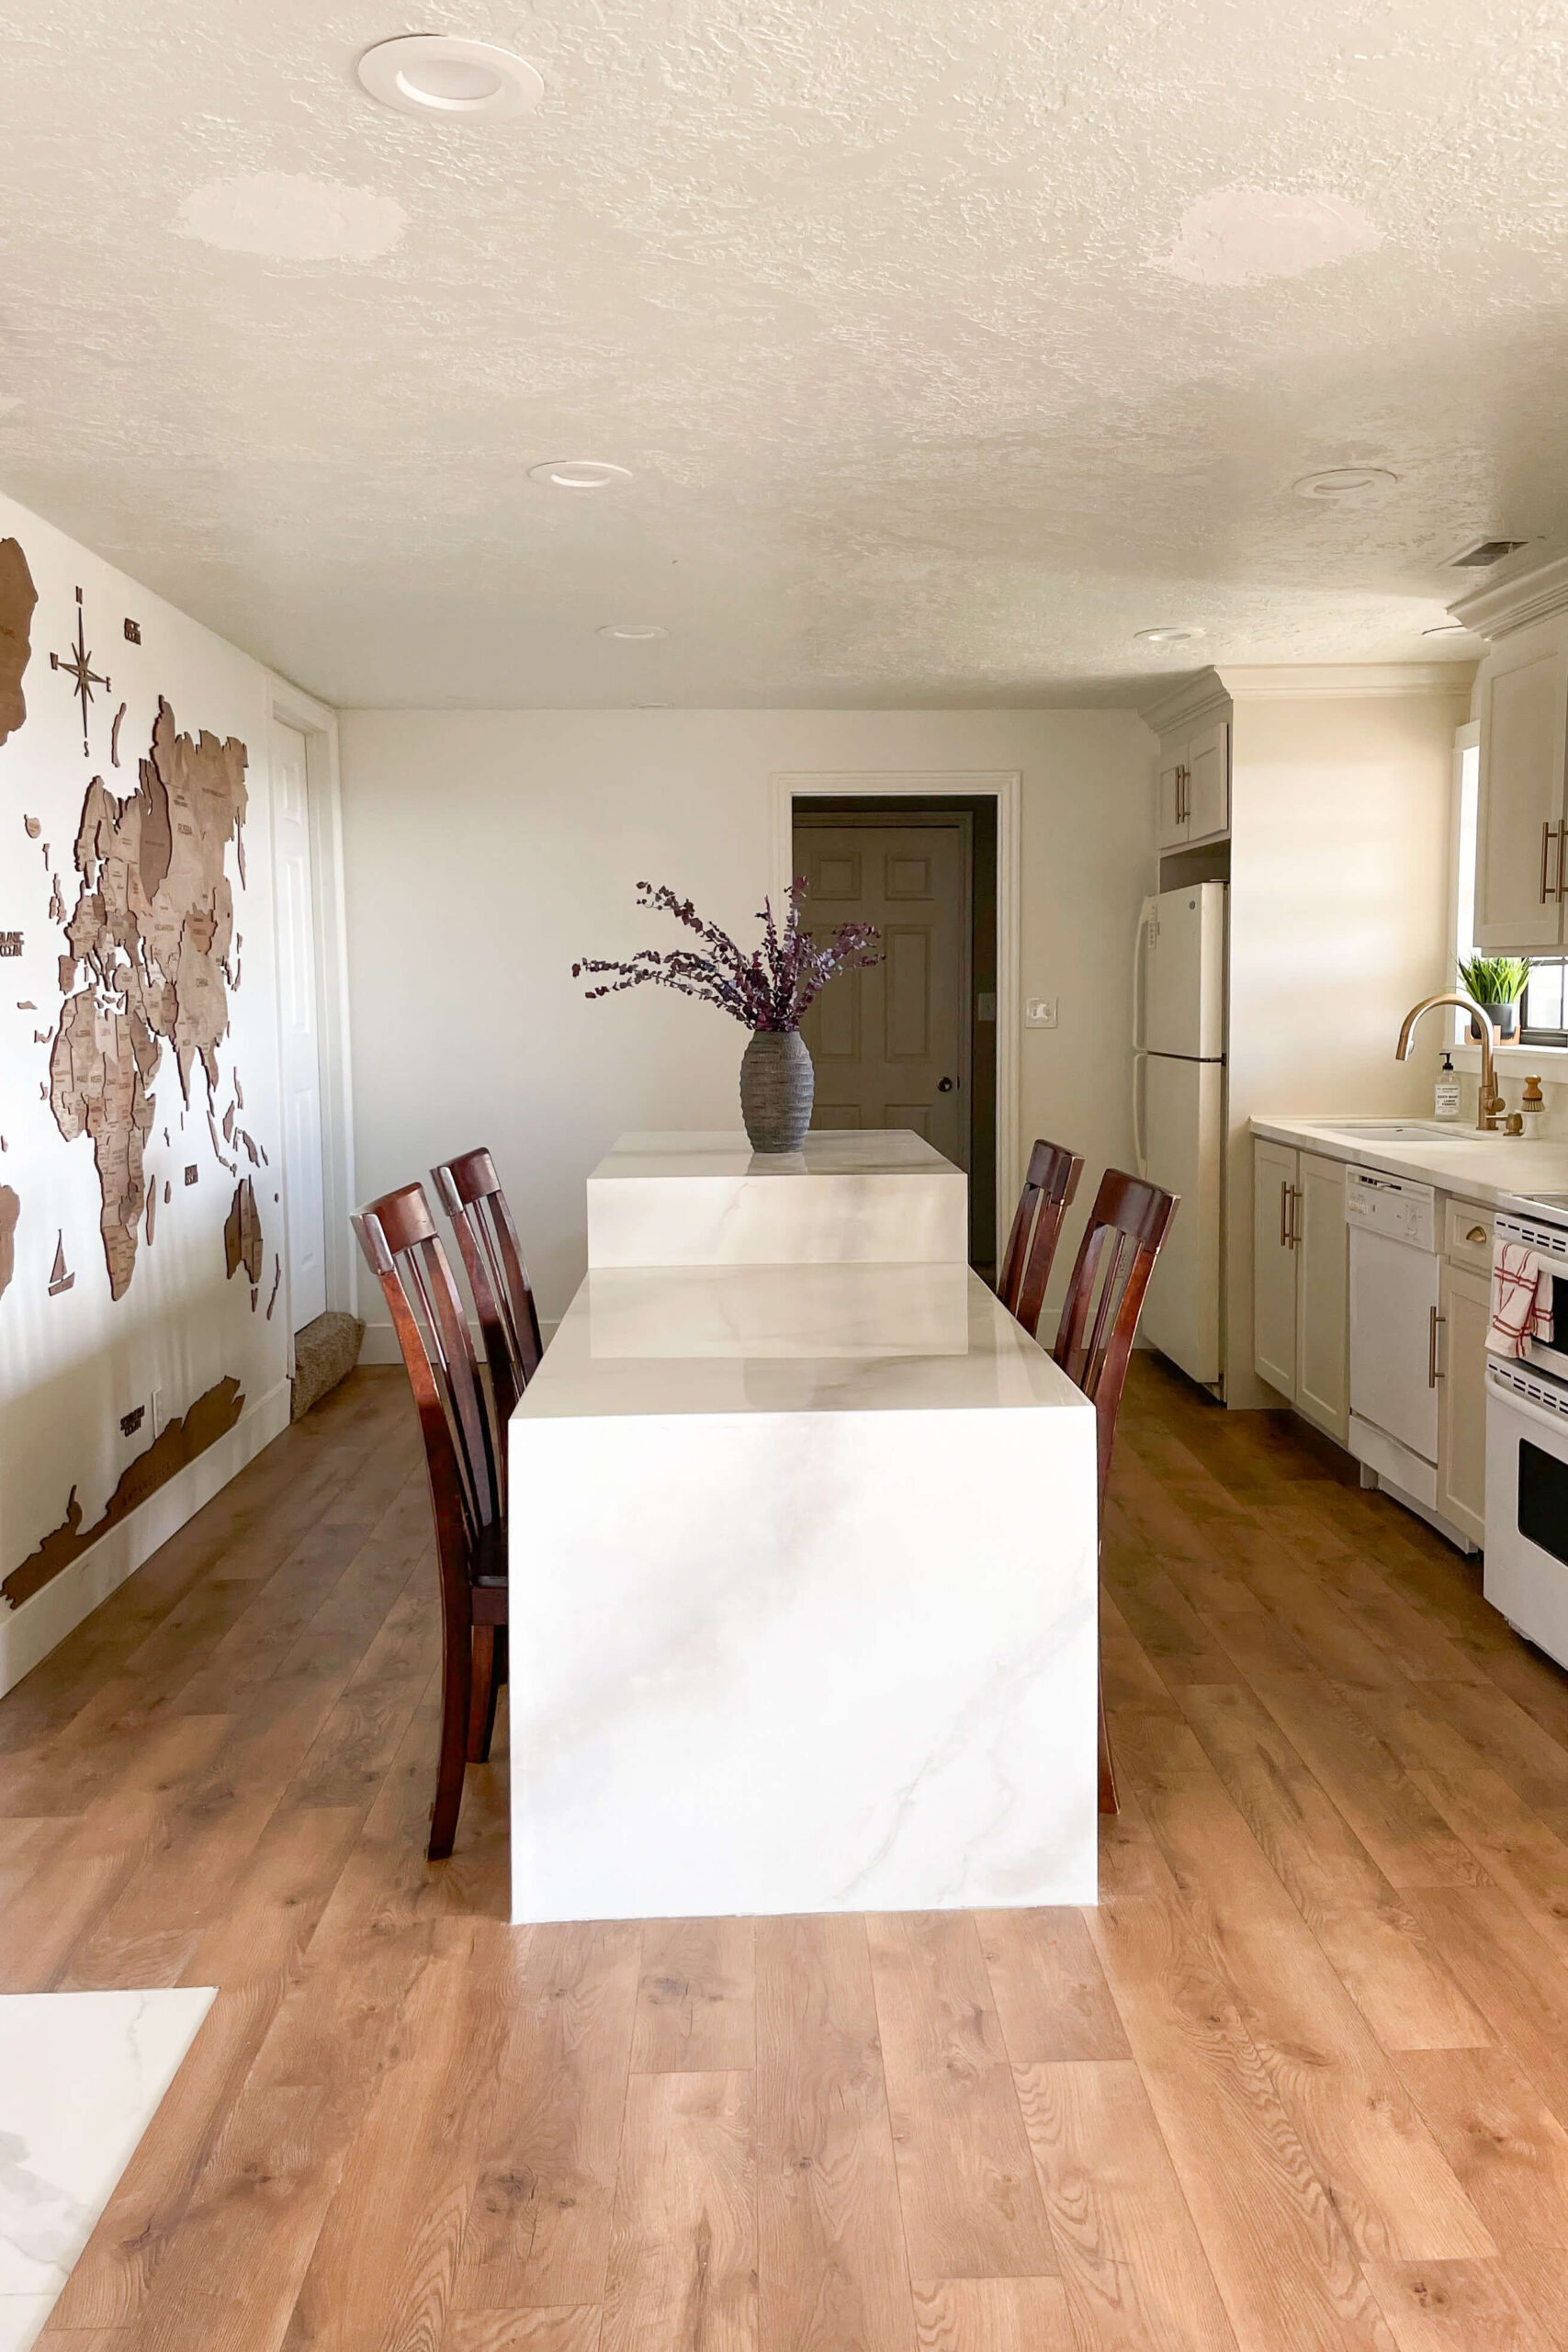
And there’s enough of an overhang on the backside for adding bar stools at the countertop height section if I wanted to.
It’s incredibly light, bright, and beautiful—I can hardly believe this is the same basement from the before photos. The waterfall kitchen island brings a modern vibe that fits perfectly with the space I’ve designed down here. I’m so glad that I had the idea, and wasn’t afraid to pivot and just go for it!
Want links to all of the individual projects I did in this basement kitchen?
- Removed and rebuilt the fireplace
- Installed new flooring
- Moved, painted, and refurbished existing cabinets
- DIYed faux marble epoxy countertops
- Built a custom range hood