Weatherstripping a Front Door to Save on Energy Bills


Published December 10, 2025
If your front door feels a little breezy every time the wind kicks up, you’re probably losing more heat (and money) than you think. The little gap around a door might not look like much, but it lets cold air pour in and your heated air slip right out. Weatherstripping your front door is one of the easiest ways to make your house feel warmer and help your energy bill calm down a little.

Table of Contents
- Why Front Door Weatherstripping Matters
- On the Door vs In the Door Frame
- Step 1: Check Your Door For Drafts
- Step 2: Clean the Edge of the Door
- Step 3: Measure and Cut the Weatherstripping
- Step 4: Stick the Weatherstripping to the Door
- Step 5: Test the Door and Adjust
- How This Small DIY Can Help Your Energy Bill
- More DIY Projects to Upgrade Your Front Entry
- 📌 Save this Weatherstripping Project for Later
- Front Door Weatherstripping FAQ
Why Front Door Weatherstripping Matters
Your front door is basically a big hole in the side of your house with a pretty panel on it. Any little gap around the edges becomes a freeway for:
- Cold air in the winter
- Hot air in the summer
- Dust, bugs, and outside noise
Adding weatherstripping around that gap helps:
- Keep your entryway warmer and more comfortable
- Take some pressure off your HVAC system
- Lower your heating and cooling costs over time
It is a simple, inexpensive fix that you can install in under an hour and feel the difference the same day.
On the Door vs In the Door Frame
Most traditional weatherstripping lives inside the door frame. It is usually a foam or rubber strip that sits in a groove or is stapled or tacked in place. That style works, but it can be tricky to install if:
- Your frame is a little crooked
- The existing groove is damaged
- You have layers of old paint in the way
The silicone weatherstripping I used is different. It sticks straight onto the edge of the door itself.
Door-mounted silicone weatherstripping:
- Has an adhesive strip on one side that sticks to the door
- Creates a flexible, silicone “fin” that presses against the frame when the door closes
- Moves with the door every time it opens and closes
- Is clear, so it blends in really well
- Can be trimmed or removed later if you need to make adjustments
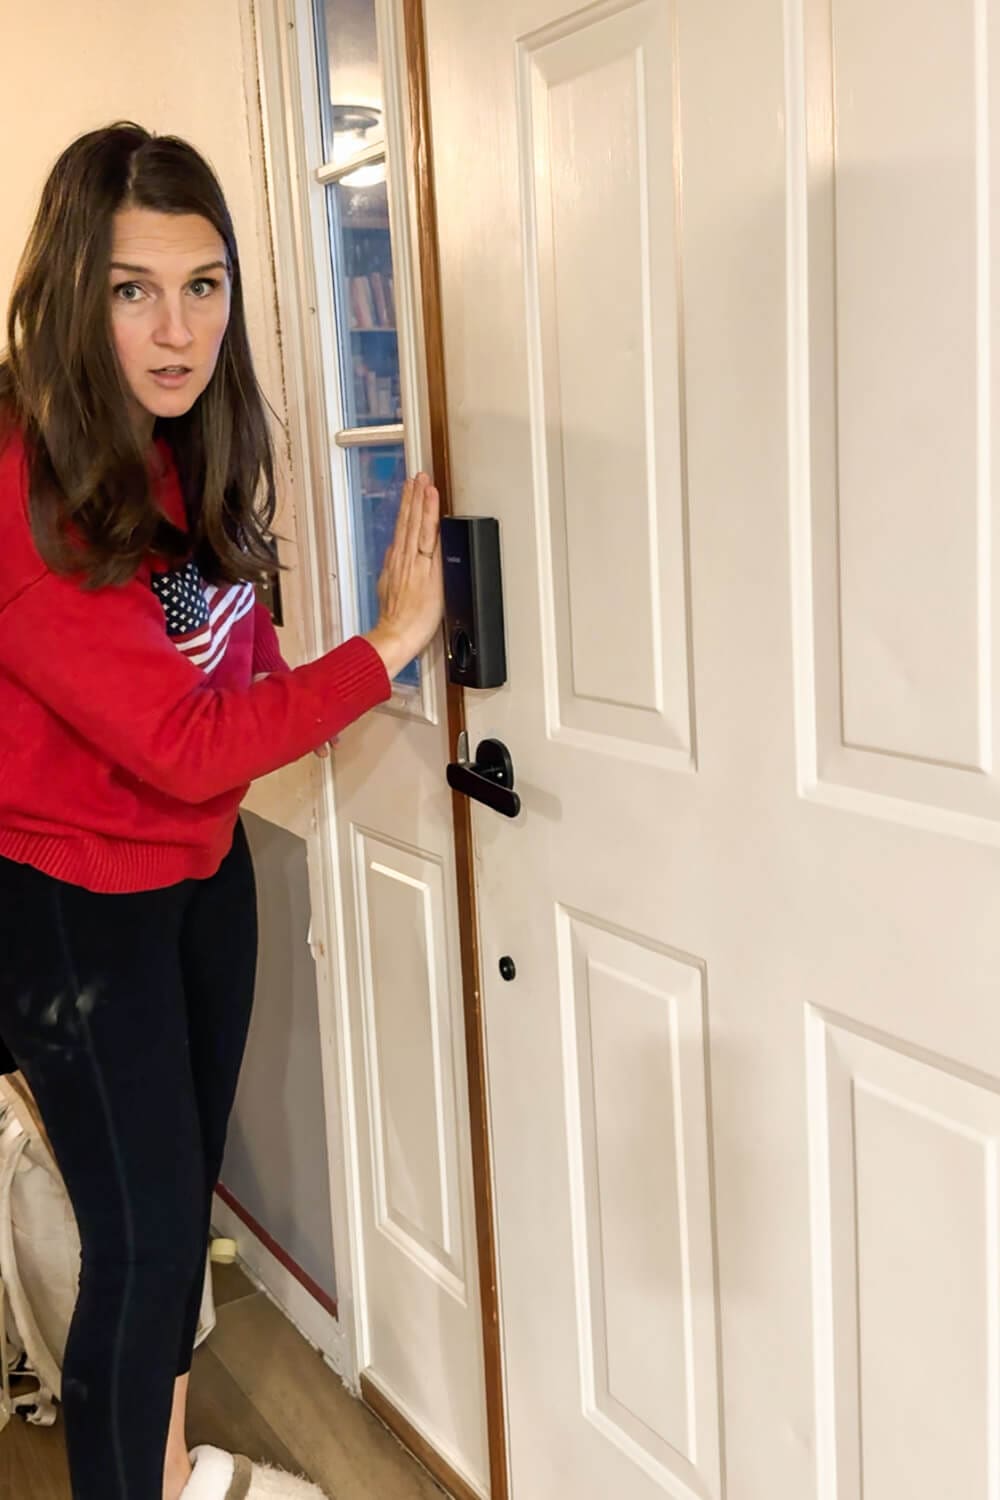
Step 1: Check Your Door For Drafts
Before you start sticking anything down, take a minute to figure out where the problem areas are.
- Stand inside with the lights off on a bright day and look for light coming through around the edges.
- Run your hand slowly around the sides and top of the door to feel for cold air.
- Pay special attention to the lock side of the door, which is often where the biggest gap is.
This helps you decide where the weatherstripping will make the biggest impact.
Step 2: Clean the Edge of the Door
Adhesive sticks best to a clean, dry surface.
- Open the door so you can easily reach the edge.
- Wipe the door edge down with a damp cloth to remove dust and grime.
- Go over it with rubbing alcohol and a clean cloth to remove any leftover oils.
- Let everything dry completely.
If your door has flaking paint in that area, lightly sand it smooth first and wipe away the dust.
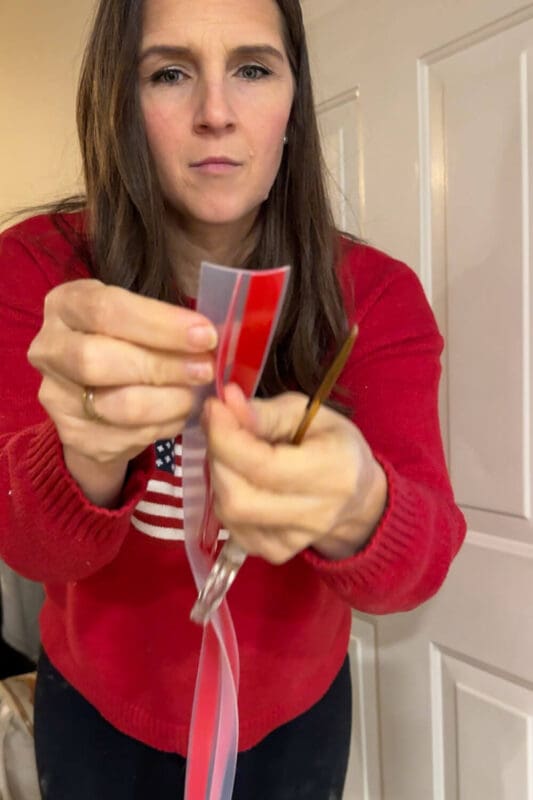
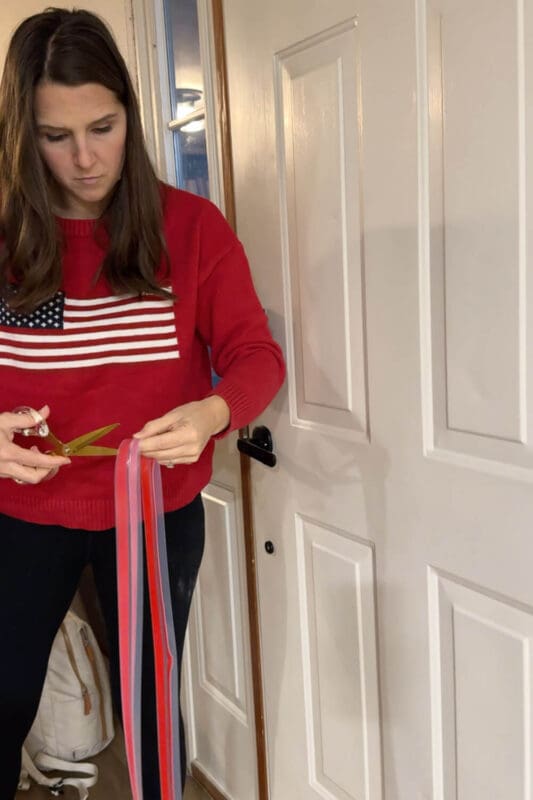
Step 3: Measure and Cut the Weatherstripping
In this project, I used a silicone weatherstripping that sticks directly to your front door. It has a T-shaped profile, with two edges that adhere to the door and a single fin that blocks cold air from sneaking in. It’s clear, flexible, and moves with the door every time you open and close it, which makes installation very beginner-friendly.
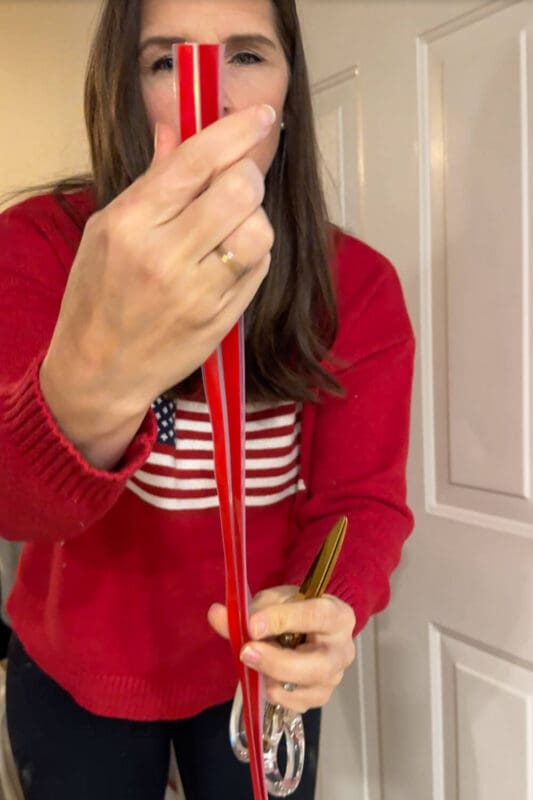
Silicone weatherstripping usually comes in a long roll.
- Hold the strip up along the side of the door where you want it to go.
- Mark how long you need your piece of weatherstripping to be.
- Cut the strip slightly longer than you think you need, using a pair of scissors. (You can trim the extra later).
You can add weather stripping to the sides, top, and even the bottom of the door. I’m just doing the lock side where the biggest draft was coming through.
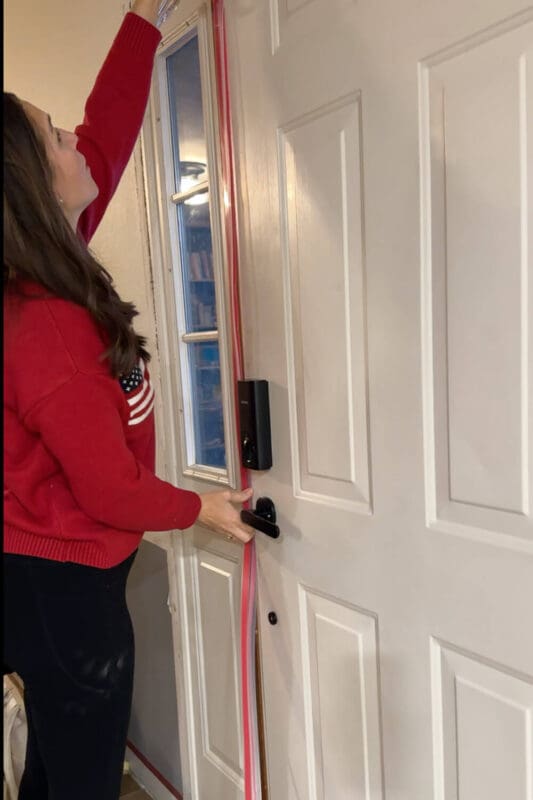
Step 4: Stick the Weatherstripping to the Door
This is where the “on the door” style shines because you are basically applying a giant sticker. The T shape of this weatherstripping gives you two adhesive strips: you’ll stick it to the back of the door first, then wrap it around the edge.
- Start at the top of the inside face of the door. Peel back a few inches of the first adhesive strip and press it into place along the inside edge.
- Keep working your way down, peeling a little more backing at a time and pressing the strip firmly to the back of the door.
- Once the inside is attached, gently wrap the silicone around the corner so the second flange sits on the edge of the door.
- Peel the red backing off that second strip in small sections and press it firmly along the edge, smoothing as you go.
Take your time and keep everything as straight as you can. If it lands a little crooked, you can peel it back and adjust. Once both adhesive sides are stuck down, the flexible fin presses against the frame when you close the door and blocks those drafts.
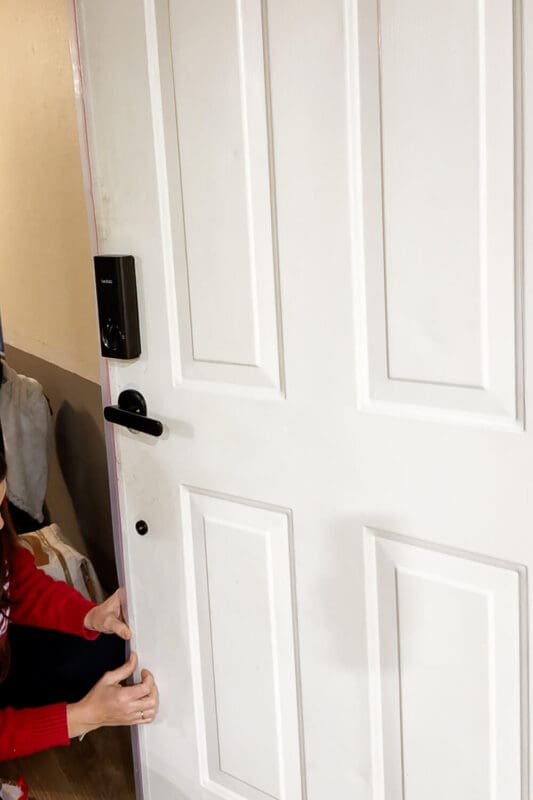
Step 5: Test the Door and Adjust
Once the weather strip is fully installed, it is time for a test.
- Slowly close the door and see how it feels.
- The door should close all the way and latch, but you should feel the silicone gently press against the frame.
- If the door is suddenly really hard to close, peel the strip back and move it slightly toward the outside edge of the door.
- Trim any extra length at the top or bottom with your scissors.
How This Small DIY Can Help Your Energy Bill
Weatherstripping is not as exciting as a new rug or a pretty light fixture, but it works hard behind the scenes.
- It reduces heat loss around one of the leakiest spots in your house.
- It helps your furnace or AC run a little less often.
- It keeps your entryway from feeling like a wind tunnel in the winter.
If you are working through a list of small projects to make your home more comfortable and efficient, adding silicone weatherstripping to a drafty front door is a quick win. It is inexpensive, renter-friendly, and you can install it during nap time.
More DIY Projects to Upgrade Your Front Entry
Once you seal up those drafts, it’s kind of impossible not to notice everything else around your front door too. If you’re ready to keep going, I’ve got plenty of simple DIY projects that make a big impact on your curb appeal. From painting your front door and updating your porch columns to giving your garage door and windows a glow up, these tutorials will help you turn your entry into a spot you’re excited to come home to every day.
📌 Save this Weatherstripping Project for Later
Want to remember this front door weatherstripping trick when the next cold snap hits?
Save this post to your Home Projects or DIY Fixes board on Pinterest so you can find it quickly when you are ready to seal up your own drafty door.
Front Door Weatherstripping FAQ
Stand inside during the day and look for light peeking around the edges of the door. Then slowly run your hand around the frame to feel for cold air. If you see light, feel a draft, or notice dust and bugs sneaking in, it is a good sign your front door needs new weatherstripping.
There are several options, but silicone weatherstripping is a great choice for a busy front door. It is flexible, holds up well with constant opening and closing, and seals tightly without crumbling like old foam strips. The style I used sticks directly to the door instead of the frame, which makes it easier to install and adjust.
Yes. Front door weatherstripping is a very beginner-friendly DIY project. As long as you can measure, cut with scissors, and peel the backing off a sticker, you can install silicone weatherstripping on a front door in under an hour with simple tools.
Yes. Sealing the gaps around a drafty front door keeps heated or cooled air inside your home so your HVAC system does not have to work as hard. It is a small, inexpensive project that can make your entryway feel warmer and more comfortable and contribute to lower energy use over time.
