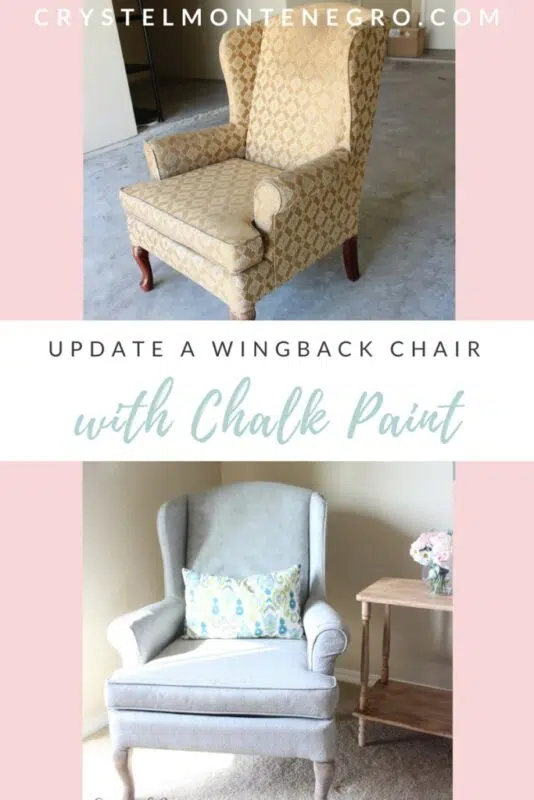
Update A Wingback Chair With Chalk Paint


Updated May 9, 2026
In my last post about making a faux wood finish with chalk paint, I mentioned my upcoming tutorial about painting my wingback chair. Well, it’s about to get real real in here because hurrr it isssss.
I have been ACHING to do this project ever since I heard of the idea. The only problem was, I had no wingback chair, or really any furniture to call my own aside from the nightstands I built at my sister’s house last year.
You see, we’re in a bit of a “transition” stage. We’re living in Austin, Texas doin’ the whole summer sales thing before we start medical school in July, and the company provides a couch and a bed for us. So really there’s no need to buy any furniture here. Since we’ve been married we’ve always lived in furnished apartments (not sure how that happened) hence having no furniture to call our own.
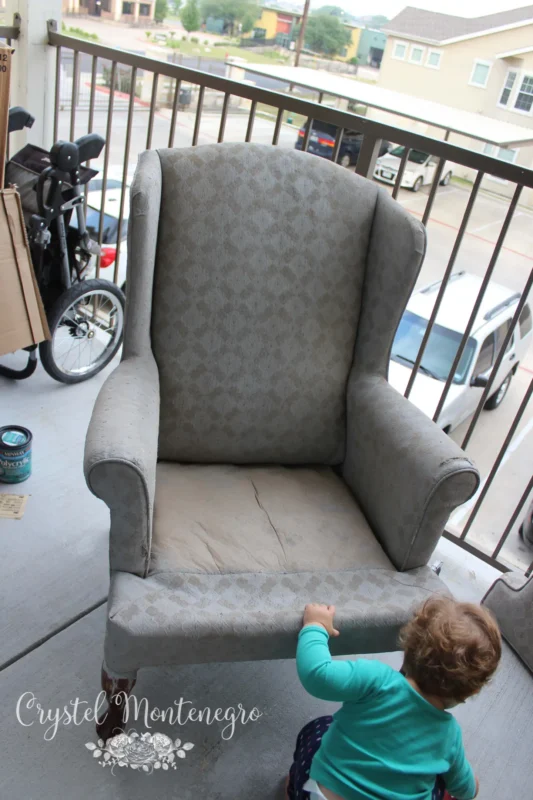
But you know what? I’ve got the DIY bug REAL BAD. And remember what I said in that last post of mine? Austin has an A-MAZ-ING craigslist. I really honestly don’t even look in the furniture section because the free section has all the goods. If you can be patient and see potential in what’s on there, you’re set. So the other day I was just browsing on there and I found this beautiful beast.
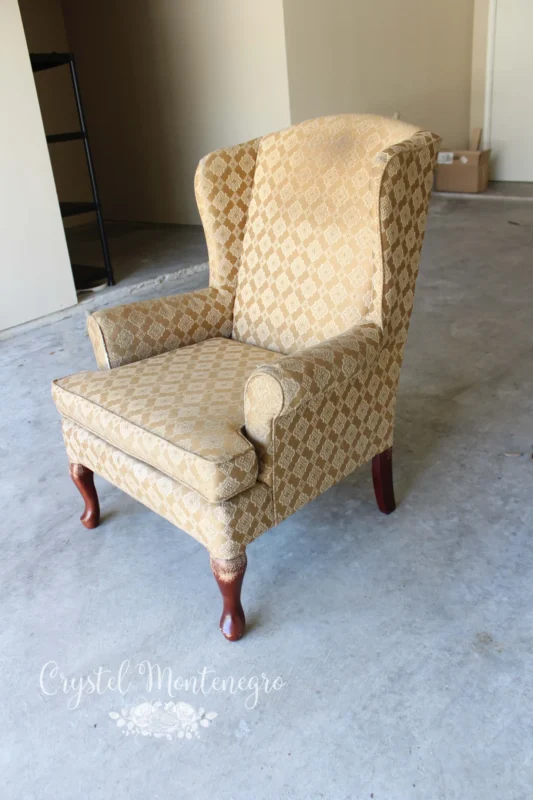
It just so happened to be from a neighborhood right near where I lived and my husband just so happened to be driving a company truck that day and he also just so happened to be driving home right at the moment I saw it. That is what I call destiny. So you know what I did? Yeah. I snatched it up.
Upon further inspection, I noticed that the owner of this burly baby probably had cats. It was confirmed to me later when I carried it to our garage and discovered all the cat hairs all over my pants.
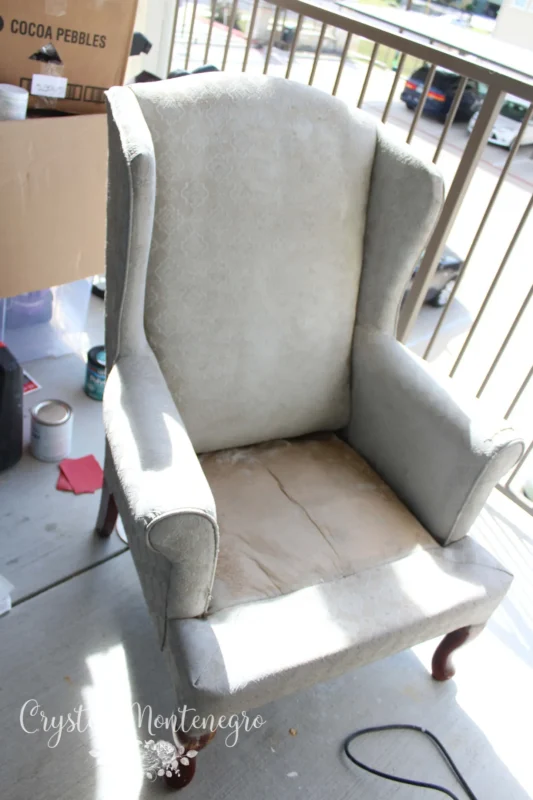
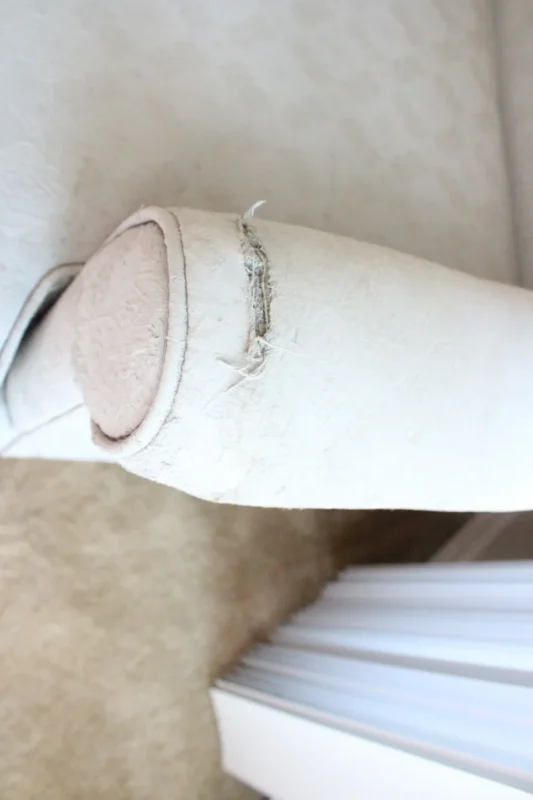
They also had, I dunno, maybe kids running around with knives? Or a hook for a left hand?
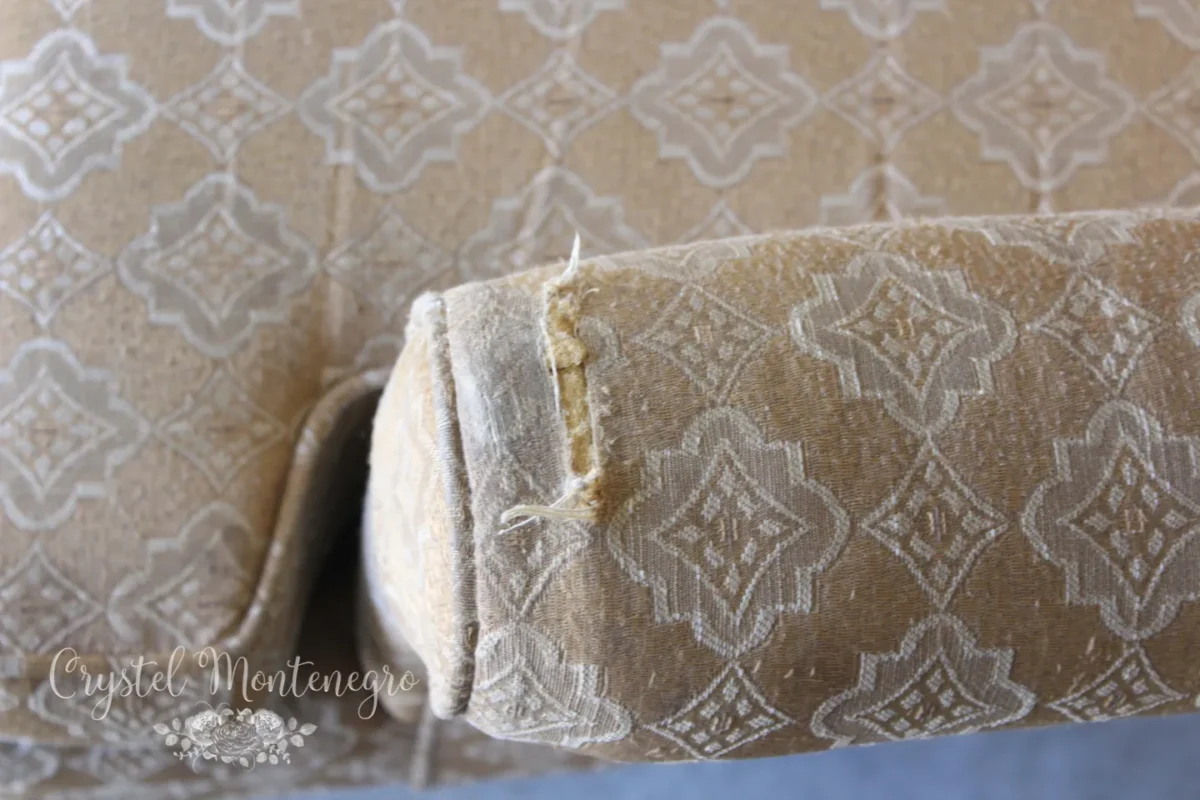
And they were probably very itchy and rubbed and rubbed and rubbed while they were watching tv. Or maybe none of that (except the cats, I know that one was for certain) because these sorts of things are just what naturally happens when you use a piece of furniture for years and years.
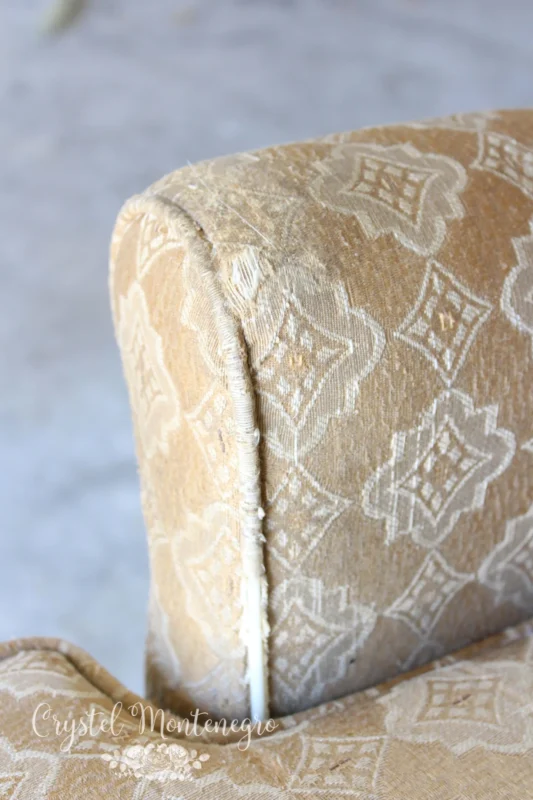
It was obvious that this chair was well loved, but ya’ll, none of that bothered me for a second, and I bet you can guess why. Yep. ‘Cause it cost me exactly $FREE.99.
So I went ahead and got busy right away. I was literally so excited about painting this chair that I dropped all 3 of the other projects that I was working on simultaneously to start this one. Bad habit? Definitely. Do I regret it? No way, Jose.
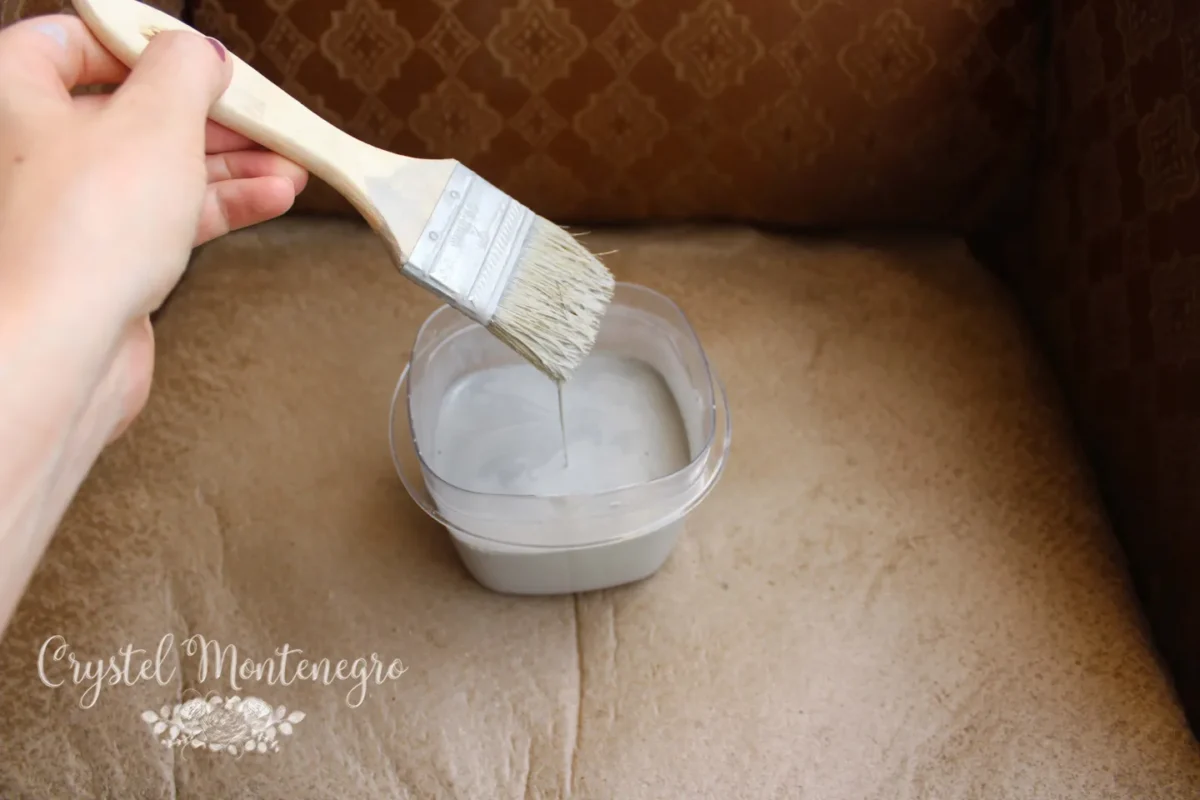
So here’s what I did. All it takes is a little bit of chalk paint, a paint brush, some water, and some sand paper.
First, I diluted the paint with water so it was nice and runny. Here’s where I messed up (I know, I haven’t even started yet and I already messed up, bless my heart.) I wanted to make sure the fabric was soft, so in my mind I thought that more water would equal softer fabric. Not so, my friends. All it meant was that it would take MORE COATS to accomplish what I was trying to accomplish, because it takes the same amount of paint to cover the fabric no matter how much water you use. The purpose of the water is to allow the paint to soak into the fabric rather than to sit on top of the fabric and get all cracky. Originally I think I used 1:1.5 chalk paint to water, but after the 4th coat that was still showing through I switched it up to 1:1.
Next, I sprayed the chair with water to dampen it, otherwise the paint would dribble off rather than soak in. It allows you to not waste so much of your dang expensive paint, plus keeps your floors a bit cleaner.

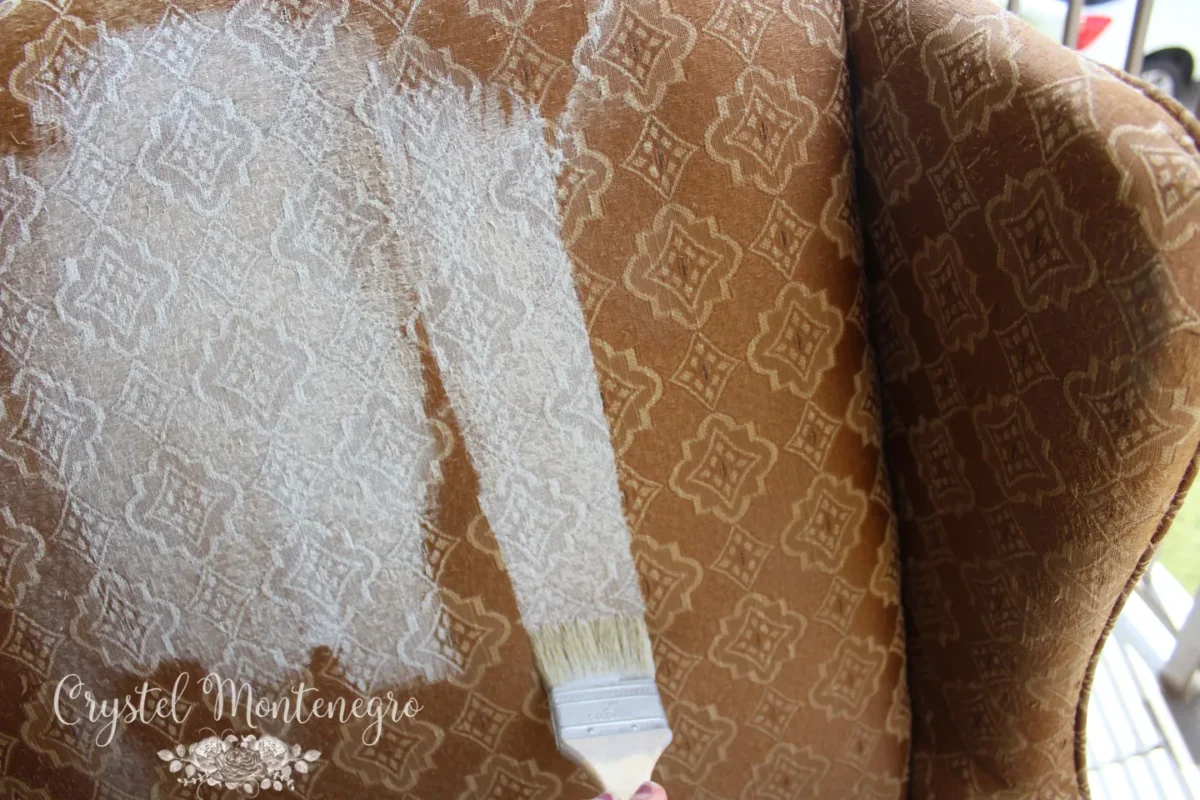
Then, I just started painting! Wow, what a difference it already makes!
…Just kidding, this picture is actually lying to you, just like real life lied to me. When it goes on it looks all bright and exciting, but keep scrolling and I’ll show you what it looked like when the first coat dried.
Not as exciting, right? Still kind of that yucky muddy color. But don’t lose hope! I’ll be totally honest, I was pretty worried (as worried as a chair that I paid nothing for would allow me to be) that I’d made a mistake in trying to paint it. After all, Annie Sloan chalk paint ain’t cheap. (Oh, and p.s. I used Paris Grey for the color.) But it’s okay, because you’re gonna up your water-to-paint ratio and it will look amazing!
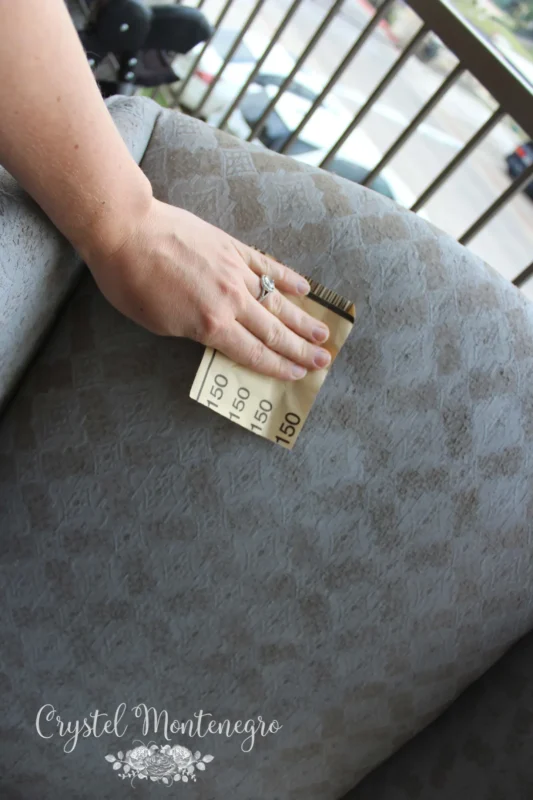
Here’s an important step that you’re not going to want to skip. You’ve got to sand your freshly dried fabric! This is the secret to making it soft(er). I used a 150 grit sandpaper.
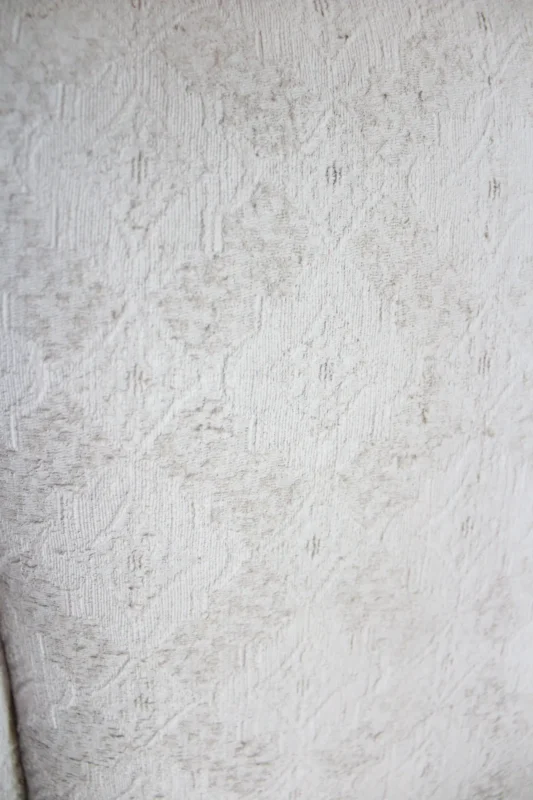
But here’s the thing. While I was doing just that I ran into a dilemma with this particular chair. This particular fabric was so worn that the patterned parts of it were really just loose threads. That made it REALLY hard for the paint to grab onto those parts while I was sanding, because it just sanded all the paint right off. That was a tad bit disheartening. So I had to skip sanding, at least in between my layers. With a better fabric I think I could have made it much softer.
This is what my chair looked like after two coats had dried. The pattern was still very visible with that brownish color coming through.
But I just kept ‘a goin’! Finally, after 5 coats, probably a couple of which were unnecessary, my chair looked like this after it dried.
Yahoo! It still had those tears, but I was okay with it because I had successfully painted a chair, and ain’t no rip gonna take that away from me. Plus, we’re not taking it back home from Texas because, well, Mazda 3.
Here’s what those pesky little threads looked like after I painted them down. Muuuuuch better.
The last thing I did before I refinished the legs was to put a protective coat of wax all over the fabric. I used Americana Decor clear cream wax and it worked beautifully. I just brushed it right on and waited for it to dry and now the paint on my fabric isn’t going to flake off, at least not for a while.
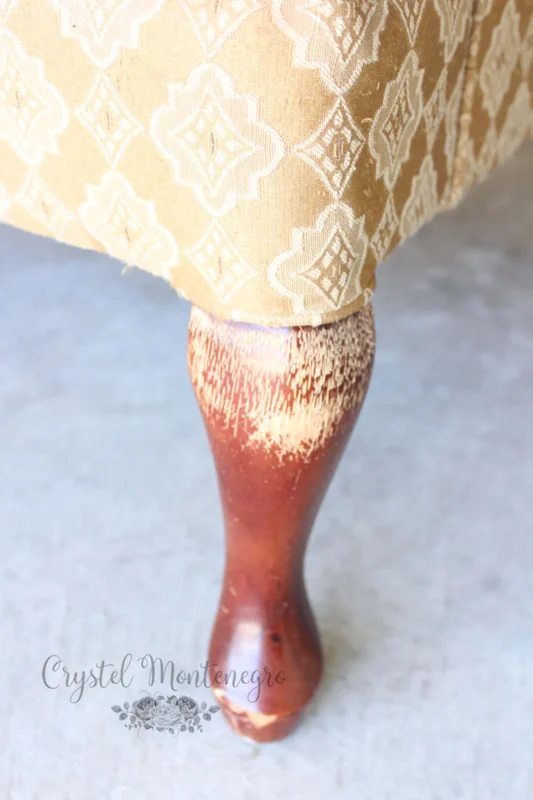
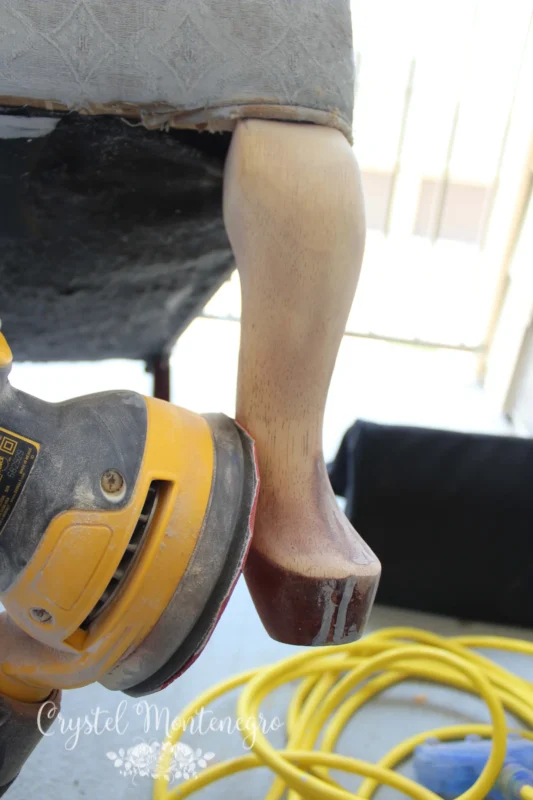
Now for the legs. I wasn’t worried about paint dripping down while I painted the chair because I knew I was going to do this last. I sanded them all down to bare wood.
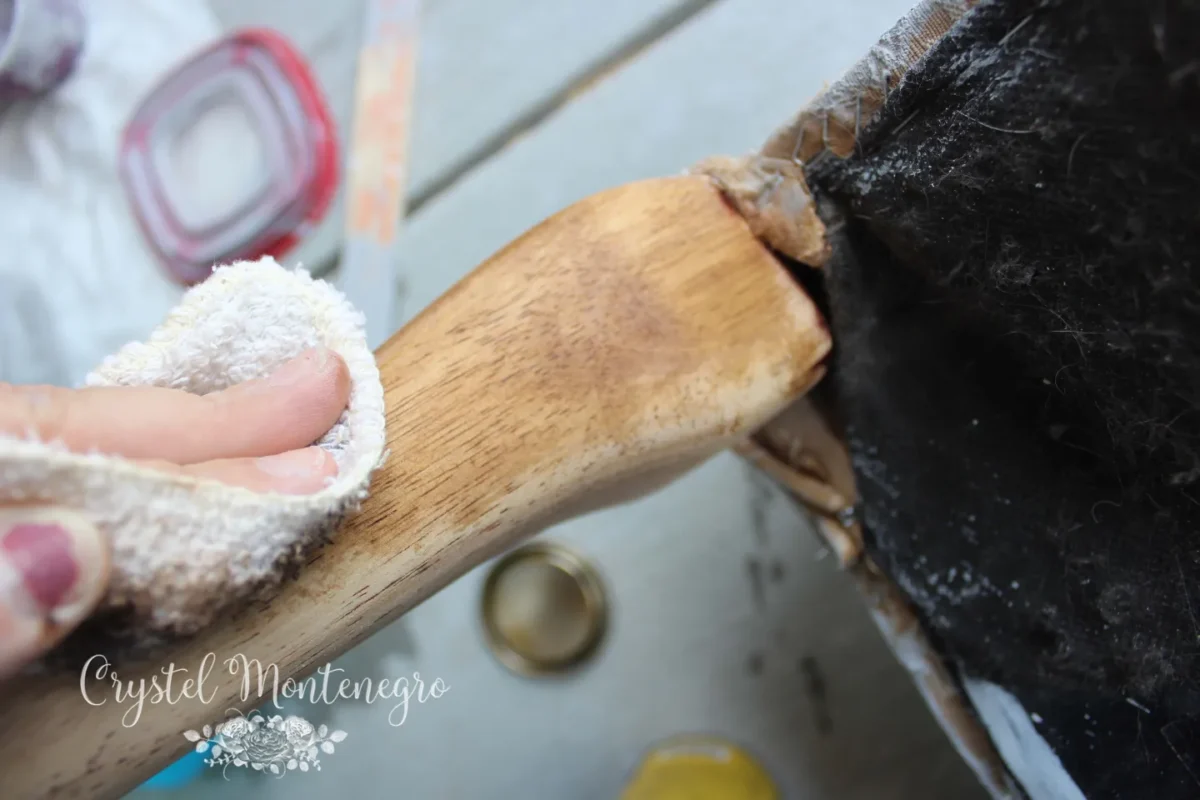
Then stained. The stain I used was Minwax Provincial, then Minwax weathered oak layered on top.
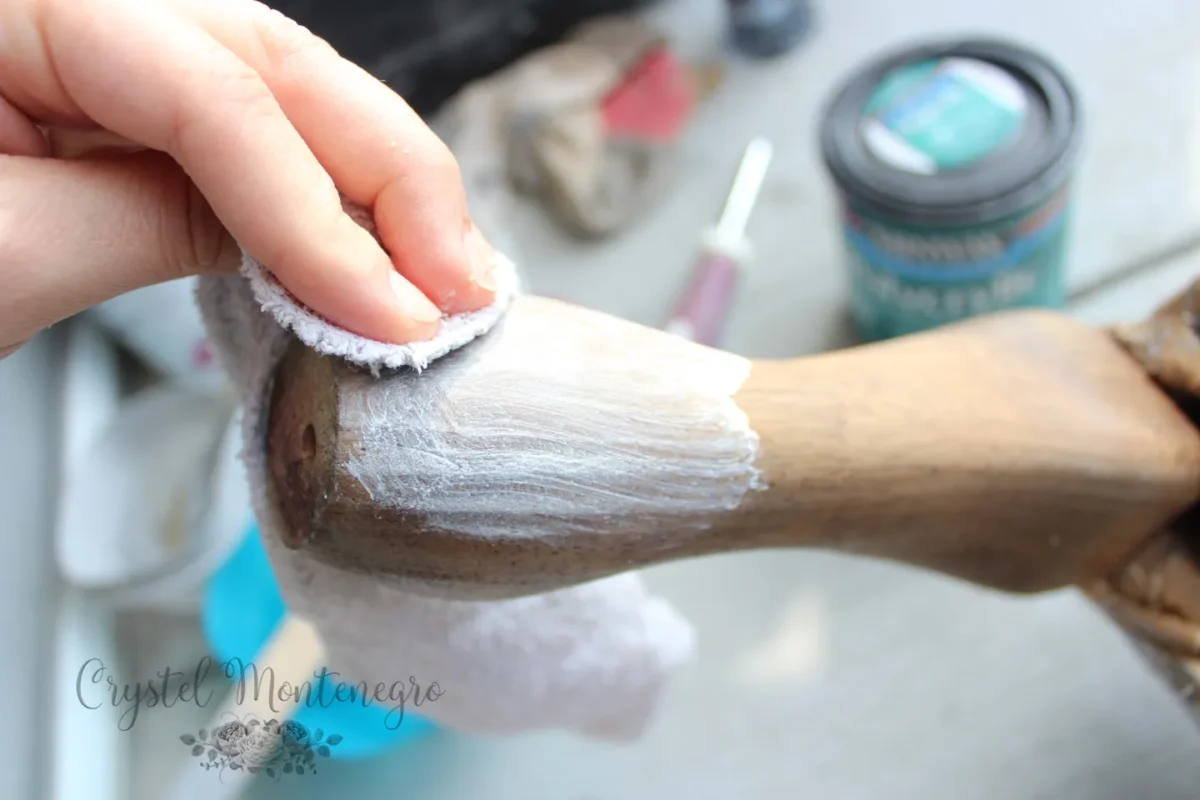
The last thing I did was wax-on-wax-off with the same clear cream wax I used for the fabric, but I mixed it with a teensy bit of white paint so I could see it in the grooves of that beautiful Oak wood.
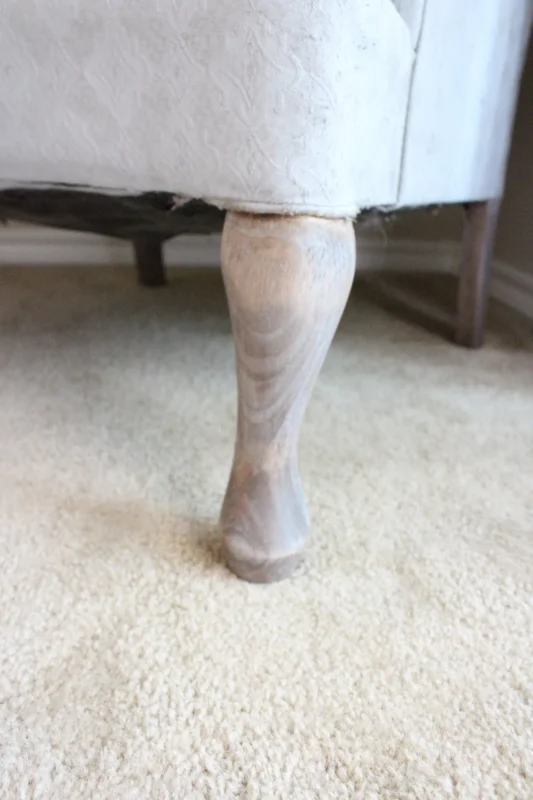
I really like how it gives it that weathered look. If you want it less grey-looking you could add a layer of shellac between the stain and the wax to keep the wax from muddying up the wood, but I’m actually really diggin’ how these turned out.
And voi la! You have yourself a painted chair.
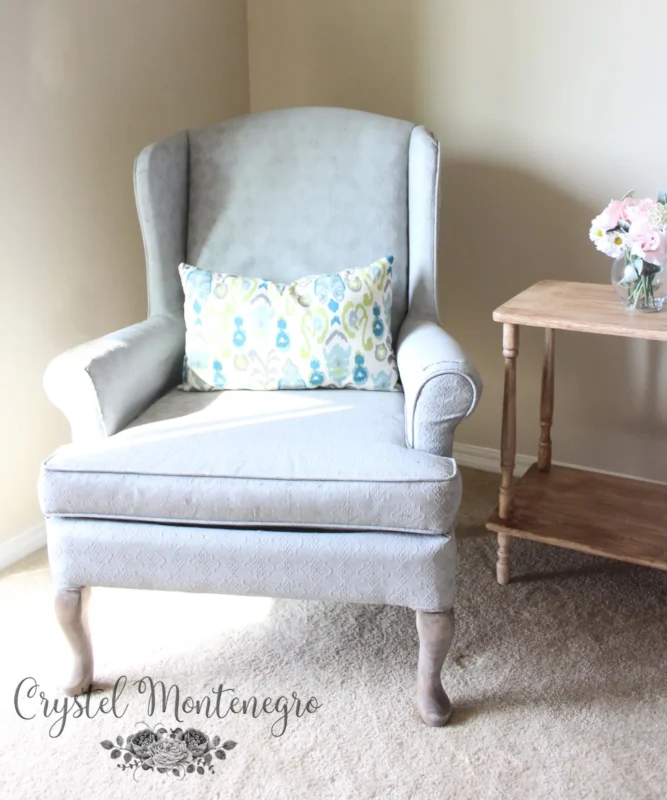
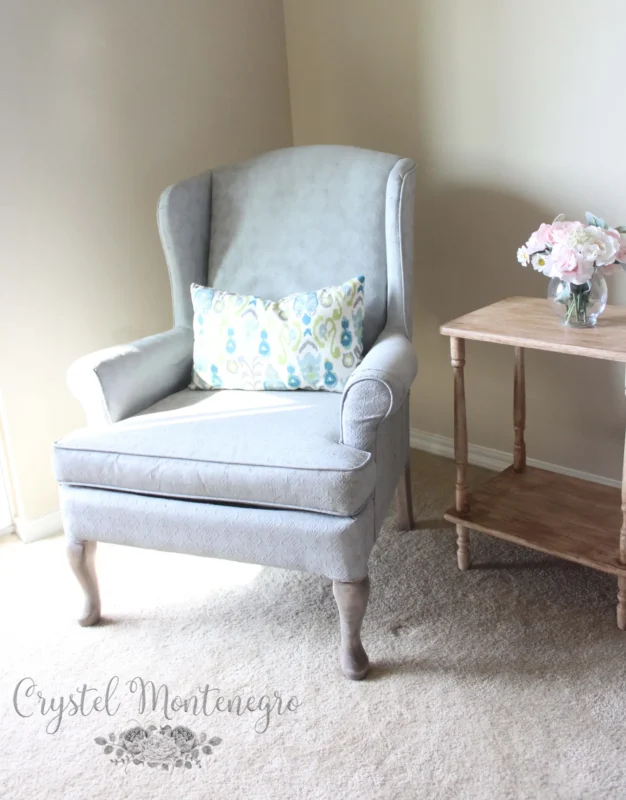
To my surprise, the fabric that felt kind of pleather-y when I was finished has actually softened up quite a bit with use. It’s still not the kind of cozy chair I’d like to snuggle up on with a good book next to a fire, but it sure does look nice, and it works.
Now all you need to do is dress it up with a pretty DIY throw pillow and you’re all set!
Thanks for bearing with me on this one. I’d love to hear back from you on how your chair painting went! And PLEASE comment with any thoughts or questions you have!
XOXO
~Crystel