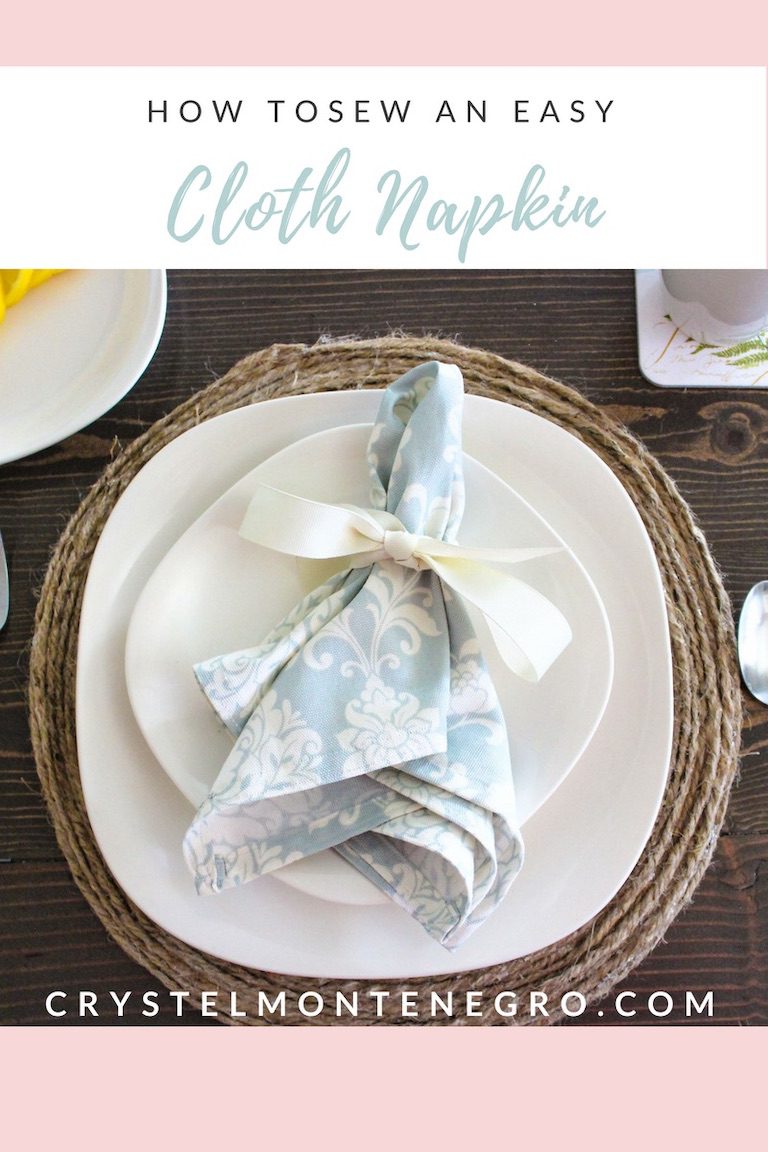
Cloth napkins are one of those things that were just not a part of my life for the first, oh, say, 27 years of my life. And since I’m 28, that’s pretty significant. Here’s a fun fact for you: I am the 15th out of 16 kids. Yes, all biological. Yes, one mom, one dad. Yes, my parents did have a TV. Yes, we all get along. Yes, there are twins. Two sets. Back to back. And yes, I super love being from a crazy huge family and wouldn’t trade mine for anything. Any other questions?
Crazy, right?! I mean, at least I’ve been told. It’s pretty darn normal to me since I’ve never been born into any other kind of family. But in that kind of family there just isn’t room for cloth napkins, ya know what I mean? My wonderful mother was always EXTRA practical which you kind of have to be to handle that many kids. Tablescapes? Who’s ever heard of those? Two forks? What the heck for?
Get my point? So, in an effort to civilize myself I’ve started tuning into some of the finer things in life that will *hopefully* help me culture my own kids someday. Hopefully. I’ve got a lot of my very practical mother in me so we’ll see how it goes.
So, on to the tutorial.
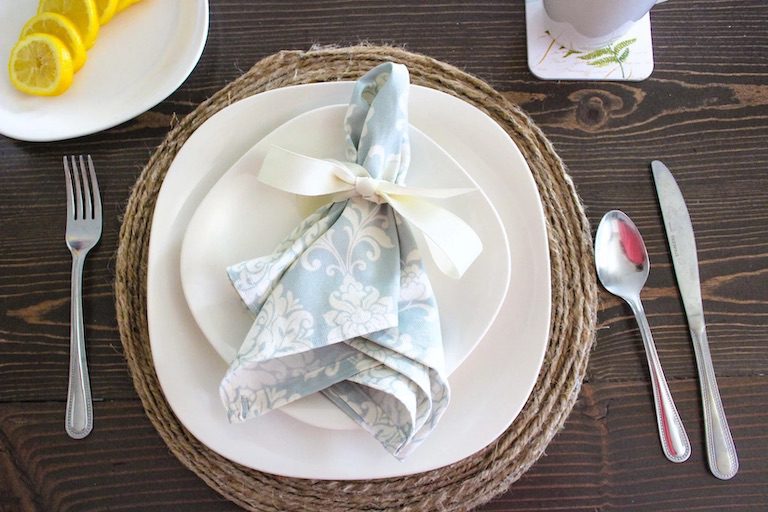
Here’s what you’re gonna need. Get ready, cause it’s crazy extensive. Here goes:
- Fabric
- Sewing machine
- Iron
It’s pretty darn cut and dry, and pretty darn easy.
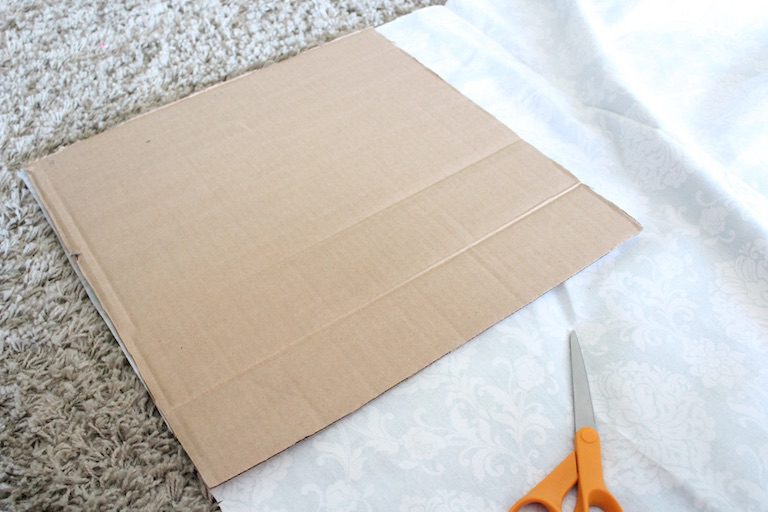
First, you’re going to cut your fabric to size. Typically lunch napkins vary between 14-16″ depending on the formality of your lunch. Dinner napkins vary between 18-26″. I made mine 16×16. Since I don’t have any fancy fabric cutting gear I just used a square on a piece of cardboard to make a template so that my napkin would be all squared up.

Next, you’re going to fold and iron your edges, only about a quarter of an inch in. Try to get the folds as straight as possible.
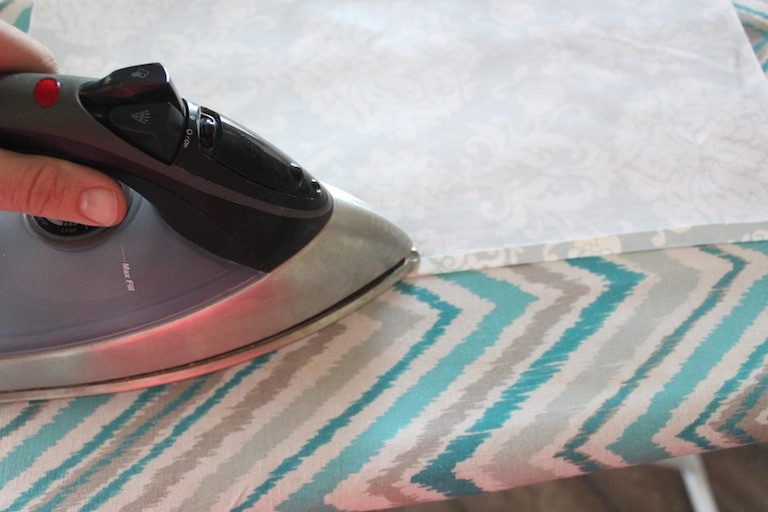
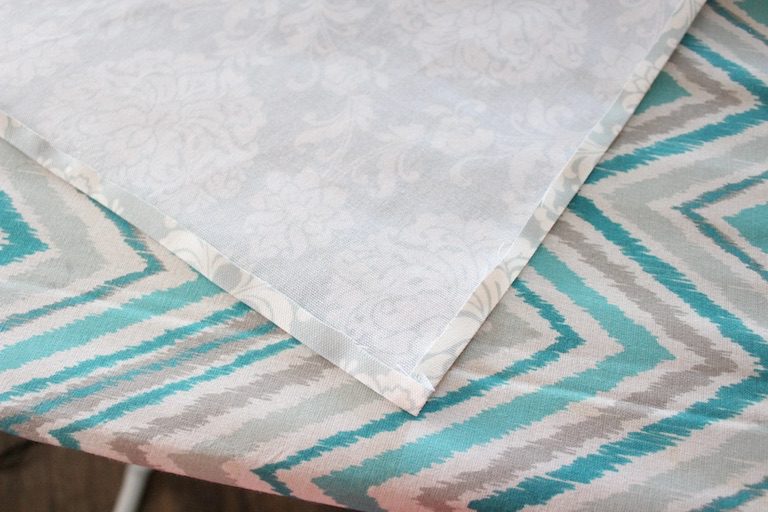
Fold and iron one more time to hide the frayed ends.
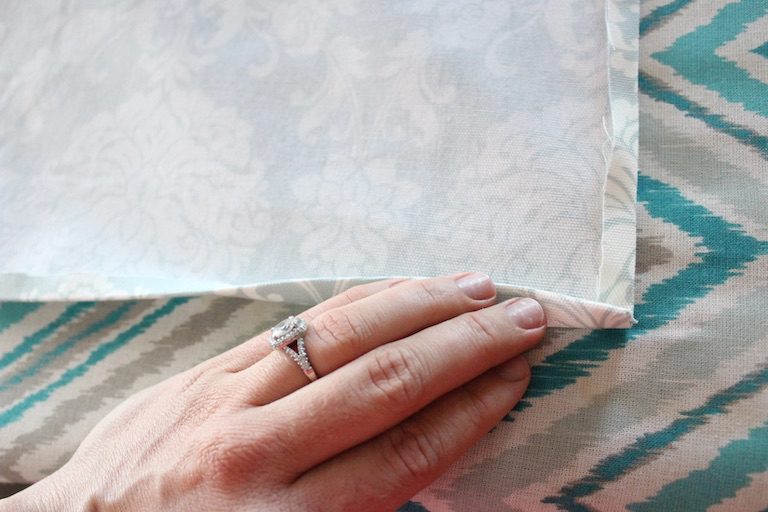
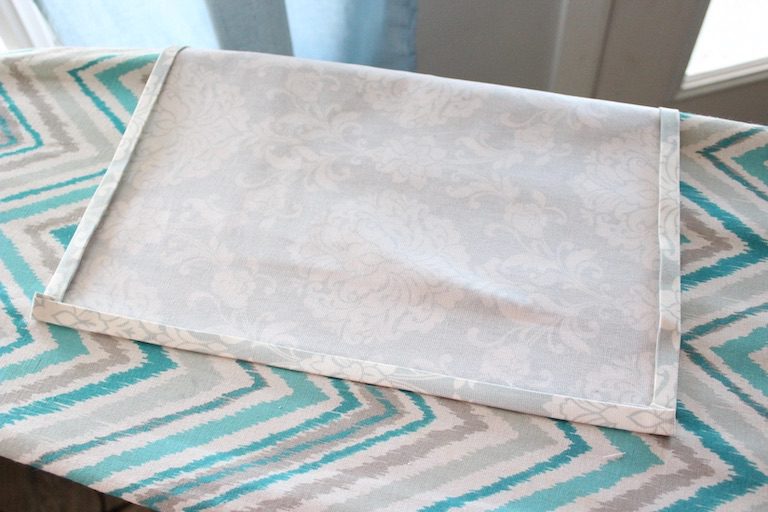
Now begin sewing! You’re going to want to keep your stitching as close to the inside edge as you can. Sew all the way around, being sure to backstitch where you start and finish.
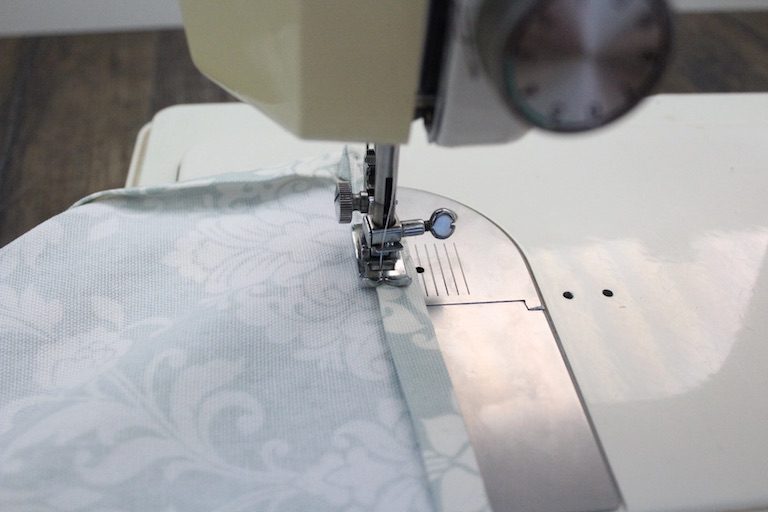
When you get to a corner be sure to lift up the foot while keeping the needle buried in your fabric, pivot your napkin, lower the foot and continue sewing. This will give you a nice, sharp corner.
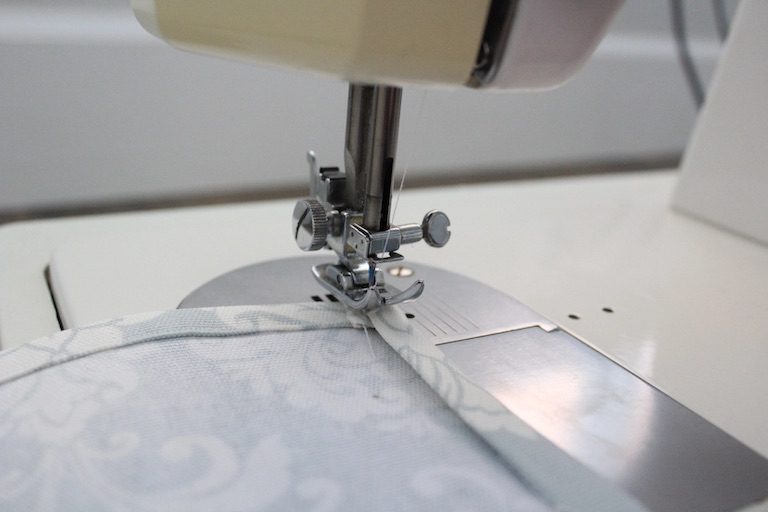
If you’re worn out from all your hard work, go ahead and stop there. You’re done! But if you want to add just a little more fancy repeat the last step once more, only this time on the very outside edge of the folds.
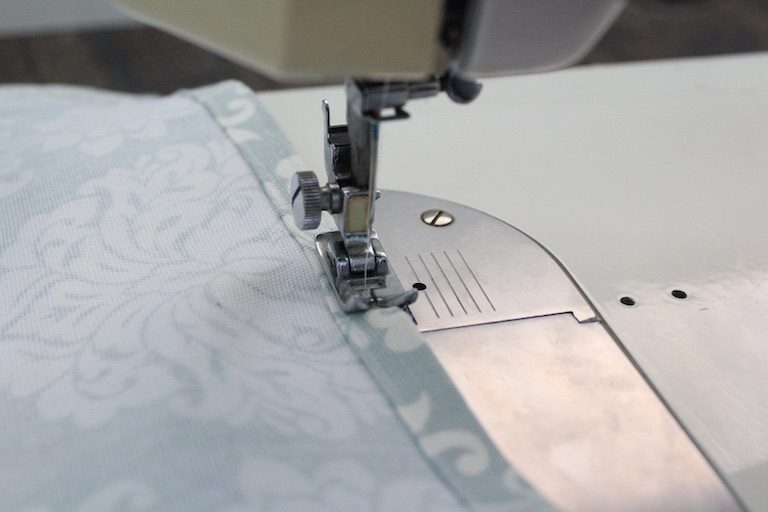
And you’re finished! Felicitaciones! Wrap it up in a pretty bow or some pretty napkins rings and you’ll be as fancy as a fruitcake!

So easy, am I right? This can be done with really any kind of scrap fabric you may have around the house. Also, you like those placemats? There’s a super easy DIY for them right here! Thanks for tuning in! Let me know what you think in the comments below, I’d love to hear any feedback you’ve got!
XOXO
~Crystel
