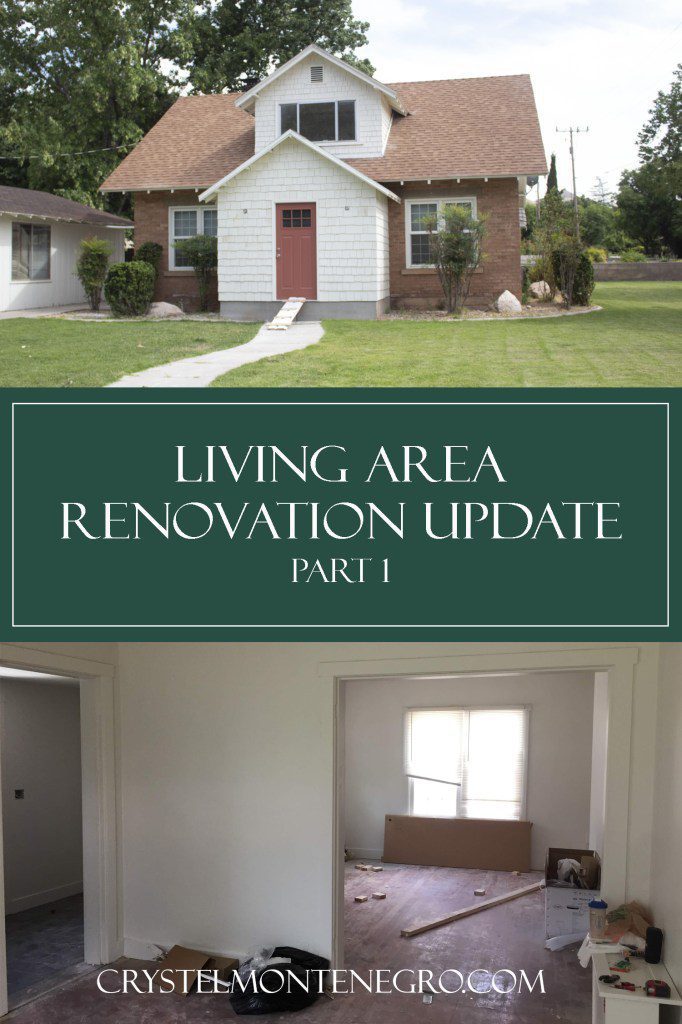
Renovation Update: Living Area Part 1


Updated May 9, 2026
For those of you who have been following me on Instagram, you would know that my husband and I moved into the sweetest little home purchased by my sister while my husband finishes medical school. Starting with the living area follow along as I take you through our renovation journey!
For the past several years this home has been vacant, owned by a man living in northern Utah who worked on it as a side-hobby. He replaced the windows, re-routed the stairs to allow for a second bathroom upstairs, plumbed the bathroom upstairs, re-did the electrical, replaced the A/C, and re-did the plumbing. Earlier this year, he sold it to a man who intended to flip it. The second owner built a pop-out entryway to cover up the two front doors (yep, you read that right!), finished the bathrooms with tile and painted the kitchen white.
That’s when my sister bought the home as a long-term rental property. With all the changes we have made, I’m starting with the living area first since that was the biggest project. Stay tuned for other posts with the other updates we’ve made!
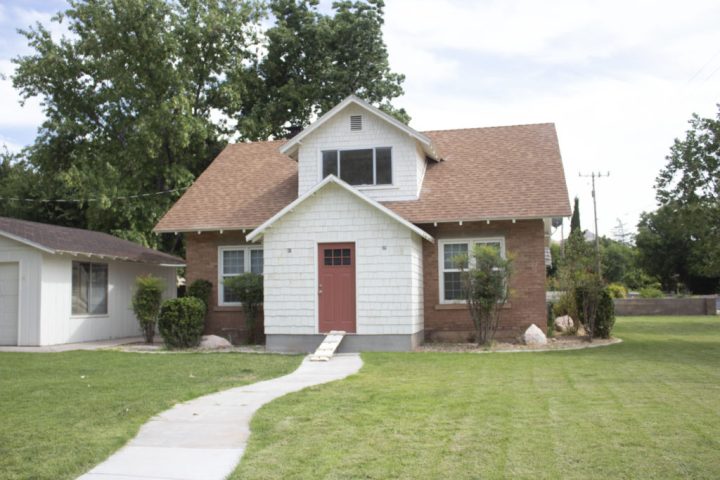
This is the exterior at the time we purchased the home. The white pop-out at the bottom is what the previous owner built to hide the two front doors.
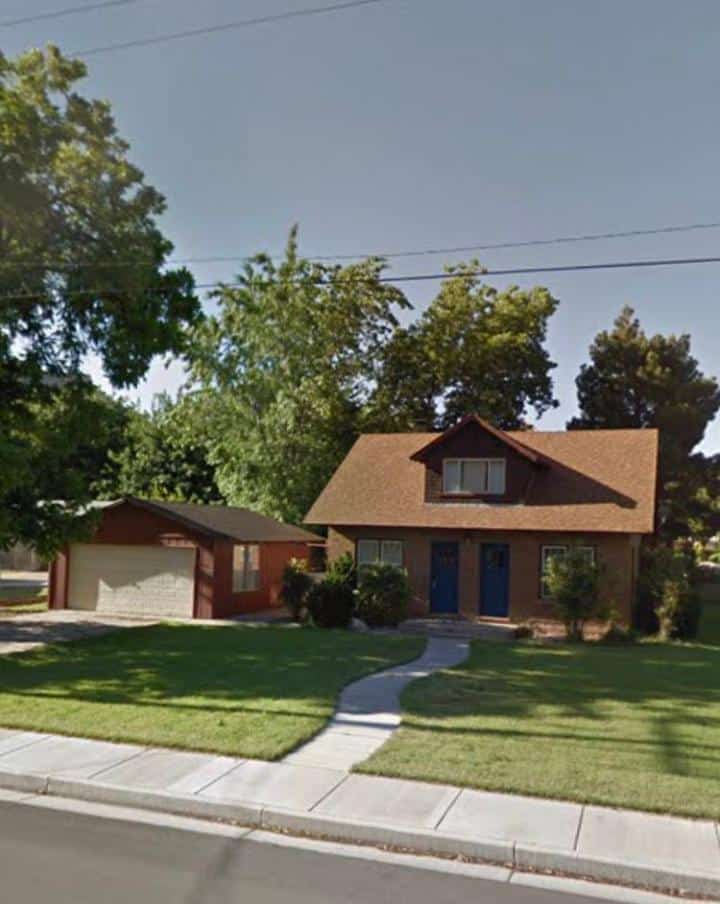
This is what the home looked like before the garage was painted white and before the entryway was built.
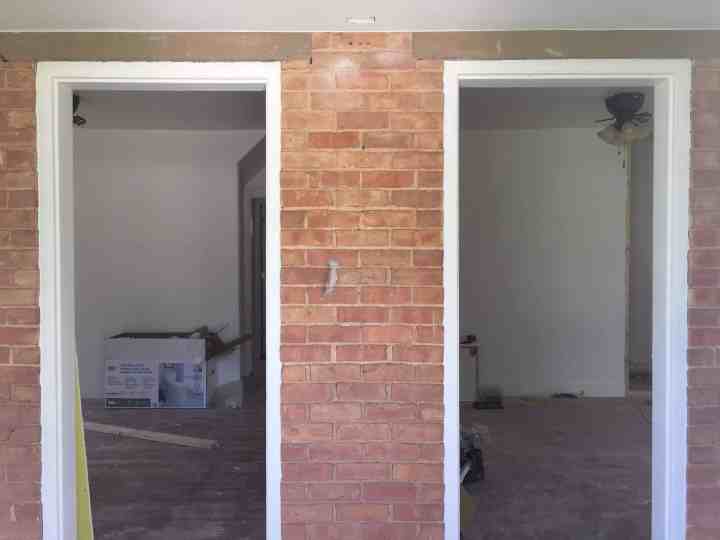
This is looking into the main living area from the newly built popout. Just behind this middle column there is a wall separating the left side of the room from the right side of the room.
Wall Removal
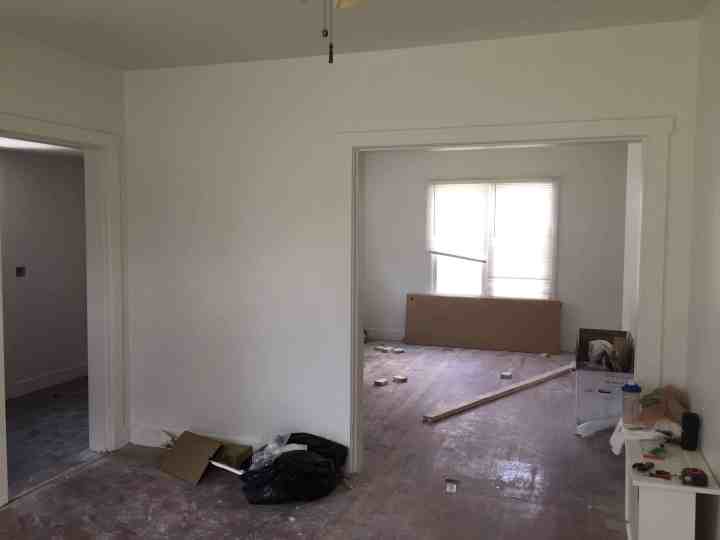
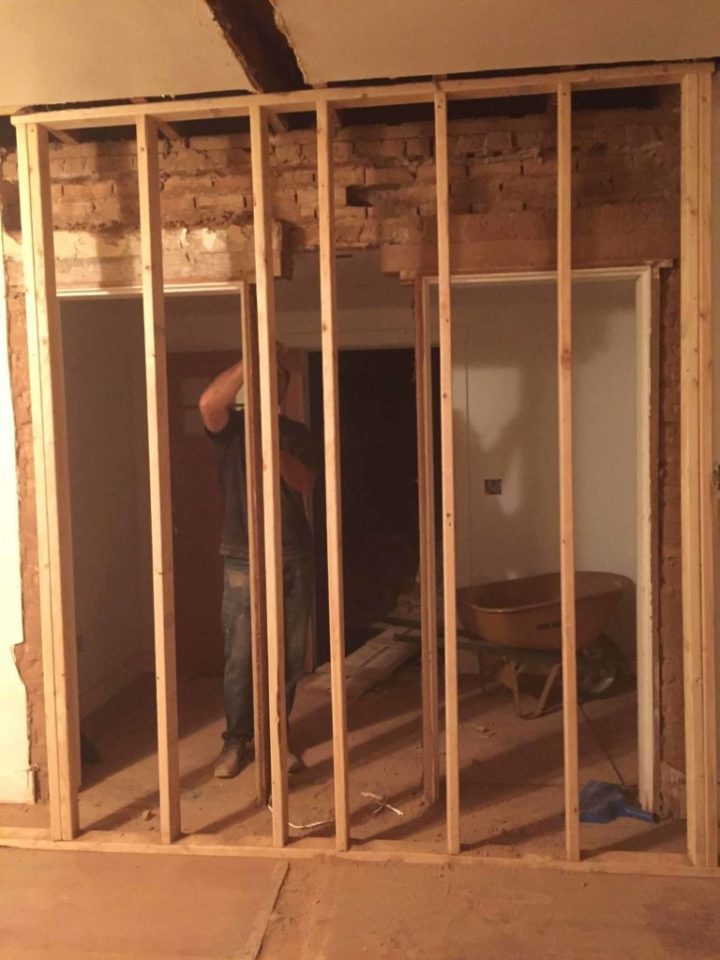
This is the wall separating the room, so when you picked one of the front doors to walk into you were either going into the living area or the dining area. The newly built entryway covering the two front doors is positioned here on the left.
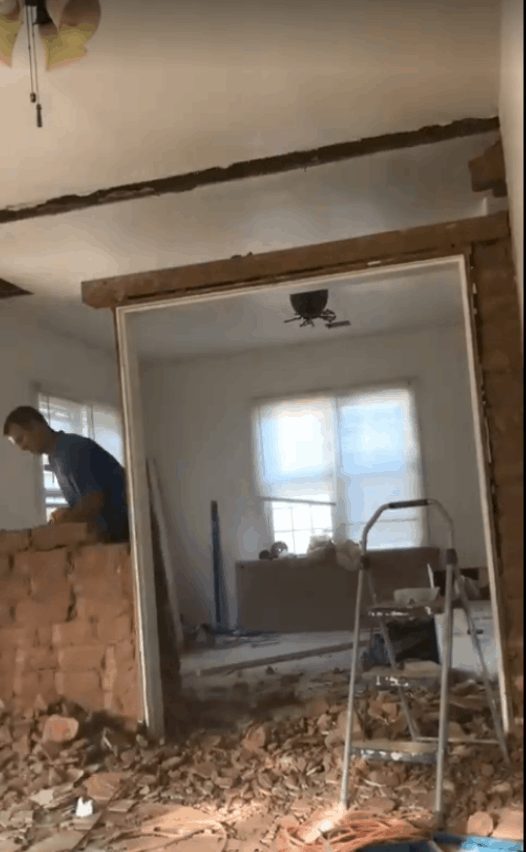
Here you can see we removed the wall, which when we took off all of the plaster we found it was made of mud sandstone bricks. These were likely made on site 95 years ago when the house was built since sandstone is local to the area. All of the original walls are made of this brick, and there was no lath installed over it, just plaster smeared all over the brick! Also, sorry for the low quality pic, I didn’t get a single picture of the process, only a time lapsed video.
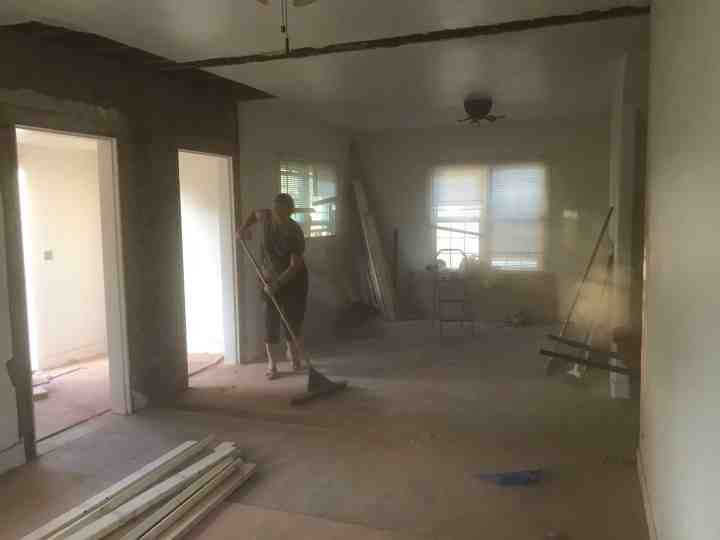
And now we have a much larger room to live in! Yay!!
Removal of Original Two Front Doors
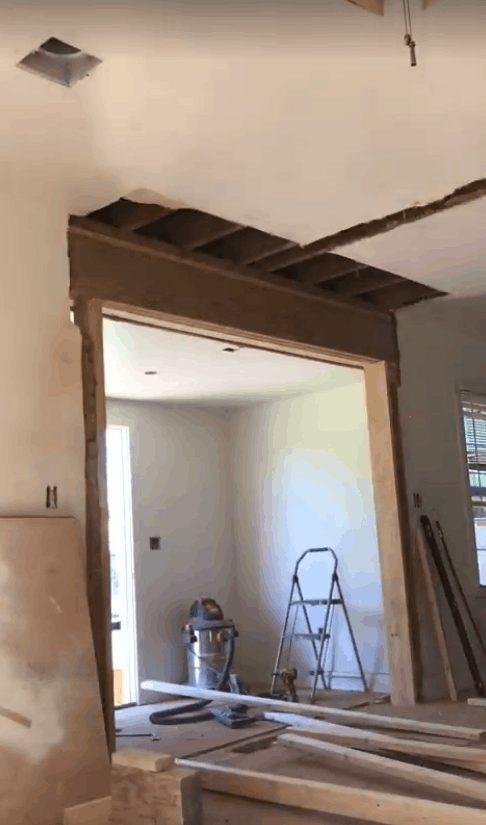
This is what the two front doors looked like from the inside after we removed the wall separating the two doors.
Since the two doors were on the original exterior, that meant that they were bearing the load of the trusses above them. We couldn’t just knock out the doors or we would have a collapsing roof on our hands. We had to first build a temporary wall out of 2×4’s to hold up the trusses, and then we were able to take out the brick in that section and install a heavy duty LVL beam to go across the top to be the new truss support.
Say goodbye to the two front doors!! In my next blog post you’ll see my BIG plans for this space.
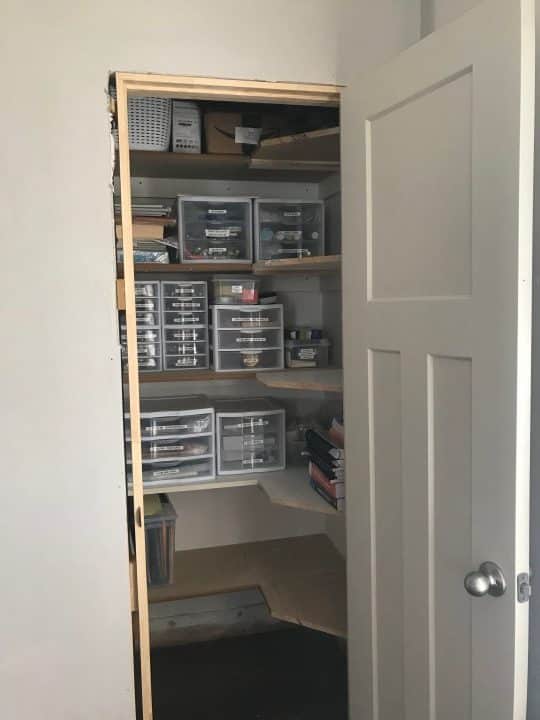
Adding Closets to Living Area
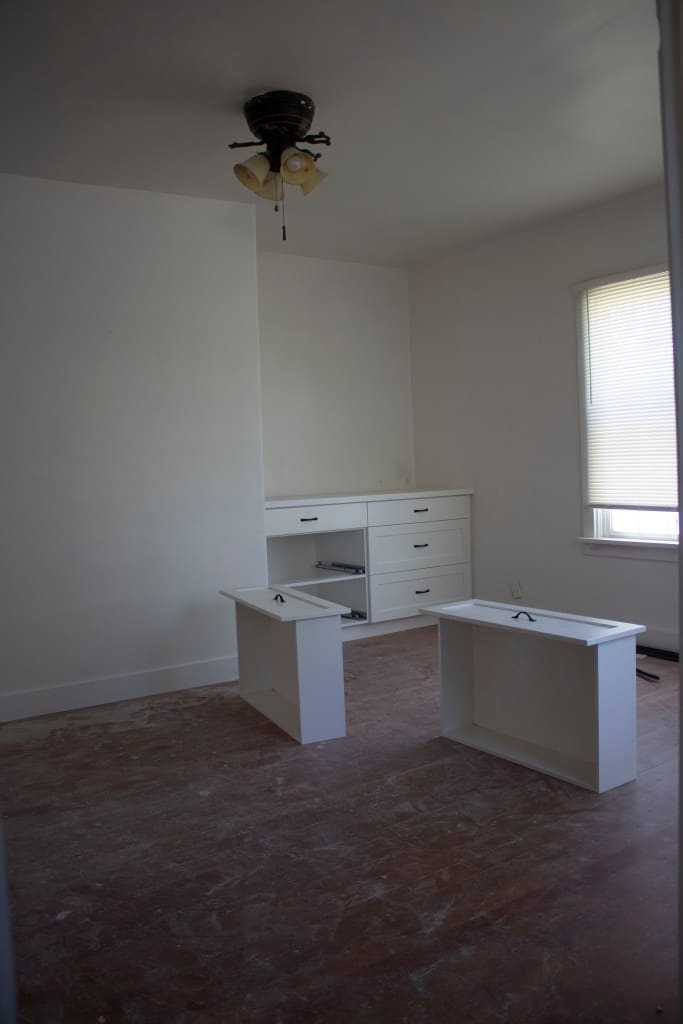
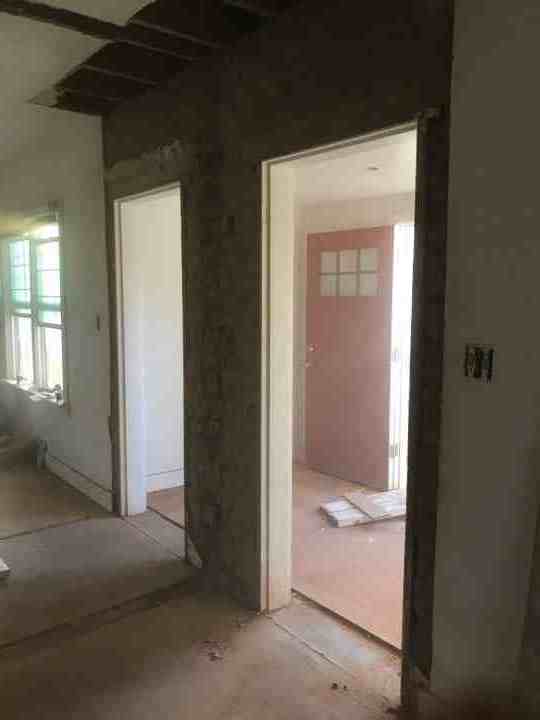
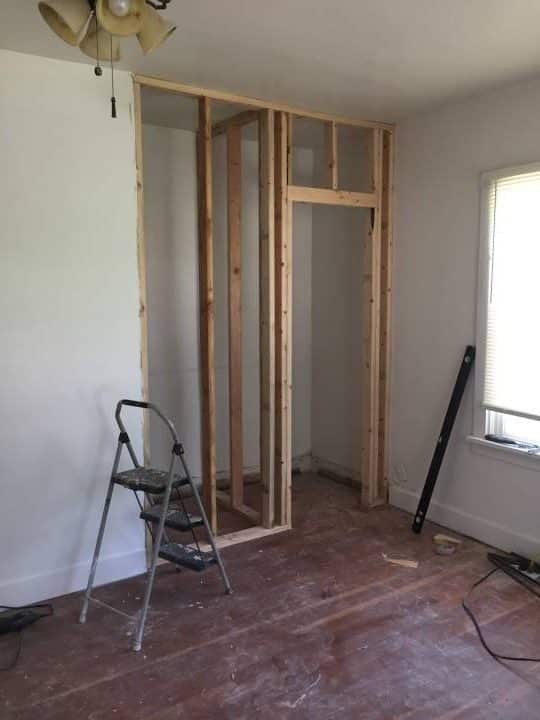
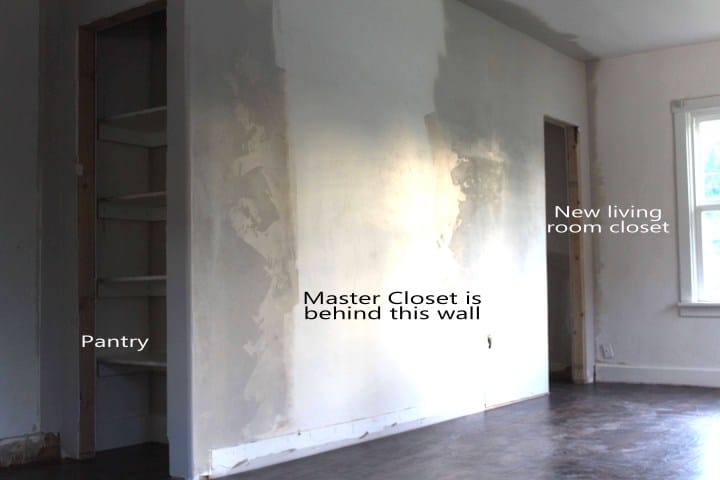
Okay, so this picture above is looking from the entryway to the right corner of the room. The wall behind these drawers was the original wall that used to extend the length of the room. The former contractor took some of the space of this living area to frame in a closet for the master bedroom since there wasn’t a single closet to be found in the entire house. He filled the extra space by adding these built-ins, which he intended to make into a media center. We decided that this space would be better used as a closet to service the downstairs, so we took out a wall of the master closet, moved it over a few feet, and framed in a closet.

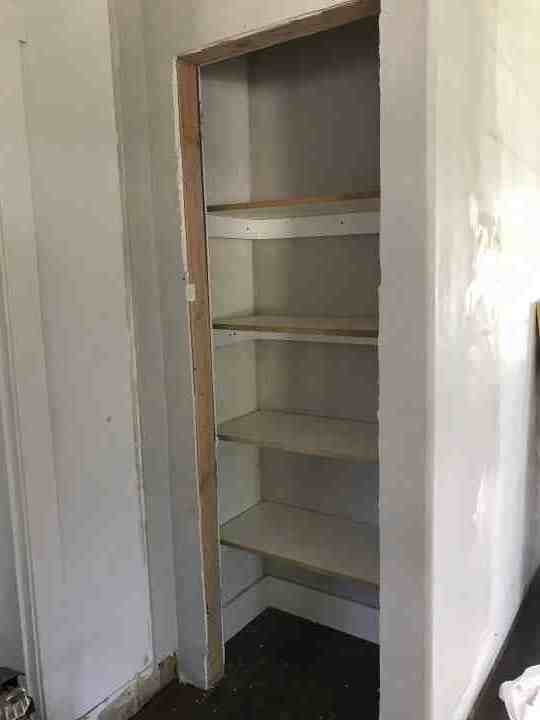
Here is the closet after sheetrock and texture, but before I built the shelving.
And here is the shelving! To this day, I have still not painted the inside of this closet. I will get to it… someday.
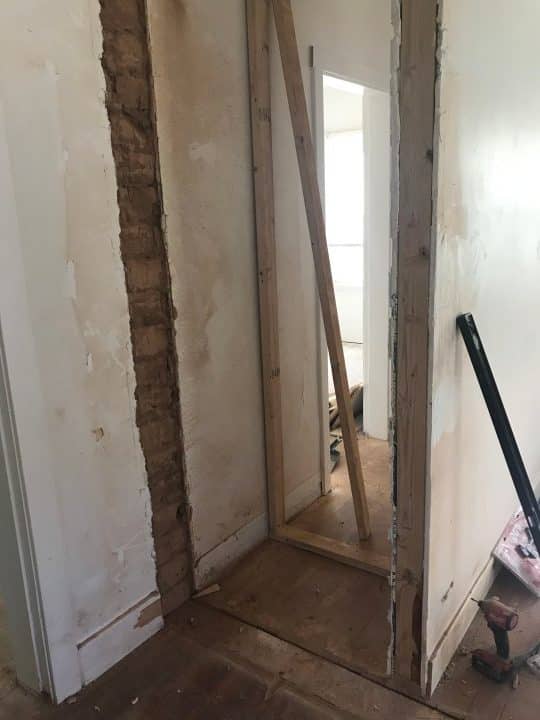
We ended up busting out the wall on the other side of the master closet to frame in a pantry. You can see through here to the master bedroom via the master closet.
And above is the same closet after sheetrock and shelving was installed.
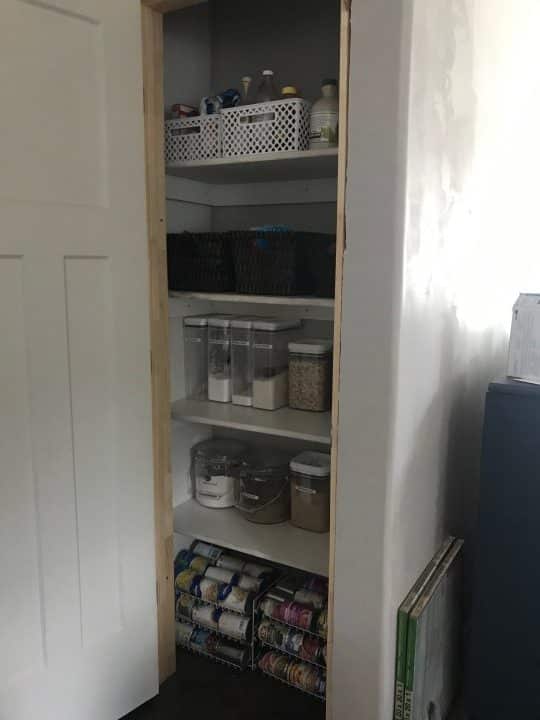
It’s a tiny pantry, but it’s WAY more space than we had before! Again… no paint yet, but I do intend to make it cute at some point.
And here is a look from when all the major structural work is done.
Flooring
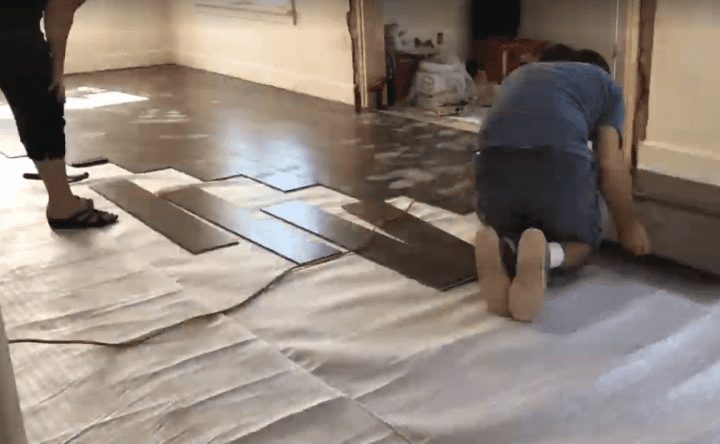
Once we patched up the floor and ceiling from where the wall was removed it was time to install the flooring! We used a tongue-and-groove laminate flooring from Home Depot that was very cheap. I love the look and the color, but this flooring does chip quite easily and it leaves a light colored groove. I would say it’s sufficient for a rental if you’re okay with replacing it every few years. Where it does chip we just color it in with a black sharpie marker and you can’t even tell it’s chipped. We thought about refinishing the hardwood floors underneath but they were in pretty bad shape and would have needed lots of repairs. We weren’t sure if we could have gotten them to look as good as we would have liked.
All of this work was done by my husband and myself with occasional help from family members. We did end up hiring out the mud, tape and texture, however. It was all mostly done within about a month’s time!
I did not get any photos of the room finished at this point, but stay tuned for the rest of the updates!
XOXO,
Crystel