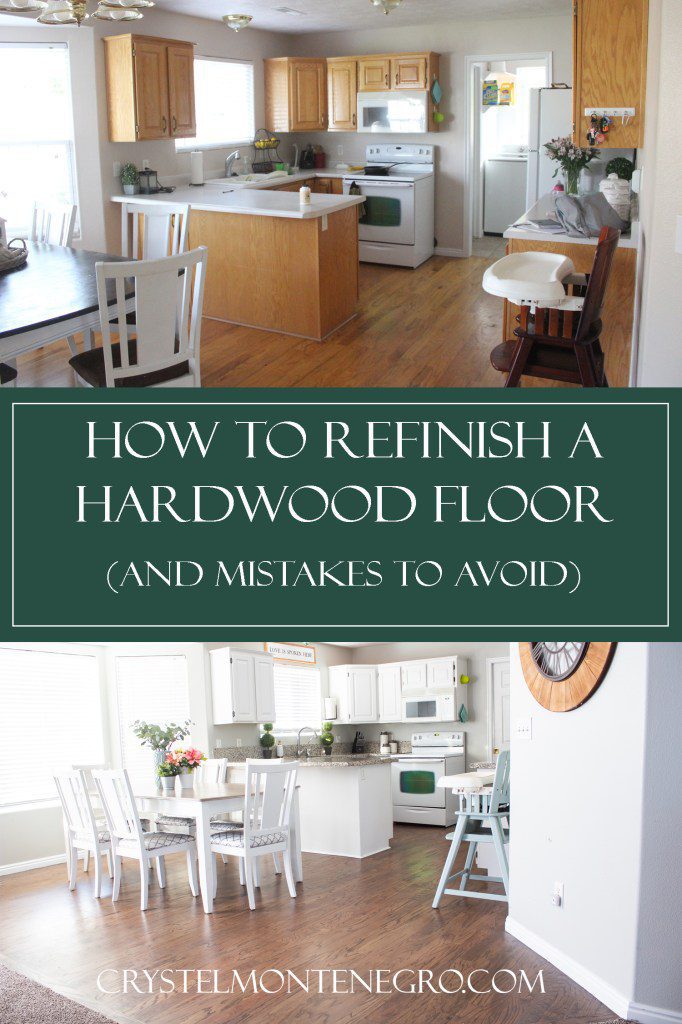
How To Refinish A Hardwood Floor (And Mistakes To Avoid)


Updated May 9, 2026
Refinishing my floor has been a long time coming. I mean, like a looooong time coming. When we moved into this house almost two years ago one of the first projects I wanted to complete was to abolish the orange hardwood floor. Right after I abolished the orange cabinets. But, you know, one thing lead to another and I always seemed to find other shiny projects that grabbed my attention just long enough to not want to bother with the floors just yet. Eventually it got to the point where I realized it would be too big of a job to do myself, and since hubby is in medical school and had zero free time I just kept putting it off until he had a free minute.
Well that minute FINALLY CAME! I’ll be perfectly honest with you, I had watched (and helped) my parents refinish their hardwood floors as a teenager and thought it didn’t seem that difficult, which it honestly wasn’t, but we did have a learning curve this time around nonetheless. Hopefully I can explain it all in such a way that you don’t have to make the same mistakes we did. Here is what the kitchen looked like when we moved in.
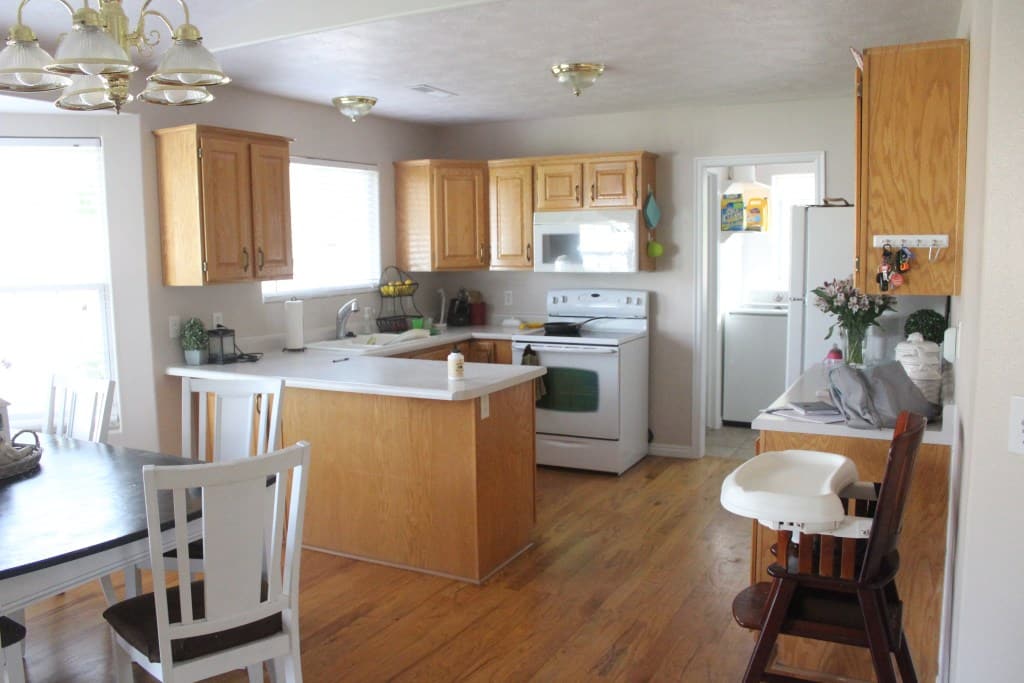
See what I mean?? Orange EVERYWHERE. The first thing I did was to paint those cabinets, which I will happily do a tutorial on eventually…. It really doesn’t have to be that difficult of a project. I’ll give you all the tips.
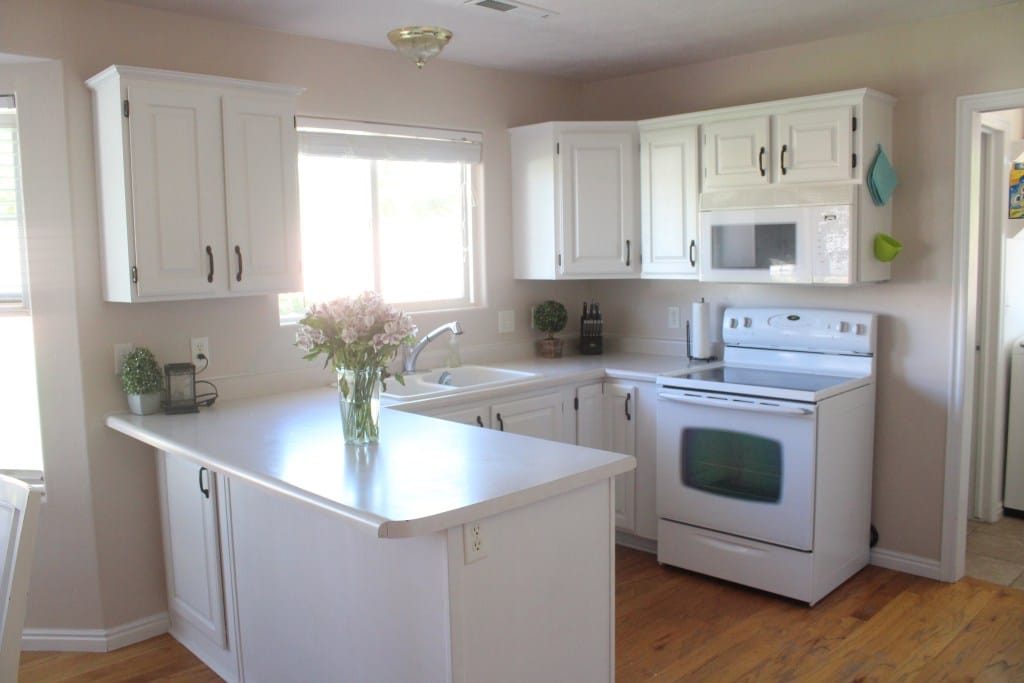
We definitely made some good progress when we painted the cabinets, painted the walls and installed new granite.
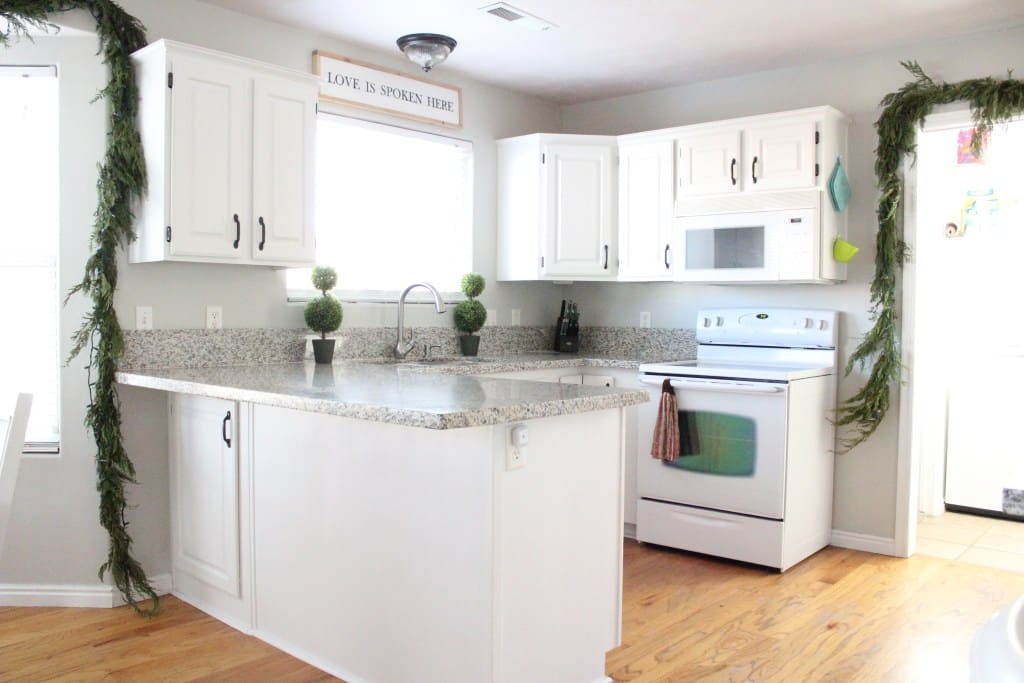
By Christmastime, things were looking quite a bit better. So here we are, approximately a year and a half later, and we finally tackled the floors.
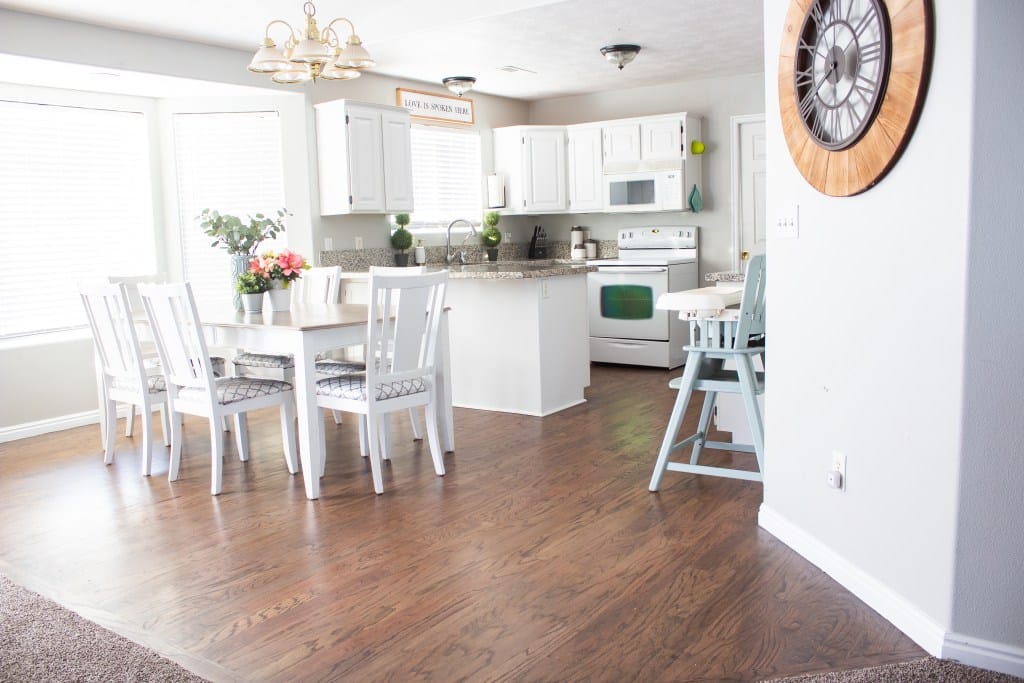
And the orange is gone!! Here’s another before, just so you can appreciate it as much as I do.
You’ll also note that since then I painted the high chair, refinished the table and reupholstered the kitchen chairs. Oh, and spray painted the boob lights. I’ve still got to work on that chandelier.
So now, let’s get into the nitty-gritty.
Materials
- Drum Sander
- 20 Grit, 60 Grit, and 100 Grit sandpaper for drum sander
- Plastic to enclose the kitchen and cover cabinets (trust me, you don’t want to skip this step!)
- Painters tape
- Stain of choice (We used Minwax Dark Walnut mixed with Classic Gray 50/50)
- Lambskin Stain Applicator (handle sold separately)
- Tray for holding stain
- Water-based High-Traffic Clear coat
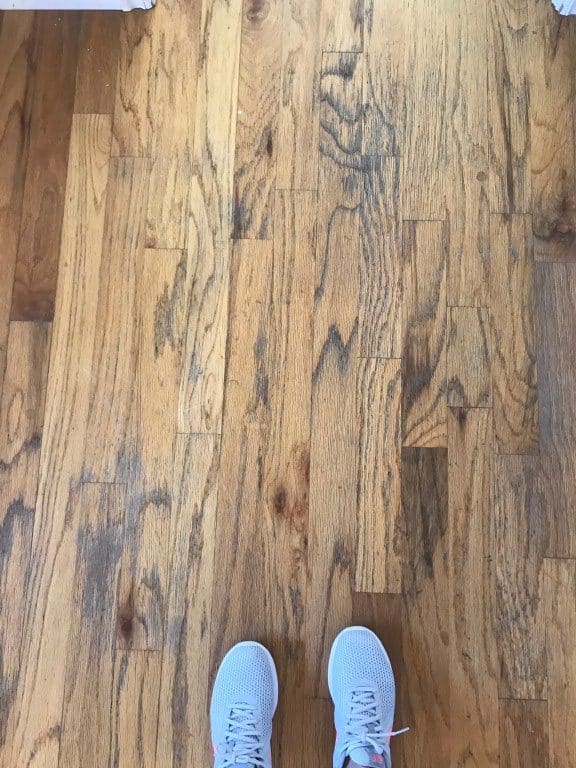
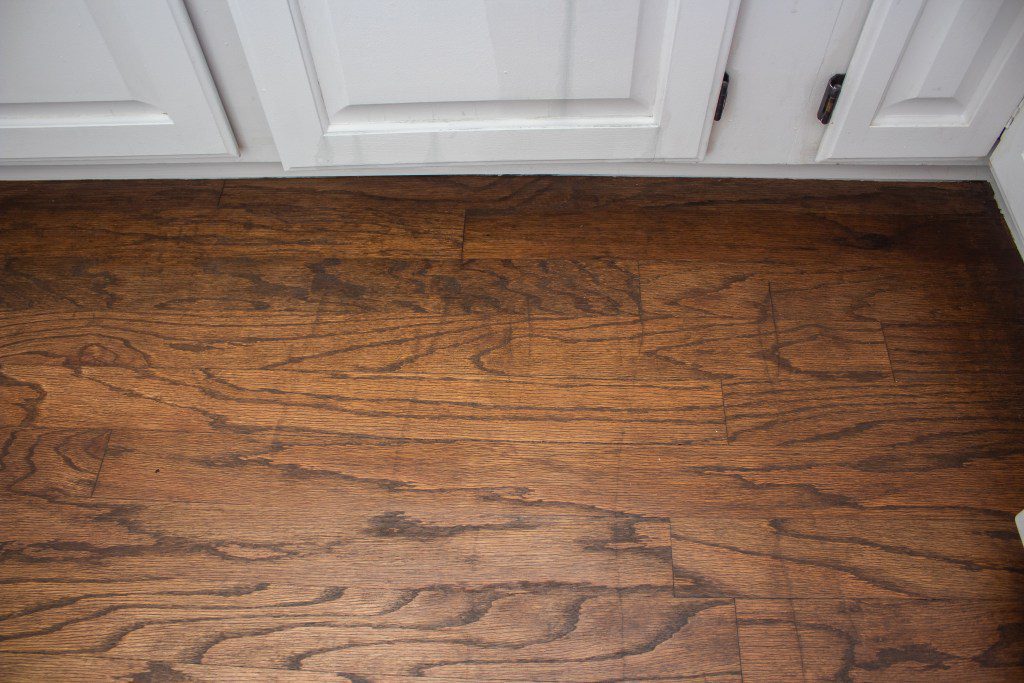
The state of the hardwood floor was pretty bad. Especially in the high-traffic areas like in front of the refrigerator, the clear coat had worn down and the wood had begun to oxidize.
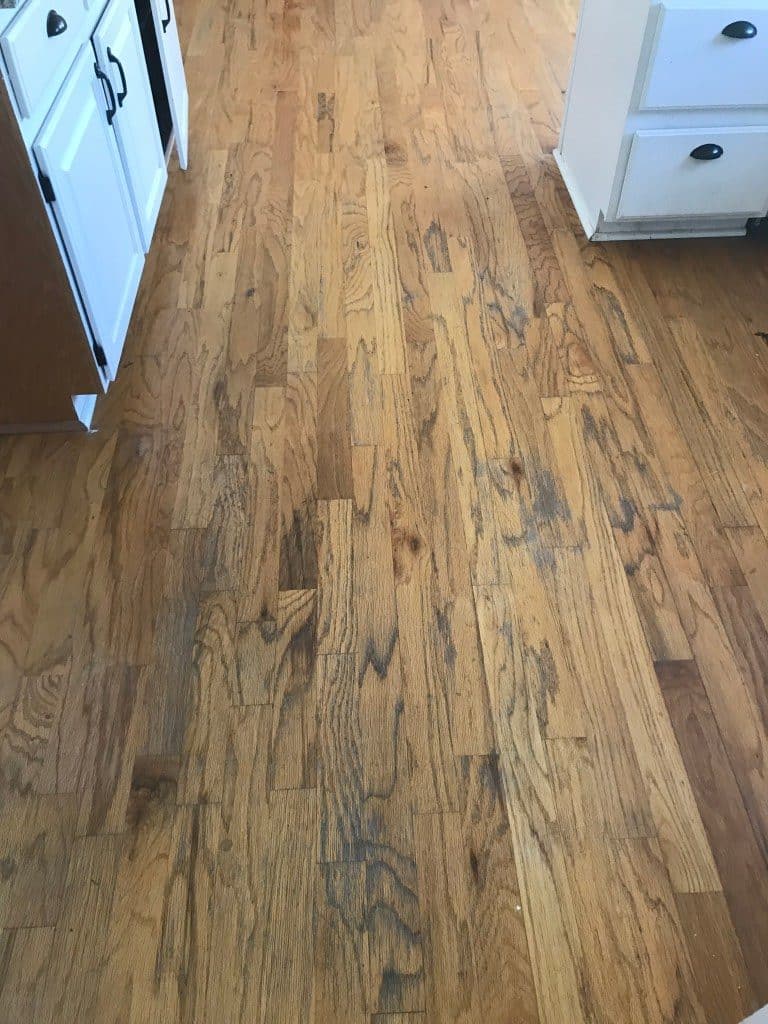
It was high time we gave the floors some attention.
Prep
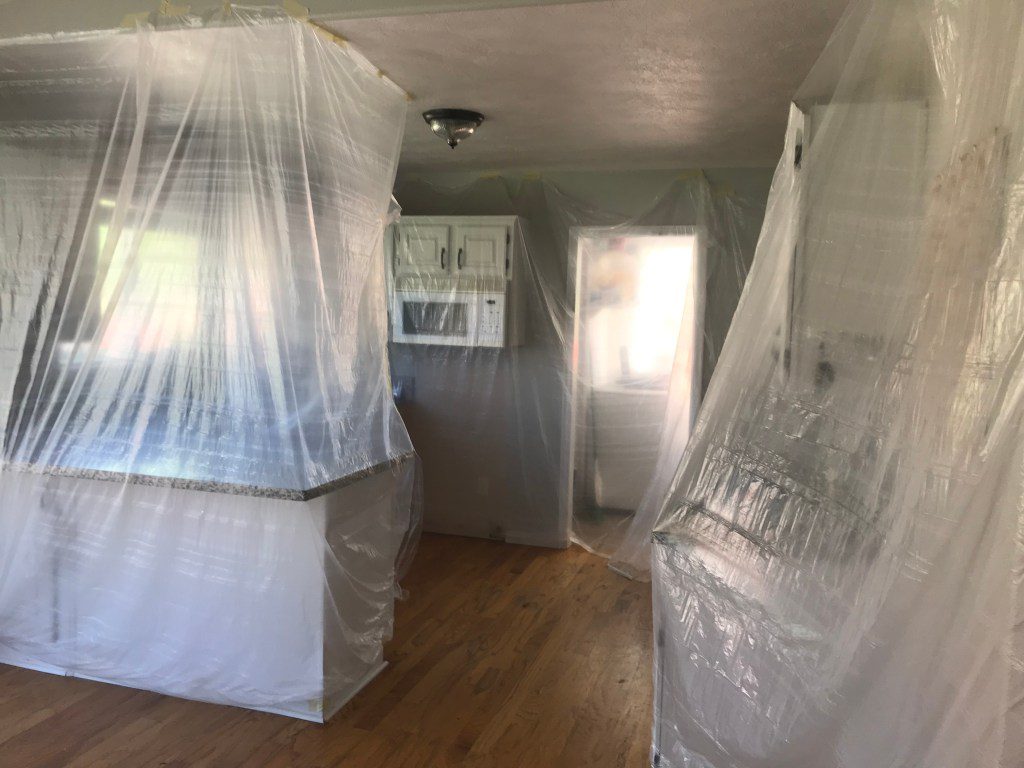
We started by prepping the kitchen by taping of EVERYTHING. Trust me, this is not a step you want to skip or be casual about. That dust will get everywhere, and you will be finding it around your house for months afterward if you don’t prep properly. Even with a thorough taping, we were still finding dust inside all of our kitchen cupboards. Minimize the mess by taking the time to prep!
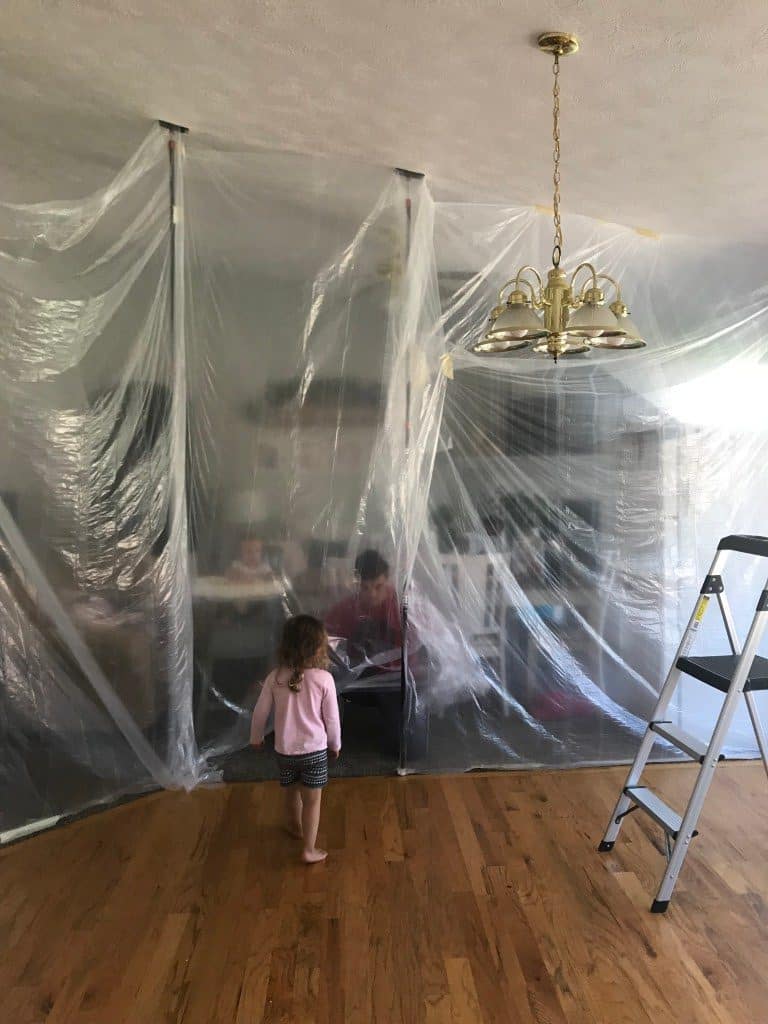
We learned the hard way that gaps in our plastic wall (even the high ones that we didn’t think would be a problem)… were a problem. Just be thorough, and tape it ALL up. You won’t regret it.
The Process
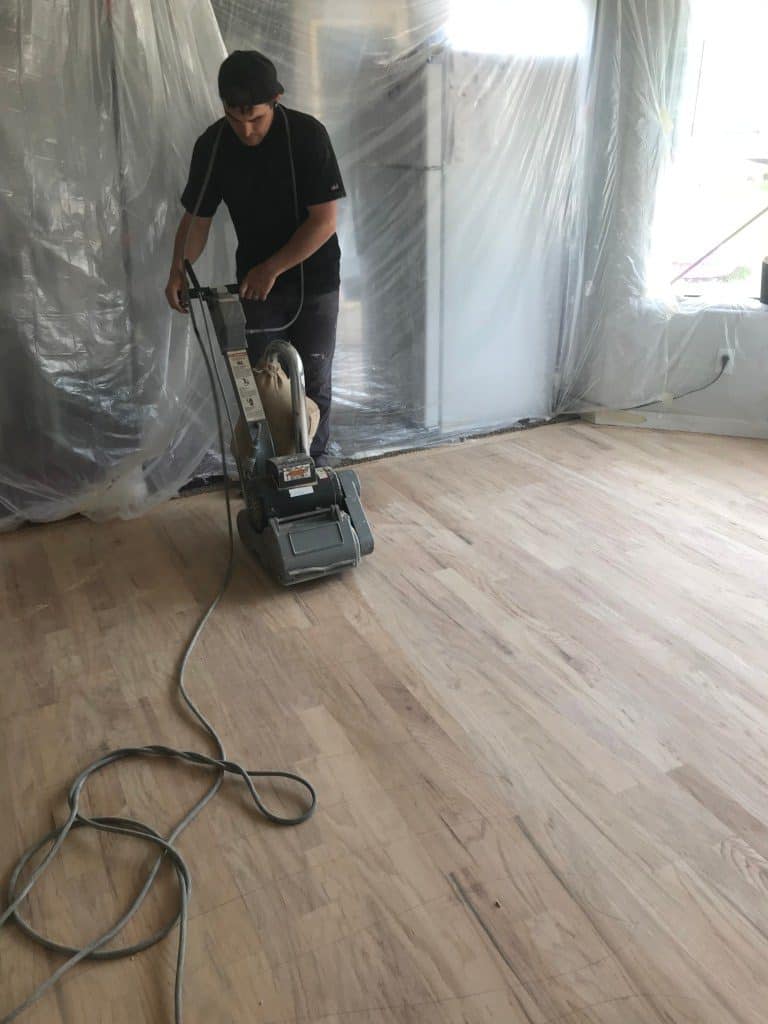
We rented a large orbital floor sander from a local rental place which, after using it on our hardwood floor for about 10 minutes we realized that it was just NOT getting the job done. We would have been there for days trying to get the existing clear coat off. After a quick google search I realized that not all floor sanders are created equally. What we needed was a drum sander, which was much more aggressive at getting the polyurethane off. We returned the orbital and got a drum sander, and never looked back.
We took as much of the clear coat off as we could using the 20 grit sandpaper, and then did a second pass with a 60 grit sandpaper. In order to make sure we knew where we had been, my husband made pencil marks all over the floor which we sanded off. We did the same with 100 grit sandpaper.
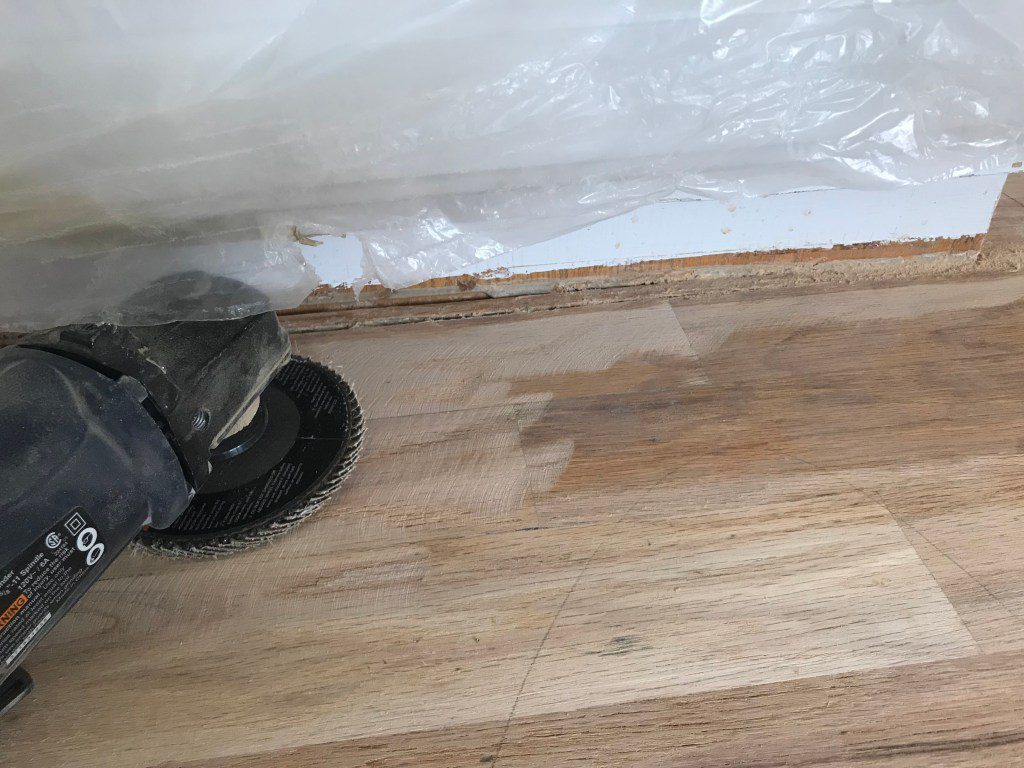
We tried a few tools to get underneath the cabinets in front of the toe kicks, but everything we had was either too tall to reach or was not aggressive enough to get all the clear coat off. Eventually we pulled out an angle grinder with sanding bits, and that did the trick.
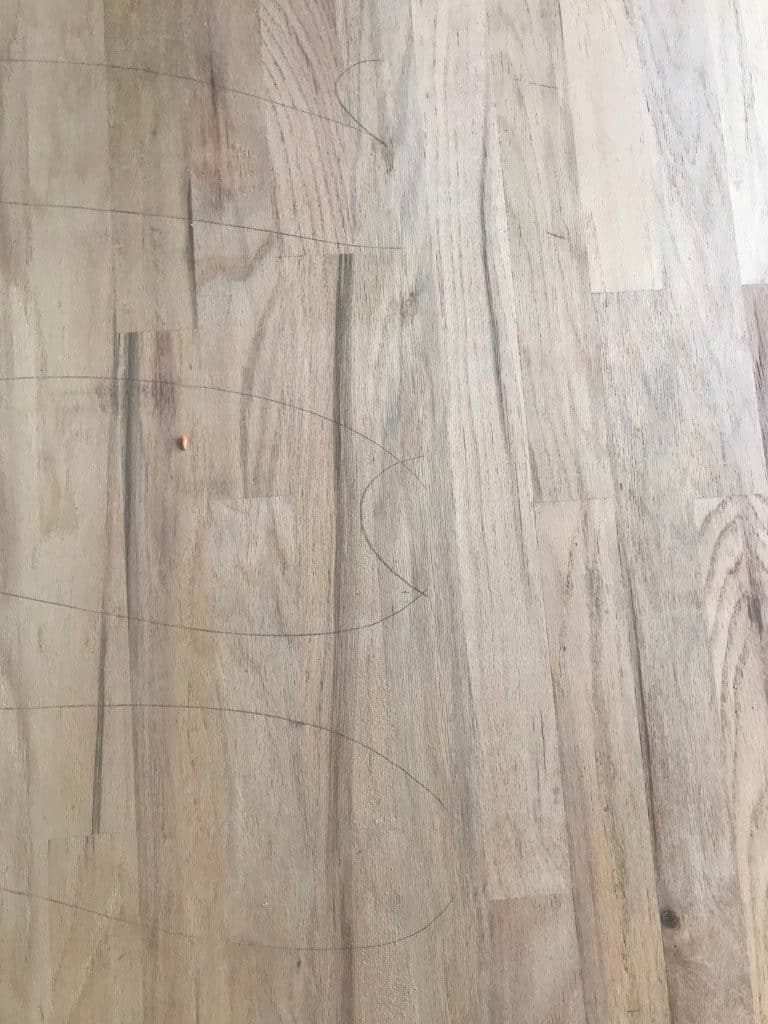
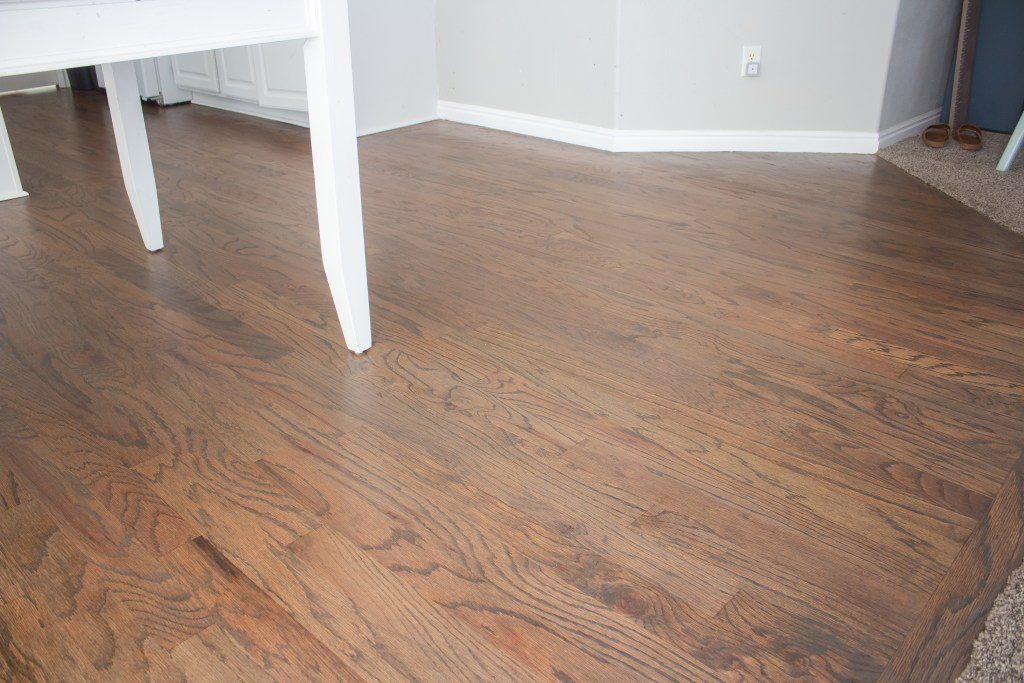
There are two things you should be aware of when sanding, though. You have to make sure you get ALL of the clear coat off or the stain will not penetrate in those areas. Also, you need to make sure you sand every area evenly, and that there are not scratches in the hardwood floor, otherwise when you stain it will look something like this:
See those unnatural looking lines? Those happened because we could not sand with the grain of the wood in that area since the area was too small to fit the floor sander, and we didn’t go back through with a hand sander to even them out. When the wood is its natural color it’s hard to tell where these scratches are, but when we applied the stain it brought them out big time.
After we applied the first coat of stain we saw all the imperfections and decided we needed to sand it all down again. It was a HUGE pain, but we wanted a beautiful floor so we determined it would be worth it.
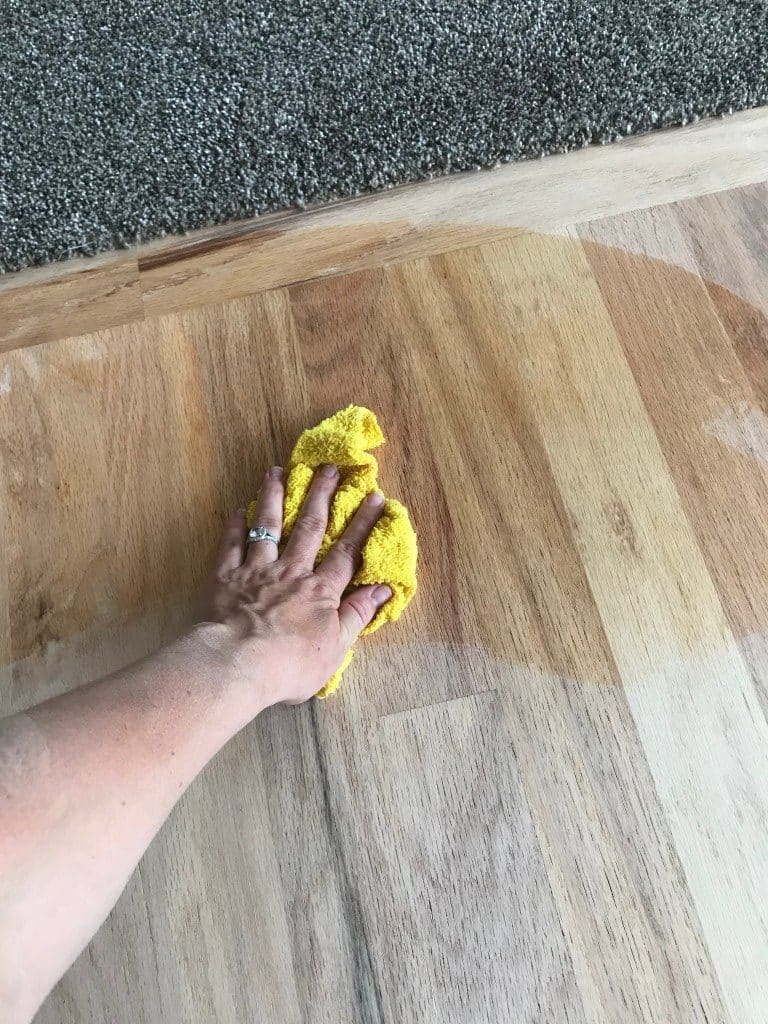
After we sanded it down very thoroughly, we used a broom to get most of the sawdust picked up, and then went over it again with a vacuum. We tried to get as much of the dust off as possible, and then went over it again with a damp rag. Doing this step allowed us to see where the scratches were in the floor, and we were able to buff them out with a hand sander.
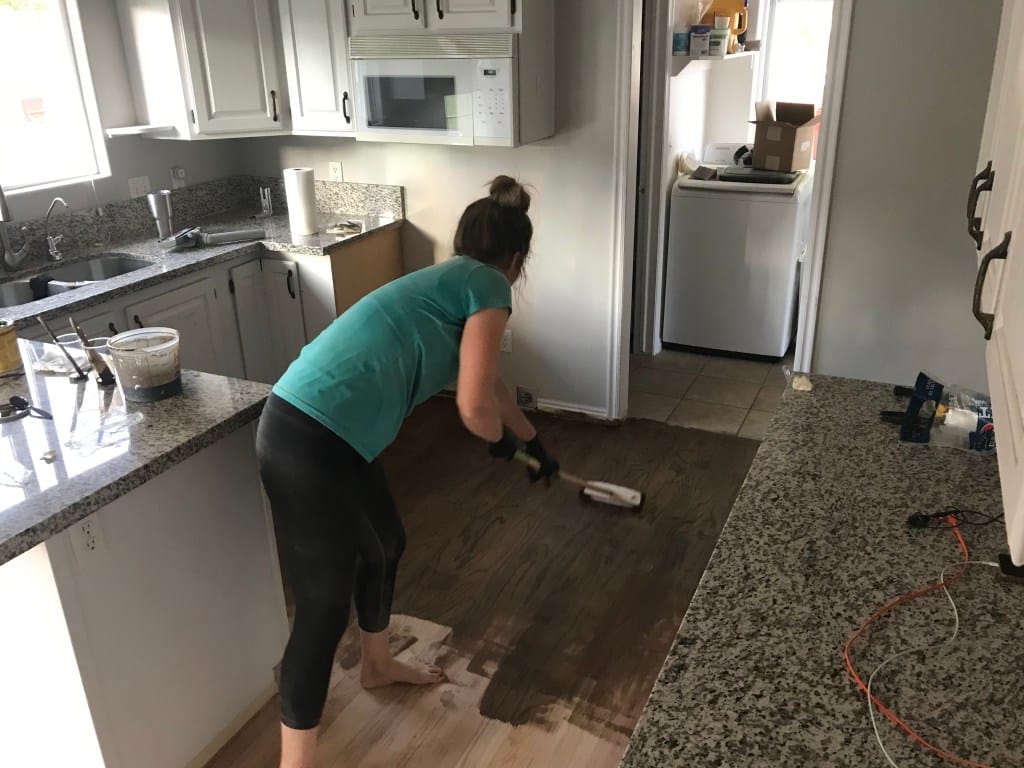
Finally we were ready to stain! First I taped up all of my baseboards and removed the quarter round around my cabinets. We used a stain applicator with a handle and a lambskin pad to apply the stain. I pre-mixed Minwax Dark Walnut with Minwax Classic Gray at a 50/50 ratio because I wanted there to be a slight gray undertone. I love the color! If you are planning to mix colors, please please PLEASE make sure you mix it thoroughly beforehand and continue to mix it as you apply. If not the gray particles will drop down to the bottom and you will find yourself applying gray only on part of your floor. That’s no bueno. If this does happen I found that you can apply just the dark walnut on top of it and it will mostly even it out, but it’s still super scary, so just don’t do it.
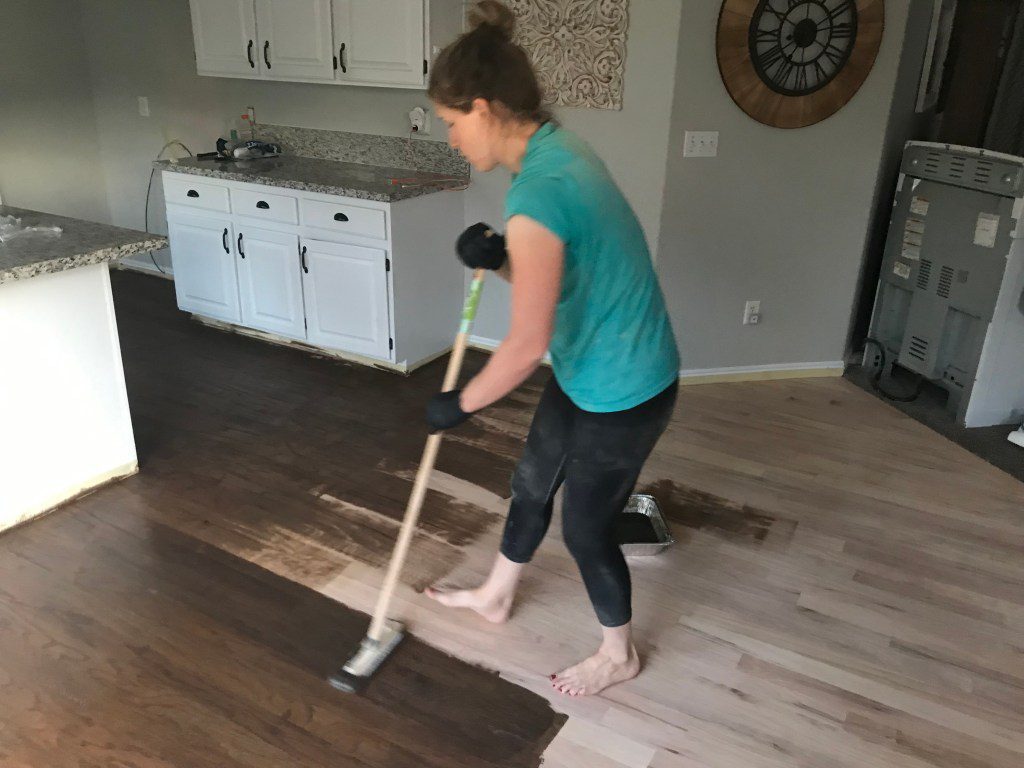
Also, make sure you apply the stain with the grain of the wood for an even application. For the final step, apply the clear coat. We followed the directions an applied two coats the same way we applied the stain with 2 hours in between coats.
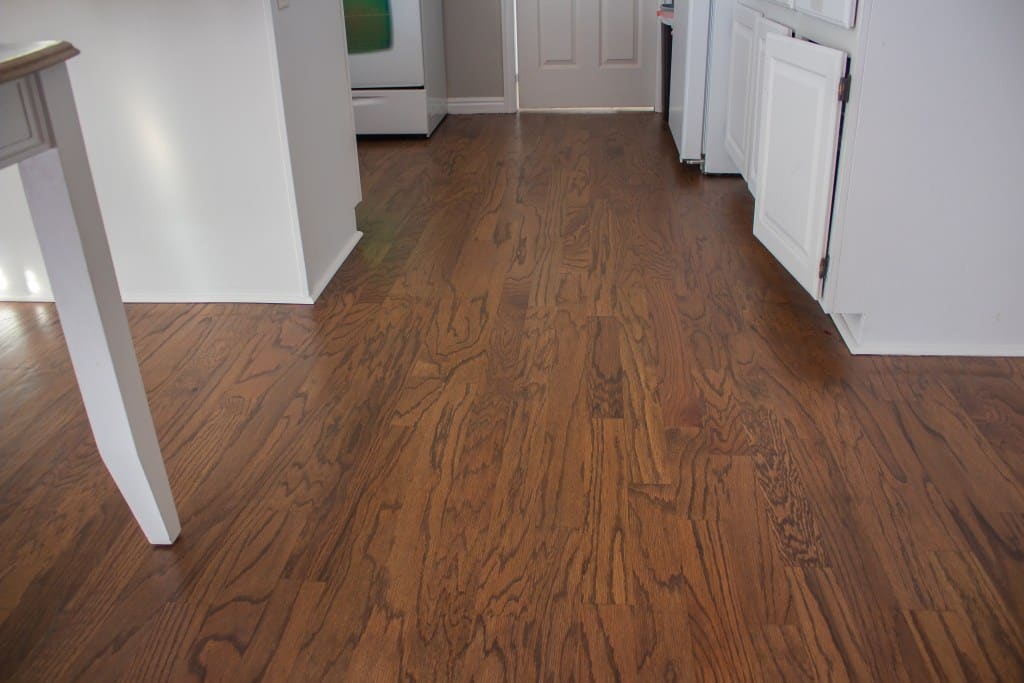
And voi la, the freshly stained hardwood floor is complete! We left the doors and windows open for a few days during the day to let it air out, but the smell wasn’t as bad as it would have been had we used an oil-based clear coat. The water-based is just as durable and has a low VOC count, so it’s not as toxic.
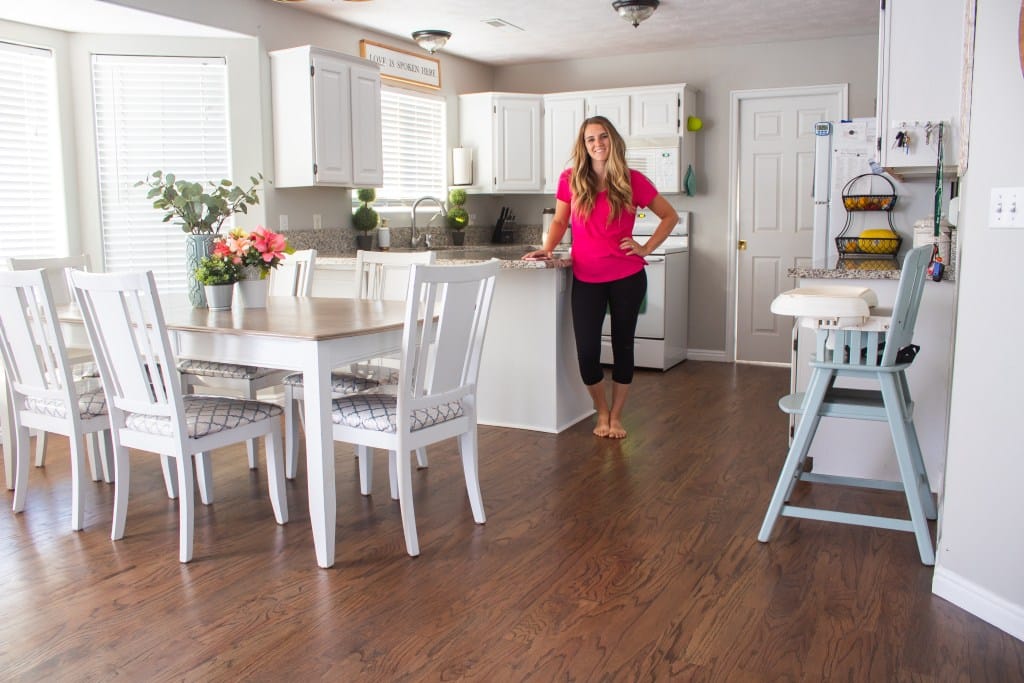
You’re looking at a happy camper! I was so glad to finally have it done!
Thanks for tuning in, I would love to know what you think in the comments below! Also, check out these other posts you might like!
- How to build Custom Built-ins!
- How to Paint a Shower
- The Cheapest and Easiest way to DIY shiplap
XOXO,
Crystel

Great walkthrough of the refinishing process! It’s always nice to see homeowners take on these projects with such care. At Call Dr. Hardwood, we do a lot of refinishing work and can definitely vouch for how rewarding the results can be when done right. Thanks for sharing your experience!
I think it turned out beautifully. How long did it take you? And did you use your kitchen during the process? I want to redo my kitchen floors but I can’t go 24-48 hours without stepping into the area.
It took about 3 full days of work
Oh, hi there. So, were you trying to imply that we need to apply drum sanders before refinishing our hardwood floors? Okay, I want my brother to take note of this trick when he hires a contractor to help him out later. The wooden floor in his apartment bedroom has started to look quite dull already and he wants to beautify it. https://www.kenmarkfloors.com/