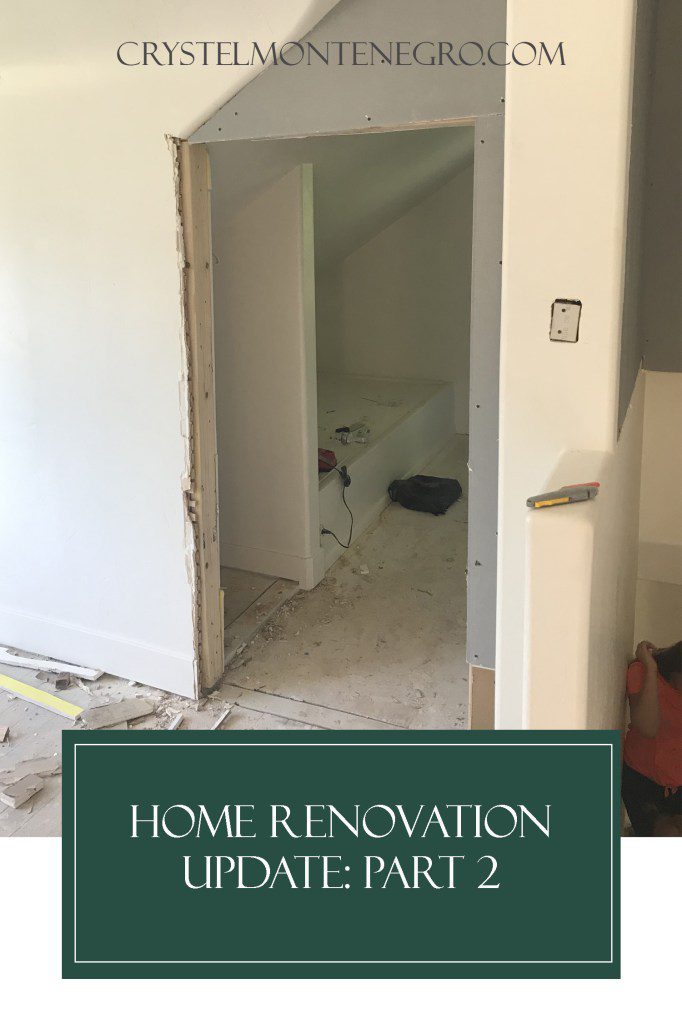
If you missed out on the Renovation Update: Living Area Part 1, check it out! I went into detail about all the major changes in the living area we made right off the bat renovating our 95 year old home to make it a much more functional living space. The living area needed the most changes, but there were a few other major structural changes we decided to make before I could get to the fun part. Decorating!
The first thing we did in this renovation after the living area was complete was convert the window in our kitchen to a door, since the only door to the back yard was through the master bedroom. Now after living with it for the past 10 months or so, it has been a life saver!
Swapping Out A Window For A Door
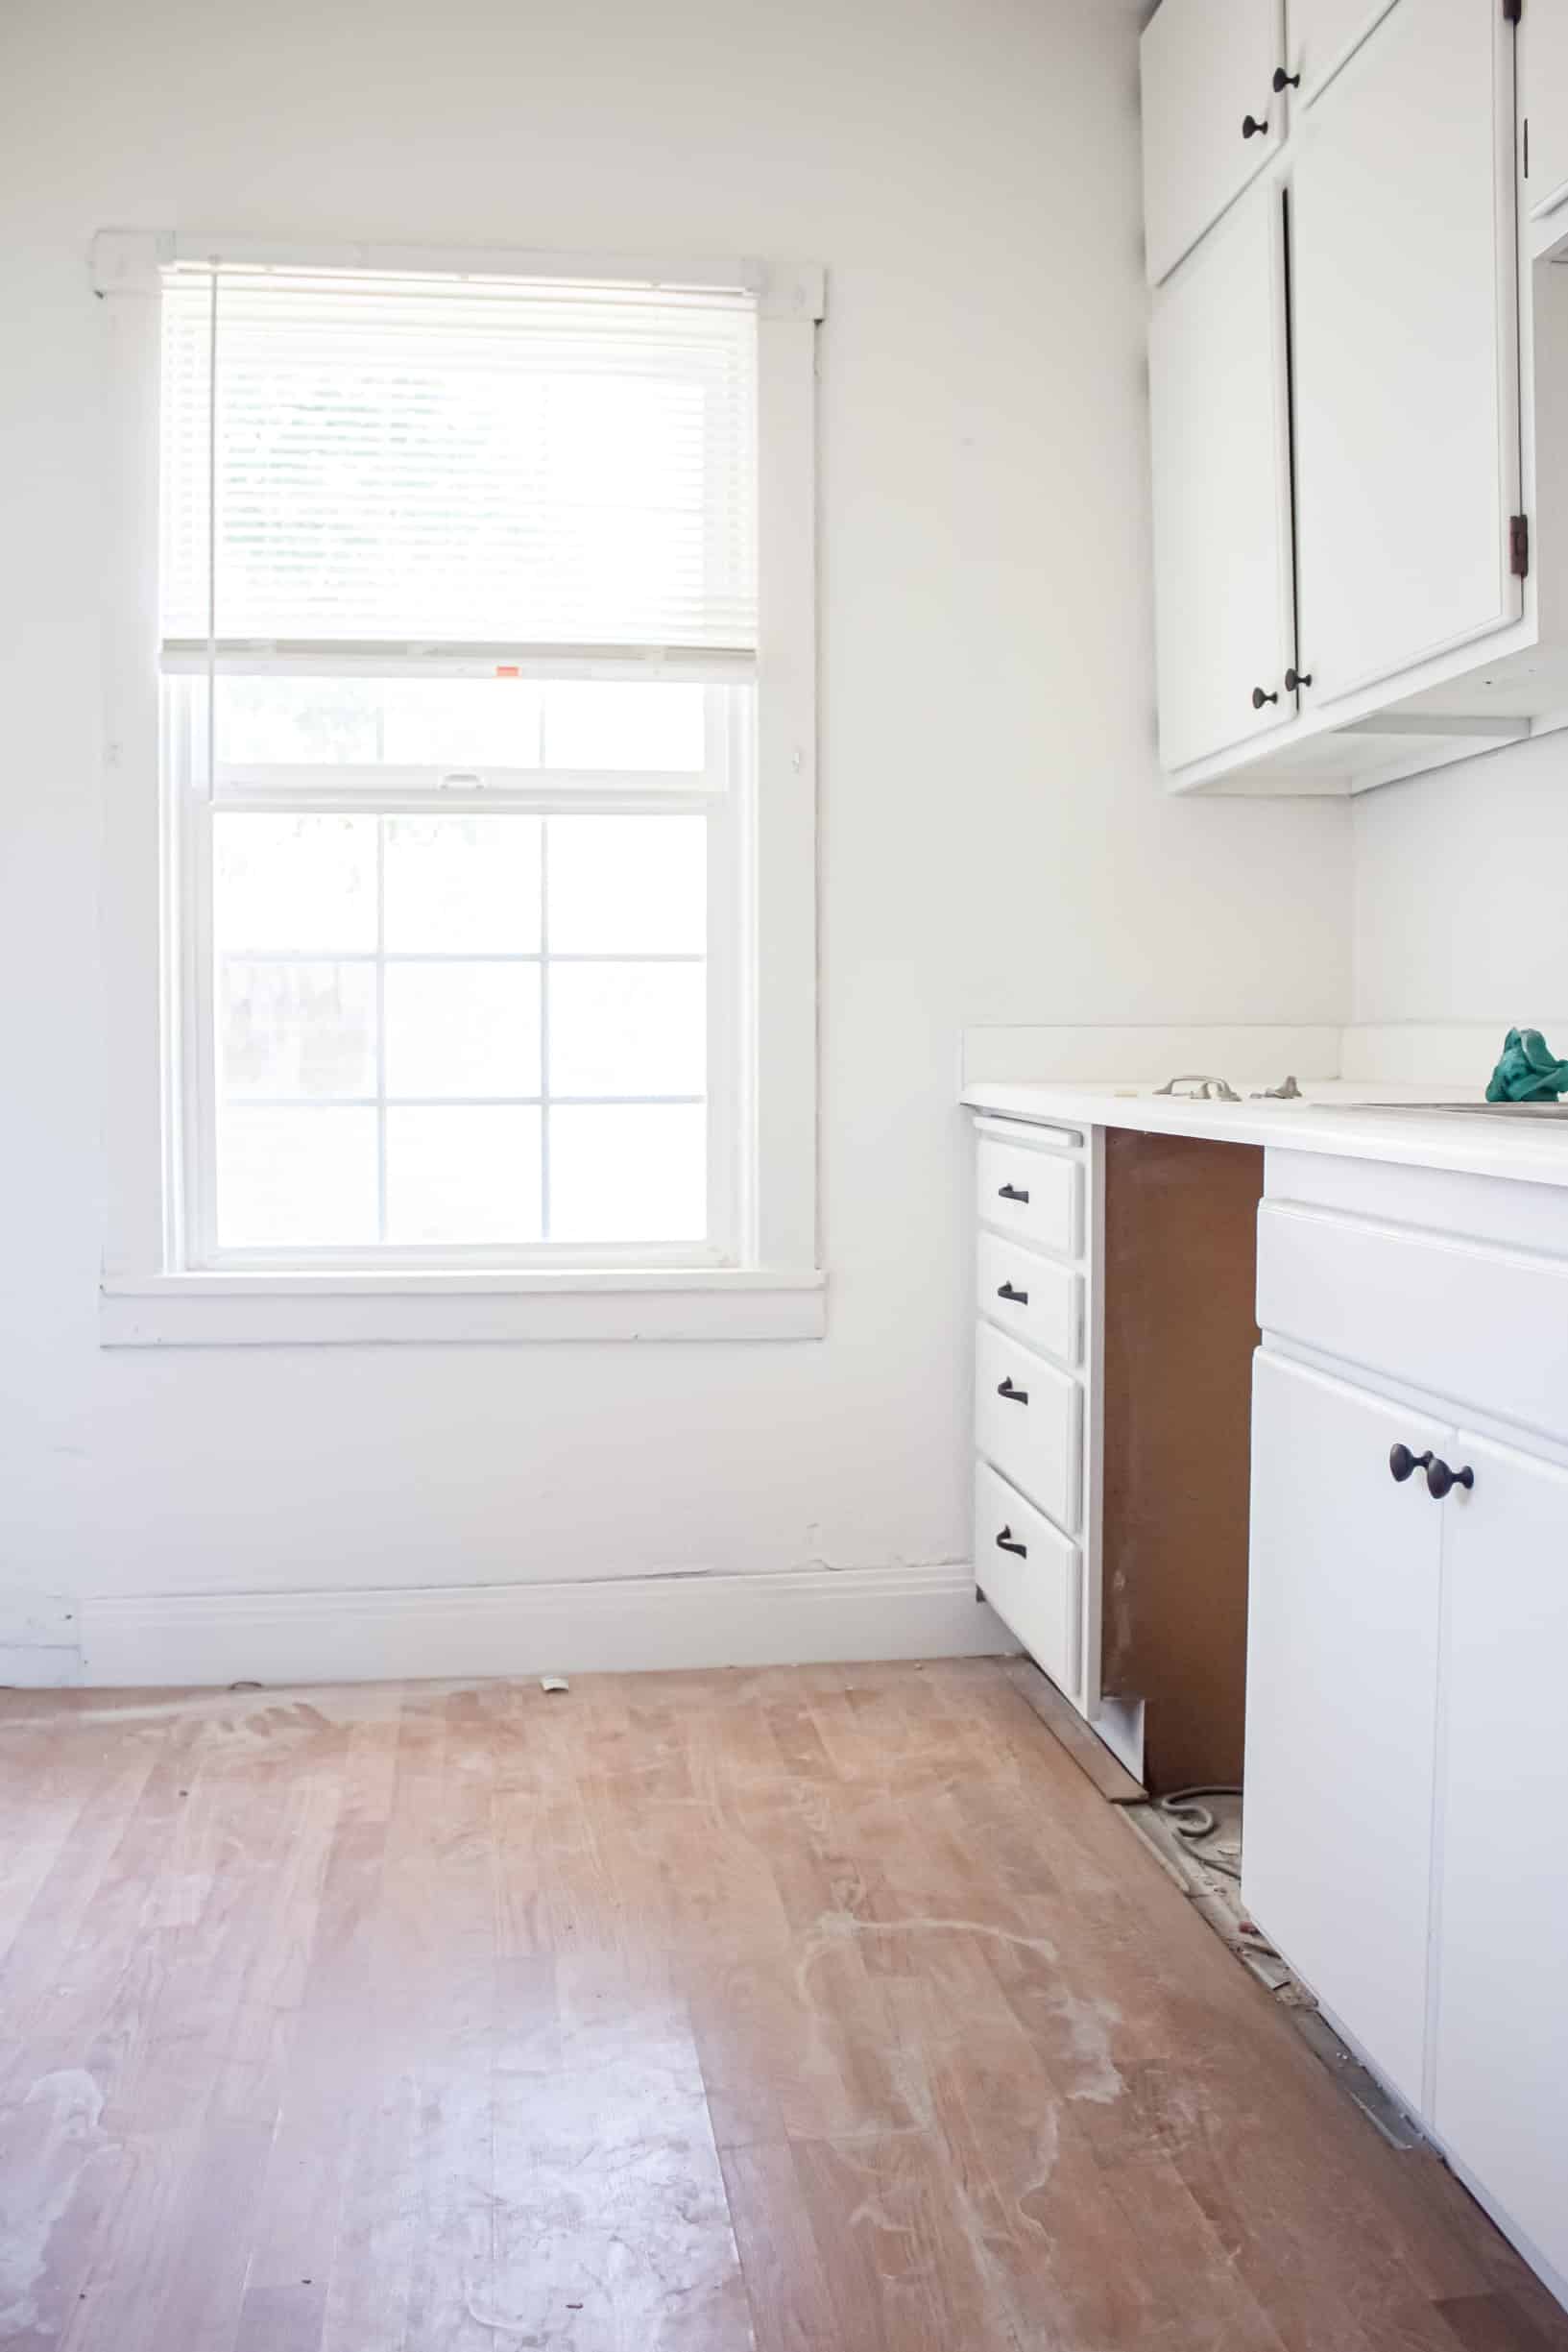
I believe there was a door through the kitchen at one point, but it was deleted to make room for the refrigerator. I’m not sure how it all came to be since there has been quite a few owners over the past 95 years, but I’m sure it would make sense if I got to have a sit down with all the renovators. For now, I’m totally perplexed.
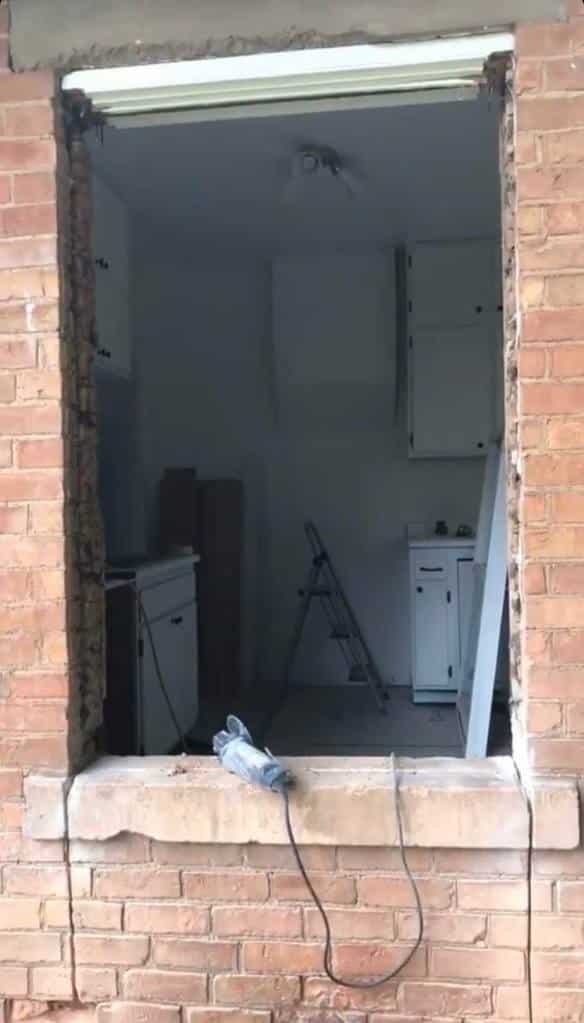
We started by removing the window, then had to locate a masonry saw to cut through all the brick straight down on both sides.
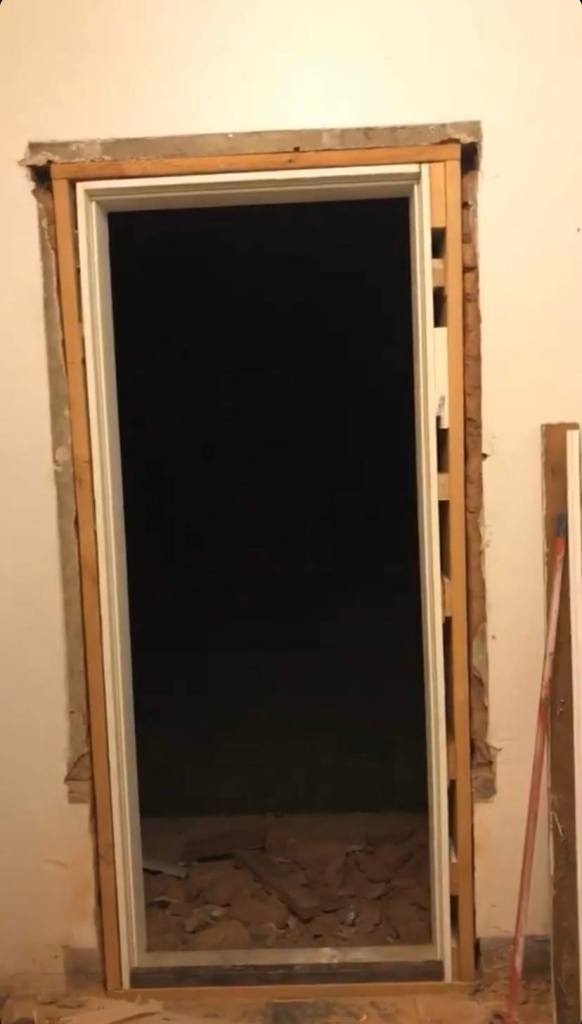
Once we had all the brick out, we screwed some 2×6’s into the brick and framed it out to fit a 32″ door in.
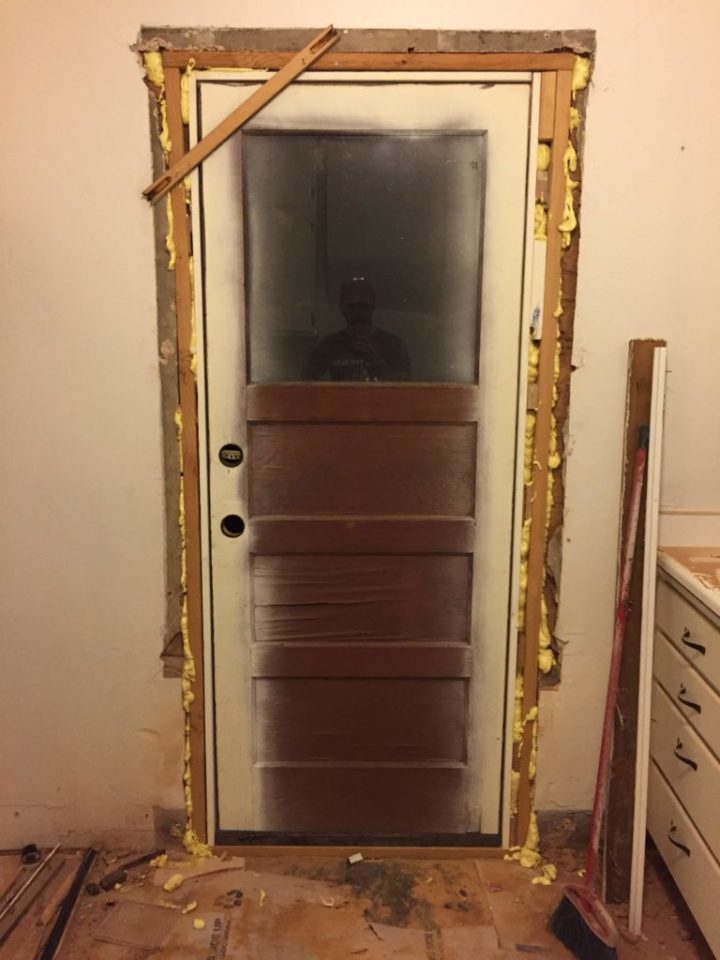
We filled in the gaps with this foam gap filler that acts as insulation, and added a door on it that we found in the detached garage that needs some serious attention. I’m not sure how old the door is, but I wonder if it was the original door that was in the kitchen before they put the refrigerator in.
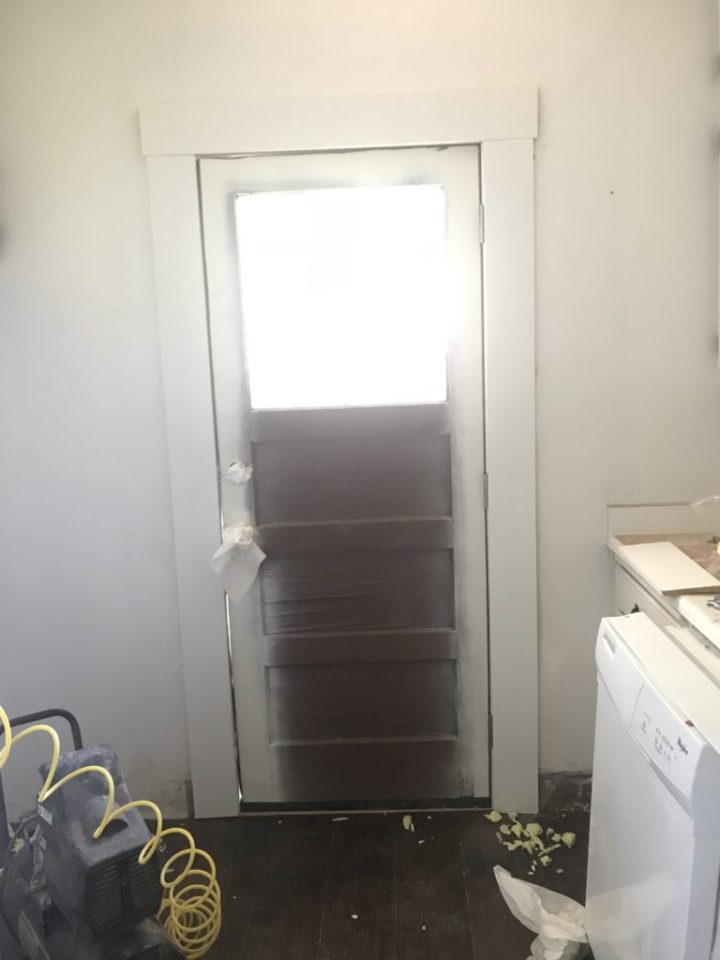
Rather than re-plastering the walls to be able to use normal sized casing around the doors, we opted to trim it out with extra wide baseboard instead for a chunkier trim.
Upstairs Bedroom Renovation
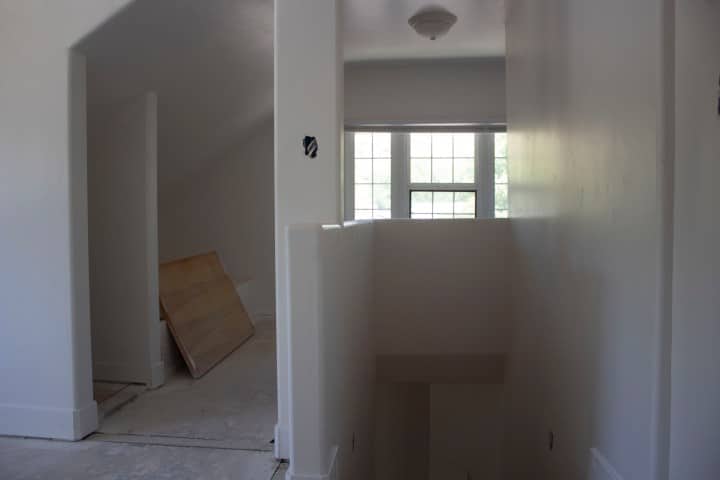
The former owners relocated the stairs to a much more practical location to allow for a bathroom upstairs which was a GREAT move since there was only a single bathroom in the entire home. What moving the stairs meant, though, was that it took a chunk right out of the middle of a bedroom upstairs. Rather than enclosing it they installed a pony wall and left it open, I assume to let more natural lighting in from the bedroom window.
Since there was only one bedroom upstairs, we decided to enclose it and turn it into a quirky, but functional U-shaped bedroom since there was a little built-in area for a twin-sized mattress.
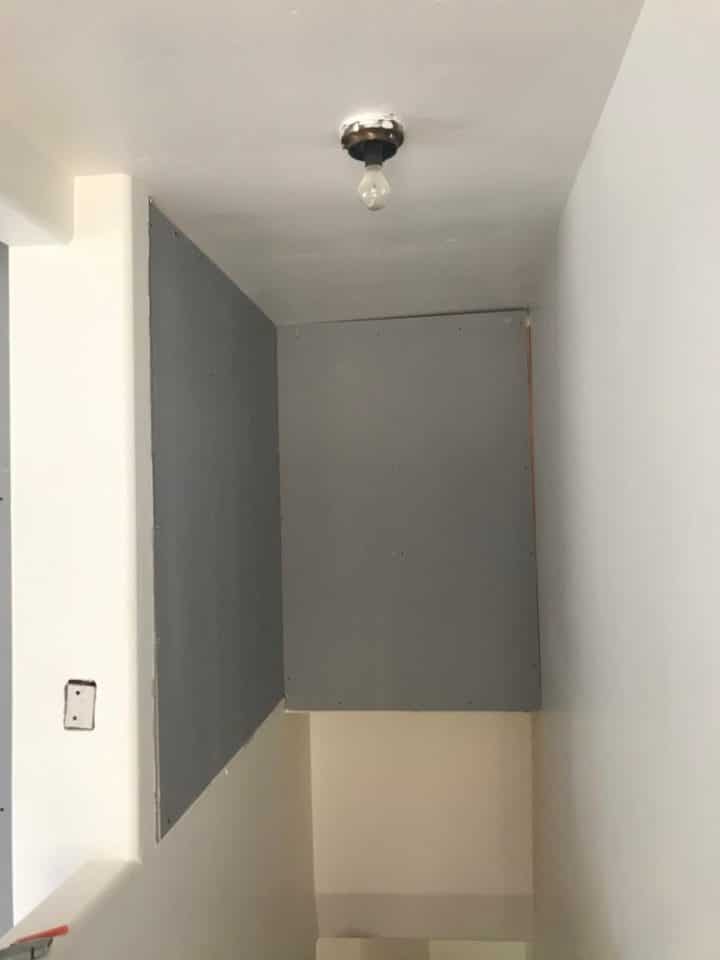
We started by framing in the pony wall and throwing some extra sheetrock over it left over from the shower install.
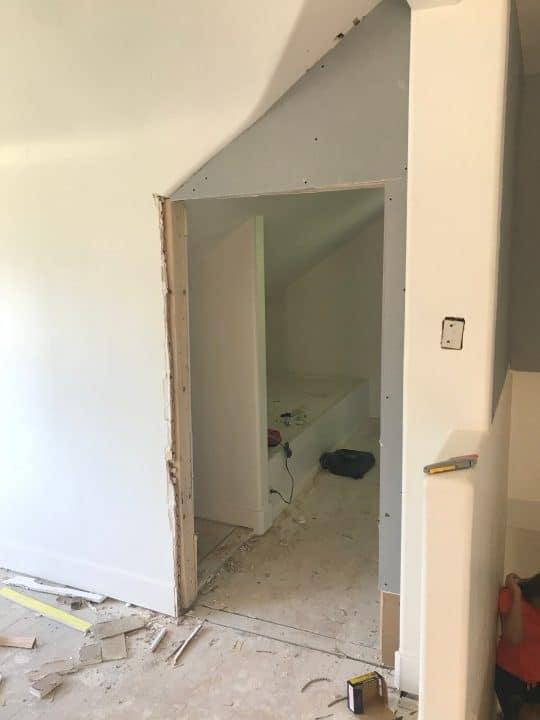
We also framed in the doorway, which ended up being a little bit short in order to get it square because of the slope of the roof. But it is a doorway nonetheless!
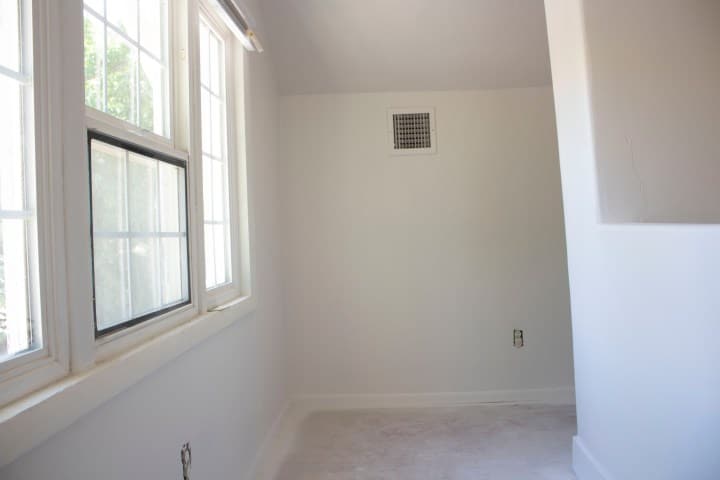
This is the back of the bedroom, the pony wall before it was enclosed on the right. Around that corner are some simple shelves for storage.
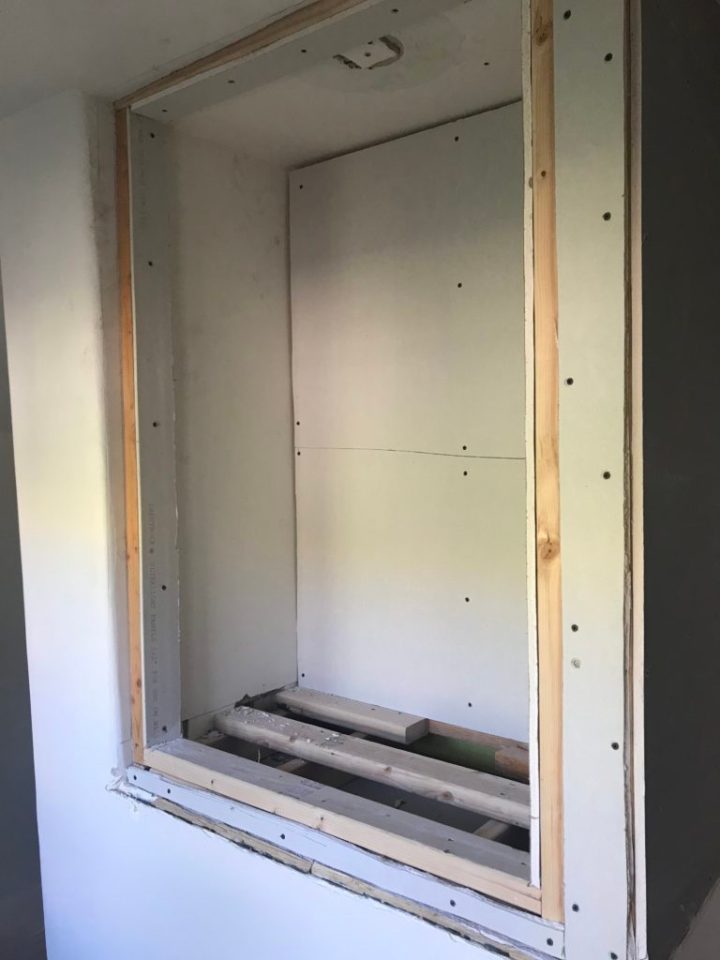
To utilize some of the dead space over the stairs and to add more storage (because heaven knows we need as much storage as we can get in this tiny house) we decided to build in a tiny closet above the pony wall. I’ll share more on how I finished it out later. It turned out so cute! Things in this renovation have slowly been coming together!
These projects were the last of the major structural renovations we did on the house which meant we could finally move in. That was a good feeling! Stay tuned for more of the cosmetic projects we did to improve the aesthetics of the home, I’ve got some good ones that I did on a SERIOUS budget! After this point, the rest of the projects were left up to me since hubby was about to begin his second year of medical school and thus, become unavailable. But I have had so much fun doing it! I can’t wait to show you!
XOXO,
Crystel
