

Published November 25, 2025
If you cook a lot, you know the struggle of digging through a dark cabinet for the one pan you actually need. Handles everywhere, lids sliding around, something heavy always falling on your toes. I wanted pots and pans storage that worked as hard as I do in the kitchen, so I built a custom slide out organizer that puts every pan and lid in its own little parking spot.
This DIY slide-out drawer gave me organized pots and pans storage, easy access to my cookware, and a whole lot less frustration every time dinner rolls around. If you are dealing with deep lower cabinets and a pile of random cookware, this project will completely change how your kitchen functions.
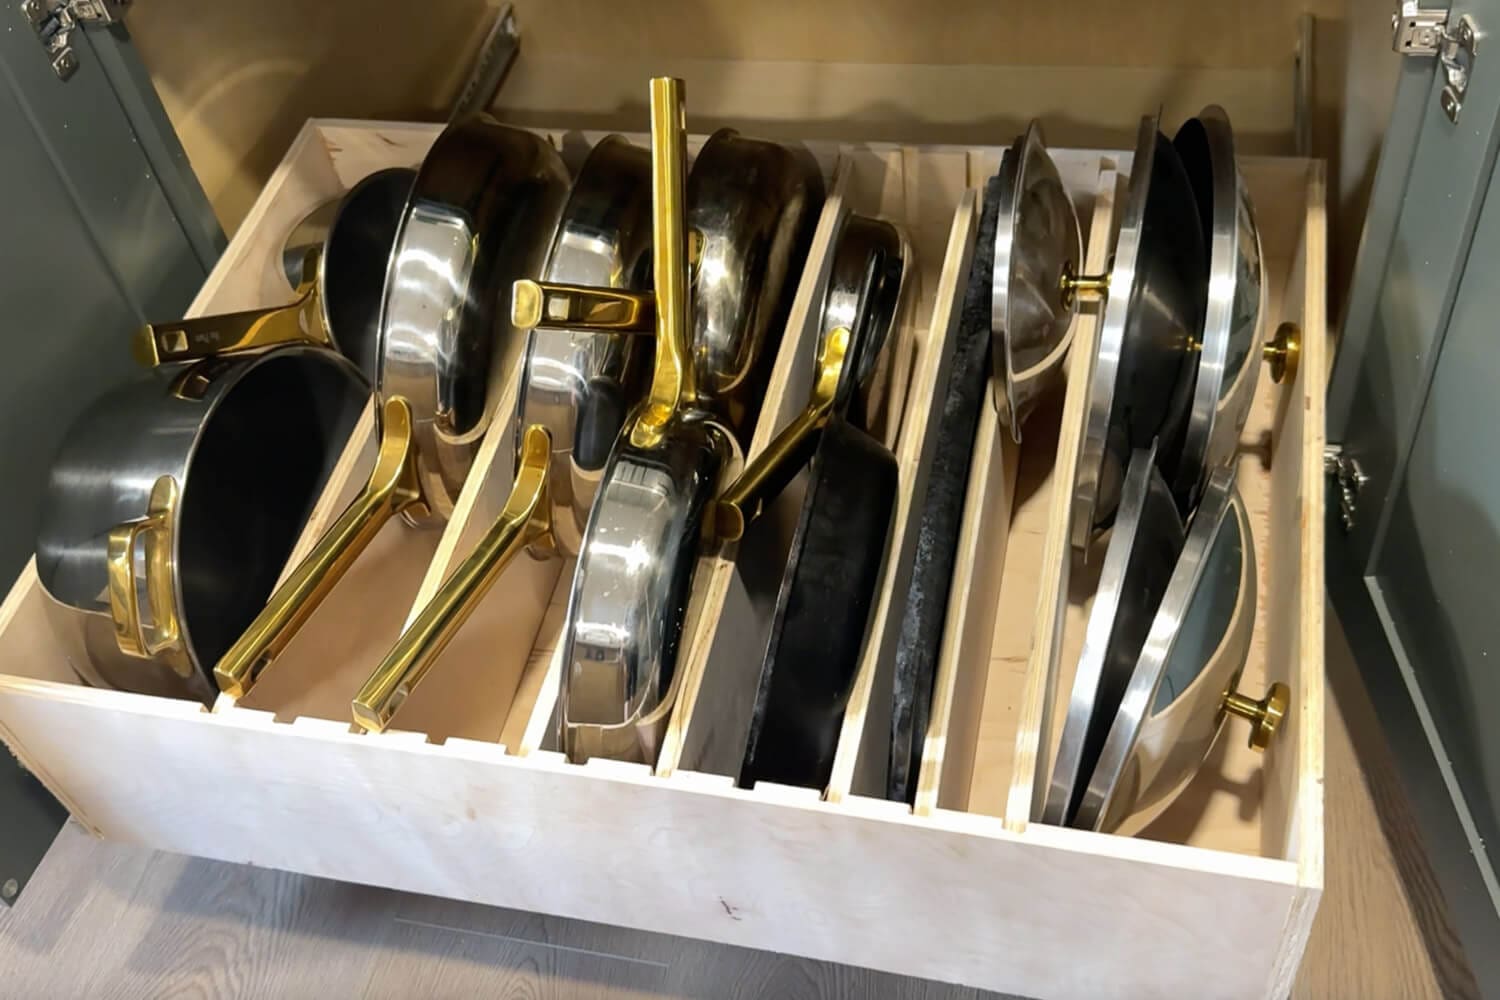
Table of Contents
- Tools and Materials for DIY Pots and Pans Storage
- Before: Our Not-So-Functional Pots and Pans Storage
- Step 1: Cut the Plywood for the Drawer Box
- Step 2: Route Grooves for the Divider Panels
- Step 3: Assemble the Drawer
- Step 4: Install the Drawer Slides in the Cabinet
- Step 5: Add Adjustable Dividers for Pots and Pans Storage
- My Cookware
- More DIY Kitchen Storage Ideas
- 📌 Save this DIY Pots and Pans Storage Project
- Pots and Pans Storage FAQ
Tools and Materials for DIY Pots and Pans Storage
To build this custom organizer, you only need basic woodworking tools and some plywood, but the right setup makes your pots and pans storage strong enough to hold heavy cookware for years to come.
Tools
- Table saw
- Miter saw
- Router
- Router table
- Brad nailer
- Drill
- Tape measure and pencil
- Clamps
- Orbital sander and sanding discs
- Safety glasses and hearing protection
Materials
- 3/4 inch plywood for the drawer box
- 1/4 inch plywood for adjustable divider panels
- Heavy-duty drawer slides
- Wood glue
- 1 1/4 inch brad nails
- Scrap 1x boards to use as spacers and mounting strips inside the cabinet
Before: Our Not-So-Functional Pots and Pans Storage
We are living in this house while we remodel it, and doing that with five kids has taught me something important. It is not about making everything pretty first. It is about making spaces functional so we can actually live and cook in them. I can come back and add all the decor and styling later. Right now, I need systems that work. That’s why I’m building storage organizers before installing a backsplash or handles.
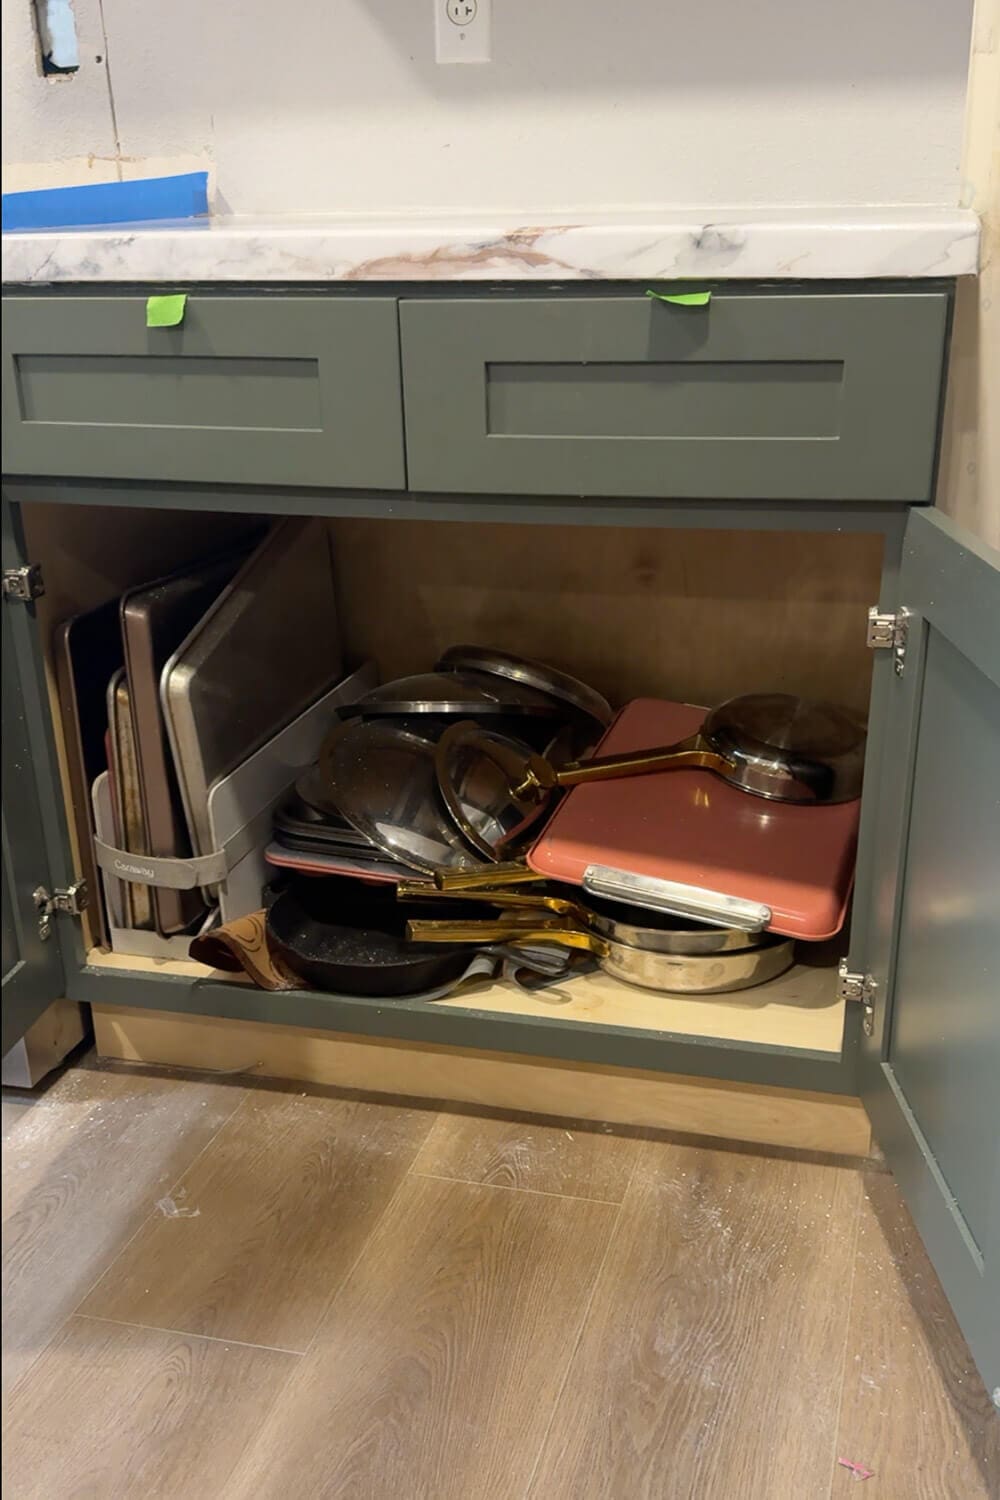
This lower cabinet is just to the right of our stove, which makes it prime real estate for pots and pans storage. Instead, it had turned into a black hole. All of my cookware was piled in there. Lids, baking sheets, skillets, and my Dutch oven were stacked on top of each other in a big jumbled mess.
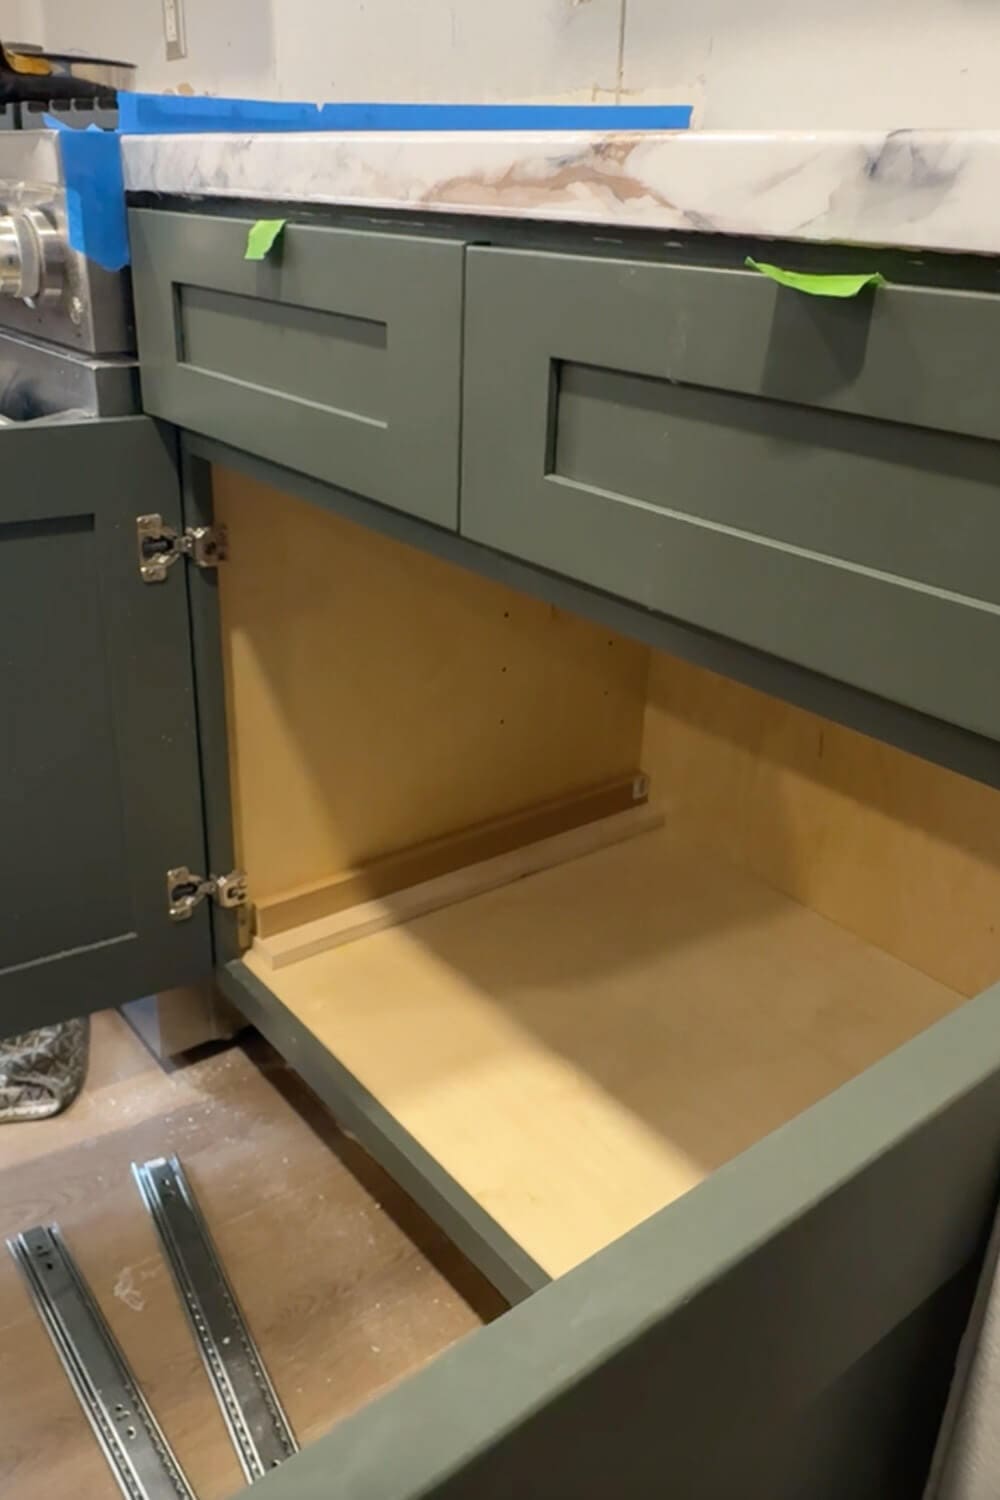
Once the cabinet was cleared, I measured to figure out how large a slide-out organizer I could fit inside. The face frame of the cabinet eats up just a little bit of space on each side, so the drawer I am building needs to sit in from the edge instead of right up against it.
To fix that, I added a strip of wood along the inside edge of the cabinet to bring the slides in. I also did not want the drawer sitting directly on the floor of the cabinet box because it would not slide well. I used another small board under that first strip as a temporary spacer to lift everything up to the right height.
Step 1: Cut the Plywood for the Drawer Box
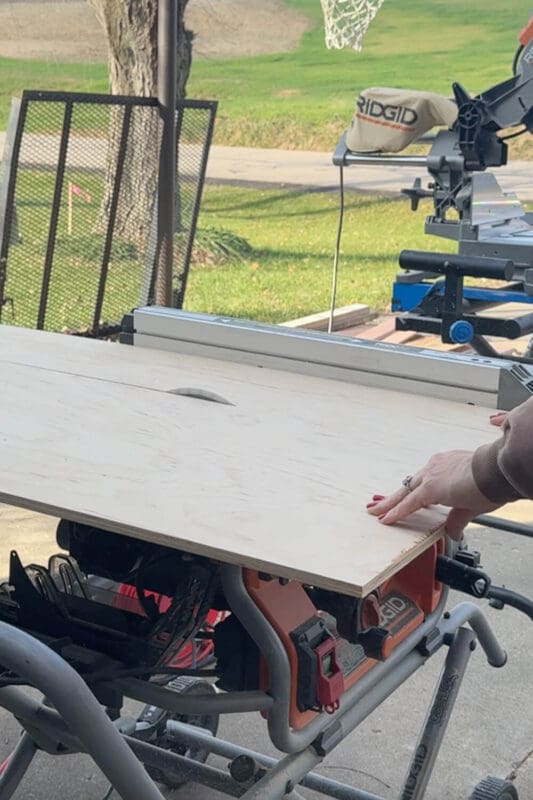
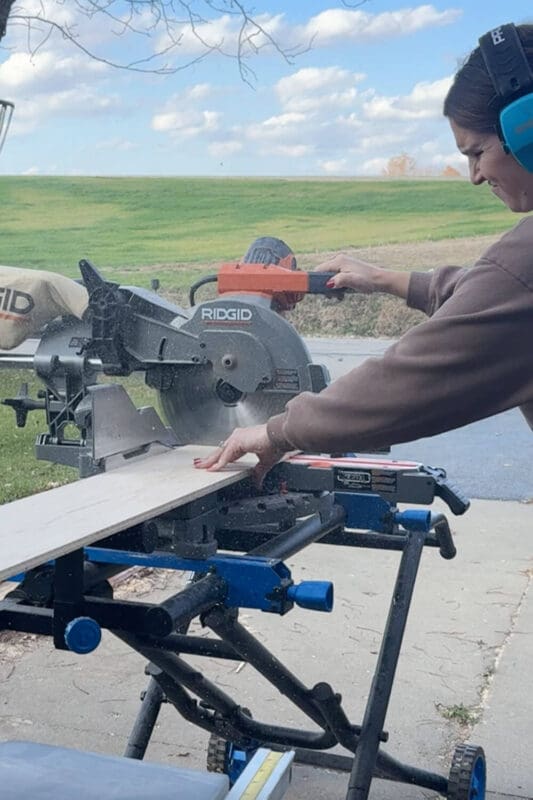
Once I had my measurements and knew how big my pull-out organizer could be, it was time to build. I used my table saw to rip the plywood sheet down into narrower strips for the drawer sides, front, back, and bottom. After that, I moved over to the miter saw to cut each panel to the exact length I needed for my cabinet.
Since this drawer is going to be loaded up with heavy cookware, I wanted the construction to be extra sturdy. Rather than just screwing or nailing the bottom panel into the sides, I wanted to create a notch all the way around the inside of the drawer for the bottom to sit into. That groove gives the bottom panel a lot more support.
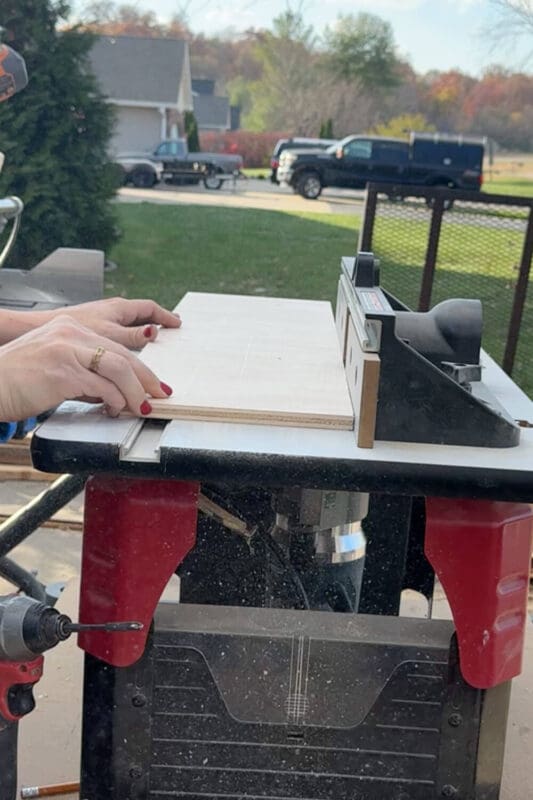
I marked where I wanted the notch to be on all four edge pieces of the drawer box, then used my router table to cut a groove just in from the lower edge on each board.
Before moving on, I did a dry fit. I slid the bottom panel into the grooves and set the sides, front, and back in place to make sure everything fit snugly. At this stage, I did not add glue or nails. This is just a test fit so you can fix anything that is slightly off before you commit.
Step 2: Route Grooves for the Divider Panels
Once I was happy with the basic drawer box, I moved on to the fun part that makes this a customizable pots and pans storage instead of just a giant drawer.
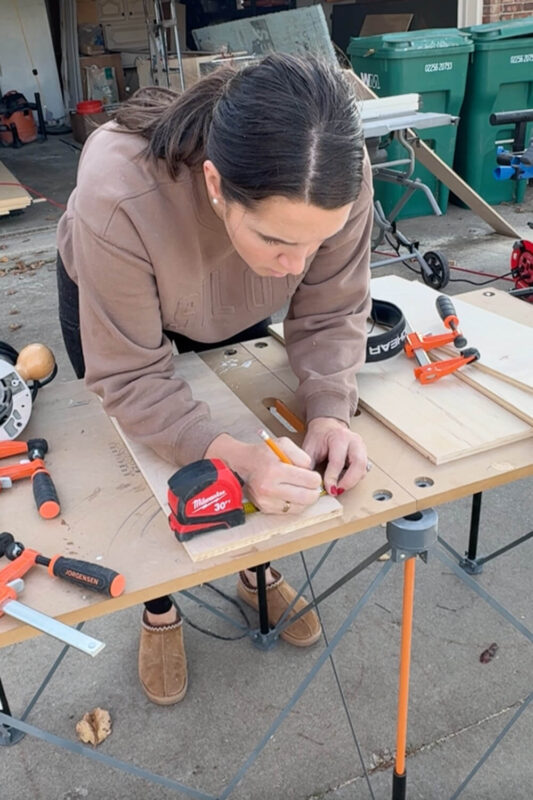
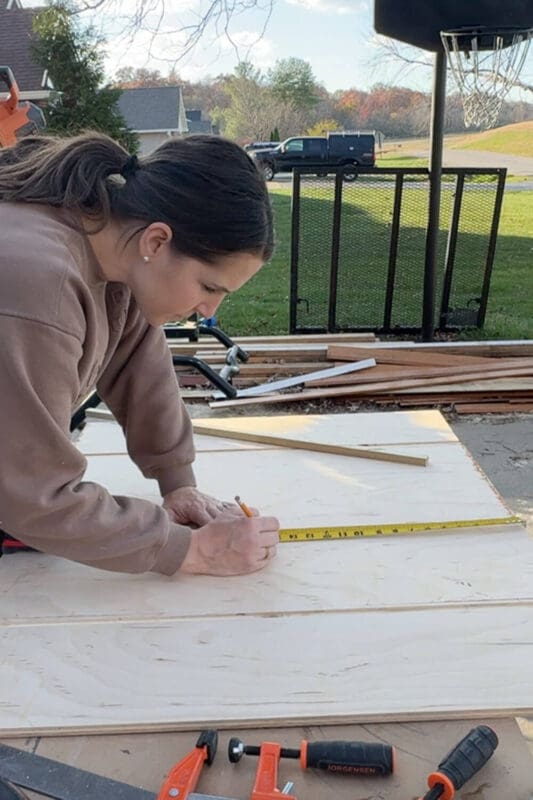
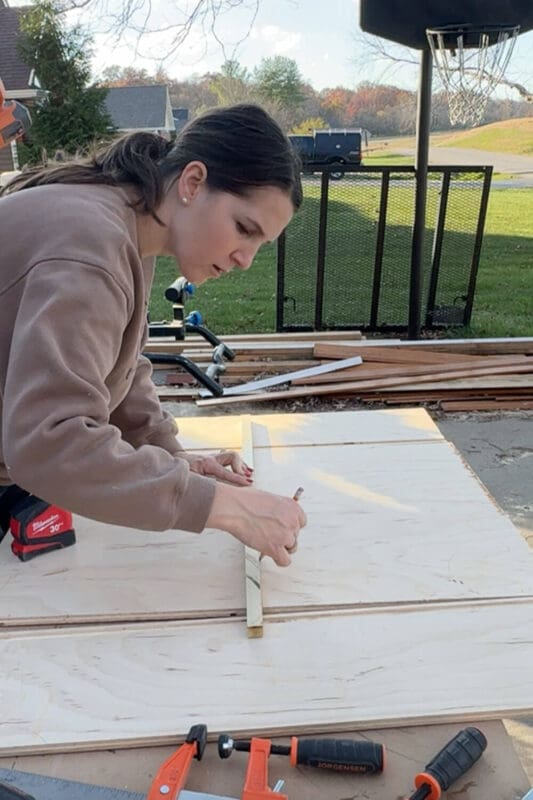
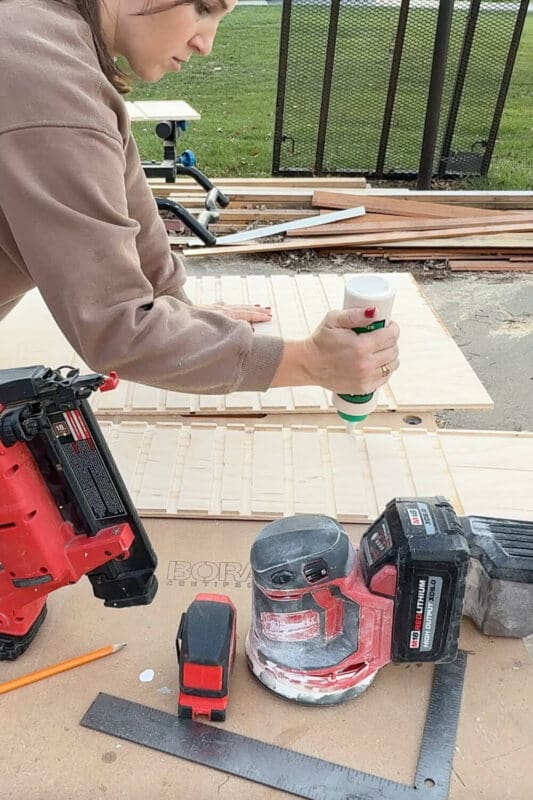
I wanted vertical dividers that could slide into grooves so each pot, pan, and lid has its own spot. In order for that to work, the grooves need to line up perfectly down the back of the drawer, across the bottom, and up the front panel. I measured and marked where each of these notches should go.
I used clamps to hold the drawer pieces right on my work table so nothing could shift while I worked. Then I measured and marked all the layout lines where I wanted each divider to go.
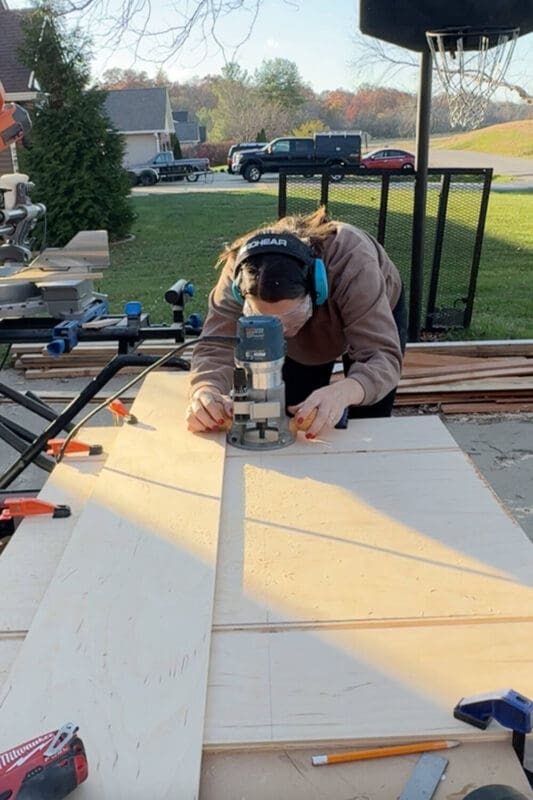
To keep my router running in a straight line, I clamped a long board down as a guide and ran the router along every marked line to cut shallow grooves. After all the grooves were in, I gave everything a good sanding. A folded sanding disc worked perfectly for smoothing the inside of each groove where needed.

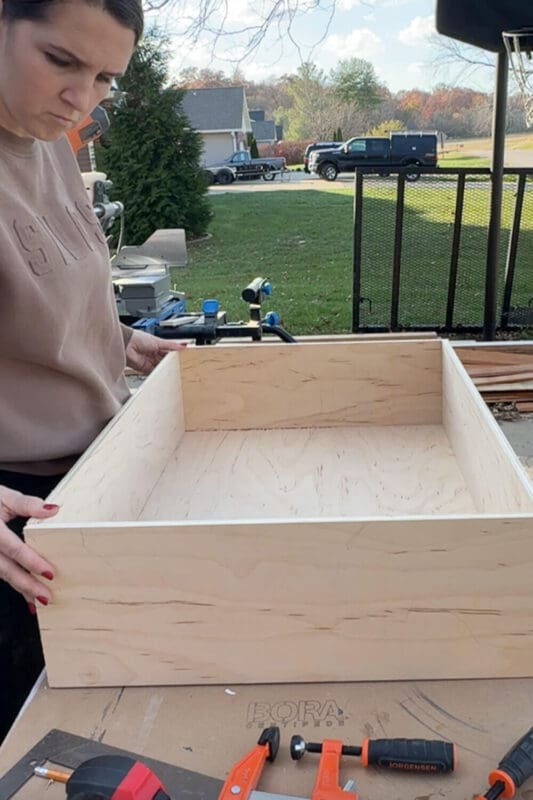
Step 3: Assemble the Drawer
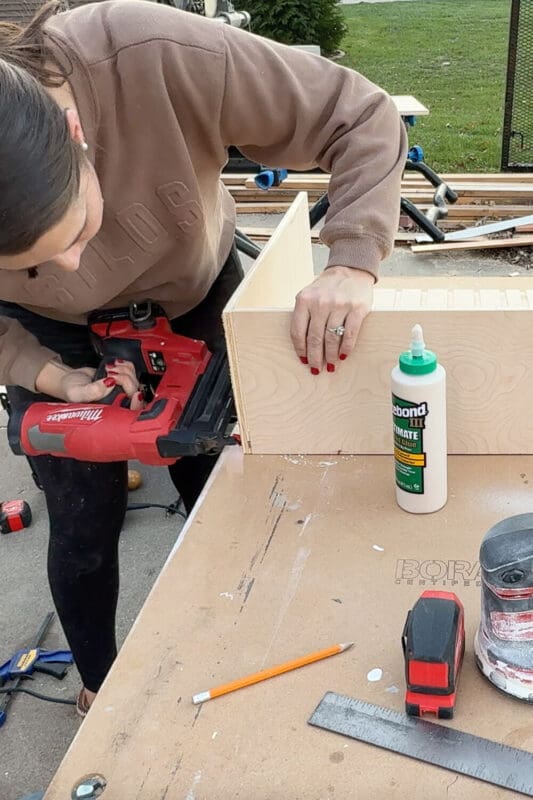
With all the grooves routed, it was time to finally put the drawer together.
As always, my go-to combo is wood glue and brad nails. I squeezed wood glue into every joint where two boards meet, like in the grooves where the bottom panel slips into the sides and along the corners where each edge comes together. Then I used my brad nailer to add a few nails along each edge to lock everything in place while the glue dried.
Between the glued joints, the inset bottom, and the brad nails, this drawer is extremely solid and ready for serious pots and pans storage.
Step 4: Install the Drawer Slides in the Cabinet
Next up is getting the slides in the right spot inside the cabinet box.
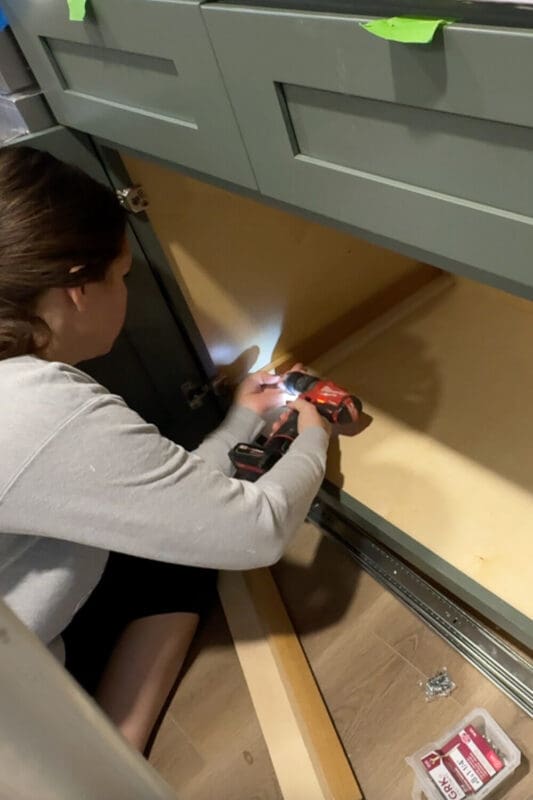
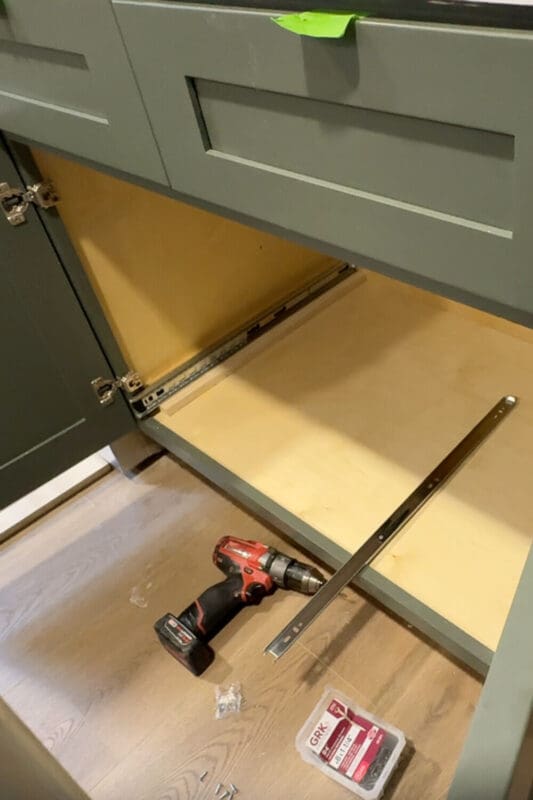
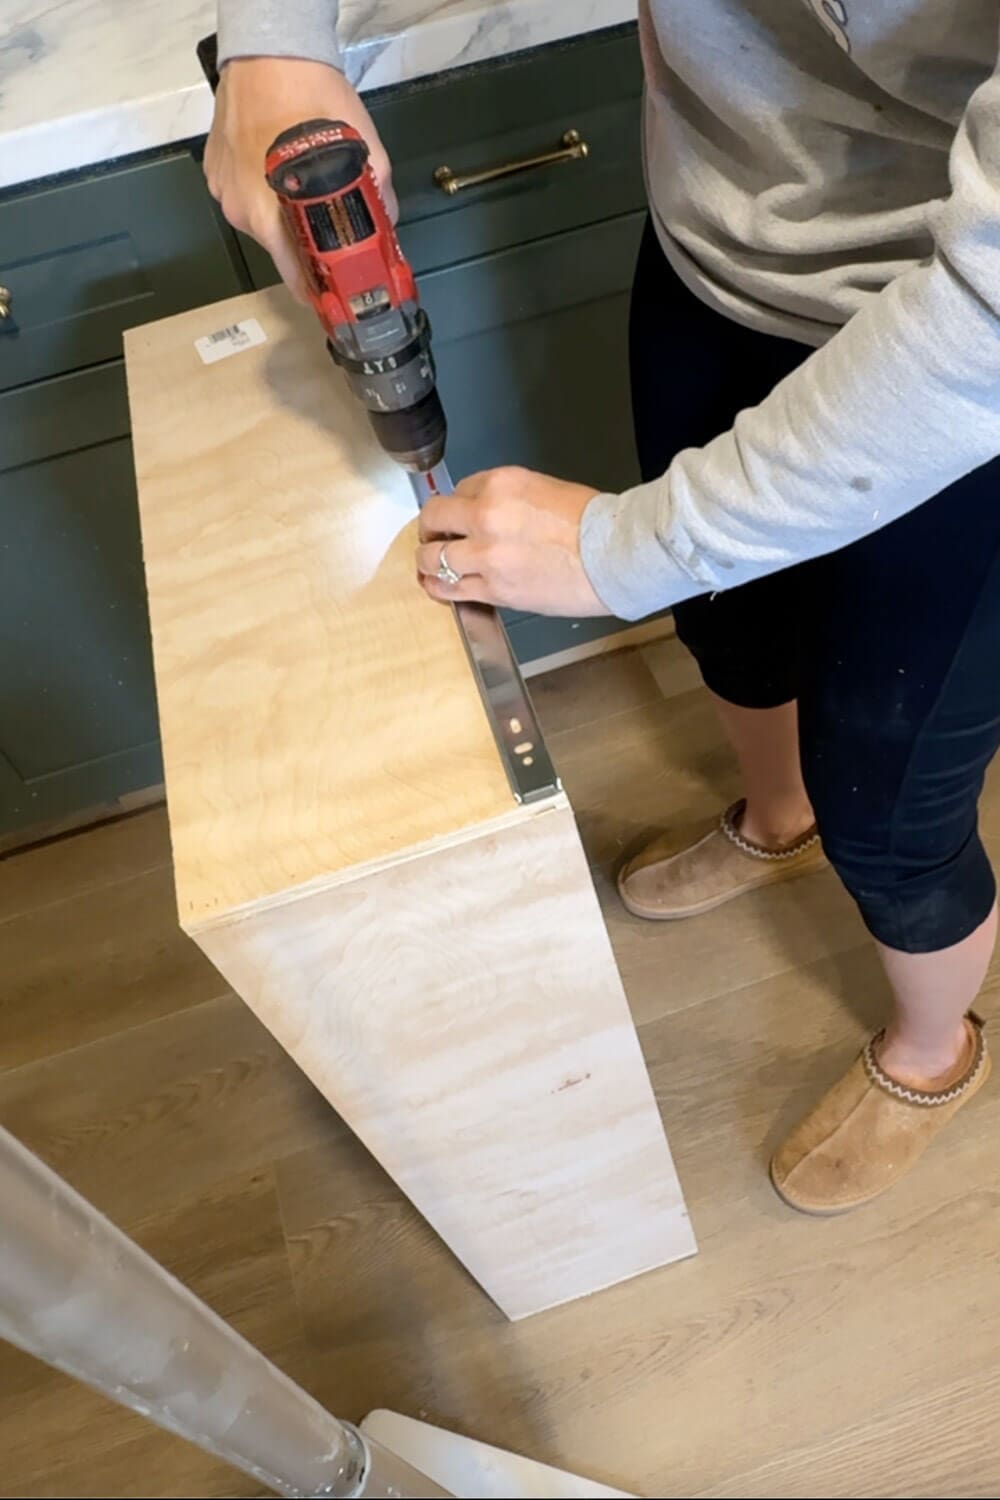
Remember that little spacer board I added earlier along the side of the cabinet? That piece fills the gap between the cabinet wall and where the drawer slide needs to sit so that the slide is inset from the face frame. I attached the upper board permanently with screws and my drill.
The second board underneath is just a temporary riser. It lifts the slide and the mounting strip up off the cabinet floor while I screw everything into place so my slides stay level and at the correct height. Once the slides are attached to the sides of the cabinet, I can pull that lower board out.
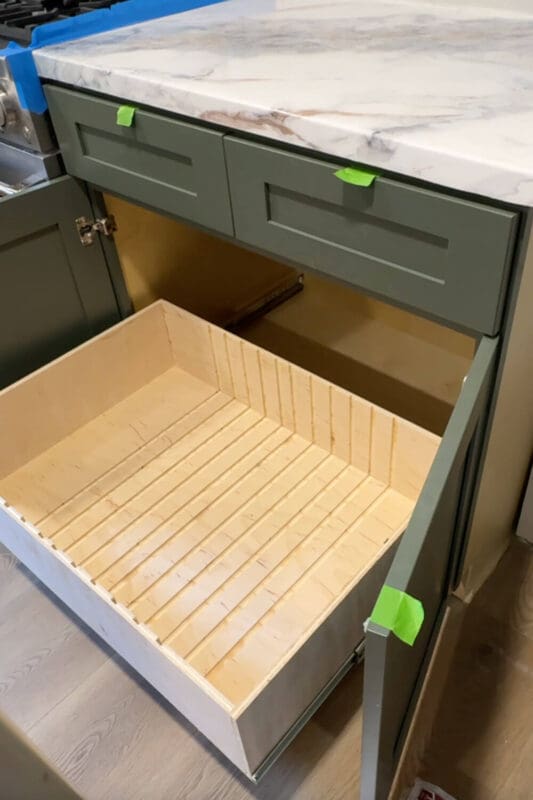
After the cabinet portion of the slide is in, I attached the moving part of each drawer slide to both sides of the drawer box. Then it is the best part. Slide the drawer into the cabinet, click the slides into place, and pull it out a few times to make sure everything moves smoothly. Already it looks so good, and the drawer feels incredibly sturdy.
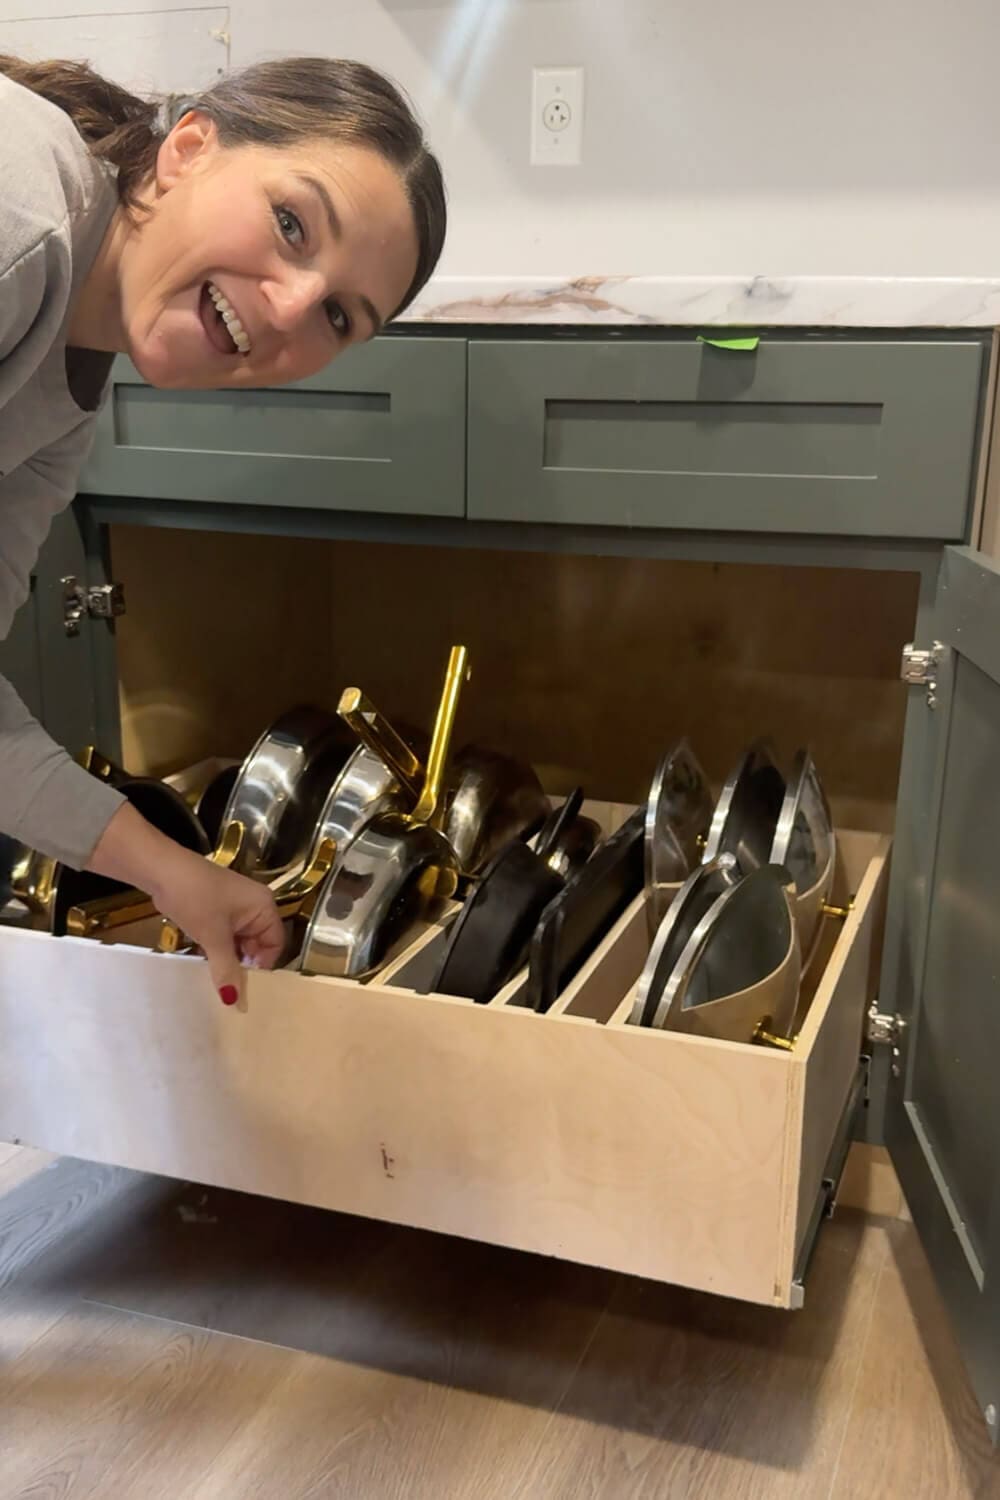
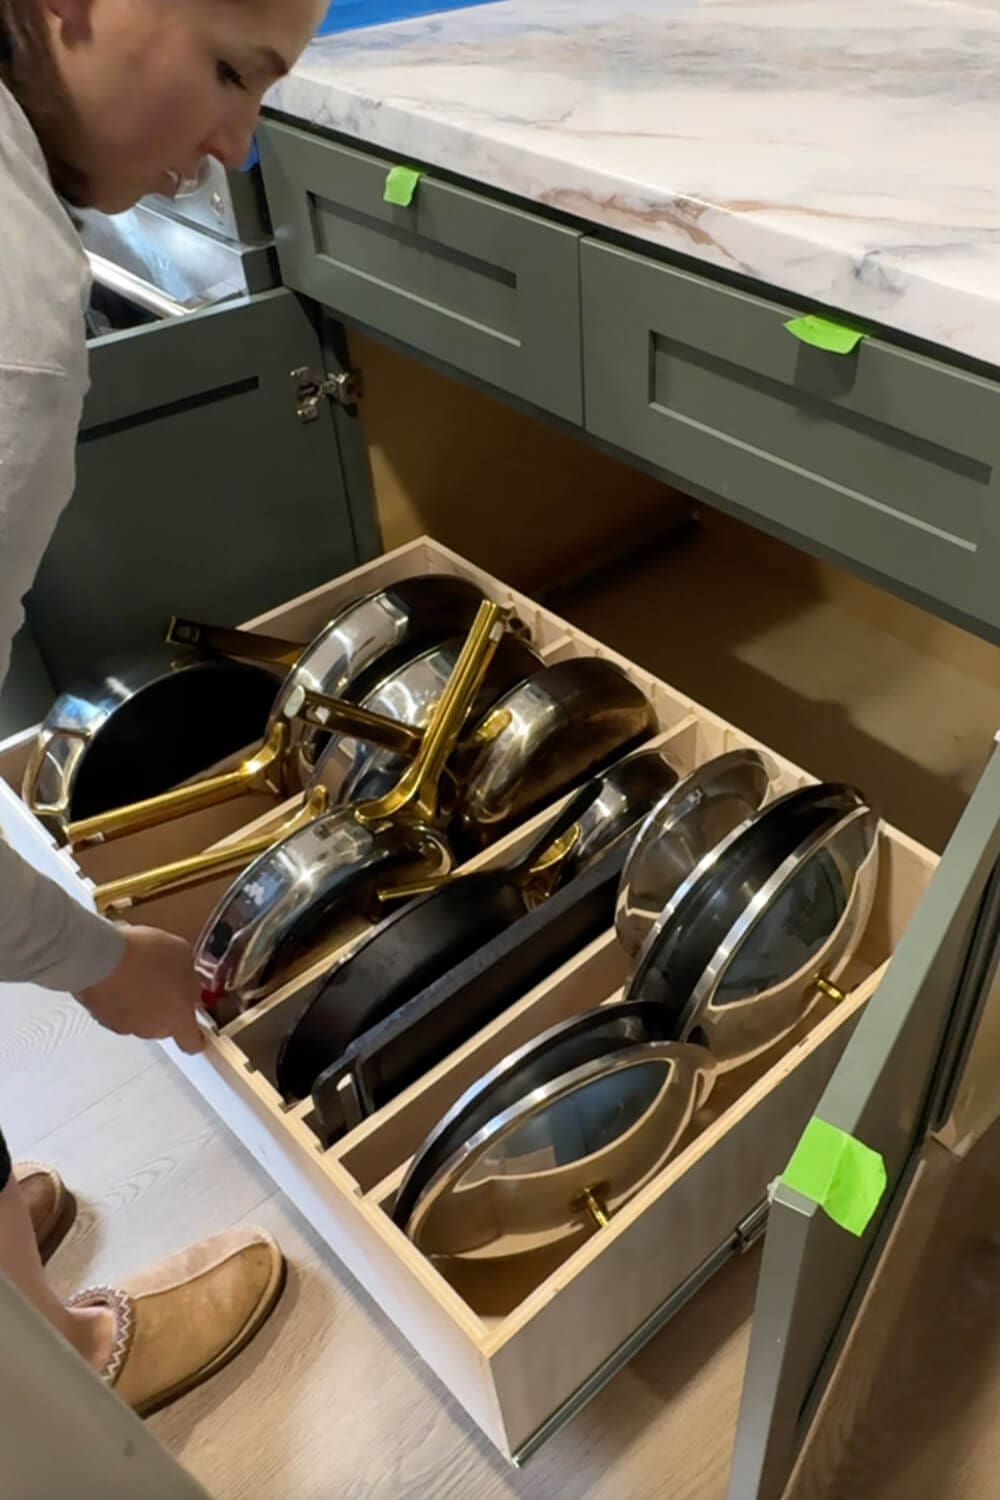
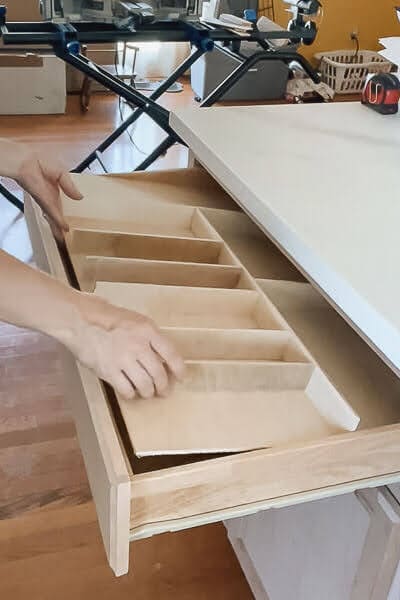
Step 5: Add Adjustable Dividers for Pots and Pans Storage
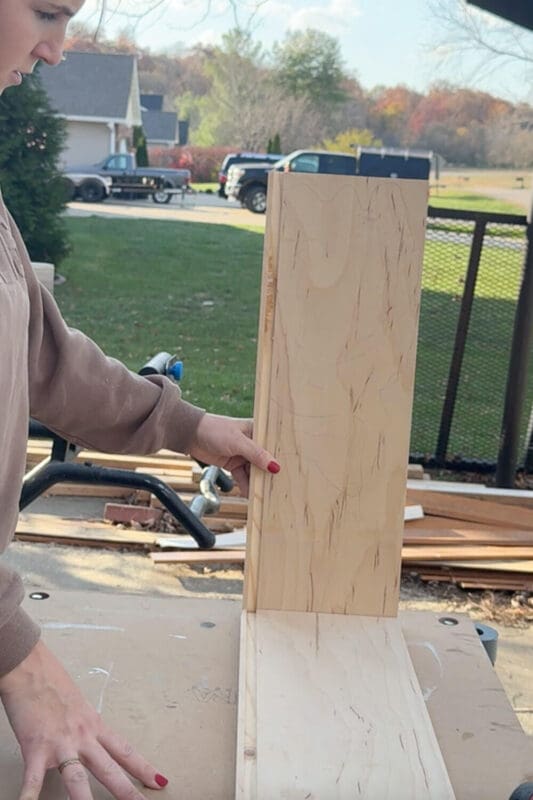
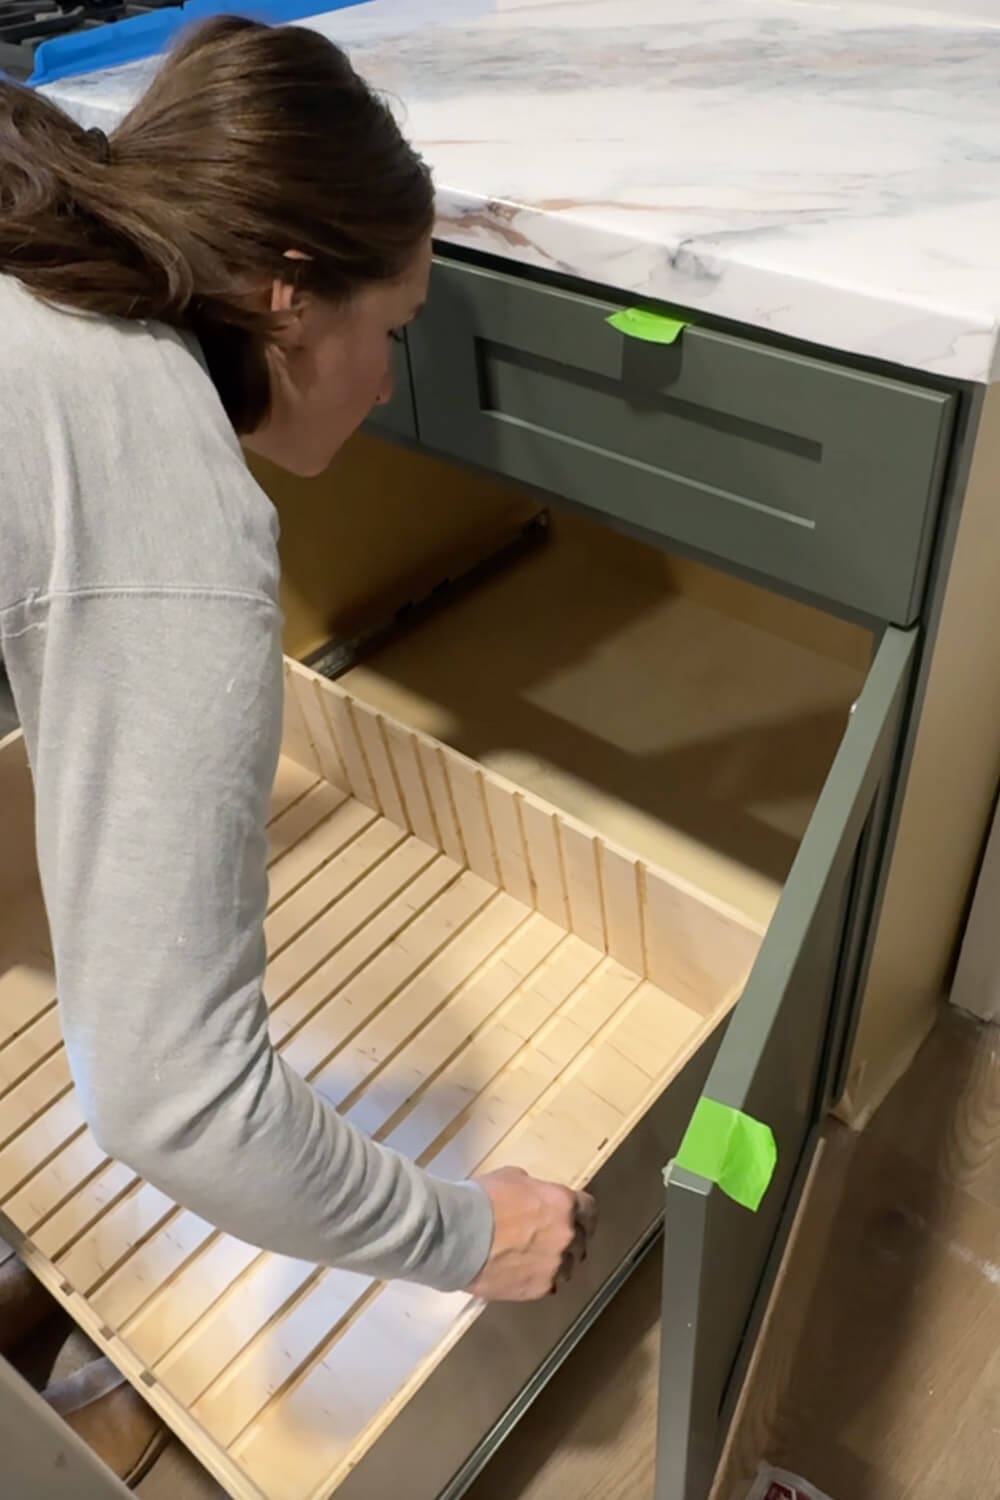
To finish off the organizer, I cut simple dividers from 1/4 inch plywood. Each panel slides right into the routed grooves in the bottom and up the sides of the drawer. Because I made so many grooves, I can adjust the layout whenever I need to.
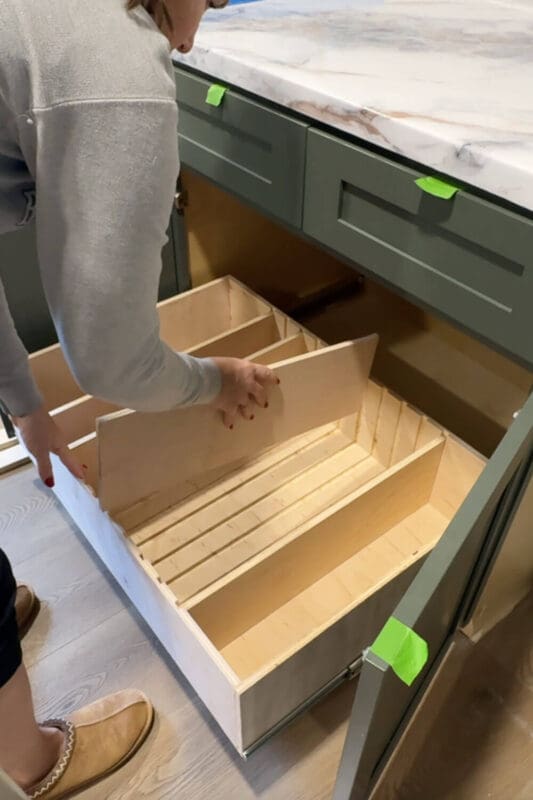
Once the dividers were in, I loaded everything back in. I have room for the deeper pieces like my Dutch oven and sauce pans, the thinner skillets, and even a dedicated row for lids. I moved the baking sheets to another organizer in a different cabinet, but that’s for another post.
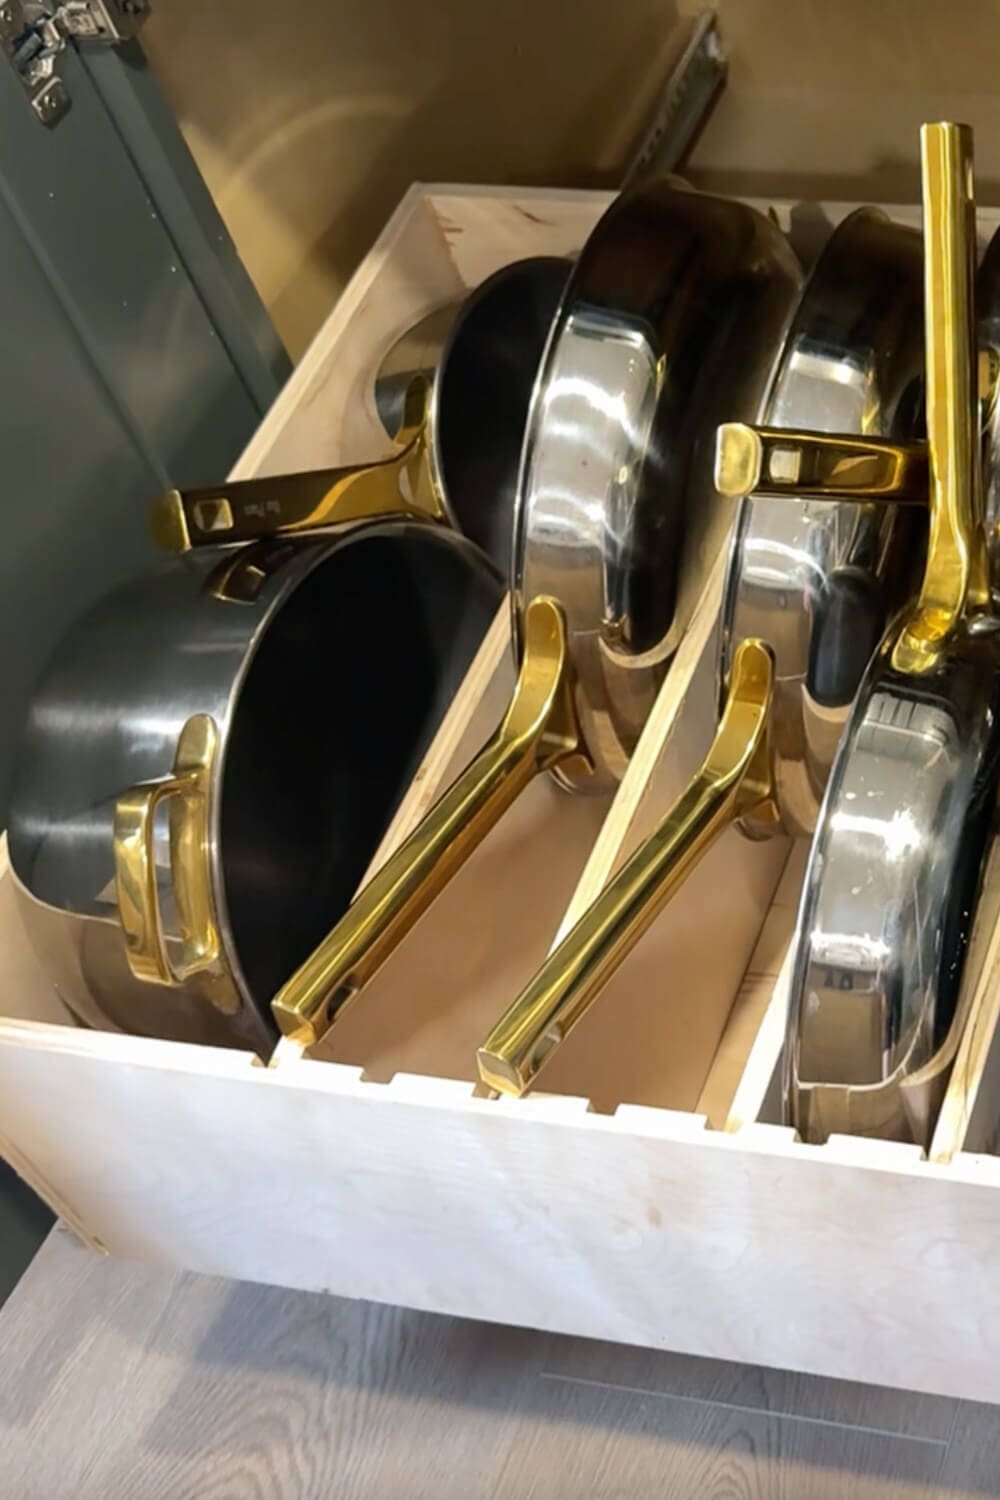
My Cookware
Since you’re probably wondering, the cookware set in these photos is one I have been testing for a couple of months, and I am obsessed. It is non-toxic, non-stick, dishwasher safe, so easy to clean, and not to mention beautiful. It fits perfectly in this new pots and pans storage drawer and makes me happy every time I open the cabinet. I linked it here for you, so check it out.

More DIY Kitchen Storage Ideas
This slide out pots and pans storage drawer is just one piece of my mission to whip this kitchen into shape. With five kids and a whole house remodel happening around us, I am all about smart storage that actually makes cooking and cleaning easier, not harder.
If you want to see more kitchen organization projects in real time, come hang out with me on Instagram. I share the behind-the-scenes of these builds, the wins, the fails, and the real-life stuff that happens in between projects.
If you are looking for more DIY storage ideas right now, here are two projects from our last house that you’ll love:
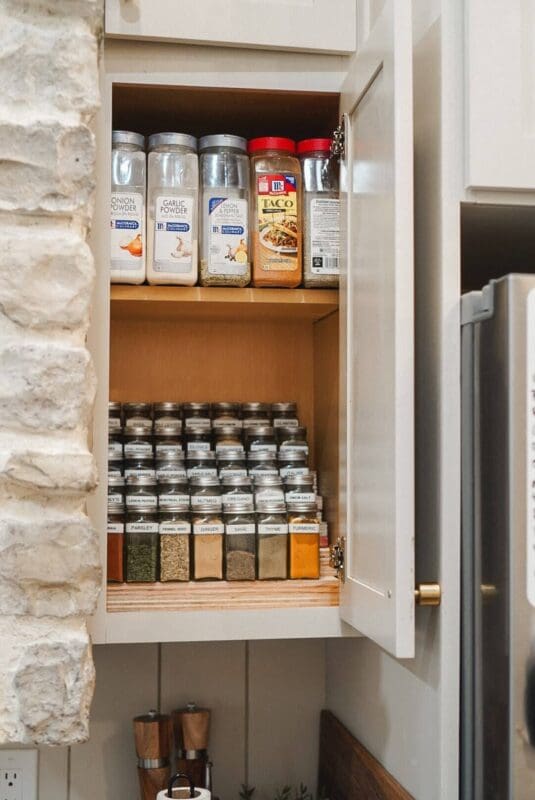
- Easy and Functional DIY Tiered Spice Rack! – A simple tiered insert that lets you see every spice at a glance instead of digging around in the back of the cabinet.
- How to Build a Silverware Drawer Organizer the EASY Way! – A fully custom drawer insert that keeps spatulas, wooden spoons, silverware, and all those random gadgets in their own sections instead of sliding around in a jumble.
📌 Save this DIY Pots and Pans Storage Project
If you want to build your own slide out pots and pans storage but you are not ready to start today, make sure to save this tutorial for later.
Pots and Pans Storage FAQ
The basic idea is to build a sturdy slide-out drawer box from 3/4 inch plywood, install heavy-duty full-extension slides, then add grooves for dividers. The dividers let you stand pots, pans, and lids upright, so your pots and pans storage is easy to see and reach, instead of stacked in a pile.
Look for full extension drawer slides that are rated for heavy loads, especially if you plan to store cast iron or a full set of cookware. Mount them to a solid spacer board inside the cabinet so the slides clear the face frame and the drawer can glide smoothly.
Yes. That is the best part. By routing grooves along the inside of the drawer, you can slide the dividers wherever you need them. Wider slots work for Dutch ovens and pots, while narrow slots are great for frying pans and lids.
Absolutely. Slide-out drawers are perfect for small kitchens because they let you use every inch of a deep cabinet. You can customize the width and depth of the drawer to fit your exact cabinet and still get organized pots and pans storage without wasting space.
You can definitely buy a pre-made organizer like this awesome one, but building your own lets you use every bit of your cabinet and tailor the slots to your exact cookware. And if you already own or have access to the needed tools, the DIY option will save you money!
