Making DIY Flocked Ornaments


Updated May 9, 2026
Want to give your holiday decor an upgrade without spending a fortune? This DIY flocked ornament project is just what you need to make your tree look high-end and stylish—all while using ornaments you probably already have lying around. With a few easy supplies and a little creativity, you can turn old ornaments into gorgeous custom pieces that look like they came straight out of a designer catalog.

Table of Contents
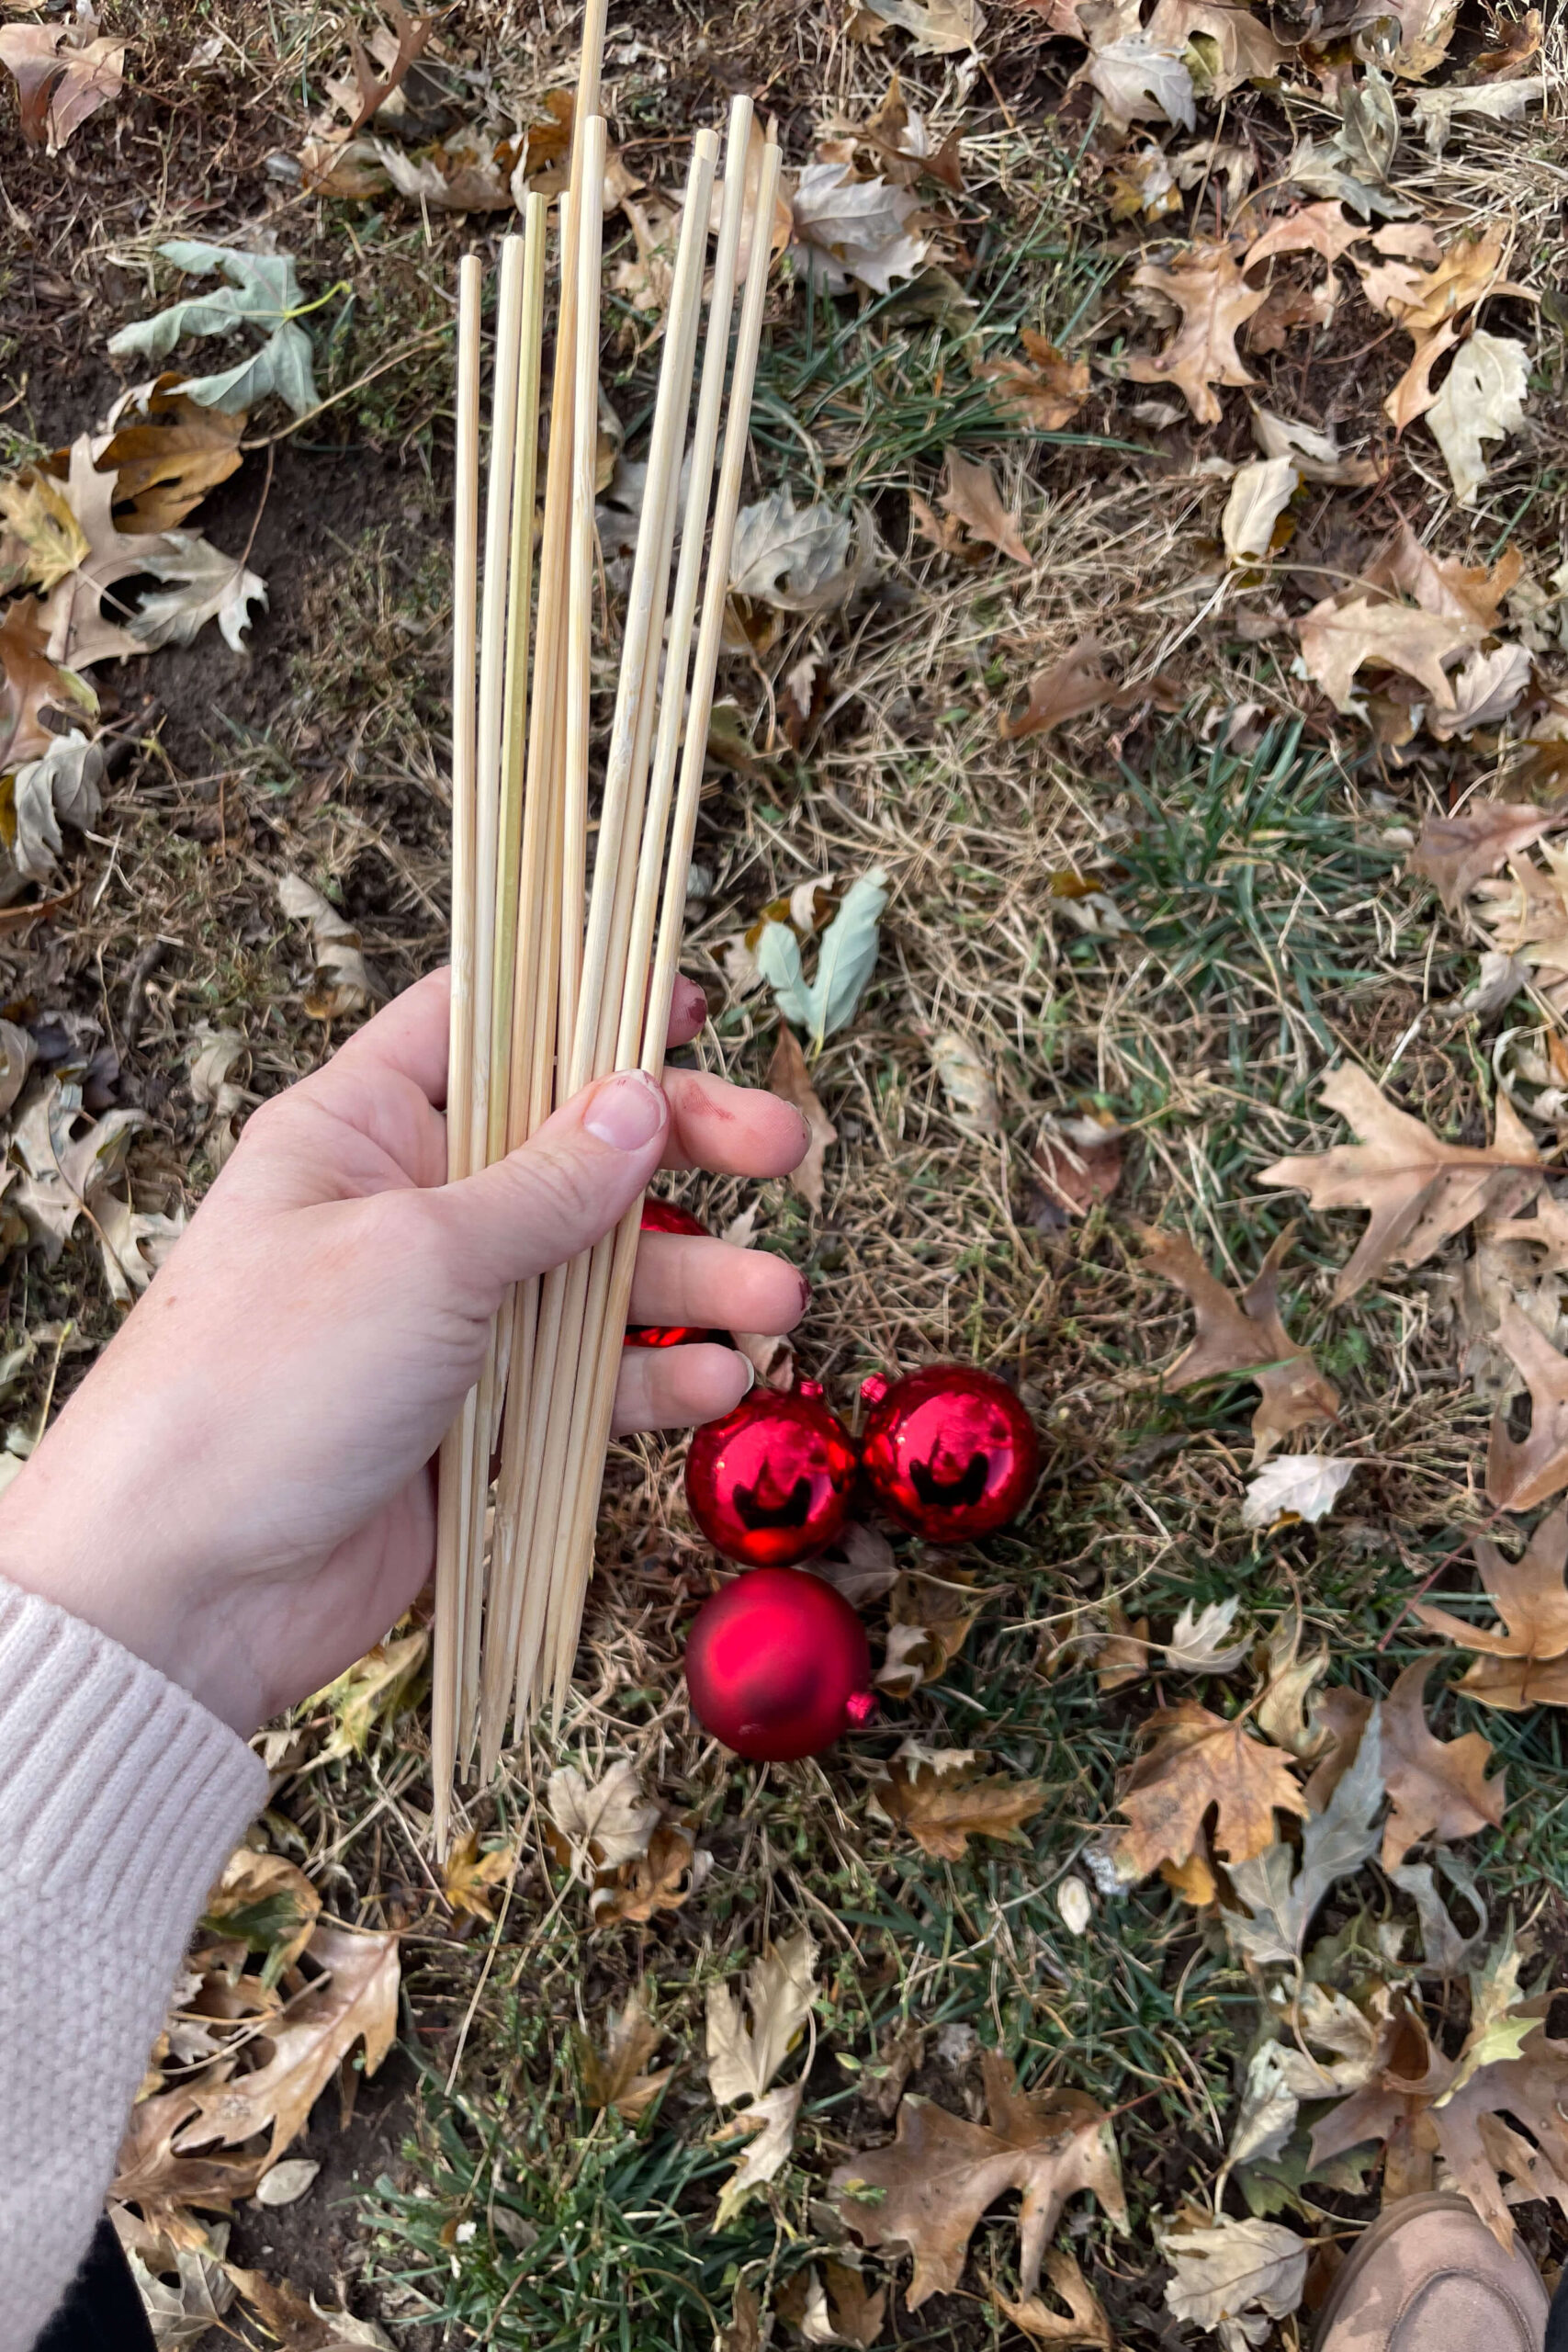
What You Need to Make Flocked Ornaments
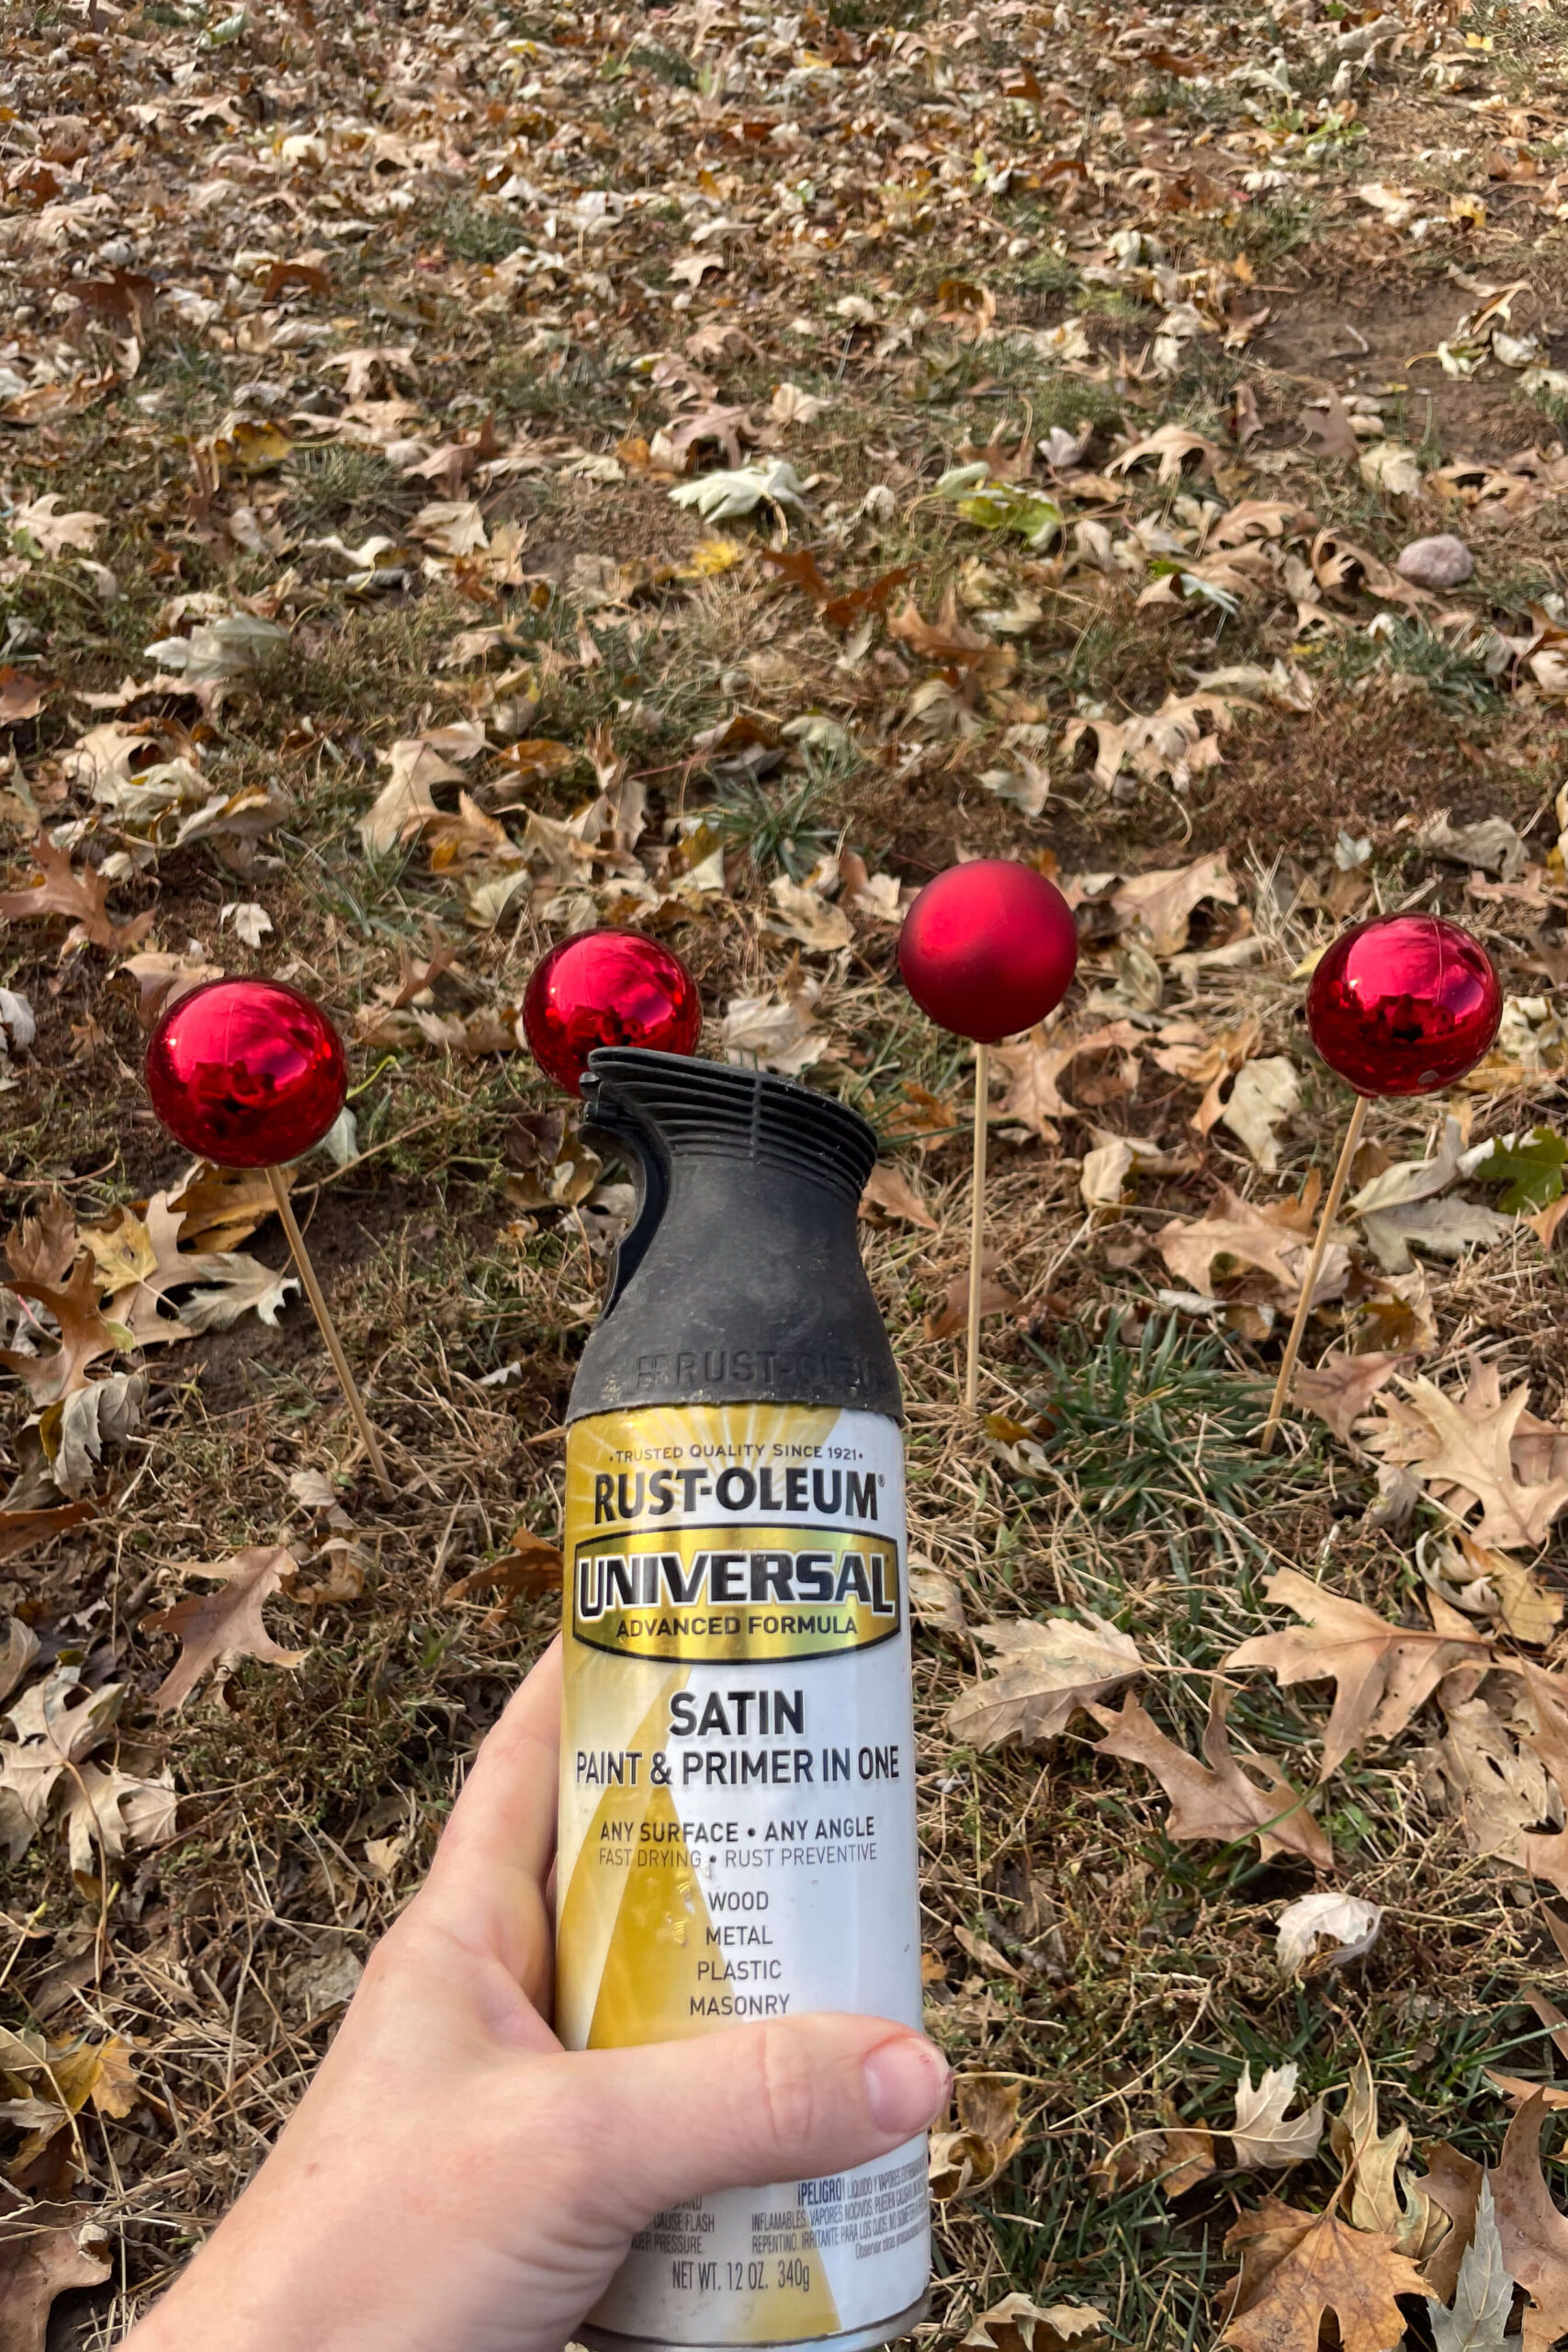
Step 1: Spray Paint a Black Base Coat
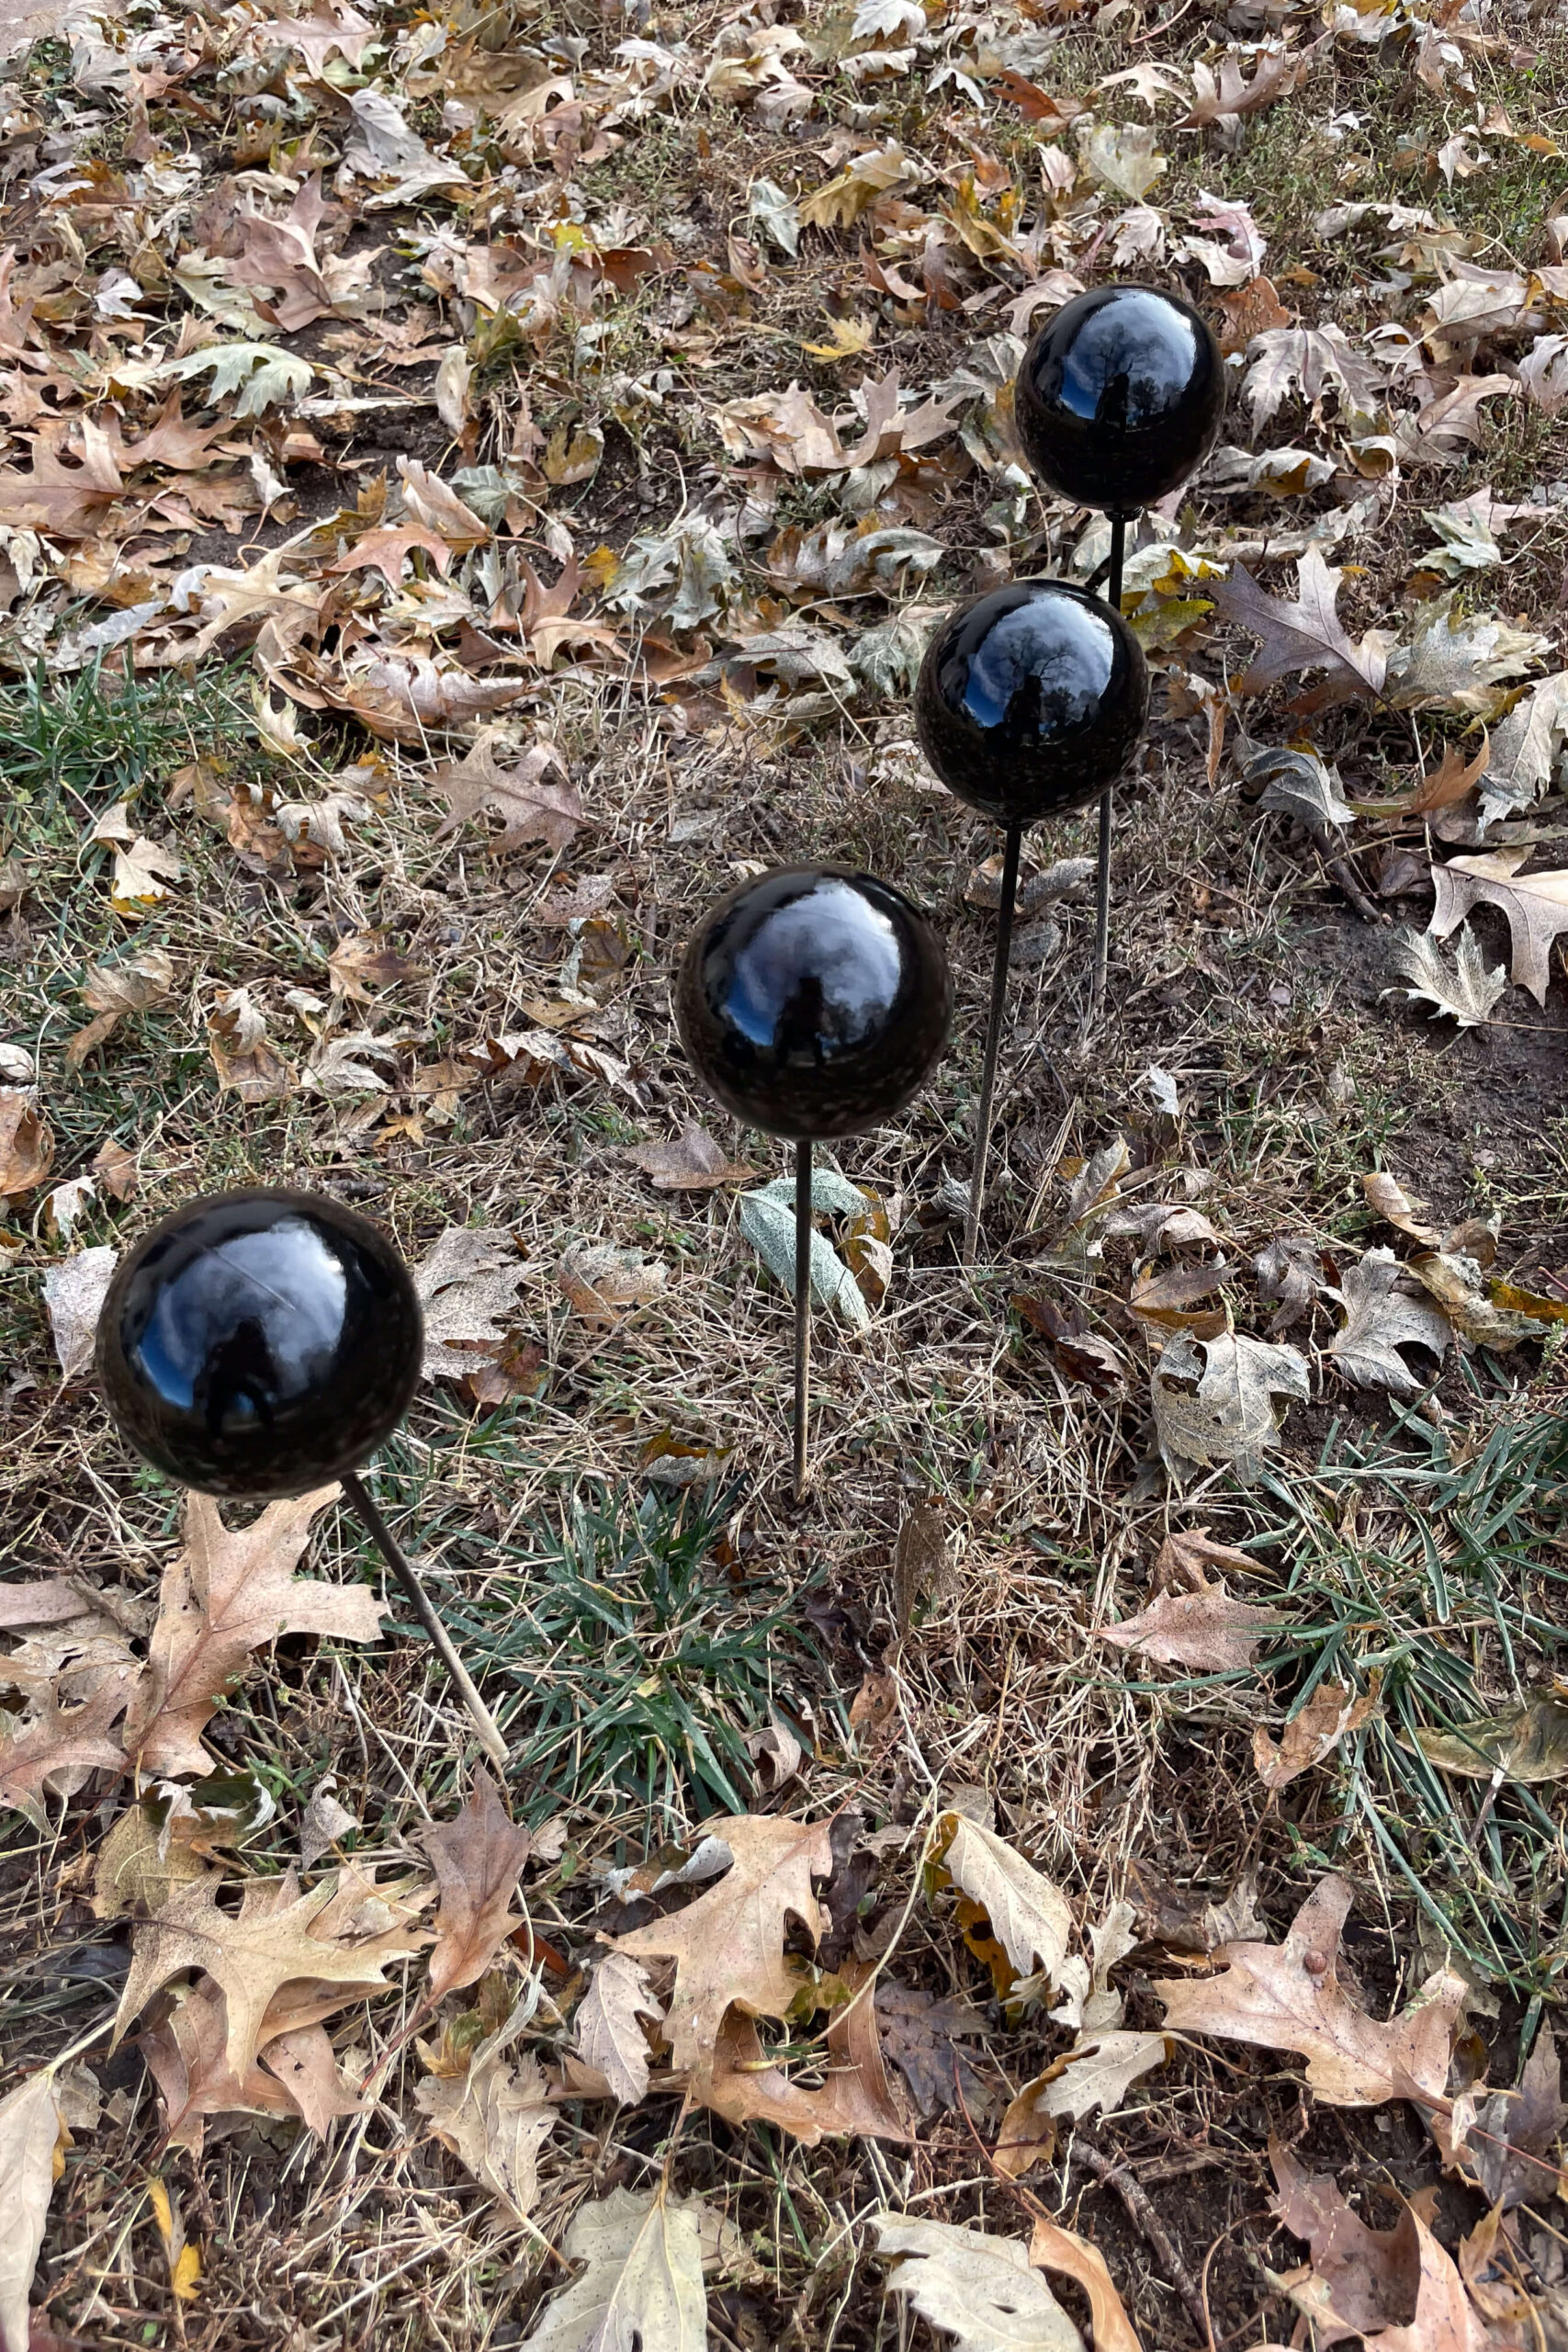
To make flocked ornaments, start by gathering whatever ornaments you already have. This is a perfect chance to refresh those old decorations that no longer match your style. First, give each one a base coat of black spray paint in a flat or satin finish. To make painting easy, I propped mine up on skewers and set them out in my yard.
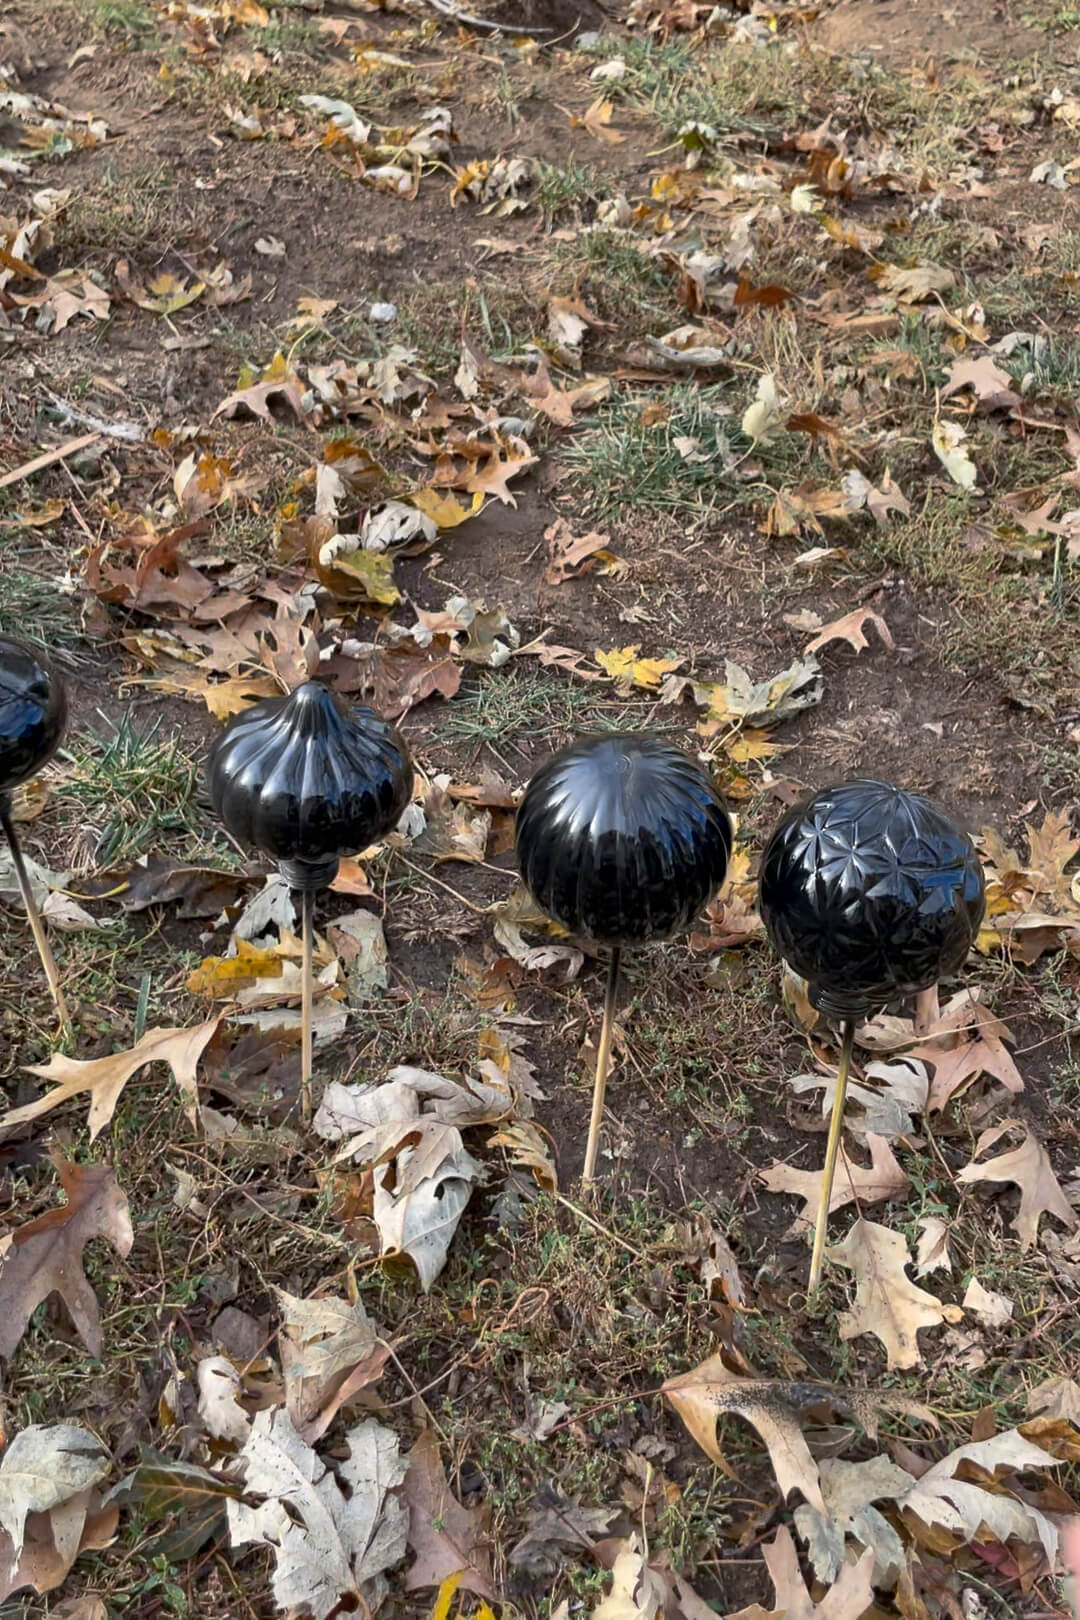
Although round ornaments work great, I also mixed in some other ornaments with different shapes and grooves for added variety and interest.
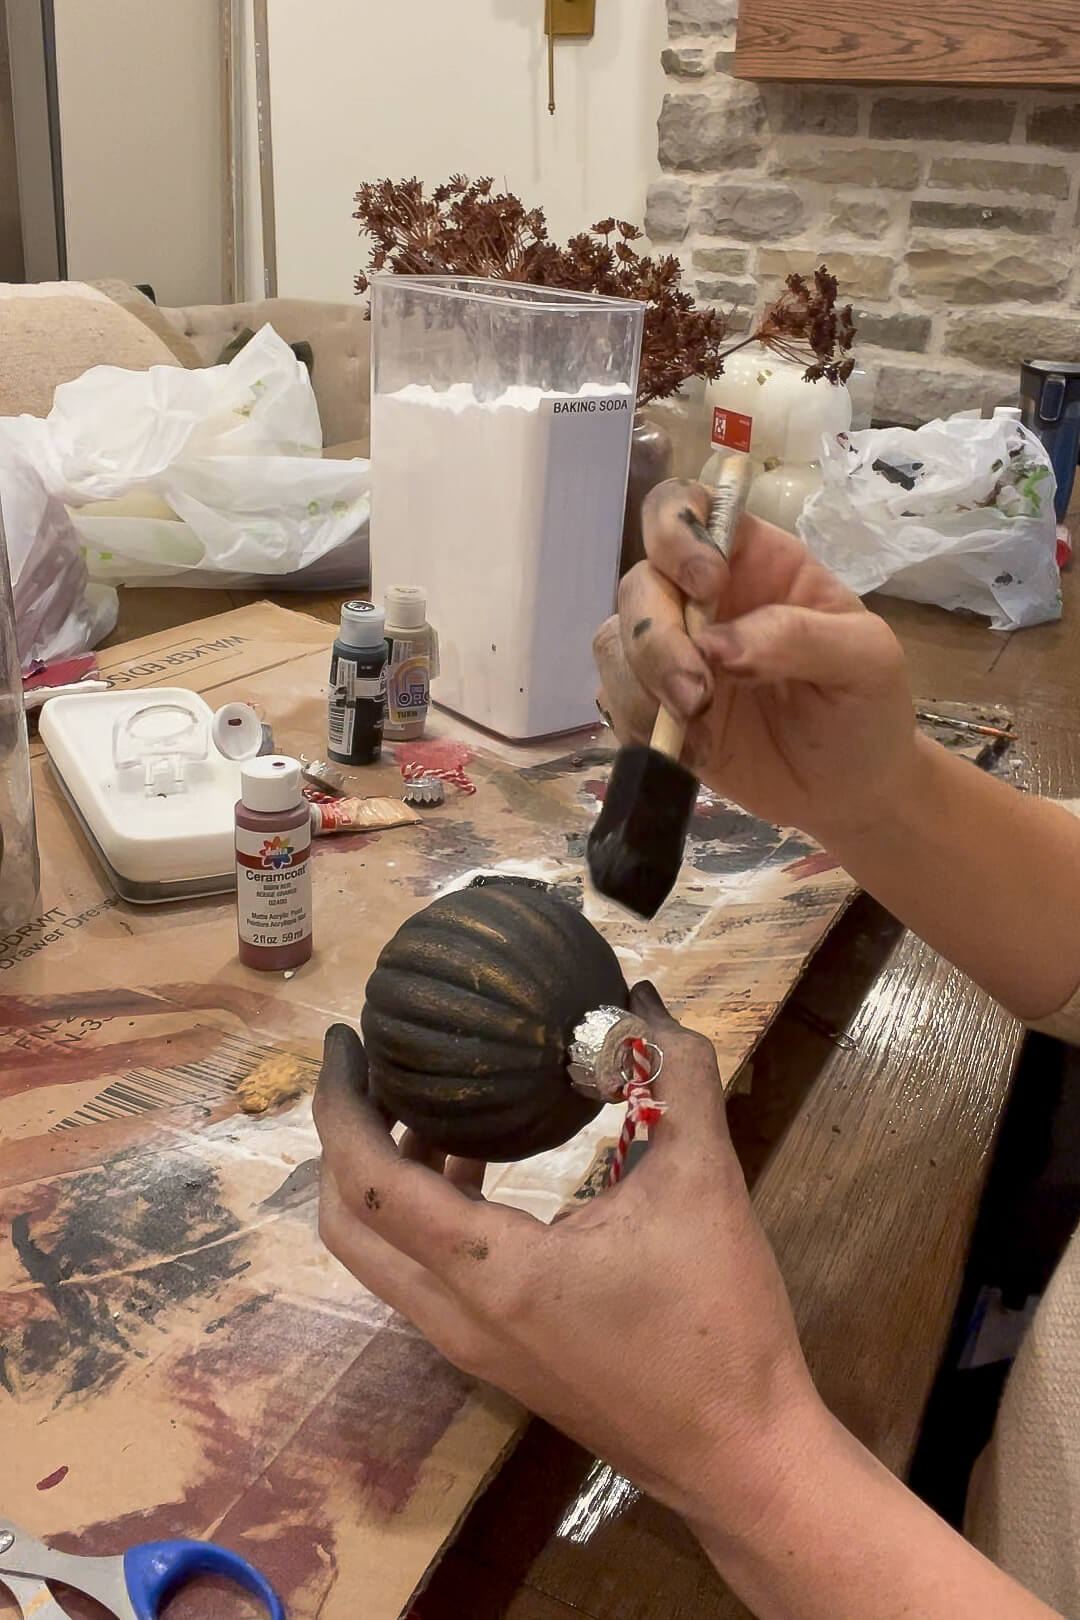
Step 2: Mix Paint and Baking Soda for a Flocked Look
Here’s the secret to creating that look of a flocked ornament finish: a mix of acrylic craft paint and baking soda. On a scrap piece of cardboard, I combined the paint with baking soda until I had a thick, textured mixture.
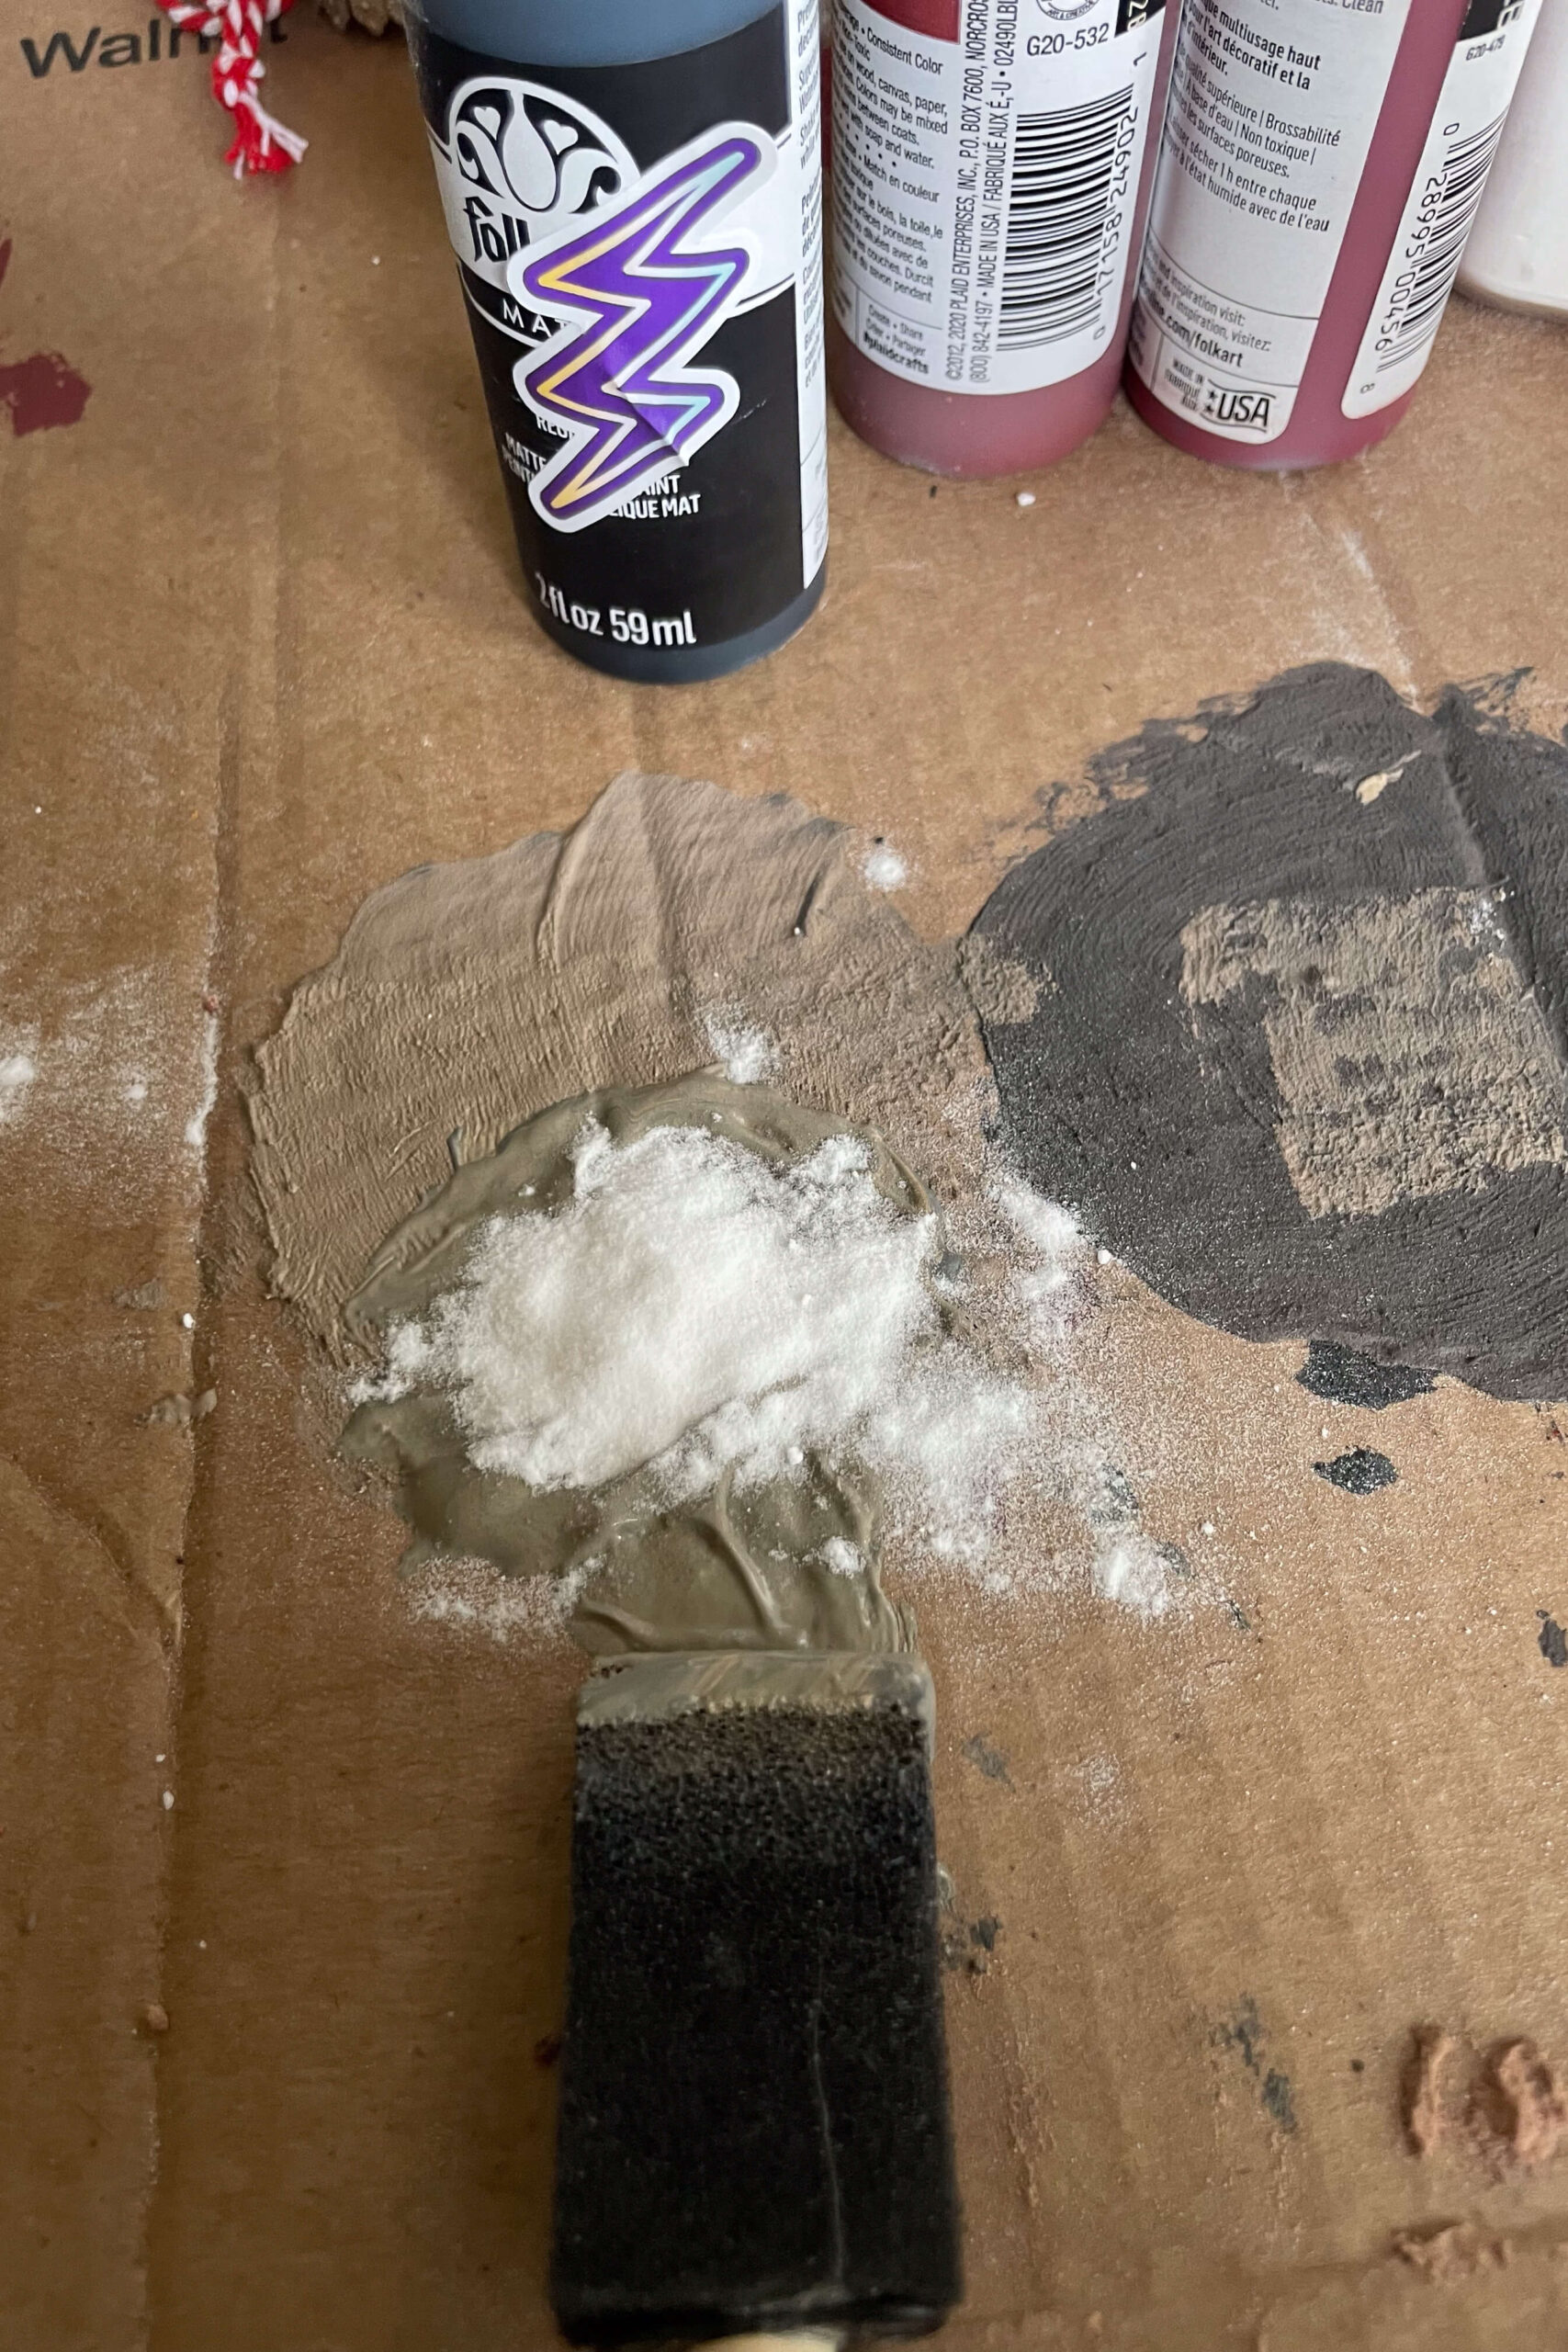
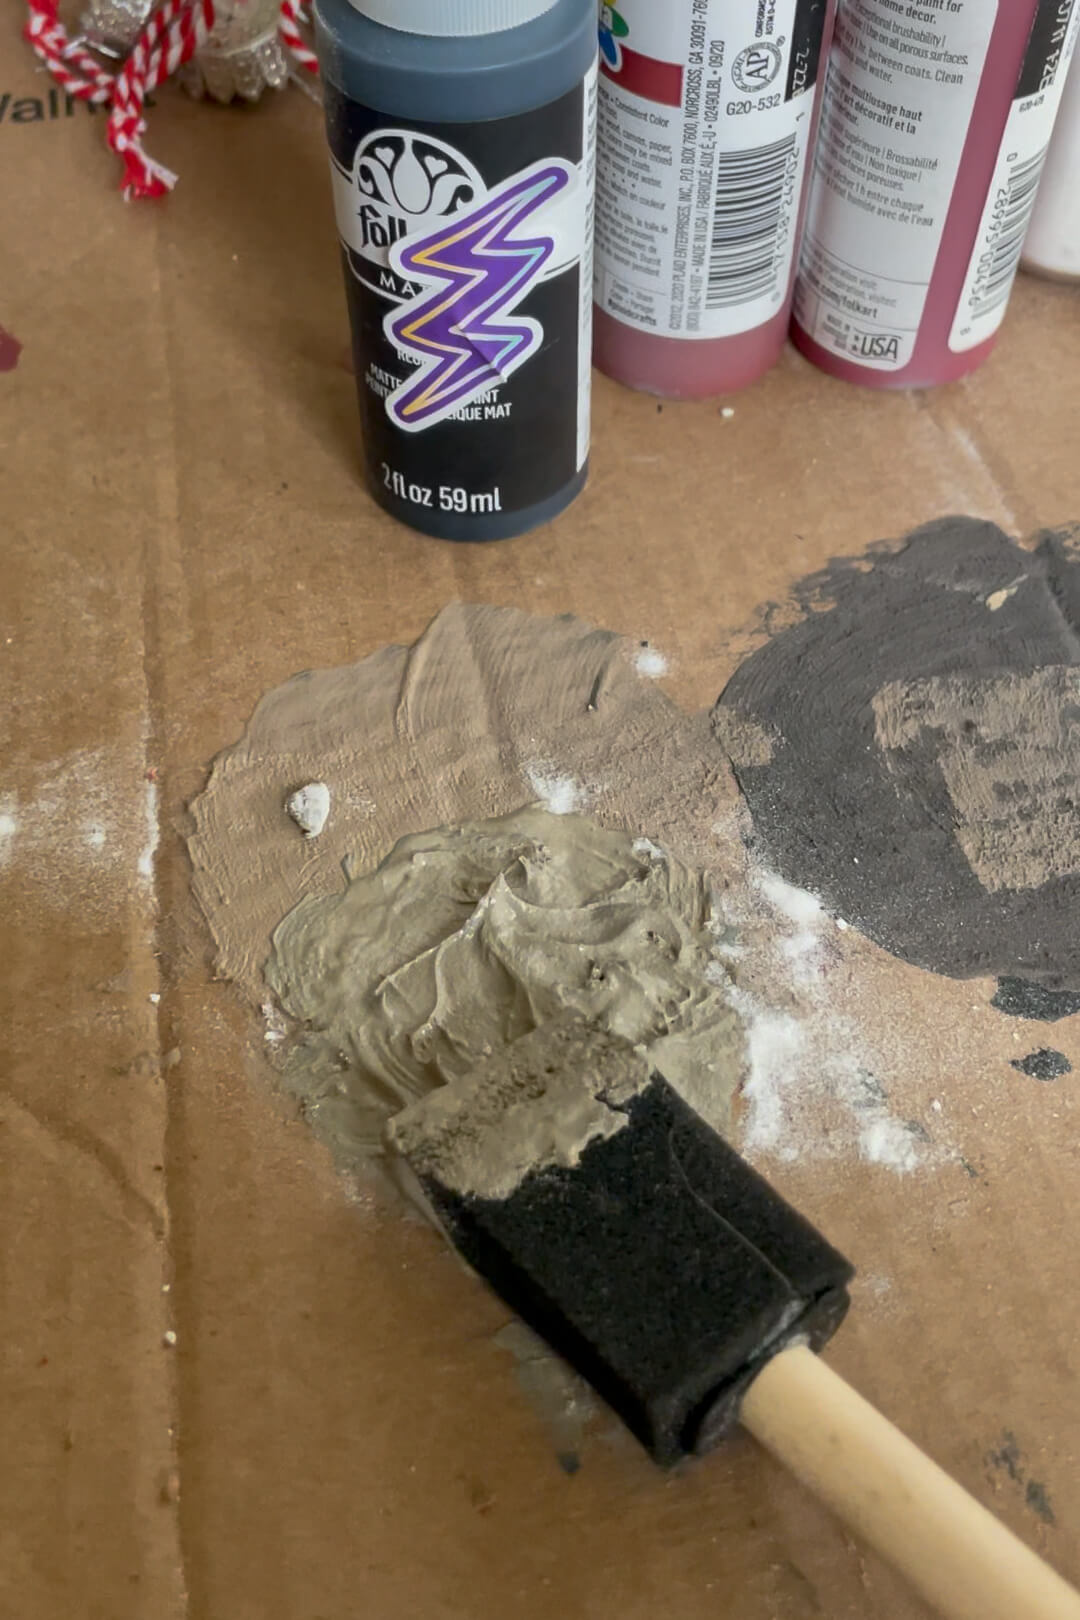
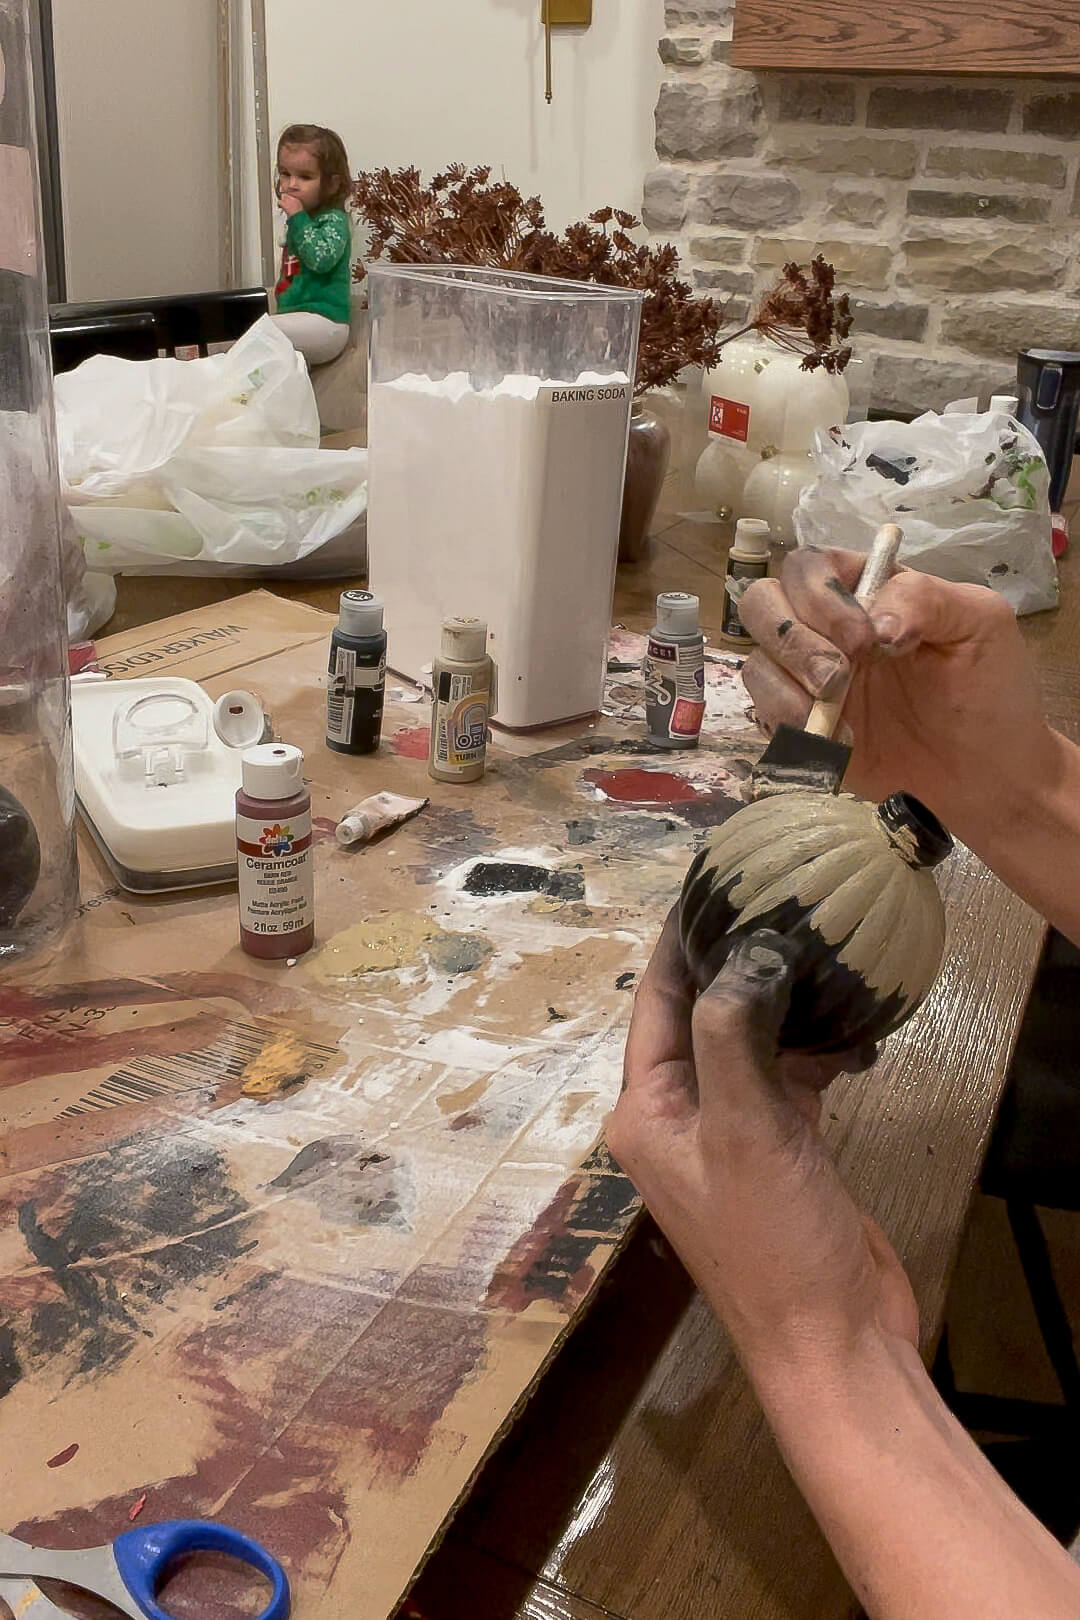
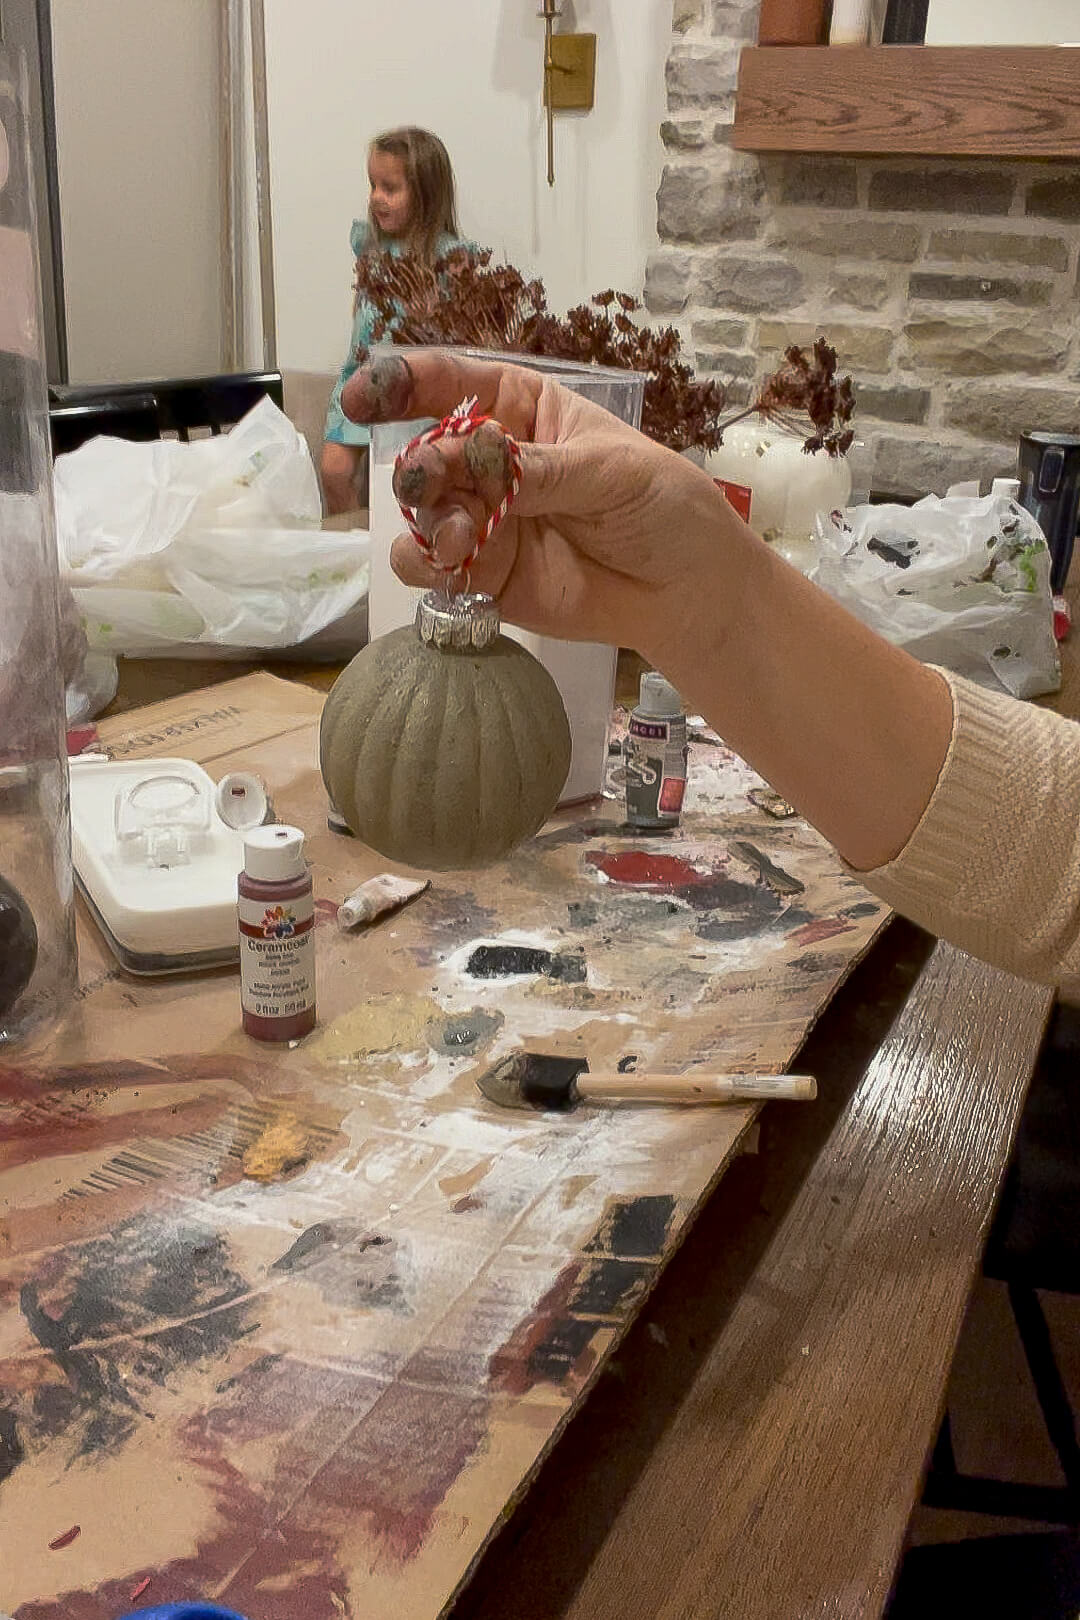
Using a foam brush, I coated each ornament with the mixture. The black base coat underneath adds depth, while the baking soda creates that high-end, textured look we’re going for here.
Here’s a video showing the whole process of making these gorgeous ornaments.
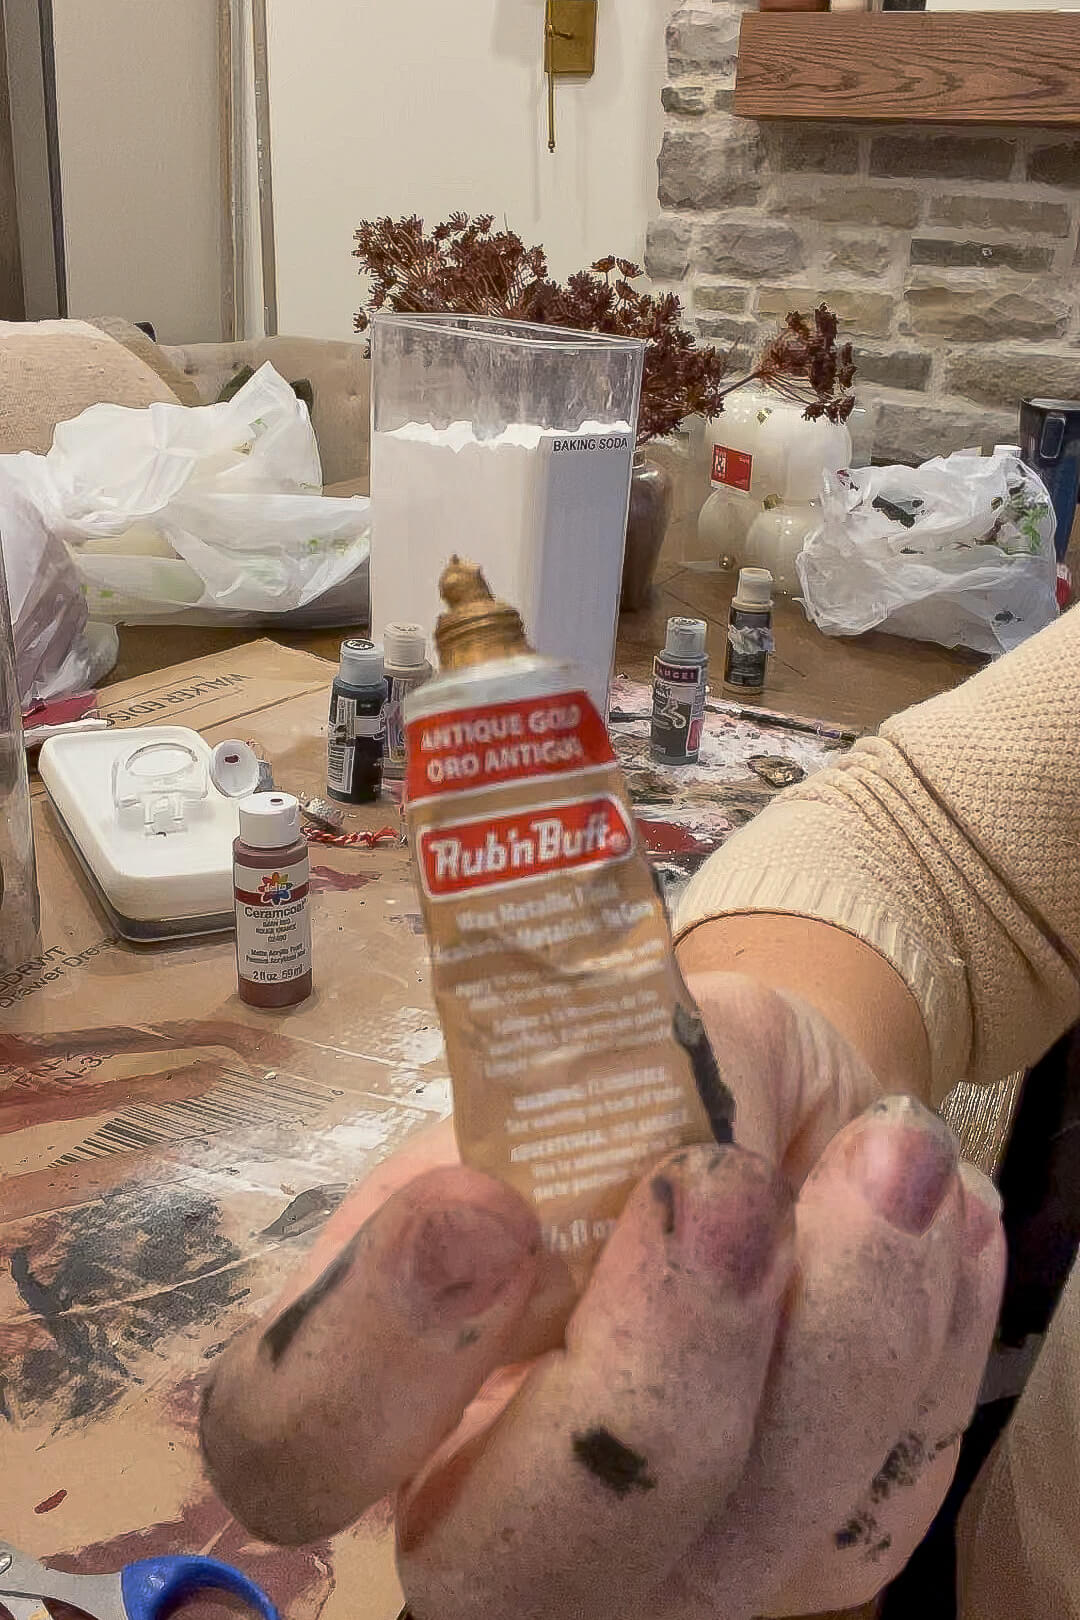
Optional Step: Highlight with Rub ‘n Buff for a Luxe Finish
You can stop there, but I added a subtle touch of gold for extra elegance. Using a small amount of Rub ‘n Buff, I lightly brushed it onto each ornament – just enough to add a soft glow without overpowering or covering the flocked look.
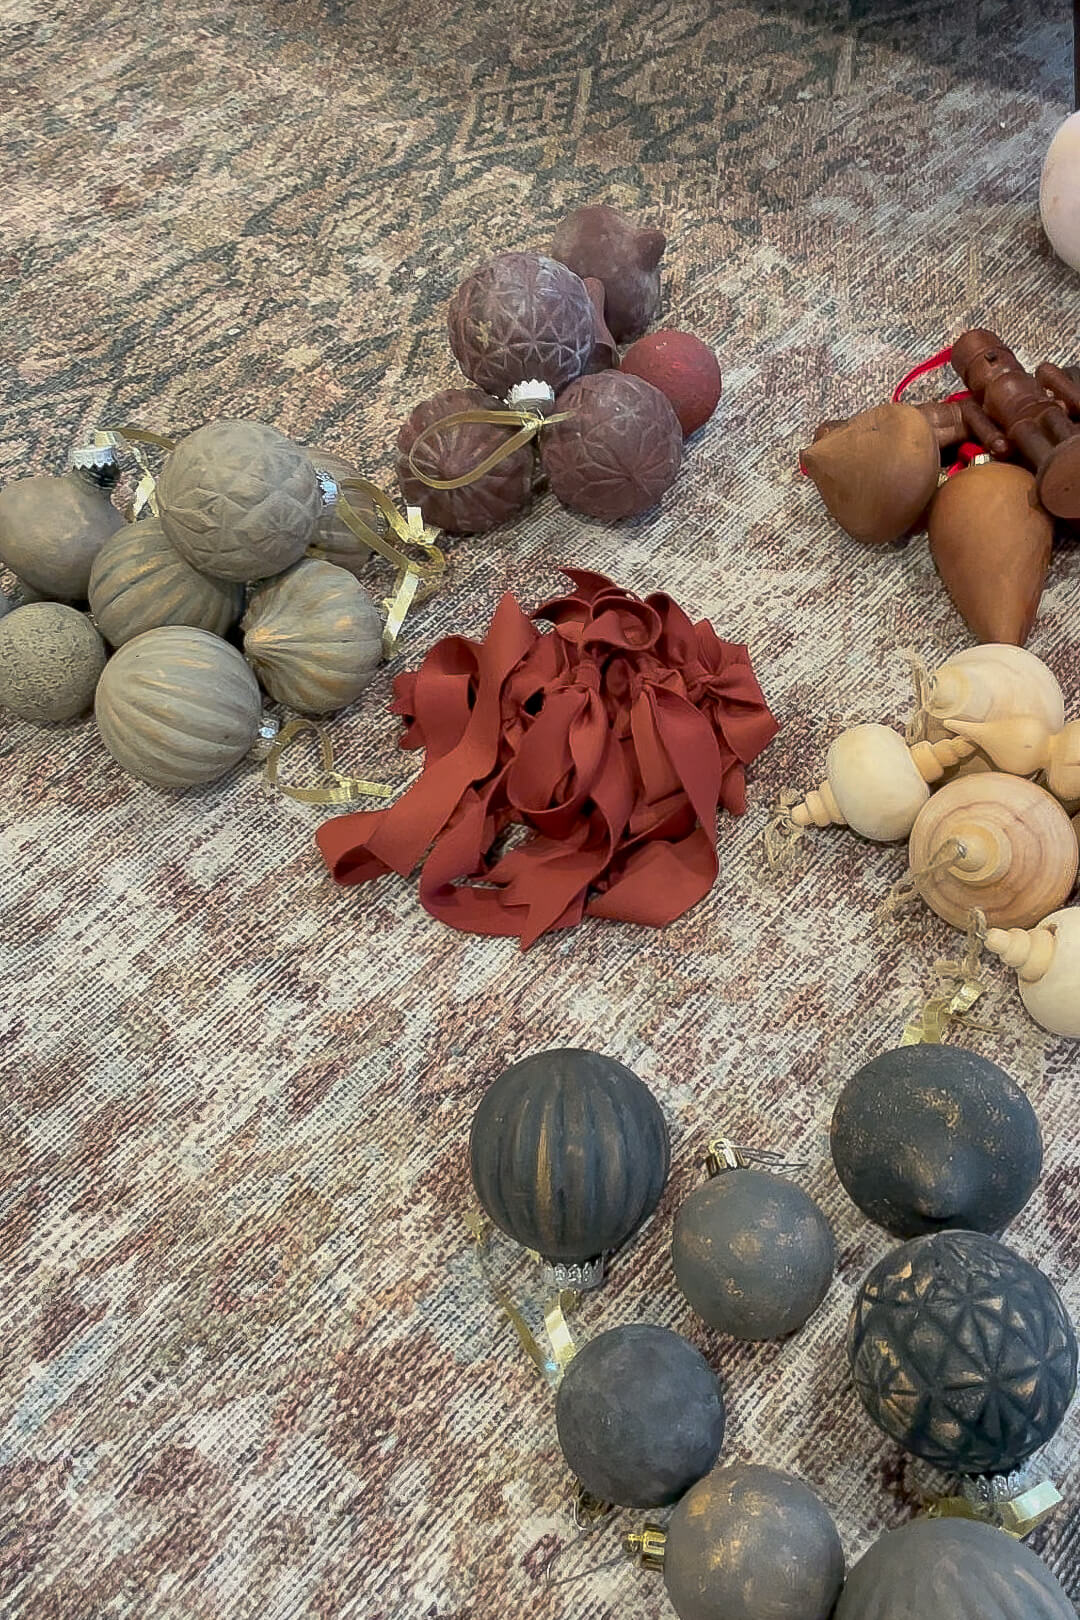
My Finished DIY Flocked Ornaments on the Tree
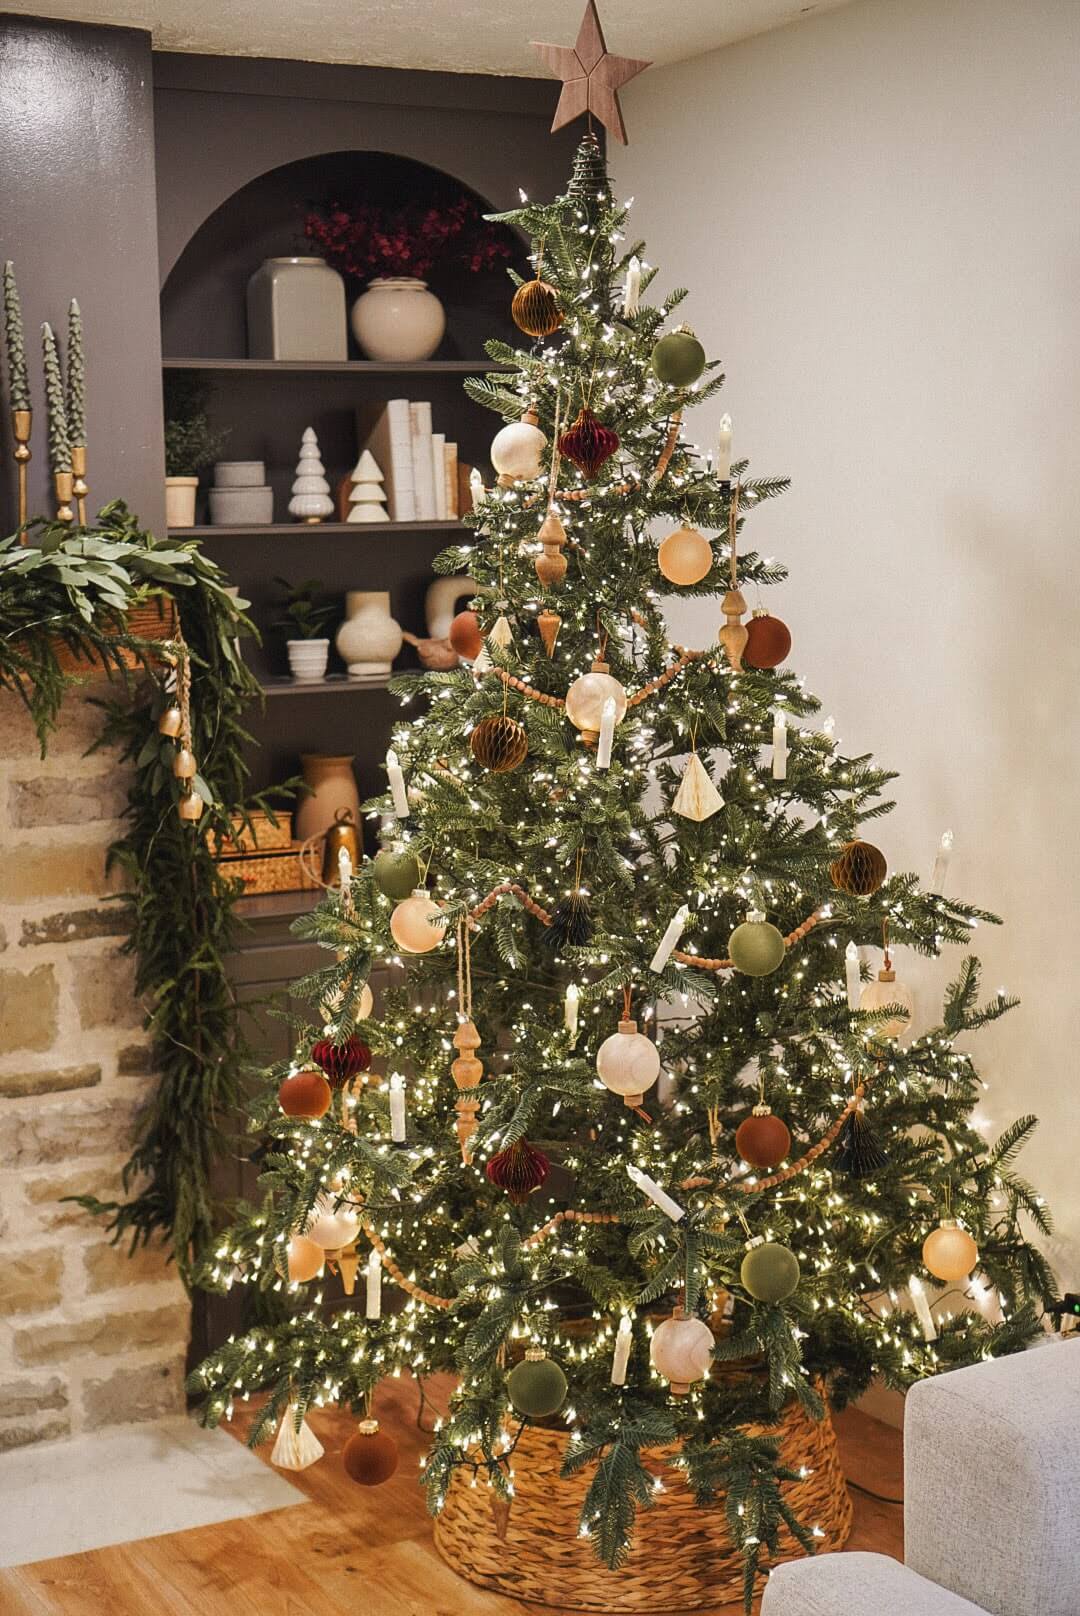
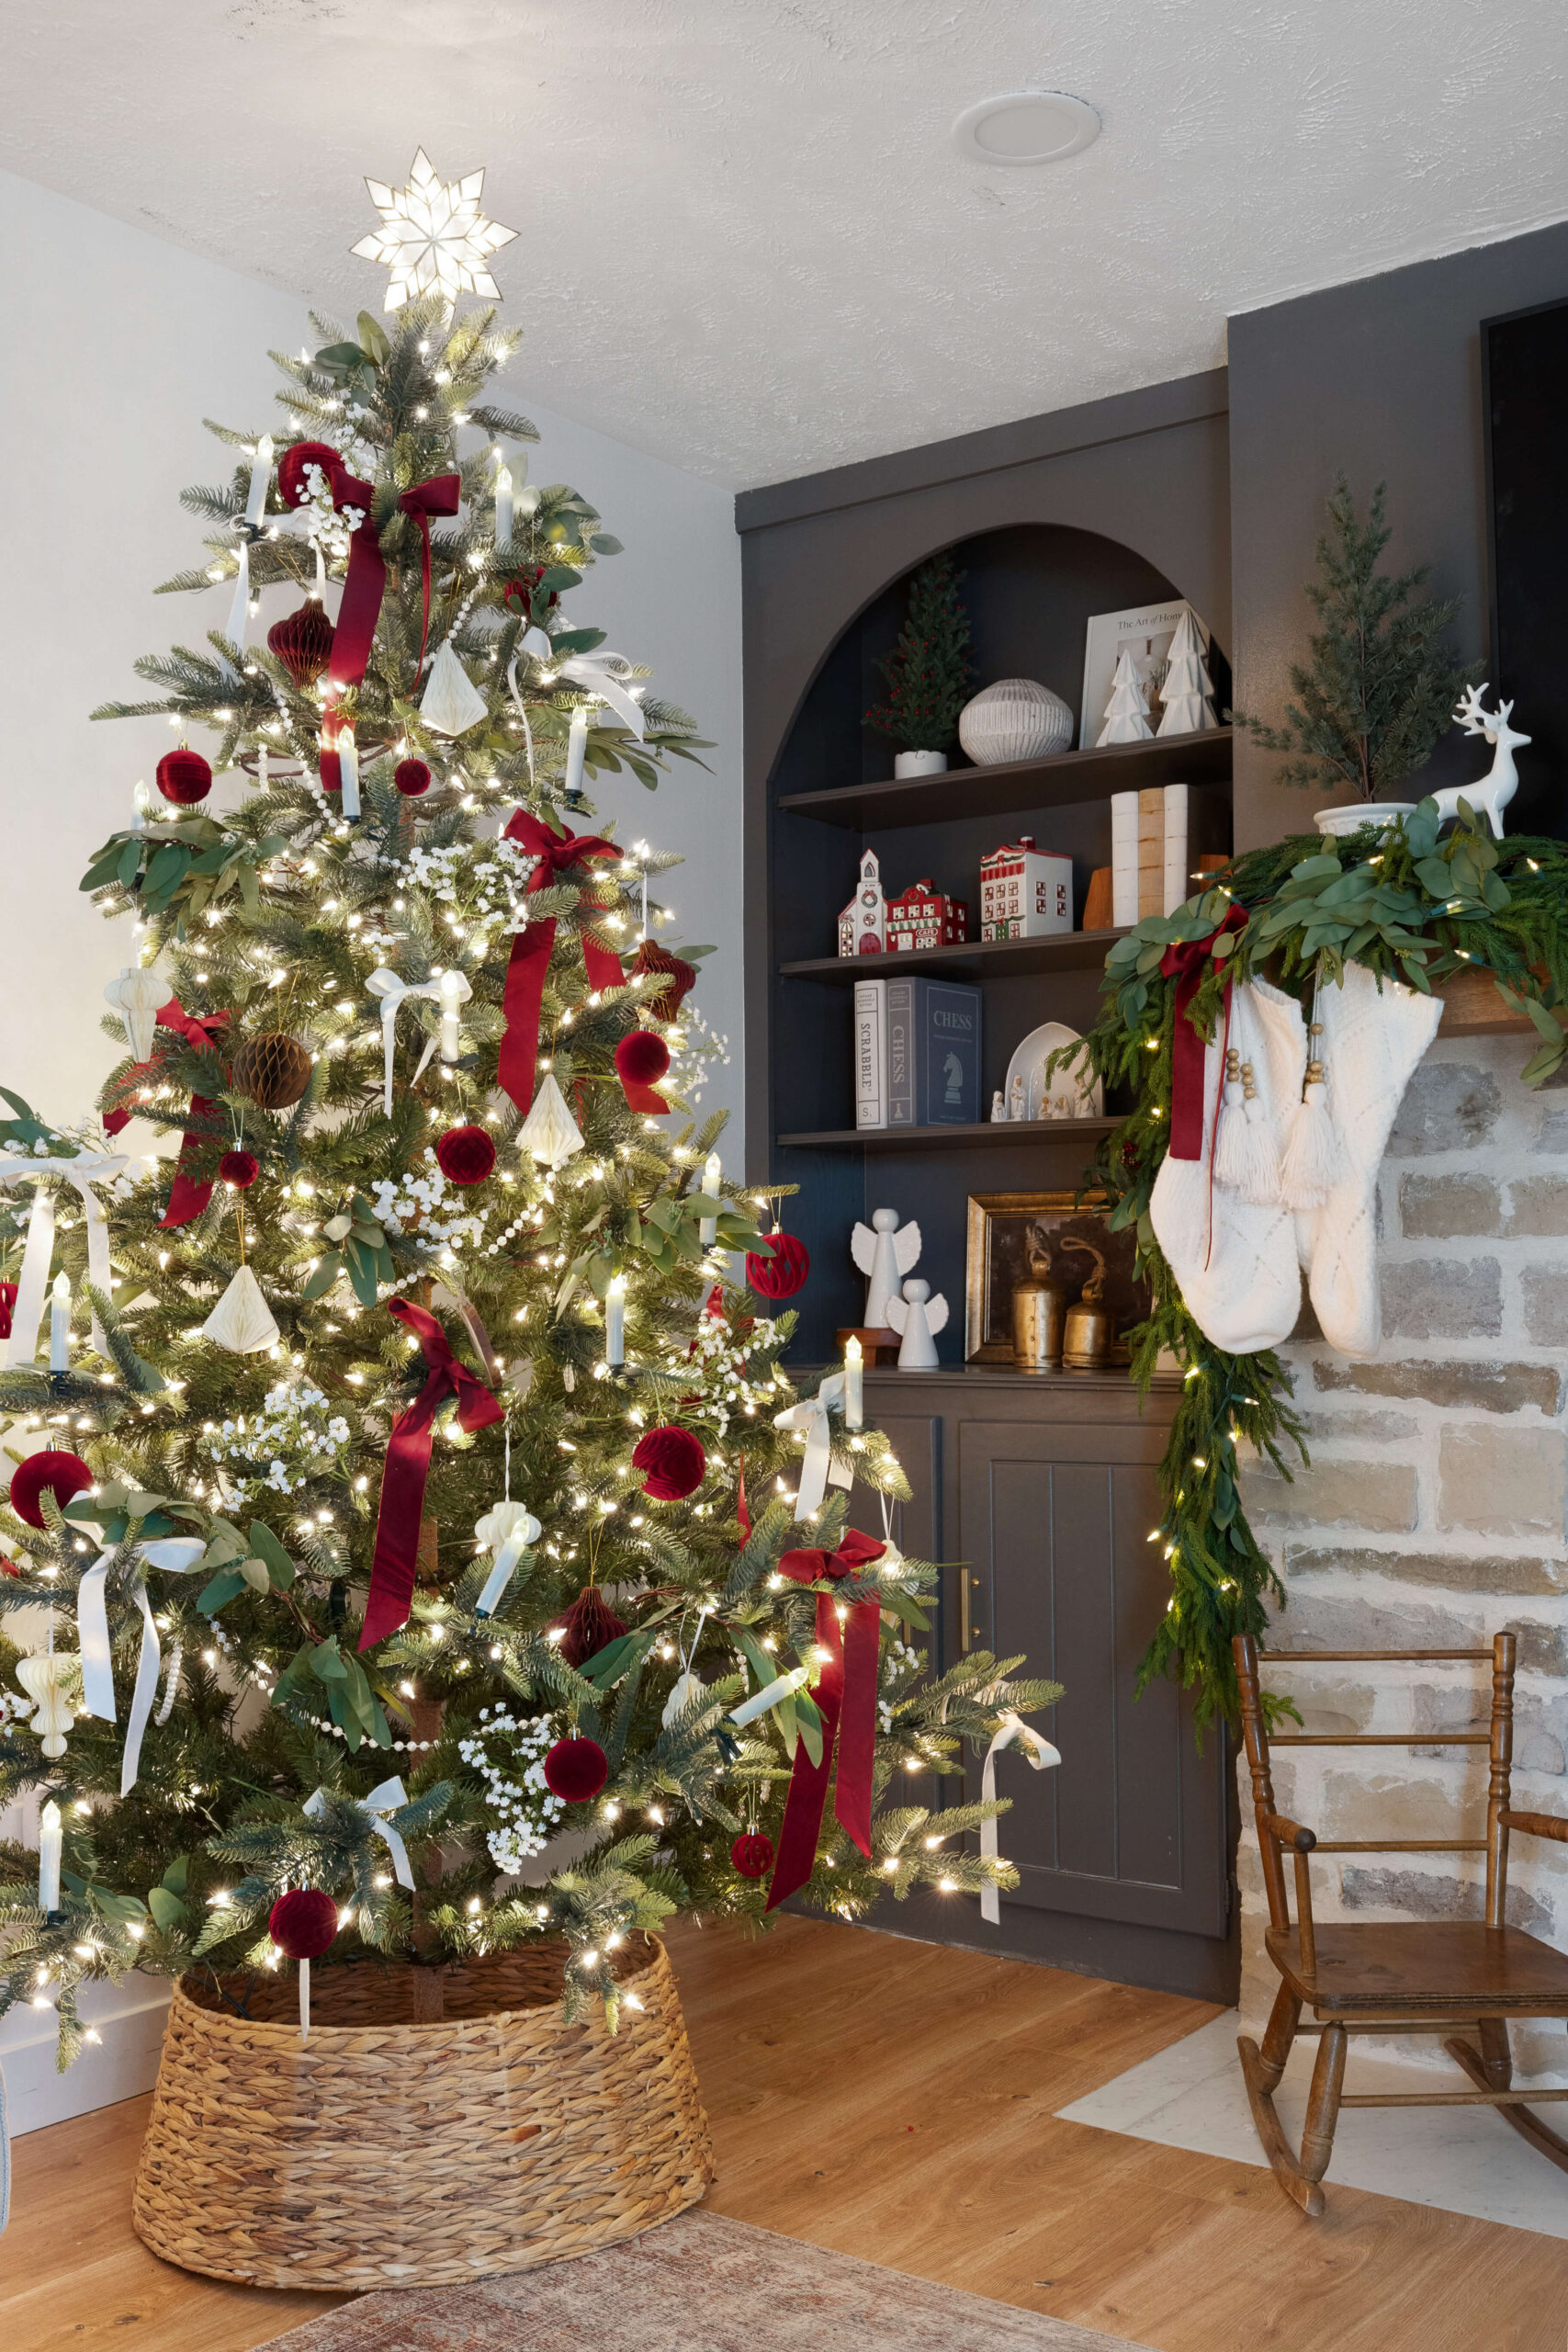
What I love most about this flocked ornament DIY is how customizable it is. I chose to do a mix of gray, burgundy, and black with subtle gold accents, perfectly complementing my velvet bows, beaded garlands, and classic wooden ornaments.
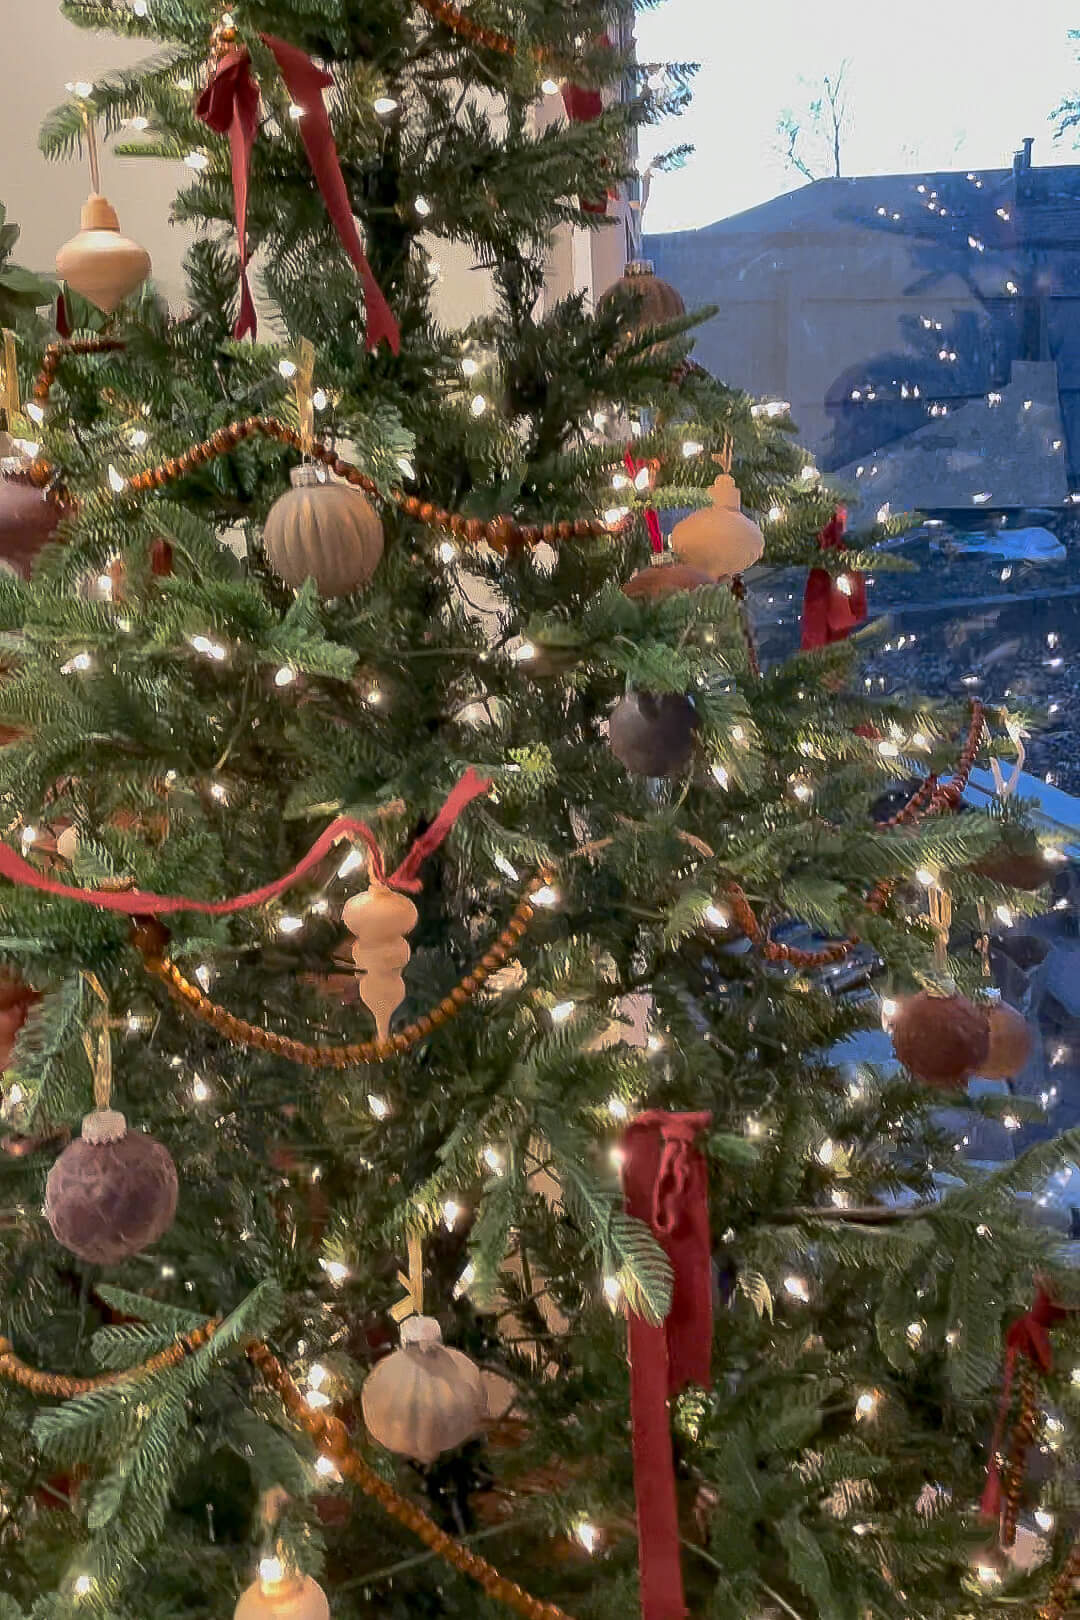
While these ornaments don’t have the fuzzy feel of traditional flocked ornaments, they absolutely nail the matte, high-end look when hung on the tree. With this easy technique, you can create your own gorgeous flocked ornaments that rival store-bought ones!
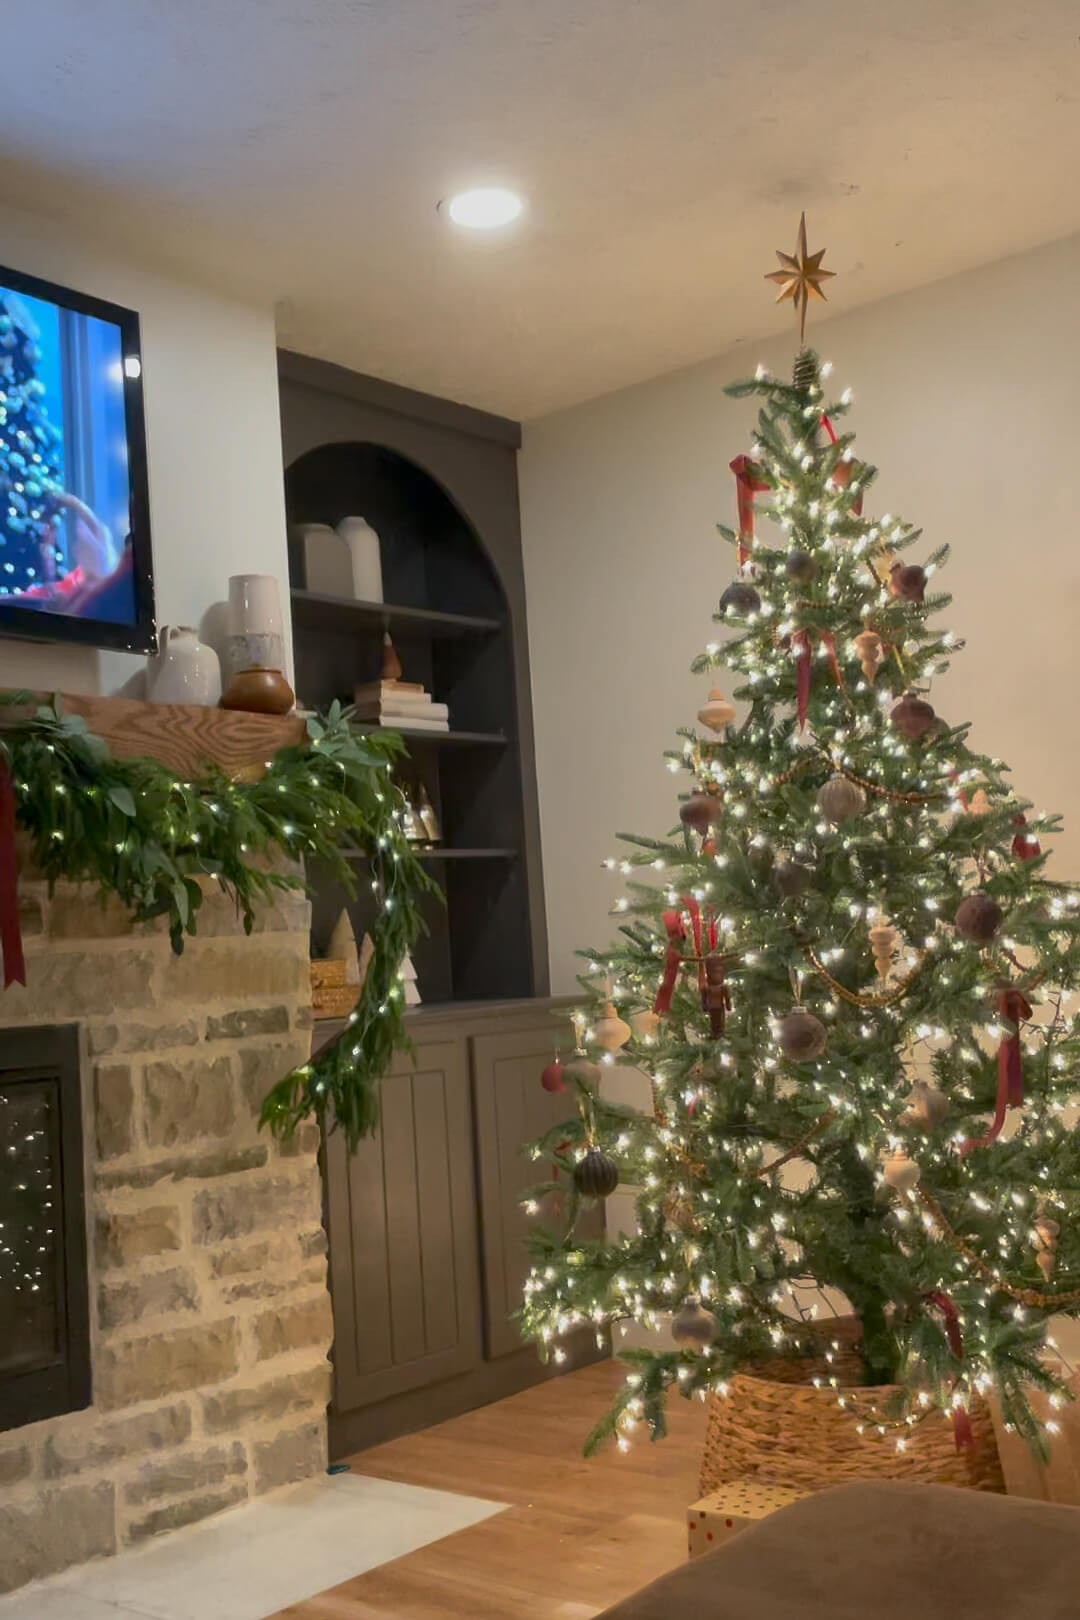
Did you know I switch up my Christmas tree decor every year? I made these ornaments for my 2022 tree but went in a different direction for 2023’s Christmas Tree and our 2024 Christmas Tree as well. Which one’s your favorite? Do you change up your tree decorations each year?
📌 Save This Project for Later
Pin now and come back when you’re ready to give your old ornaments a stunning makeover!
Flocked Ornament FAQ: Common Questions About This DIY
Flocked ornaments are decorations with a textured, matte finish that gives them a high-end, designer look. Making them yourself is a budget-friendly way to refresh old ornaments and customize them to match your holiday decor style.
Not really! Once they’re dry, they’re as durable as regular painted ornaments. Just store them in a safe, dry place, preferably wrapped in tissue paper or bubble wrap, to avoid scratches or chipping.
Absolutely! While black adds depth and richness, you can experiment with other dark or neutral base colors like navy, charcoal, or deep green for a different effect.
