DIY Boxwood Wreath the Easy Way


Updated September 3, 2025
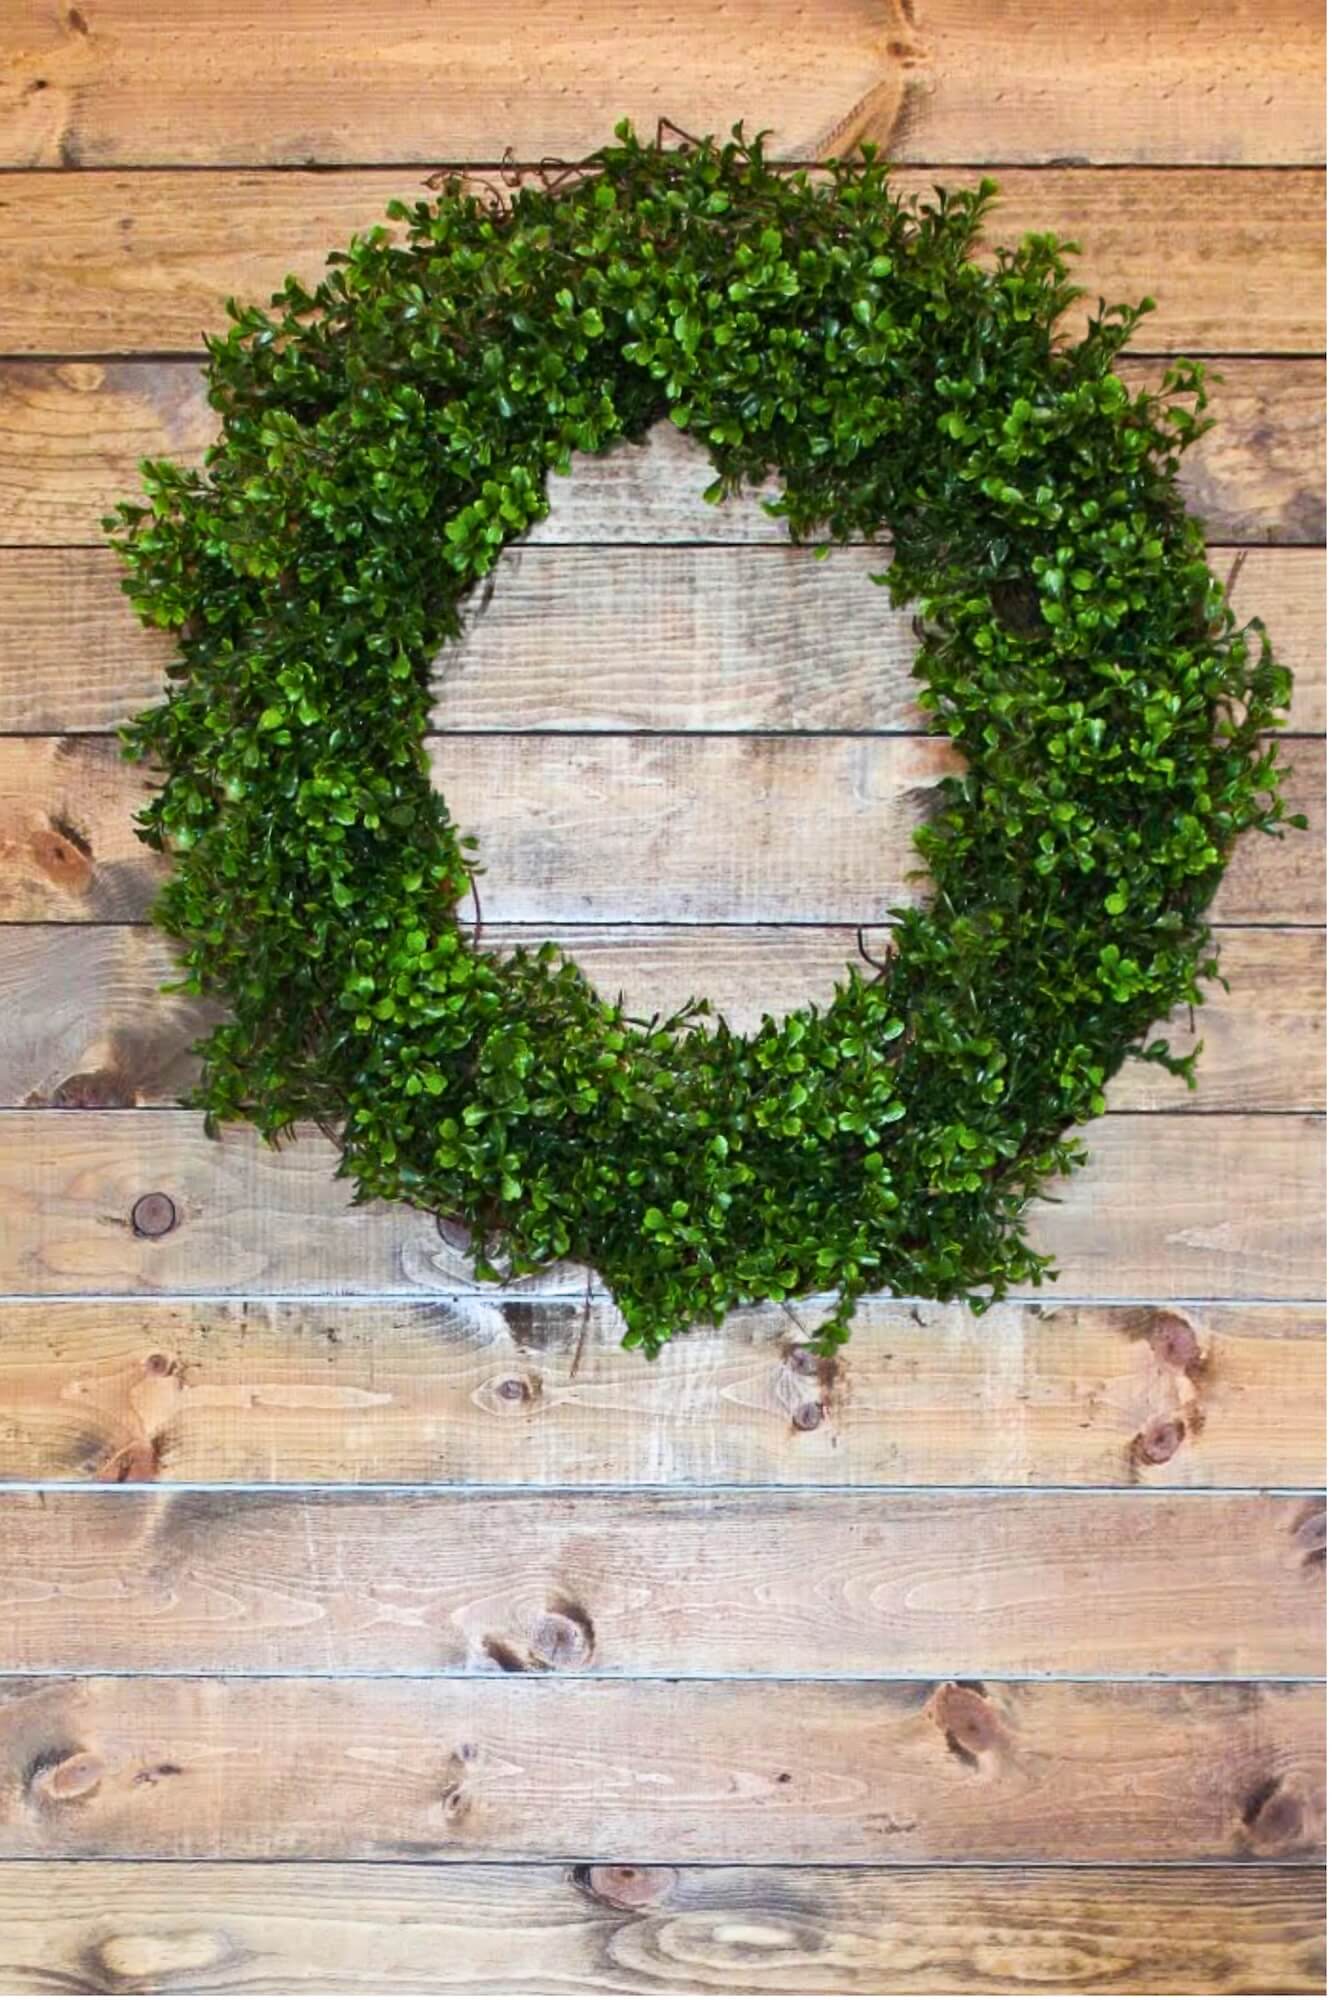
Do you love the look of a big, beautiful DIY boxwood wreath but not the huge price tag? I’ve been there! I wanted a full, lush wreath that looked high-end without spending a fortune, so I figured out how to make one using an affordable grapevine base and faux boxwood garland. This project takes less than an hour, is super simple to do, and the result is a stunning wreath that can be used on your front door, over a mantel, or on a gallery wall.
Table of Contents
- Tools and Materials for a DIY Boxwood Wreath
- Step 1: Prep Your Faux Boxwood Garland
- Step 2: Dry Fit the Sprigs on the Grapevine Wreath
- Step 3: Glue a Light Base Ring to Build the DIY Boxwood Wreath
- Step 4: Add More Boxwood to Fill the Wreath
- Step 5: Trim and Shape the Boxwood Wreath
- Step 6: Add a Bow or Keep It Minimal
- Step 7: Hang and Care for a DIY Boxwood Wreath
- Save This DIY Boxwood Wreath for Later 📌
- DIY Boxwood Wreath FAQ
Tools and Materials for a DIY Boxwood Wreath
Here’s everything you’ll need to create your own professional-looking wreath.
Grapevine wreath form
Faux boxwood garland or two, depending on fullness
Hot glue gun and glue sticks
Scissors or wire snips
Ribbon, twine, or a hook for hanging
Burlap or satin ribbon for a bow (optional)
Step 1: Prep Your Faux Boxwood Garland
The first step is to turn your long garland into smaller, manageable sprigs. Take your wire snips or scissors and cut the garland into pieces that are about 3 to 5 inches long. As you go, keep the longer pieces in one pile and the shorter ones in another. This will make it much easier to assemble the wreath later on.

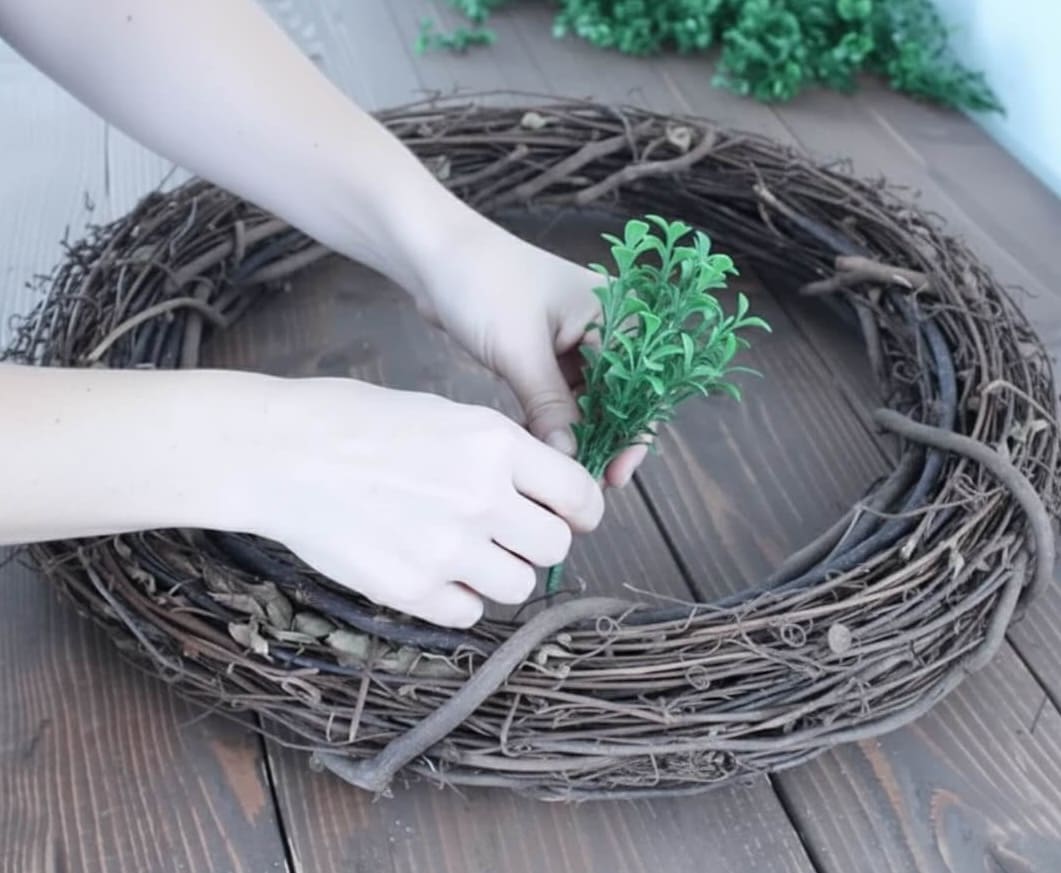
Step 2: Dry Fit the Sprigs on the Grapevine Wreath
Before you start gluing, it’s a good idea to dry-fit some of the sprigs on the grapevine wreath. Simply tuck a few pieces into the form to get a feel for how they’ll lay. Aim all the stems in the same direction, following the curve of the wreath. This will give it that soft, lush look you want.
Step 3: Glue a Light Base Ring to Build the DIY Boxwood Wreath
Now for the fun part! Add a small dot of hot glue to the stem of each sprig and press it firmly into the grapevine form. For this first pass, space them out evenly around the circle, creating a light base layer.
Pro tip: It is much easier to add more greenery than to peel off a clump, so start simple.
Step 4: Add More Boxwood to Fill the Wreath
Now it’s time to fill in the gaps. Working in small sections, add a second pass of sprigs to cover any visible parts of the grapevine wreath. Be sure to overlap the sprigs slightly to create that full, dense look. Take a step back and rotate the wreath every so often to make sure everything is balanced and even.


Step 5: Trim and Shape the Boxwood Wreath
Once you’re happy with the fullness, give your new wreath a quick “haircut.” Use your scissors to snip any stray leaves or stems. You can also use this step to fill in any thin spots with the shorter sprigs you saved from Step 1. Your goal is to keep the inner opening perfectly round and the outer edge smooth and full.

Step 6: Add a Bow or Keep It Minimal
This is where you can add your personal style! A simple burlap or satin ribbon bow can add a touch of charm, or you can leave the wreath clean and modern for a minimalist look. Use a little hot glue or floral wire to secure the bow in place.

Step 7: Hang and Care for a DIY Boxwood Wreath
Your new wreath is ready to be hung! Use a wreath hook or a simple loop of ribbon. If you plan to hang it outside, a covered porch is the best spot to protect it from direct sunlight and heavy rain, which can cause fading or loosen the glue. To keep it looking fresh, simply dust it with a microfiber cloth as needed.

Looking to finish off your home’s curb appeal? You’ve come to the right place. If you’ve just made this beautiful wreath, why not give your front door a refresh? Check out my guide on How to Paint a Front Door in 3 Easy Steps. Or, if you’re ready to decorate for the season, get inspired by my ideas for a Festive Porch With 3 Types of Greenery.
Save This DIY Boxwood Wreath for Later 📌
DIY Boxwood Wreath FAQ
Start with a light base layer, then overlap sprigs a little closer together on the second pass. Angle a few slightly inward and outward to build volume.
A 18 to 24 inch wreath fits most standard doors and looks substantial without blocking the view.
Yes, under a covered porch. Keep it out of direct sun and heavy rain to prevent fading and loose glue.
Burlap for rustic, black velvet for classic, satin for a clean modern look. Keep the bow size in scale with the wreath.

