Updated May 13, 2025
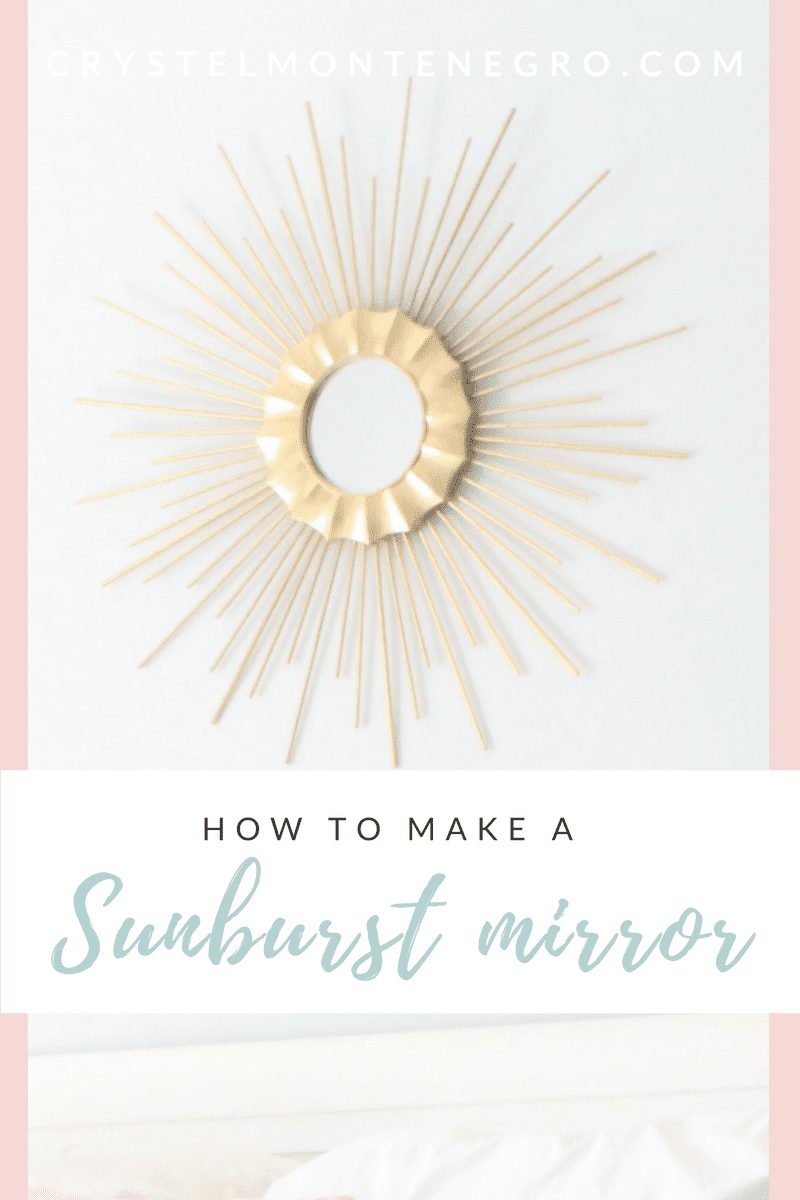
Okay you guys, this is gonna blow your socks off so get ready! I was looking for something to do with all the wall space behind my bed and came across a few different ideas for making your own sunburst mirror on Pinterest. This is my own adaptation of what I found since I already had a lot of the stuff.
MATERIALS LIST:
- Small mirror with plastic frame
- Spray paint of your color choice
- 60 (or more depending on your mirror size) 12″ wooden dowels
- Hot glue or E6000
- cardboard
- A pen
- wire cutters
- scissors
- measuring tape or ruler
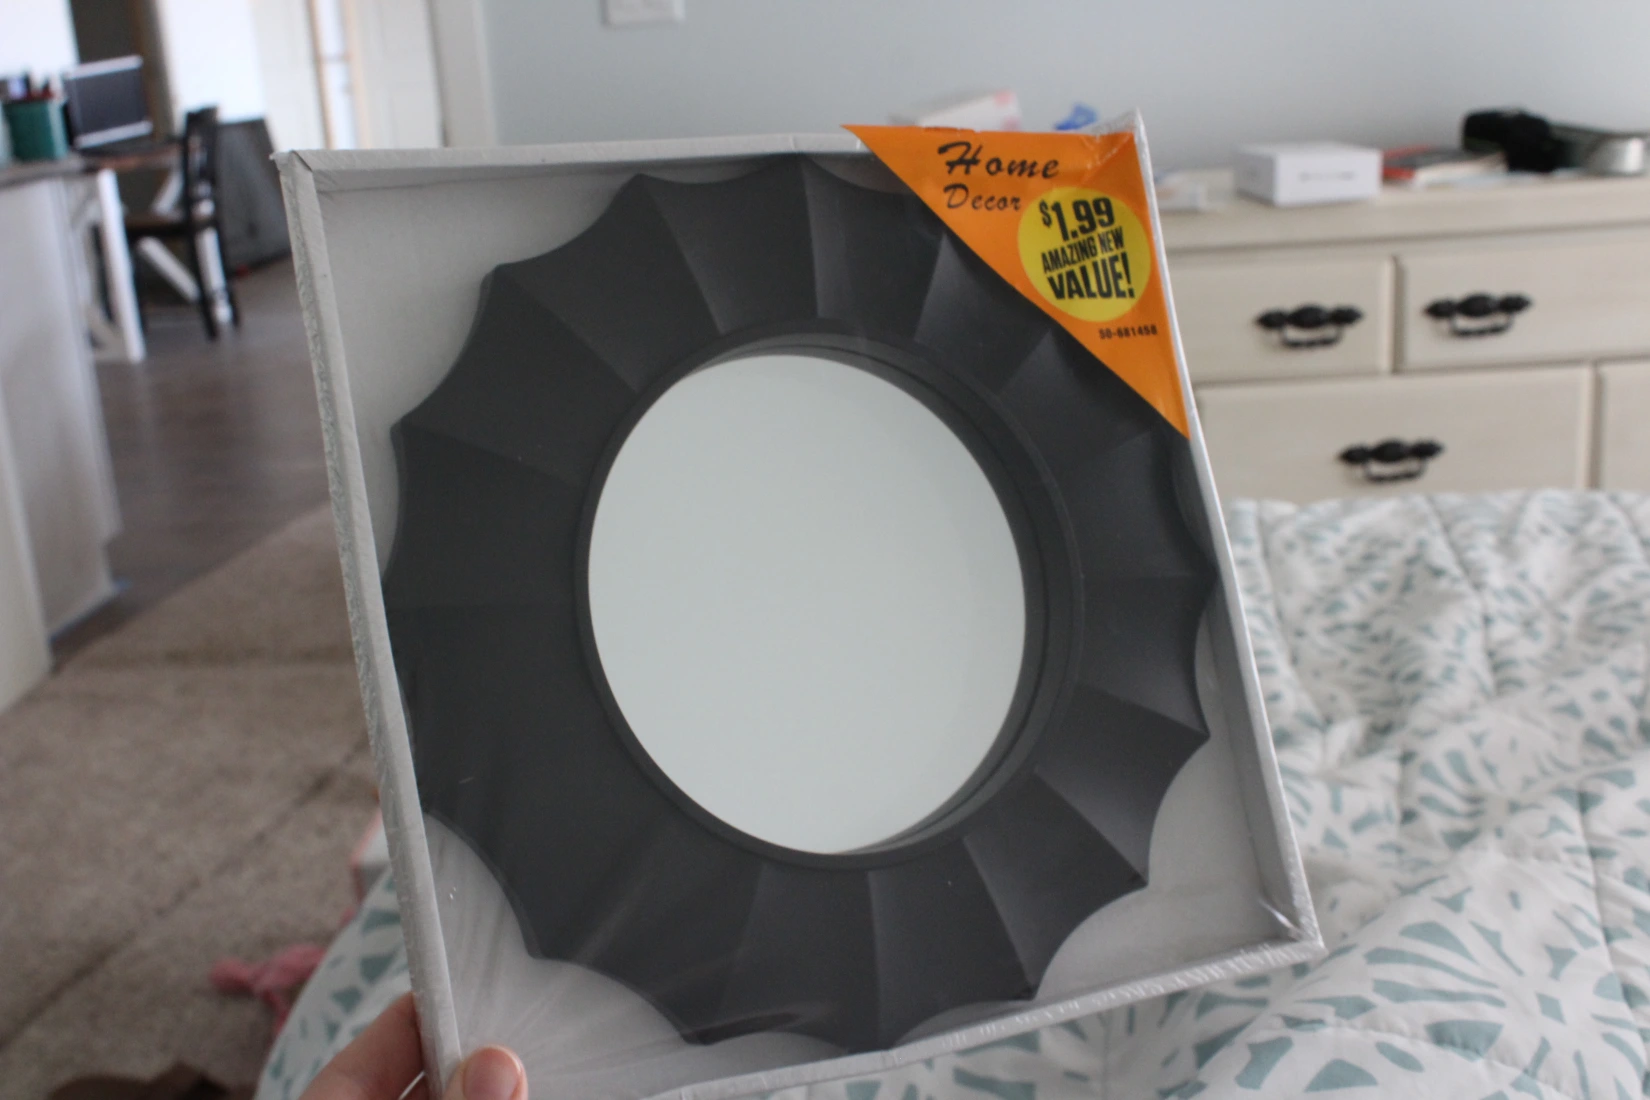
I went to the 99 cent Super store and found this lovely little mirror.
I had some leftover 12″ wooden dowels from my cake decorating box so I grabbed those, some Rust-oleum metallic gold spray paint, a pen, a little bit of hot glue and some E6000 glue. Oh yeah, and some wire cutters to cut the dowels with. I didn’t end up having enough dowels for this project so I ran to Wal-mart into the craft section and picked up some 12″ wooden dowels that were just a teensy bit thinner for $1 per pack. I bought 4 packages that contained 16 dowels each. In total this project required 60 dowels for my size of mirror, which I think is about 6″ in diameter. Please note that that is not including the frame. The mirror itself is about 6″.
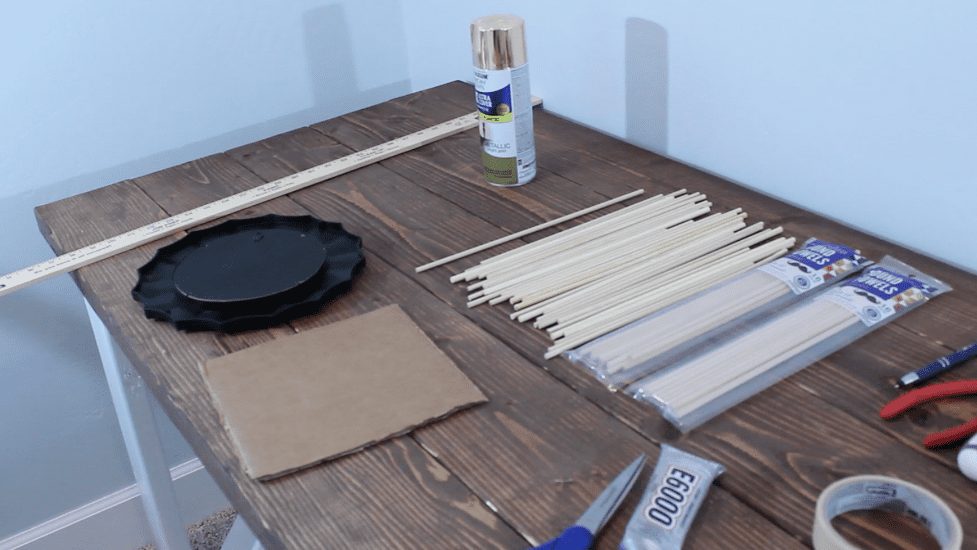
I thought I would need some tape to cover up my mirror when I painted it but turns out this particular mirror came out of the frame. So I just took off the back piece of cardboard holding the mirror and traced the shape onto another piece of cardboard, then cut it out.
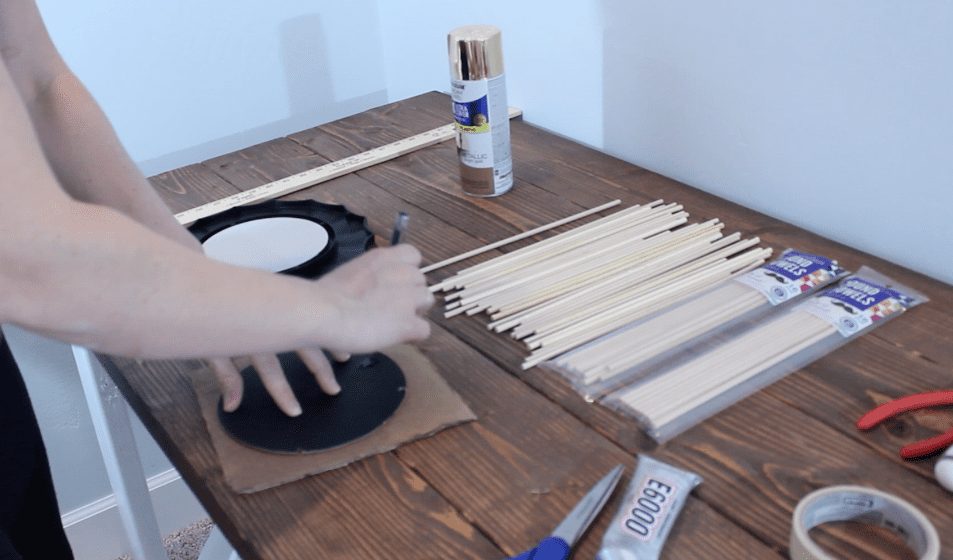
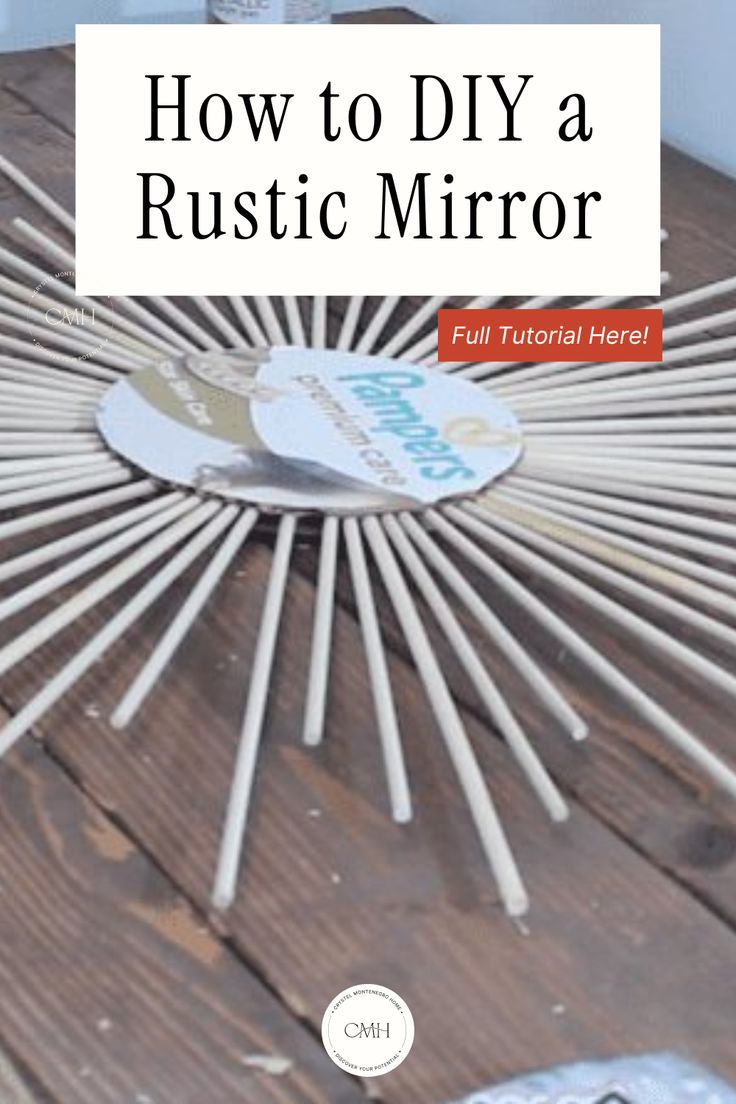
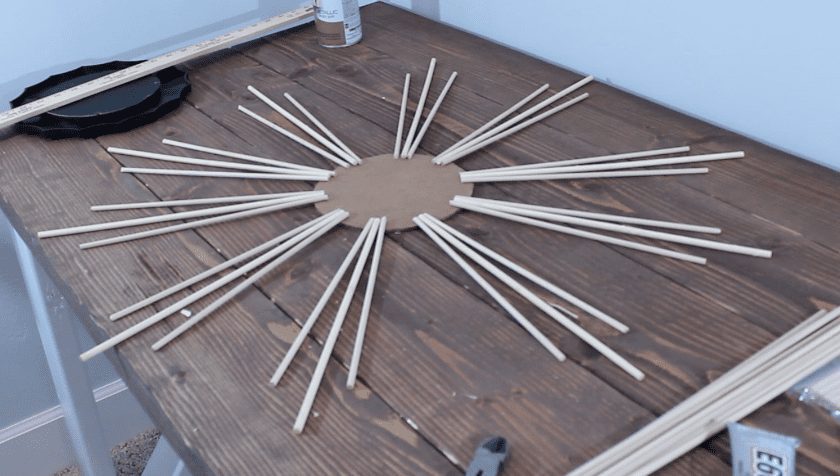
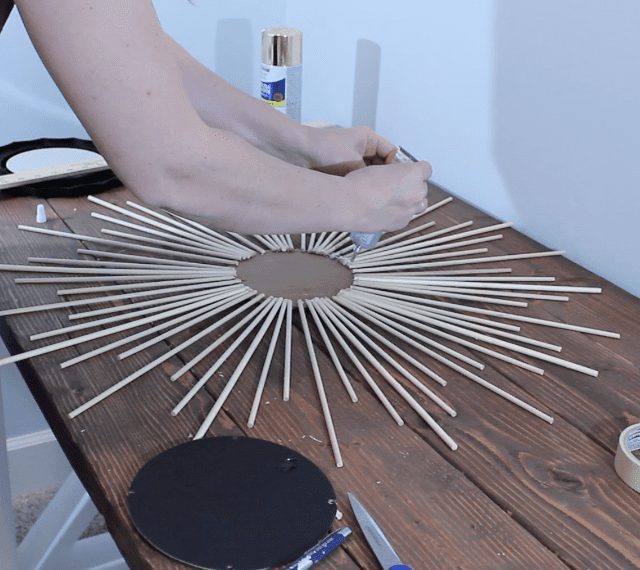
I put the new cardboard cutout on the table and began placing my dowels.
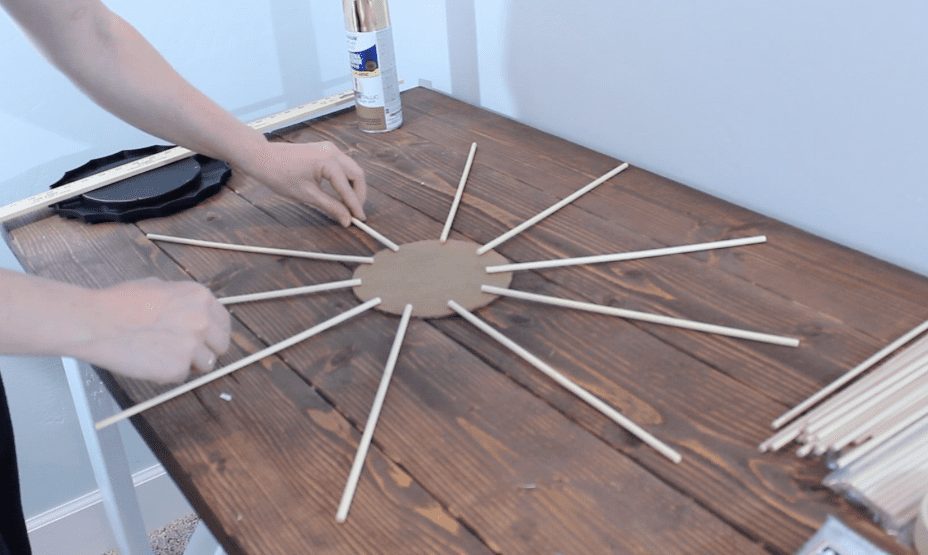
I used 10 of the thicker ones first and kept them at full length. I spaced them all out evenly, but I didn’t glue them yet. I wanted to make sure I had enough dowels for what I wanted to do. I did see some tutorials that drew evenly spaced lines on the cardboard so that they would know exactly where to place the dowels. I wasn’t too particular with it so I just eyeballed everything and called it good. Also, I definitely recommend placing them in at least an inch or more onto the cardboard so that when you glue them they’ll have something to grab onto. I had to move these ones in further in later because they were so wobbly.
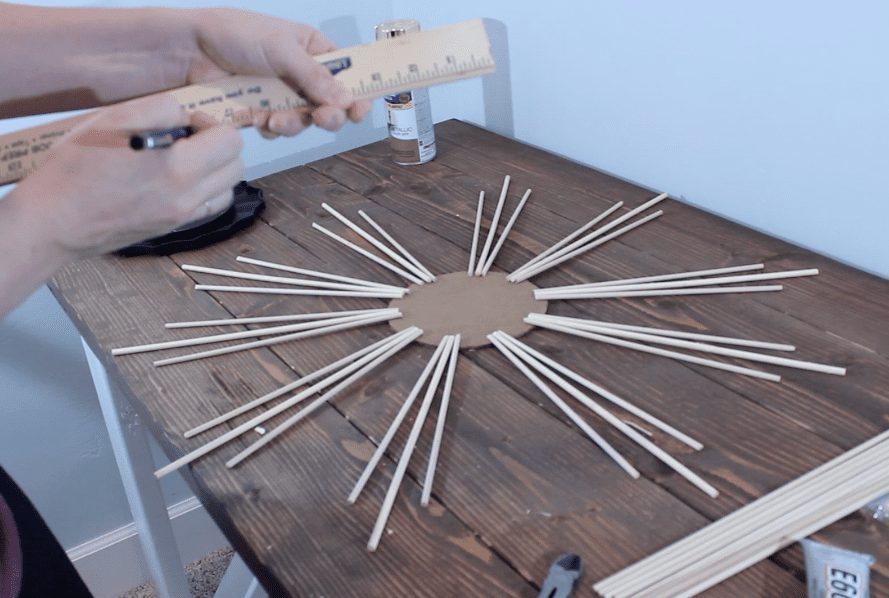
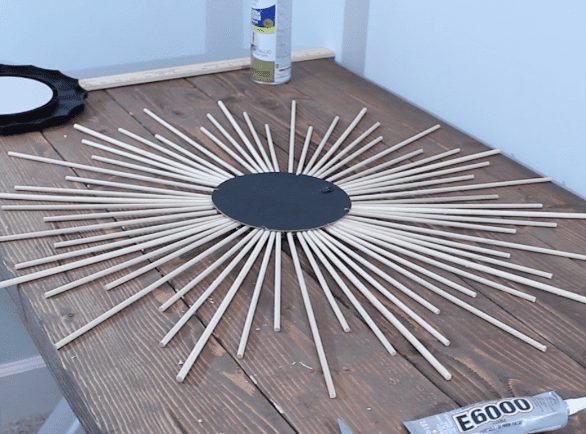
After I had my big dowels placed I cut 20 of the smaller dowels down to 10″ and placed them on either side at a slight angle. Don’t worry about being meticulous with the placement just yet, later on you’ll have to arrange everything again anyway. I just wanted to get the general idea for what I would need.
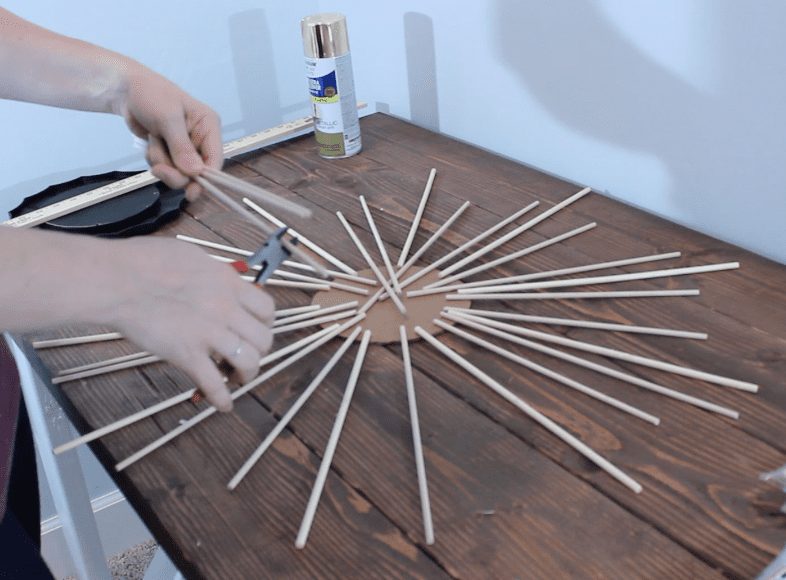
Next I measured and cut 20 dowels down to 8″ and again, placed them on either side at a slight angle.
She’s starting to look good, eh??
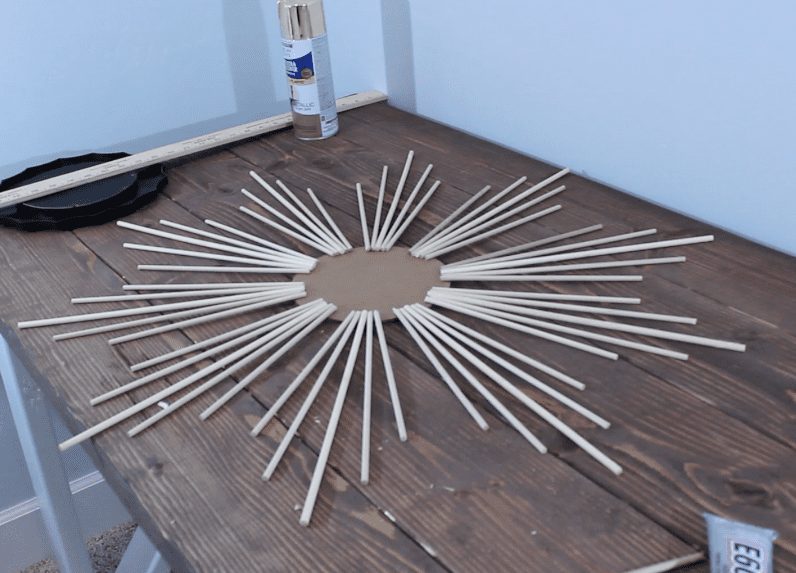
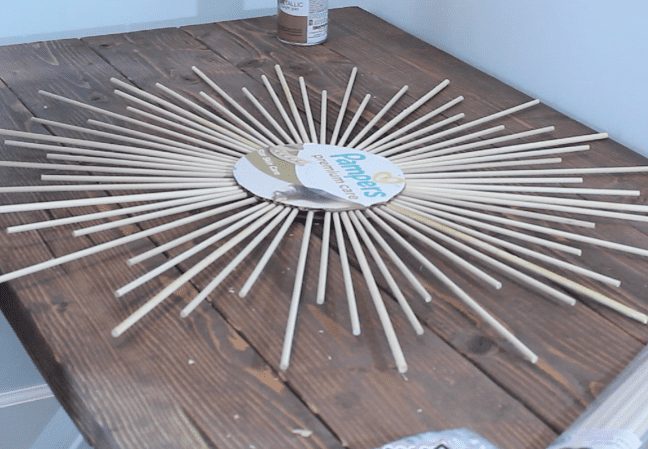
Finally, I had enough space for one more set of dowels. I wanted it to look less like a flower and a more like a sunburst, so instead of cutting the dowels down again to 6″ I decided to do another set of 10 dowels that were full length.
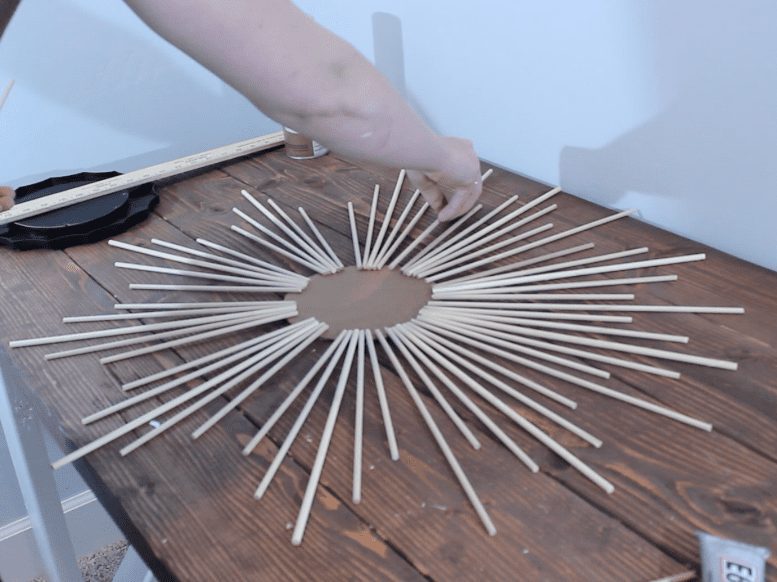
Next comes the tricky part… final placement! At this point you’ll want to be sure that your dowels are spaced evenly. I placed mine so they were touching at the bottom and about an inch or so apart from the next dowel at the top. I did have a little extra space at the bottom between dowels for my last set of full length dowels. **NOTE: (I also made sure the cut ends of the dowels were on the cardboard so I had the factory edge at the top. Just made it look a little nicer.)
All I did was grab my glue — I used E6000 for this part because I wanted a stronger hold but I’m sure it would be fine using hot glue also — and slap it on! I just went over the top around in a circle until I was confident that once it dried nothing was going to move.
Once the glue was on, I placed the other piece of cardboard with the hook on it hook side up. Since I used E6000 glue, I let it sit overnight.
And boy, was she sturdy the next morning.
And now for the final steps! All I did next was spray paint the dowels and the frame and hot-glued the mirror and frame as close to center as I could!
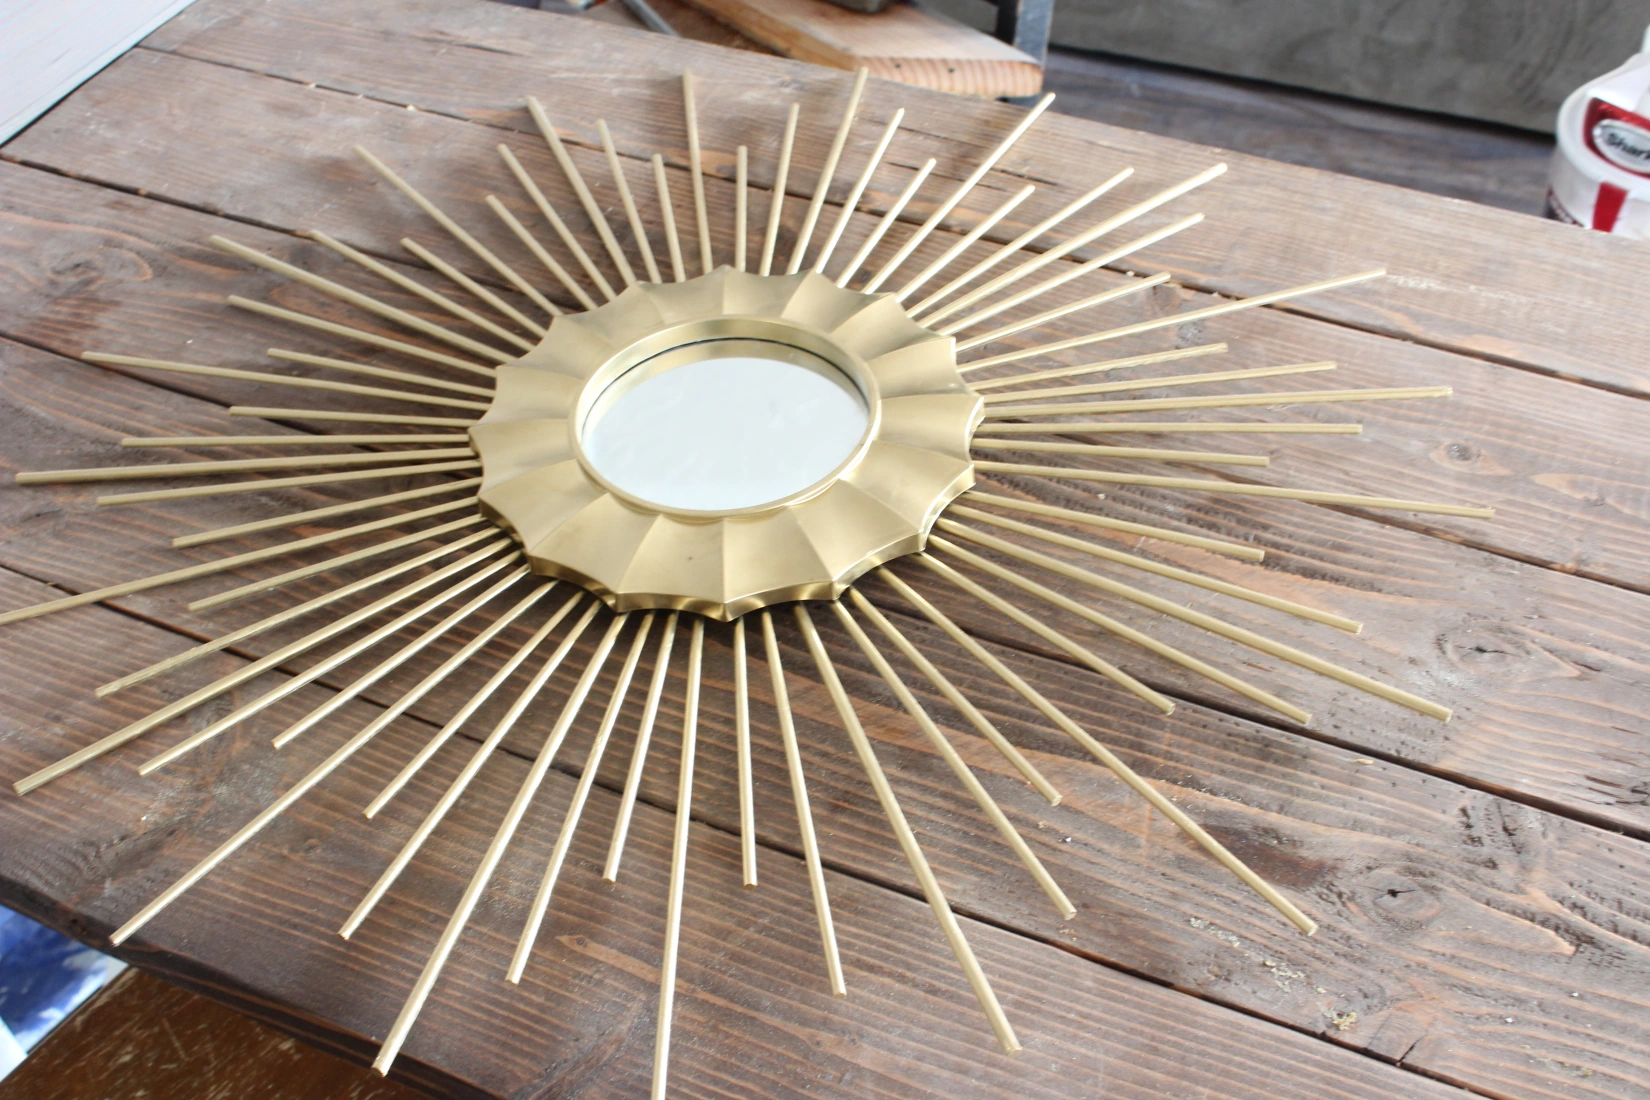
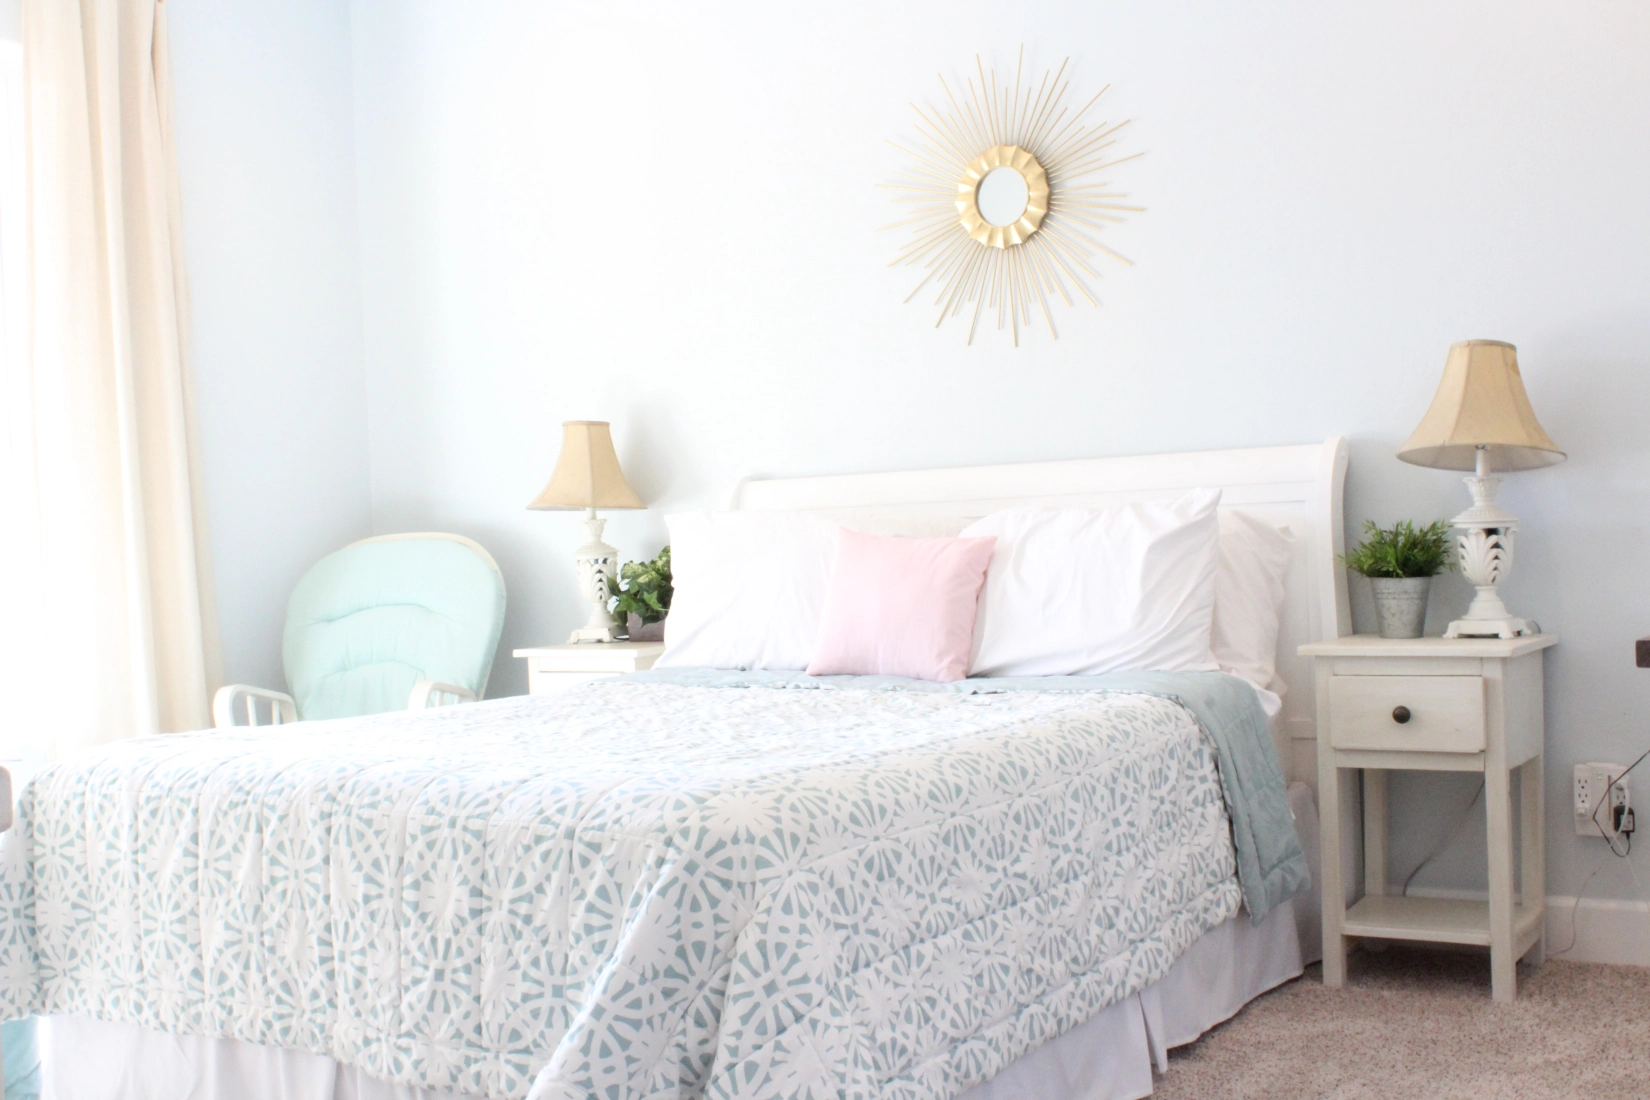
This is her final resting place:
Pretty, right?! I am seriously in love. But folks, the possibilities here are ENDLESS. You could make your own with popsicle sticks, paint sticks, or even long wood shims and make it looks AWESOME. I would LOVE to hear your feedback on if you made this mirror or any variations of this mirror!
Also, see those pretty nightstands? I made those! Check out how I did it here!
Also, please comment below if you have any other ideas or questions about it!
As always, XOXO
~Crystel