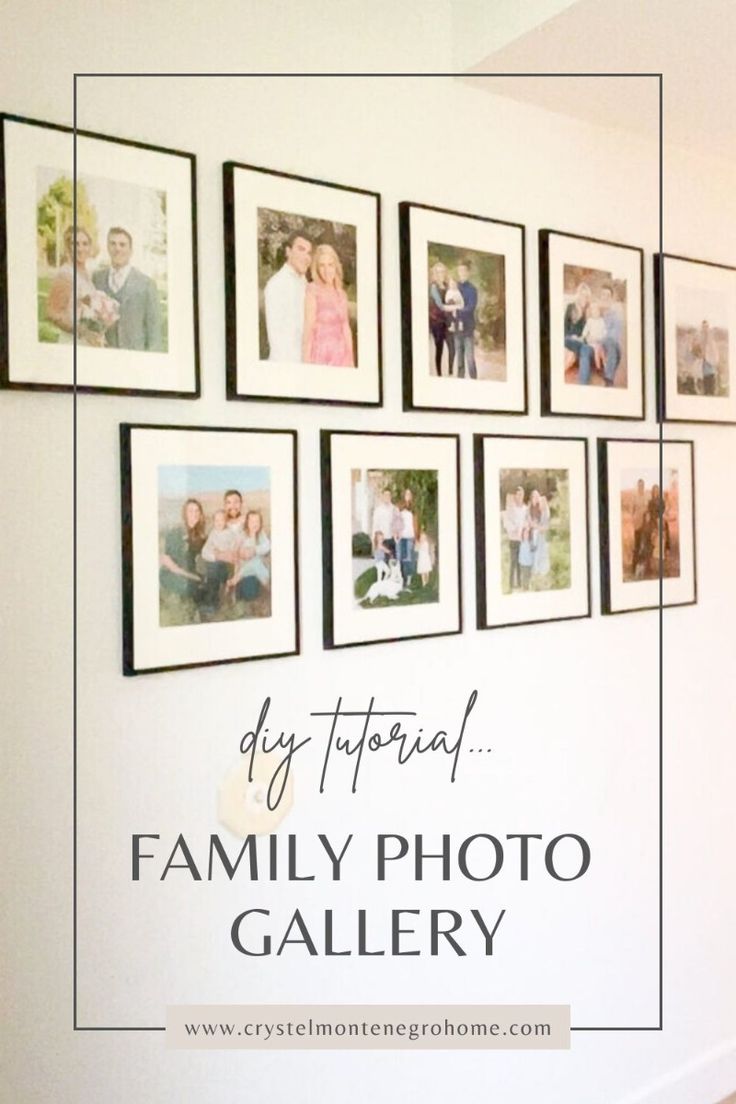
How to Hang a Gallery Wall Layout


Updated May 12, 2025
Love the look of a gallery wall, but not sure how to hang a gallery wall evenly? Or how to choose a gallery wall layout? You’re in the right place! Every year we take family photos, and I wanted them all framed and hung in order to see the progression of our family over the years. Whether you’re using artwork, or hanging family photos like me, I’ll show you how to hang a gallery wall easily on a wall in your home.
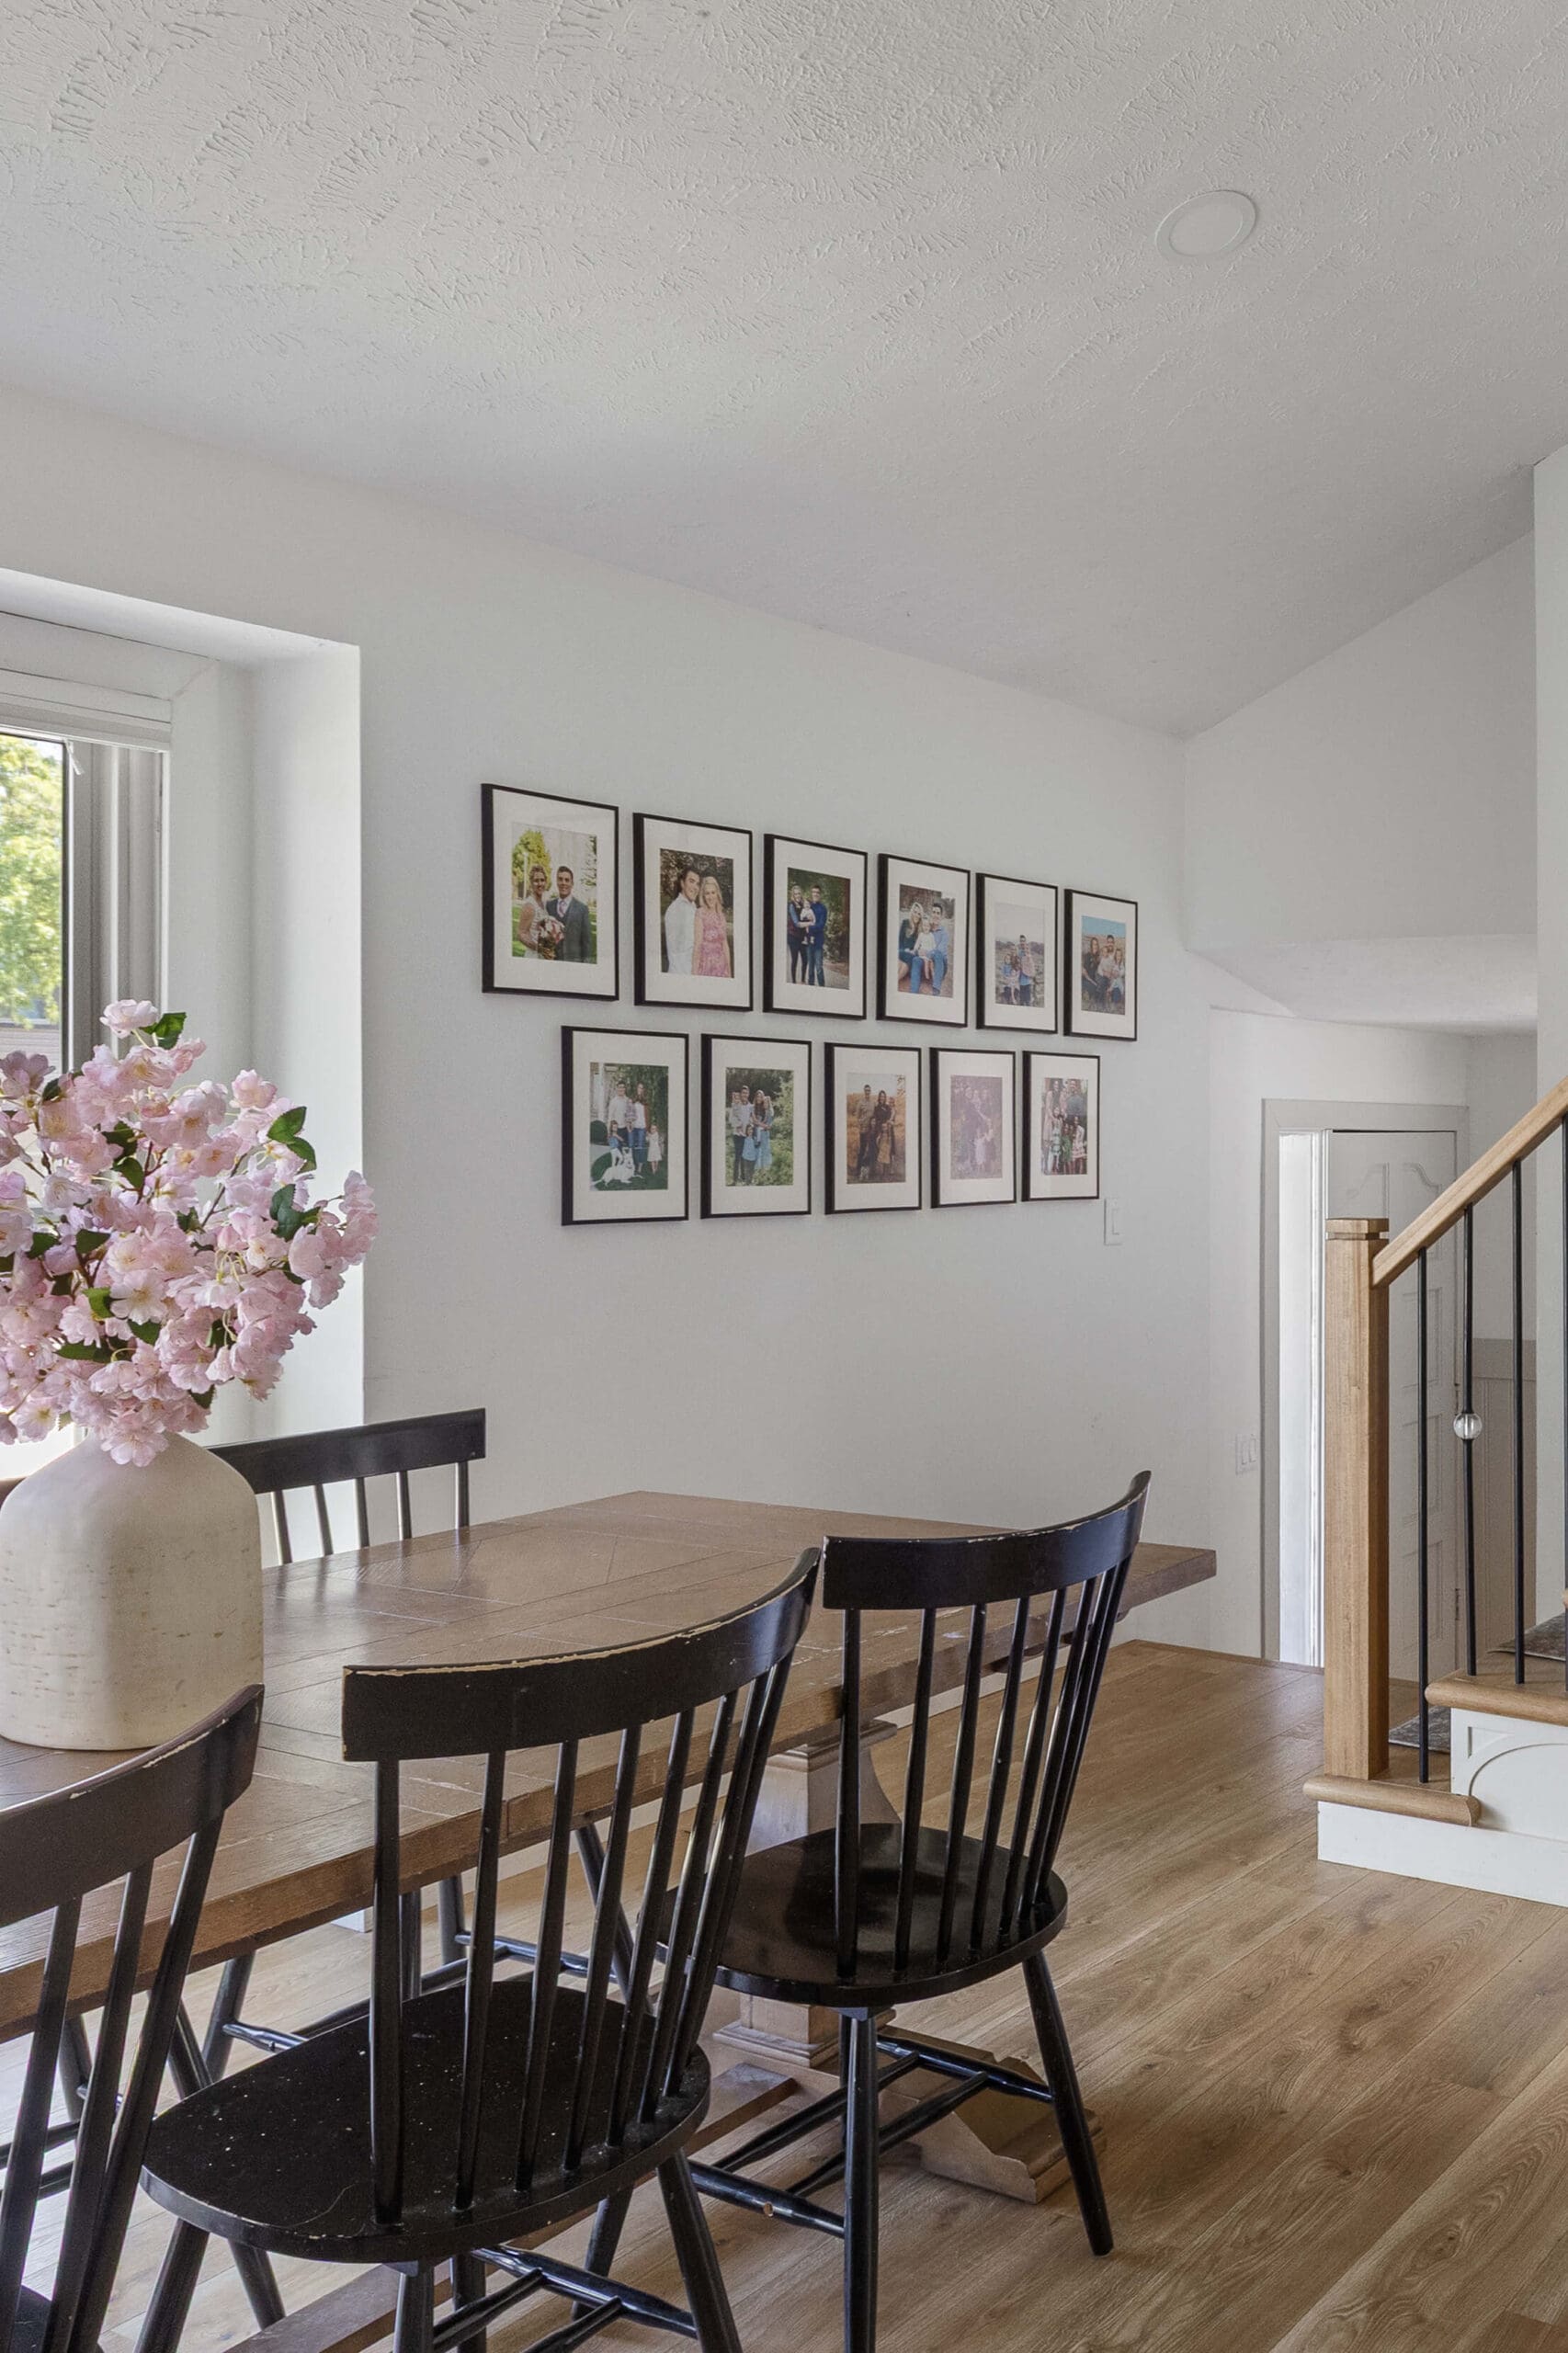
Table of contents
What You Need to Hang a Gallery Wall
How to Hang a Gallery Wall Straight
A laser level is your best friend for big projects like installing a backsplash and an absolute game-changer for how to hang a gallery wall. Trust me, get one! It’ll save you so much frustration. No more tilting your head, squinting, and wondering if your pictures are straight – you’ll know they are!
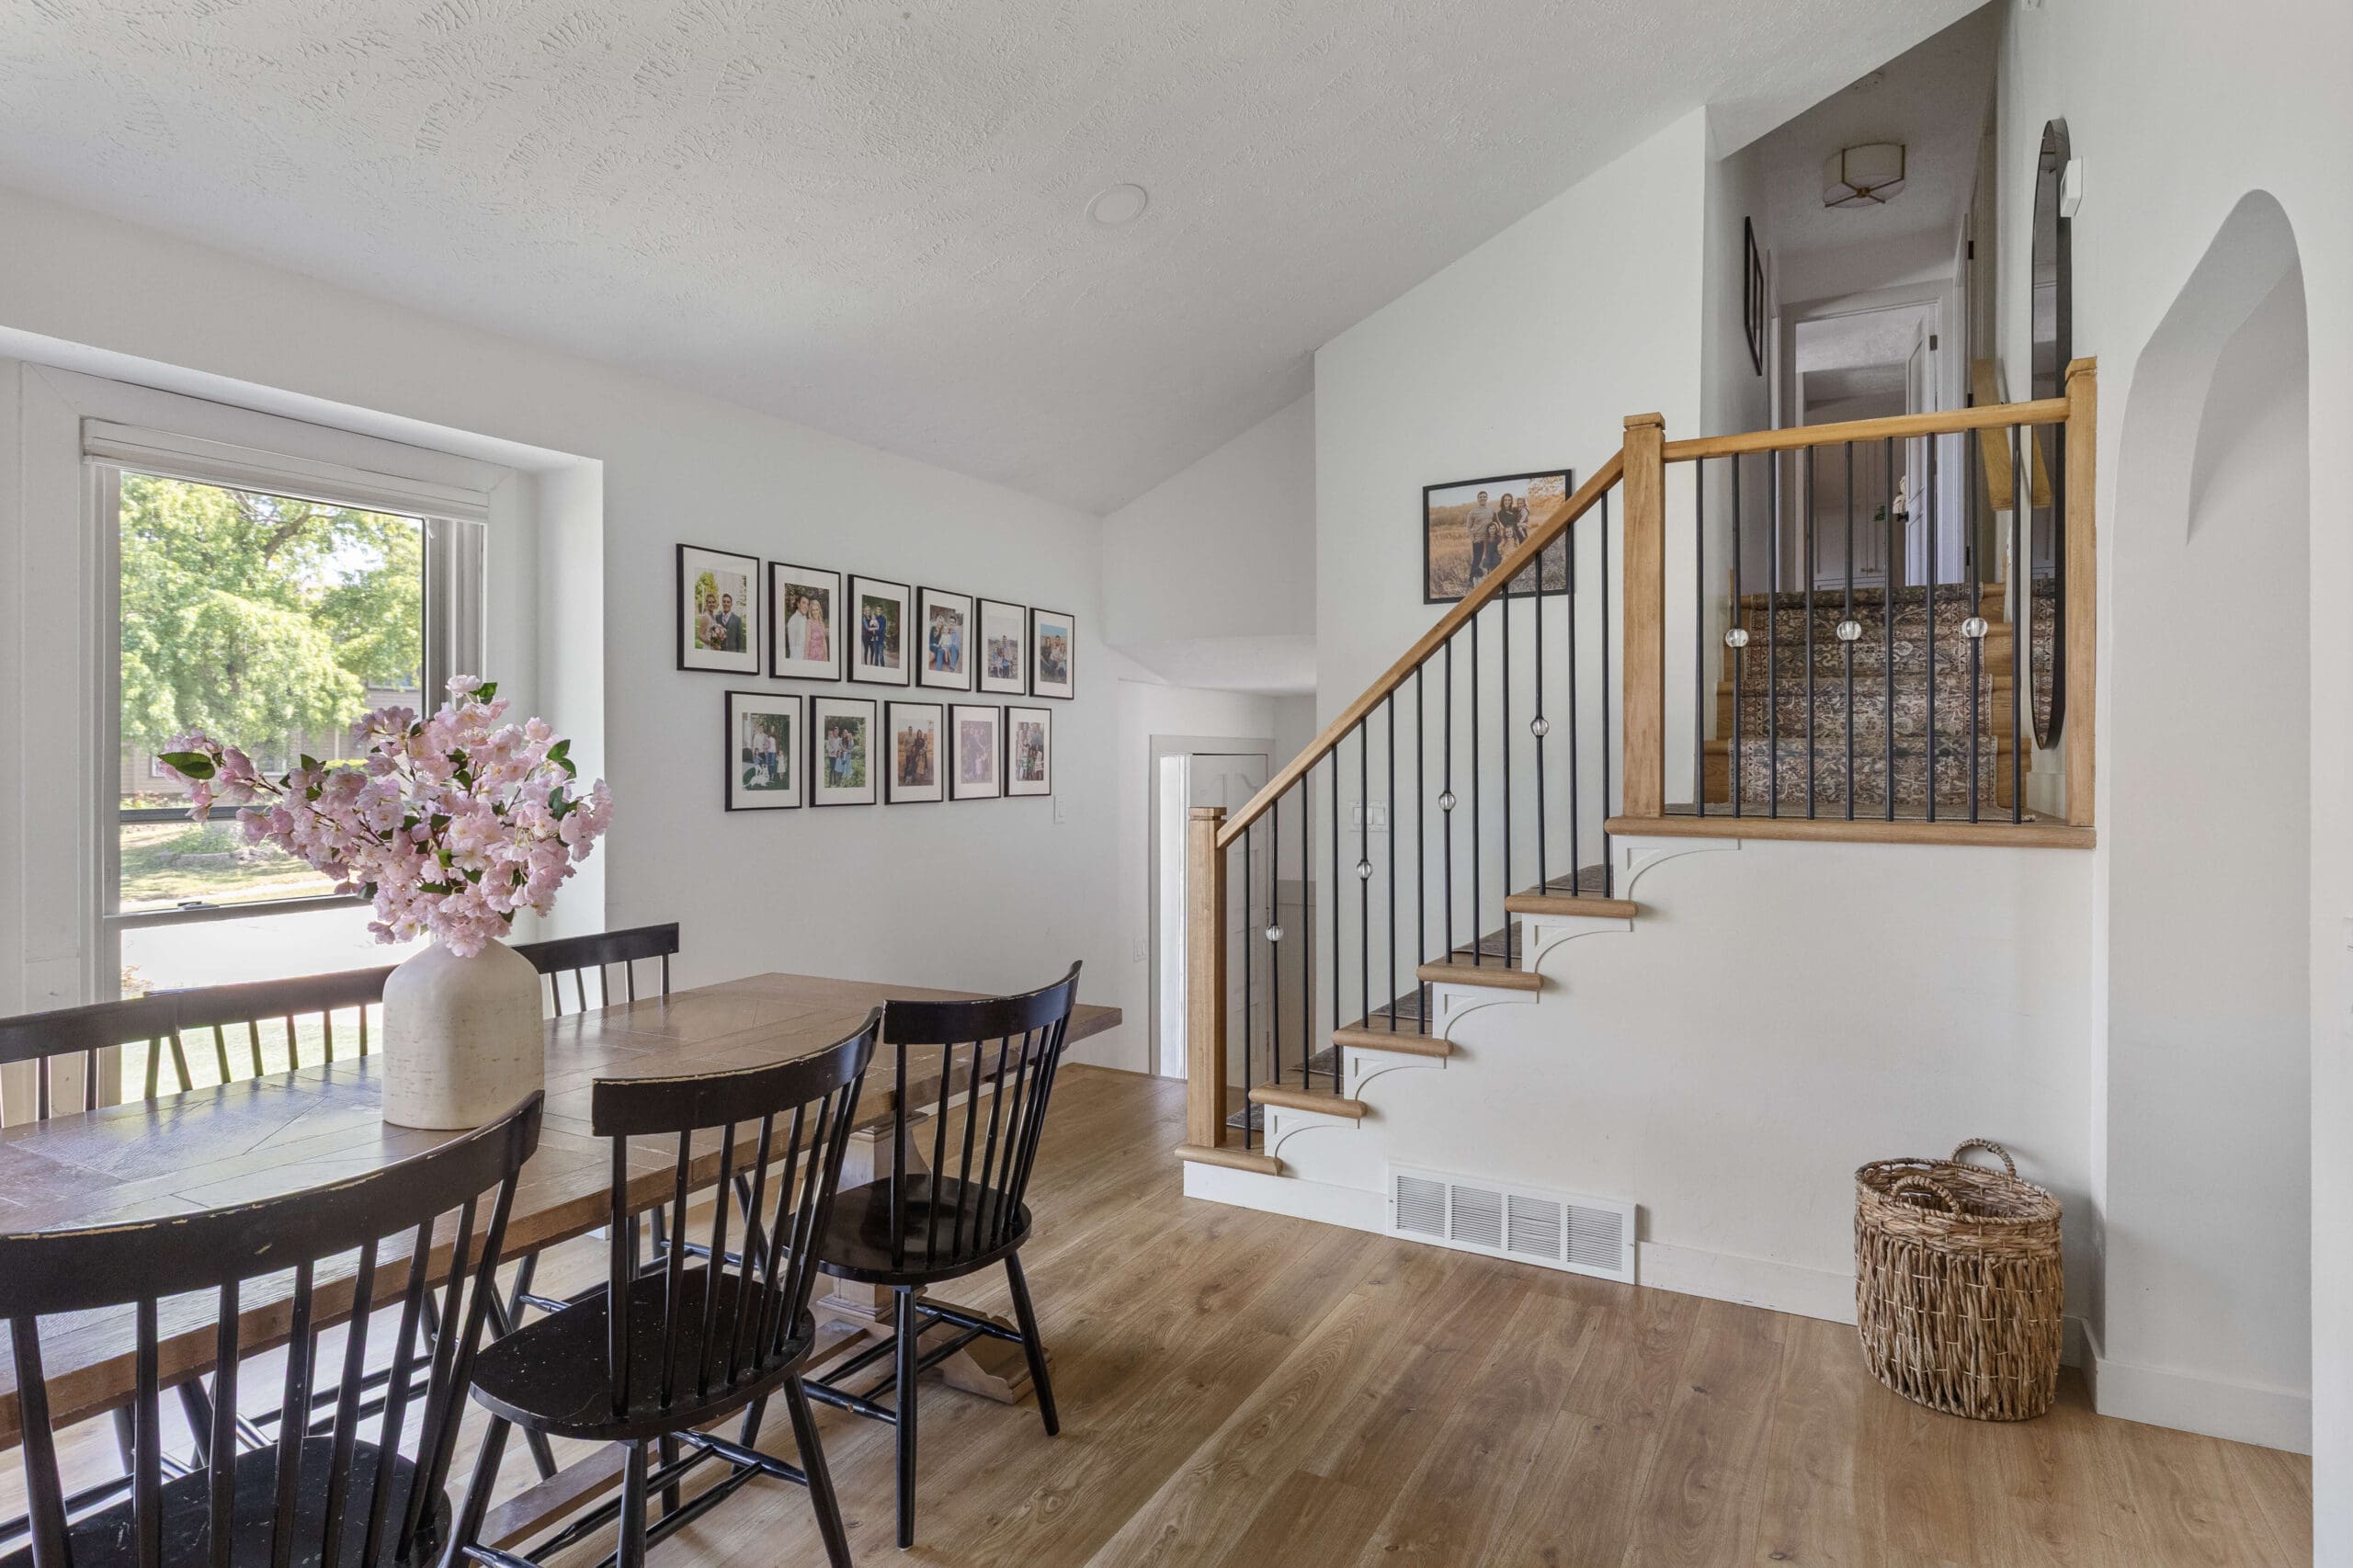
For my gallery wall layout, I’m doing two rows of family pictures. I started by setting up my laser level to give me a straight line for the top row of pictures. Then, I added a row of painter’s tape along that laser line. The tape lets me make marks without ruining my walls.


Using a tape measure, I found the center where I wanted my gallery wall layout to start, marked it on the painter’s tape, and hammered in a nail right on the laser level line.


Next, I hung my first picture.

Evenly Spacing Photos
You can space your frames however you like, but I went with 2 inches apart. I measured 2 inches from the first picture and made a mark. I lined up the edge of my second frame with that mark and eyeballed the center (you can measure if you’re not feeling lucky).


After adding a nail for the second photo, I measured the distance between the two nails. Now, I knew how far apart all the nails needed to be.

Using my tape measure, I marked where all the nails should go for the top row and hammered them in.


Add a Second Row
With all the nails in, I hung up the top row of photos. This way, I could double-check my measurements and spacing, ensuring the gallery wall layout looked good and see where to start the next row.


I wanted the second row to be offset from the top row, so I centered the first nail between two pictures from the top row.

Since I already knew the spacing from the top row, I measured down the wall, marked where the nails should go, and hammered them in. Following the laser level and consistent spacing are the secrets to how to hang a gallery wall evenly.

After the nails were in, I hung up the second row of photos to make sure I was happy with the gallery wall layout.

I was thrilled with how my gallery wall looked. So, I took the frames down one more time to peel off the painter’s tape.


After the tape was gone, I replaced the picture frames in order.

My Finished Family Gallery Wall
And that’s how to hang a gallery wall! I love seeing all our family photos in one spot. This gallery wall layout is easy to move and adjust to add more photos over the years. I recommend ordering a few extra picture frames so you have an exact match when it’s time to add more photos.
.
Other Ideas for a Gallery Wall Layout
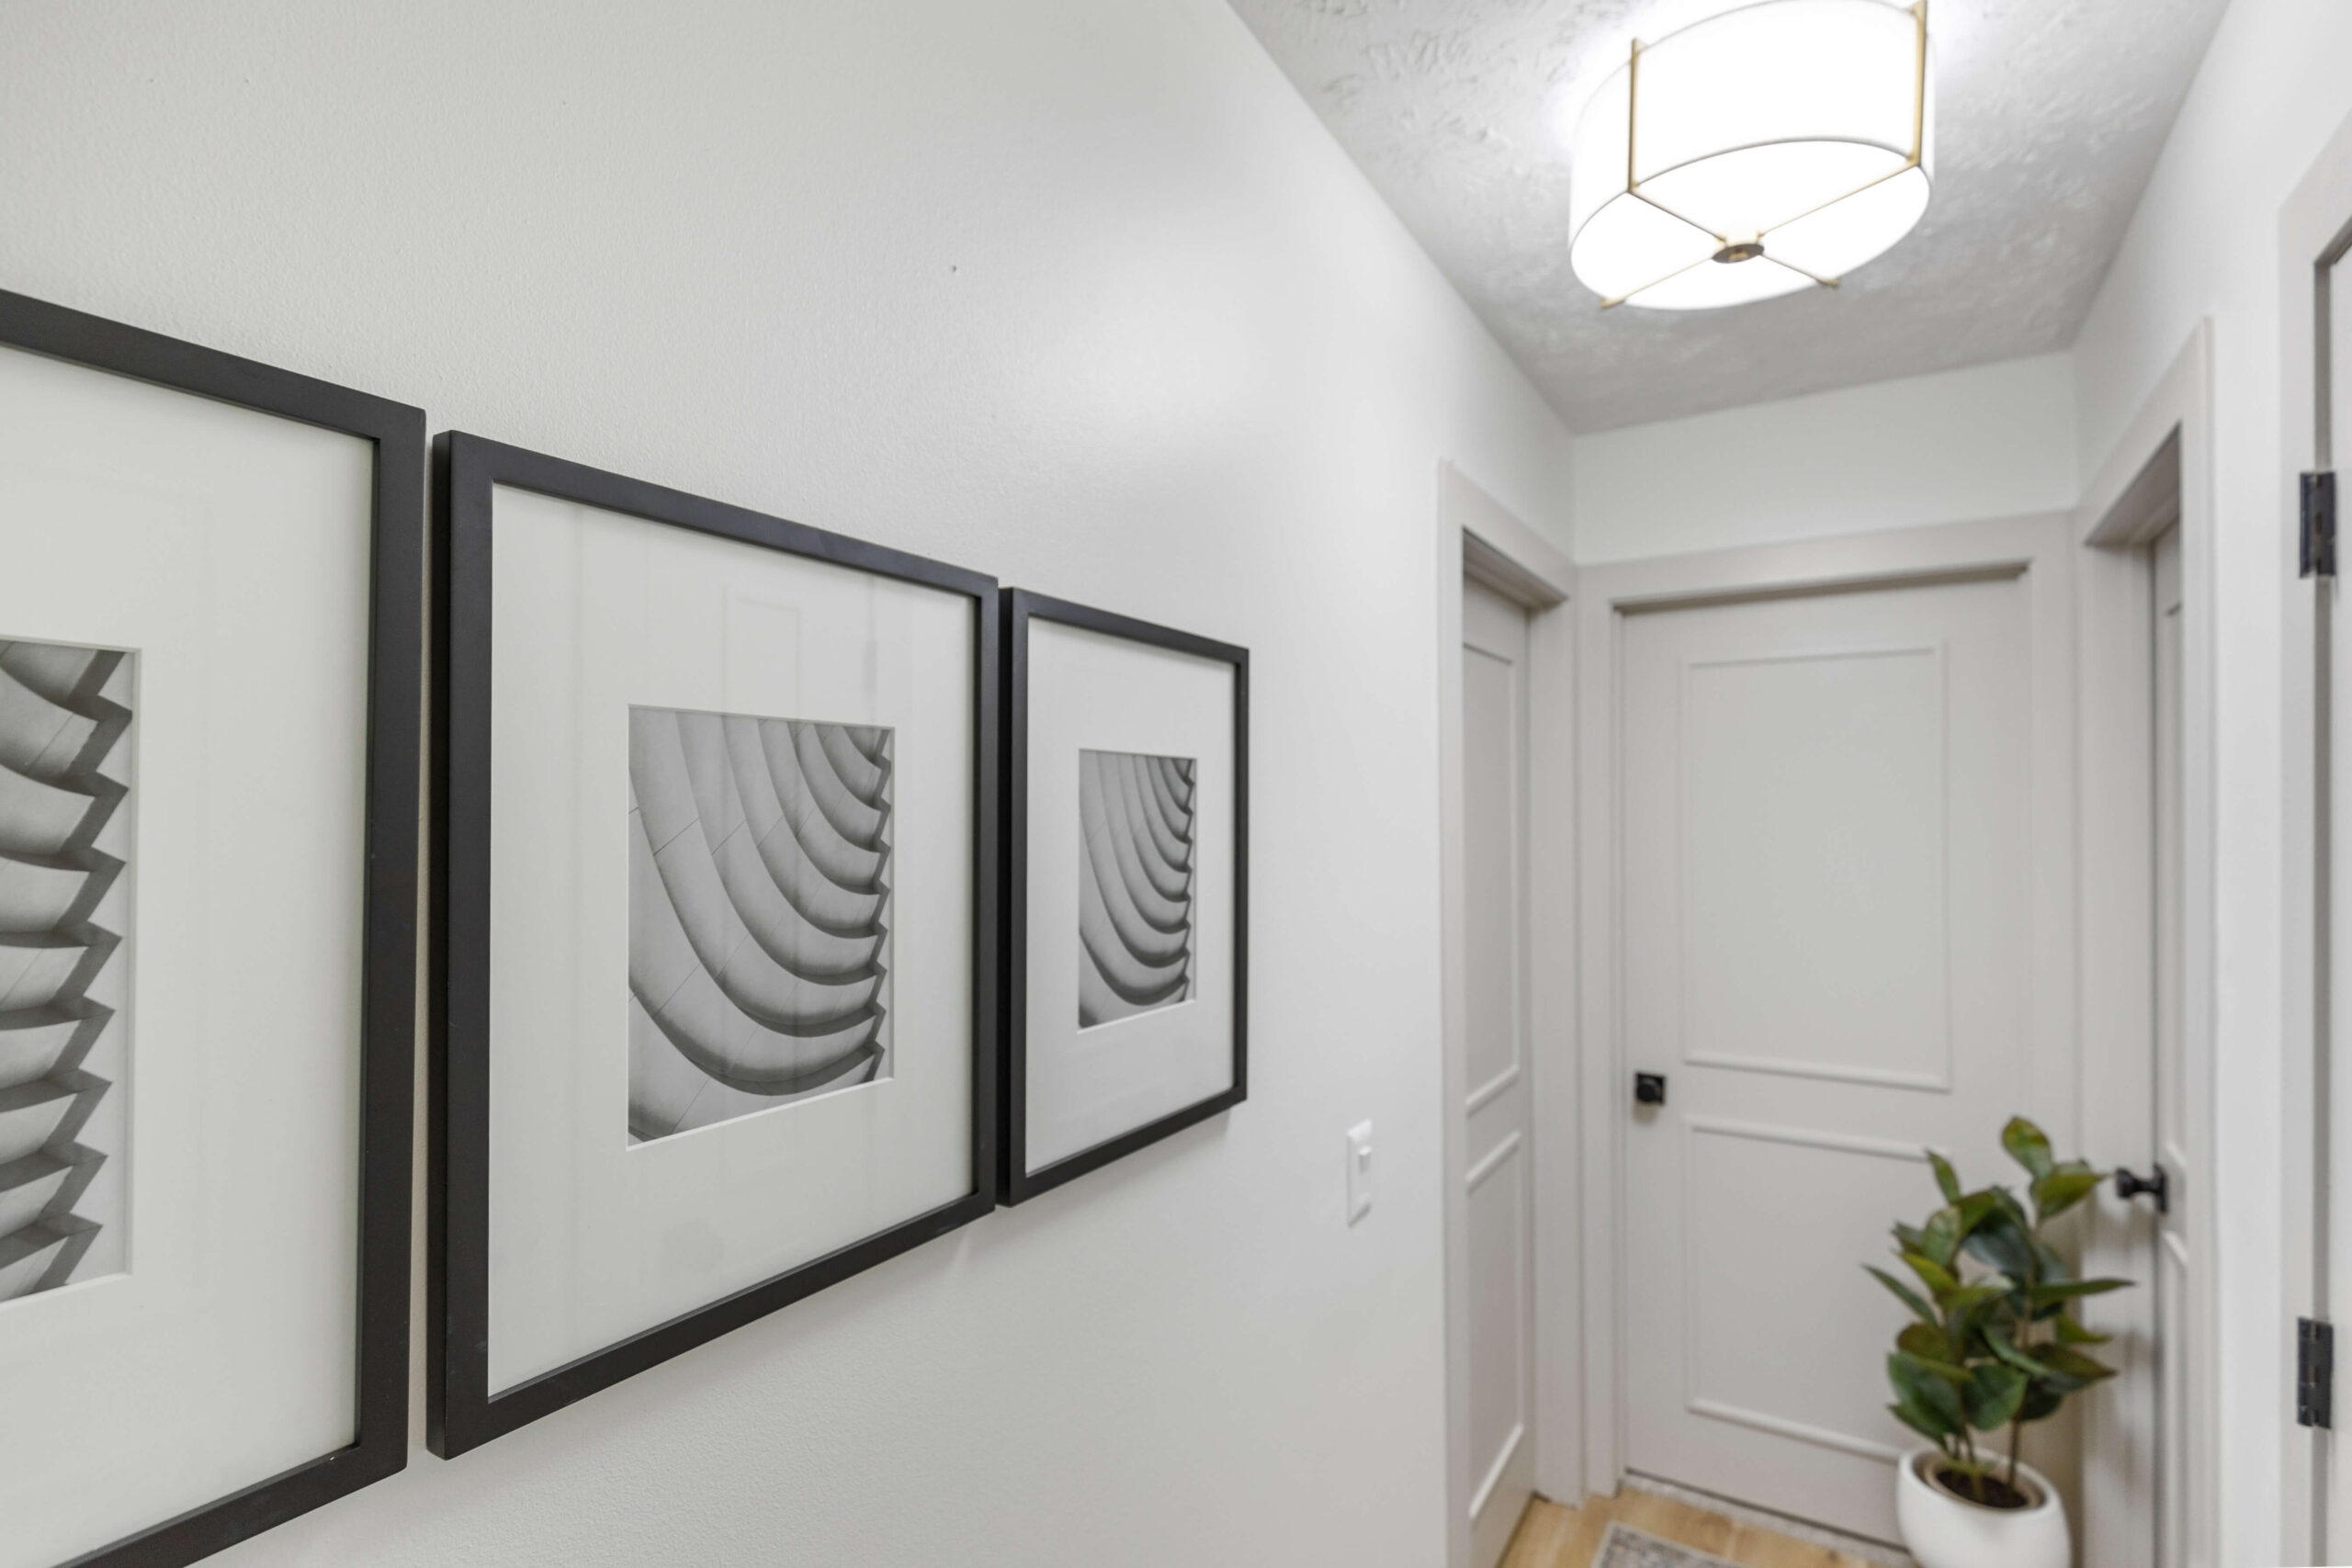
This technique works for other gallery wall layouts too. When I remodeled my hallway, I hung art pieces much closer together but still used the laser level and painter’s tape to keep everything even.
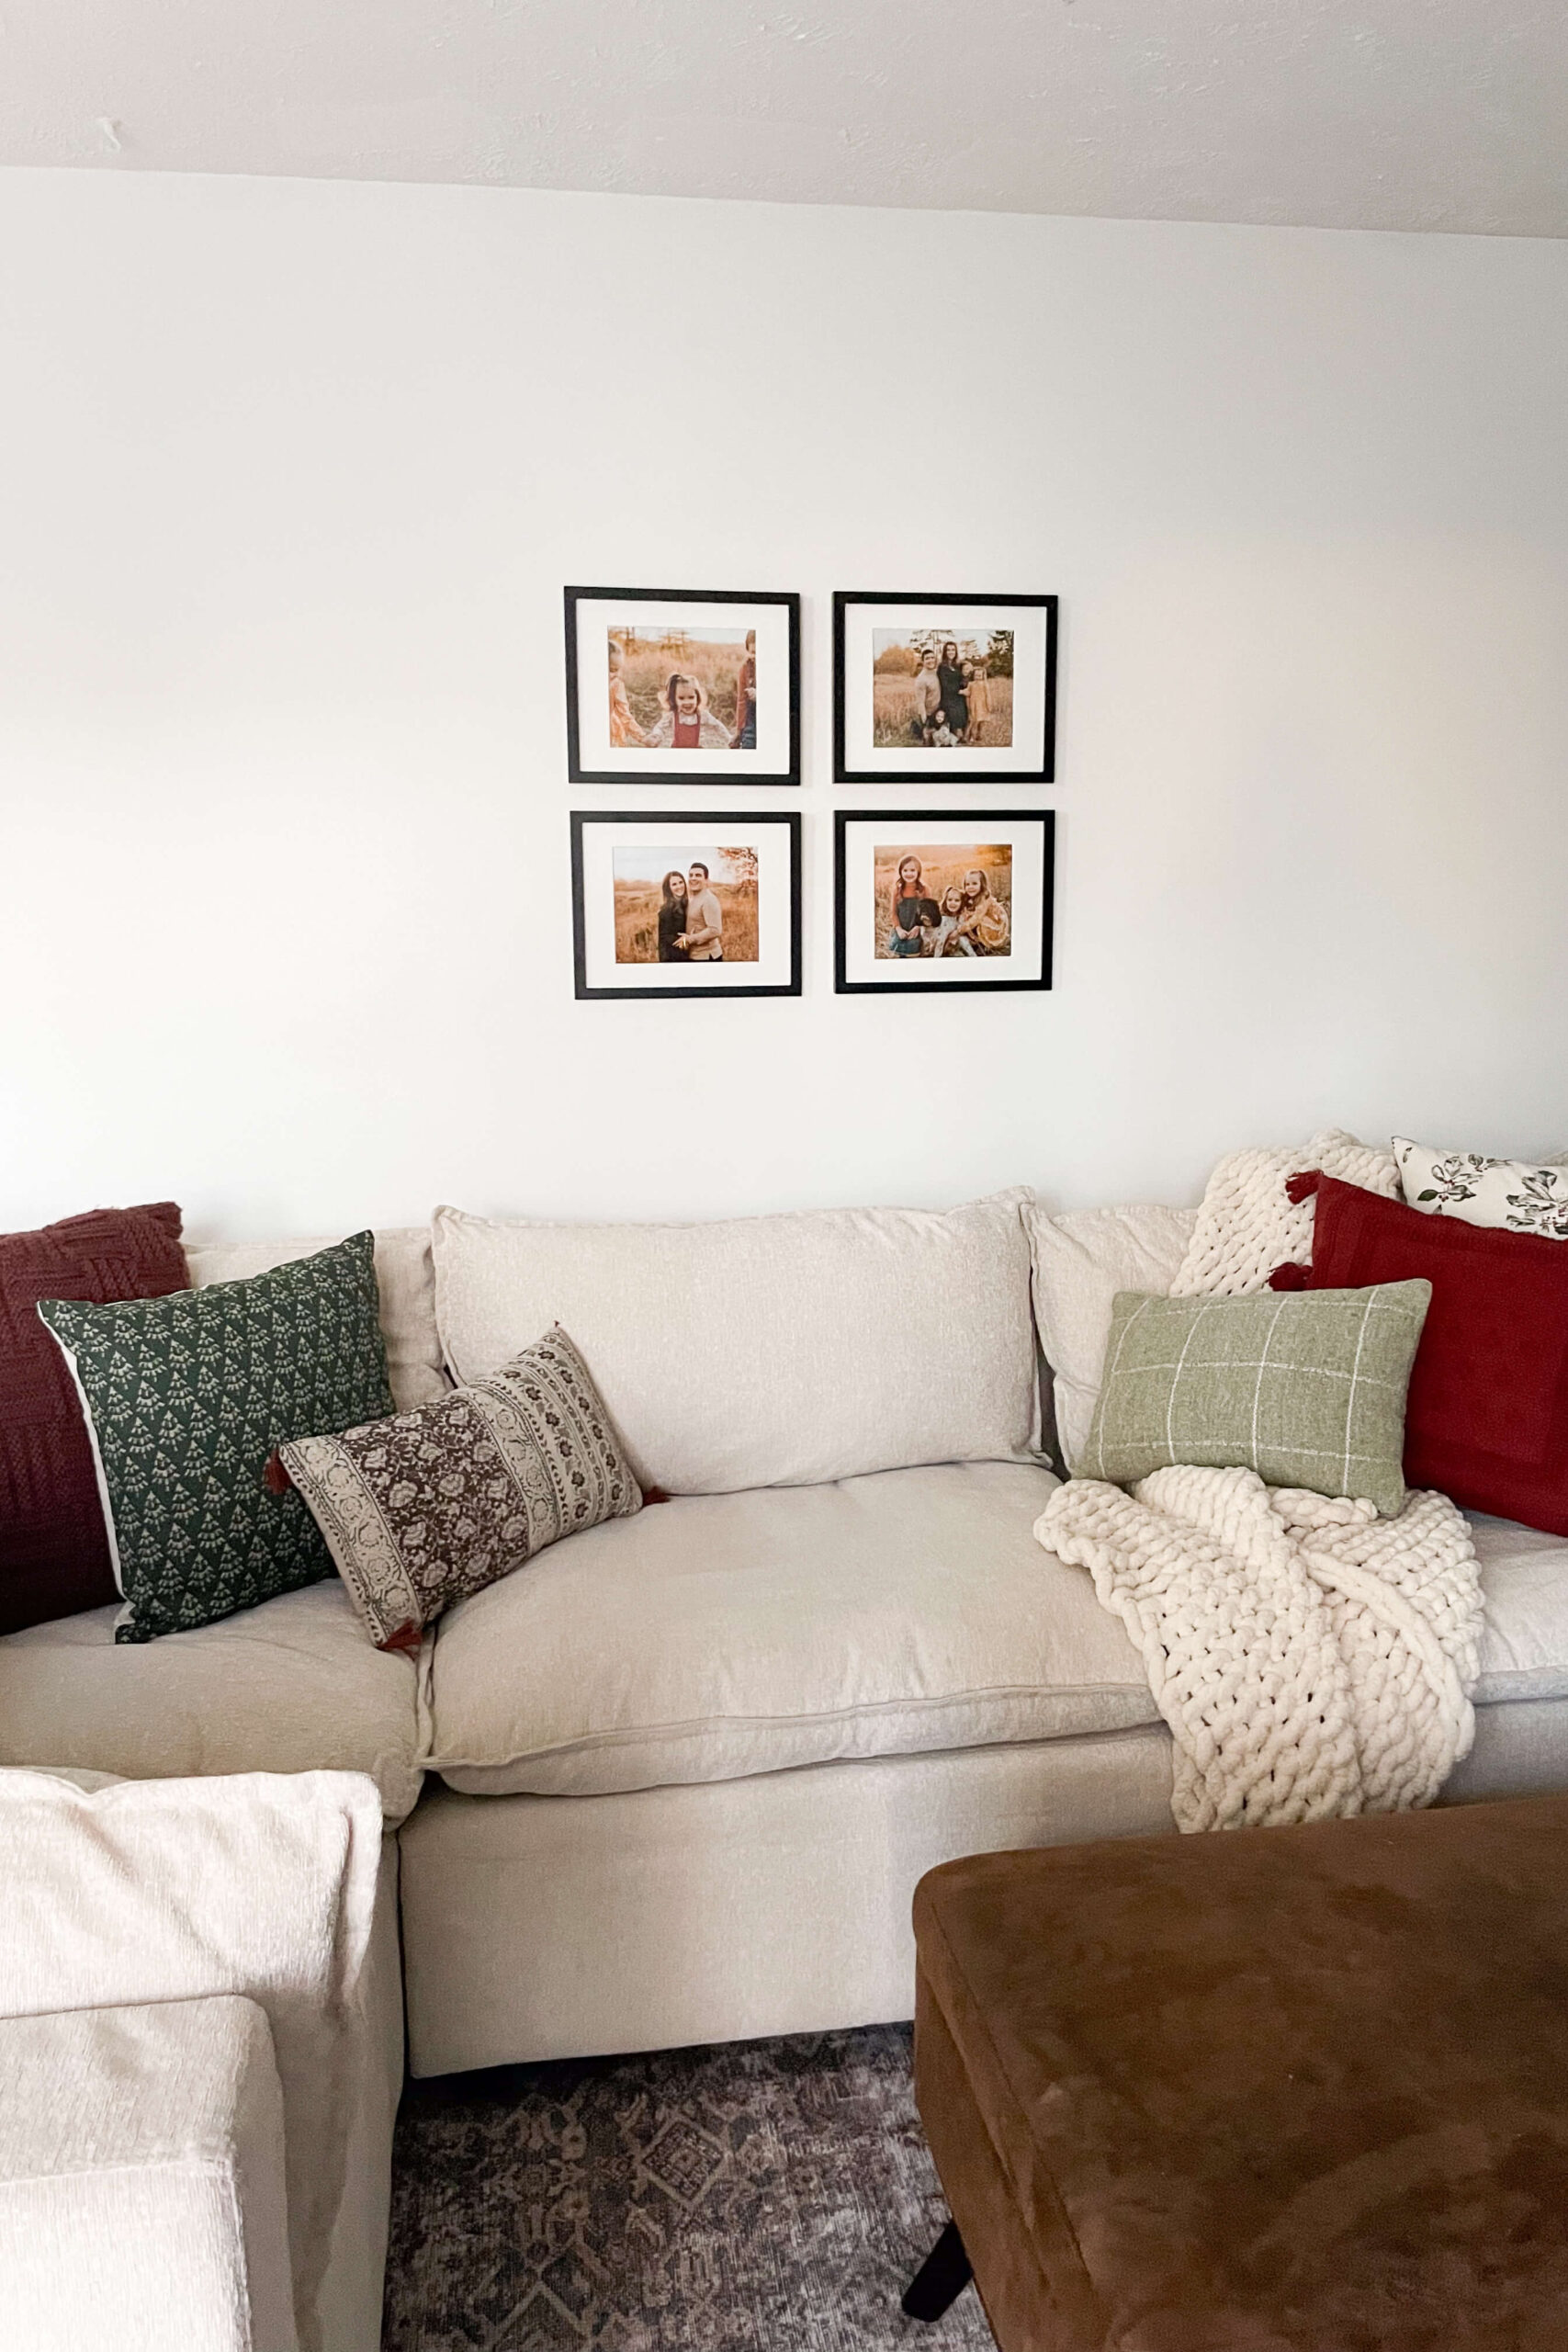
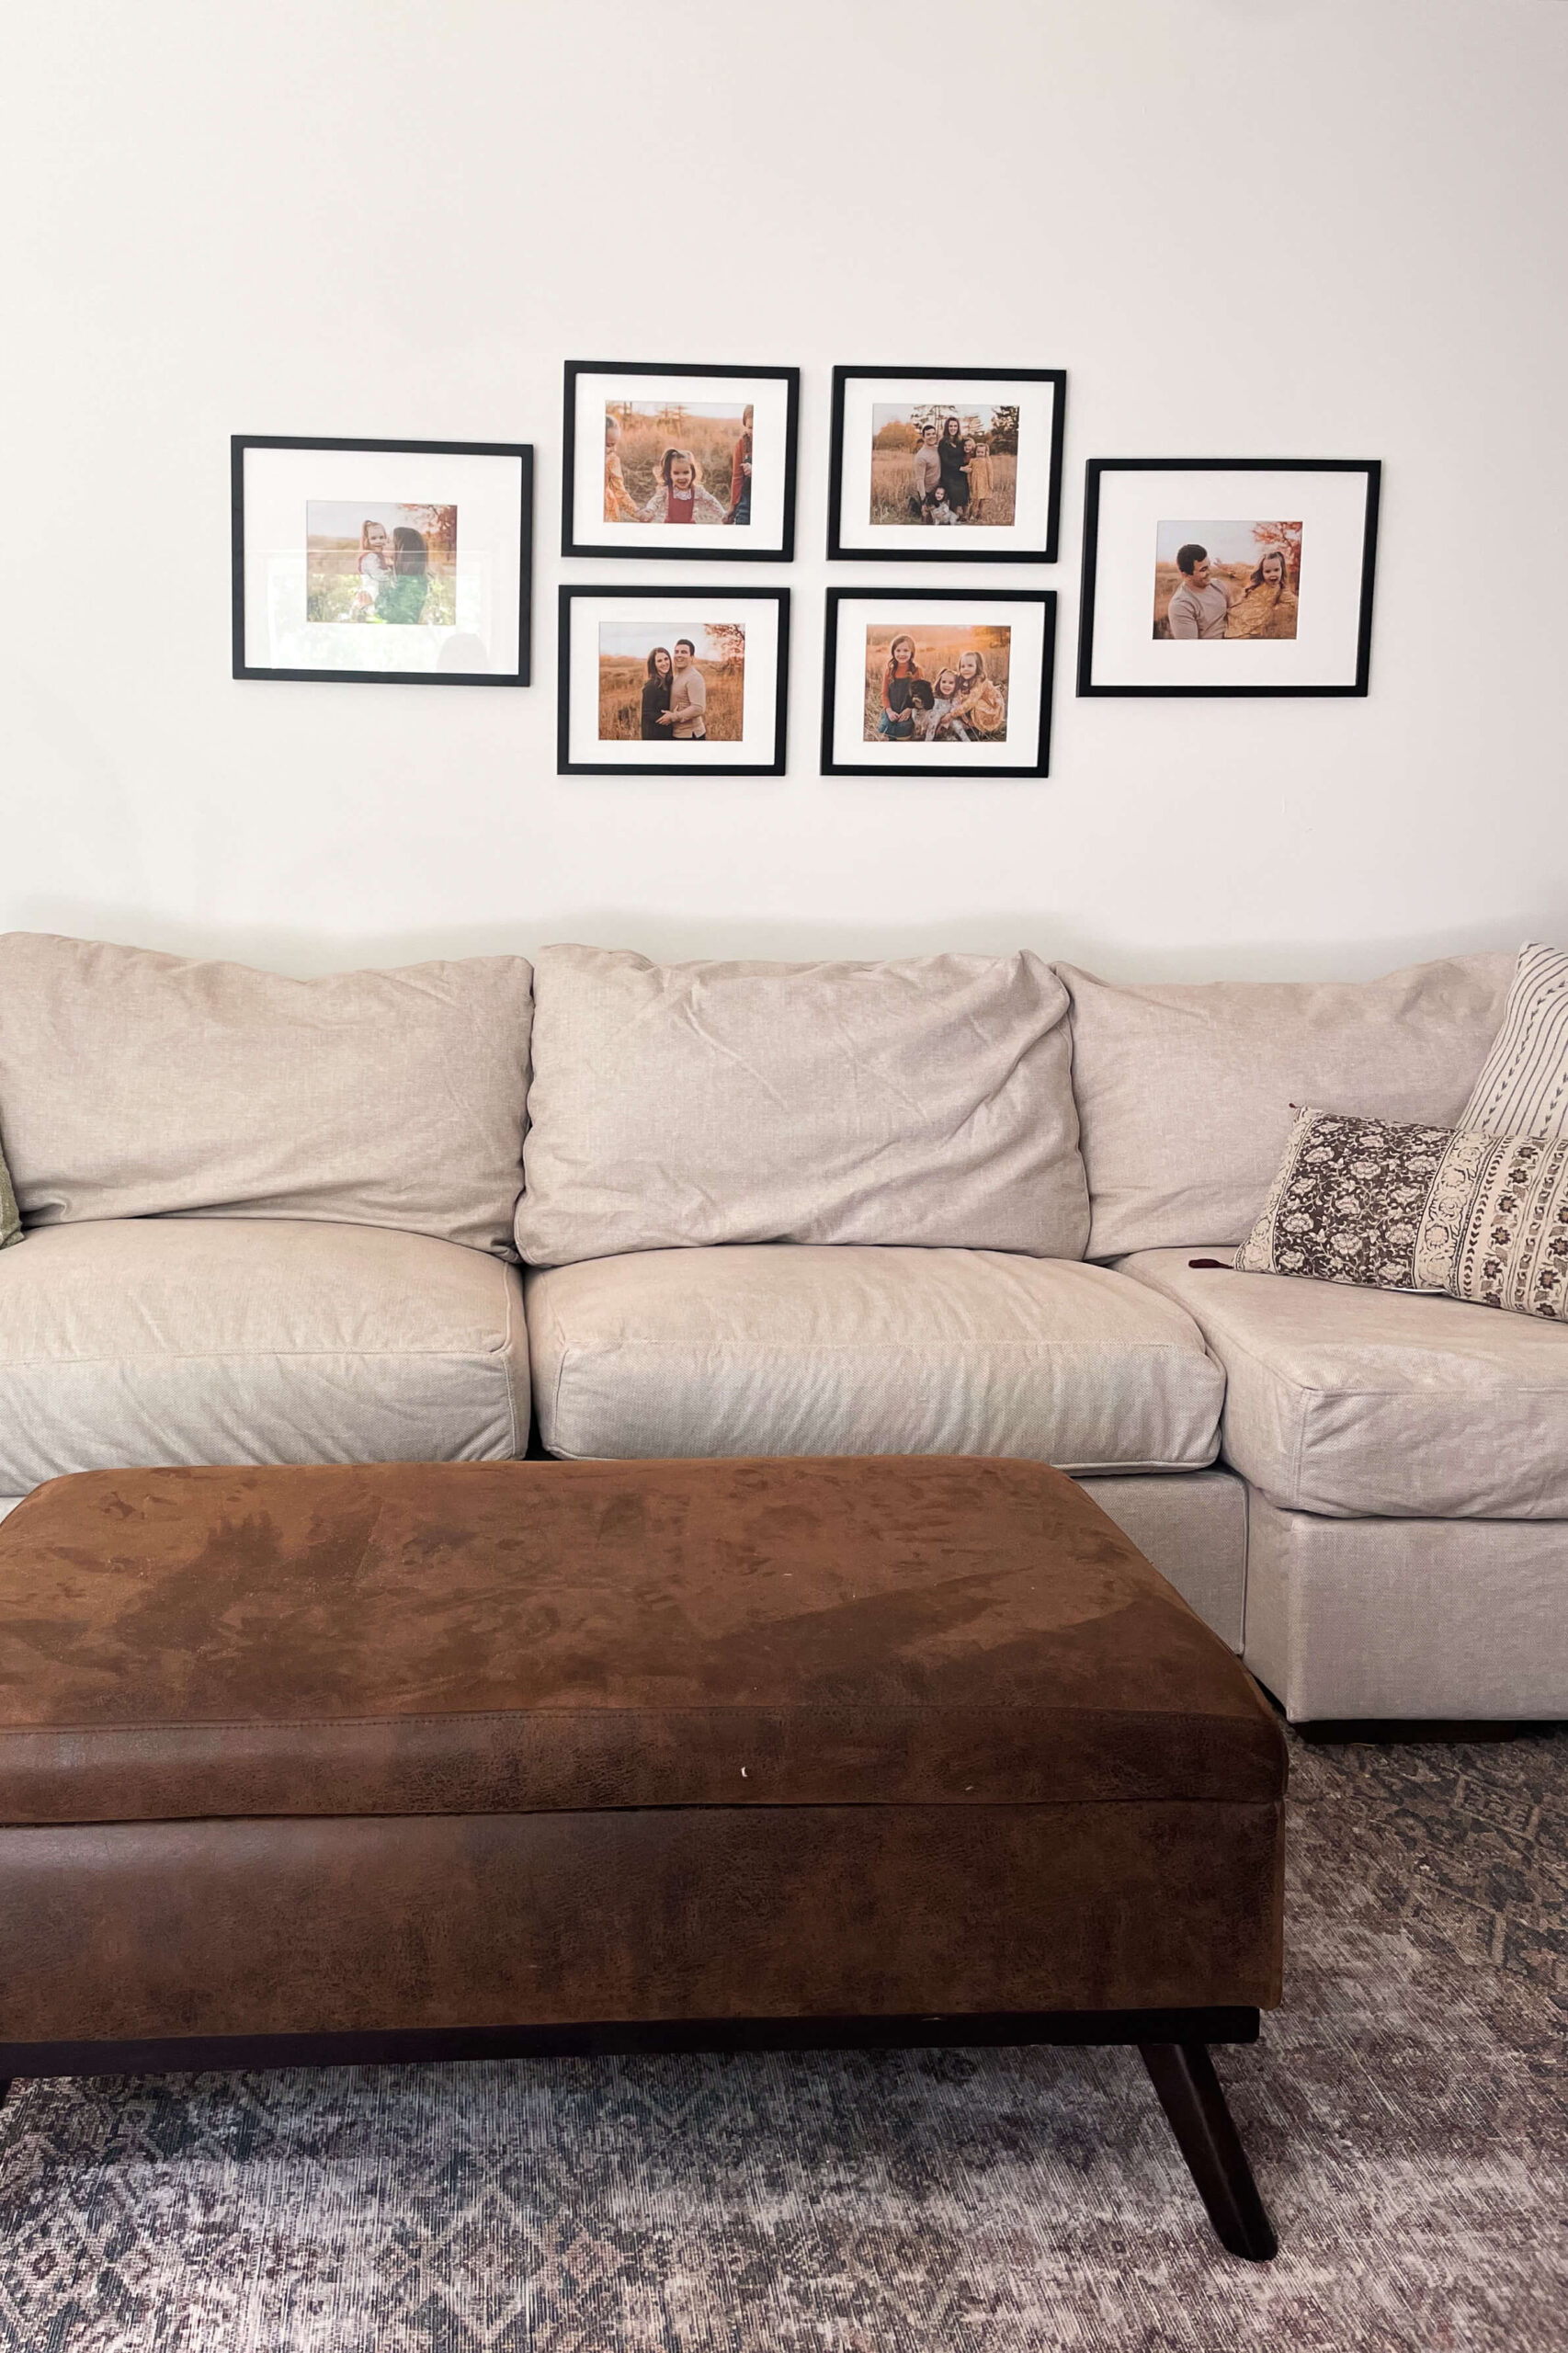
In my family room, I started with a small gallery wall layout of four horizontally-oriented family photos. Later, I added larger frames on the sides. You might notice the photos are still 8×10, but the larger frames add interest and variety to the gallery wall layout.
Have questions for me on how to hang a gallery wall in your own home? Leave them in the comments.
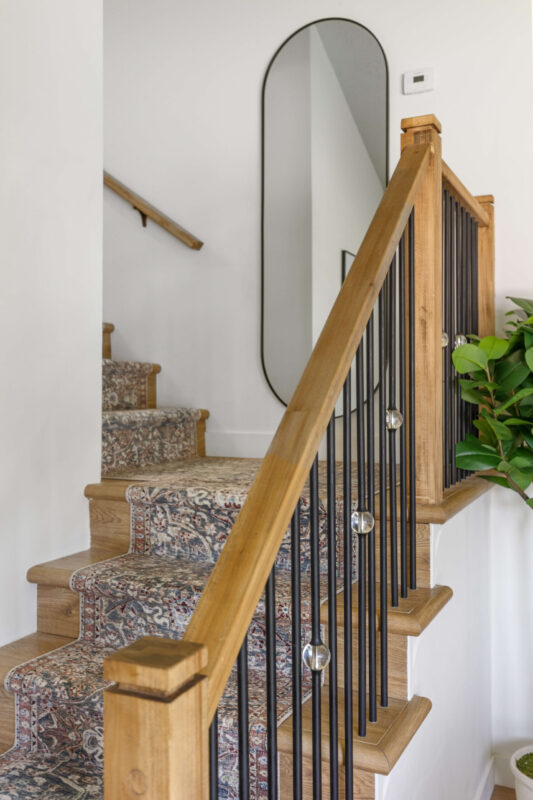
Looking for more projects to decorate and style your home? I have this post showing you the easy way to install a stair runner. Or this one where a can of spray paint turns my window frames black.