


Dry Pour Concrete Slab: My Easy DIY Method for a Small Pad


Updated July 13, 2026
Dry pour concrete is not always the best method, but it can be a huge timesaver for small pads that won’t bear a lot of weight. I needed a small concrete pad behind my shed to keep our firewood stacked and off the ground. A dry pour concrete slab was the perfect DIY solution.
Quick Answer: How Do You Dry Pour a Concrete Slab?
To dry pour a concrete slab, build a 2×4 form on level ground (with a slight slope for water runoff), add a layer of wire mesh for reinforcement, slice open bags of dry concrete mix and pour the dry mix directly into the form, screed it level with a 2×4 using a side-to-side see-saw motion, edge the perimeter with a concrete edger tool, then mist the surface lightly with a hose every hour for six hours so the dry concrete absorbs water and cures in place. The dry pour method is best for small, low-load slabs like firewood storage, AC pads, and small shed bases.
Dry Pour Concrete Slab Method: At a Glance
The full process for pouring a small dry pour concrete pad comes down to seven steps:
- Dig out the pad area slightly below grade so the slab sits flush with the ground
- Build a simple 2×4 form (front + 2 sides), staked into the ground from the outside
- Set the form level across the front, with a slight slope down the sides to shed water
- Backfill dirt along the outside edges of the form to prevent concrete leakage
- Add a section of wire mesh inside the form for reinforcement (no rebar needed for a small pad)
- Slice open the dry concrete bags and dump the mix into the form, then screed level with a 2×4
- Mist the surface lightly with a hose every hour for 6 hours, then let cure overnight
Watch the Dry Pour Concrete Tutorial
Table of Contents
- Quick Answer: How Do You Dry Pour a Concrete Slab?
- Dry Pour Concrete Slab Method: At a Glance
- Watch the Dry Pour Concrete Tutorial
- Tools and Materials for a Dry Pour Concrete Slab
- Prepping for My Dry Pour Concrete Pad
- Pouring the Concrete
- Wetting the Dry Pour Concrete Pad
- Cost and Time: How Much It Takes to DIY a Dry Pour Concrete Pad
- 📌 Save This Dry Pour Concrete Tutorial for Later
- Frequently Asked Questions About Dry Pour Concrete
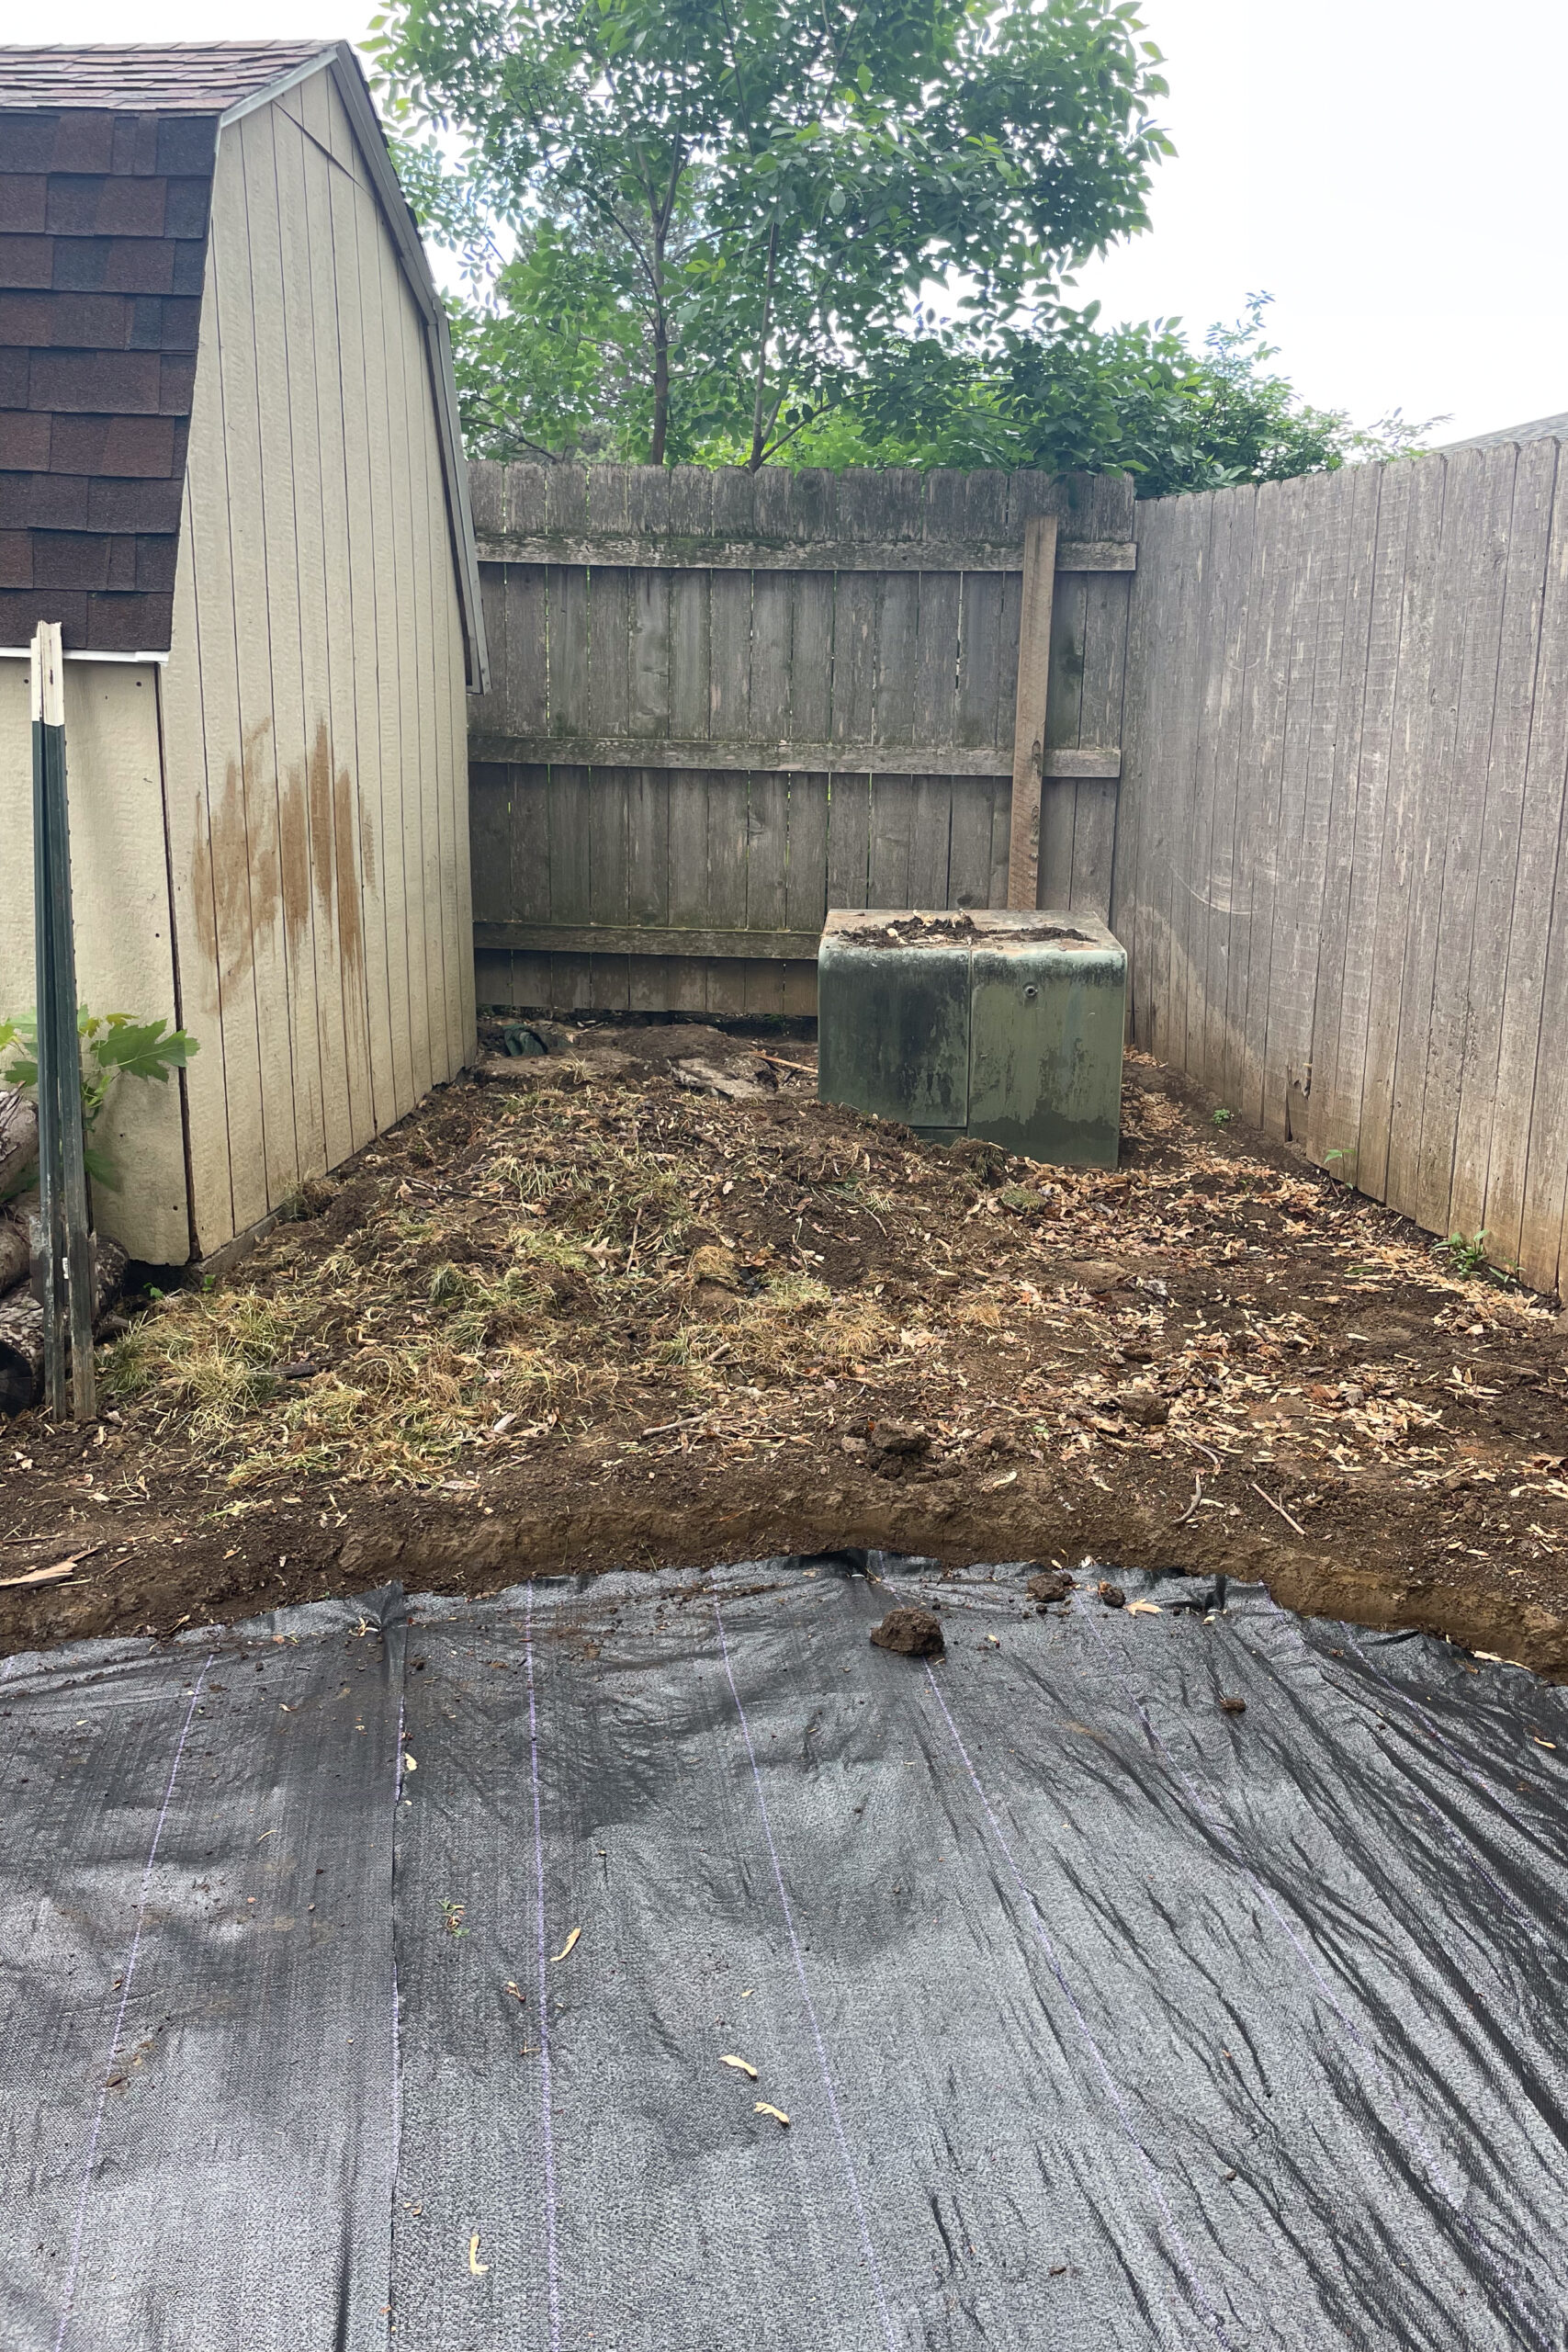
We love having a backyard fire in our awesome, smokeless fire pit. But, I needed a better place to store all that firewood. No more “random log sculpture” in the backyard.

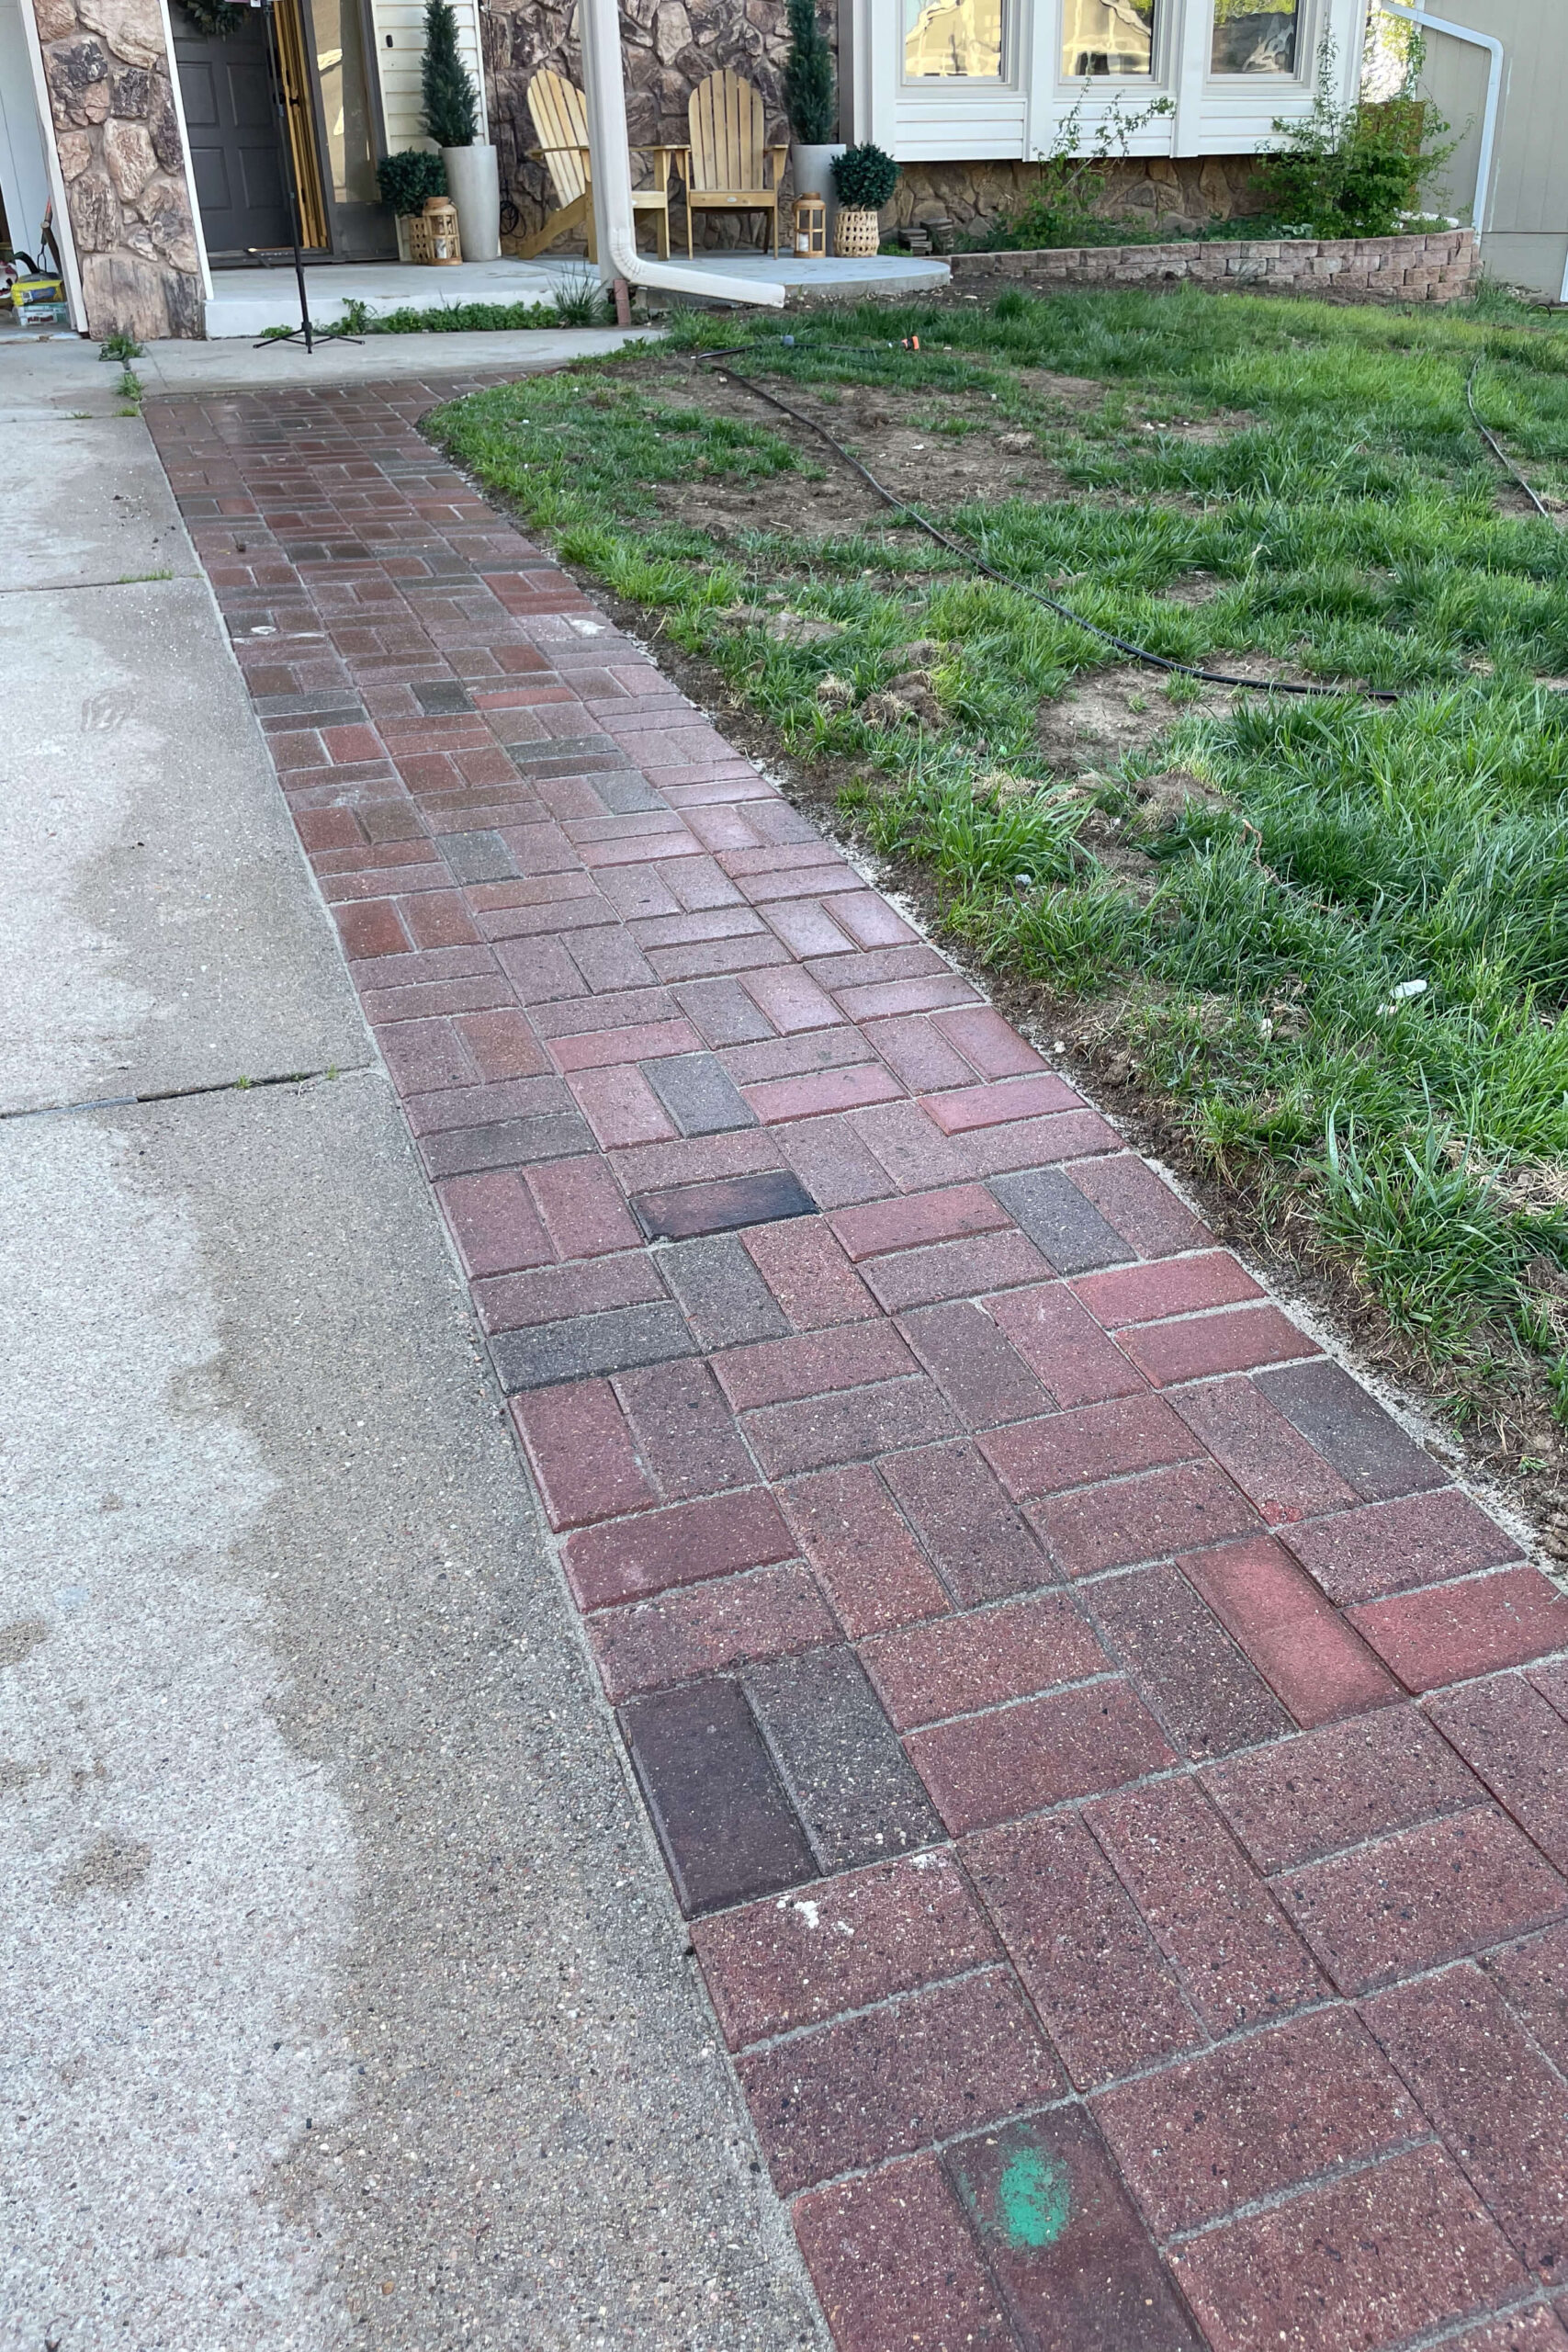
Behind our shed, there was an unused area of our yard that would be perfect for a woodpile. I wanted the wood to be off the ground, so I decided to pour a small concrete pad. On projects like my DIY concrete curbs, I’ve done the traditional concrete pouring method, but for this small pad, I decided to try the dry pour concrete method.
Tools and Materials for a Dry Pour Concrete Slab
Tools
Materials
- 2×4’s (for the form)
- Wood screws (to attach form to stakes)
- Stakes (to hold the form in place)
- Bagged concrete mix
- Wire mesh (for reinforcement; rebar not needed on small pads)
Prepping for My Dry Pour Concrete Pad
Where to Position the Pad
First, I didn’t want the concrete up against the shed siding, and I wanted the pad flush with the ground, so we had to dig out a spot for it.
Building the 2×4 Form
Using a couple of 2×4’s, I made a basic form with two sides and a front piece. Then we set that form in place.


Sloping the Form for Water Runoff
To set the form, we drove stakes into the ground and attached them to the form from the outside with screws. Across the front edge, we wanted it level, but on the side pieces, we wanted it to slope down away from the shed to keep water from pooling on the back of the concrete slab. Because nothing says “fun” like a waterlogged woodpile.


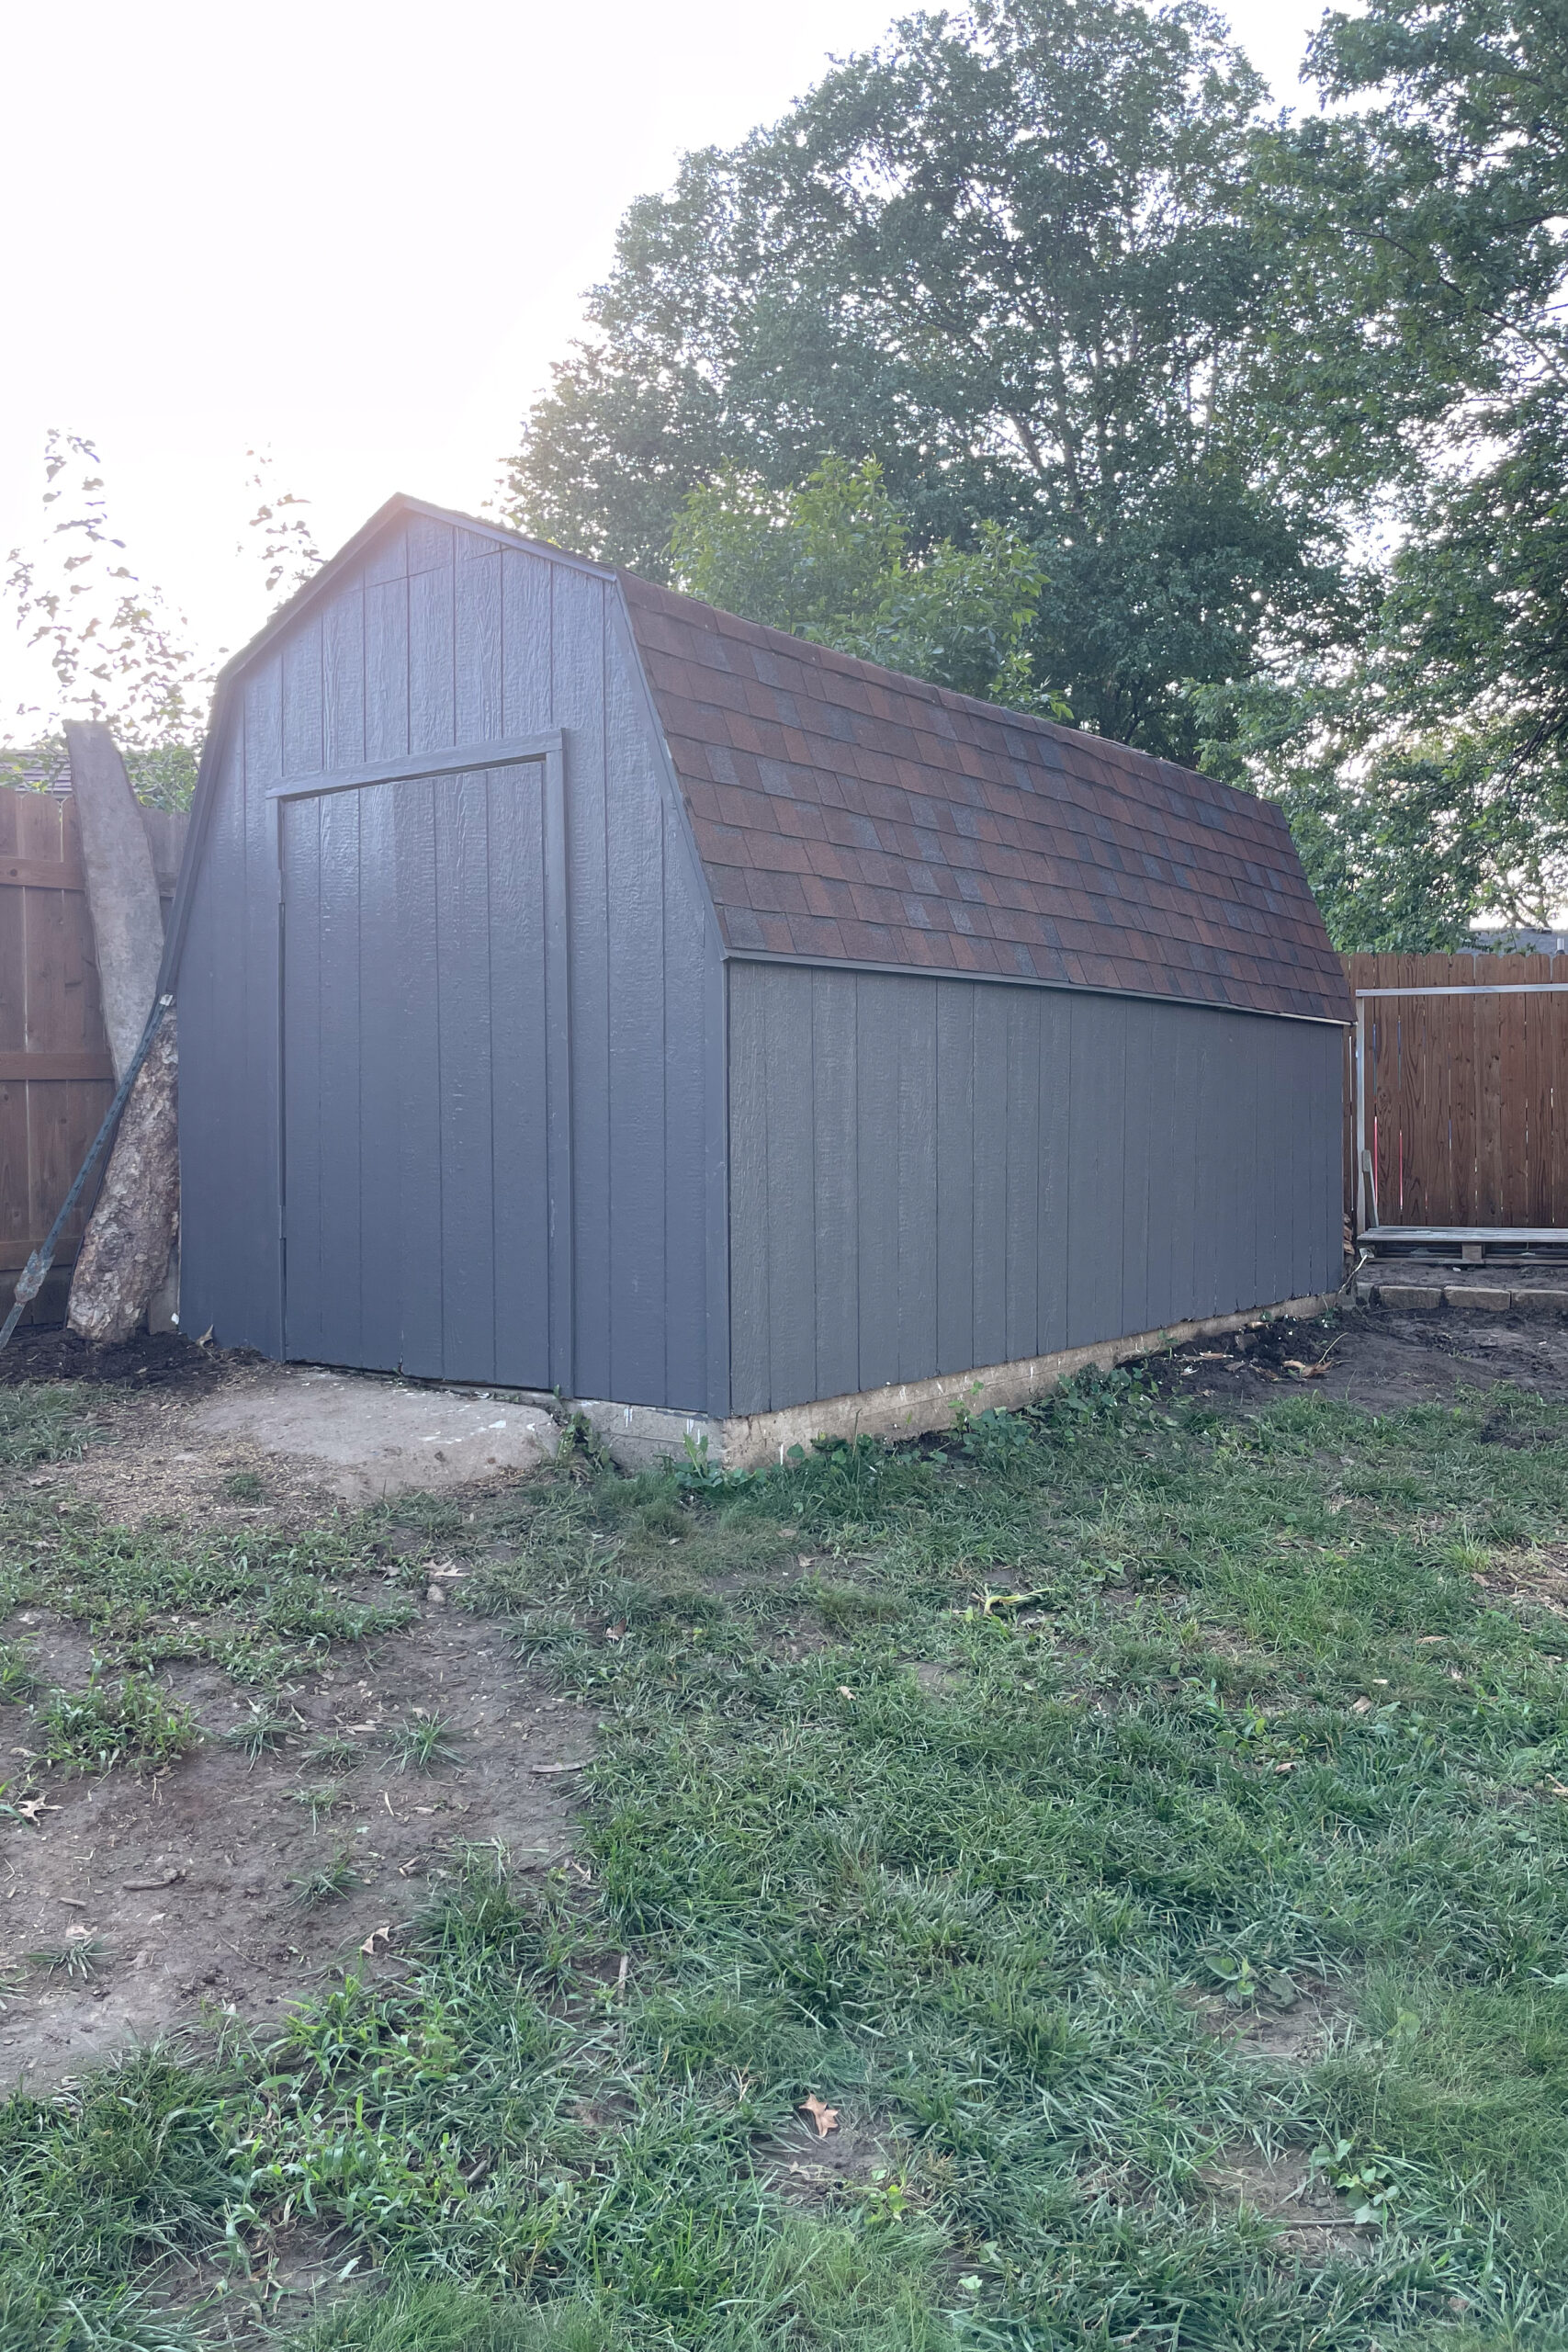
Side note: You aren’t seeing things. The shed did go from white to gray. In the middle of this project, I decided to test this dark gray color on the back side of my shed to see how I like it, since it has the same brown color roofing as my house.
Once the form was set in place, we backfilled along the edges with dirt to keep concrete from running out the bottom.

This dry pour concrete pad is small and won’t be holding much weight, so I don’t need any rebar. A small section of wire is plenty of reinforcement here.

Pouring the Concrete
Choosing the Right Bag of Concrete
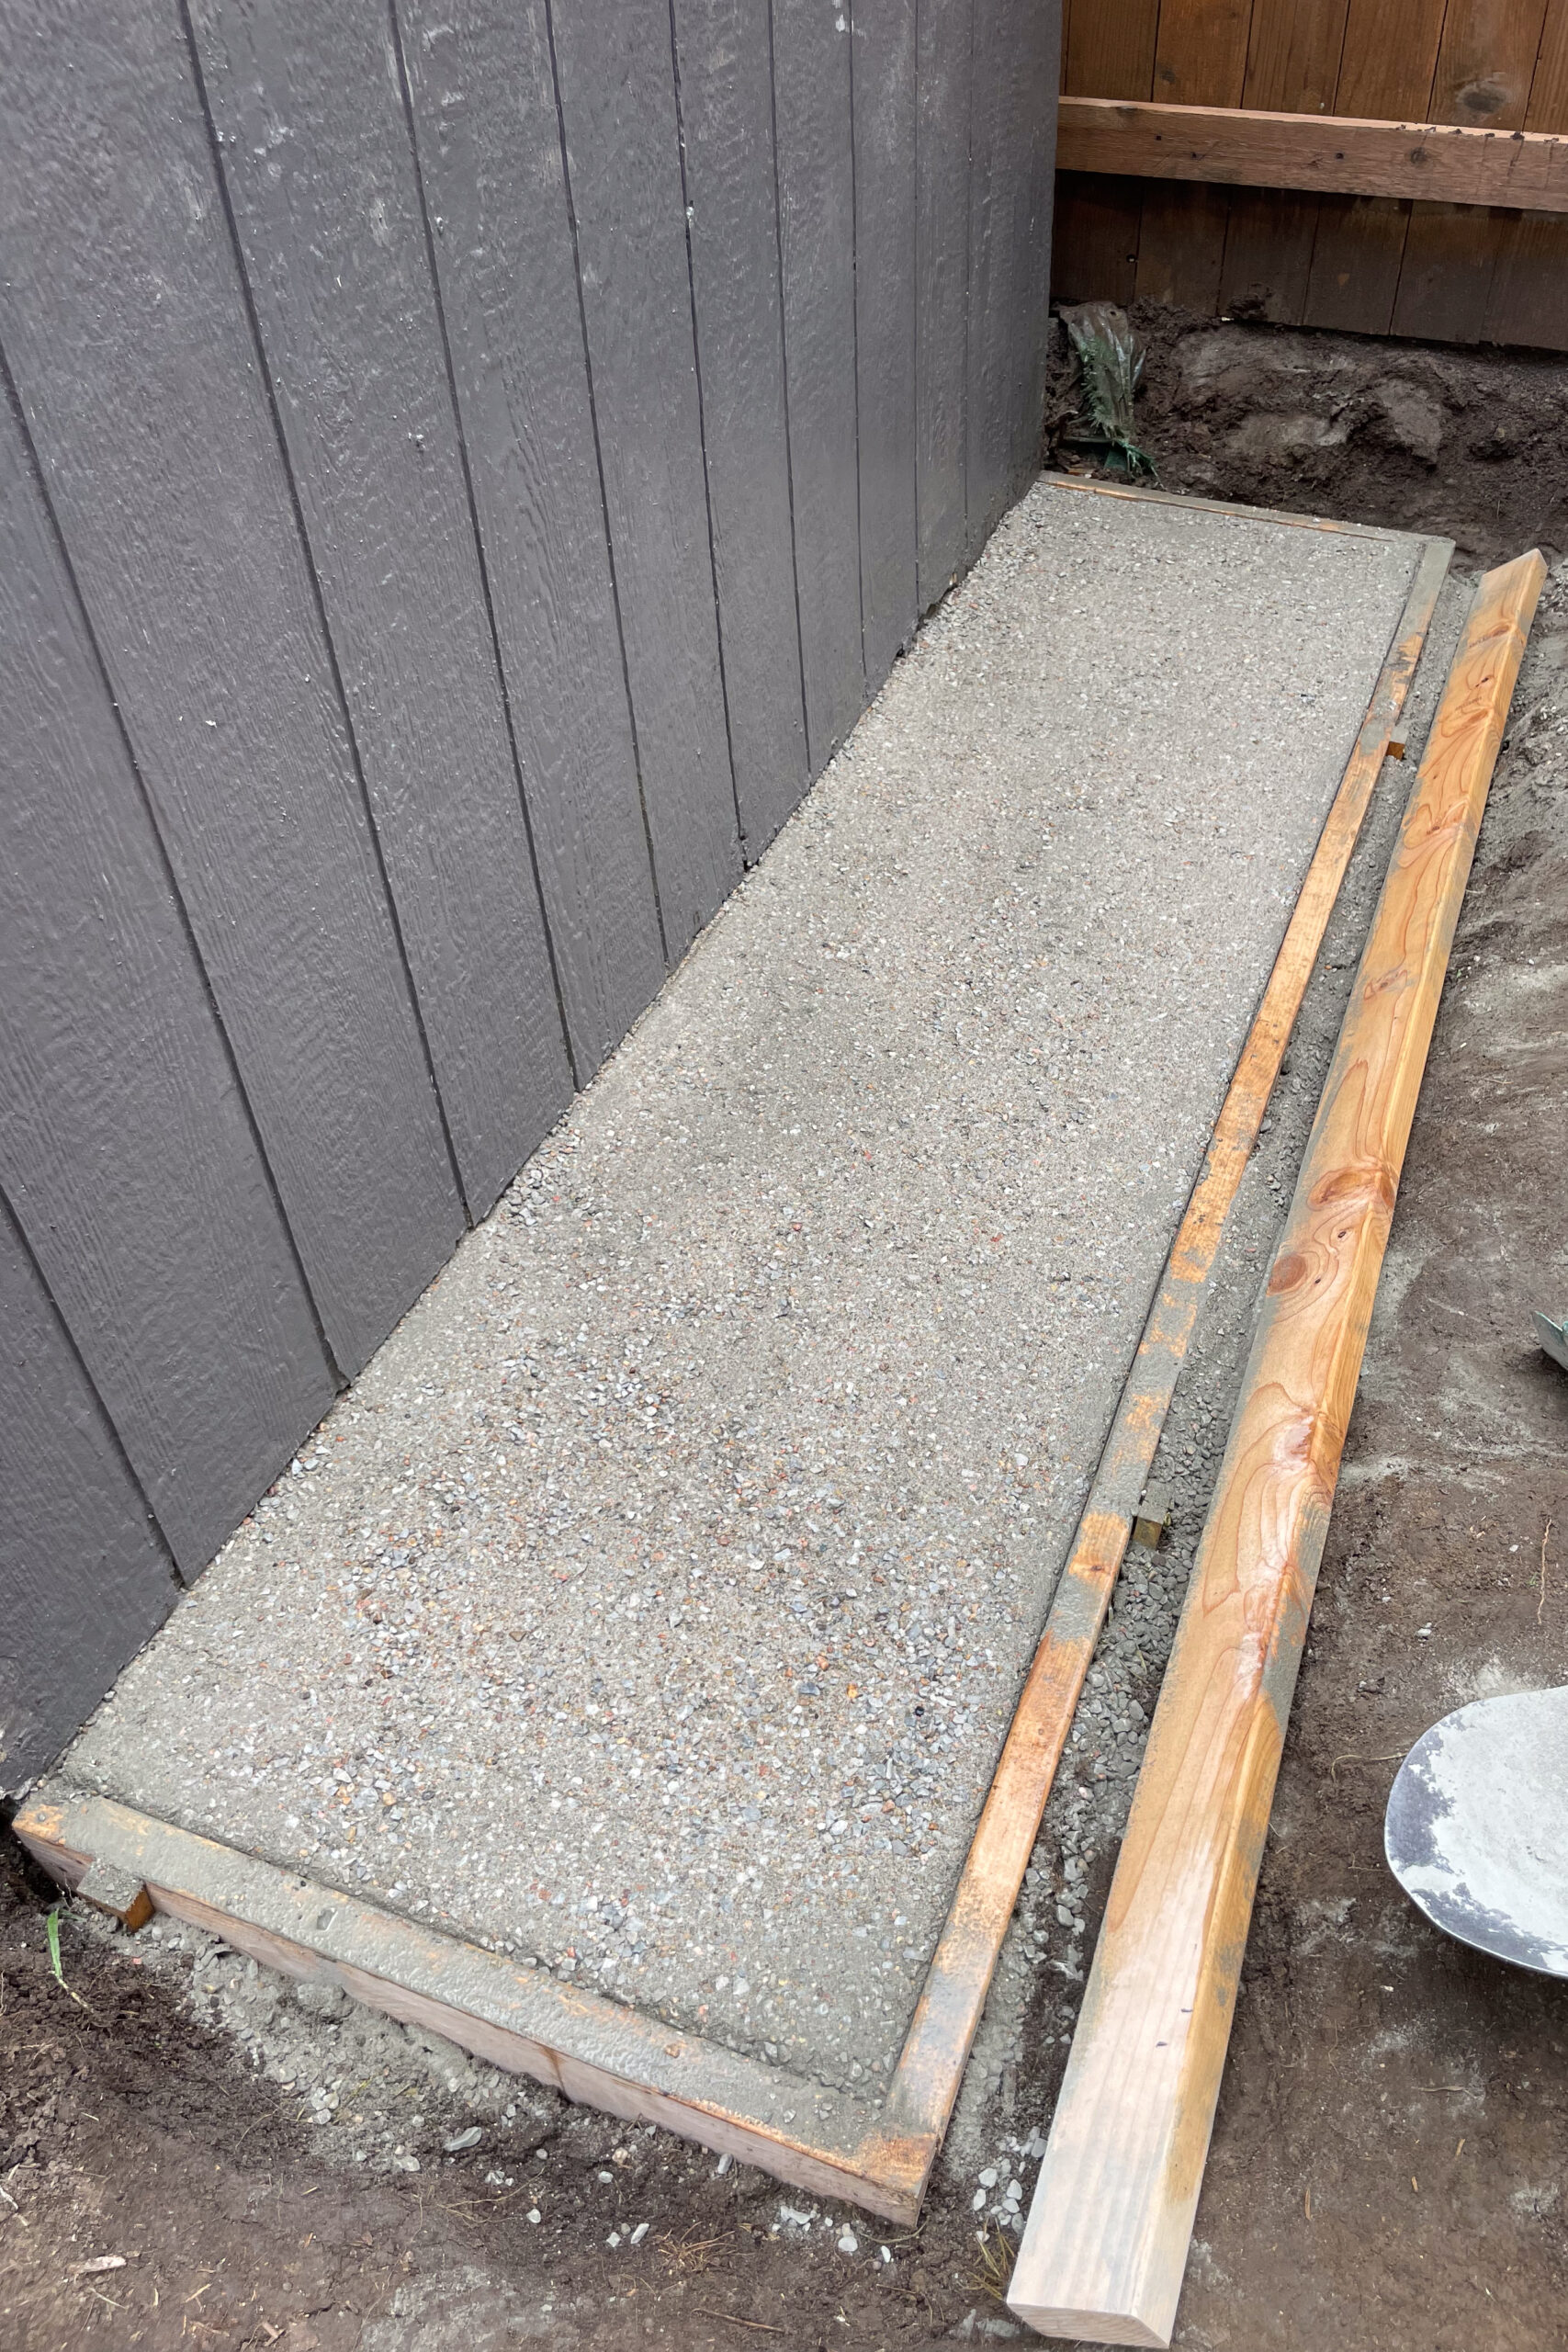
Now it’s time to add the concrete. Slice and pour the dry bags of concrete until your form is full. When purchasing concrete, I didn’t pay much attention to which bags I was grabbing. I would have had a smoother, prettier finished concrete slab if I had chosen one with less gravel. For a dry pour concrete slab, look for a smaller-aggregate bag (sometimes labeled “topping mix” or “fast-setting”) rather than a coarse-gravel-heavy mix. The smaller the gravel, the smoother the finished surface.

Screeding with a See-Saw Motion
Using this 2×4 as a screed, we pulled from the back of the slab towards the front, just like I would’ve for a slab made with premixed concrete. I’ve since learned that for a dry pour concrete pad, we should have done it a little differently.
Instead of a smooth motion from back to front, we should have done a see-saw motion. As the 2×4 moved from the shed towards the front of the form, we should have zig-zagged it back and forth between us across the top of the concrete. This would have given me a smoother, less rocky finish on top.

Edging the Perimeter
The last thing I did before wetting my concrete was to use my concrete edger tool. Going around all three of the outside edges cleans them up, rounds them a bit, and makes the whole dry pour concrete slab look way better. It’s all about those finishing touches.

Wetting the Dry Pour Concrete Pad
The First Mist Pass
Now it’s time to wet the concrete with a light misting. You can’t use too strong of a blast from your hose or just dump water on your dry pour concrete slab. If you do, you’ll displace all that dry, powdered concrete mix. It’s like giving a newborn a bath. Gentle is key.

Misting Hourly for 6 Hours
I set my Giraffe hose reel to mist and lightly wet the whole slab. After this first pass dries, the concrete will have a bit of a crust on top and won’t be so delicate. I set my alarm and came out once an hour for the next six hours to spray down the entire pad completely. The concrete is porous, so it absorbs all that water and slowly hardens.

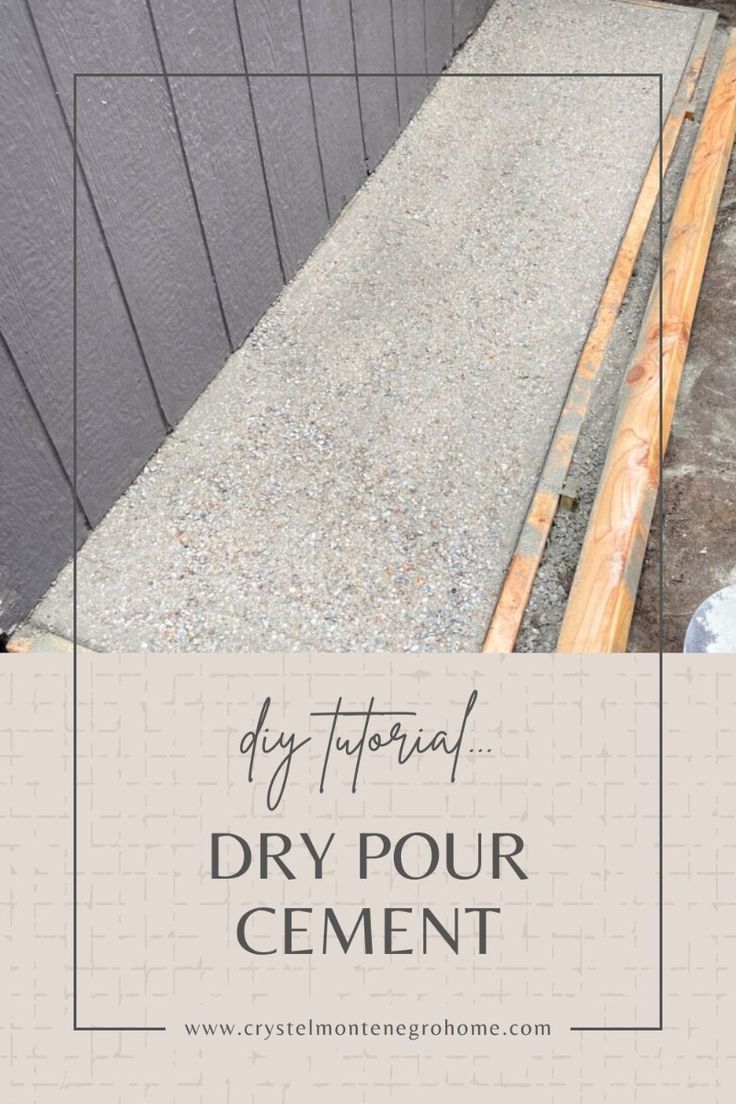
Here’s an up-close look after the concrete was dry and set. You can see what I mean by the top being bumpy and not smooth. If I were doing this project again, I’d choose different concrete and do the see-saw motion while screeding to have better results.

Regardless of the bumpy finish, it was done. This dry pour concrete pad was a quick and easy project. It’s the perfect size for storing our wood out back in a neat and clean way.

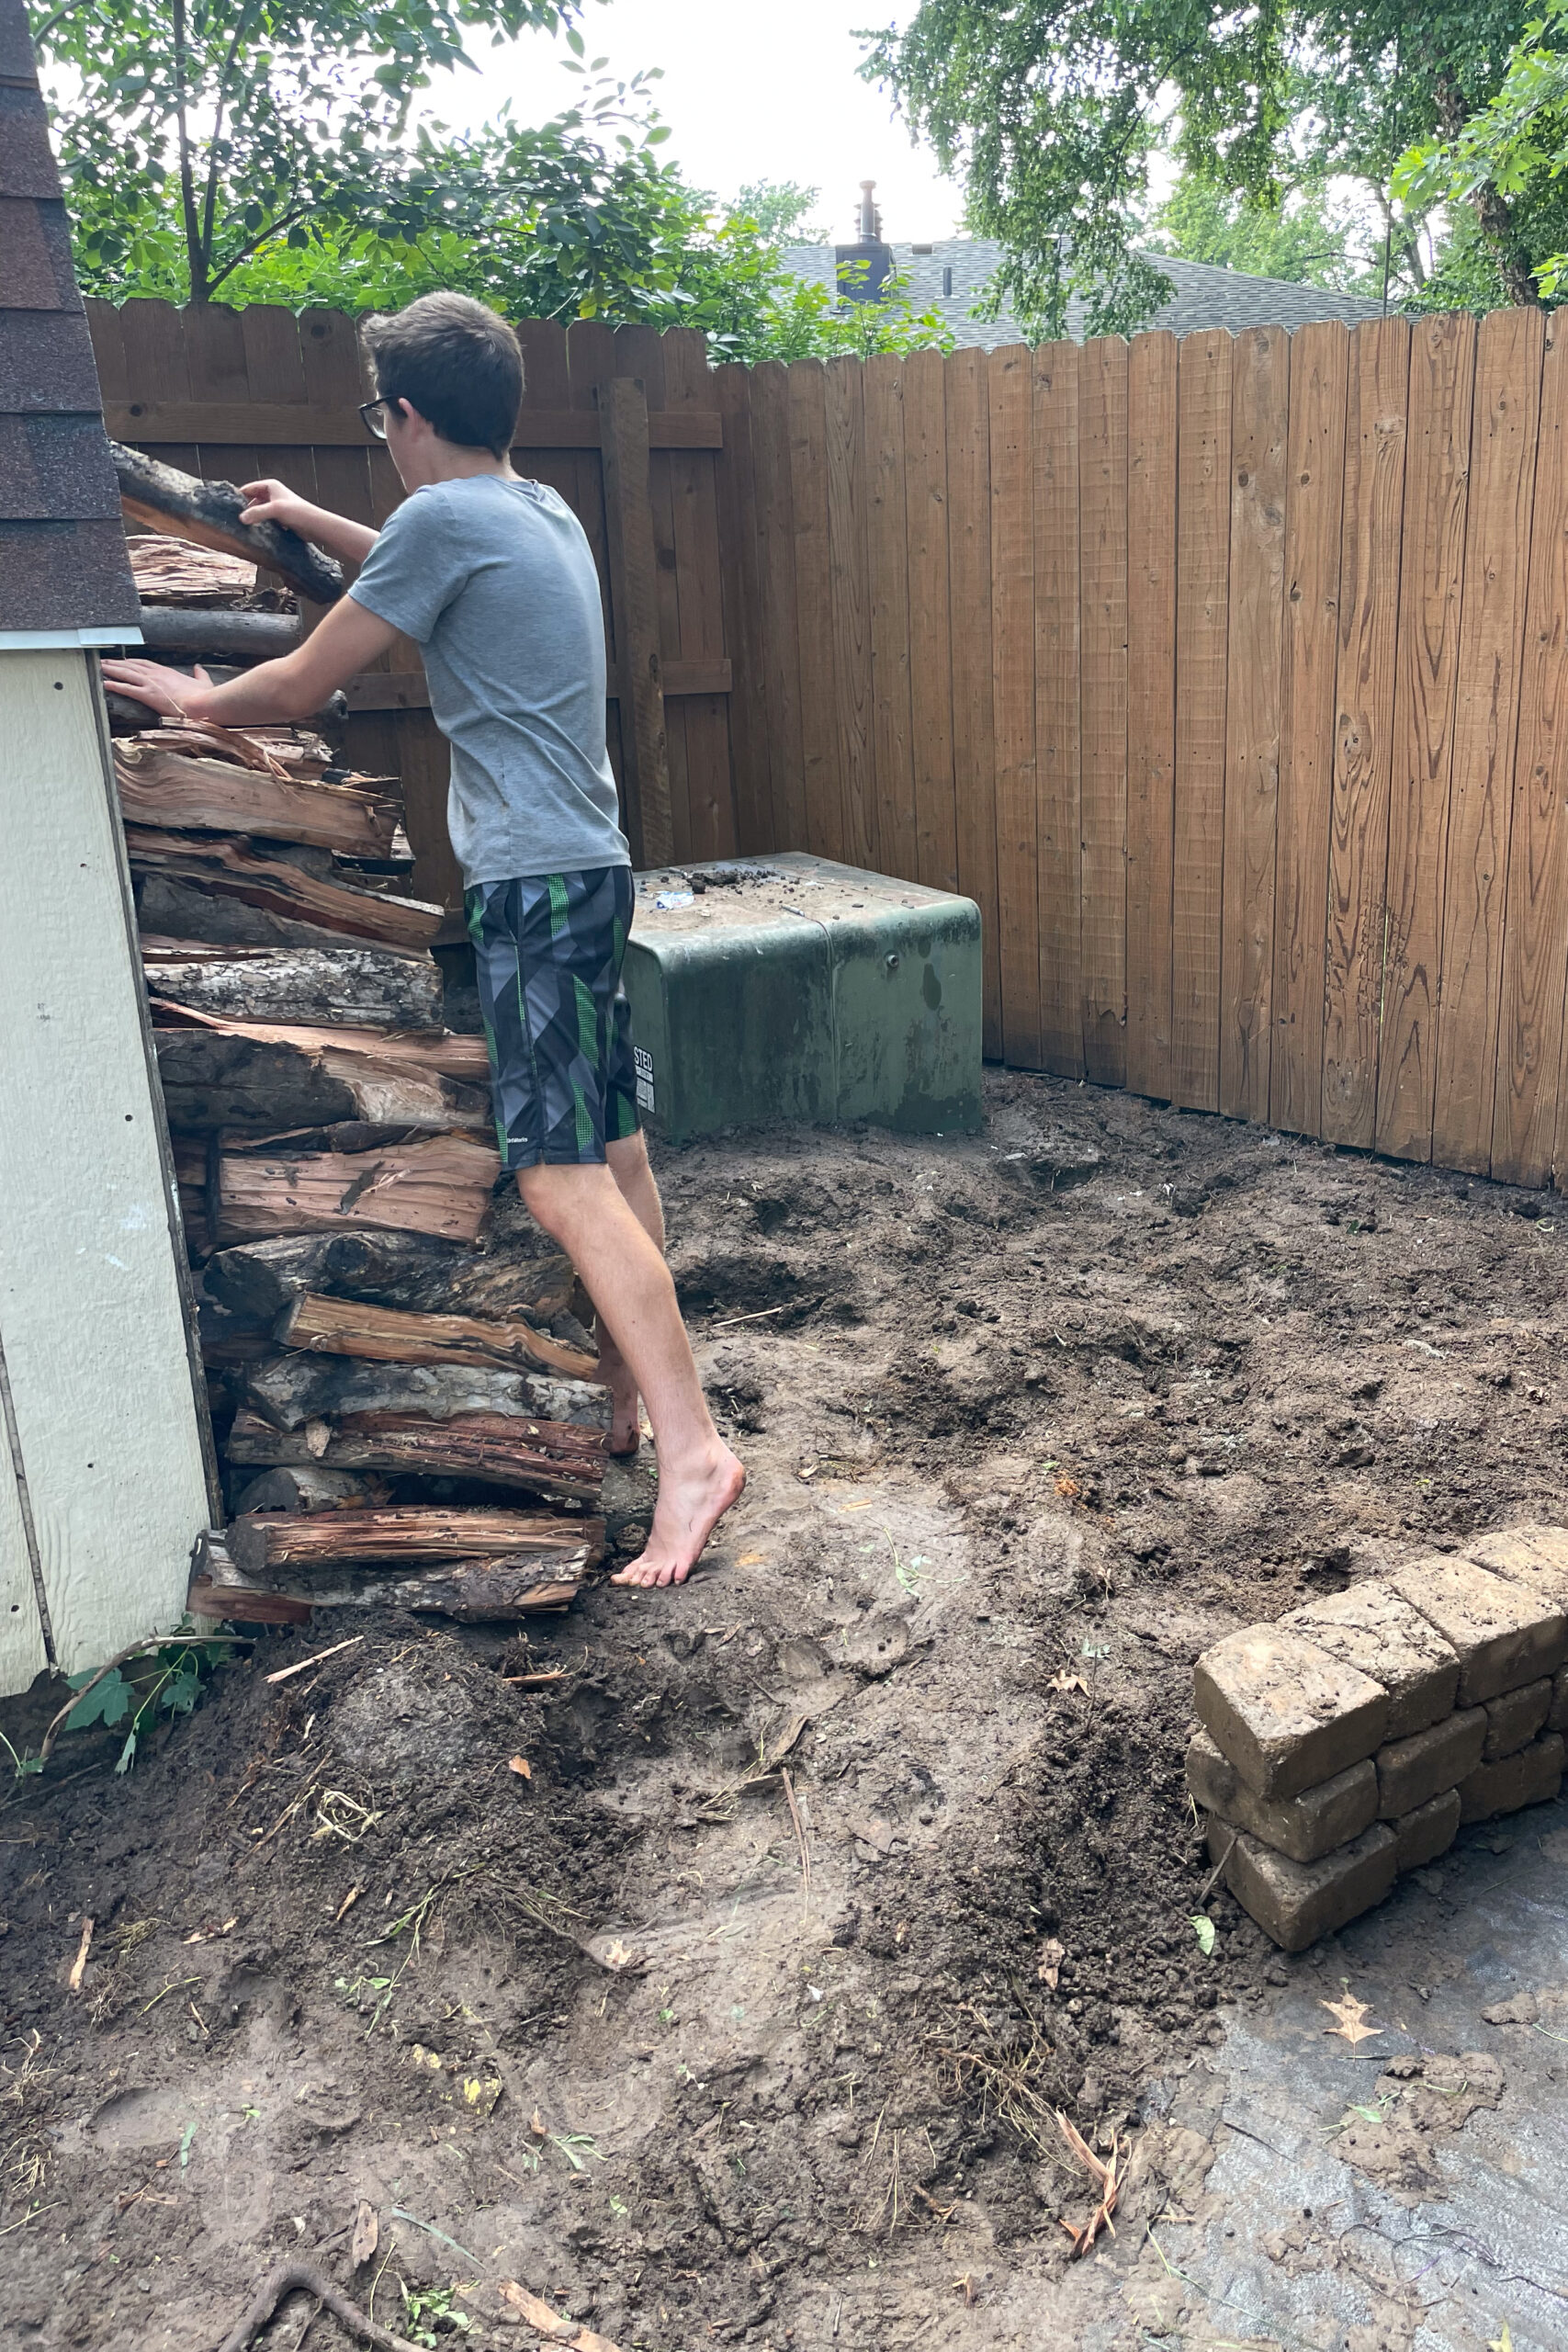
I love how the wood is off the ground now, and it is discreetly hidden behind the shed. Now my logs have a proper home, and my backyard looks less like a woodshop exploded.

When Dry Pour Concrete Works (and When It Doesn’t)
Dry pour concrete is a real method that has its place. It is also widely debated online, with some pros saying it never holds up and others using it routinely for the right projects. Here is the honest answer.
When Dry Pour Concrete Works
Dry pour concrete works well for small slabs that won’t carry significant weight or see heavy freeze-thaw cycling: firewood pads, AC unit pads, small shed bases (not full sheds with heavy contents), trash can pads, garden hose reel pads, and walkway stepping stones. For these projects, the dry pour method saves you the mess of mixing wet concrete in a wheelbarrow and gets a serviceable slab in place in a single afternoon.
When to Use Traditional Wet Pour Instead
Skip the dry pour method for anything that needs to bear real weight or last decades: full driveways, large patios, shed foundations holding heavy equipment, structural footings, garage slabs, or anywhere that will see significant freeze-thaw cycles in cold climates. The dry pour method produces a slab that’s a bit weaker and more porous than wet-mixed concrete because it’s harder to get even hydration through the entire slab. For weight-bearing or long-life projects, mix concrete in a wheelbarrow or hire it poured.
Dry Pour Concrete vs. Traditional Pour
Quick side-by-side comparison so you can decide which method fits your project:
| Factor | Dry Pour | Traditional Wet Pour |
|---|---|---|
| Mixing required | None, pour direct from bag | Yes, wheelbarrow or mixer |
| Active labor time | ~2 hours for a small pad | ~3-4 hours for a small pad |
| Strength | Lower; suitable for low-load | Higher; suitable for any load |
| Surface finish | Rougher, often visible aggregate | Smooth if troweled properly |
| Best for | Firewood pads, AC pads, small shed bases | Driveways, patios, foundations |
| Cure time | Same (24 hours to walk on, 28 days full cure) | Same |
Other Projects You Can Use the Dry Pour Method For
Once you have a dry pour concrete slab under your belt, the same method applies to a bunch of other small projects around the yard:
- AC condenser pad: a 3×3 or 4×4 ft pad to keep your AC unit off the dirt
- Trash can pad: level concrete keeps cans from tipping or sinking into mud
- Stepping stones or short walkway: use small individual forms for stepping-stone style
- Small shed base for a garden shed under 8×10 ft: works for lightweight contents (mowers, garden tools); not for heavy storage
- Garden hose reel pad: a small pad to anchor a hose reel away from the lawn
- Generator pad: small pad to keep a portable generator level and off the grass
The same method (form, dry pour, screed, mist, cure) applies. Just scale your form size and concrete bag count to your project.
Cost and Time: How Much It Takes to DIY a Dry Pour Concrete Pad
Honest breakdown of what a small dry pour concrete pad actually costs and takes:
Materials: Bagged concrete mix runs $5 to $7 per bag (you’ll need 8 to 12 for a typical 4×6 ft pad). Add 2×4 lumber for the form ($15 to $20), wood screws ($5), wire mesh for reinforcement ($10), and a concrete edger tool ($10 to $15). All-in for a small pad: $80 to $120. If you already own the edger and have lumber scraps, you can come in under $60.
Time: About 2 hours of active work, plus 6 hours of intermittent misting (5 minutes each hour). The slab is walkable after 24 hours and fully cured after 28 days.
| Phase | Active time | Notes |
|---|---|---|
| Dig out pad area | 20 min | Slightly below grade for flush finish |
| Build 2×4 form | 20 min | Front + 2 sides, screwed to stakes |
| Set + level form | 15 min | Slope away from shed for runoff |
| Backfill with dirt | 10 min | Keeps concrete from running out |
| Pour dry concrete bags | 15 min | Slice and dump |
| Screed level (see-saw) | 10 min | Side-to-side, not back-to-front |
| Edge the perimeter | 5 min | Concrete edger tool |
| First mist + hourly misting (6 hrs) | 35 min | 5 min per hour, set a timer |
Troubleshooting and What I’d Do Differently
- Choose a smaller-aggregate concrete mix. The bag I grabbed had a lot of gravel, which made the surface rocky. A topping mix or fast-setting mix would have given me a smoother finish.
- Use the see-saw screeding motion from the start. Pulling straight from back to front (the wet-pour method) leaves an uneven surface on a dry pour. Zig-zag the 2×4 side to side as you pull it forward.
- Don’t blast water from the hose. A strong jet displaces the dry mix and creates uneven spots. Mist setting only.
- Set a timer for the hourly misting. It’s easy to forget after an hour or two; the concrete needs consistent water absorption to cure evenly.
- Don’t skip the wire mesh on a small pad. Even though you don’t need rebar for a 4×6 pad, a single layer of wire mesh dramatically reduces cracking over time.
In case you were wondering, we did go ahead and paint the whole shed. I just don’t know if I love this color with the brown roof, though. What do you think?
Not sure if a dry pour concrete slab is the way to go for you? What about pavers instead? I have a full tutorial for how I widened my driveway with pavers, but the concept could easily be applied to laying a small paver patio rather than pouring a small slab from concrete.
I’ve also hired workers to pour concrete on projects that were just too big for me. Here’s the post with all my insights for hiring off of Facebook Marketplace.
And once your concrete is poured and cured, you’ll want to keep it looking good. Here’s my DIY method for cleaning a stained concrete patio that uses bleach to lift even set-in stains.

📌 Save This Dry Pour Concrete Tutorial for Later
Pin this tutorial so you can come back when you’re ready to pour your own dry pour concrete slab.
Frequently Asked Questions About Dry Pour Concrete
Dry pour concrete is a method where you pour dry, unmixed concrete from the bag directly into a form, screed it level, and then mist water on top so the concrete absorbs water gradually and cures in place. There’s no mixing in a wheelbarrow or mixer. It’s a faster, lower-effort method best suited for small, low-load slabs.
Dry pour concrete is strong enough for small, low-load slabs (firewood pads, AC pads, small shed bases) but is generally weaker than traditional wet-mixed concrete. The main reason is that it’s harder to get fully even water absorption all the way through the slab. For driveways, patios, structural footings, or anything heavy, use traditional wet pour.
Yes, dry pour concrete works outdoors for small projects. Just plan for adequate drainage (slope the slab away from buildings), use wire mesh for reinforcement, and avoid using the dry pour method in areas with heavy freeze-thaw cycling unless the slab is small and easy to replace if it cracks.
Traditional concrete is mixed with water in a wheelbarrow, mixer, or truck before being poured into the form, ensuring even hydration throughout. Dry pour concrete skips the mixing. The dry mix goes into the form first, then water is misted on top so the concrete absorbs water gradually. Traditional pour is stronger and smoother; dry pour is faster and easier for small projects.
Same as any concrete: walkable after about 24 hours, structurally cured at 7 days, fully cured at 28 days. The cure schedule isn’t faster just because the pour was simpler.
For a small, lightweight shed (think garden tool shed under 8×10 ft with light contents), dry pour concrete works as a foundation. For larger sheds, sheds storing heavy equipment, or sheds in cold climates, use a traditional wet-mixed concrete foundation or a gravel-and-block base.
For a small pad (4×6 ft or smaller, low-load), wire mesh is plenty of reinforcement and rebar is overkill. For larger slabs or any pad bearing significant weight, add rebar in a grid pattern before pouring.
The dry pour method works best for slabs up to about 6×6 ft. Above that, getting even water absorption through the whole slab gets harder, and you start risking weak spots. For larger slabs, switch to traditional wet pour or break the project into multiple smaller pours with control joints between them.
Avoid dry pour concrete when temperatures are below about 50 degrees F. Cold slows the hydration reaction, and uneven cold spots through the slab will produce uneven cure. Wait for a stretch of mild, dry weather.
Two things: blasting water from the hose instead of misting (displaces the dry mix and creates weak pockets), and using a back-to-front screeding motion instead of a side-to-side see-saw motion (leaves an uneven surface). Mist gently and screed side to side.
About Crystel
I’m Crystel Montenegro, a stay-at-home mom of five turned home DIY expert. I share budget-friendly DIY projects, home design, garden, recipes, and lifestyle content from my own home. Every project here is one I actually built or made. Read more about me or follow along on Instagram.
This article offers a helpful overview of dry-pour concrete pads! I wasn’t aware that they could be a good option for small projects. It sounds like a great timesaver for DIY projects around the house.
Have you ever used a dry-pour concrete pad for a project that required some weight-bearing capabilities? For instance, would a dry-pour pad be suitable for a small shed or a patio with furniture?
I’d be okay with it being furniture but it’s not strong enough for a structure.