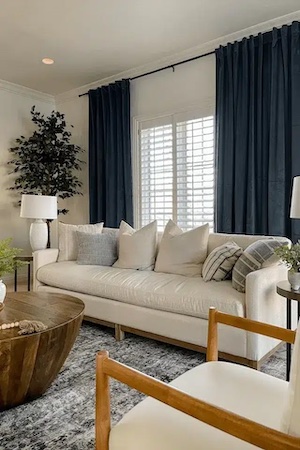
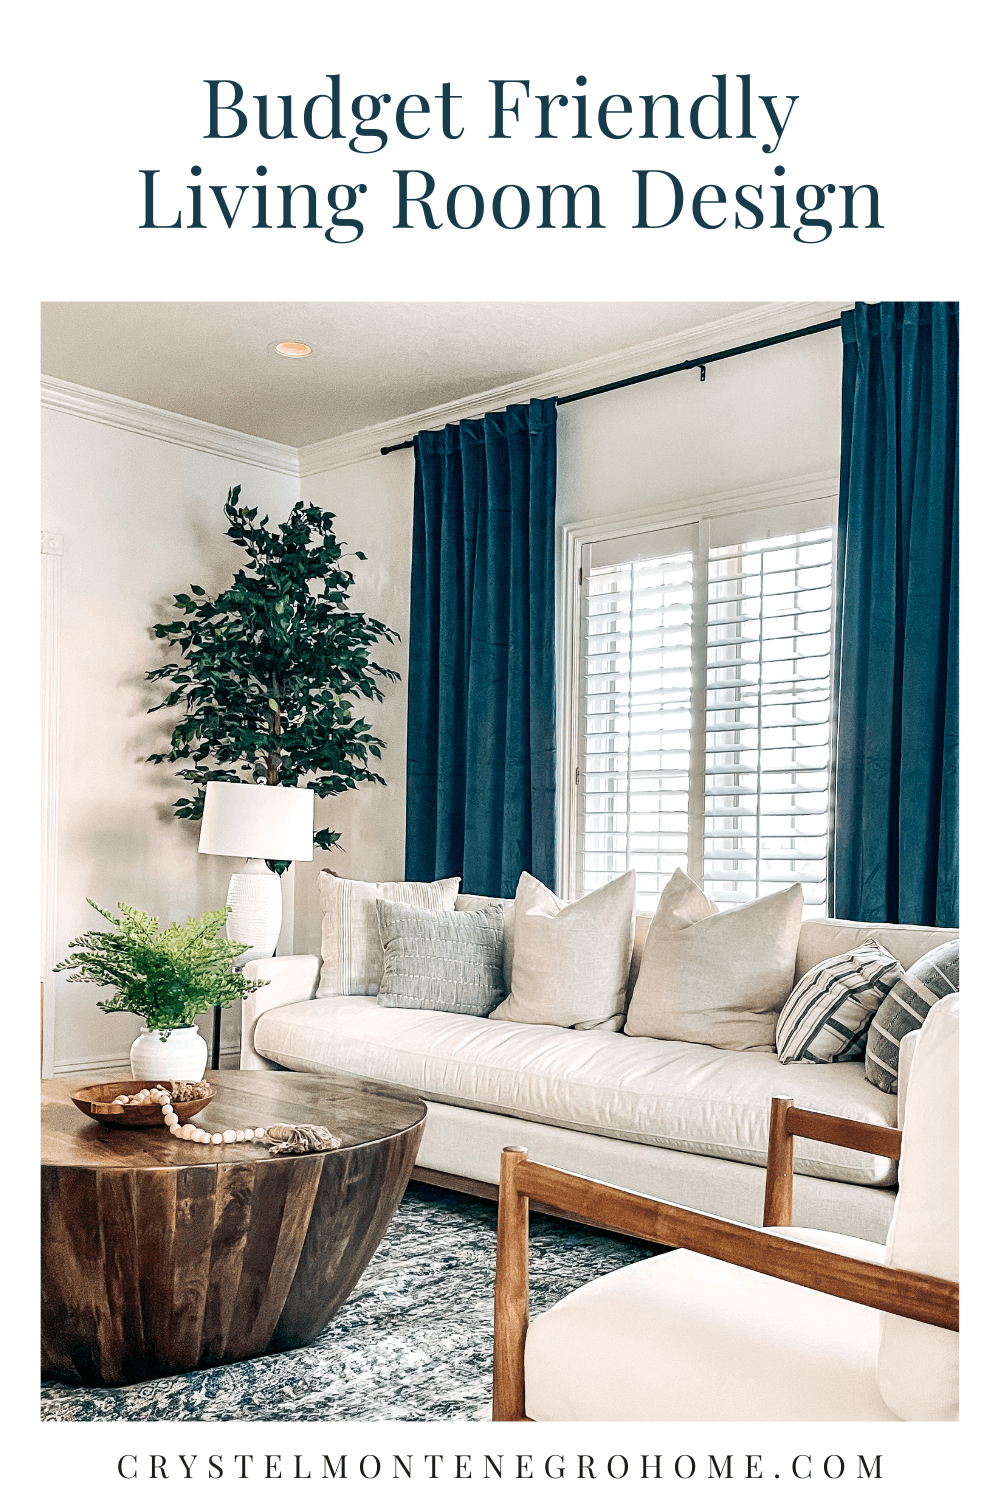
When my friend Ashley asked for my help to give her sitting room a makeover, I was excited to give the space a modern classic room design. Keep reading to see my no-fail design method you can use for your next room makeover.
This post includes affiliate links. If you purchase from these links, I may get a small commission from the seller. But the great thing is, this doesn’t cost you any extra money!
Design is one of the favorite aspects of my job, and even though most of my DIY makeover gigs involves building, sometimes it’s relaxing to just make things nice with furniture, ya know?
Explore Sitting Room Makeover Ideas
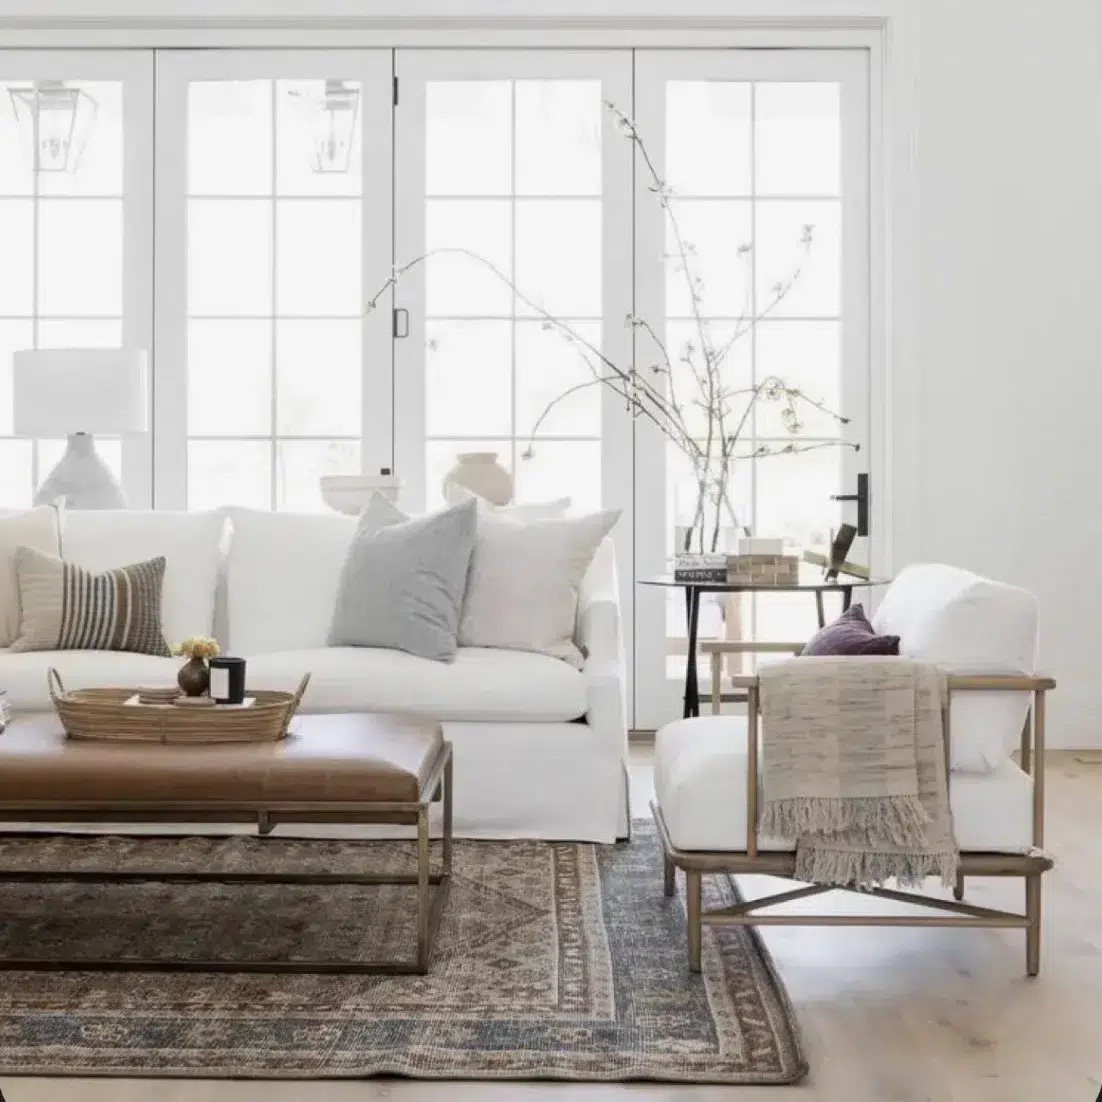
Ashley wasn’t sure which design style she favored, so we started by browsing through various Pinterest and Instagram accounts to look through and narrow down her interests. In this case, we discovered she prefers a more modern, classic style, and found several images from Studio McGee to use as inspiration for her living room makeover.
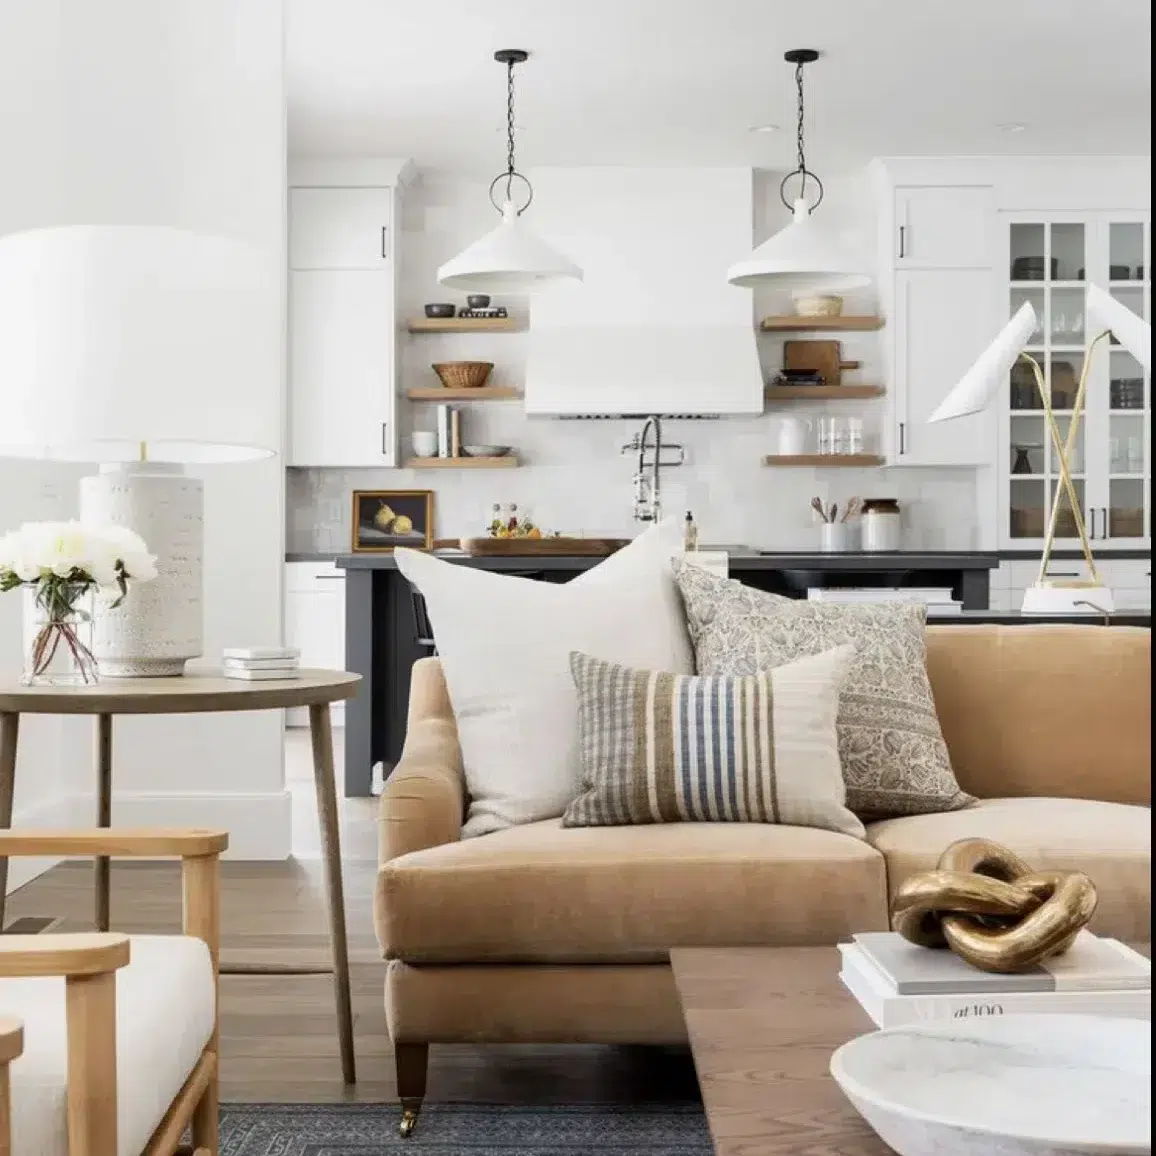
Statement Piece for a Modern Classic Room Design
When I’m designing a room, the first piece I choose is the rug, because of its huge statement potential. I love finding a rug that includes multiple patterns and colors, and then building the rest of the room around the tone of the rug.
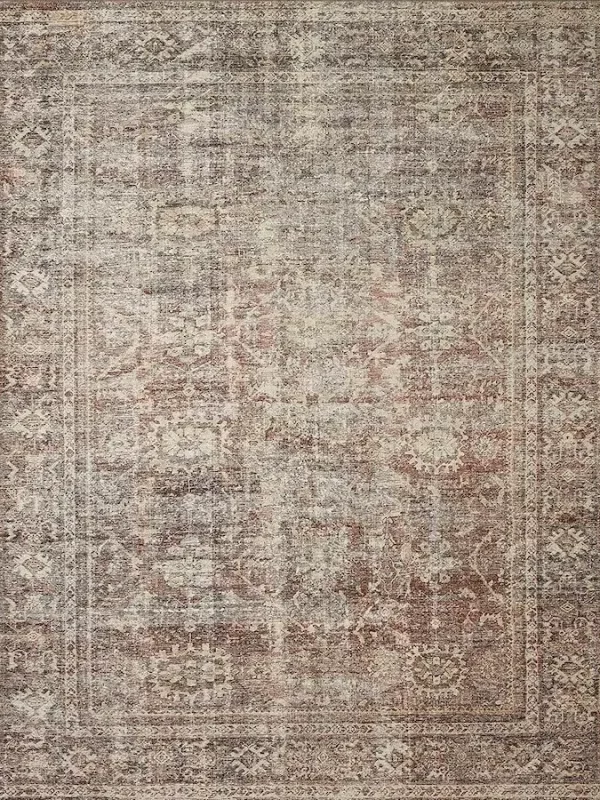
Ashley loved the look of this rug from the Amber Lewis x Loloi collection. Its subtle colors and patterns grounded the design, without overwhelming the senses.
Couch Ideas in a Modern Classic Room Design
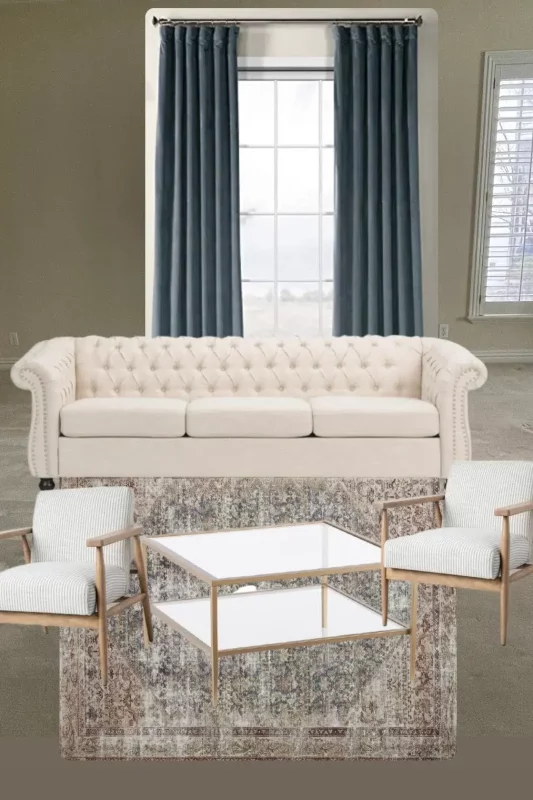
We began her sitting room makeover by searching for one piece of furniture at a time that fit within the styles we had pre-determined, starting with the couch. Since this was to be a formal sitting room, Ashley loved the idea of a more sophisticated couch, and especially liked the look of tufted sofas, especially this one.
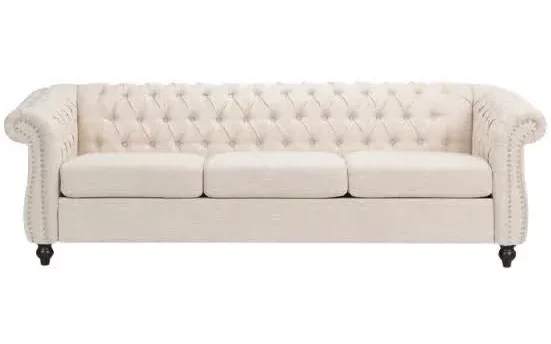
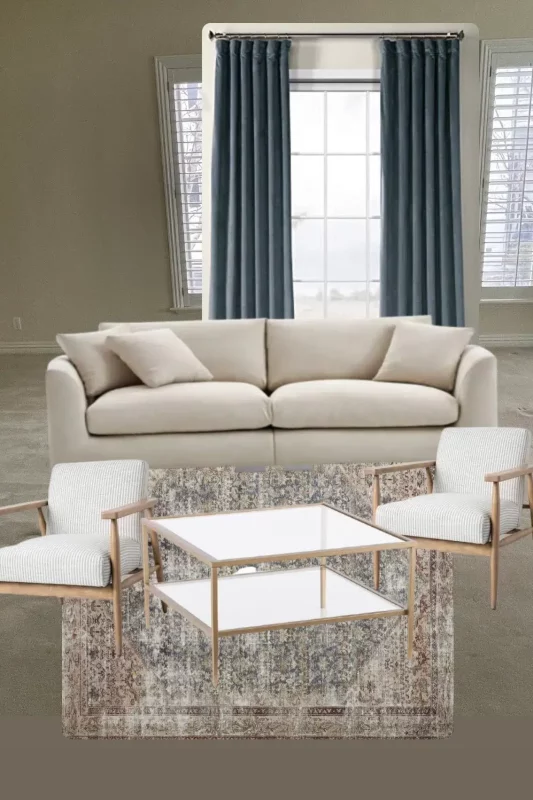
However, she also valued comfort, and we were having a hard time finding anything that satisfied both requirements. We decided comfort was the priority, and so we looked for something with a softer upholstery. We considered a camel-colored leather upholstery which would have lended a more modern vibe.

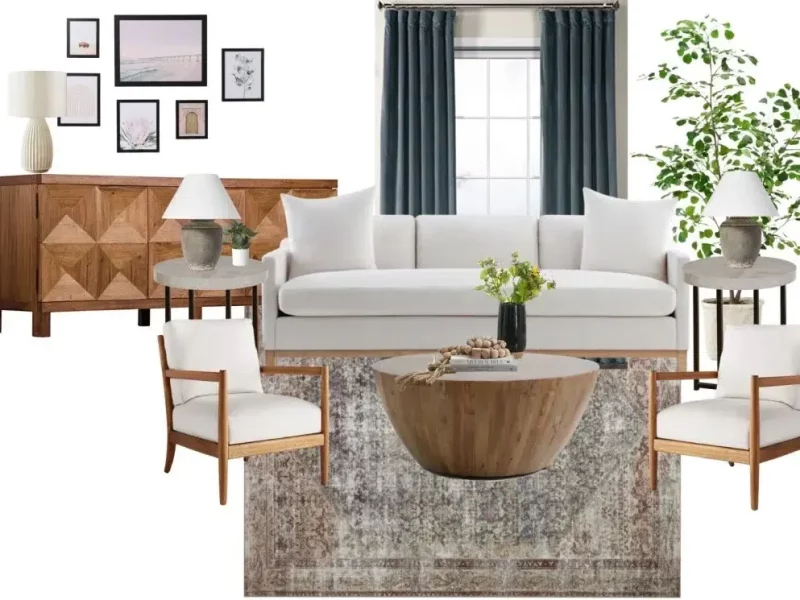
Color wasn’t much of a concern since her children were grown, and sticky fingers and dirty shoes on the couch weren’t a threat anymore. She settled on a beautiful white couch from DownEast Home.
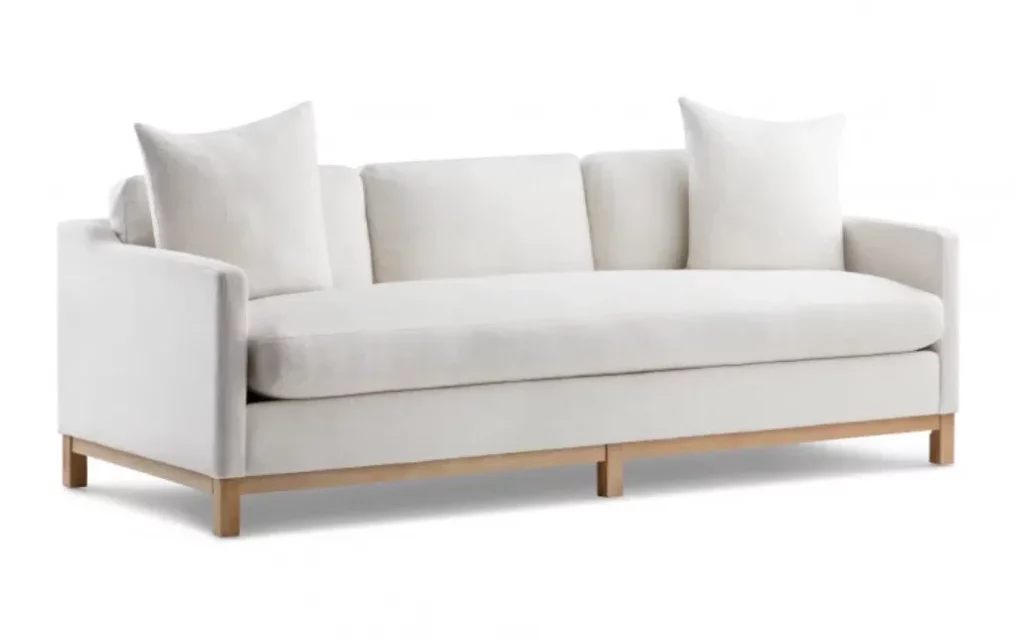
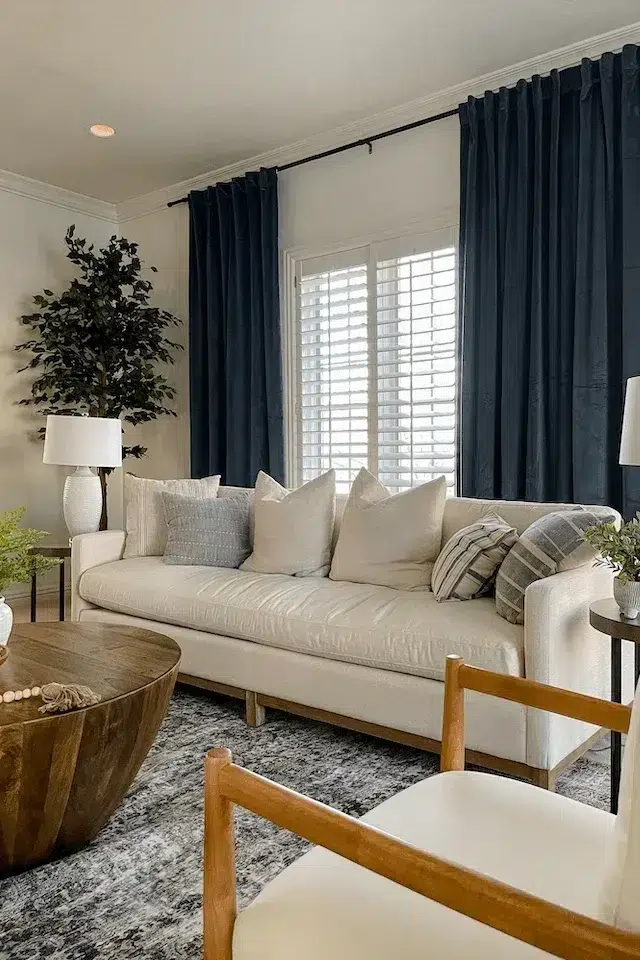
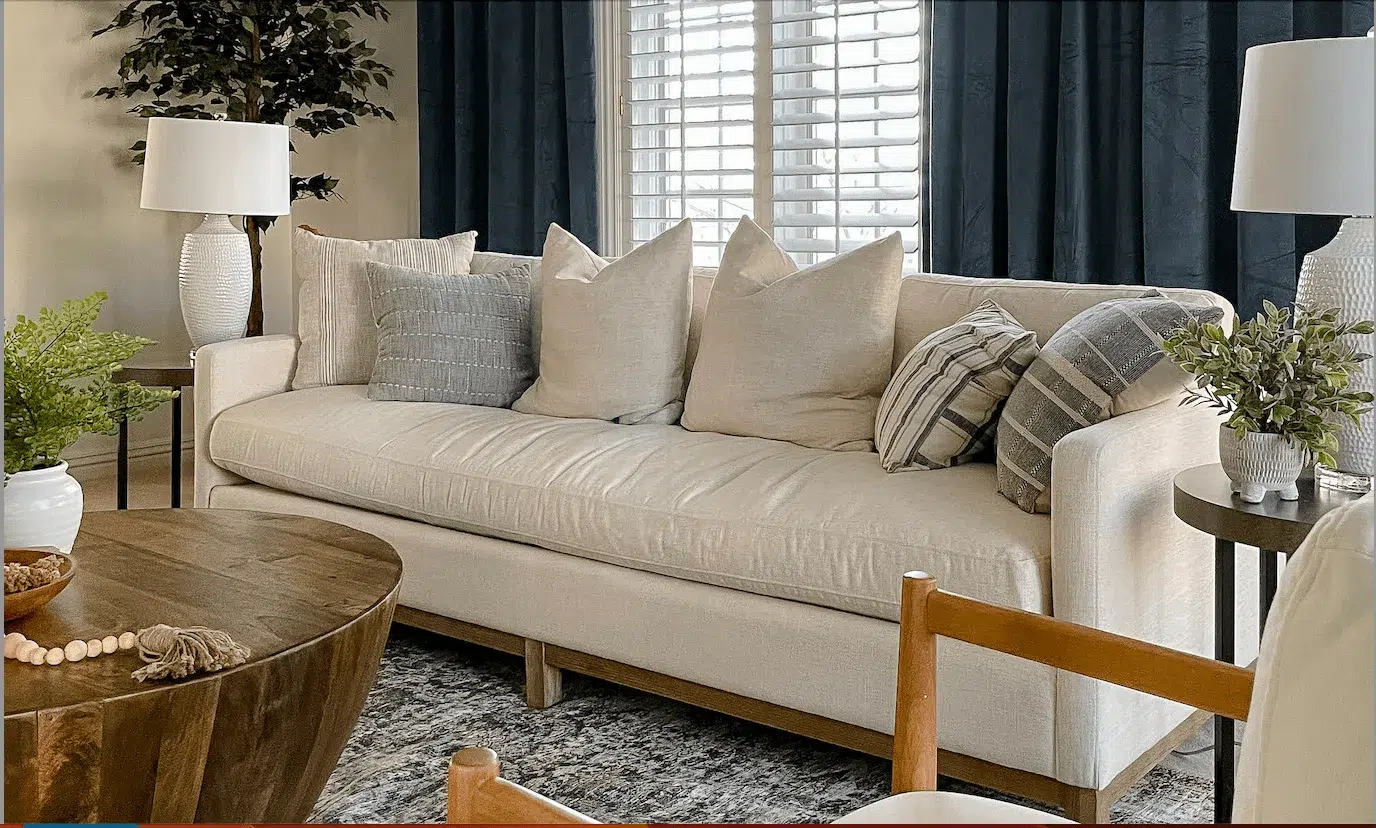
It has a very modern vibe, with slender arms and a wooden base. It’s a big, beautiful couch that brightened up the room considerably. And, as an added bonus, it was extremely comfortable.
Deciding on a Layout of the Sitting Room
With our rug and couch picked out, we were able to start mapping out the space. We weren’t sure what size rug to buy, and wanted to really capitalize on it defining the space. It’s important to make sure it would be big enough to overlap the couches and chairs at least halfway, while still having enough space in between the furniture for comfortable movement. We settled on 8’4″ x 11’6″, which left us about 3-4 feet of carpet visible around each edge (Yes! You can put rugs over carpet!).
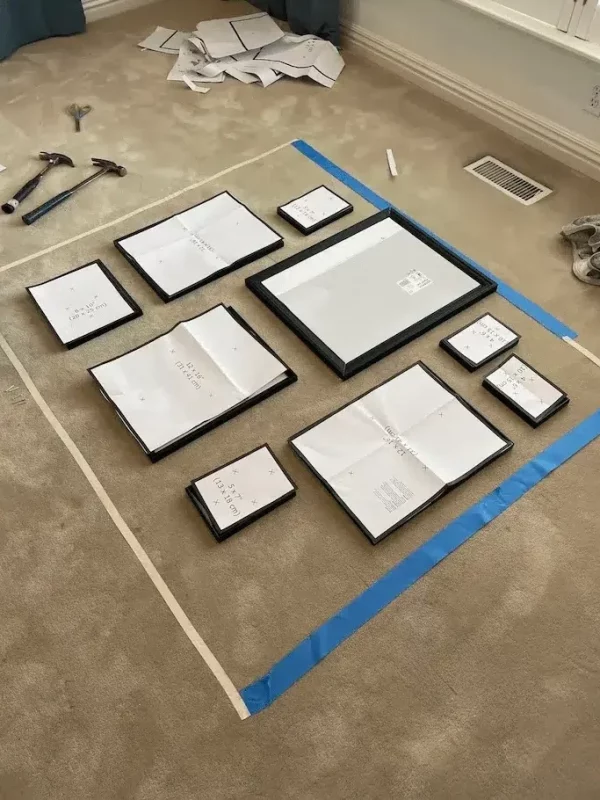
We used painters tape on the floor to map out the rug, chairs, and couch.
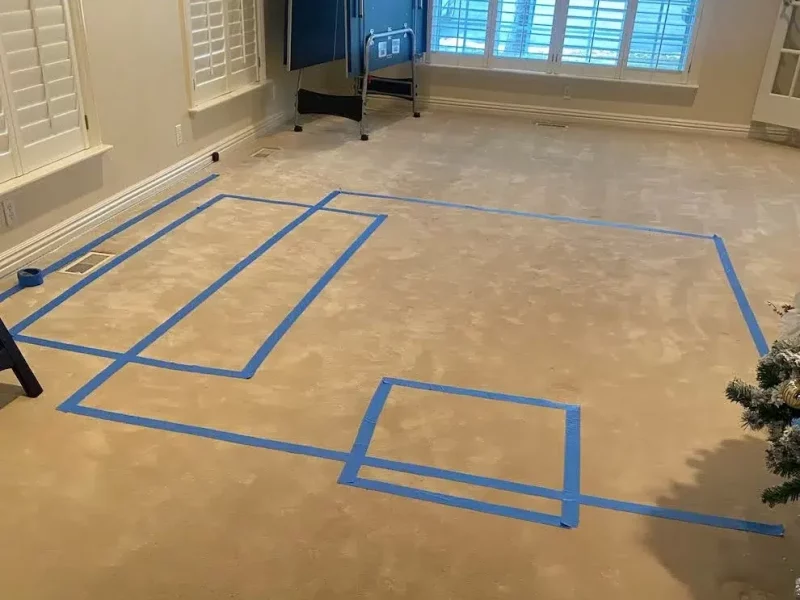
This gave us an idea for which sizing to consider when looking at coffee tables, end tables, accent chairs, and sideboards. With that information, we knew the search parameters to shop within.
A quick google search for “furniture spacing guidelines” can give you an idea for ideal spacing if you need some direction, but keep in mind that these aren’t hard and fast rules! Design is largely creative, so don’t be afraid to step outside of what “should” be done if you find something else you love!
Sitting Room Accent Colors
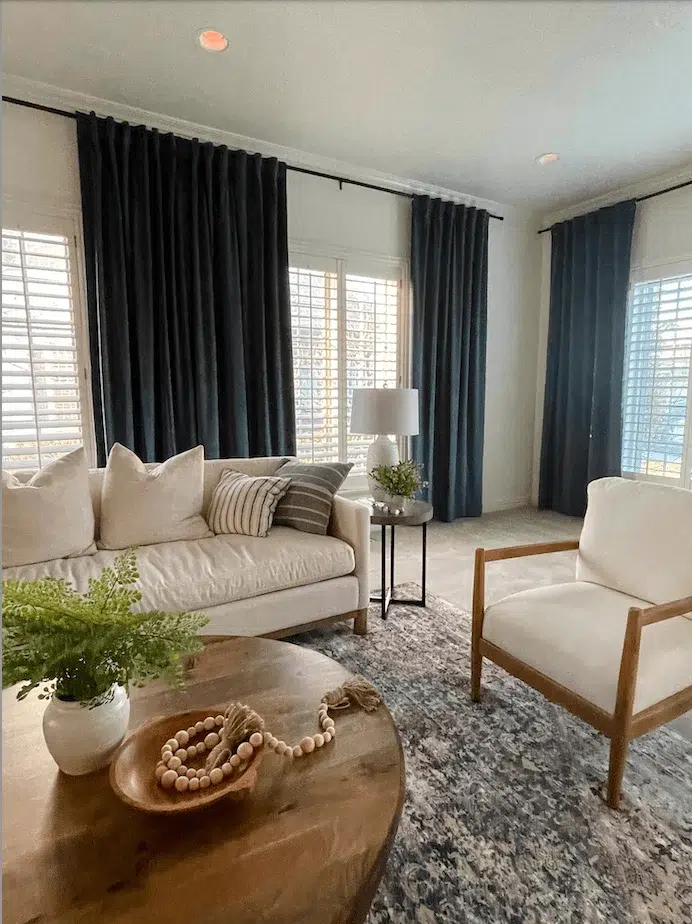
When doing a living room makeover, my general rule of thumb for selecting accent colors is to pick out one or two NON-neutral colors from the color palette of the rug. When I say “neutral”, I mean anything that is white, black, beige, cream, tan, grey, wood, or gold. The rug had some beautiful blue undertones, and Ashley loved the idea of utilizing a muted blue as an accent color because of its calming, relaxed effect. We emphasized the color in the curtains we hung
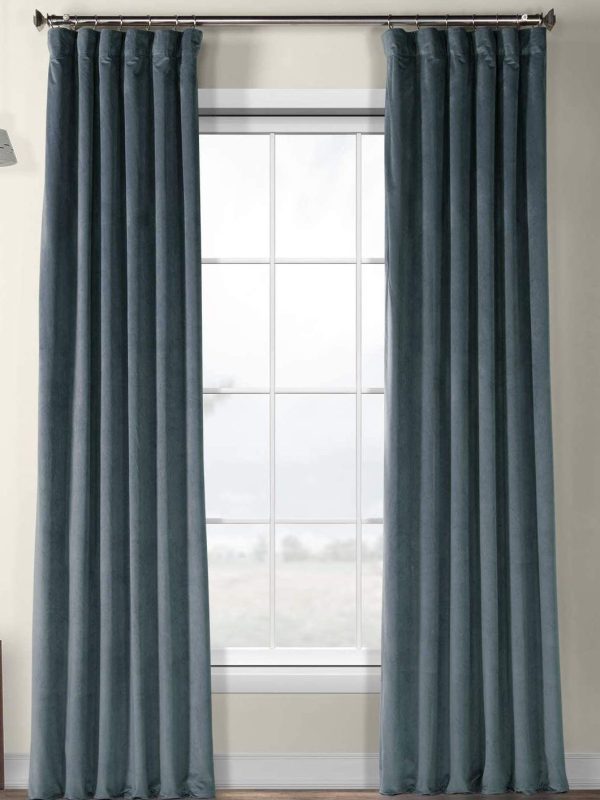
When it comes to selecting a color, including neutrals, I pick a base color, then try to spread them evenly throughout the room in various sizes (but again, design rules are meant to be broken!). For example, my white base color was brought in through the couch and the color on the walls.
Then, through the throw pillows from Target, we took a more subtle approach to tie the color in again.
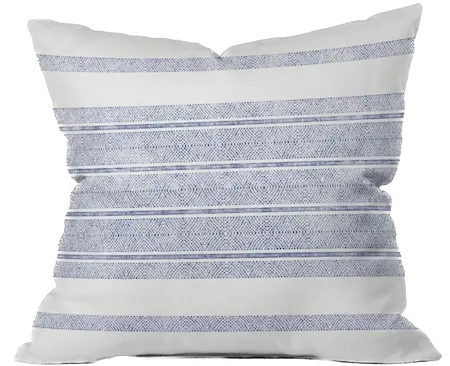
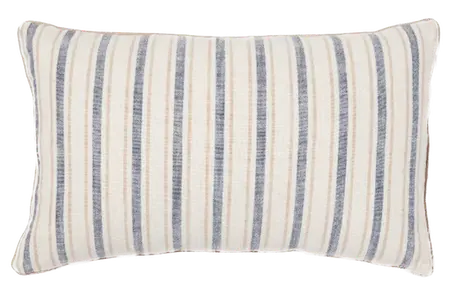
We knew we wanted a gallery wall, so picked out images that included colors from our pallet.

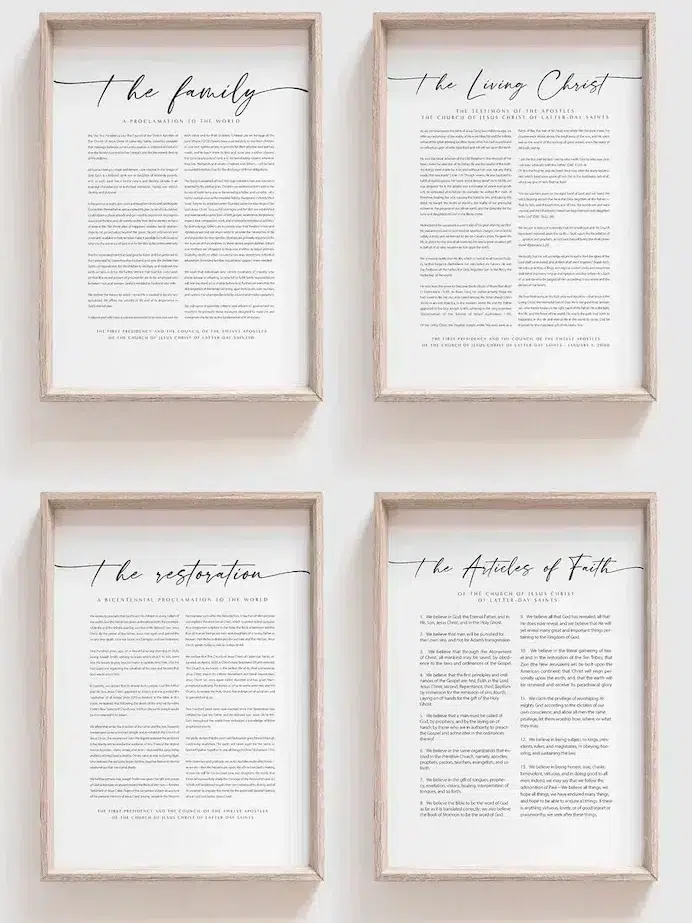
We also tied the black picture frames in with the black legs from the side table and the hardware of the curtain rods. The color black is evenly spread throughout the room, and thus, the whole room is tied together.
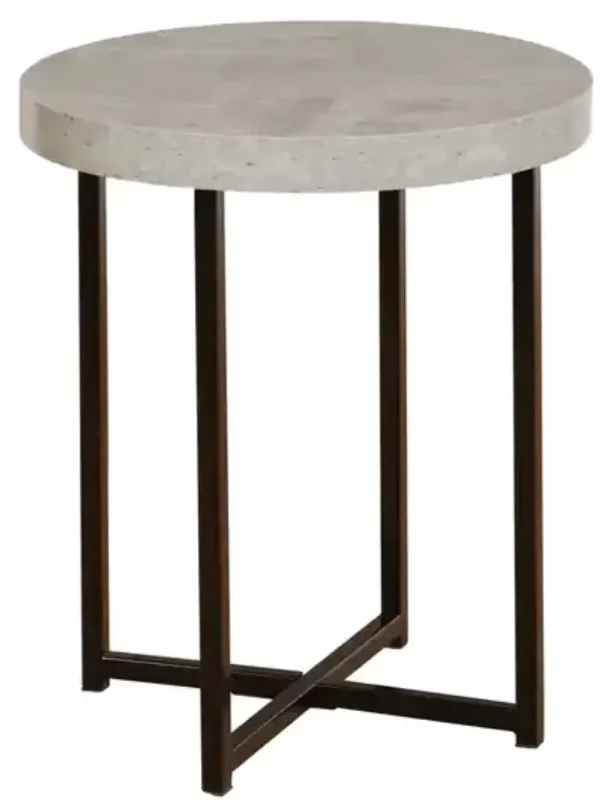
Doing this with each or most of your colors will help make the room look cohesive, and as if each item was purposely made to go together. If you’re just starting out, I would keep your non-neutral color selection down to 1-2 colors and go from there.
Adding in Wood Toned Accent Pieces
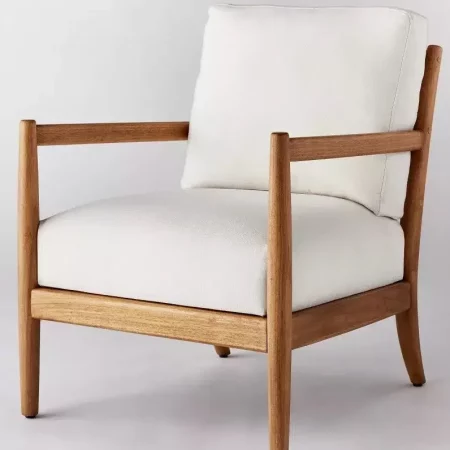
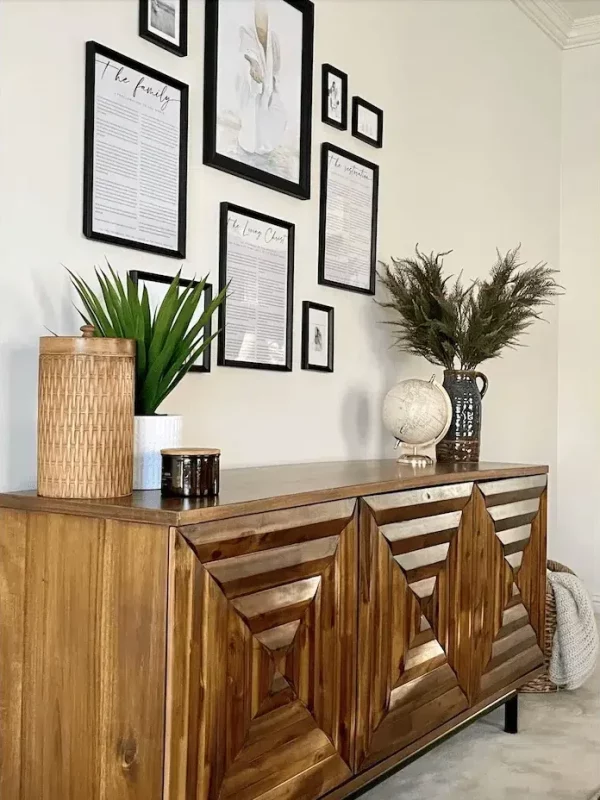
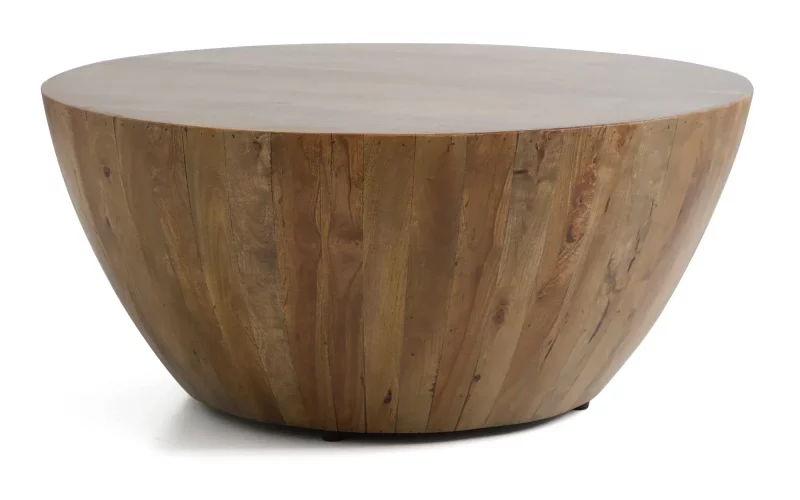
In some cases I will count wood and gold as one “color” if they are similar enough, but I’m not afraid to mix wood tones. I like to stick with the same general warmth of the wood. i.e. I wouldn’t mix a very warm cherry red wood with a very cold gray toned wood, although, I’m sure there are instances where this has been done and it looks amazing! You can see how the wood tone of the chairs is far lighter than the sideboard, but it still works. I wouldn’t be concerned about mixing a warm, light colored wood with a warm, dark colored wood. I love the tone of the coffee table from Downeast Home.
Modern Classic Sitting Room Decor Ideas
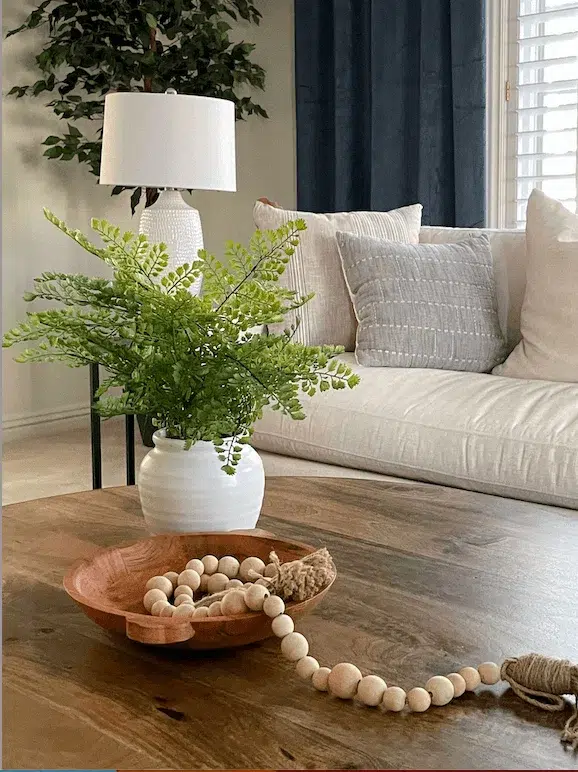
When selecting modern classic room design decor, I like to add a variety of textures. In this case, we have the softness of the couch and cushions, the texture of the wood, and the shiny blingy-ness of the white lamps and globe on the sideboard.
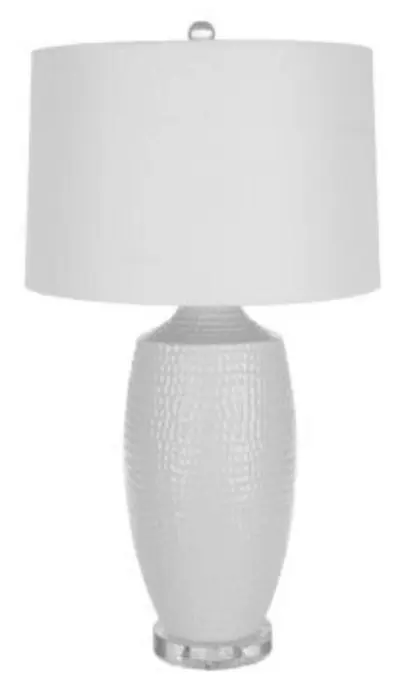

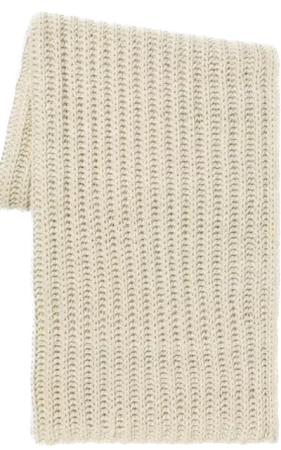
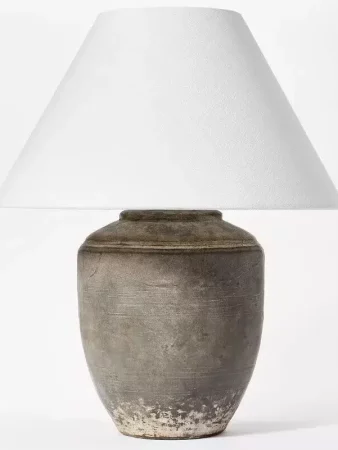
Changing up the textures makes a room much more interesting. The rough earthy-ness of the pottery and concrete lamps on the end tables contrasts (in a good way) the waffle weave of the throw blanket and wicker baskets.

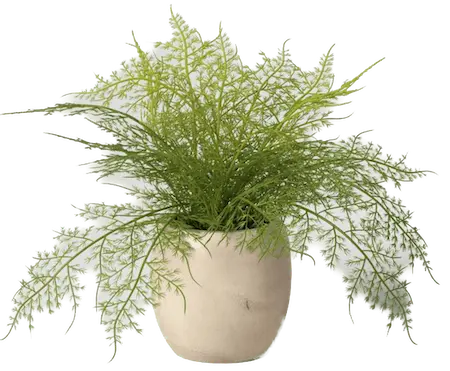
And lastly, the plants. I love how plants, specifically green plants will (literally) add life to any space…even if it’s fake. It’s amazing how realistic artificial plants can look. I like to spread plants in various sizes, shades, and textures throughout the room.

After adding those final touches, suddenly the space is brought together and you can enjoy your hard work and grab a front row seat to the beauty of your new room!
Using Mood Boards to Help Design
Creating a mood board will save you time and money. As Ashley and I found a piece we liked, we plugged it into our mood board to see how it looked with the other pieces we had decided on. Here’s a few examples of some mood boards we created using the different furniture and accent pieces we were interested in.
Shop This Room
Good luck with your own modern classic room design! Feel free to leave a comment if you liked this post or have any questions.
All of my stories for this project can be found in highlights on my instagram account @crystelmontenegrohome.
We recently moved to Omaha NE and wrote a post about all the design ideas I have. Check it out here.
