


How to Build a DIY Floating Office Desk – Built-Ins Part 3


Updated July 13, 2026
Ever tried to squeeze a massive desk into a tiny office? Same. That’s why I built custom cabinets with a sleek, space-saving floating desk instead. This DIY project gave me a functional, stylish workspace without the bulk of a traditional desk.
In this final part of the series, I’ll walk you through how I built, stained, and installed the desk, added a backsplash, and finished the entire setup with cabinet doors and lighting. Let’s wrap up this project! wrapped up!
Missed the first two parts? Catch up here:
Part 1: How to Build the Cabinet Boxes & Attach the Framing
Part 2: Building the Connecting Shelf, Adding Shelves, and Painting

Table of Contents
- Supplies You’ll Need for a DIY Floating Office Desk
- Essential Tools for Building a Floating Desk and Cabinets
- Step 1: How to Build a Floating Desk Between Cabinets
- Step 2: How to Stain a DIY Floating Desk
- Step 3: How to Install a Floating Desk Without Brackets
- Step 4: How to Tile a Marble Backsplash for Your Office
- Step 5: How to Hang DIY Cabinet Doors
- Step 6: Add Easy Cabinet Lighting (No Electrical Work Needed!)
- The Final Reveal: Built-In Cabinets with Floating Desk
- 📌 Save this Project for Later
- FAQs About Building a DIY Floating Desk
Supplies You’ll Need for a DIY Floating Office Desk
These are the tools I used to make the process smooth:
- Poplar Wood: (2) 1-in x 8-in x 8-ft boards & (1) 1-in x 3-in x 8-ft board
- Ledger Board: (1) 1-in x 2-in x 8-ft
- Kreg Pocket Hole Screws: 1 1/4 inch
- Wood Screws: 2 1/2 inch
- Brad Nails: 1 1/4 inch
- Wood Glue, Primer, Cabinet Hardware
- Minwax Oil Based Early American Stain, Minwax Water Based Polycrylic in Clear Gloss
- Paint
- Hardware
Essential Tools for Building a Floating Desk and Cabinets
- Circular Saw & Table Saw – For cutting poplar boards
- Miter Saw – To make precise cuts
- Drill & Kreg Pocket Hole Jig – Essential for assembling strong, hidden joints
- Nail Gun – To secure boards
- Clamps & Straight Edge – To keep everything square
- Laser Level & Stud Finder – Ensuring accurate installation
- Kreg Hinge Jig
Want to see the entire cabinet-building process in action? Watch my YouTube tutorial!
Step 1: How to Build a Floating Desk Between Cabinets
This DIY floating office desk turned out beautiful. Here’s how I built it from scratch!
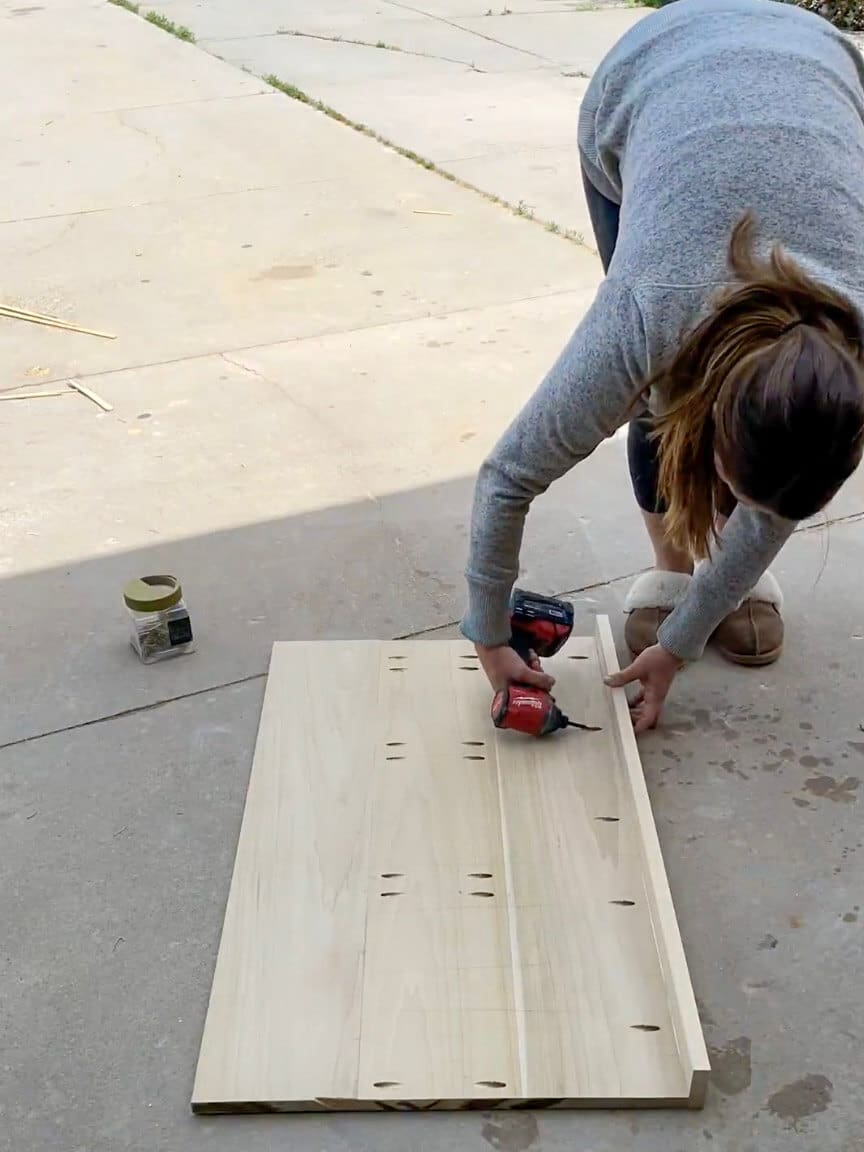
Cut and Assemble the Desk Boards
I measured the space between my built-in office cabinets and cut three 8-inch poplar boards to fit. To create the illusion of a thicker desktop, I also cut a 2 ½-inch poplar board to attach to the front.
I chose the best-facing sides of the boards and flipped them over. Then, I drilled pocket holes along each side of the middle board and one side of the front board. With wood glue and screws, I secured everything together for extra strength.
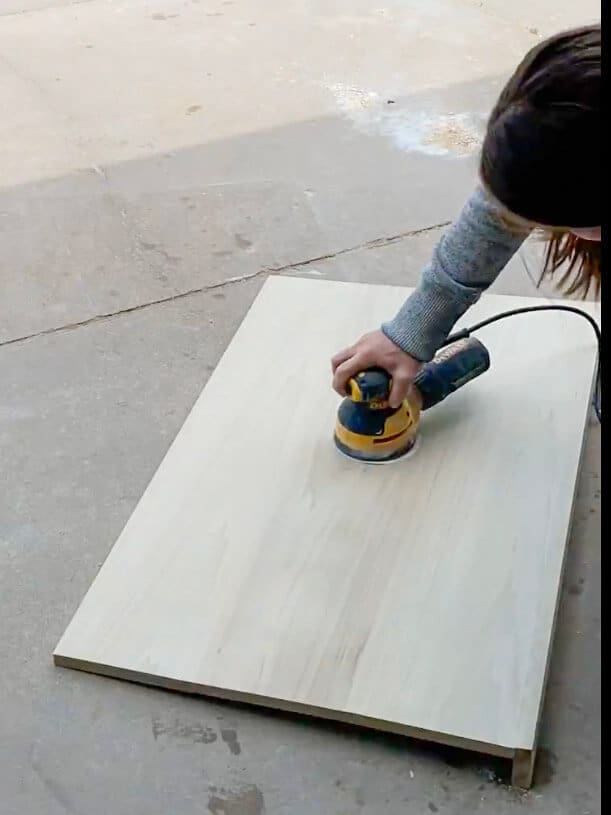
Sand the Surface for a Seamless Finish
Once assembled, I sanded the entire surface using 100-grit sandpaper, followed by 150-grit, 180-grit, and 220-grit for a super smooth finish. Any wood glue that squeezed out mixed with sawdust, creating a natural wood filler – perfect for seamless joints.
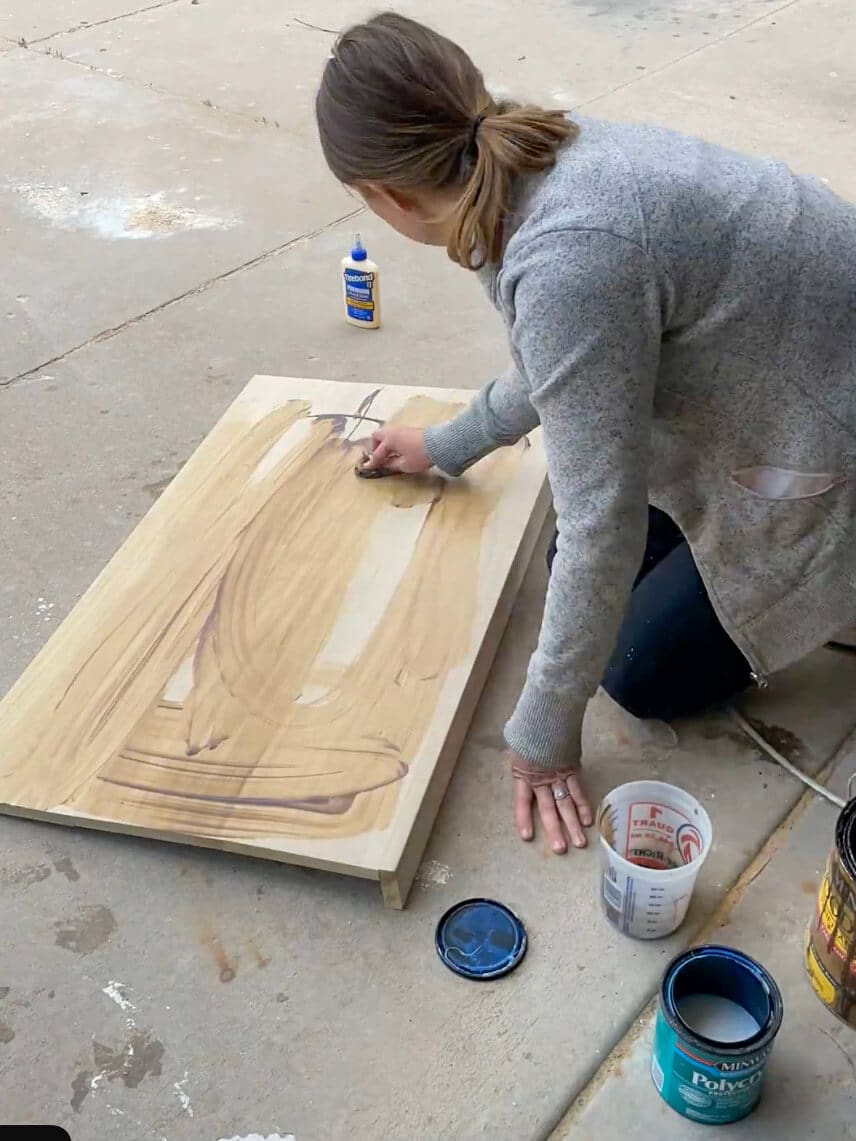
Step 2: How to Stain a DIY Floating Desk
I wanted a light, natural wood tone, so I experimented with a stain + seal combo to get the perfect finish in one step.
Here’s what I did:
- Mixed ½ cup of Minwax Water-Based Polycrylic (Clear Gloss) with 1 tablespoon of Minwax Oil-Based Early American Stain
- Drizzled the mixture onto the desk and rubbed it in with a cloth
- Wiped off excess stain and let it dry
Pro Tip: Looking back, I wish I had added 2-3 more coats of polycrylic for better protection. Kids + markers = instant regrets. If you’re staining a desk, don’t skip the extra sealing step!
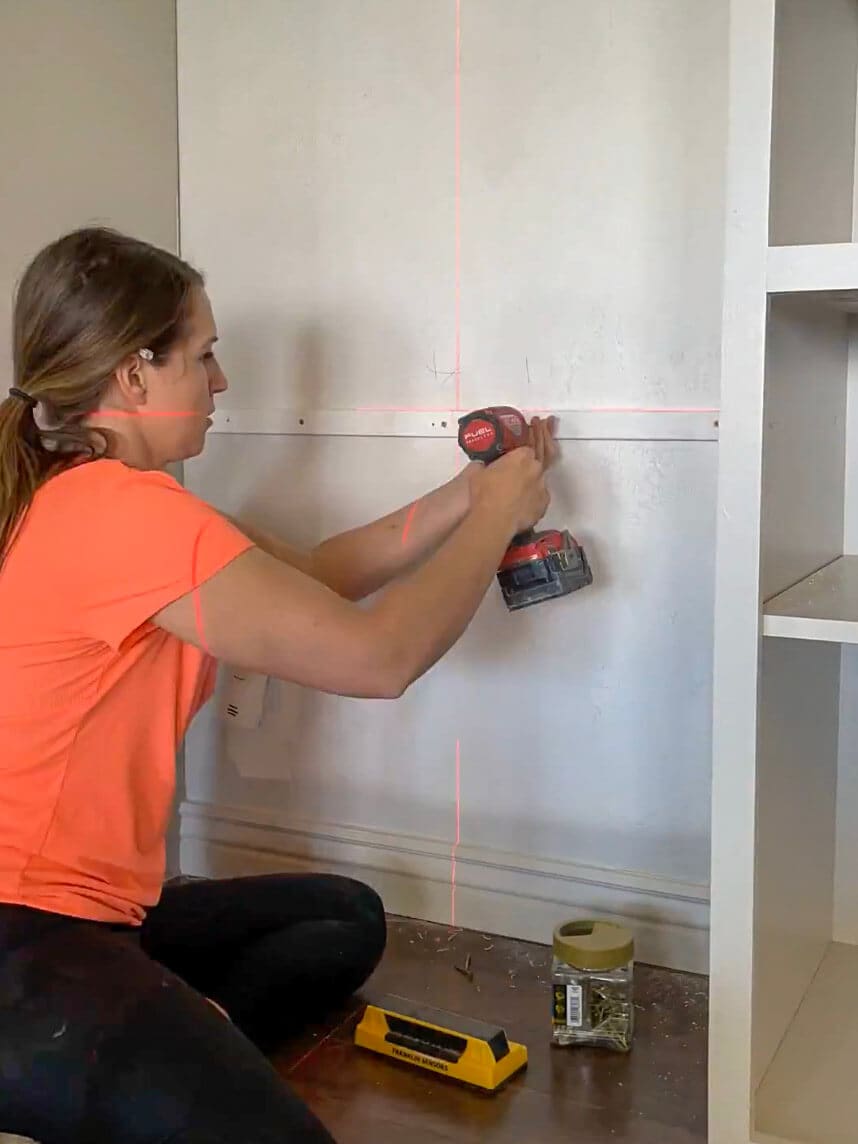
Step 3: How to Install a Floating Desk Without Brackets
A laser level was a game-changer for this step!
Mark the Desk Height and Install a Ledger Board
- I measured 29 inches from the floor and marked where the desk should sit
- Cut a ledger board (a simple support board) to fit the desk space
- Screwed the ledger board into wall studs ¾ inch below my mark, so the desk would sit exactly at the right height
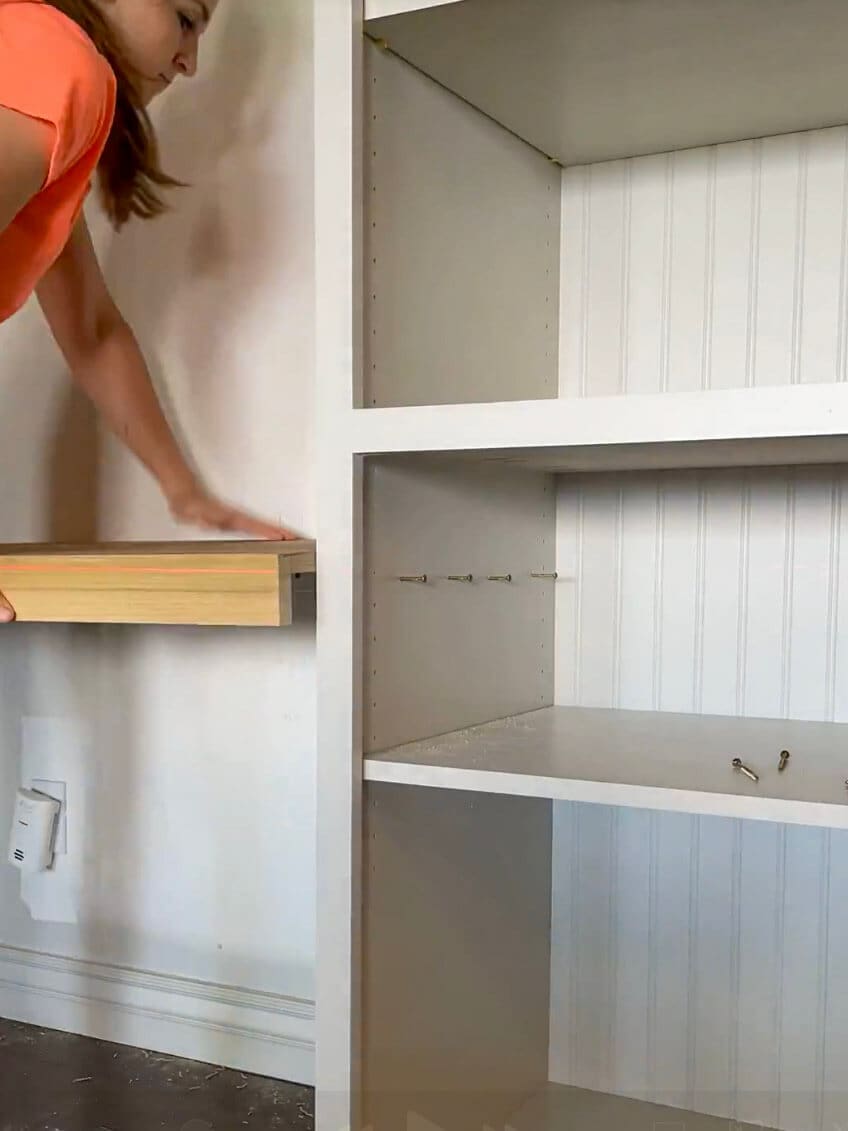
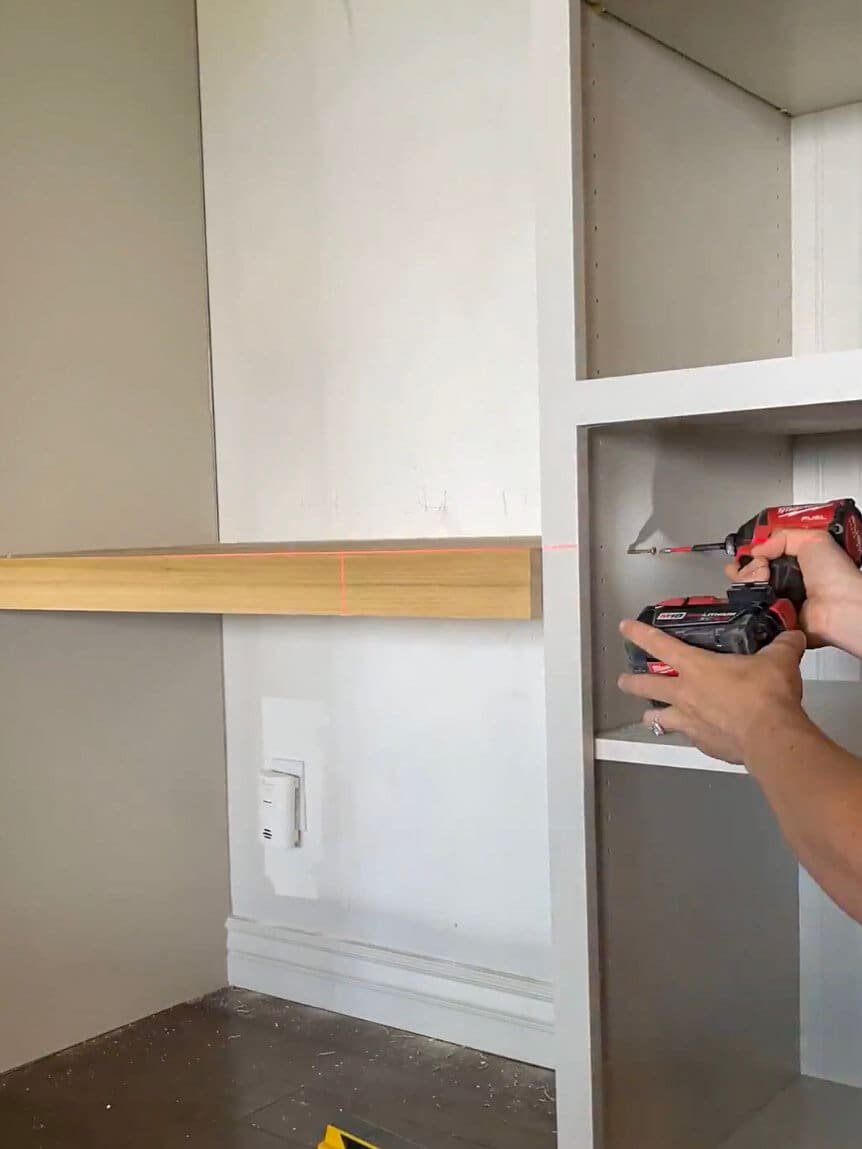
Secure the Desk to the Built-In Cabinets
I predrilled holes on both sides of the cabinets at 28.62 inches from the floor (random, but precise!). Then I used a rubber mallet to gently tap the desk into place. Last step is to screw the desk into the cabinets to prevent tipping (because, let’s be real, my kids WILL climb on it).
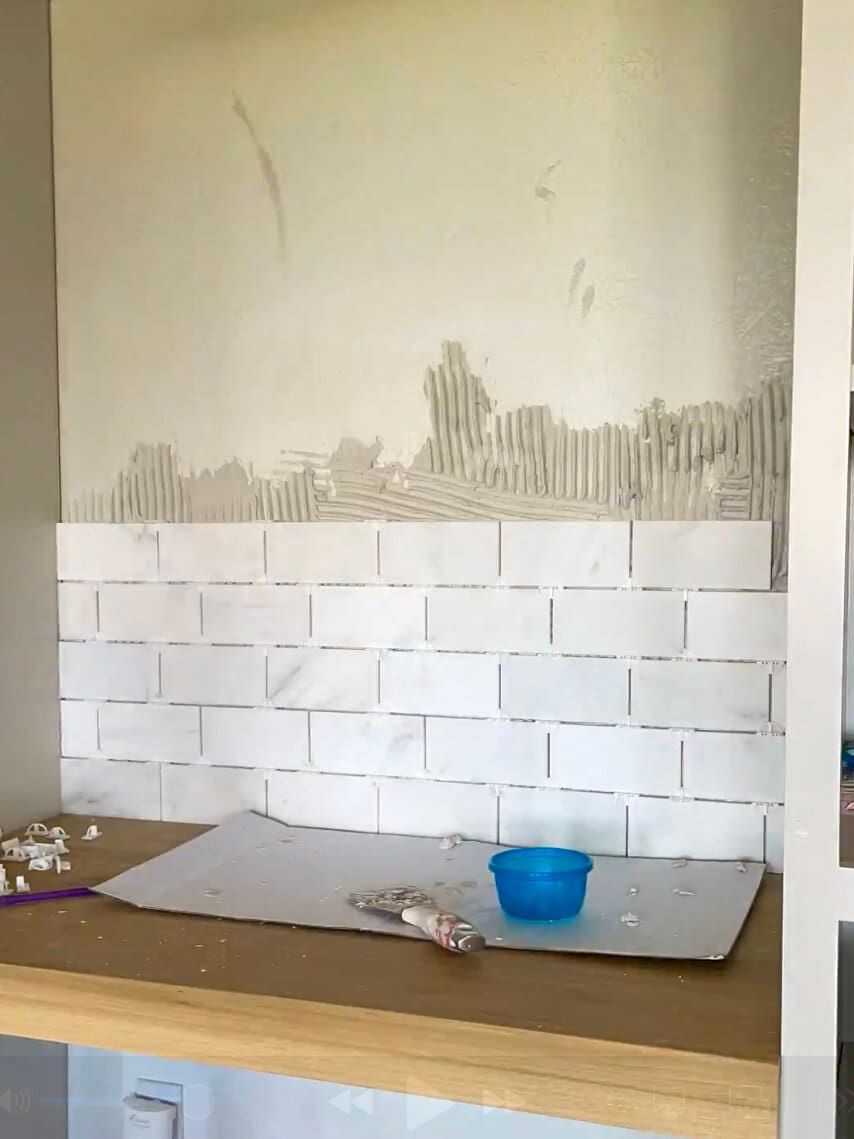
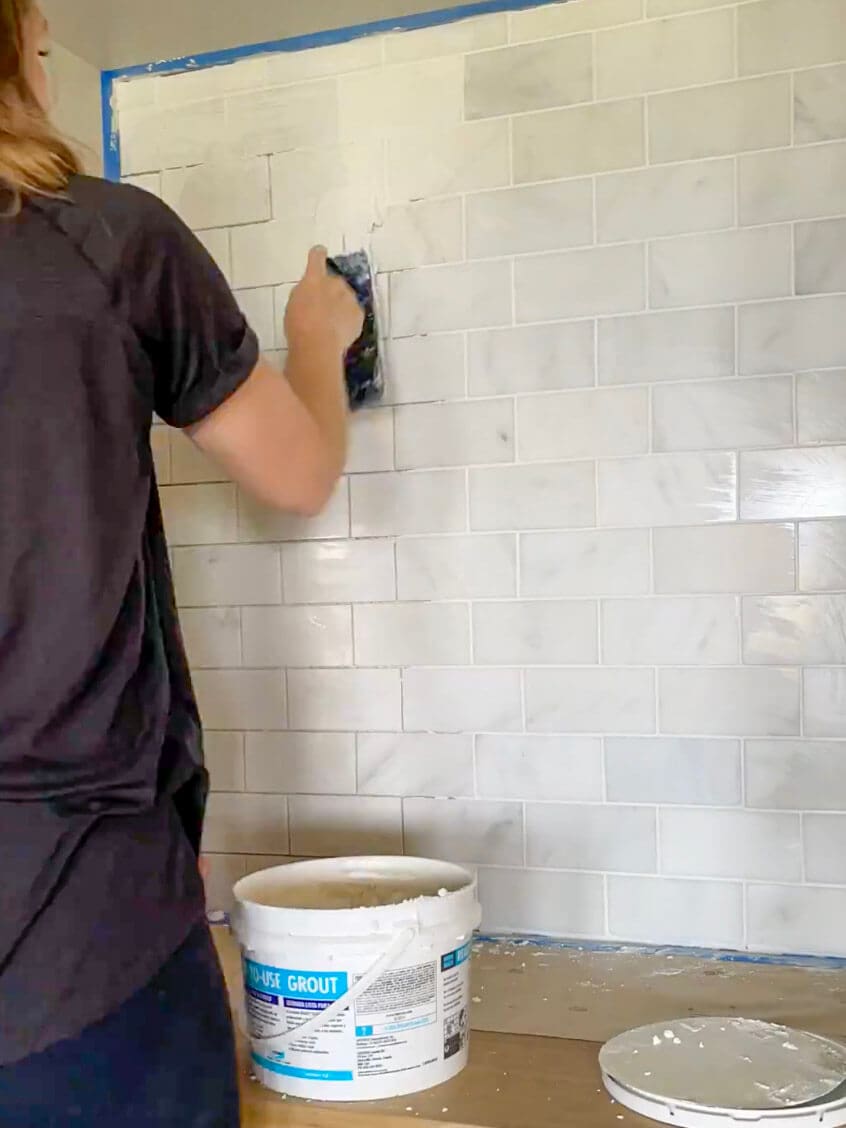
Step 4: How to Tile a Marble Backsplash for Your Office
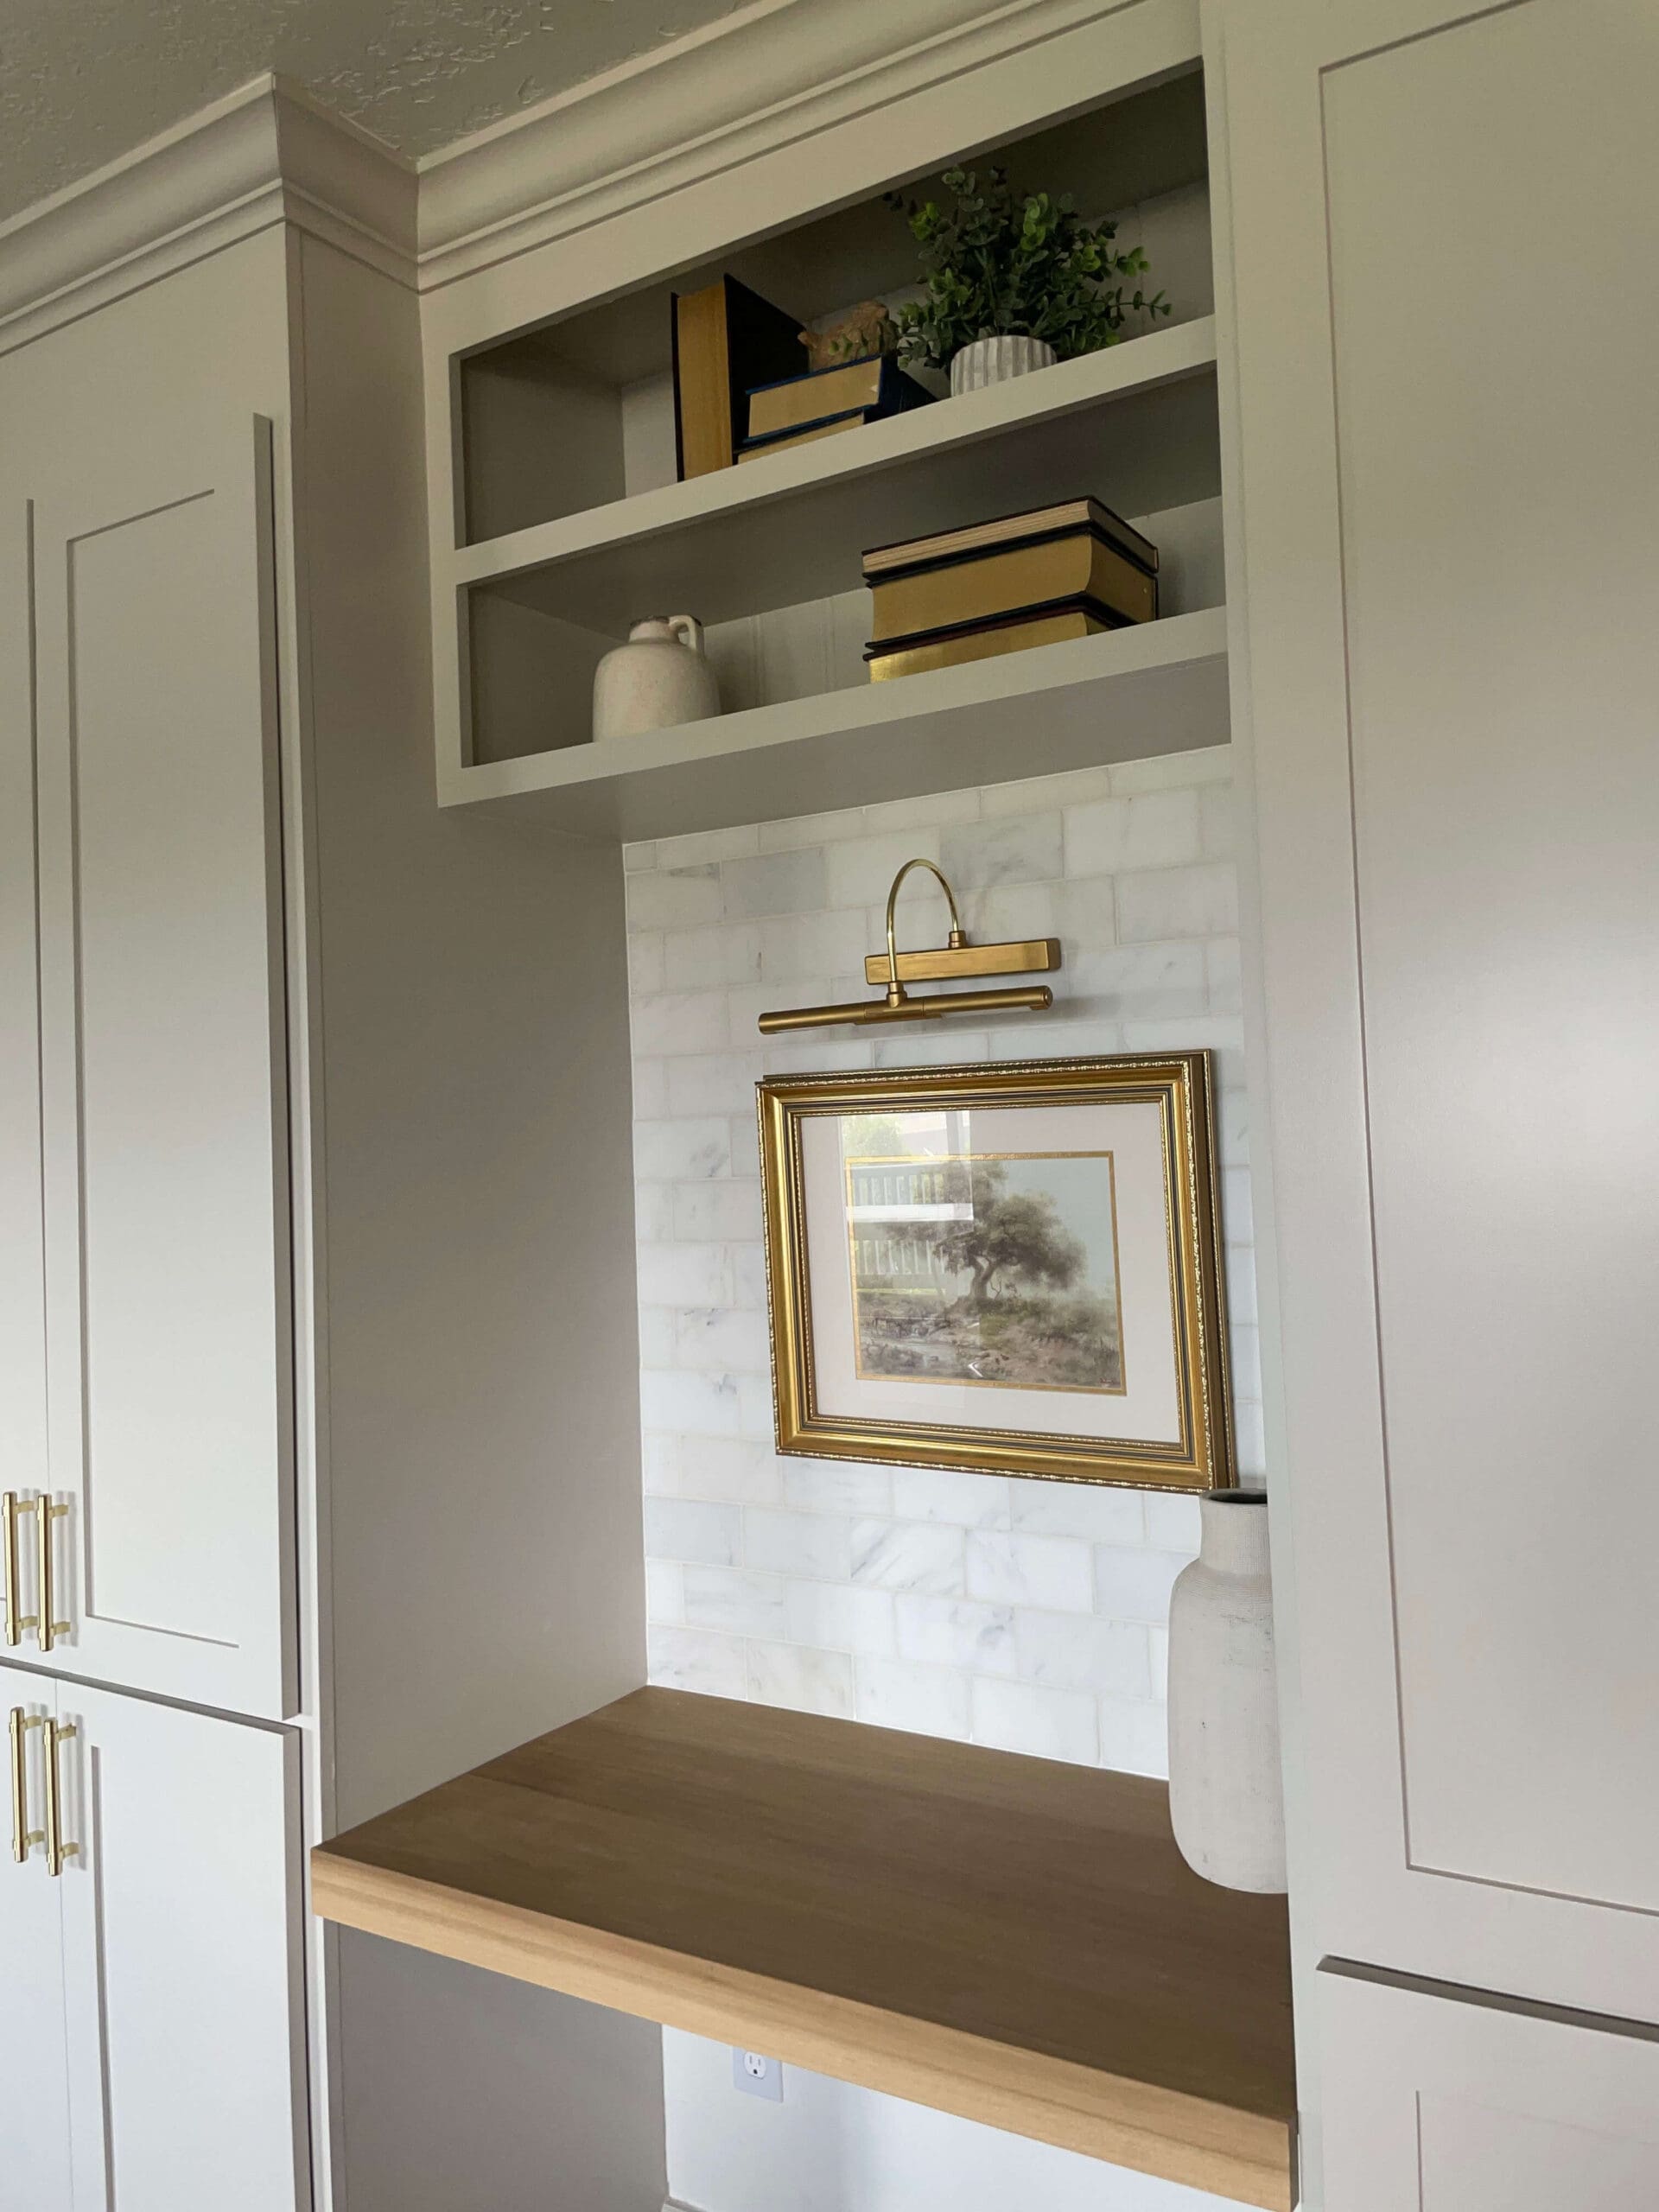
To elevate the look of my built-ins, I added a tile backsplash using Riad Tile’s Honed 3×6 Subway Casablanca Carrara Marble. The white and gray tones paired beautifully with my Sherwin Williams Gossamer Veil cabinets.
If tiling feels like too much work, you can skip this step and just paint the wall – it would still look great!
I’ve explained how to install tile in previous posts, so here are my best tiling tips:
- Use 1/8-inch spacers for even grout lines.
- Lay out the tile first to plan the pattern before sticking it on the wall.
- Start tiling from the desk and work upward for a level look.
- Apply thin-set mortar with a notched trowel for better adhesion.
- Cut end pieces as you go to get precise fits.
- Before grouting, remove any dried mortar that squeezed out between the tiles.
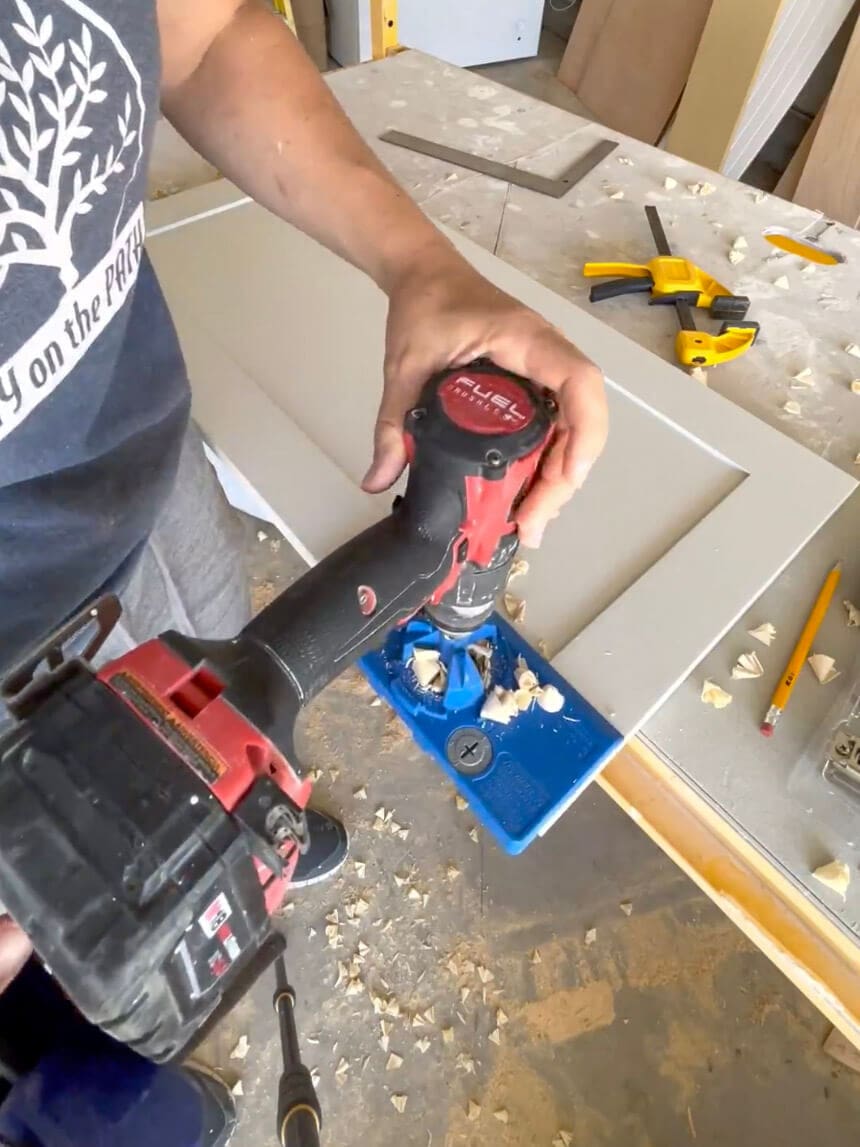
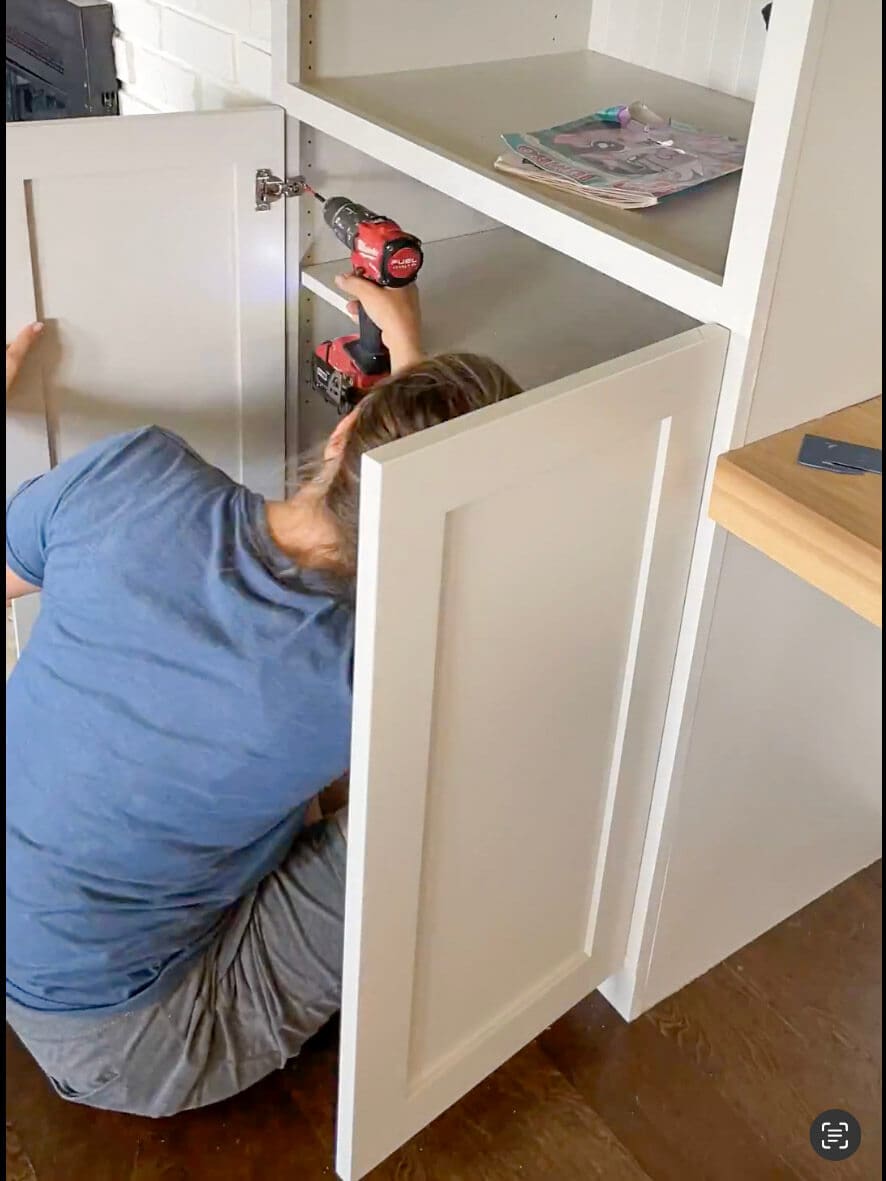
Step 5: How to Hang DIY Cabinet Doors
Doors are tricky – one uneven door, and the whole project screams DIY. To ensure my built-in office cabinets looked polished, I outsourced the doors to a local cabinet maker.
Each door was built with a ½-inch overlay for a seamless fit. Once they arrived, I primed and painted them using my Graco Paint Sprayer (check out my ultimate guide to painting cabinetry – follow my steps for a flawless finish). Then, I used my Kreg Hinge Jig to bore perfectly placed holes for the hardware.
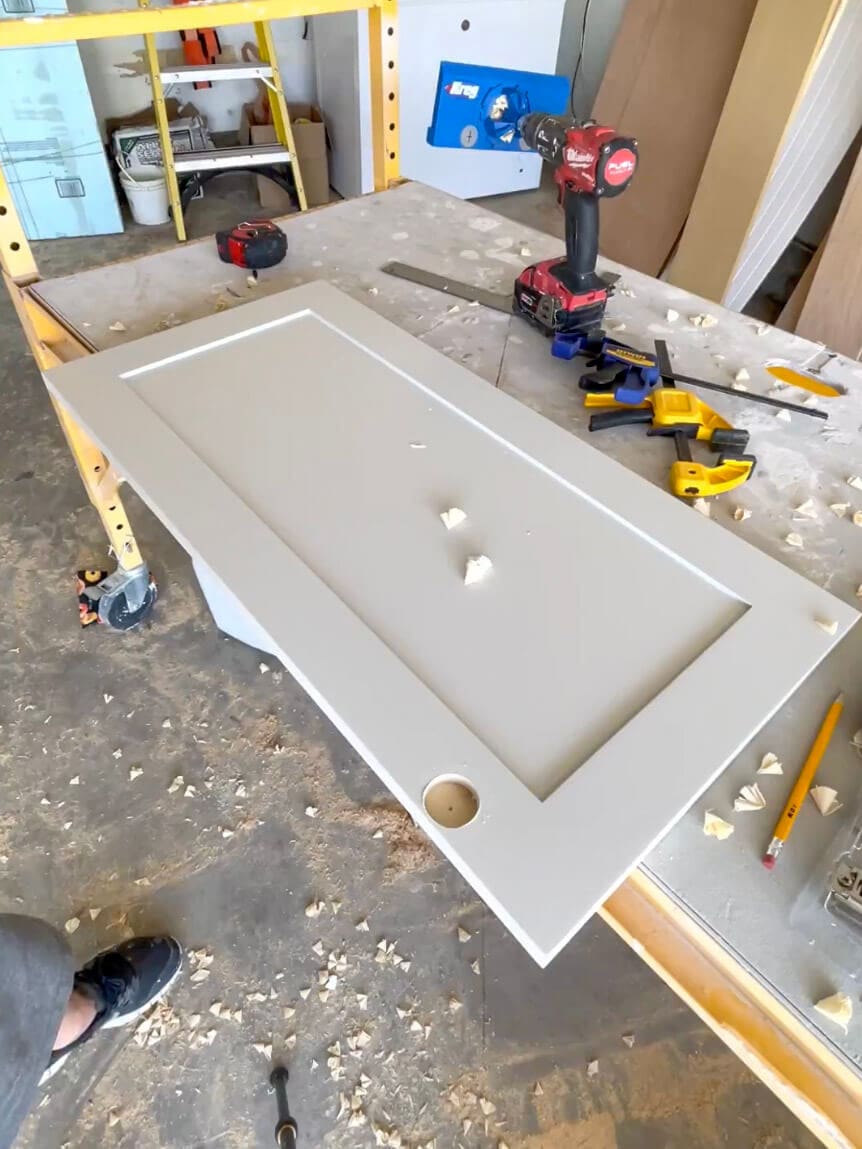
Last, I mounted the doors and added my stunning Amazon hardware for that high-end look.
If you’re up for making your own doors, I wrote a post on how to build DIY shaker-style cabinet doors!
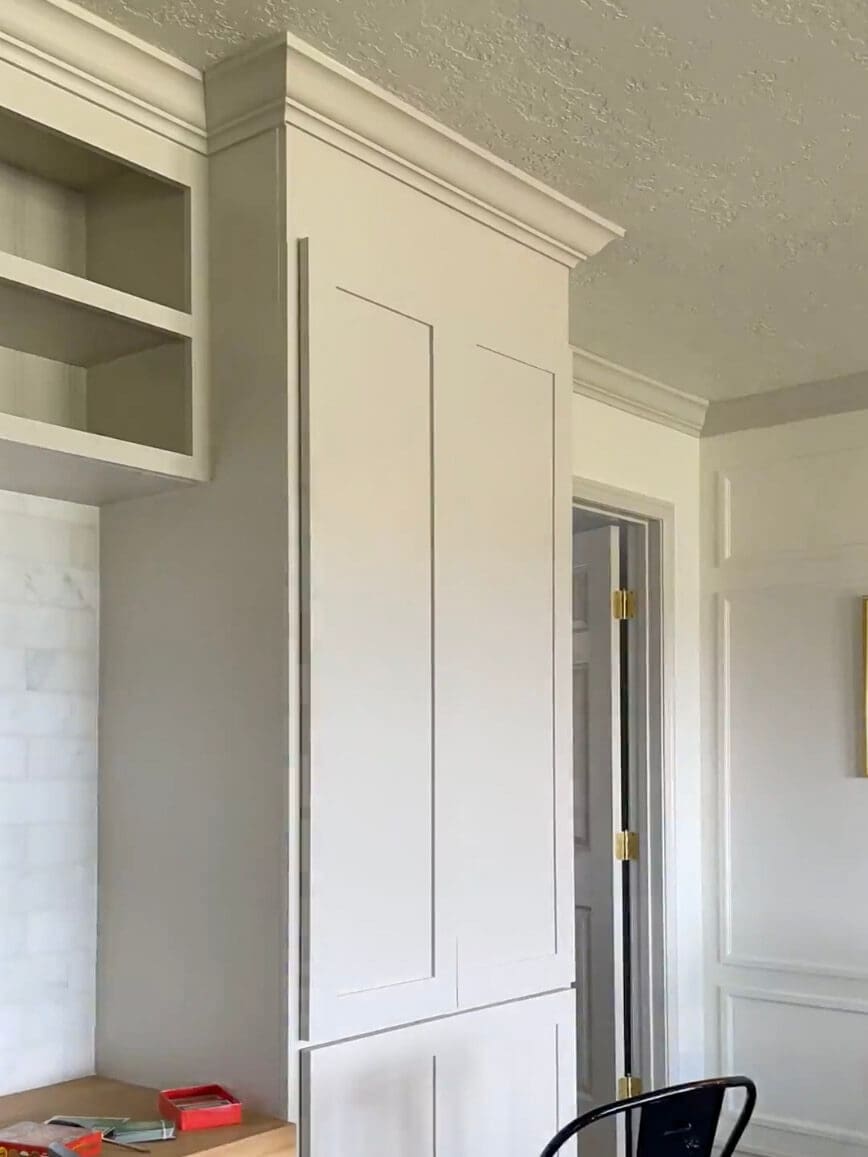
Step 6: Add Easy Cabinet Lighting (No Electrical Work Needed!)
For the finishing touch, I installed a picture light above the desk. The best part? It’s battery-operated and remote-controlled, so no electrical work was needed. The light had a copper finish, which didn’t match my hardware, so I used Rub and Buff to tweak the color.
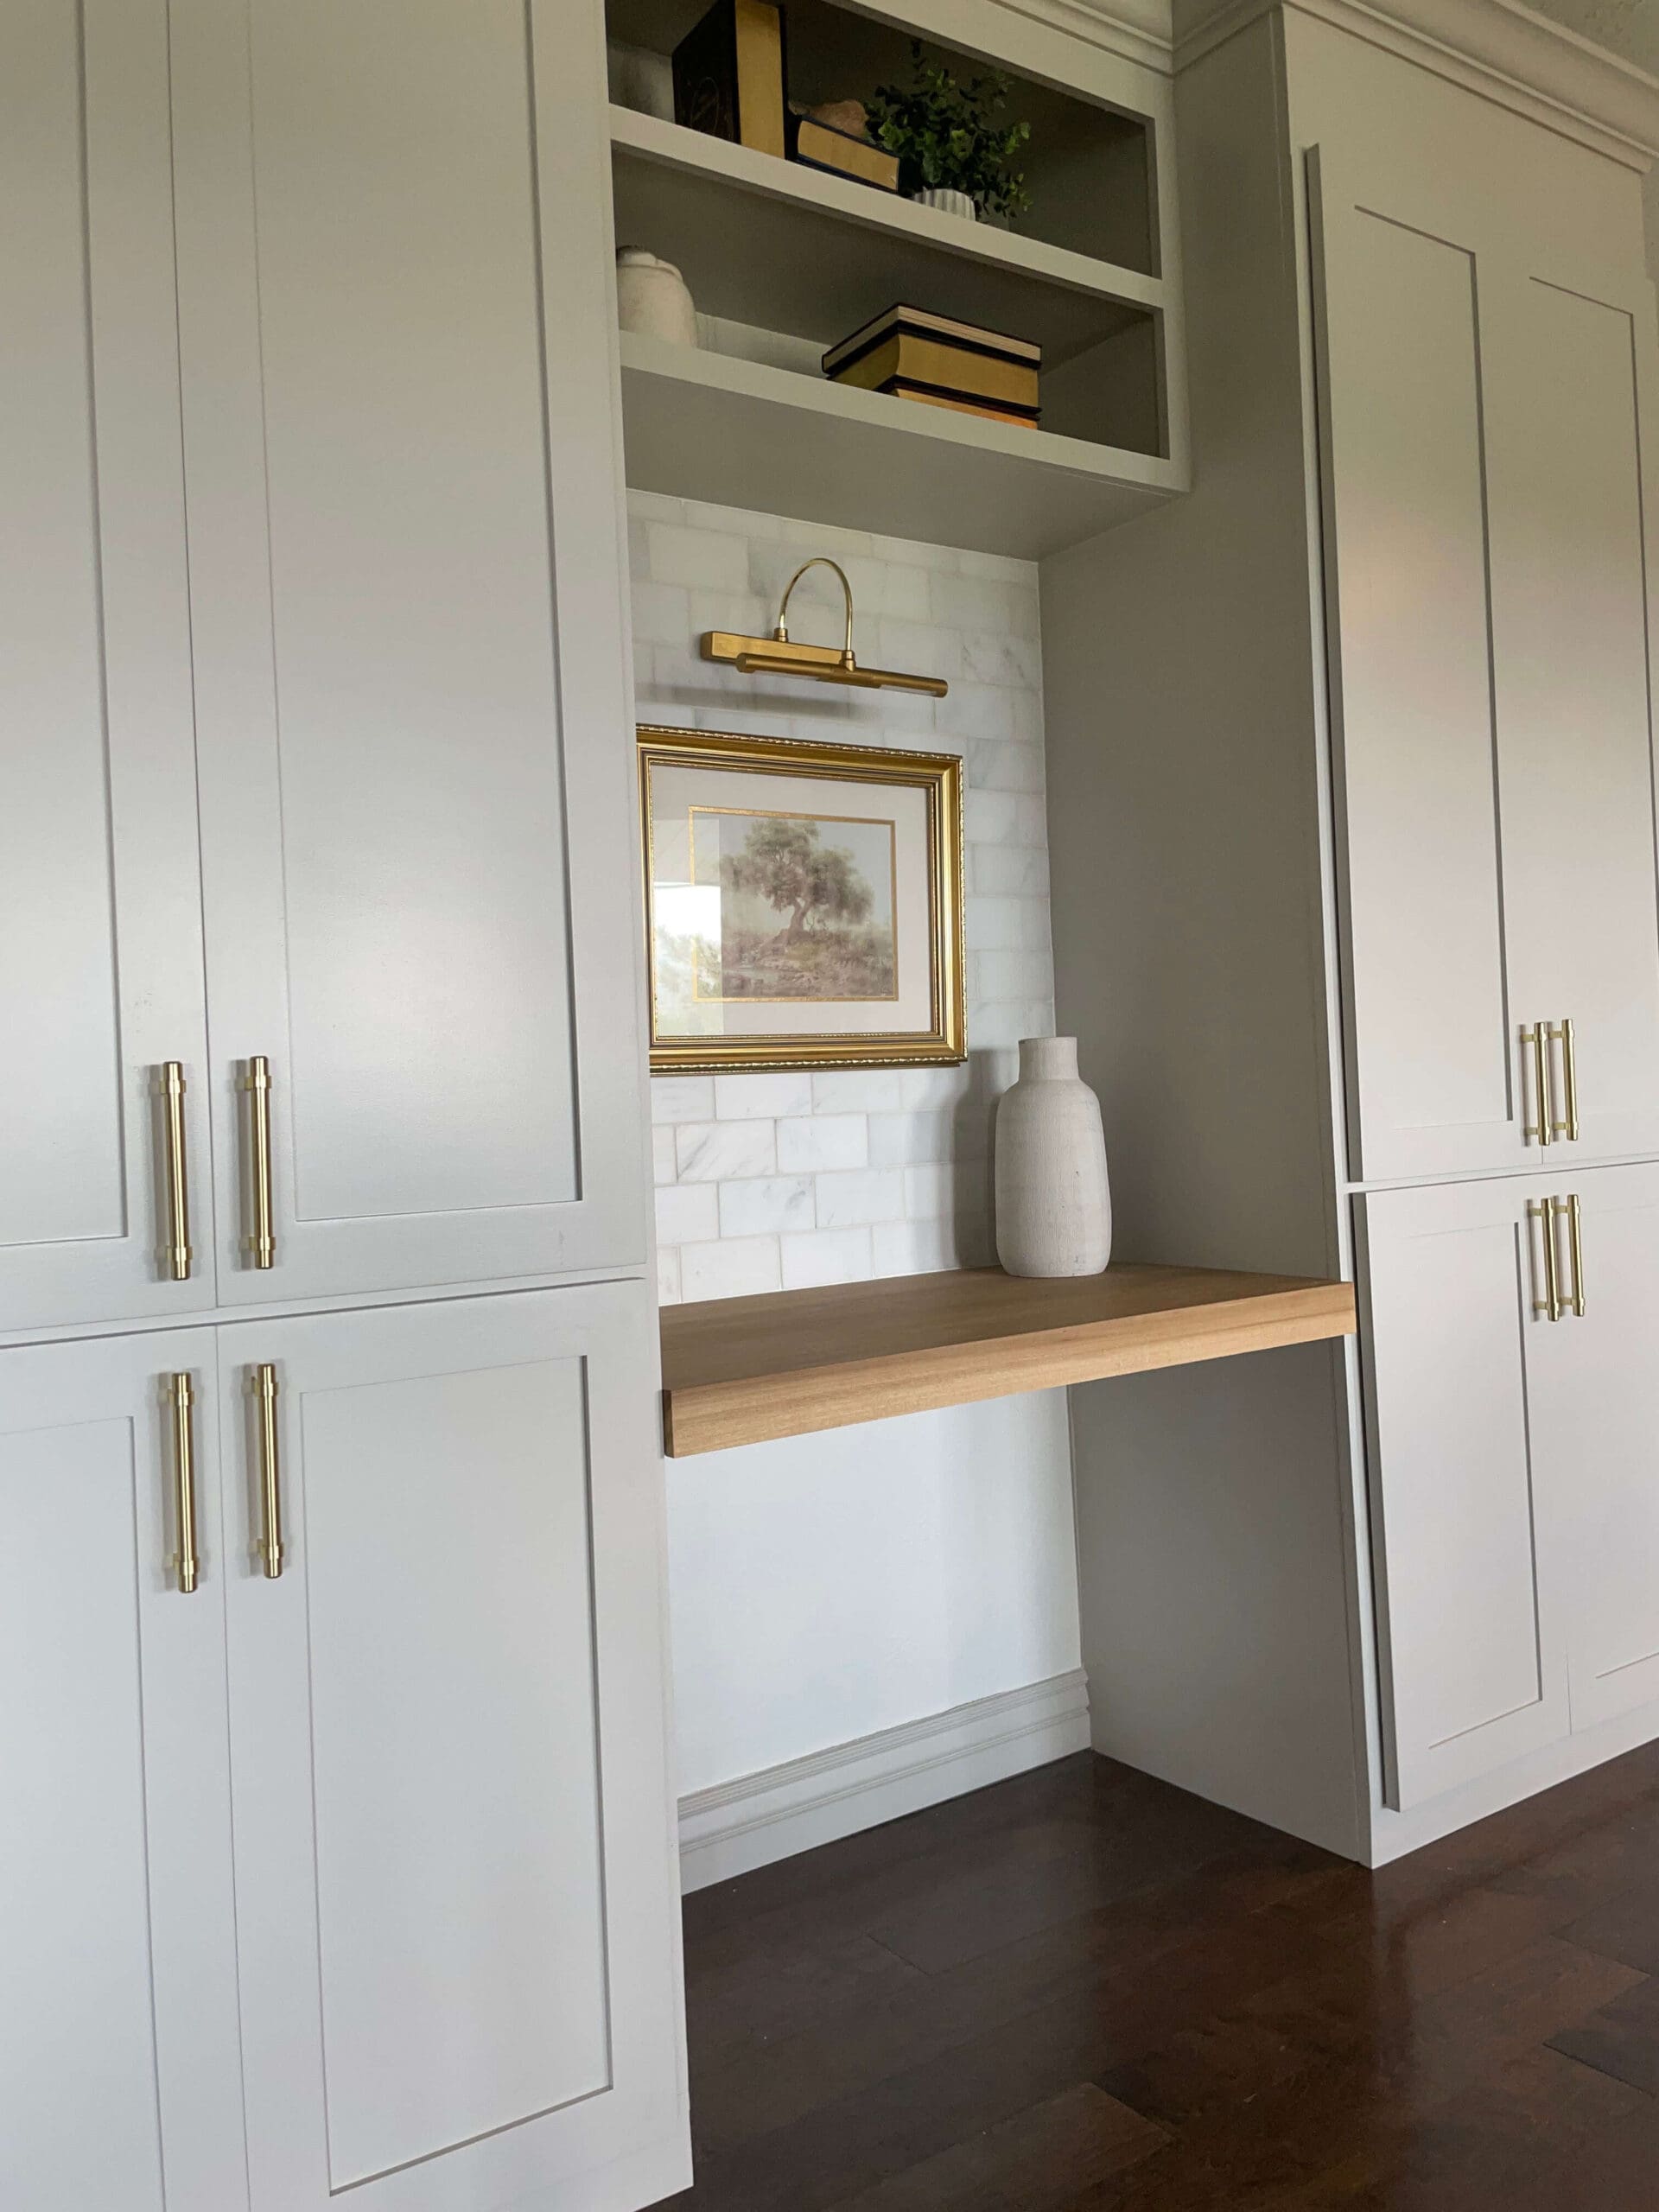
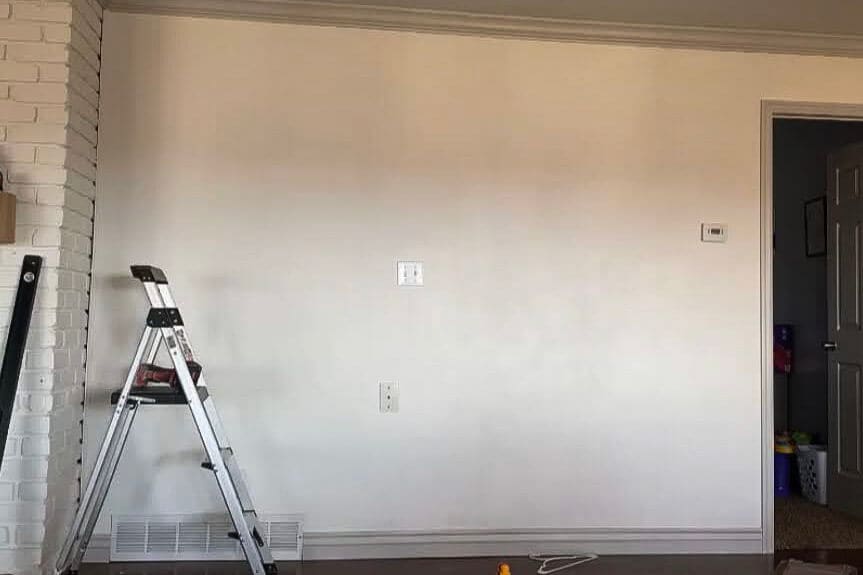
The Final Reveal: Built-In Cabinets with Floating Desk
Here’s how it started:
And here’s the final result:


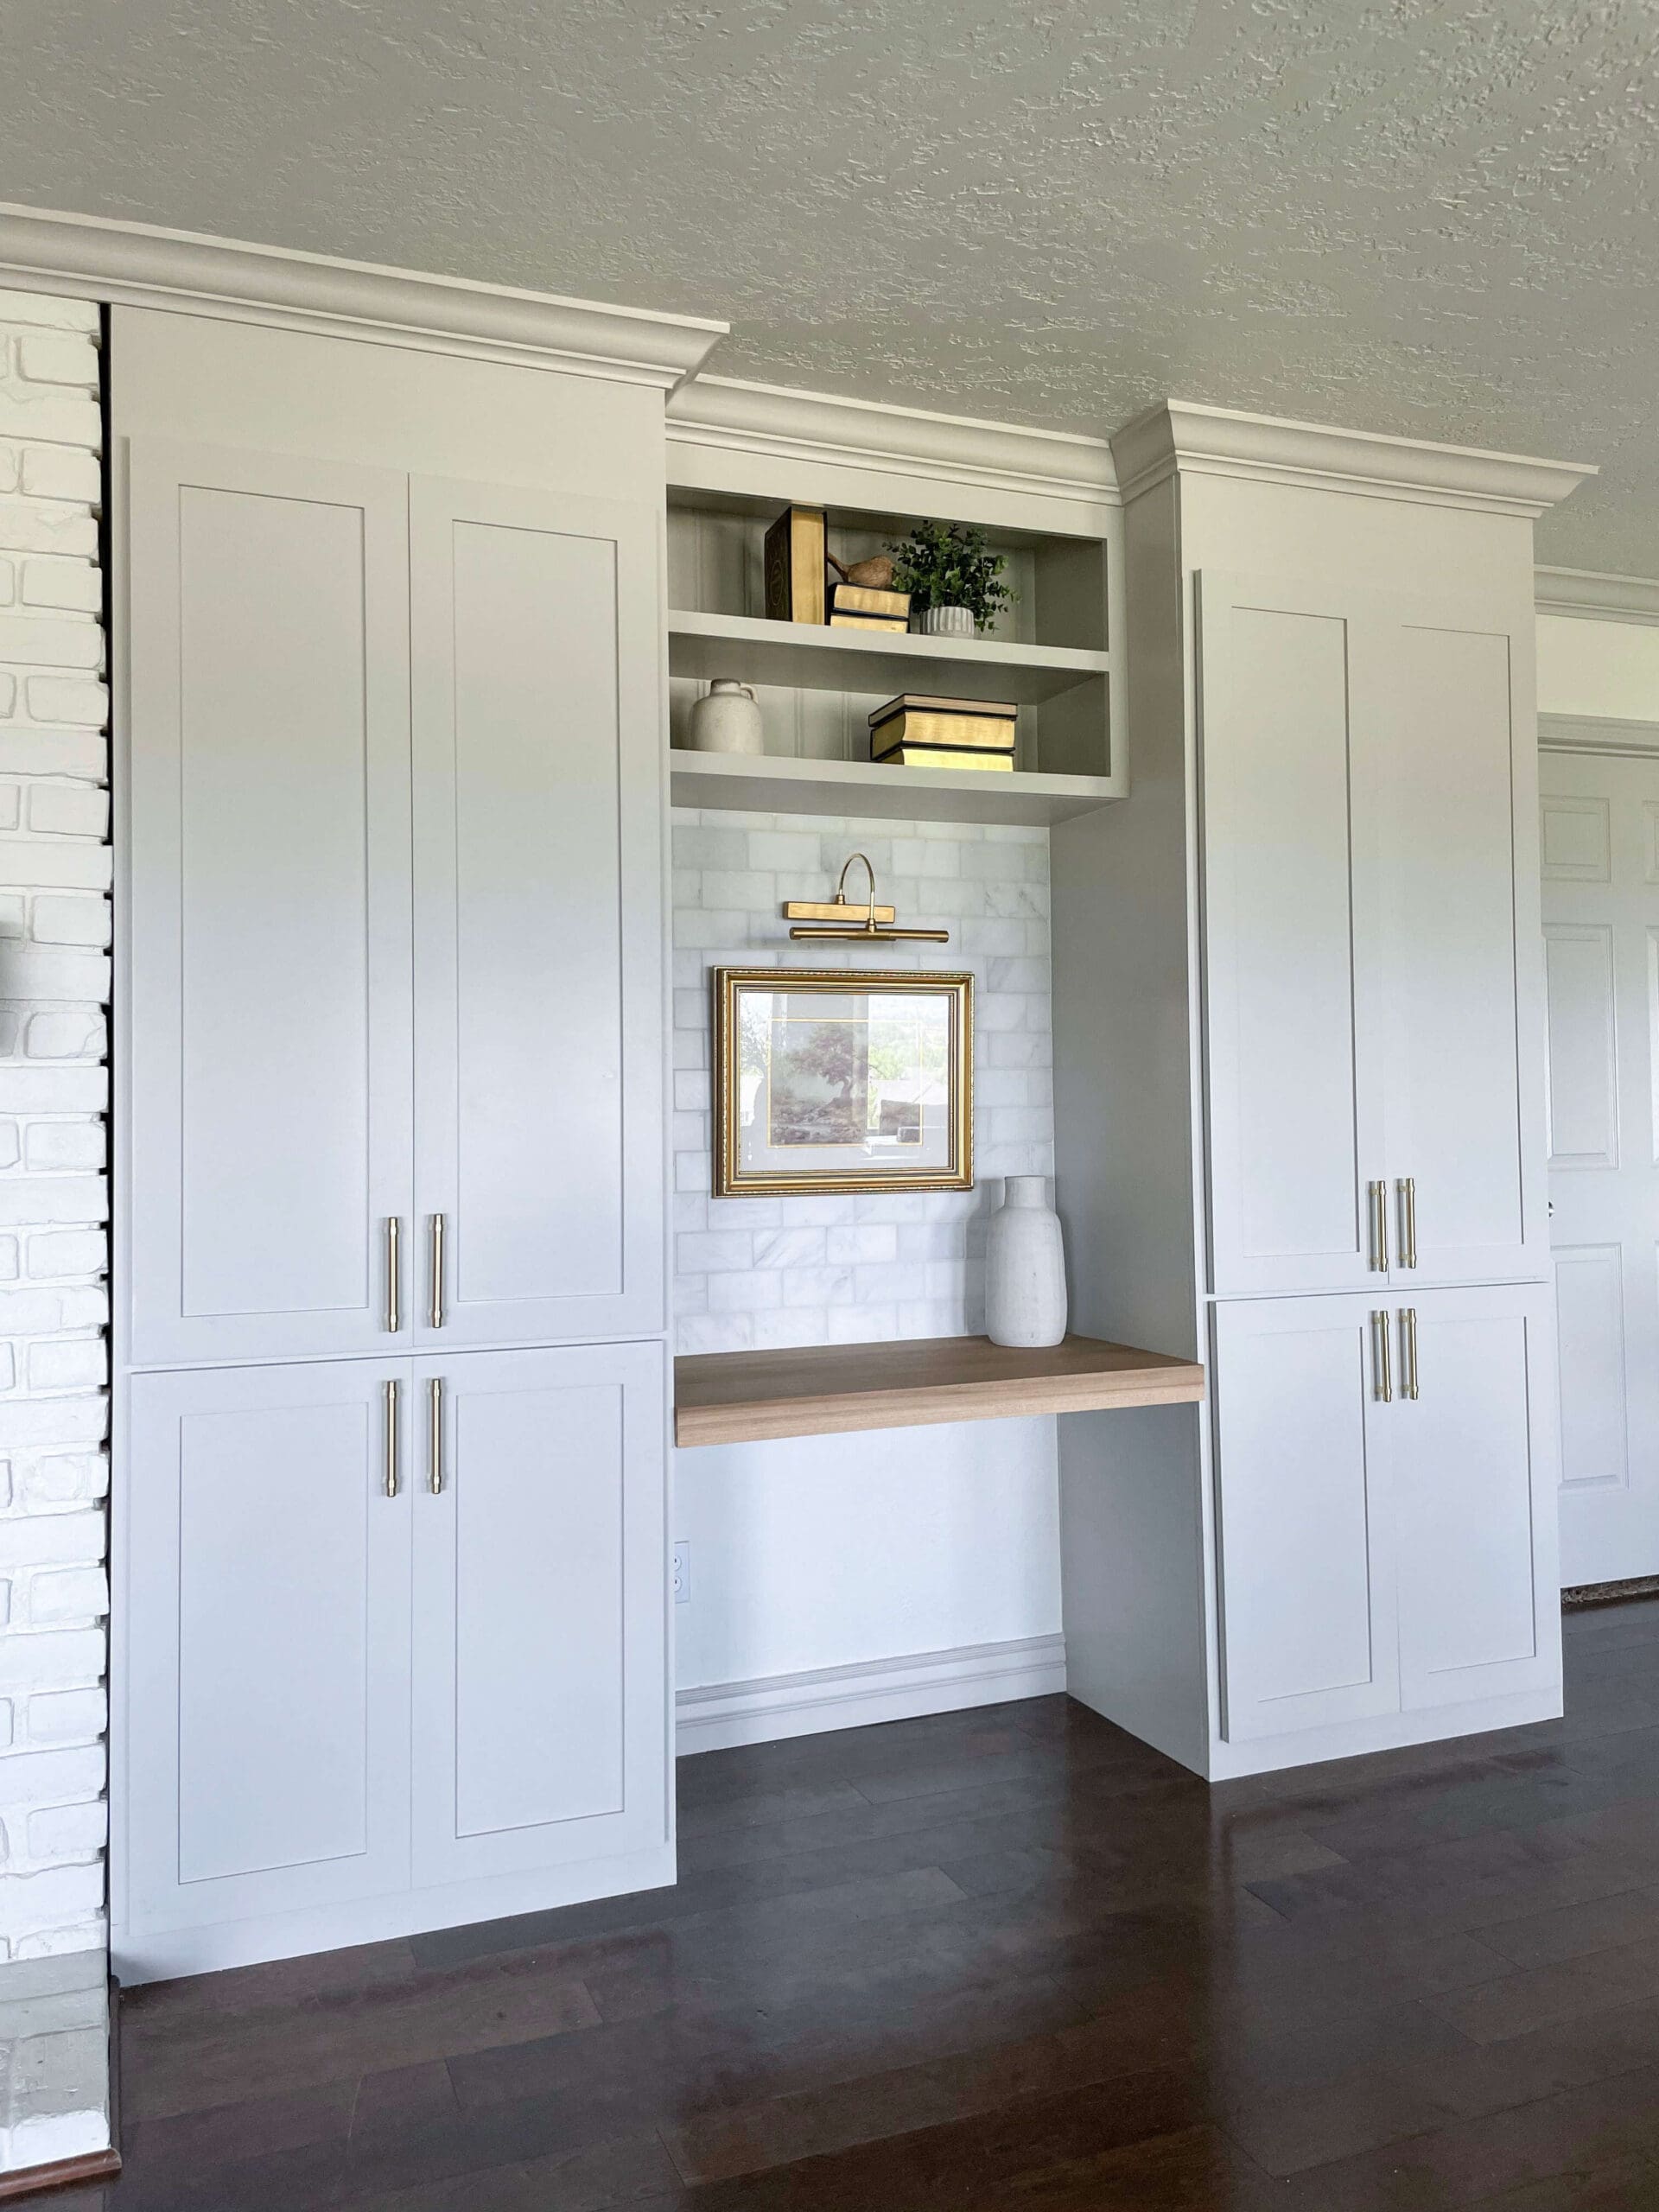
It turned out better than I imagined! As far as stylish storage for my collection of half-used tape dispensers, I’d say this project was a success.
If you missed the first two parts of this project, check them out here:
- Part 1: How to Build the Office Cabinet Boxes and Attach the Framing
- Part 2: How to Build the Connecting Shelf, Add Additional Shelving, and Paint the Cabinetry
Have questions? Drop them in the comments!
📌 Save this Project for Later

FAQs About Building a DIY Floating Desk
The best wood for a DIY floating desk depends on durability and aesthetics. Poplar is a great choice for a smooth, paintable surface, while oak or maple offer a beautiful natural grain for staining. Plywood with edge banding is an affordable alternative.
To install a floating desk without visible brackets, use a ledger board mounted to the wall and screw the desk into adjacent built-in cabinets for additional support. If the desk spans a wider gap, hidden steel brackets or heavy-duty floating shelf brackets can be used underneath for reinforcement.
For a sturdy floating desk, aim for a thickness of 1.5 to 2 inches. If using standard ¾-inch boards, attach a front-facing trim piece to give the illusion of a thicker desktop while keeping it lightweight.
Yes! A properly installed floating desk can easily support a computer, monitors, and office supplies. Just ensure it’s anchored into wall studs and supported by either a ledger board or brackets. Use hardwood or thick plywood for added strength.