How To Build An Entryway Mudroom


Updated May 9, 2026
After all the work that we have been putting into this house to finally get it move-in ready, I took a little break from projecting to get all of our stuff moved in and get us settled. After a little while, I started getting tired of looking at all the unused and wasted space in our entryway and starting brainstorming some ideas for what I wanted to do with it. I liked the idea of an entryway mudroom.
ENTRYWAY FLOORING
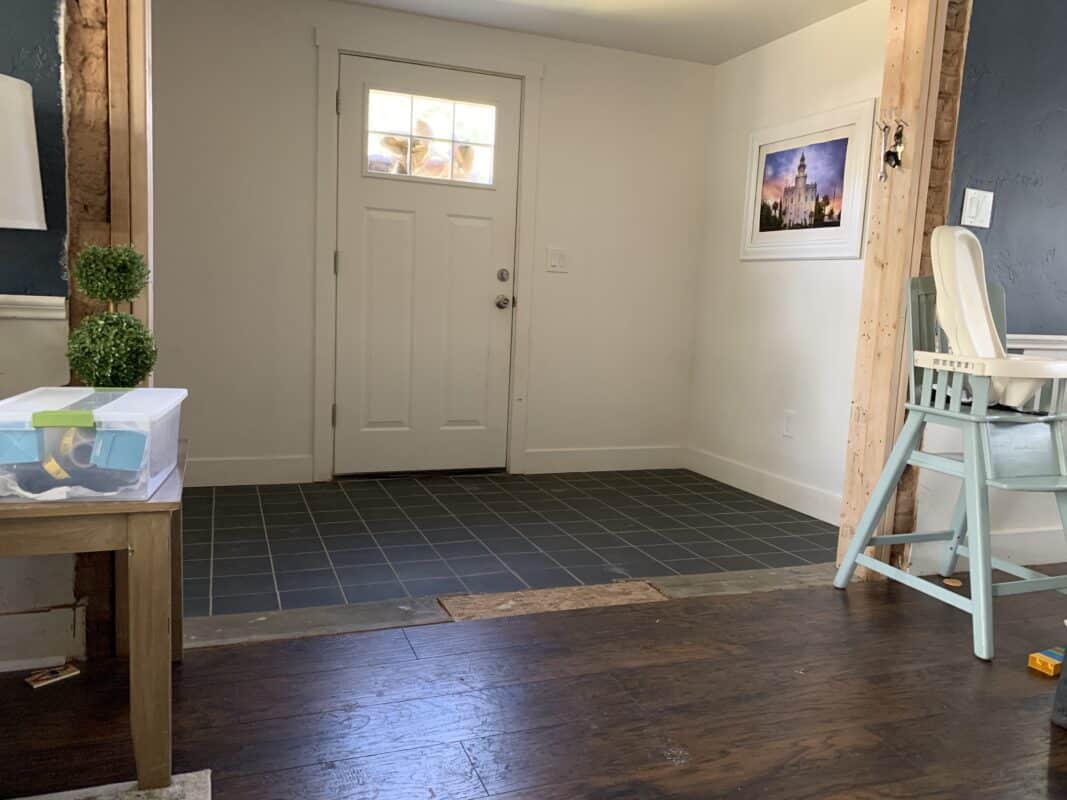
If you remember, (read all about it here if you don’t!) this little entryway was an add-on by the former owner to cover up what used to be two front doors. We removed the two doorways and the adjacent wall which opened up our living area significantly. I was a little stumped on what to do about the transition, because I did like the tile they used for it but because of height difference between the tile and the flooring we installed there would have been a significant lip that would have been a major tripping hazard. In the end, I decided to use Bondo to bridge the gaps and continue the flooring over the tile. The tile had suffered some stress from all the construction anyway, and I couldn’t get it clean.

I mixed the bondo and spread it like frosting with a putty knife, sloping and fanning it out. Once the first coat was dry I used a sander to smooth it out and a level to make sure the flooring wasn’t going to have any air pockets underneath it when I laid it. I kept applying several coats of bondo until I was satisfied that everything was flat and smooth. Make sure you have good ventilation and wear a mask because this is stinky stuff!
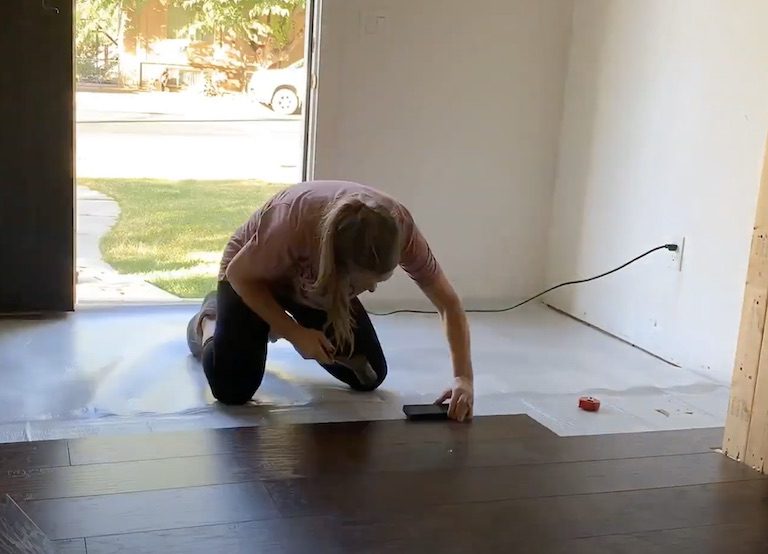
When it was time to start on the floor, I laid down the underlayment and started working my way backwards continuing the flooring into the entryway.
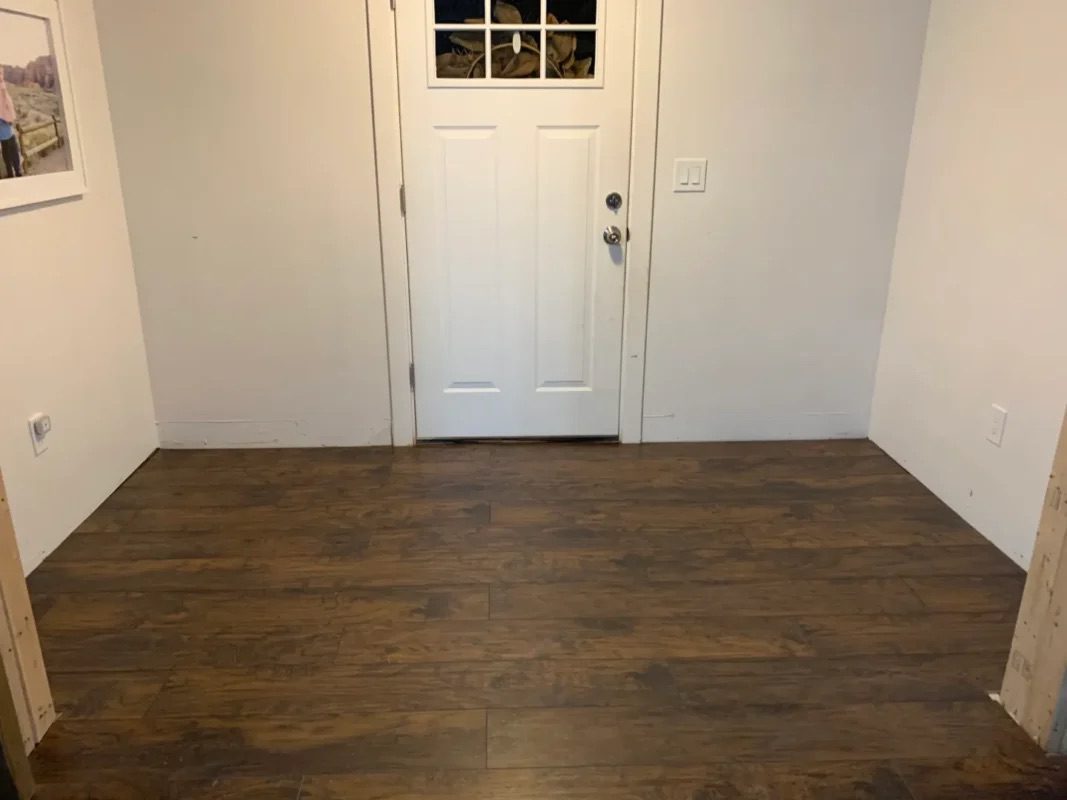
So much better already! Finally I was ready to start with the entryway mudroom build.
MATERIALS I USED TO BUILD MY ENTRYWAY MUDROOM
- 3/4″ MDF
- 1×2 Furring strips for face frame
- 1×3’s for corbels
- 2x4x8 boards for base
- crown molding
- 2x12x8 (or longer depending on your bench size)
- Paintable Caulk
- Wood glue
- 1 1/2” screws
- 1 1/2” Brad nails
- Paint
- Paint Supplies (Brush, roller, tape, etc)
- Coat Hooks
TOOLS
- Table Saw or Circular Saw
- Miter Saw
- Saw Guide (if using circular saw)
- Brad Nailer
- Pocket Hole Jig
- Hand Drill
- Level
- Speed Square
- Drywall Square
- Pencil
BUILDING THE MUDROOM CARCASS
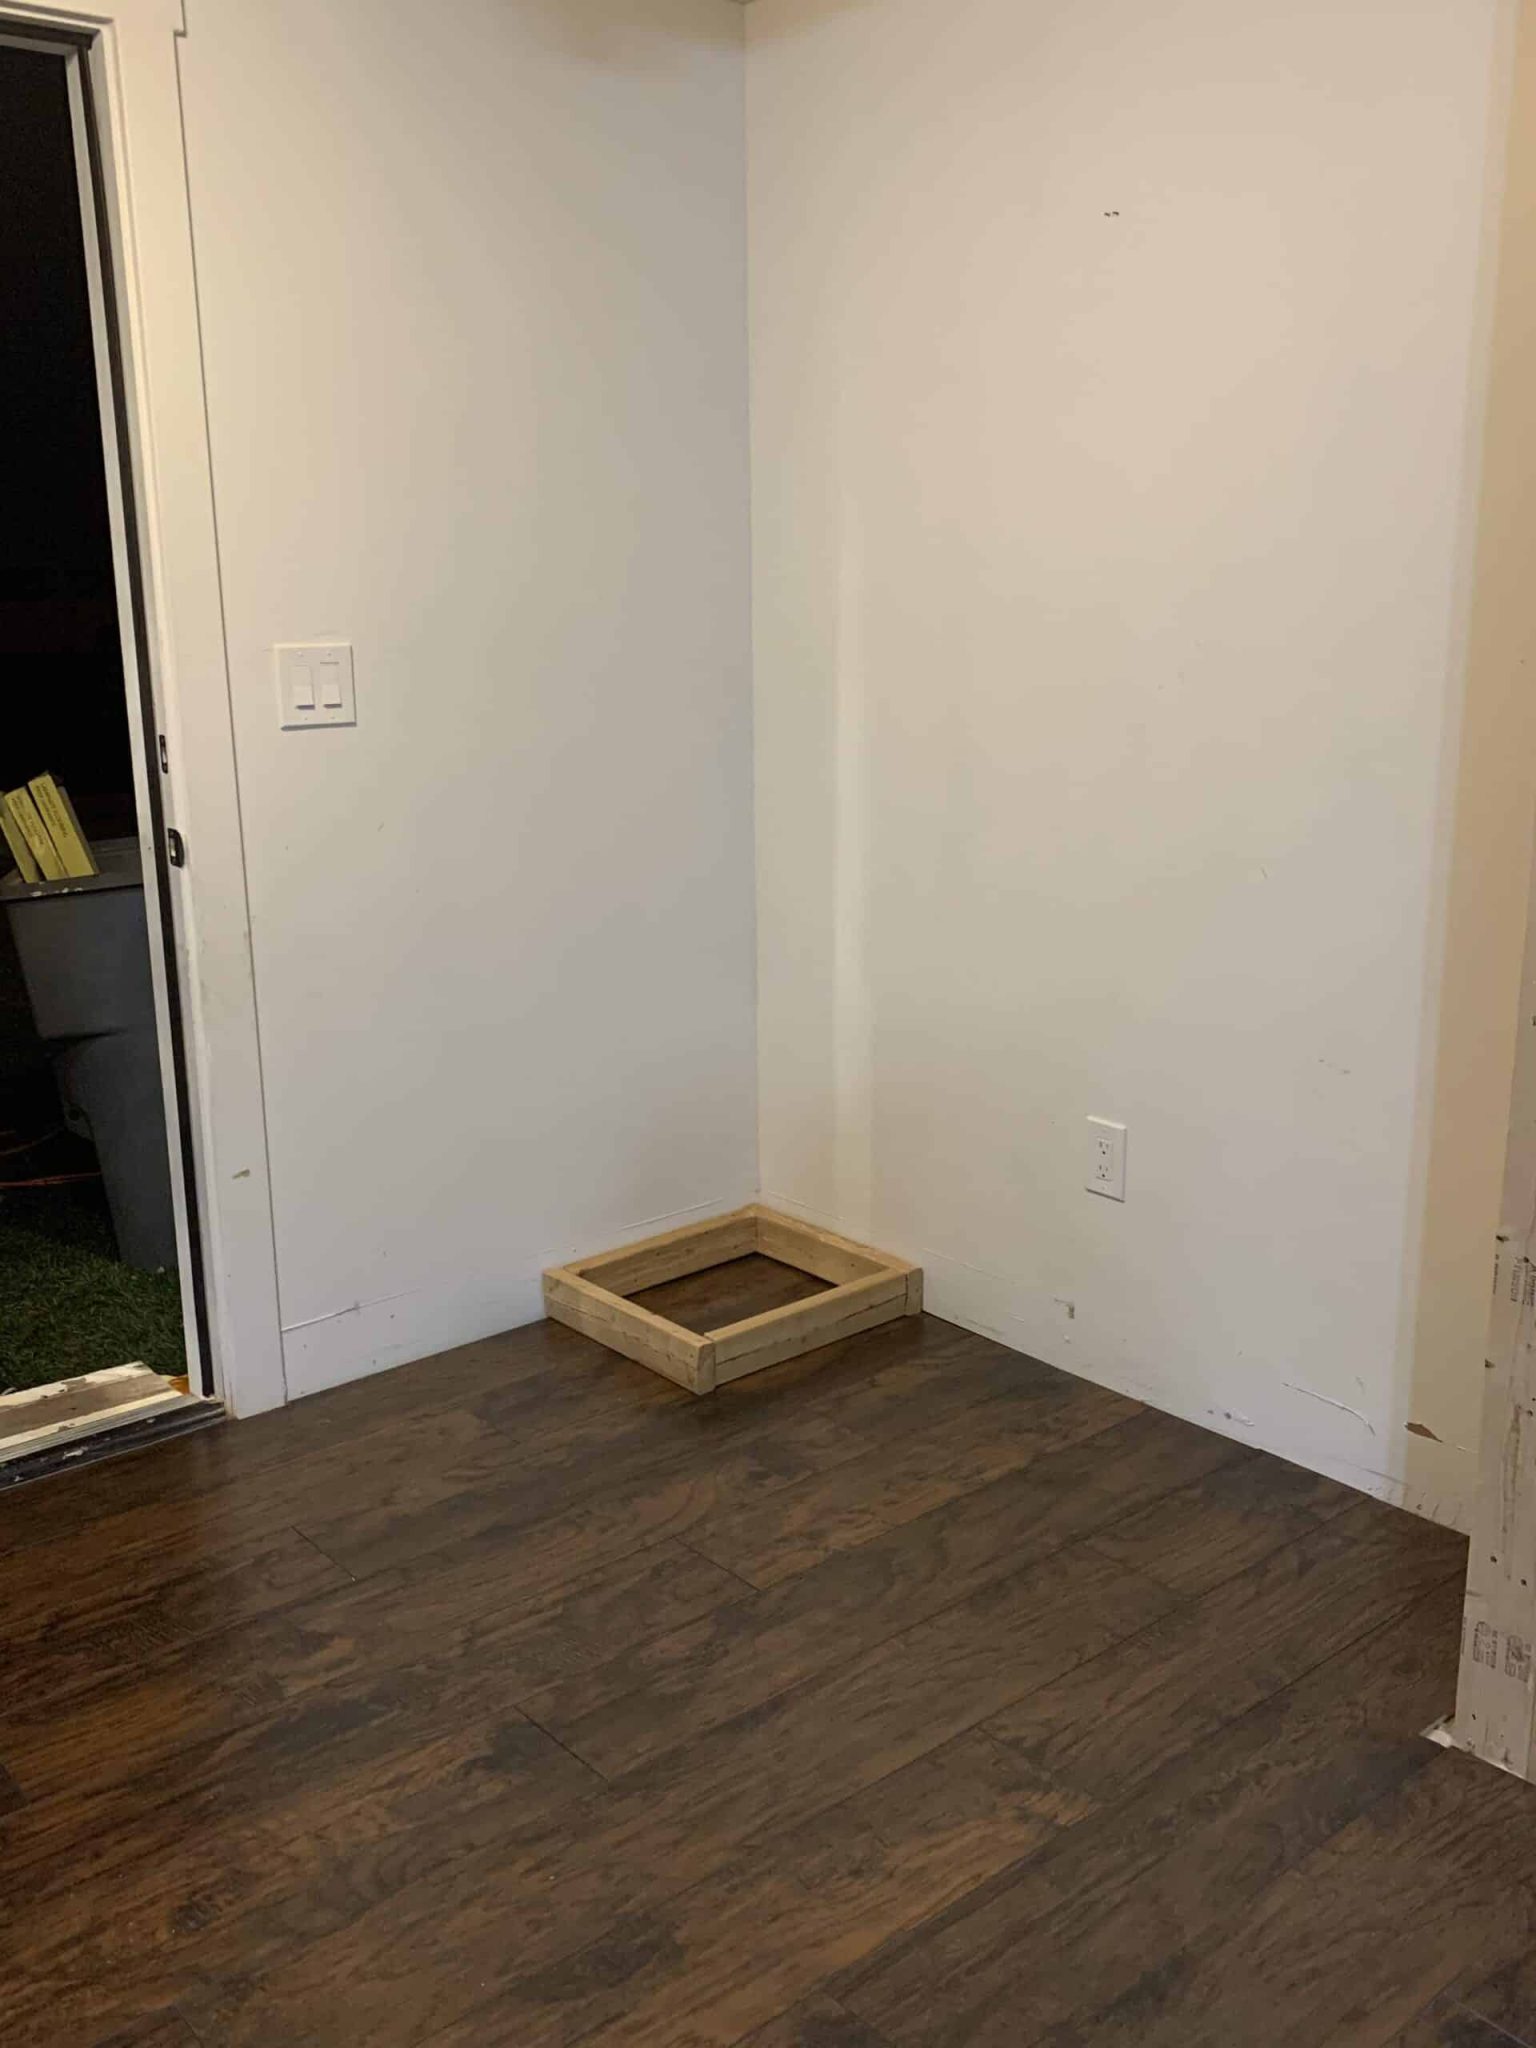
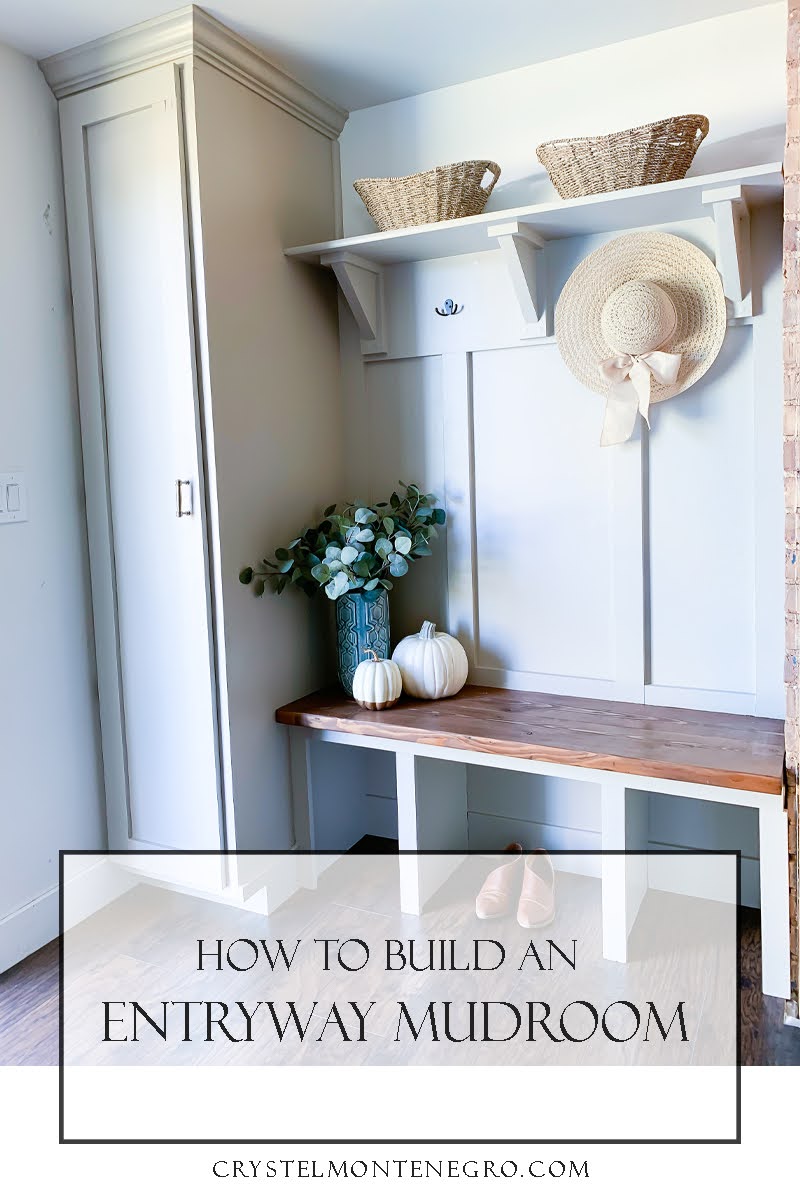
Since we were severely lacking in storage in this old house I knew I wanted a coat closet for all of our winter gear. I started by building a base out of 2×4’s and anchored it into the studs in the wall using 2 1/2″ screws.
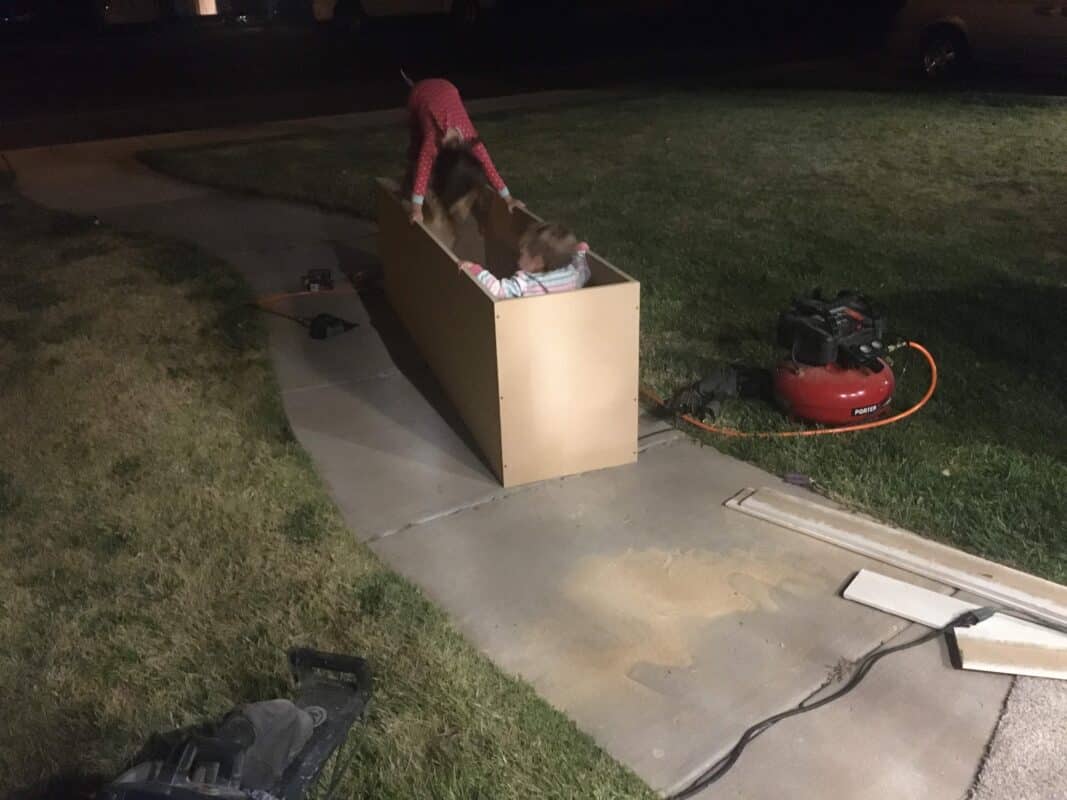
Aaaaand this is the best shot I got of the cabinet carcass after I built it. You’re welcome :). I just used 3/4″ MDF and built a simple box that I screwed into the studs in the wall and onto my base.
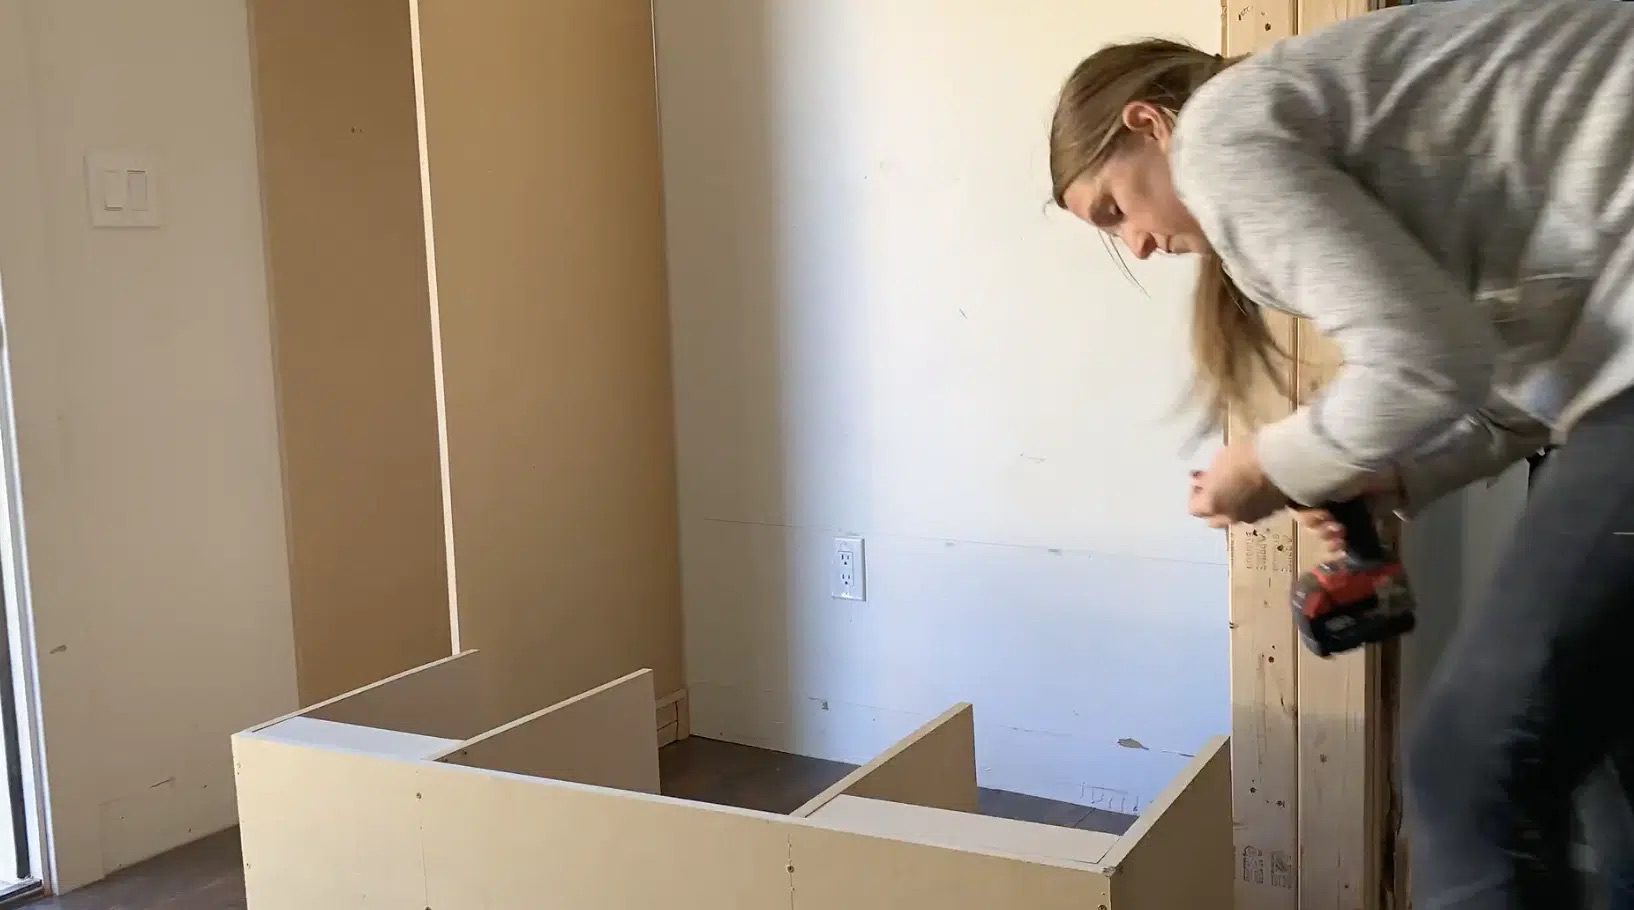
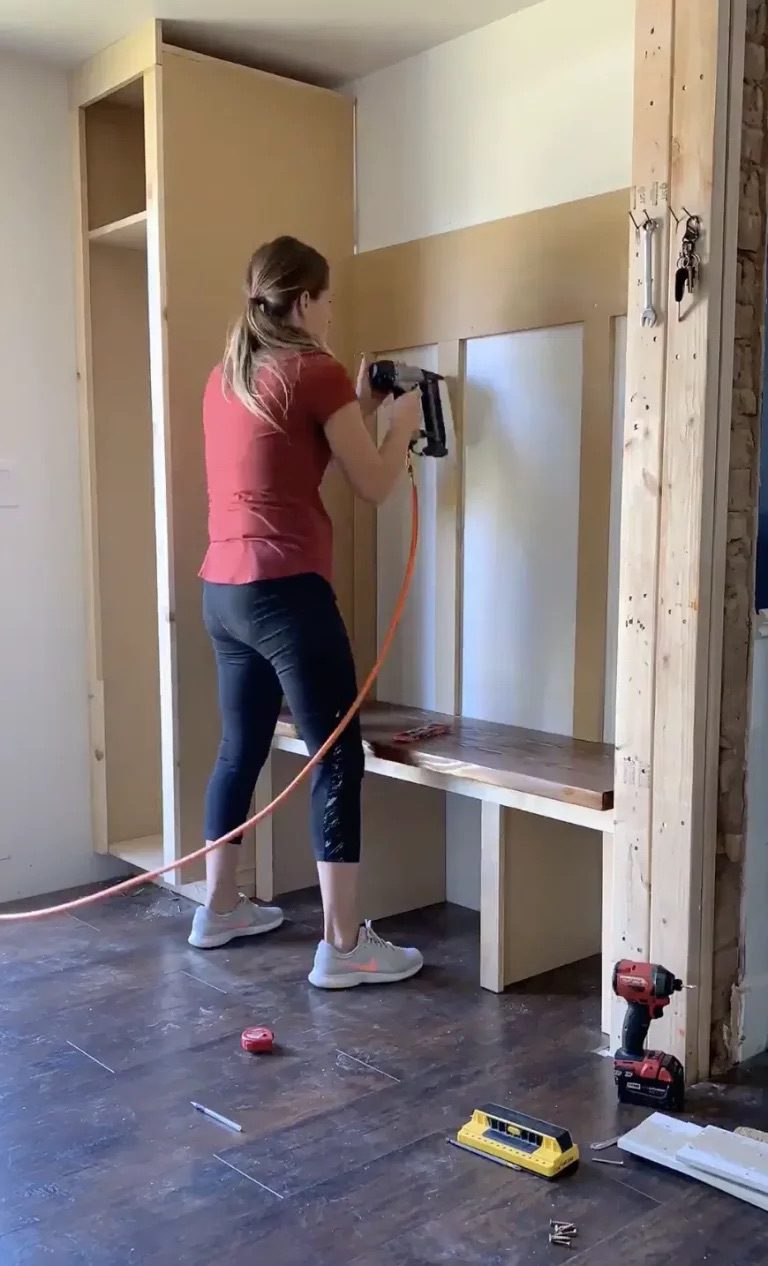
And you guys… I’m the worst and didn’t get progress photos. I did, however, manage to film a time lapse so here are some crappy screenshots that will hopefully get the point across.
Once I built my carcass for the mudroom I measured and built the bench, again using 3/4″ MDF. I put braces across the back so I could use them to anchor it into my studs, and also to add stability to the bench. I did add a brace in the middle section as well even though it’s not pictured.
ADDING THE TRIM AND SHELF TO THE MUDROOM
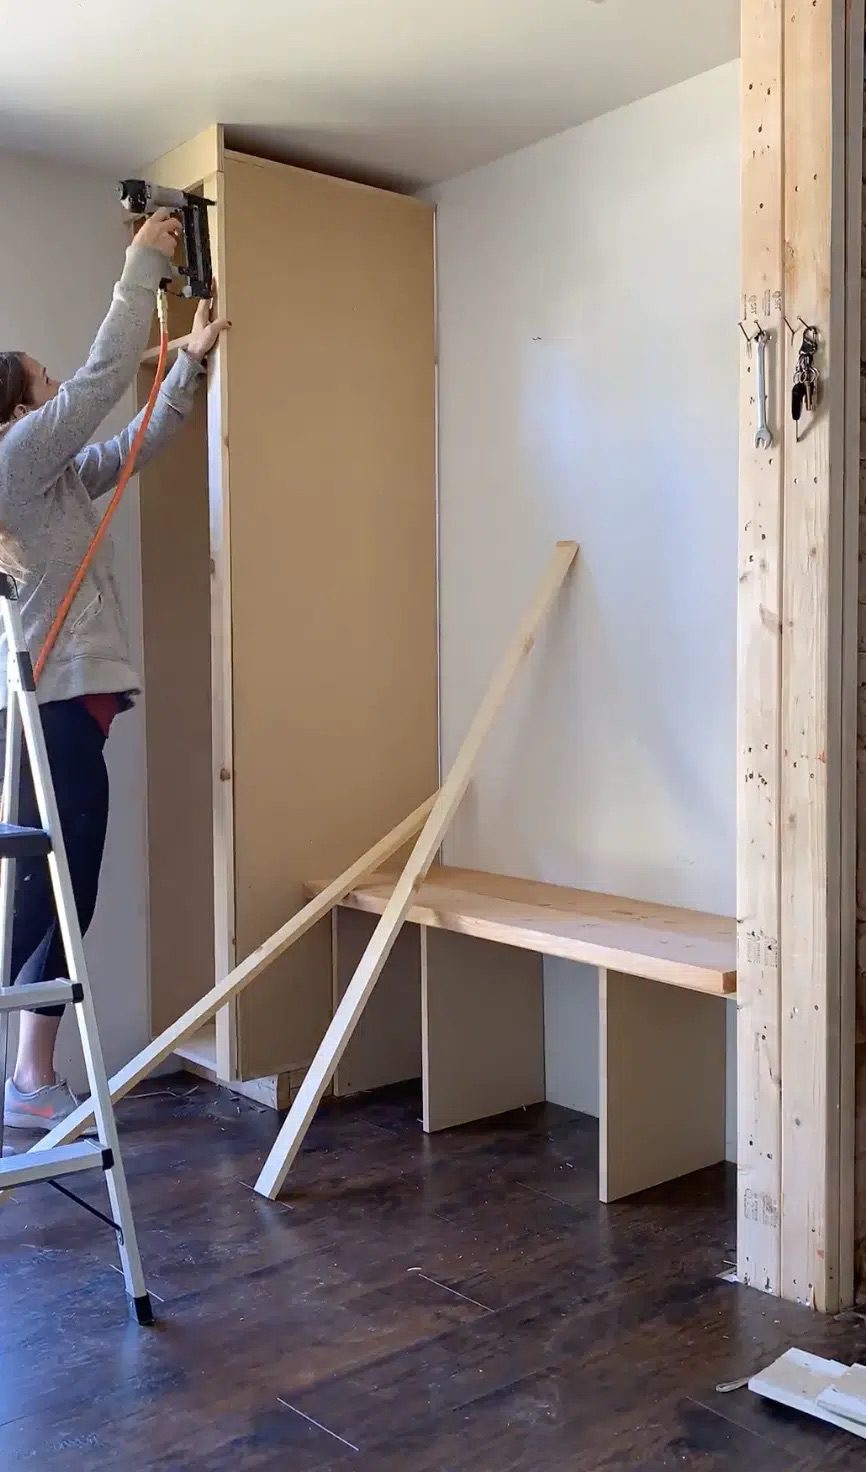
I didn’t get a picture of this part, but here you can see I built my bench top and have dry-fitted it to the bench. I used two 2×10’s, each of which I ripped down lengthwise on one side and screwed the two together using pocket holes to minimize the seam. I also used 1×3 furring strips (as straight as I could find!) to add the front trim to my closet and bench. I wanted to make sure I had plenty of space at the top for crown molding, so that one I made sure was a little bit thicker, I think 4 inches.
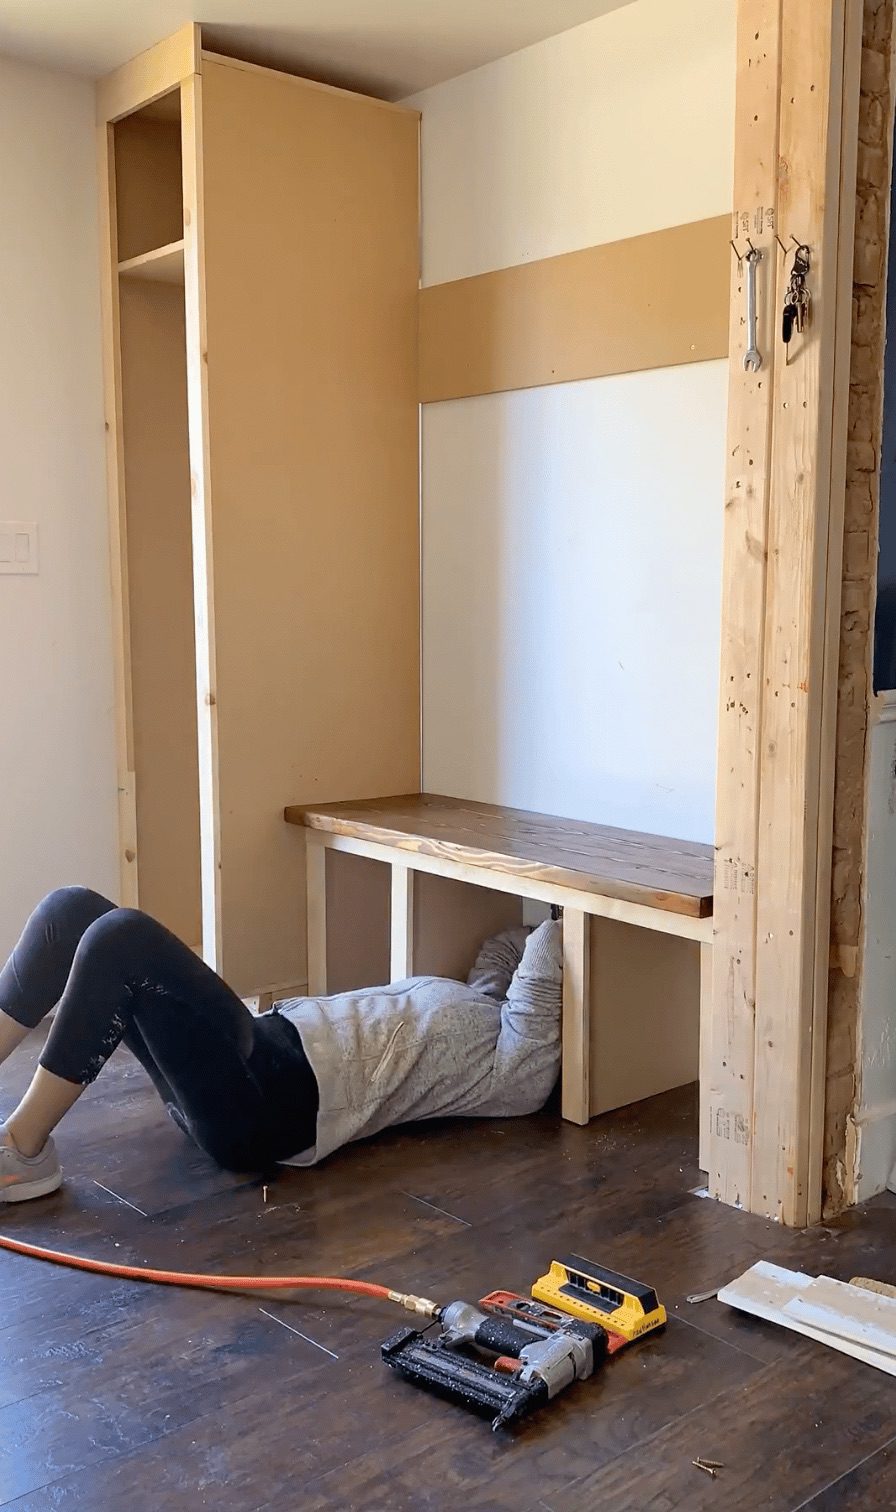
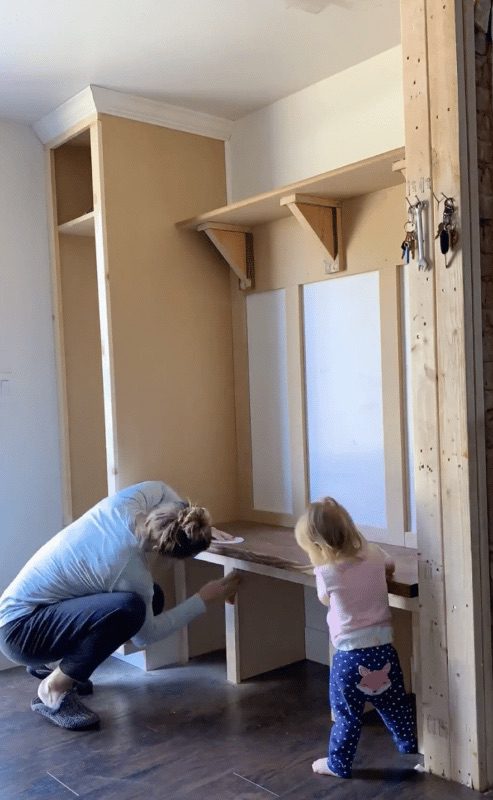
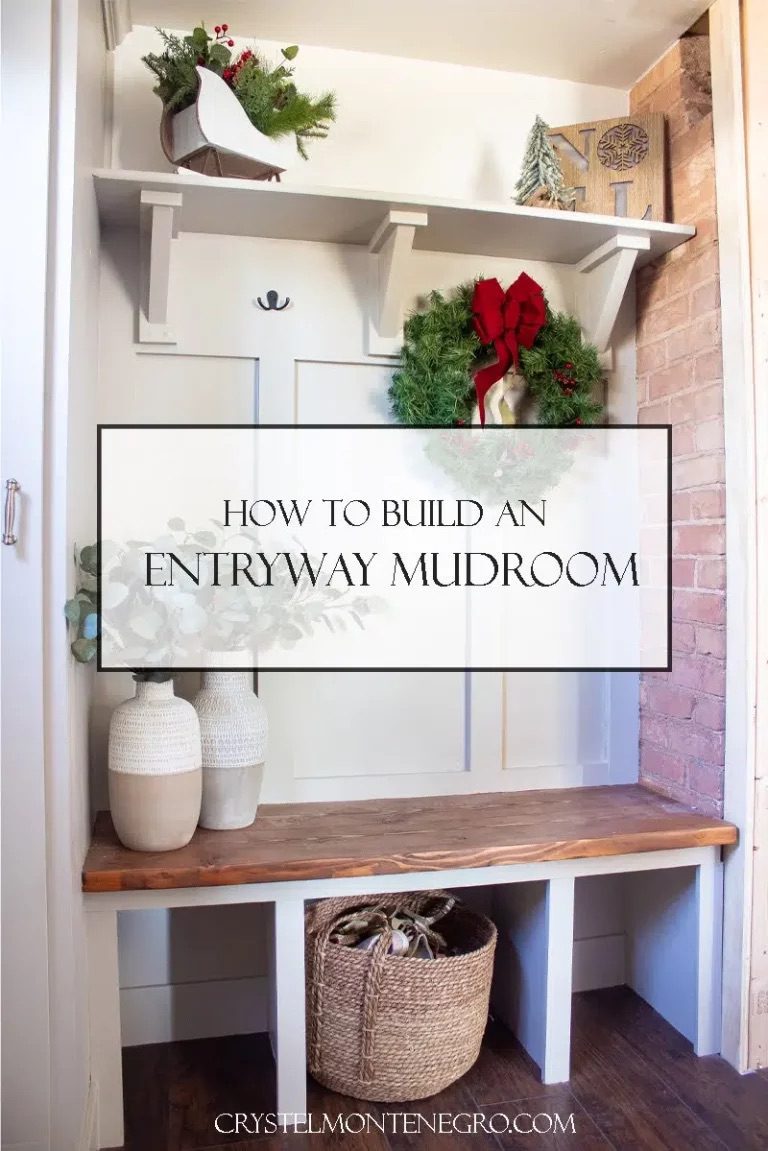
I stained and attached my bench top to my bench by coming in with screws from underneath, and I also added a 10” strip of MDF on the wall that would serve as a cleat for my shelf and also a place to screw in my hooks and corbels. Since it was made of MDF and would be quite heavy, I used screws and anchored it into the studs, countersinking the nails so I could fill them easily and hide them with wood filler.
I used some scrap wood and built my own corbels using 1×4″ pieces of scrap oak, and then cut some triangular pieces out of some scrap 2×10 pine. It was totally experimental, but they ended up turning out great! Had I thought about it in advance I would have screwed them into the MDF from the backside before I put it up, but you live and you learn I guess. Instead I screwed them in from the front and used wood filler to cover up my screw holes. Also I added my crown molding and cut my baseboard into strips to put back onto the wall between my cubbies. It’s starting to look like a nice and finished entryway, eh???
FINISHING TOUCHES FOR THE MUDROOM
I ripped down some more 3/4″ MDF into 3″ strips and used them to add my board and batten along the back of my wall, purely for decoration. You will see that my cubbies are not evenly spaced, and the reason for that is because there was an outlet that I would be covering up if I had 3 cubbies of the same size. It wasn’t ideal, but I worked around my outlet so we could still use it, making the middle cubby wider.
I spent lots of time using wood filler and caulk to prep it for paint, as well as sanding everything down so I could get a nice smooth finish. #caulkingistheworst
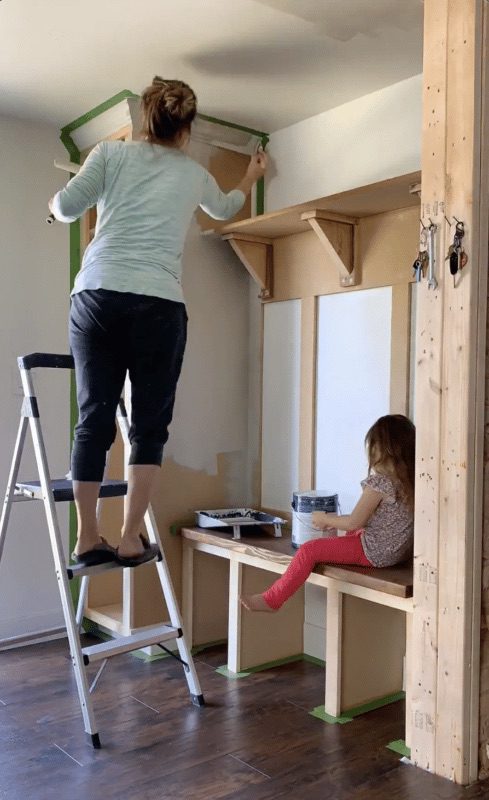
And last but not least, tape it all up and paint! This was the best step of all. What is it that is so satisfying about laying on a fresh coat of paint?
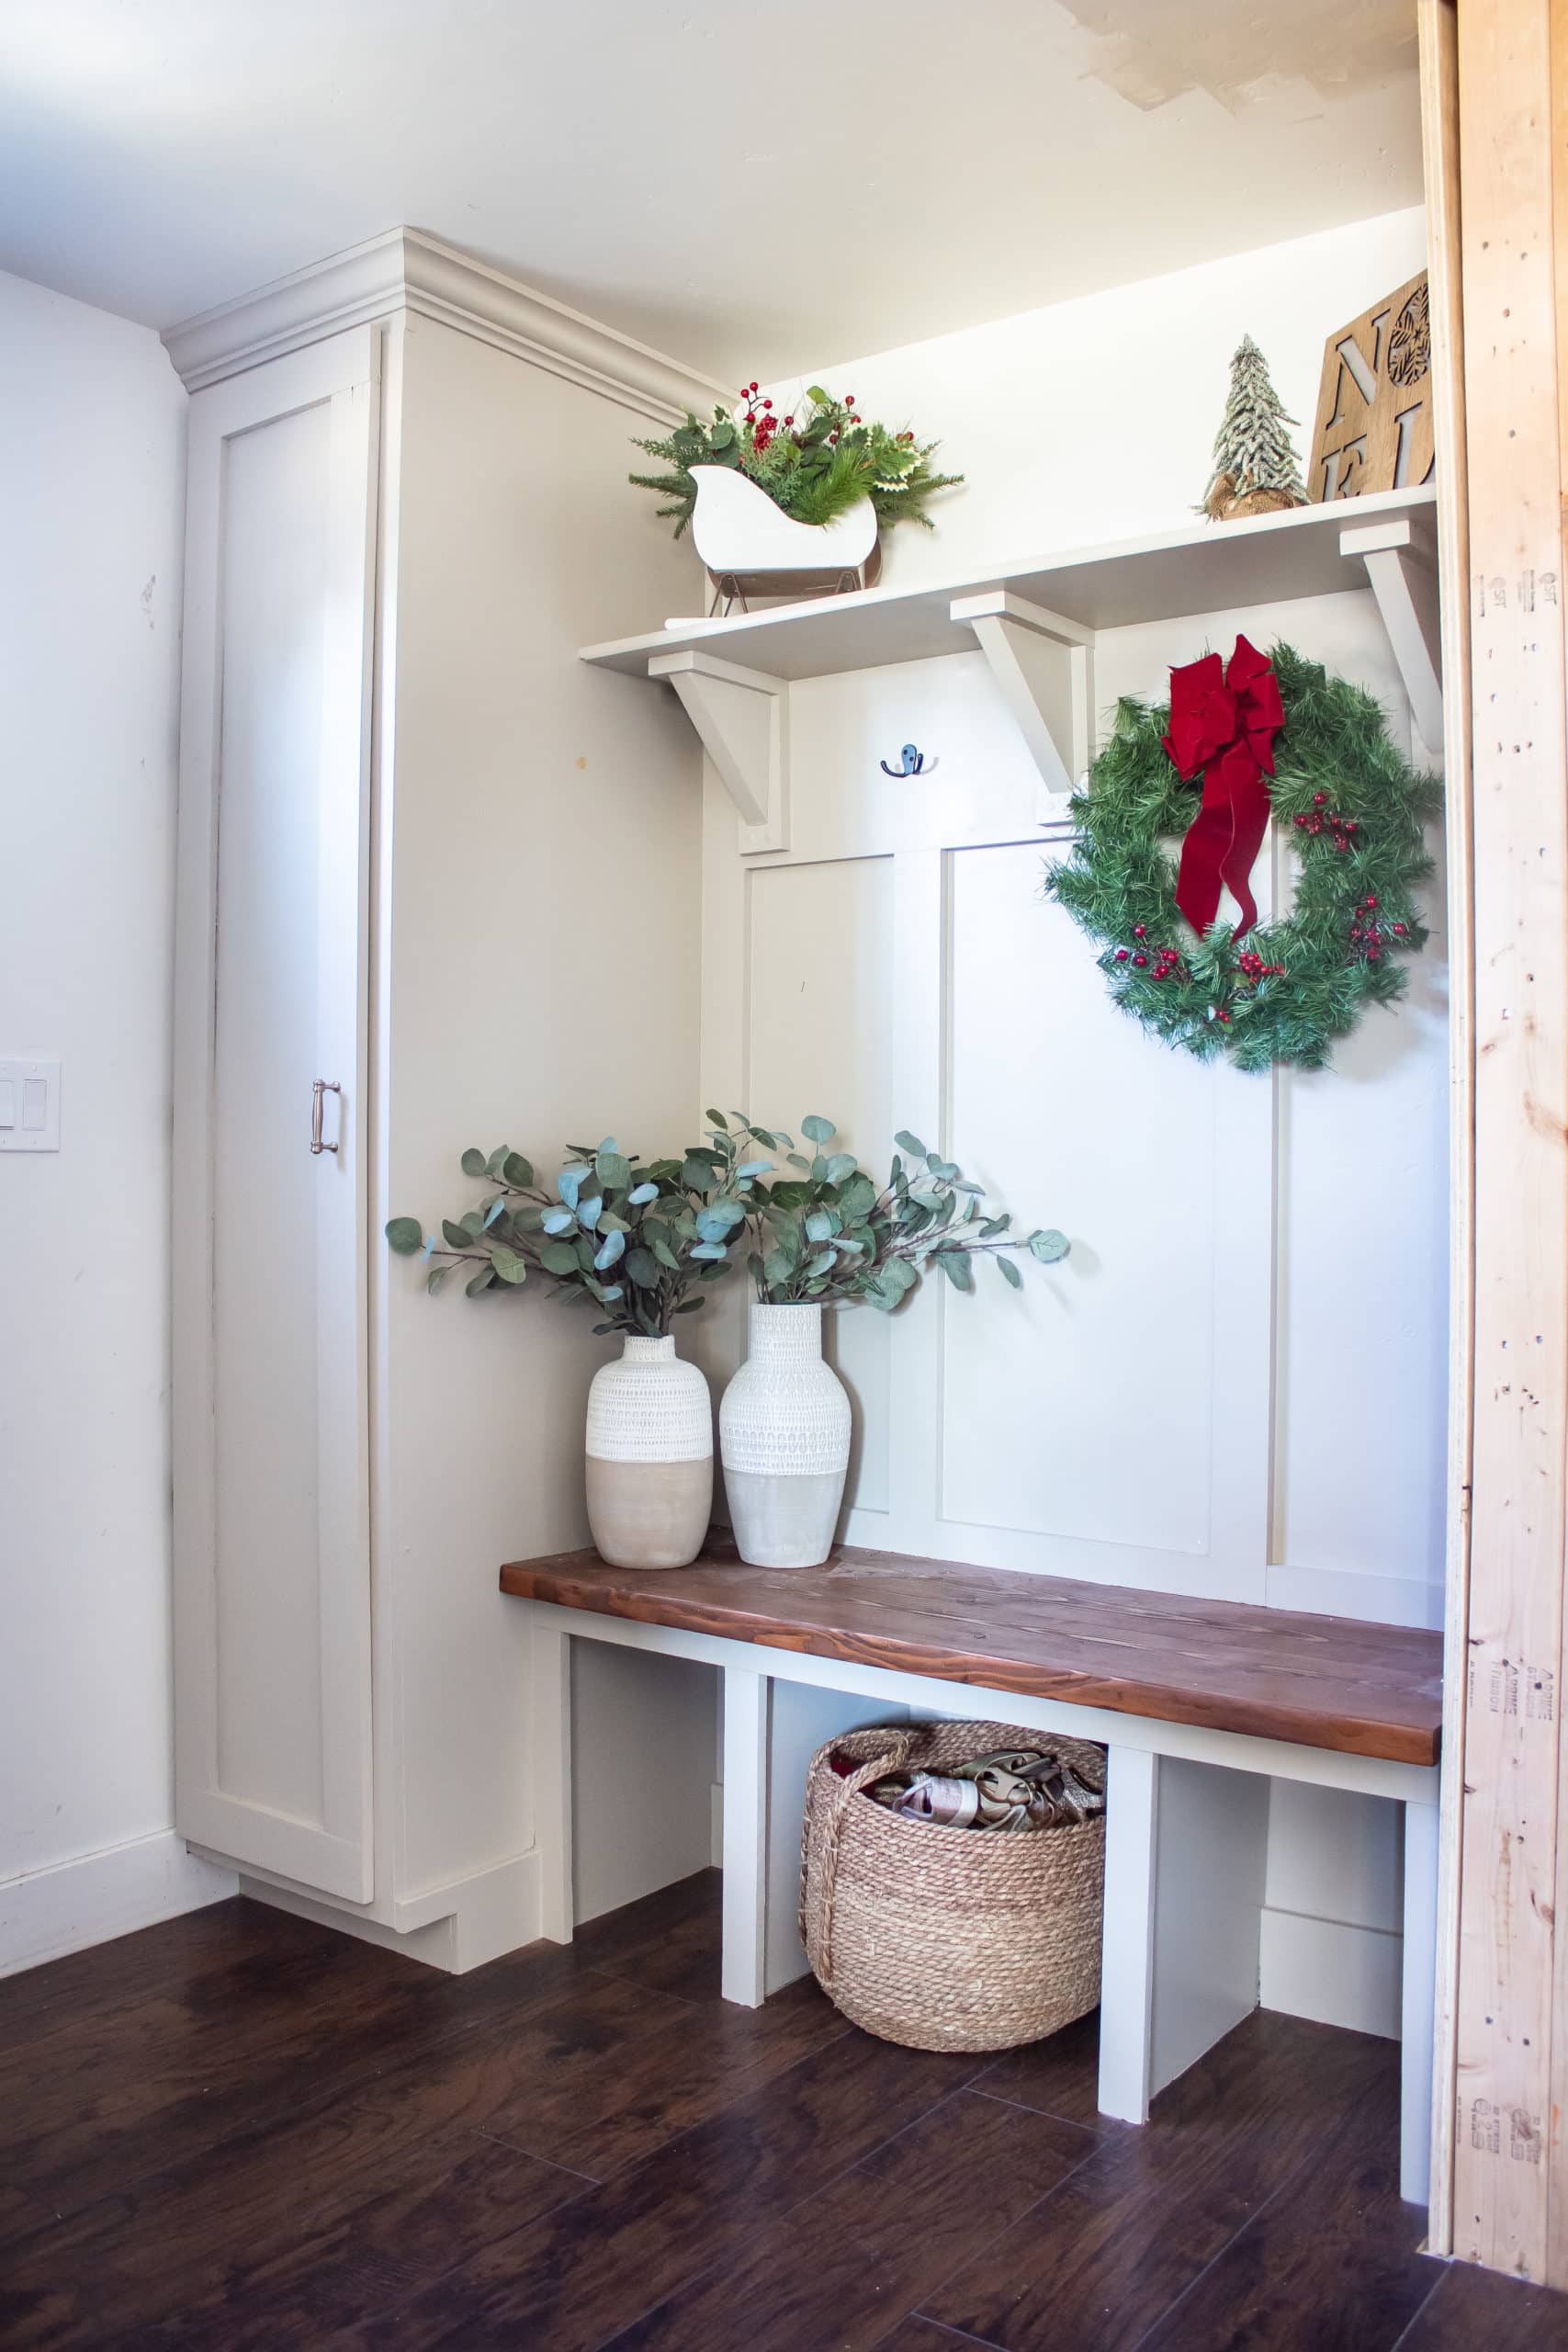
I built and painted the door, but I didn’t get any pictures of the process. I’ve been experimenting with different ways to do it, but the most promising method I’ve found so far is by using this tutorial I found on YouTube. Just make sure you use nice, straight hardwood or you’ll end up frustrated as all getout like I was trying to use cheap pine!
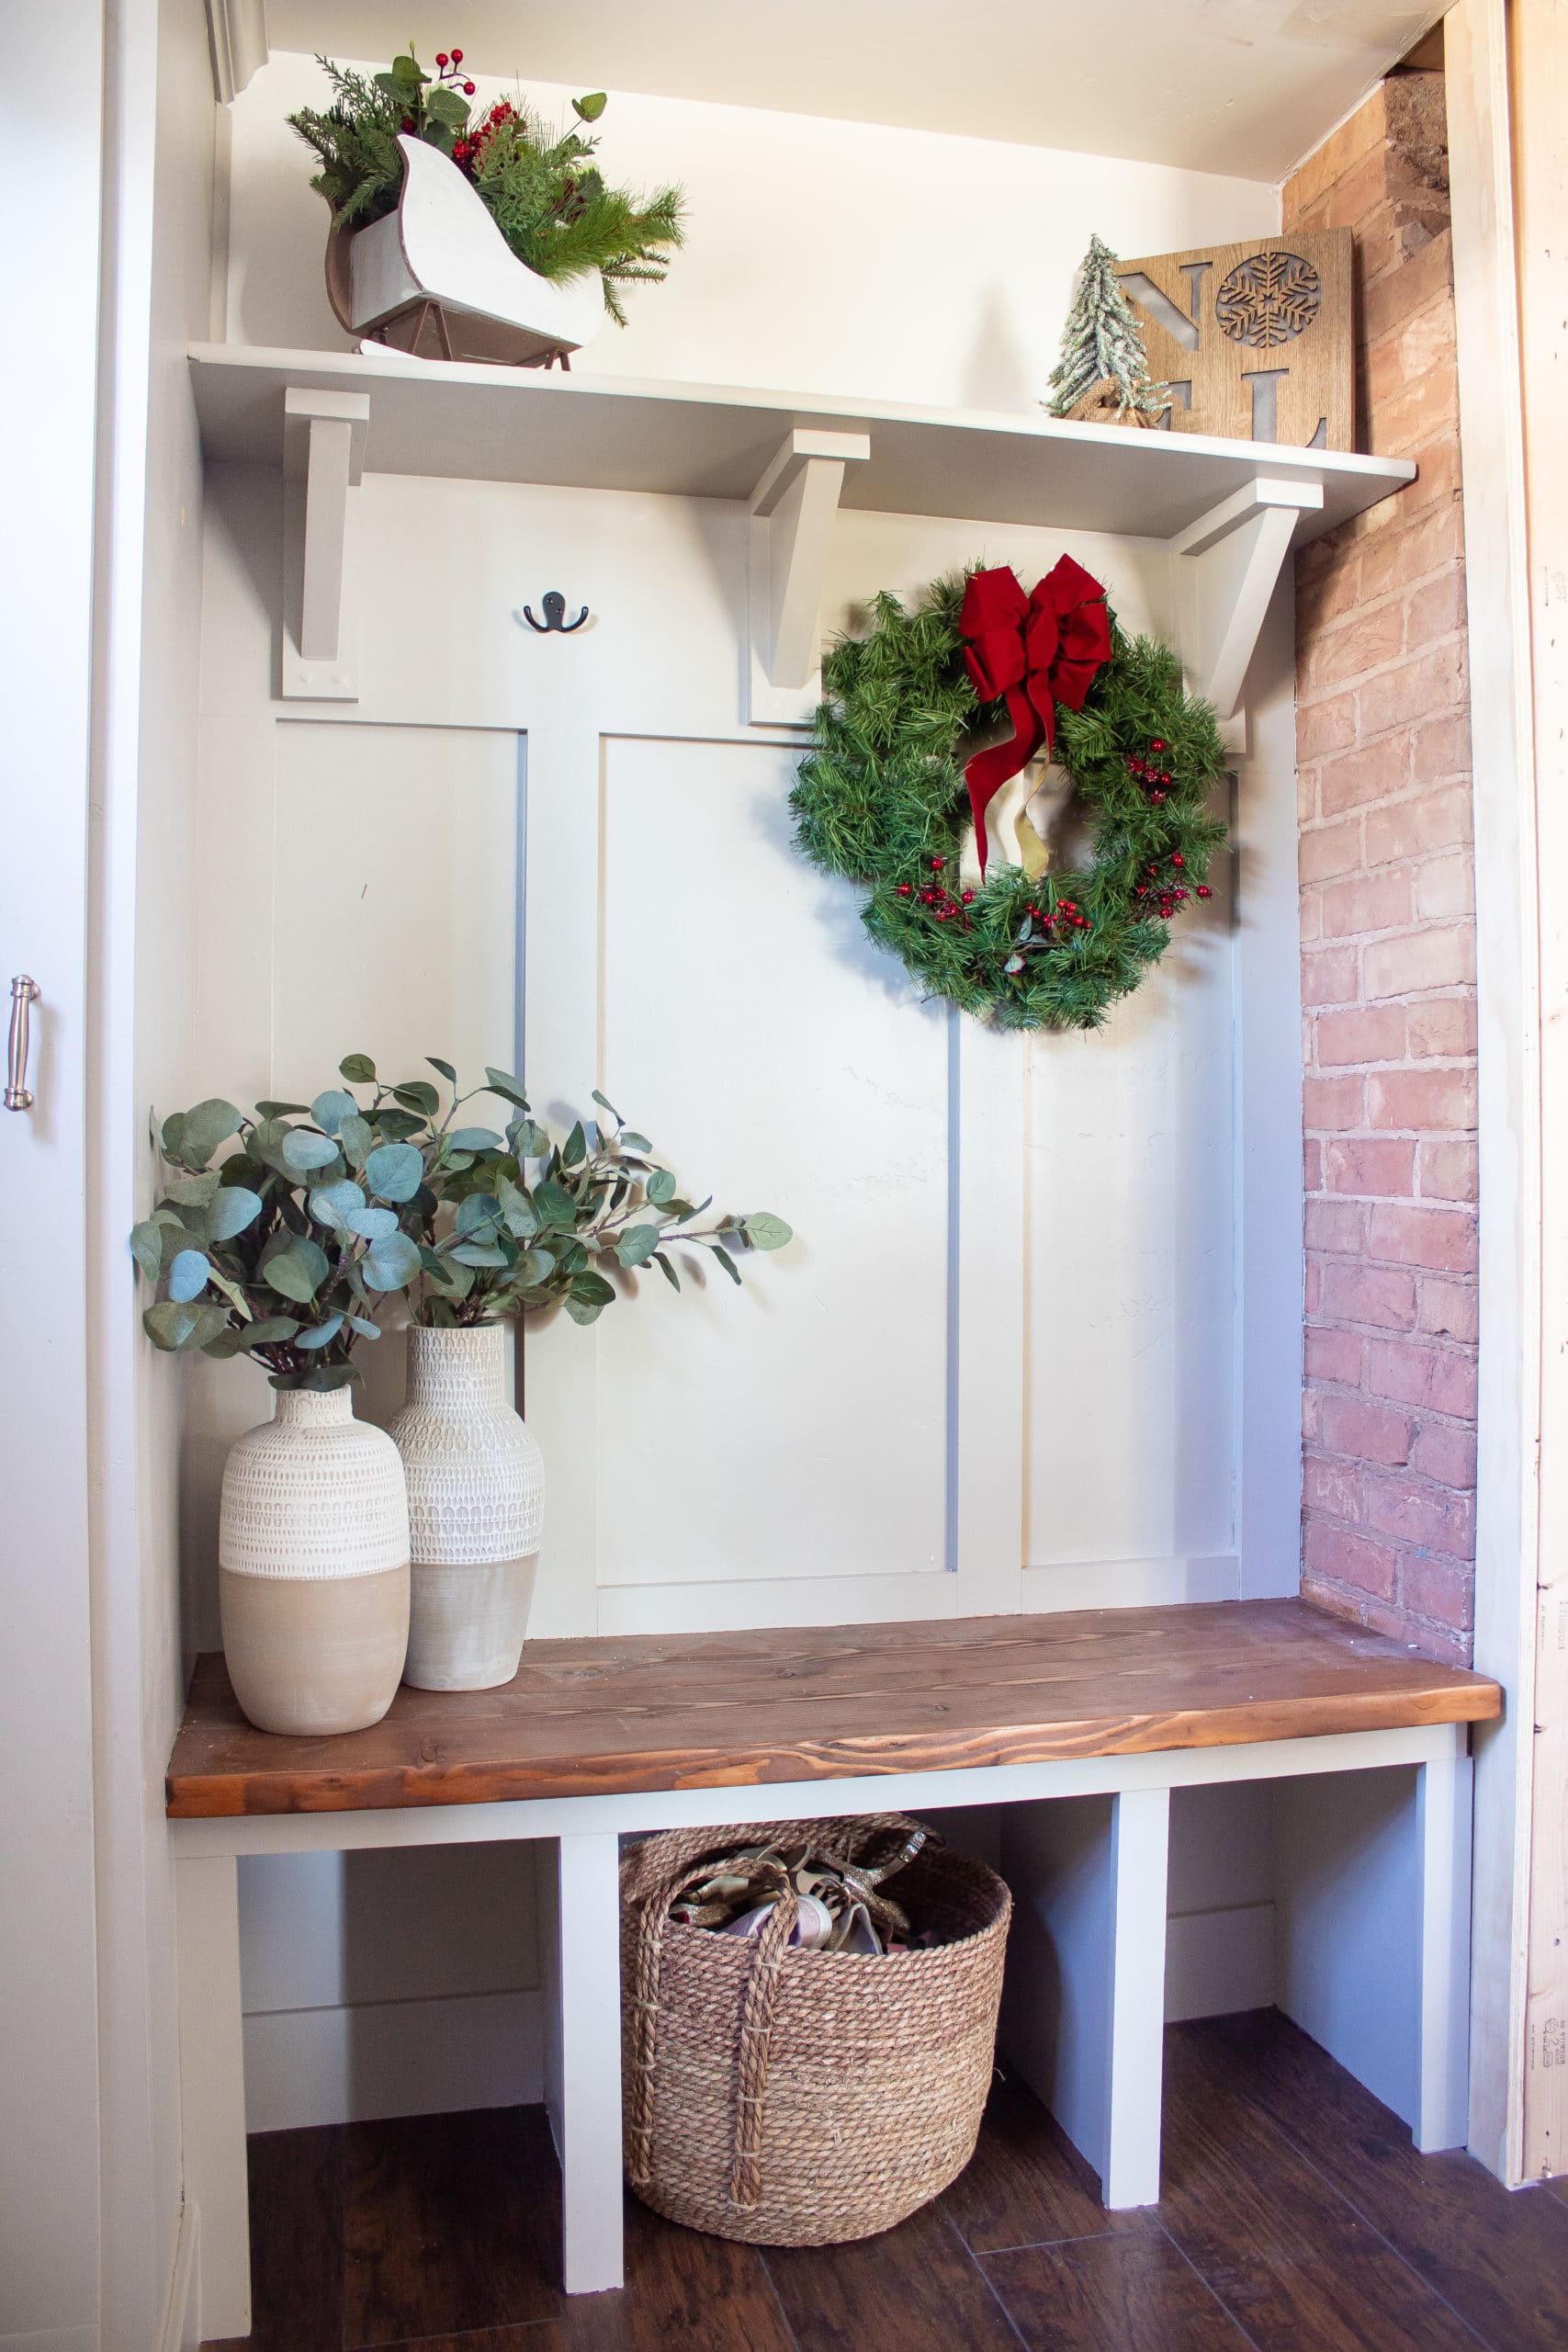
Also, this brick on the wall is part of the original exterior, and the last owner built this entryway around it. Doesn’t it look amazing?! I thought once upon a time I might want to white wash it or do a german schmear, but once I had my mudroom all put together I fell in love with the color! You might also notice I have to patch the hole up top in the brick still too from when we removed the two front doors. Maybe someday I’ll get to it!
Thank you so much for following along on this entryway mudroom, I hope this tutorial was helpful!!
XOXO
Crystel


What size is your finished cabinet?
From what I remember, the cabinet was 22 inches deep, 15 inches wide, and 8 feet tall.