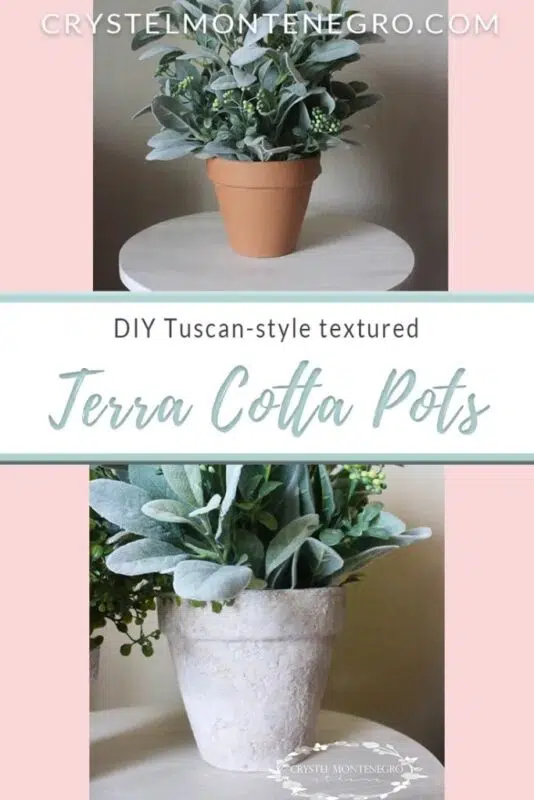
DIY Tuscan Style Terra Cotta Pots


Updated May 9, 2026
Hey ya’ll!! (I’m in Texas at the moment so I can totally say that.) I am so excited to be sharing with you an easy little project that will get your terra cotta pots looking like fancy schmancy Tuscan-style planters! And did I mention it’s CHEAP??

I love the look of texture and age together, and terra cotta pots are just about the cheapest pots out there. The problem I have with terra cotta pots is that I’m not a big lover of the orangey-red color. I tend to lean toward neutral or cool tones like blues and grey’s. So then I got to thinking. What if I add texture AND paint to them? I could really make them any color I want and fake that old chippy stone-type texture that I love oh so much. So wouldn’t you know it, that’s just what I did. Lemme show ya how!
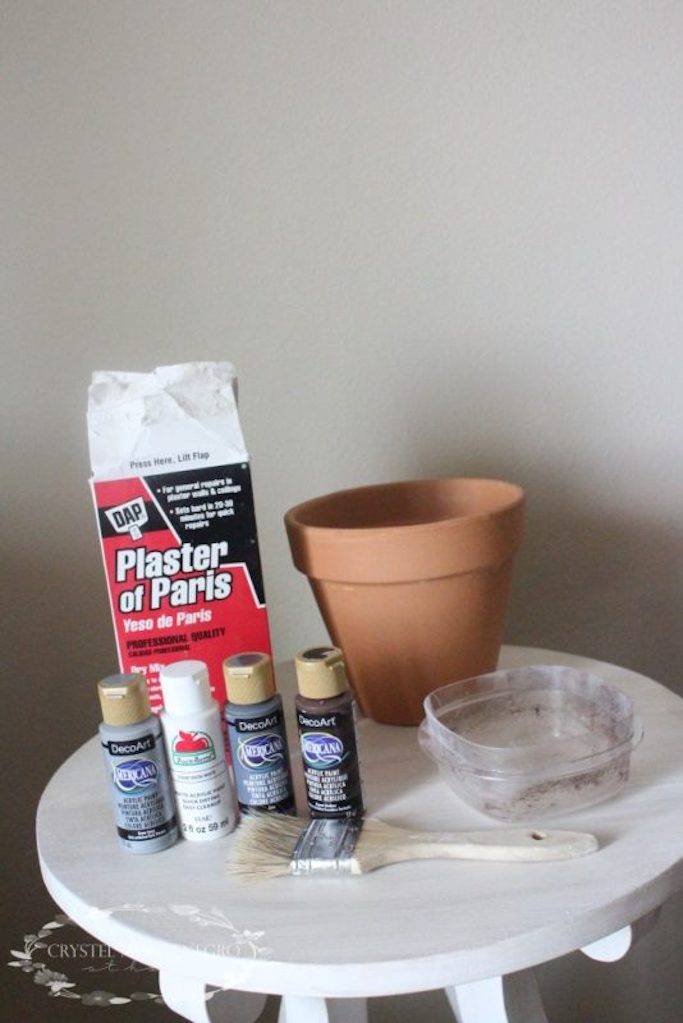
The materials list here is pretty simple. I found my terra cotta pots at half price at Hobby Lobby for a whopping .50 cents for the small pot and $1 for the larger one. (Hobby Lobby doesn’t have the pots listed online so here are some similar ones for your convenience.)
Materials
- Terra Cotta Pots
- Acrylic paint in your choice of colors
- Plaster of Paris
- Fine grit sandpaper (I 150 grit)
- Paint Brush
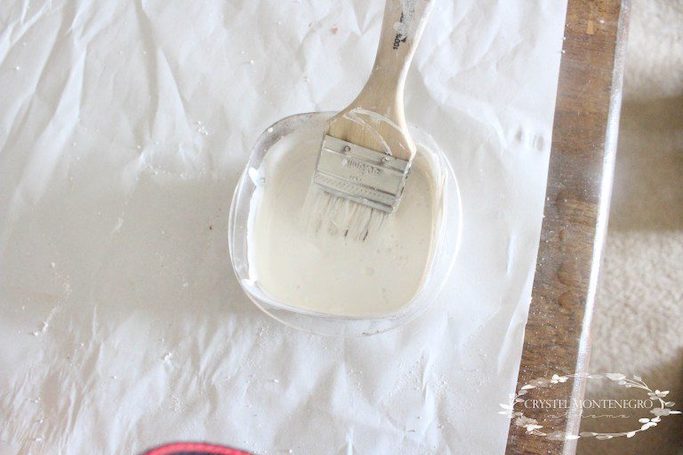
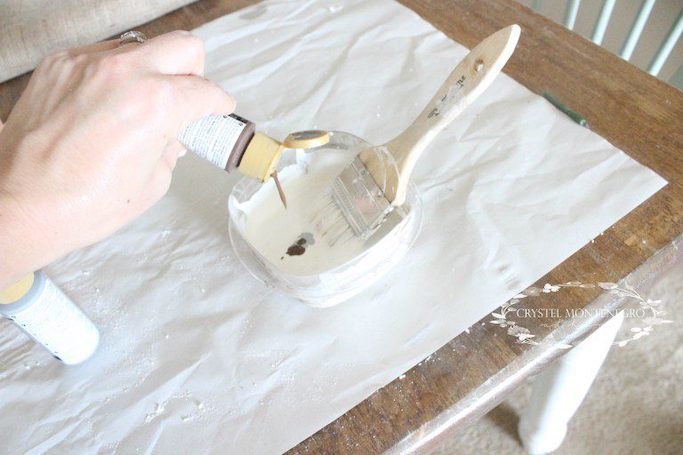
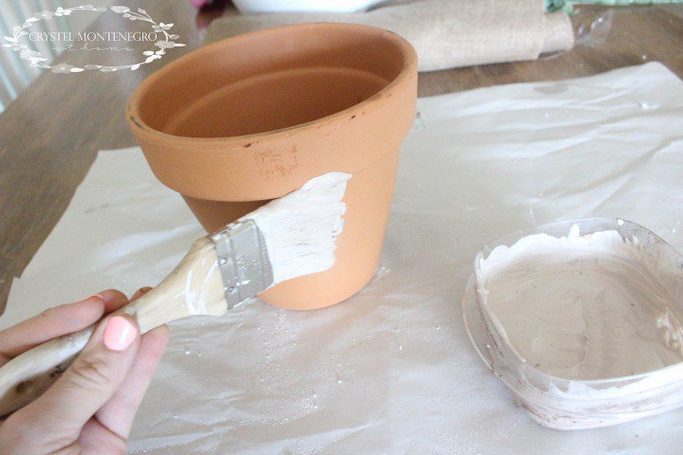
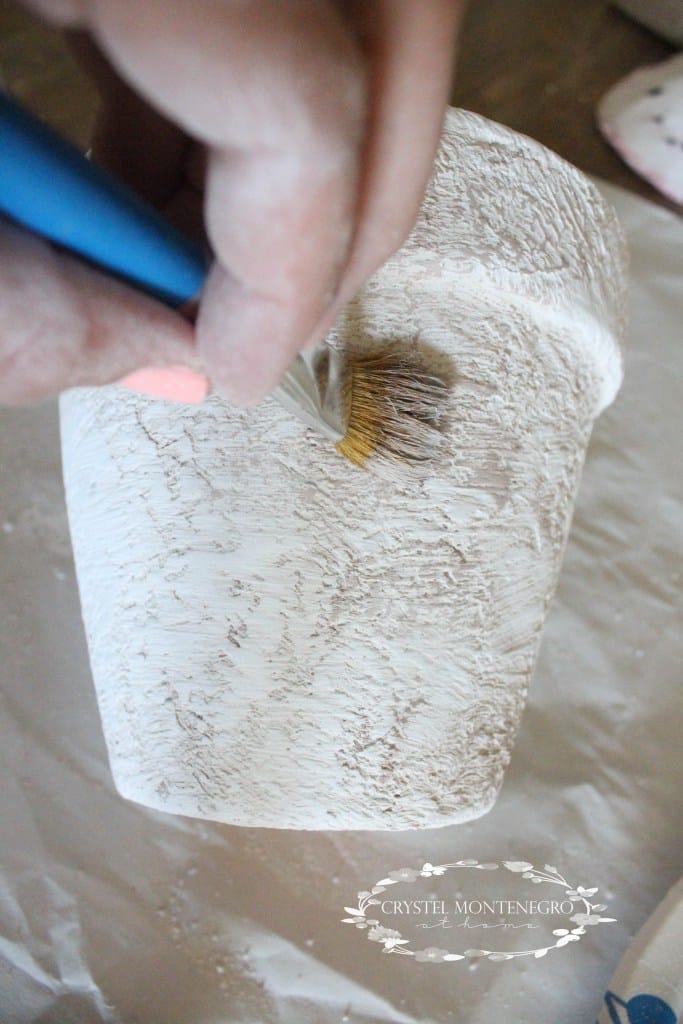
The process is pretty simple. All I did was whip up some plaster of paris (just add water according to directions on the box) and tinted it with some of the acrylic paint. Plaster of Paris looks grey-ish when you mix it up but will dry white. I wanted my base color to be a bit of a greige color, so I added a little bit of brown and grey paint to the mix. For a small pot I think I used about 1/4 cup of plaster of paris and had some to spare for the inside of the pot.
Once it’s all mixed, I applied it to the pots using a brush. It does dry fairly quickly, so you’ll want to be sure you work in small areas and get it all textured how you want it before moving onto another.
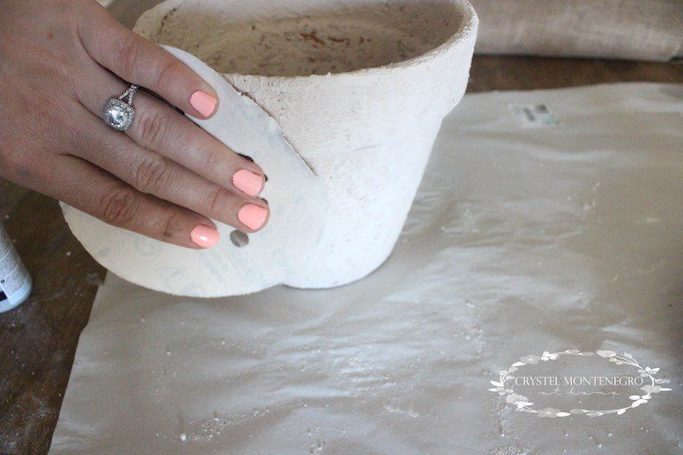
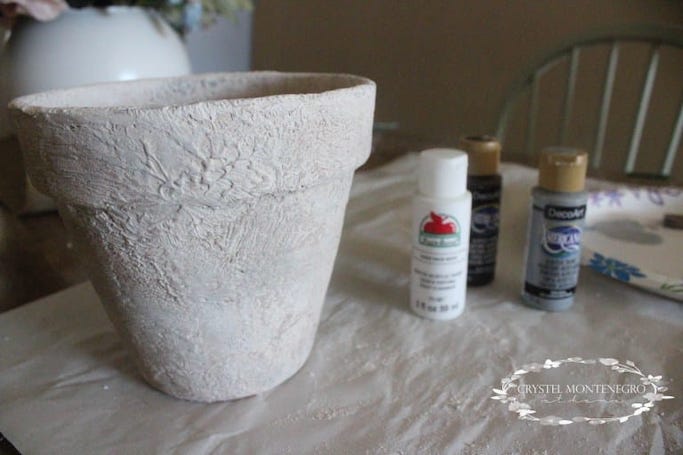
You’ll want to let it dry for at least 30 minutes. Once dry, sand it down lightly to knock down all of the rough edges.
The last step is to apply your paint. When I first did this I used a small pot to practice on to see what I liked best. I found that personally I didn’t like the colors to be too dark, so I mixed in my browns and grey’s with a little bit of white. Don’t worry though. You can always cover up your mistakes with more paint so don’t be scared to play around and see what you like!
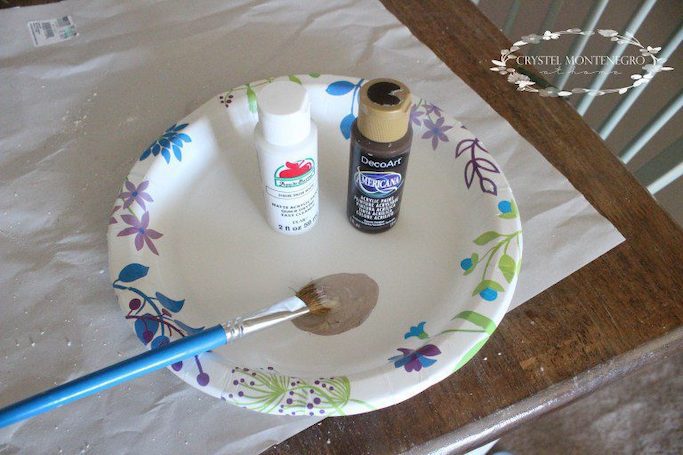
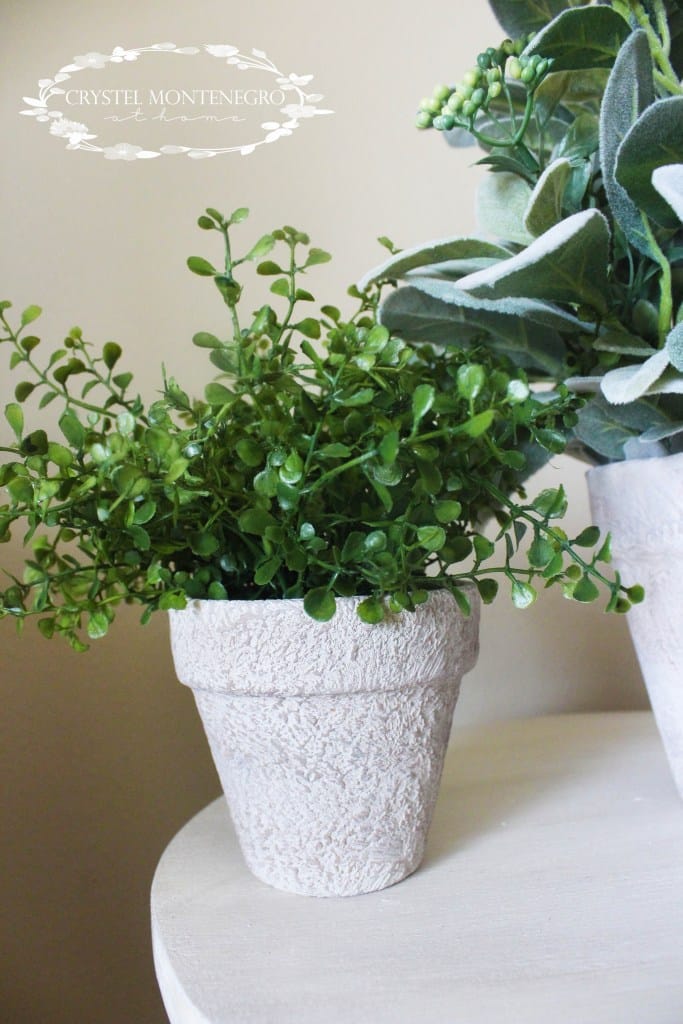
When applying the paint, I tried not to have too much paint on my brush so the paint would stay on the surface rather than spreading into the cracks. I made sure to wipe down my brush before I began painting. Also, I wanted my pots to be a variety of colors so I did several coats of different shades of grey’s and browns. If I ever wanted to lighten up a spot, I just painted over it with white!
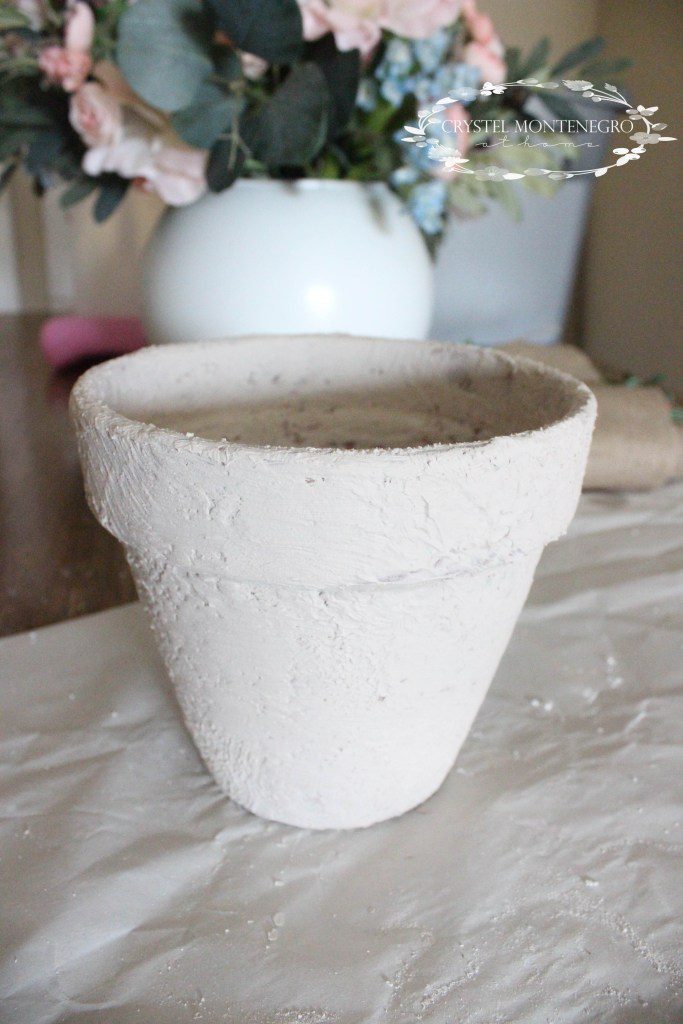
And there you have it! Perfectly Tuscan style pots. What do you think?? Also, don’t they look great styled on top of my DIY Curvy Nightstands? 😉
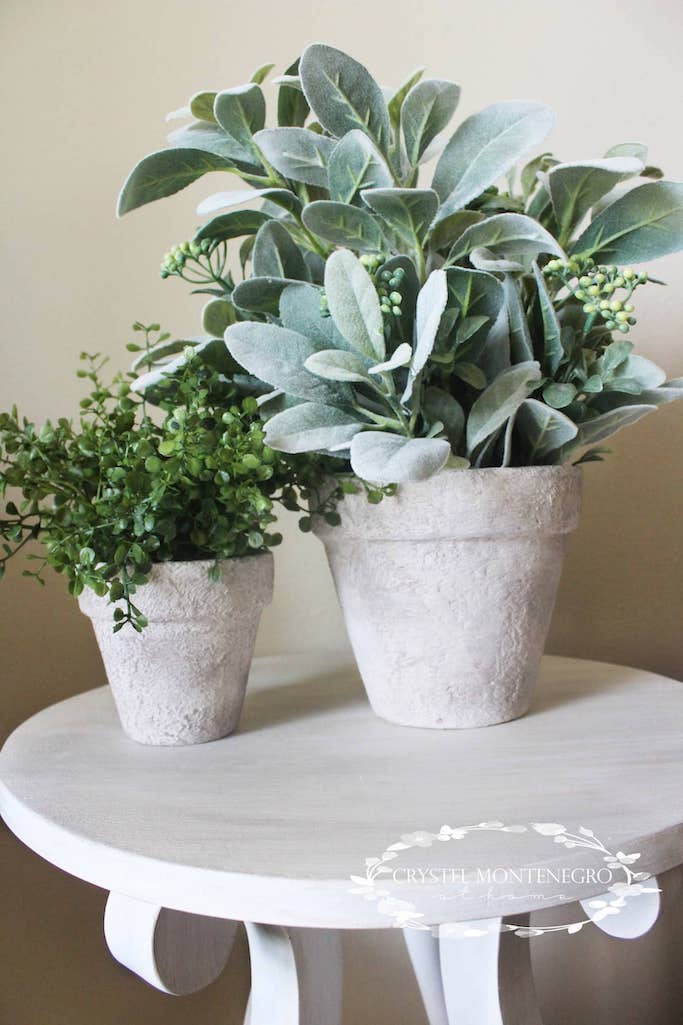
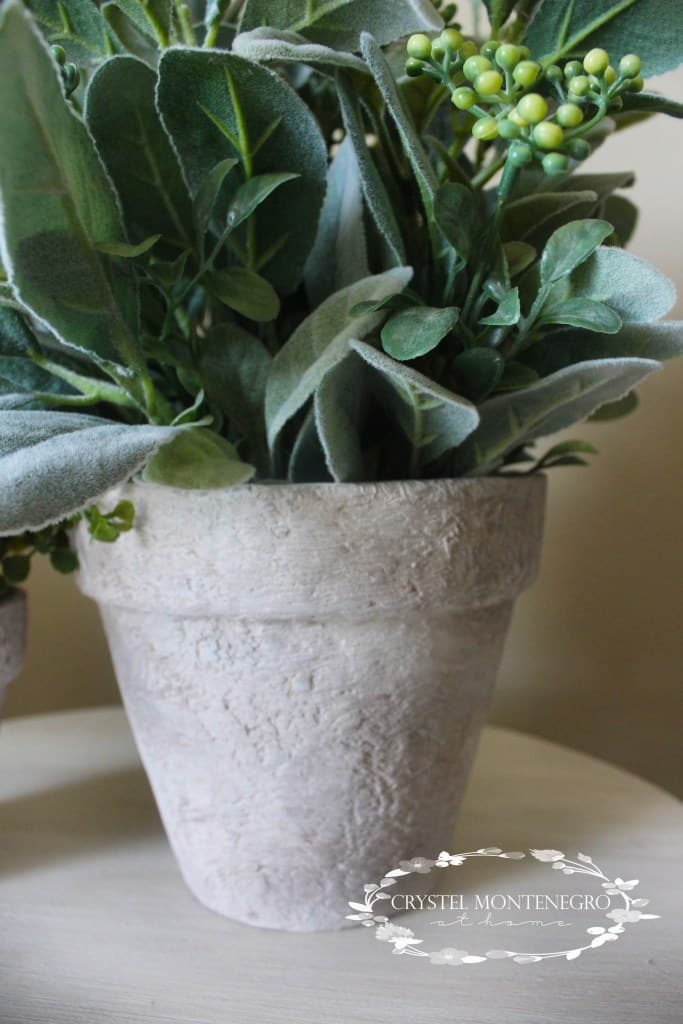
Easy-peasy, right?! And you want to know what the best part about this is? You don’t have to stick to terra cotta pots! You could do it to any vase or urn or even plastic container you want. Get creative! The sky is the limit. I’d love to see what you’ve got up your sleeve! While you’re here, you might as well check out my Homemade Chalk Paint recipe!
Let me know what you think — I’d love to hear from you!
Until next time!
XOXO
Crystel