




Updated September 29, 2026
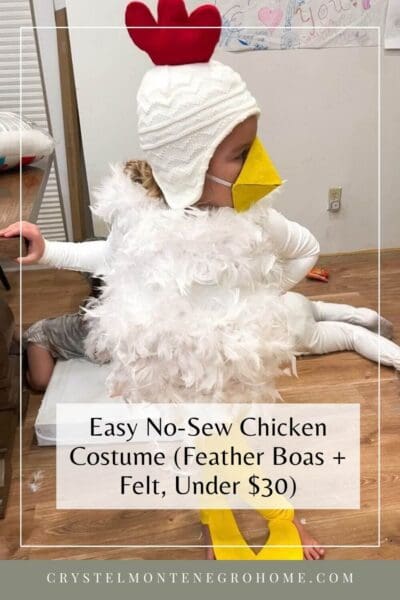
Here’s how to make a DIY chicken costume: hot glue white feather boas onto a plain white top for the body, cut yellow felt chicken feet, add a red felt comb to a knit hat, and build a beak from a cardboard triangle covered in felt. No sewing, and it comes together in an afternoon.
It’s completely customizable for any age, and it’s the one costume my kids actually helped make start to finish. The feather boas do most of the work for you. A homemade chicken costume costs a fraction of the store-bought version and looks considerably less sad. If you searched for an easy chicken costume and landed here, this is the one: no pattern, no sewing, and the kids can do half of it.
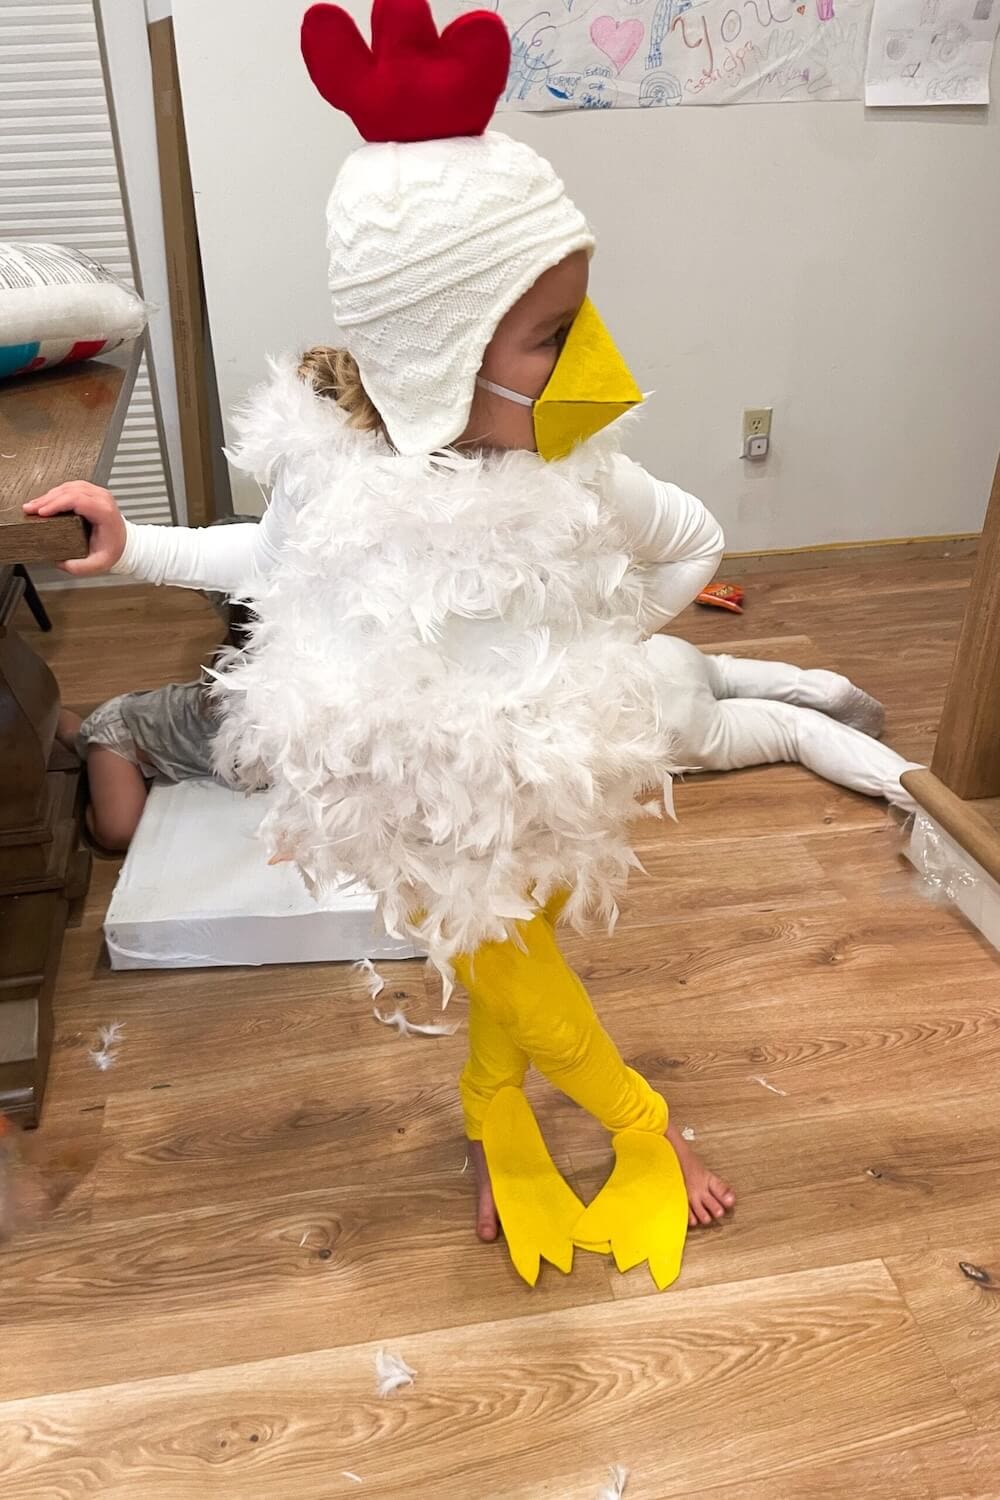
How do you make a DIY chicken costume?
Start with a plain white long-sleeve top and hot glue white feather boas over it in rows until the body is fully fluffy. Cut chicken feet from yellow felt and slip them over shoes. Glue a stuffed red felt comb onto a white knit hat, and make the beak from a cardboard triangle covered in yellow felt with an elastic strap.
Table of Contents
- How do you make a DIY chicken costume?
- Watch the Chicken Costume Come Together
- DIY Chicken Costume at a Glance
- What You’ll Need for a DIY Chicken Costume
- Step 1: Make the Chicken Feet
- Step 2: Make the Chicken Hat and Comb
- Step 3: Build the Fluffy Chicken Body
- Step 4: Make the Beak
- The Finished DIY Chicken Costume
- How Long Does It Take to Make a Chicken Costume?
- How to Make a Chicken Costume for Adults
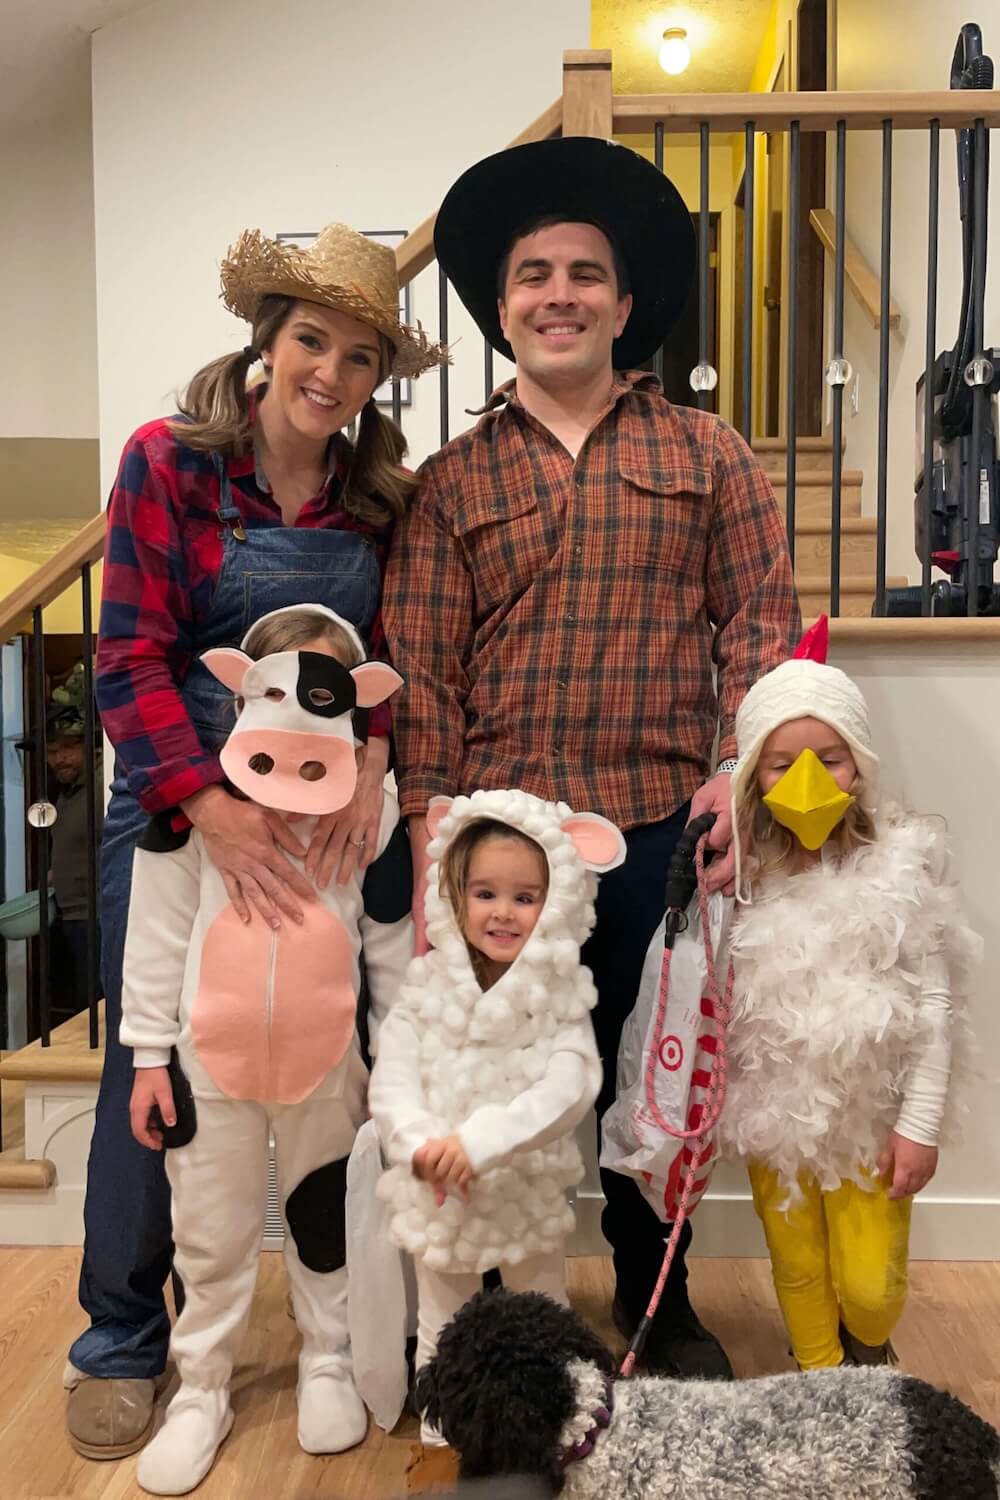
- Make It a Barnyard Family Costume
- More Halloween Projects
- 📌 Save This DIY Chicken Costume for Later
- DIY Chicken Costume FAQs
- The Bottom Line on a DIY Chicken Costume
Watch the Chicken Costume Come Together
Here’s the whole build in under a minute, feathers everywhere and all.
DIY Chicken Costume at a Glance
- Time: An afternoon, about two hours with kids helping
- Cost: About $25 in boas, felt, and a hat if you already own a white top and leggings. About $45 buying everything new.
- Difficulty: Beginner. Felt, hot glue, and a feather boa.
- Sewing needed? None
- Best ages: Babies through adults, same method at every size
- Works as: A standalone costume or part of a barnyard group
- Reusable? The hat and leggings go back into normal rotation
What You’ll Need for a DIY Chicken Costume
Here’s everything I used to make this no-sew DIY chicken costume. Most supplies are easy to find at craft stores (I also linked them for online shopping).
- White long-sleeved leotard: the base layer. Long sleeves matter, the boas need something to grip the whole way down.
- Yellow leggings: the legs. Any yellow bottoms work, these just read most clearly as chicken.
- White beanie: the head. A plain knit hat is what the comb glues onto.
- Polyfill: stuffs the comb so it stands up instead of flopping over
- Red felt: the comb and wattle
- Yellow felt: the feet and the beak
- White feather boas: the whole body. Two to three for a child, four to five for an adult. Buy one more than you think.
- Scissors: regular craft scissors are fine, felt cuts easily
- Hot glue gun: low temp works and is safer with kids helping
- Glue sticks: more than you expect, the boas drink glue
- Scrap cardboard: the beak form. A cereal box is perfect.
- Elastic: holds the beak on
Work in this order. The feet and the hat are the easy wins, so start there if kids are helping and attention spans are short. Save the body for when you have a clear stretch, because gluing boas is the longest part.
Step 1: Make the Chicken Feet
The chicken feet costume piece is the part everyone notices, and it’s the easiest thing here.
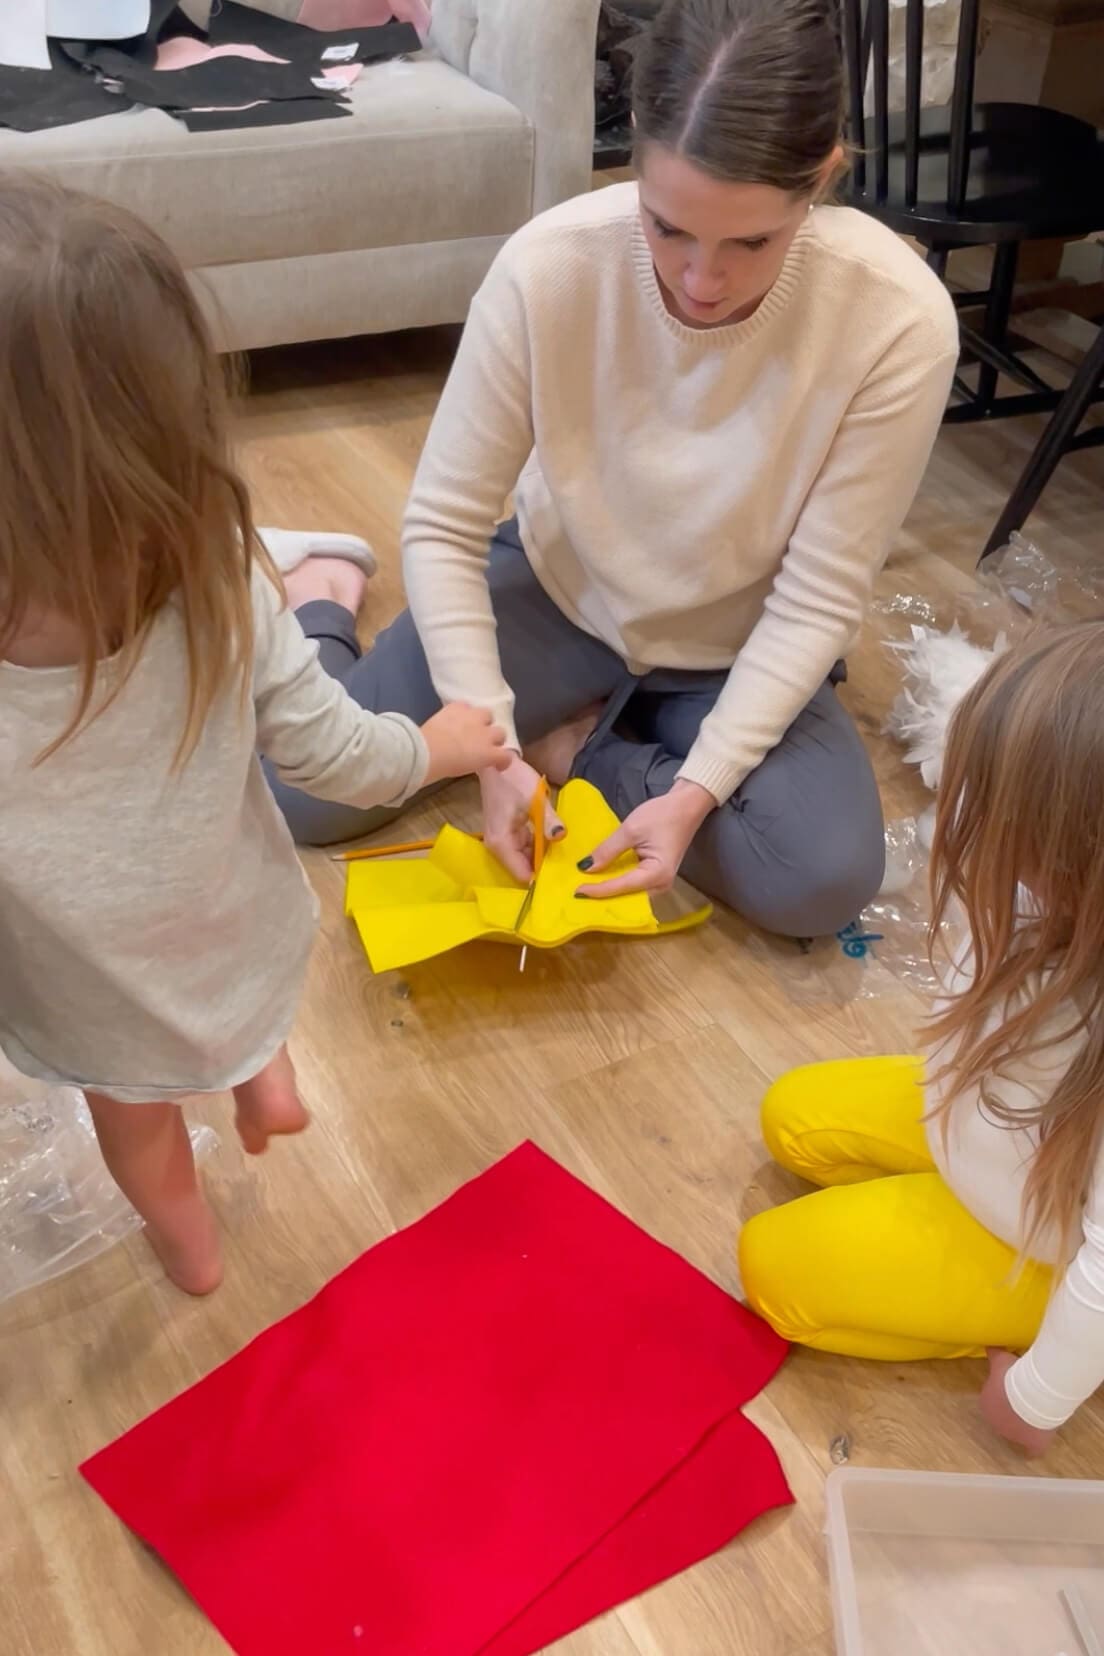
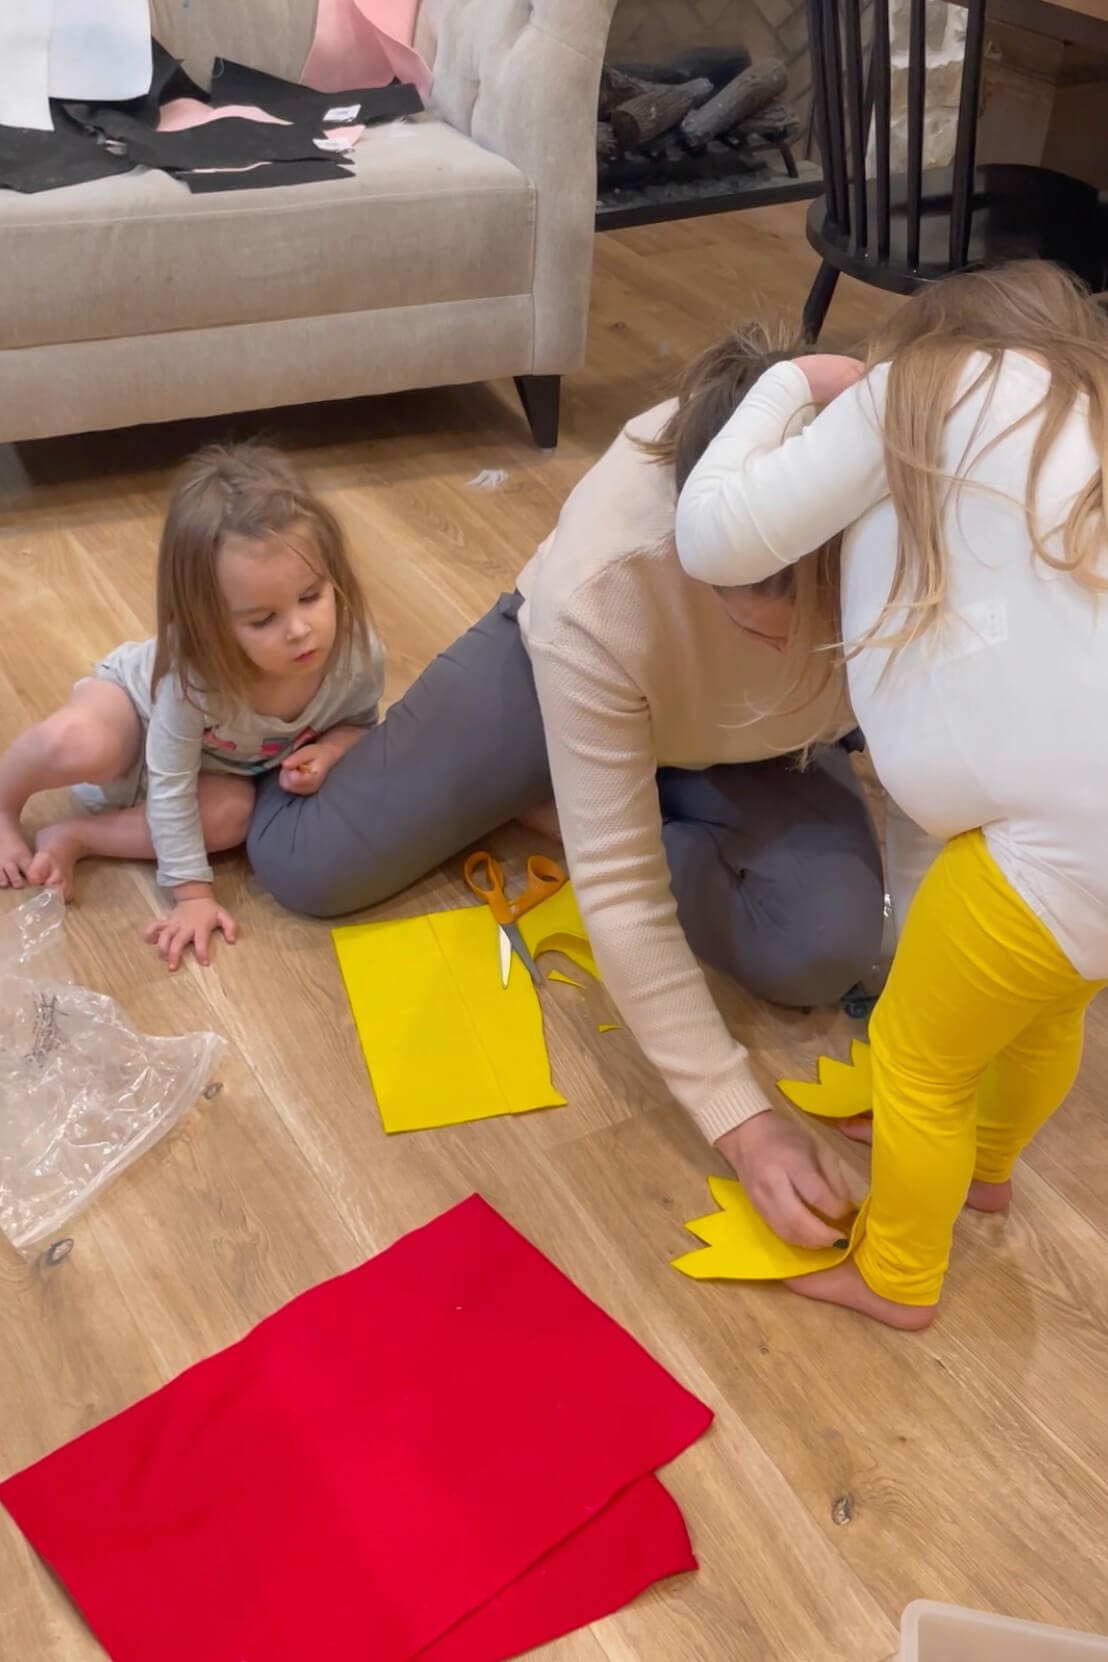
To start off this DIY costume, I sketched a simple chicken foot shape onto yellow felt. After cutting them out, I attached each piece to the front ankle of the yellow leggings. The “feet” are just small flaps that sit on top of whatever shoes your child wears. So simple!
Step 2: Make the Chicken Hat and Comb
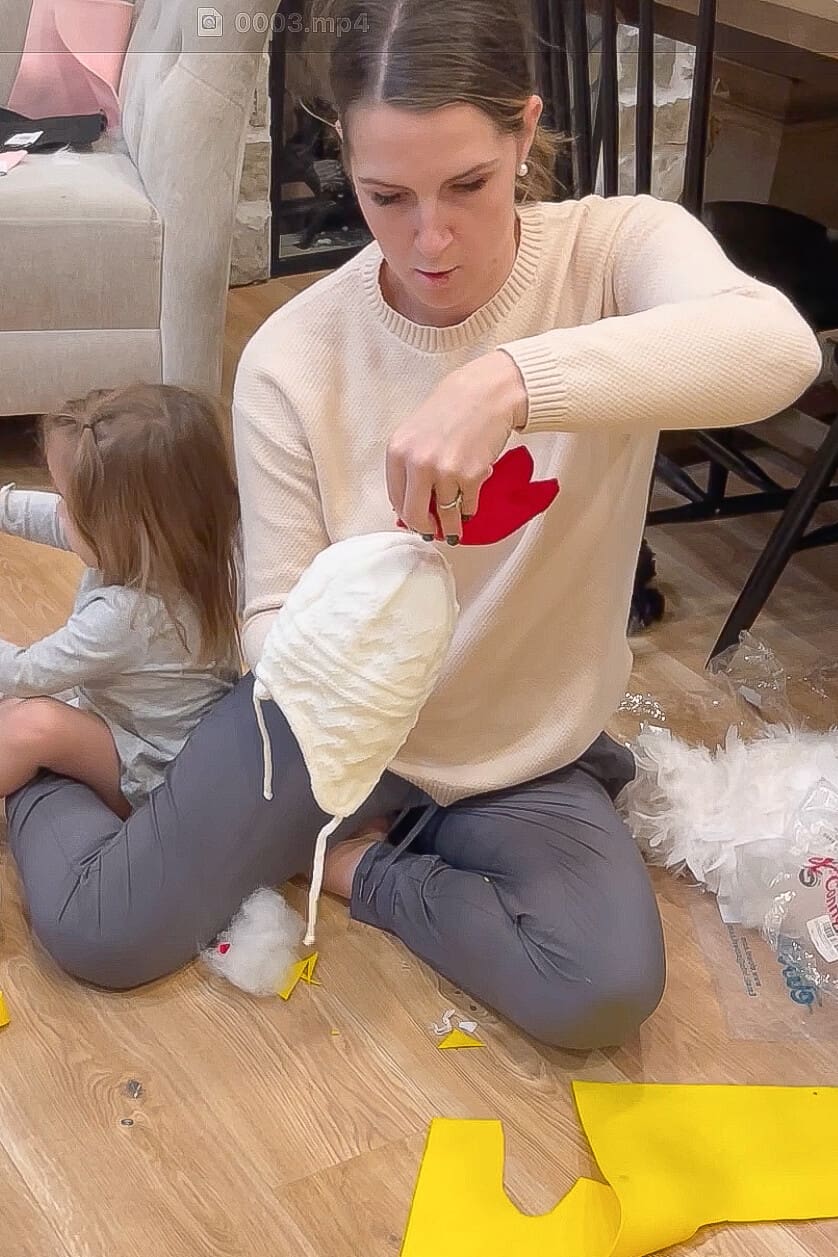
I bought a knit white beanie, removed the puff ball, and transformed it into the chicken’s head. To make the comb, I folded a piece of red felt in half and cut out a comb shape with the fold line on one side. Using hot glue, I sealed the edges, leaving a small opening for stuffing.
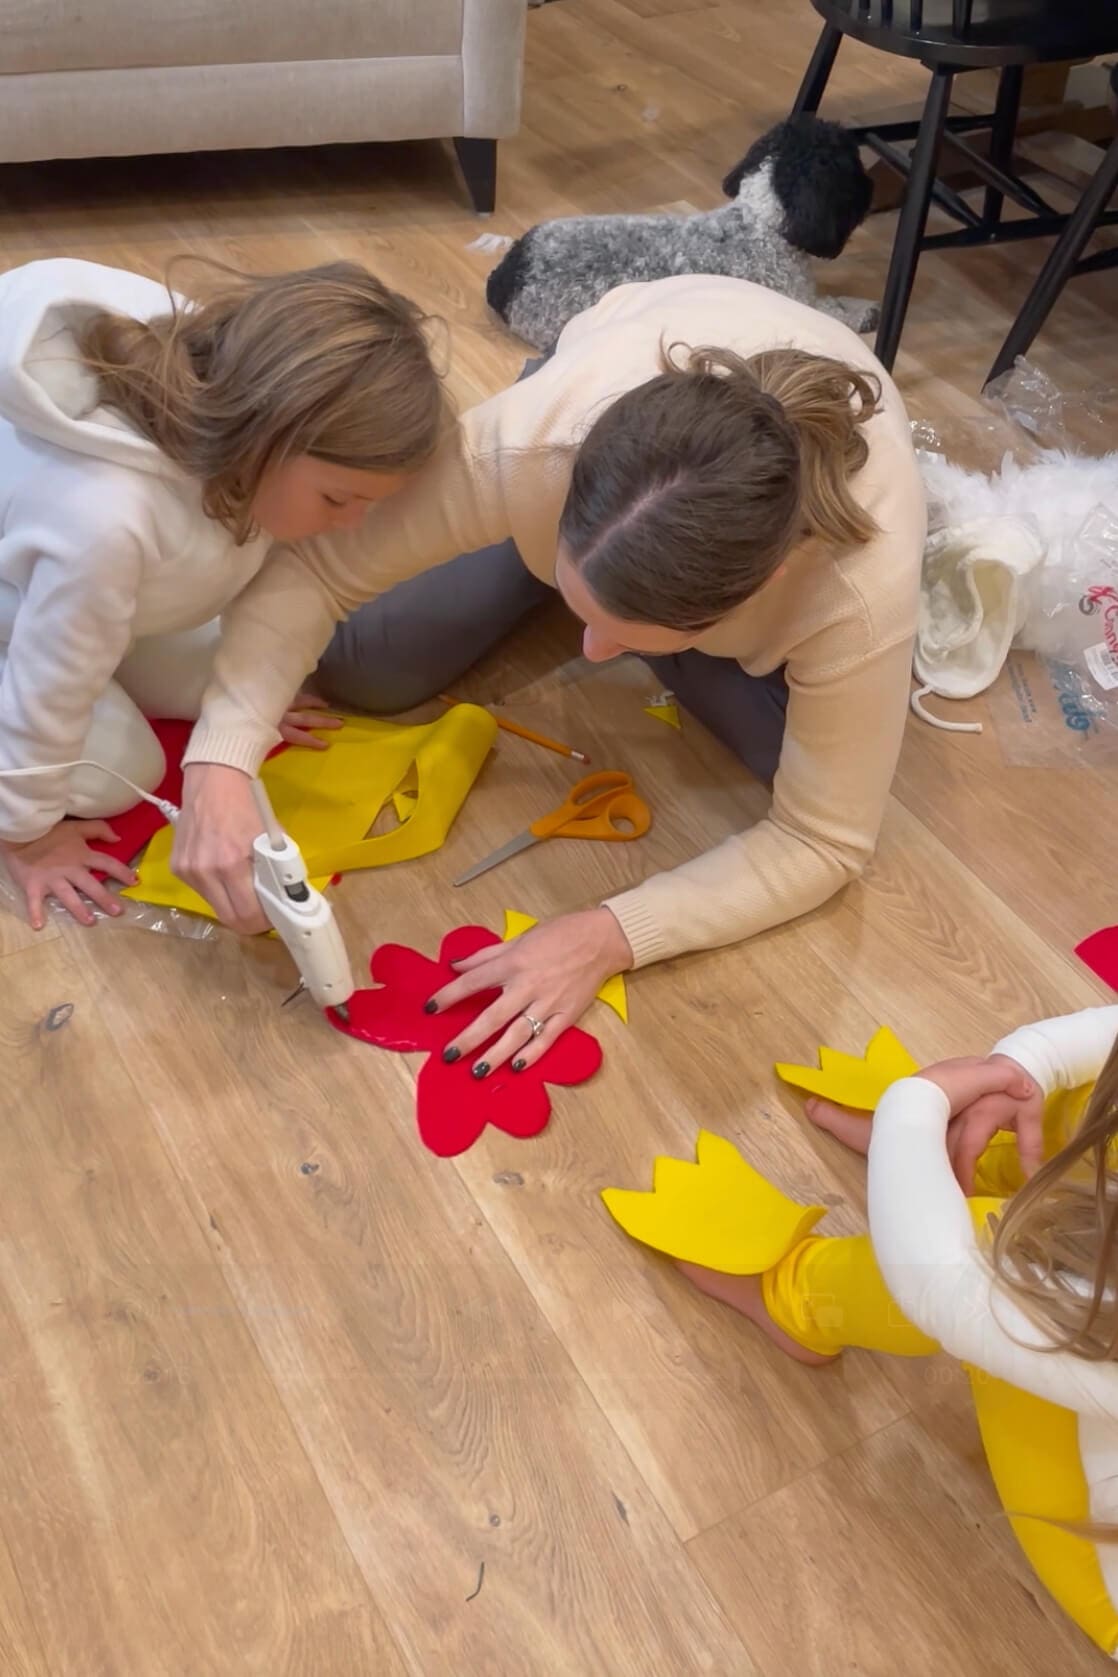
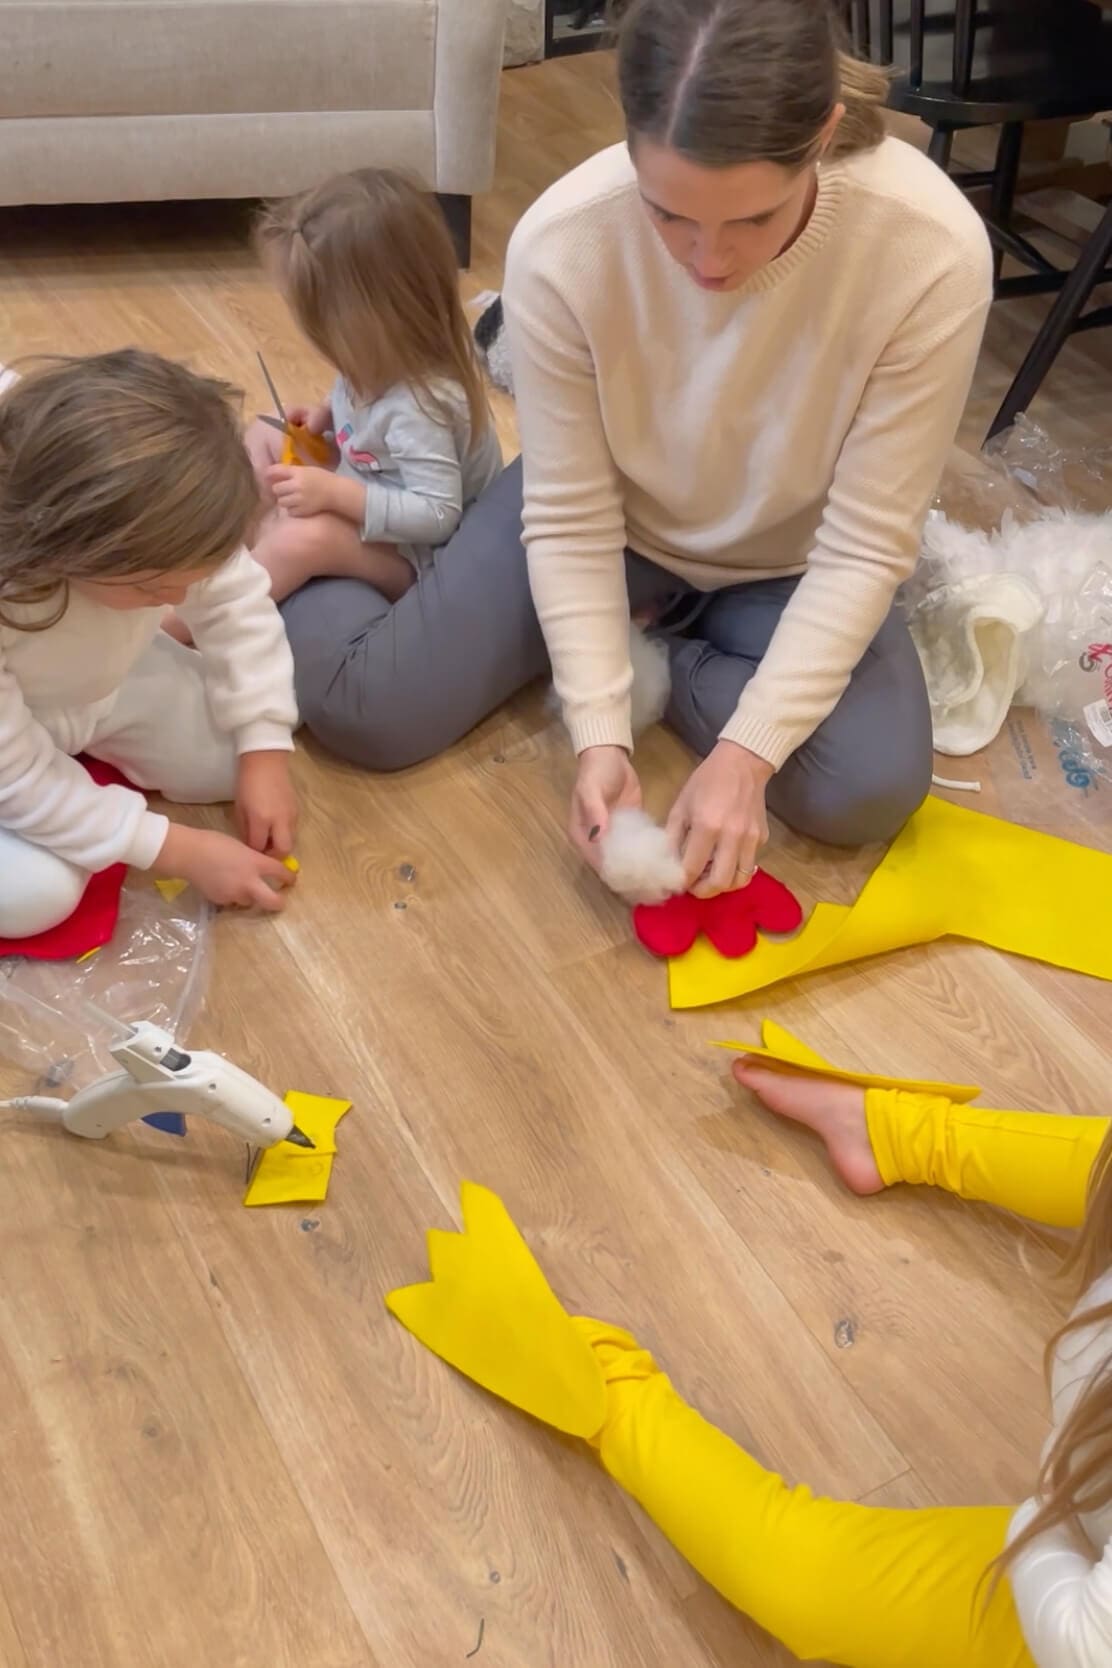
After filling it with polyfill to give it dimension, I closed the opening with a bit more glue, then glued the felt comb to the top of the hat. The hat, comb, and beak together are the whole chicken head costume, and if you cut the comb taller and add a few long feathers at the back of the hat, the same pieces turn it into a rooster.
Step 3: Build the Fluffy Chicken Body
For the body of my DIY chicken costume, I started with a basic long-sleeved white leotard. Using polyfill, I stuffed the body of the leotard. You’ll want to stuff both the front and back to give it that rounded, fluffy chicken shape.
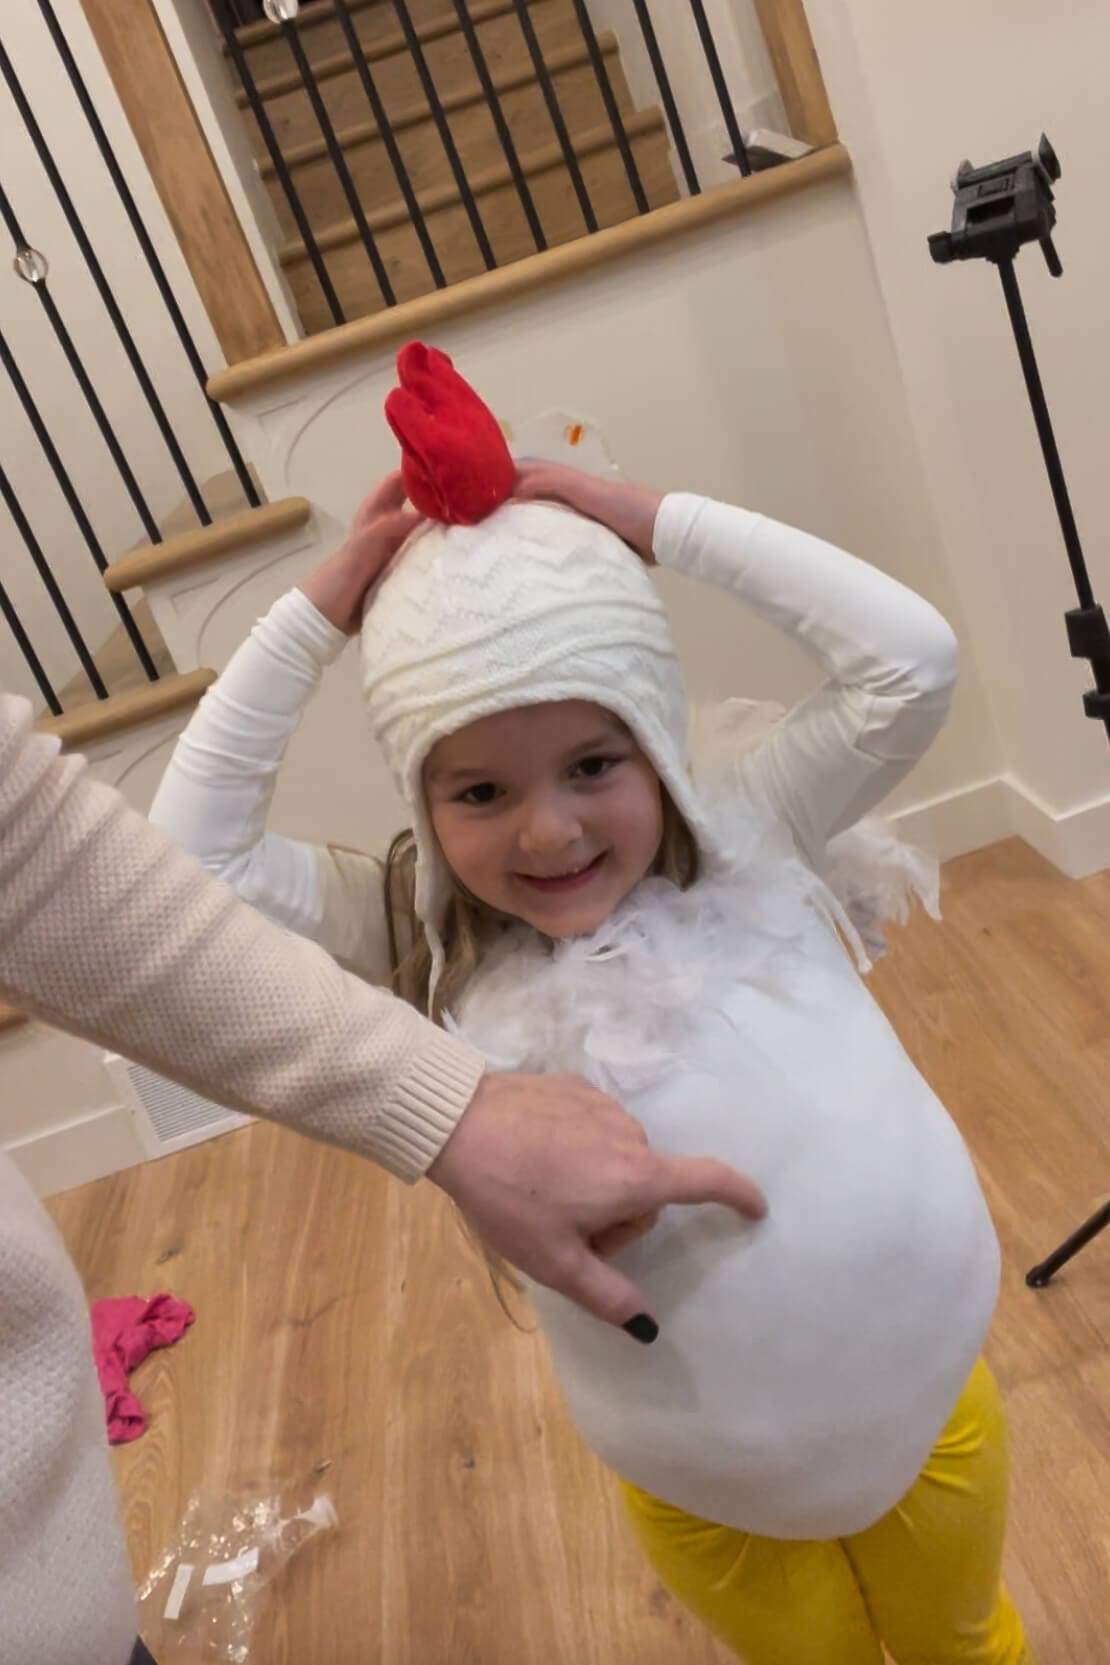
Then, I wrapped the entire leotard with white feather boas, securing them with my hot glue gun so the DIY chicken costume looked feathery from every angle.
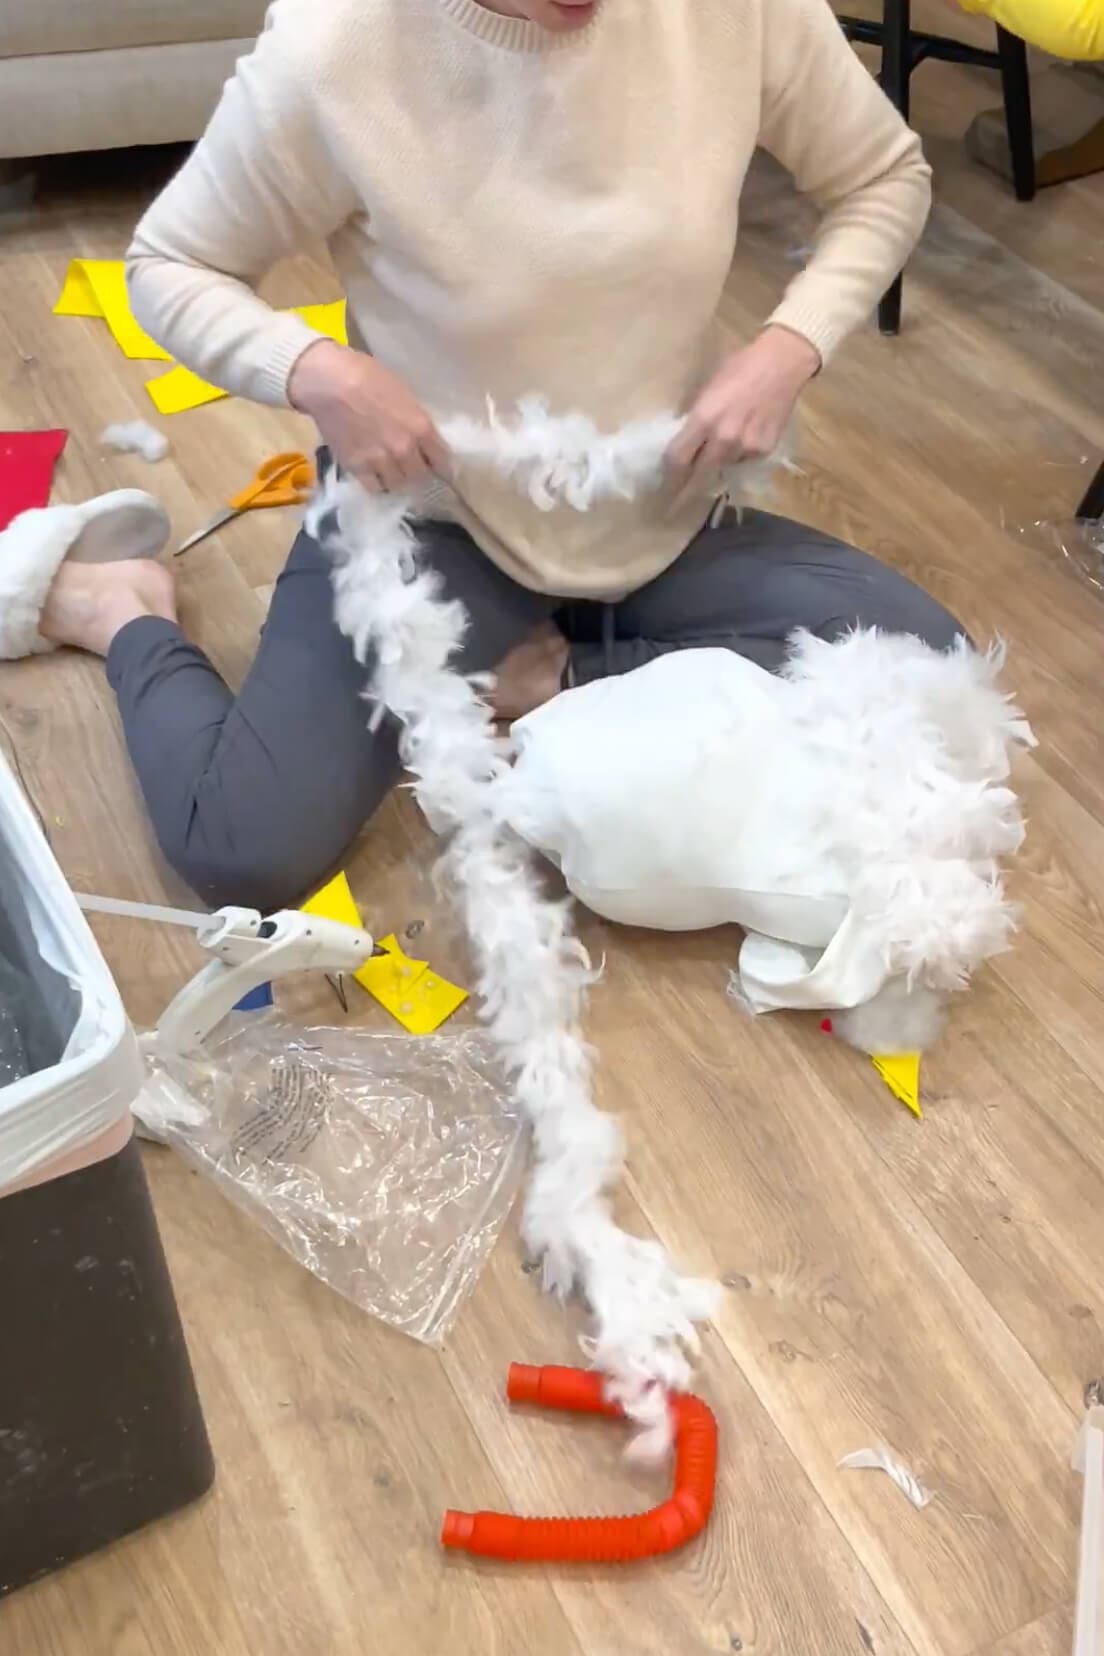
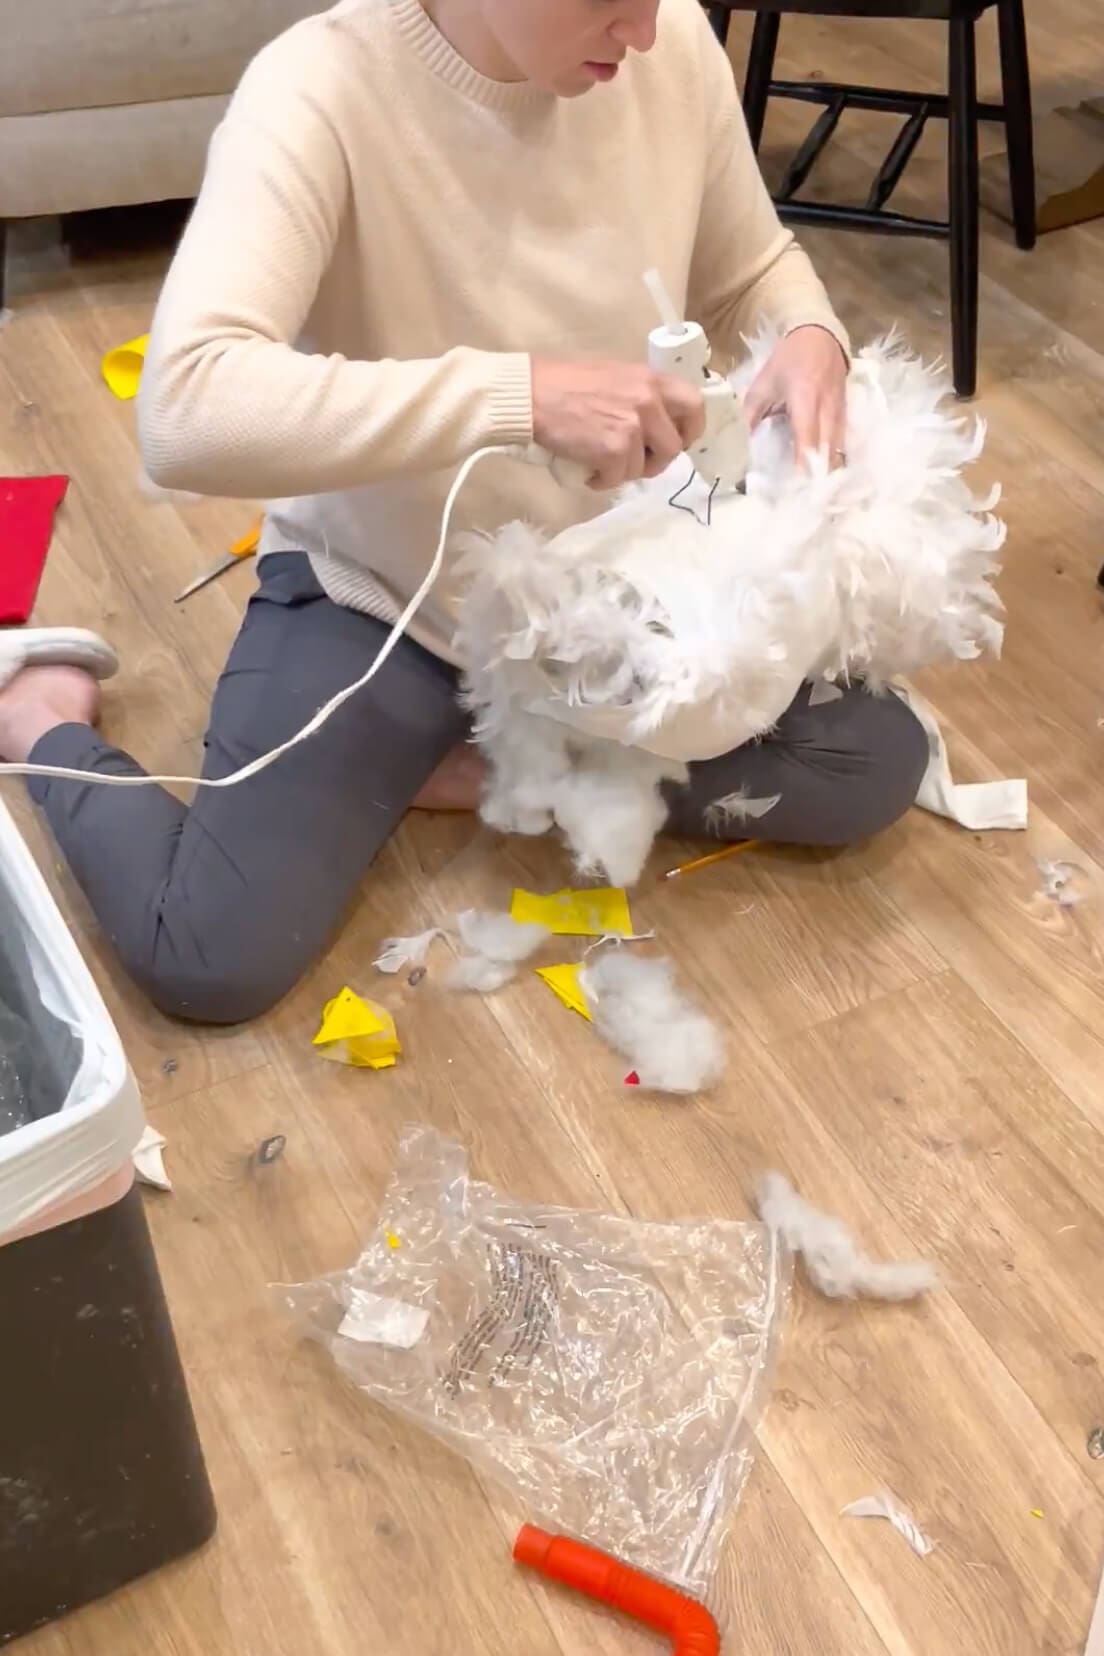
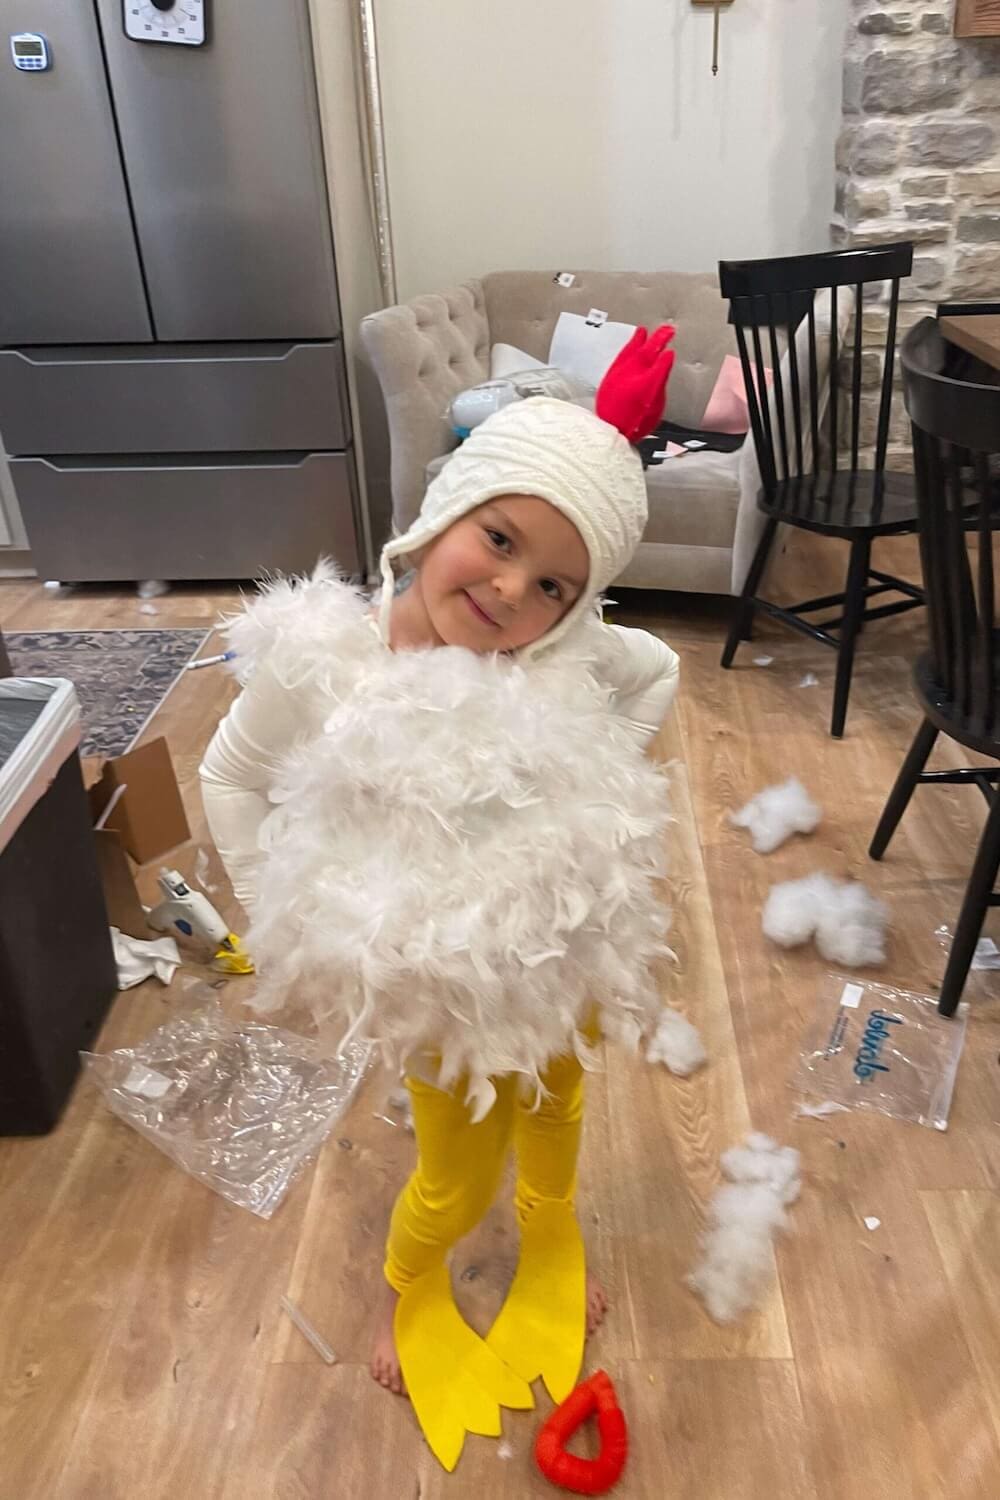
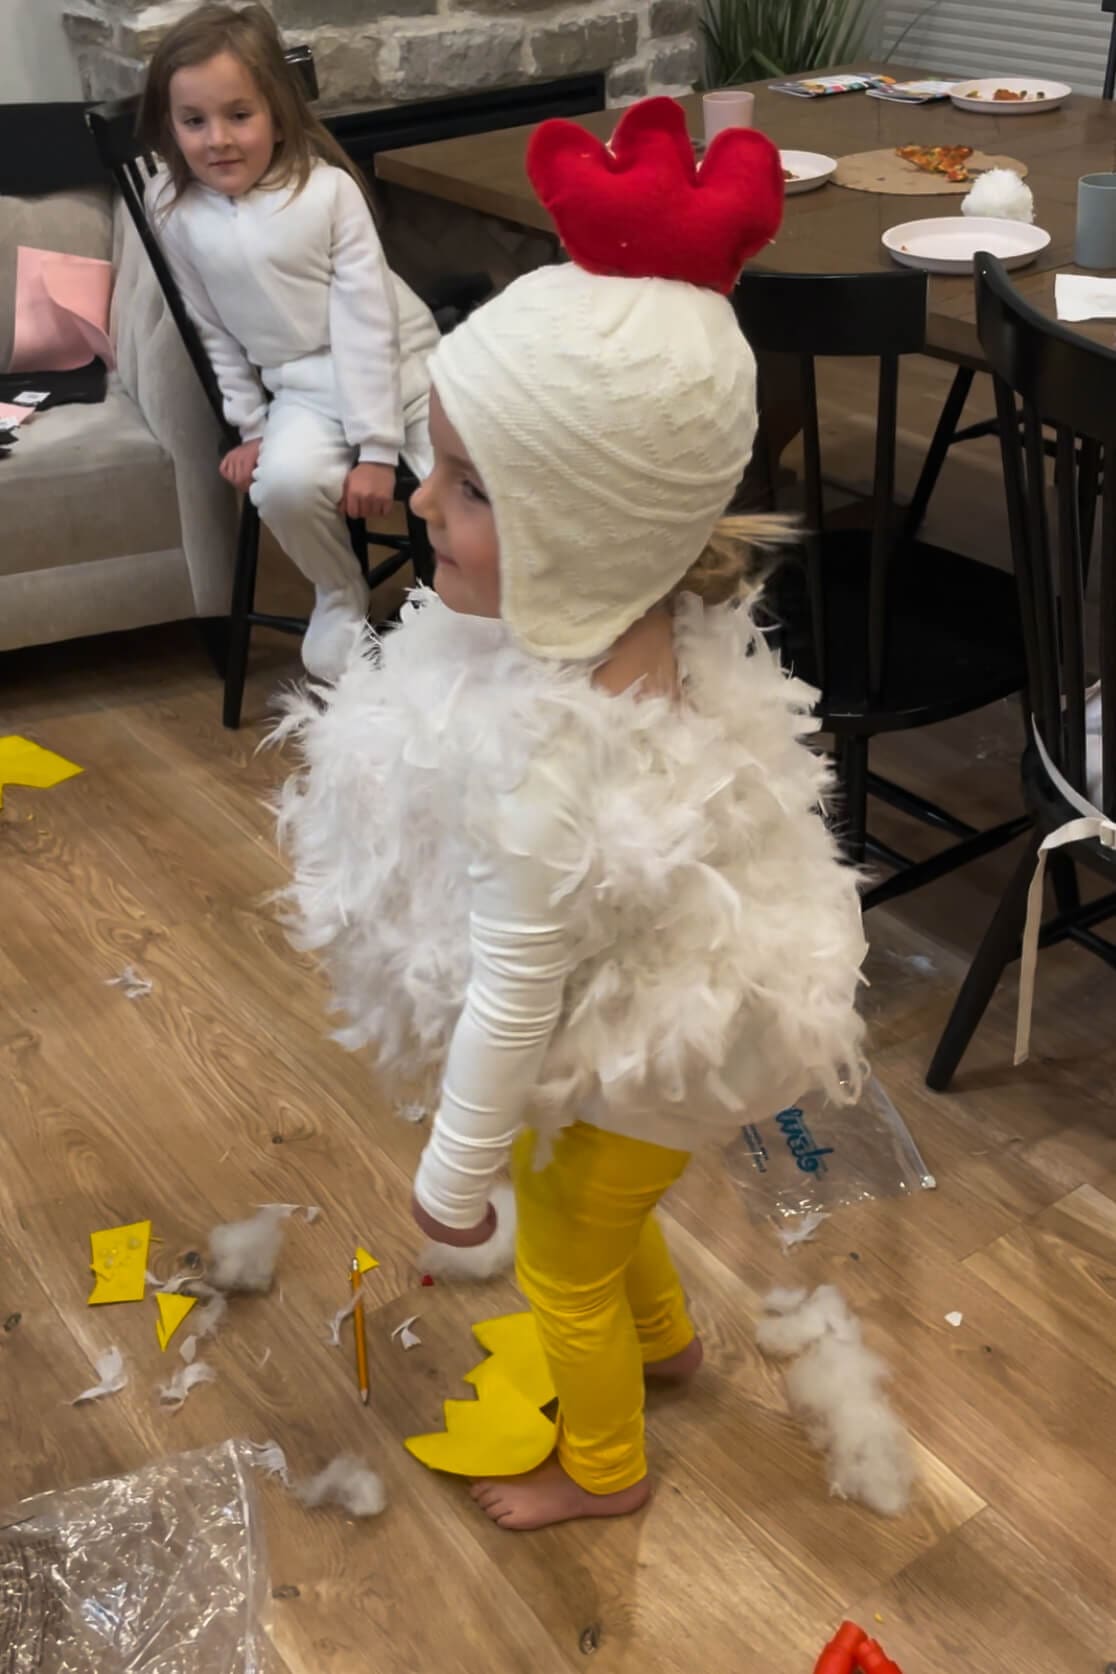
Look how adorable this DIY chicken costume is already turning out! Stuffing the body really makes all the difference. It gives that round, fluffy shape that sells the chicken look. And don’t worry about wrapping the boas perfectly; part of the charm of this costume is that it’s meant to be a little imperfect.
Step 4: Make the Beak
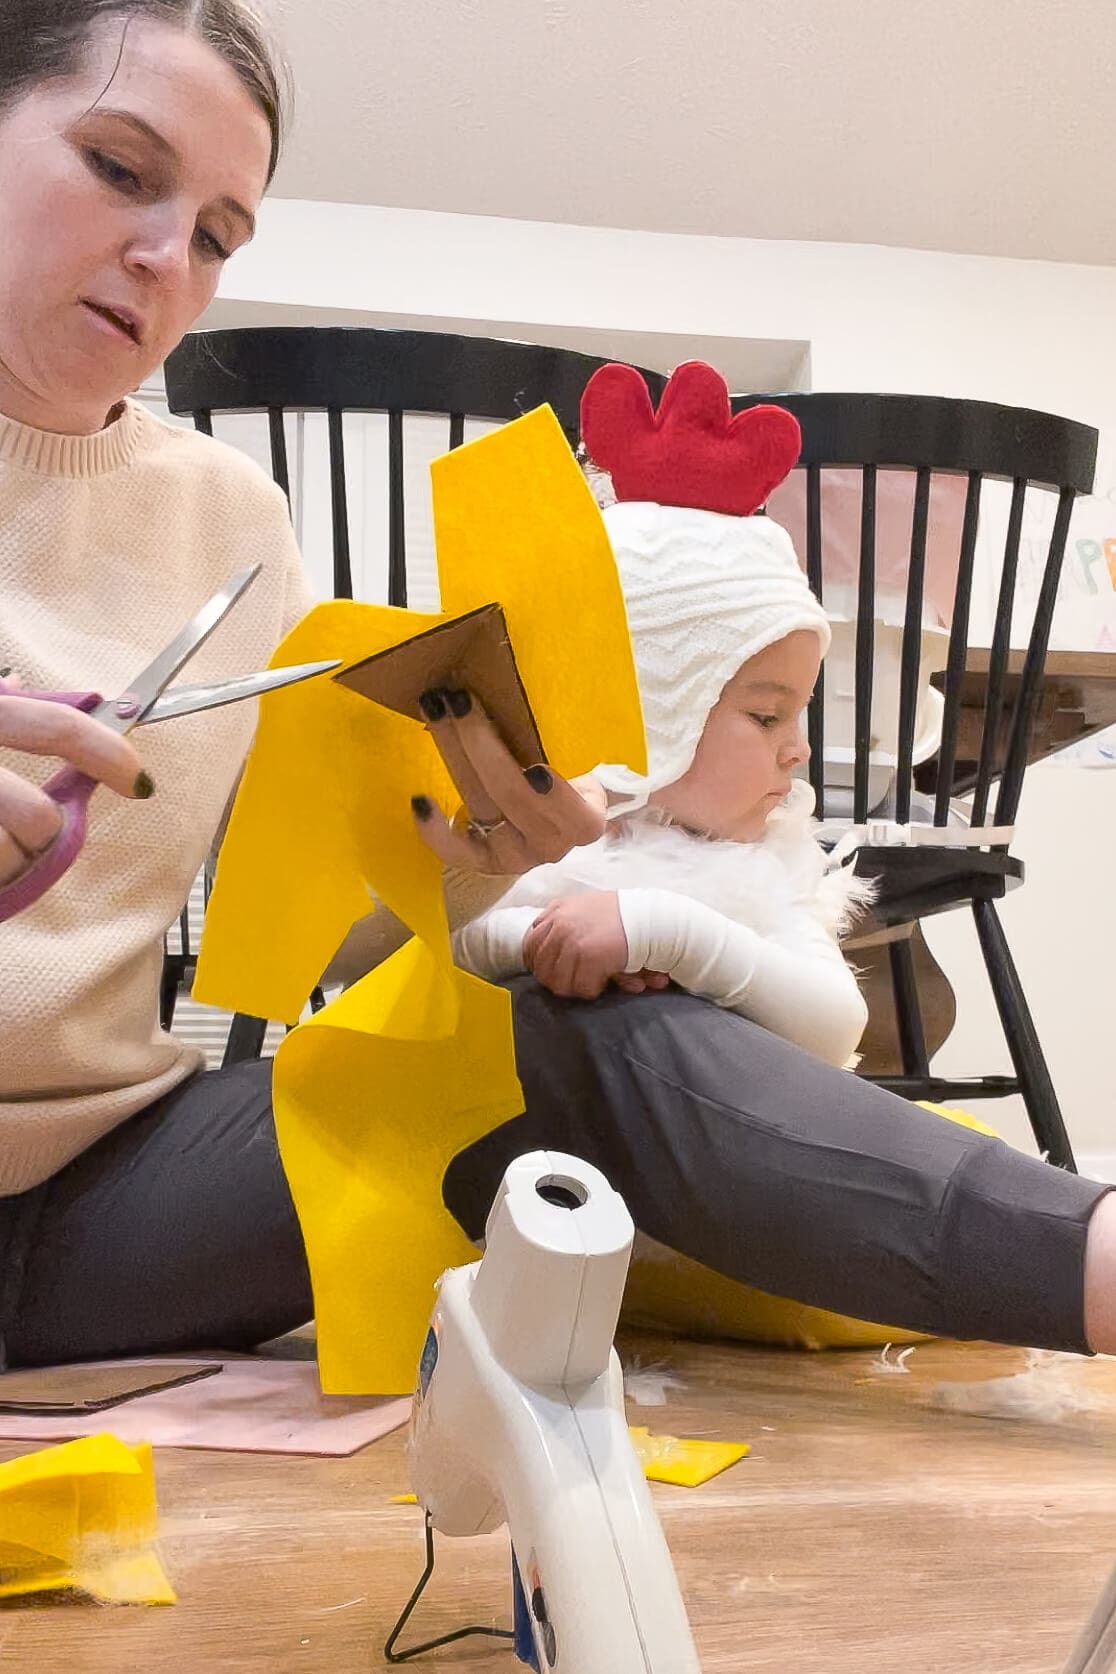
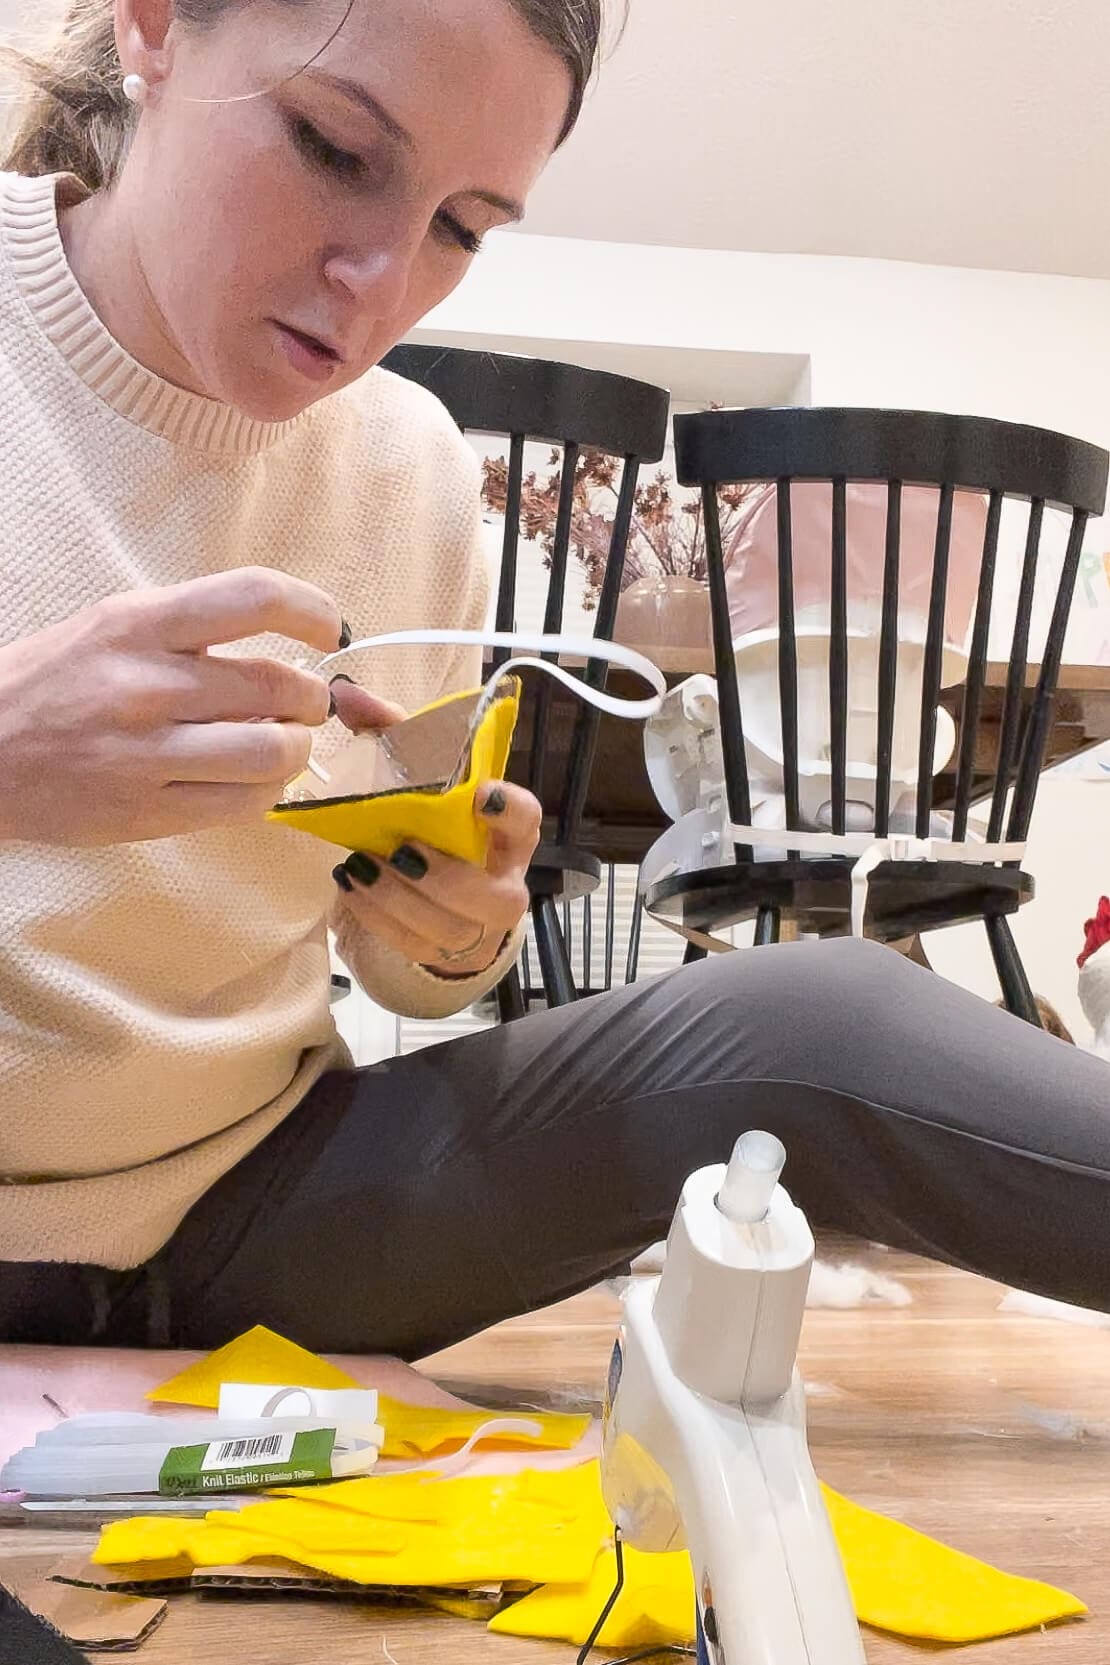
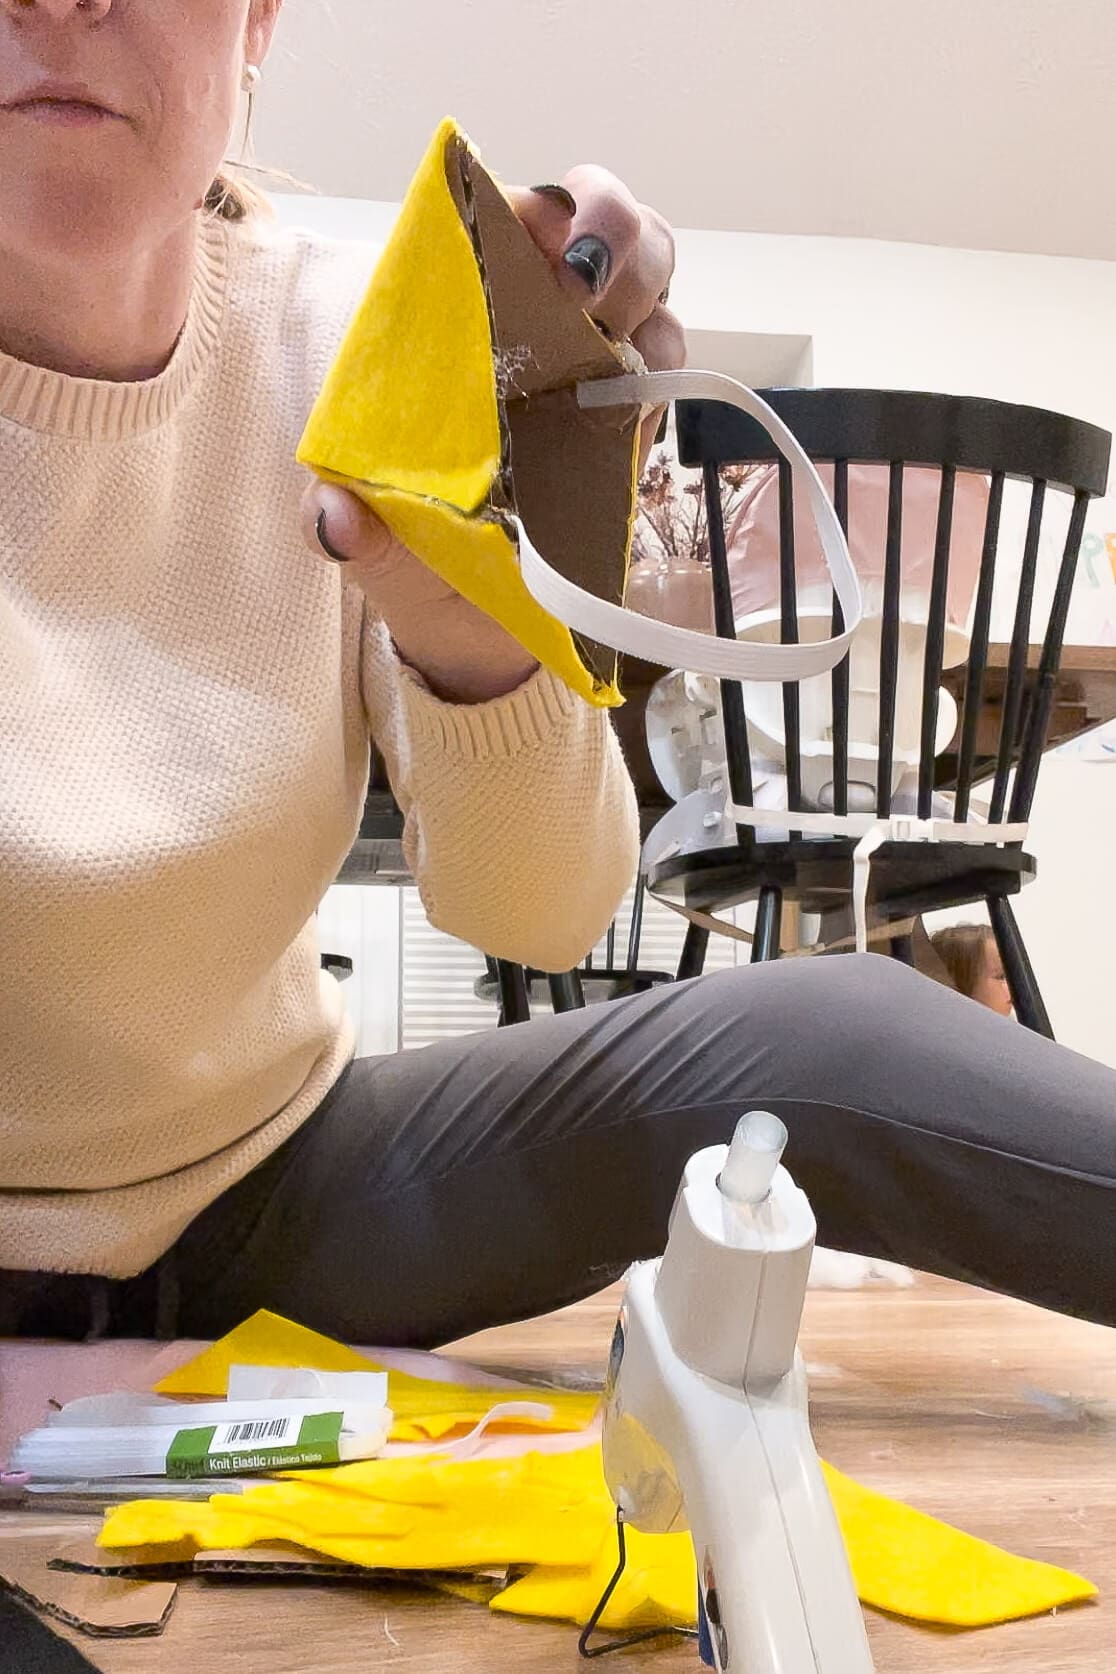
The last step for this DIY chicken costume was to create the beak. I cut four triangles from cardboard and glued them together in pairs. Each glued pair formed one half of the beak. Then, I covered the cardboard with yellow felt using hot glue, trimming away any excess felt for a clean edge.
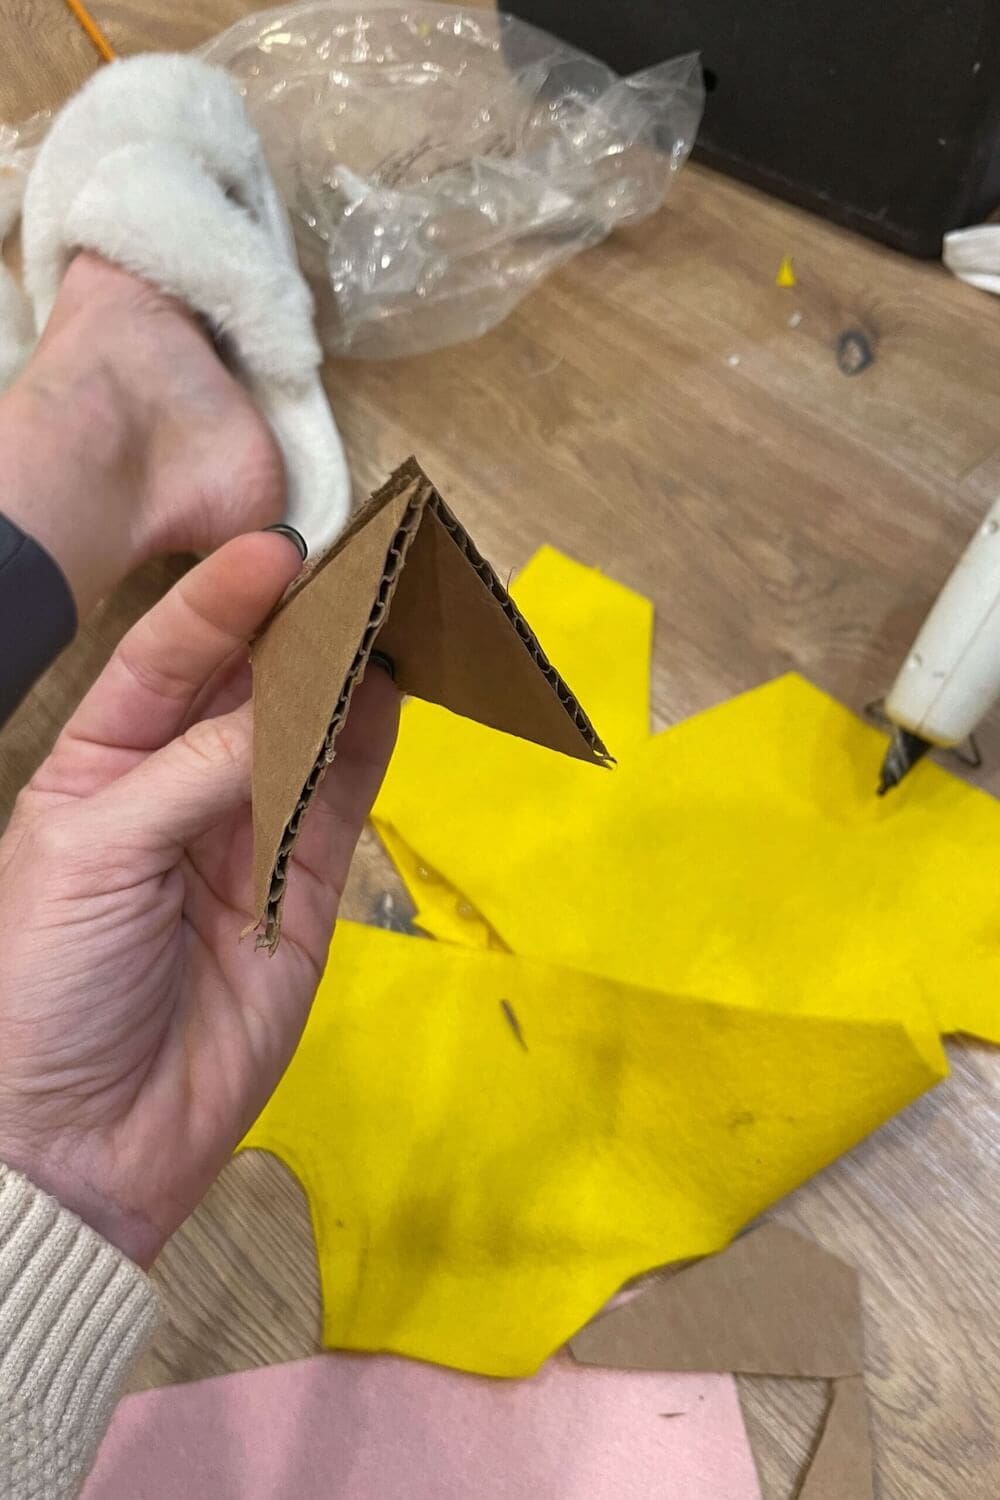
Once both halves were covered, I glued them together to create the full beak and added an elastic strap so my daughter could wear it comfortably.
The Finished DIY Chicken Costume
And just like that, you have an adorable, easy, no-sew DIY chicken costume! This project comes together quickly and uses inexpensive materials.
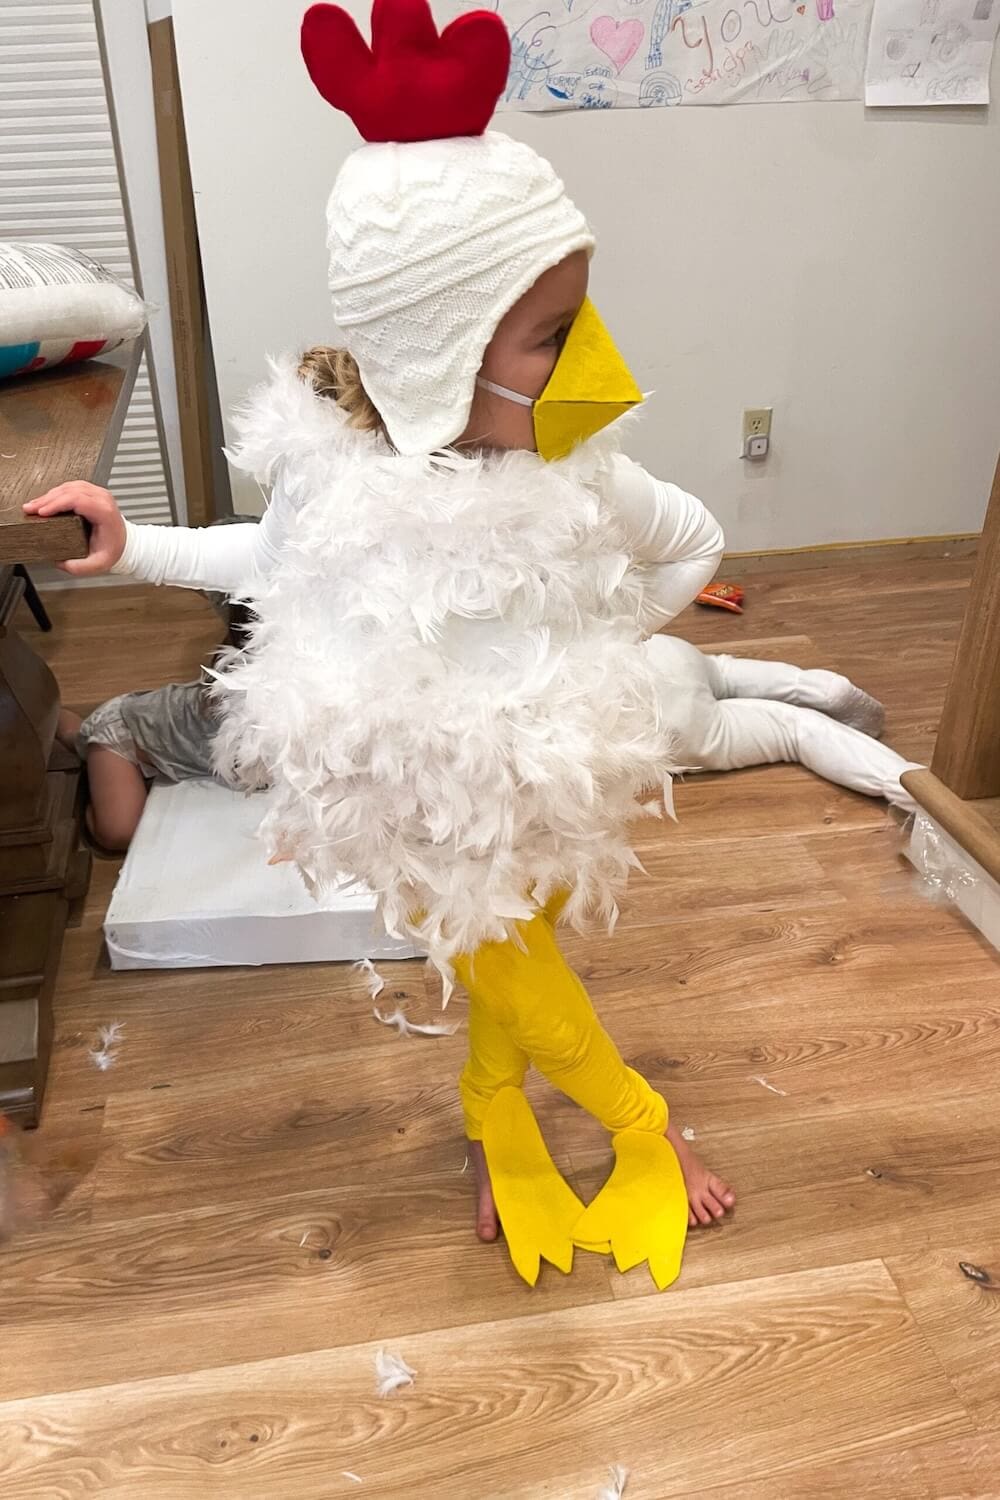
Best of all, you can customize this DIY chicken costume for any size! Whether you’re making it for a baby’s first trick-or-treat or putting together a fun group theme, it’s a guaranteed hit. Add a pair of round glasses and a green tee under the boas and it doubles as a Chicken Little costume, which is the version our older kids asked for.
How Long Does It Take to Make a Chicken Costume?
About two hours, and most of that is gluing feather boas onto the body. The feet and the beak take fifteen minutes each. If kids are helping, plan for longer and give them the felt cutting, which is the part they can actually do without a glue gun.
How to Make a Chicken Costume for Adults
Same method, bigger base. Use an adult white long-sleeve top and leggings, and buy more feather boas than you think you need, because a larger surface eats them fast. Two to three boas covers a child, four to five covers an adult.
The hat, comb, and beak don’t need to scale much, since adult and child heads are closer in size than the rest of us is. An adult chicken works best next to a farmer, which is jeans, a flannel, and a straw hat you already own. A DIY adult chicken costume is the same afternoon’s work, just more boas. It is also the best last minute DIY chicken costume for adults we know of, because every piece is sold at any craft store and nothing has to be ordered.
Make It a Barnyard Family Costume
This chicken works on its own, but it’s better with company. Mom and dad go as farmers, the kids go as different barnyard animals, and the whole thing scales to however many of you there are.
The full farm animal costumes lineup has the farmer outfits and the rest of the animals, and there’s a step-by-step DIY cow costume if you need one more. For other group themes, 31 family Halloween costumes has everything we’ve done.
More Halloween Projects
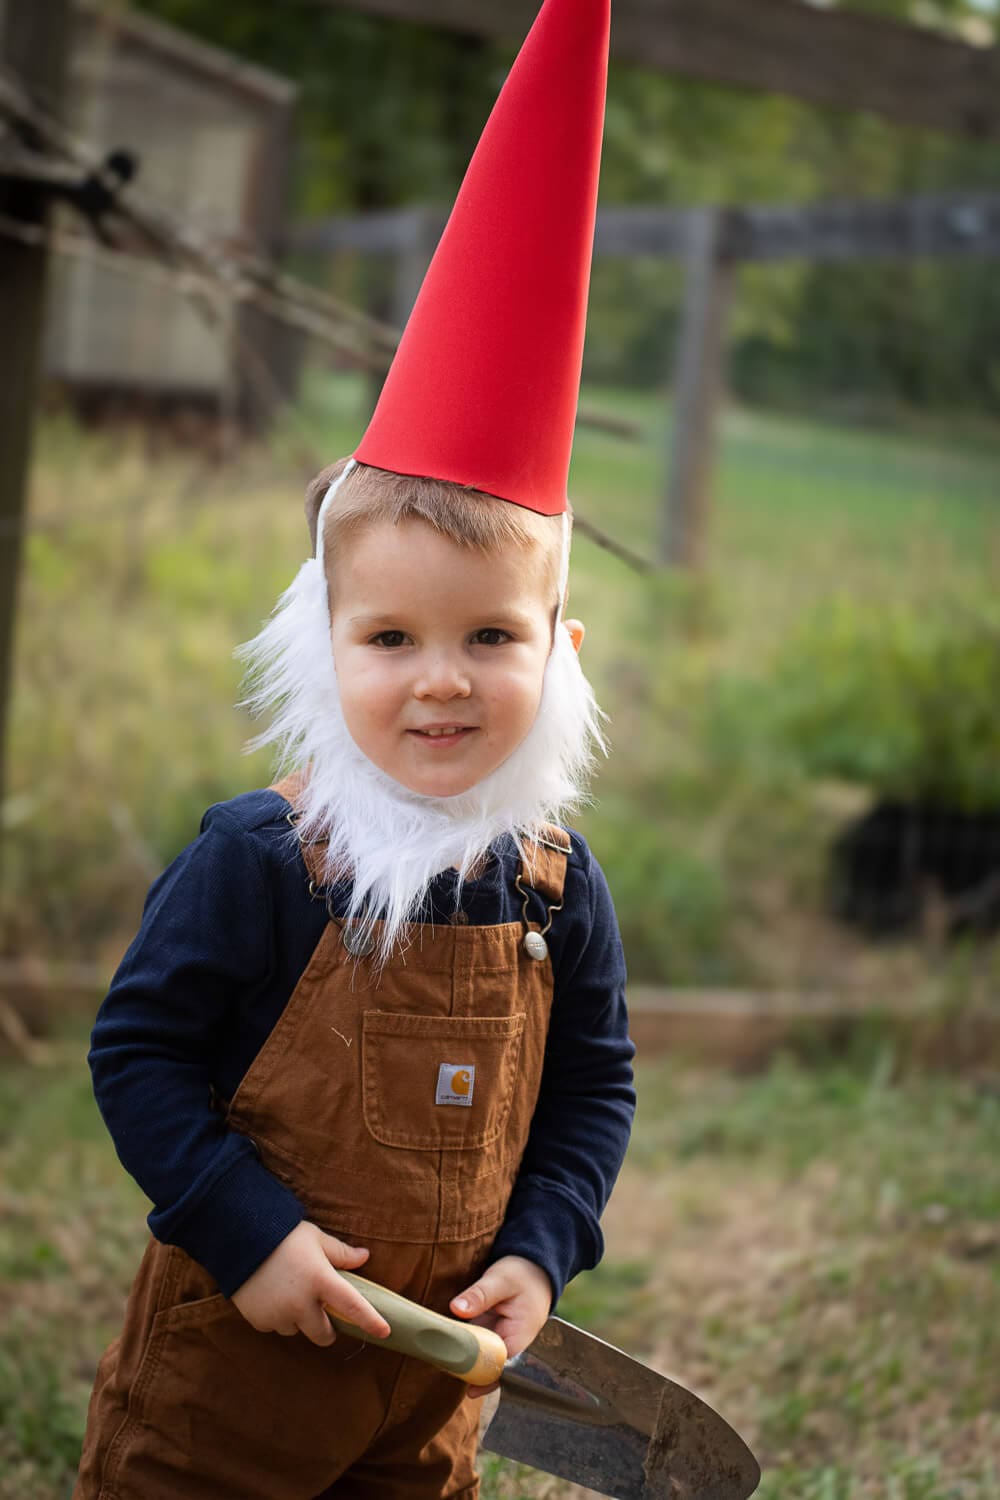
- Garden Gnome Costume for Kids (Easy No-Sew DIY)
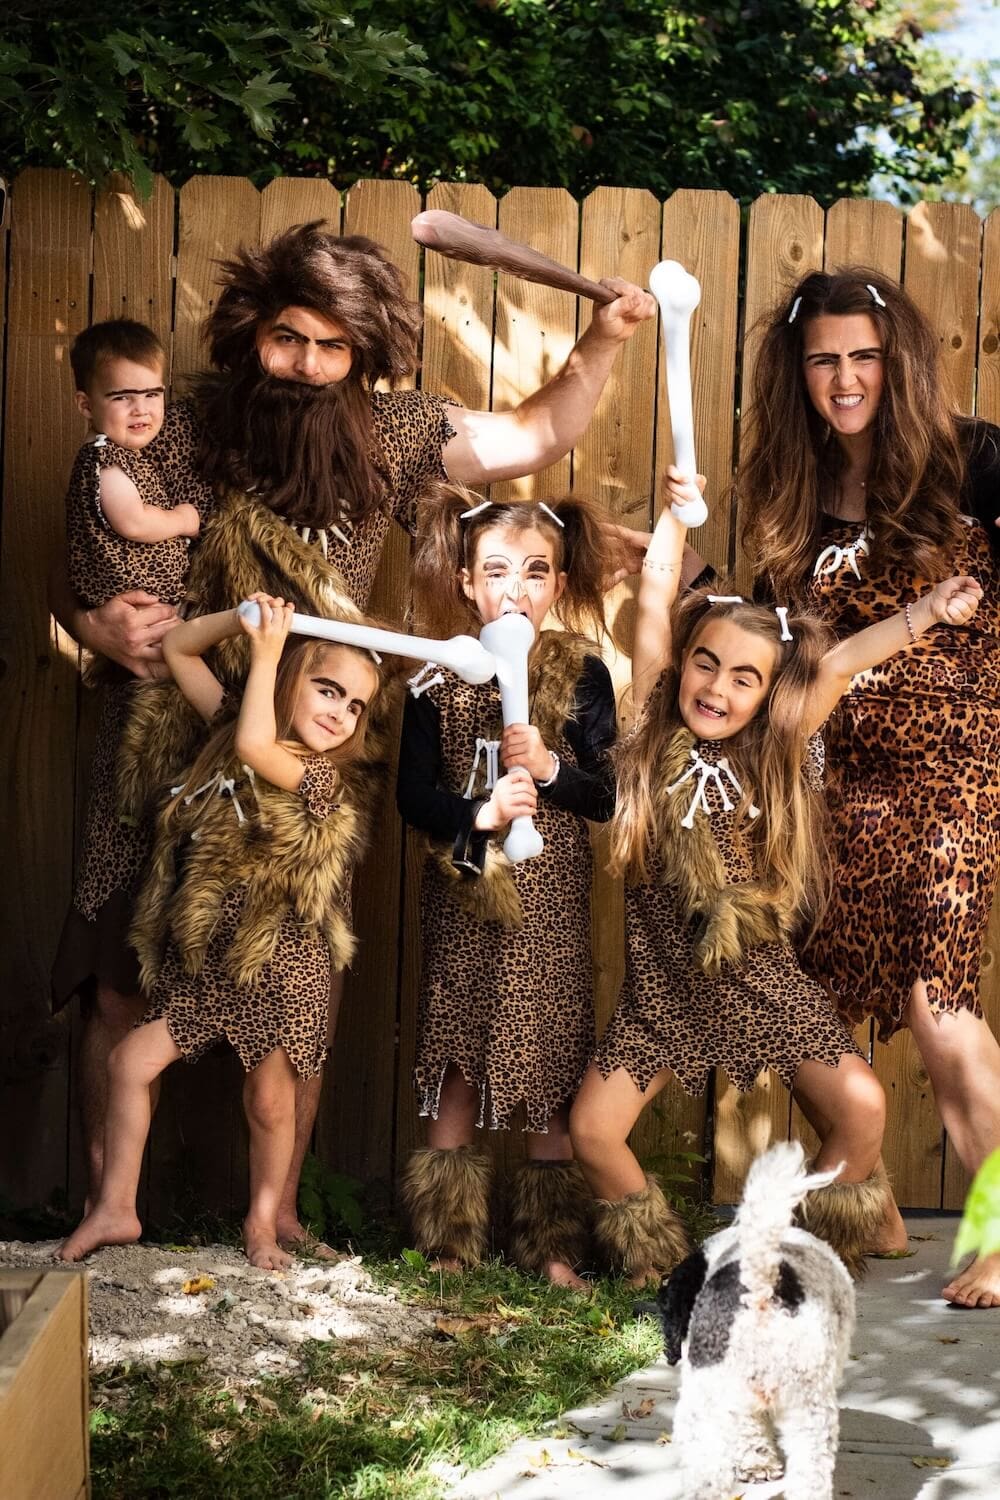
- DIY Caveman Costumes for Kids and Adults: Stone Age Outfits
- DIY Flower Costume for Kids (No-Sew Tutorial)
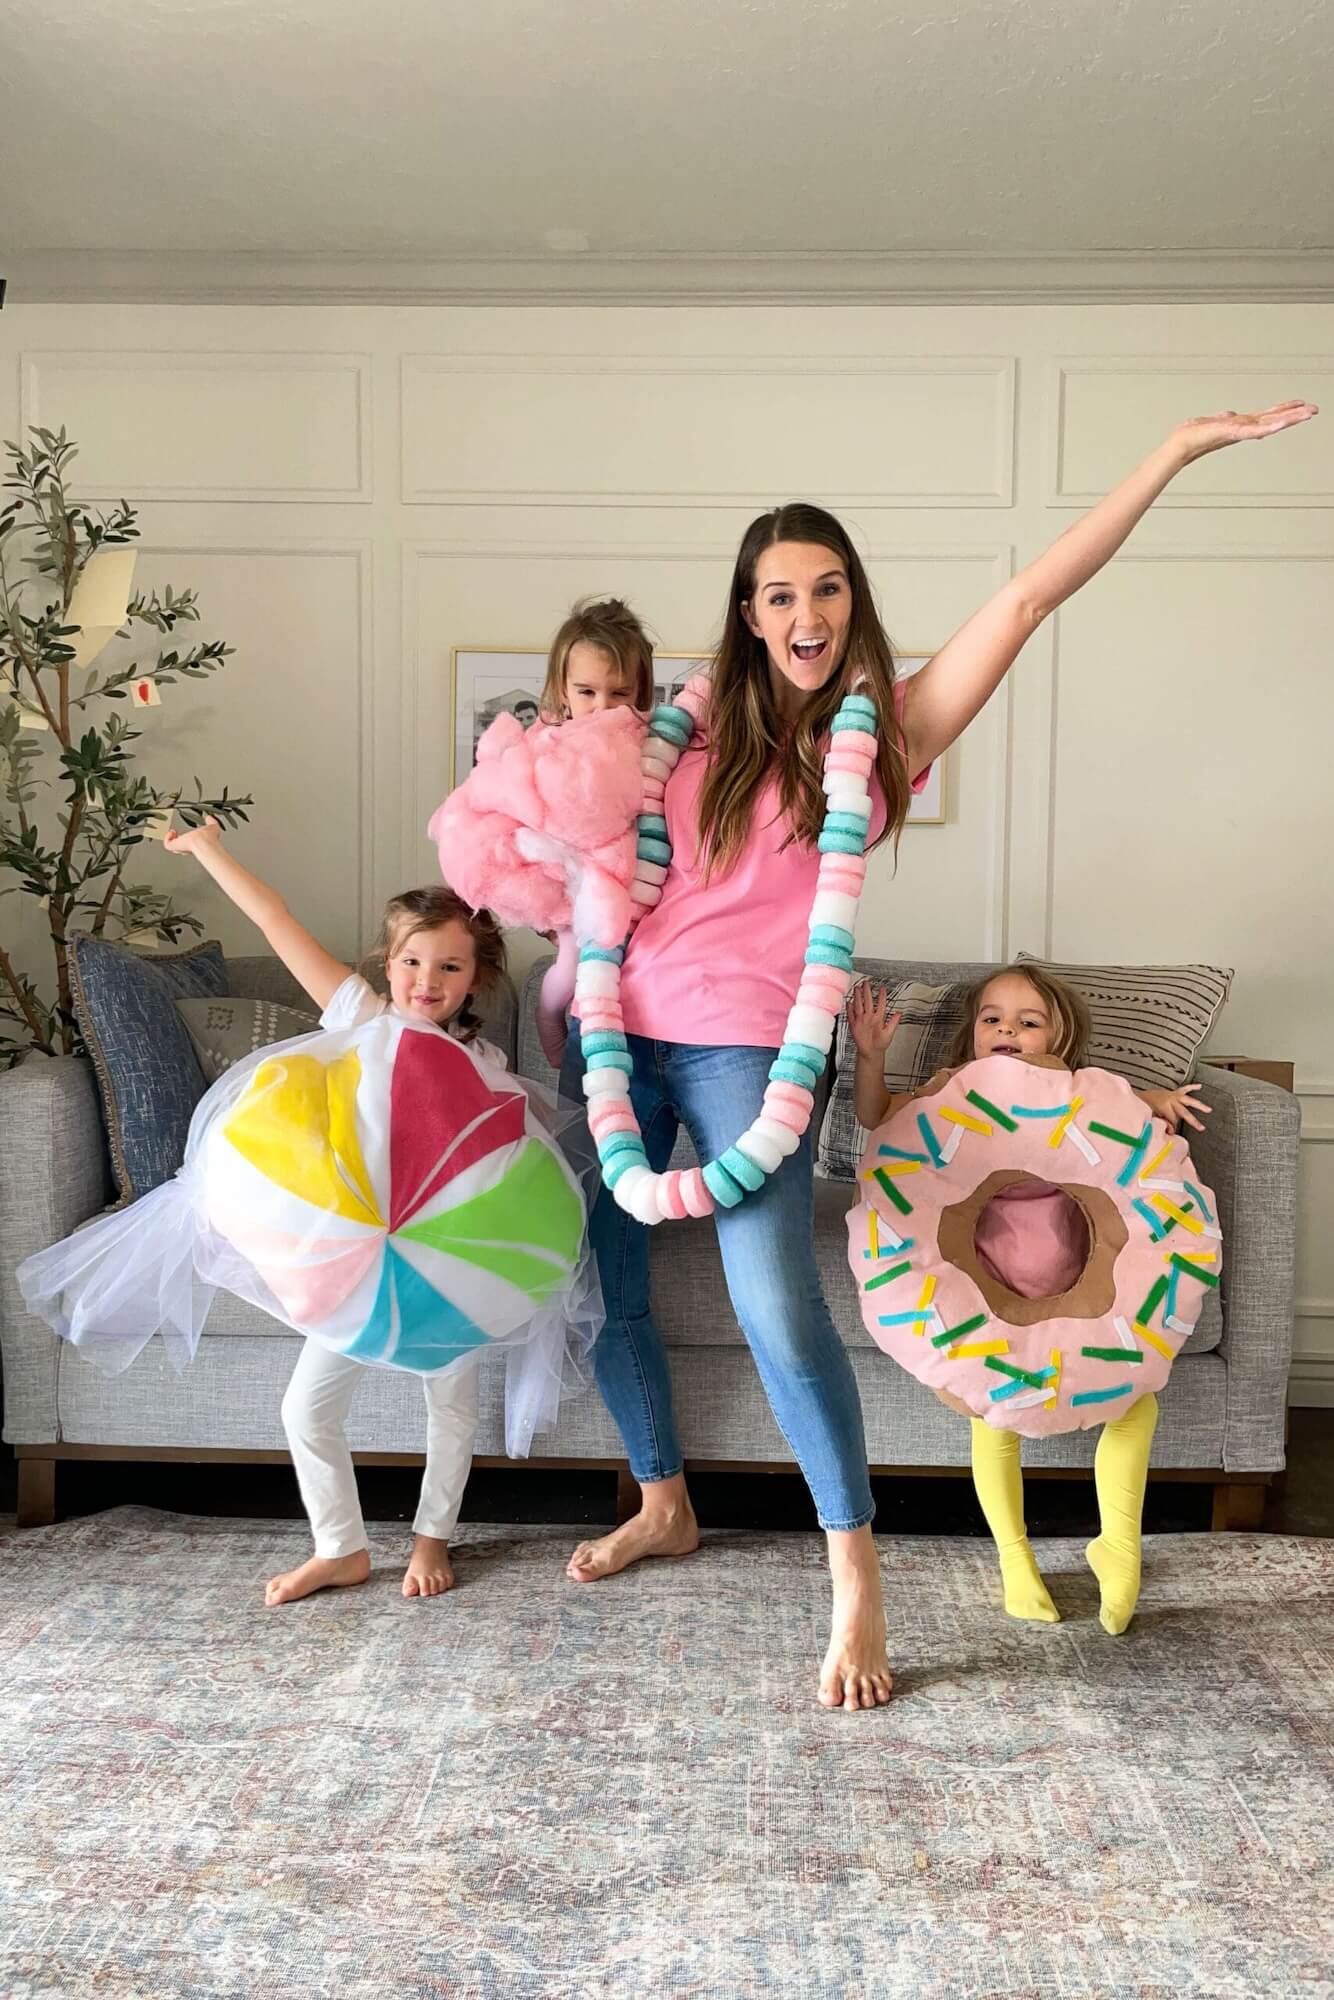
- DIY Candy Costumes: Sweet Treats for the Family
📌 Save This DIY Chicken Costume for Later
Pin now and make this adorable no-sew chicken costume when you’re ready!
DIY Chicken Costume FAQs
White feather boas, hot glued in rows onto a plain white top. They come from any craft store or online for a few dollars each, they glue straight onto knit fabric, and three of them cover a child. For a baby chick costume, use yellow boas instead of white on a yellow footed sleeper and skip the beak. Real feathers by the bag are cheaper per ounce but take three times as long to glue, so for a costume you make once, boas win.
Yes, and it is the same afternoon’s work. Size up the base to an adult white long-sleeve top and leggings, and plan on four to five feather boas instead of two or three, because a larger back eats them fast. The hat, comb, and beak barely change, since adult and child heads are closer in size than the rest of us. An adult chicken next to a farmer in jeans, flannel, and a straw hat is the easiest couples costume we have done.
Whatever the child can walk in for two hours, because the felt chicken feet sit on top of the shoes and cover most of them. Yellow sneakers or rain boots look best in photos, but plain sneakers disappear under the felt. Cut the feet slightly larger than the shoe so they flop a little when they walk, which is the part that gets laughs. Attach them with an elastic loop under the sole rather than glue, so the shoes go back to normal on November first.
About two hours with kids helping, or a bit over an hour on your own. The feet and the comb take fifteen minutes each and are the parts to hand to children. Gluing the boas is the long stretch, thirty to forty-five minutes for a child size, closer to an hour for an adult, because every row has to overlap the last one. There is no drying time beyond the glue setting, so it can be worn the same evening it is made.
Two to three for a child, four to five for an adult. Buy one more than you think, because the last patch of bare fabric always shows up in photos and there’s nothing worse than running out mid-glue. They’re cheap and the leftovers are useful.
Yes, and it’s the easiest version. Use a white footed sleeper as the base and glue boas around the chest and back only, so the baby stays comfortable. Skip the beak entirely for the youngest ones and use the hat with the comb on its own.
Red felt cut into a wavy shape and lightly stuffed with polyfill, then hot glued to the top of a white knit hat. The stuffing is what makes it stand up instead of flopping over, and it takes about five minutes.
Usually yes, so use a top you’re willing to retire. Hot glue soaks into knit fabric and doesn’t peel cleanly the way it does off a smooth surface. Thrift the base layer if you want the costume to cost almost nothing.
The Bottom Line on a DIY Chicken Costume
A DIY chicken costume is a white top, a few feather boas, yellow felt, and a glue gun. The boas do the work – once they’re on, it reads as a chicken from across the street. The one thing to get right is covering the back as well as the front, because a chicken that’s only fluffy from one side looks unfinished in every photo taken from behind.
Did your kids help with this one? Mine did the felt cutting and considered themselves fully responsible for the entire costume.
This is so cute!! Thank you for posting. I’m about halfway through (last minute, as always) and have a question-how did you contain the polyfill in the leotard? And did your child have a base layer so the polyfill wasn’t against their skin? Trying to figure out if I need to put a pillow case around it or something? Or just stuff inside the leotard after she puts it on? Thanks!