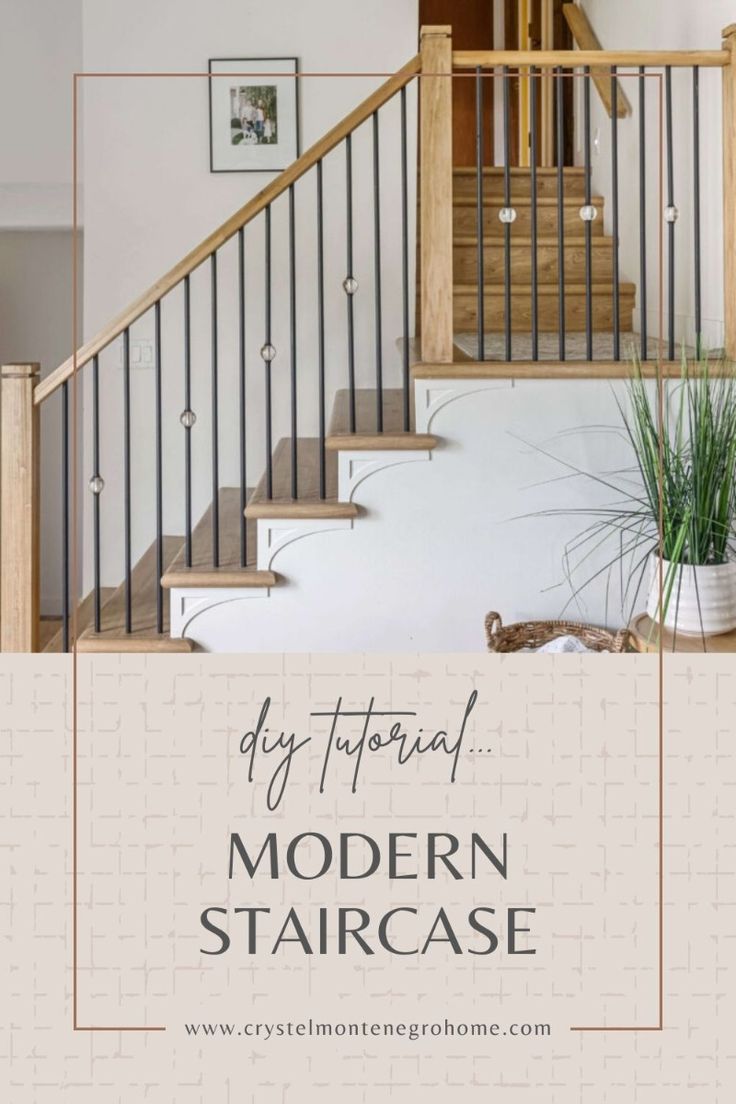
Building DIY Modern Stairs and Railing


Updated March 5, 2025
Turning old, dated stairs into modern stairs with a gorgeous railing isn’t as hard as you think! We had basic, builder grade stairs but transformed them into beautiful, modern stairs with a few basic steps. I’m sharing all the details about what products I used, where I purchased my stair parts, and tips and tricks that will make installing modern stairs easy.
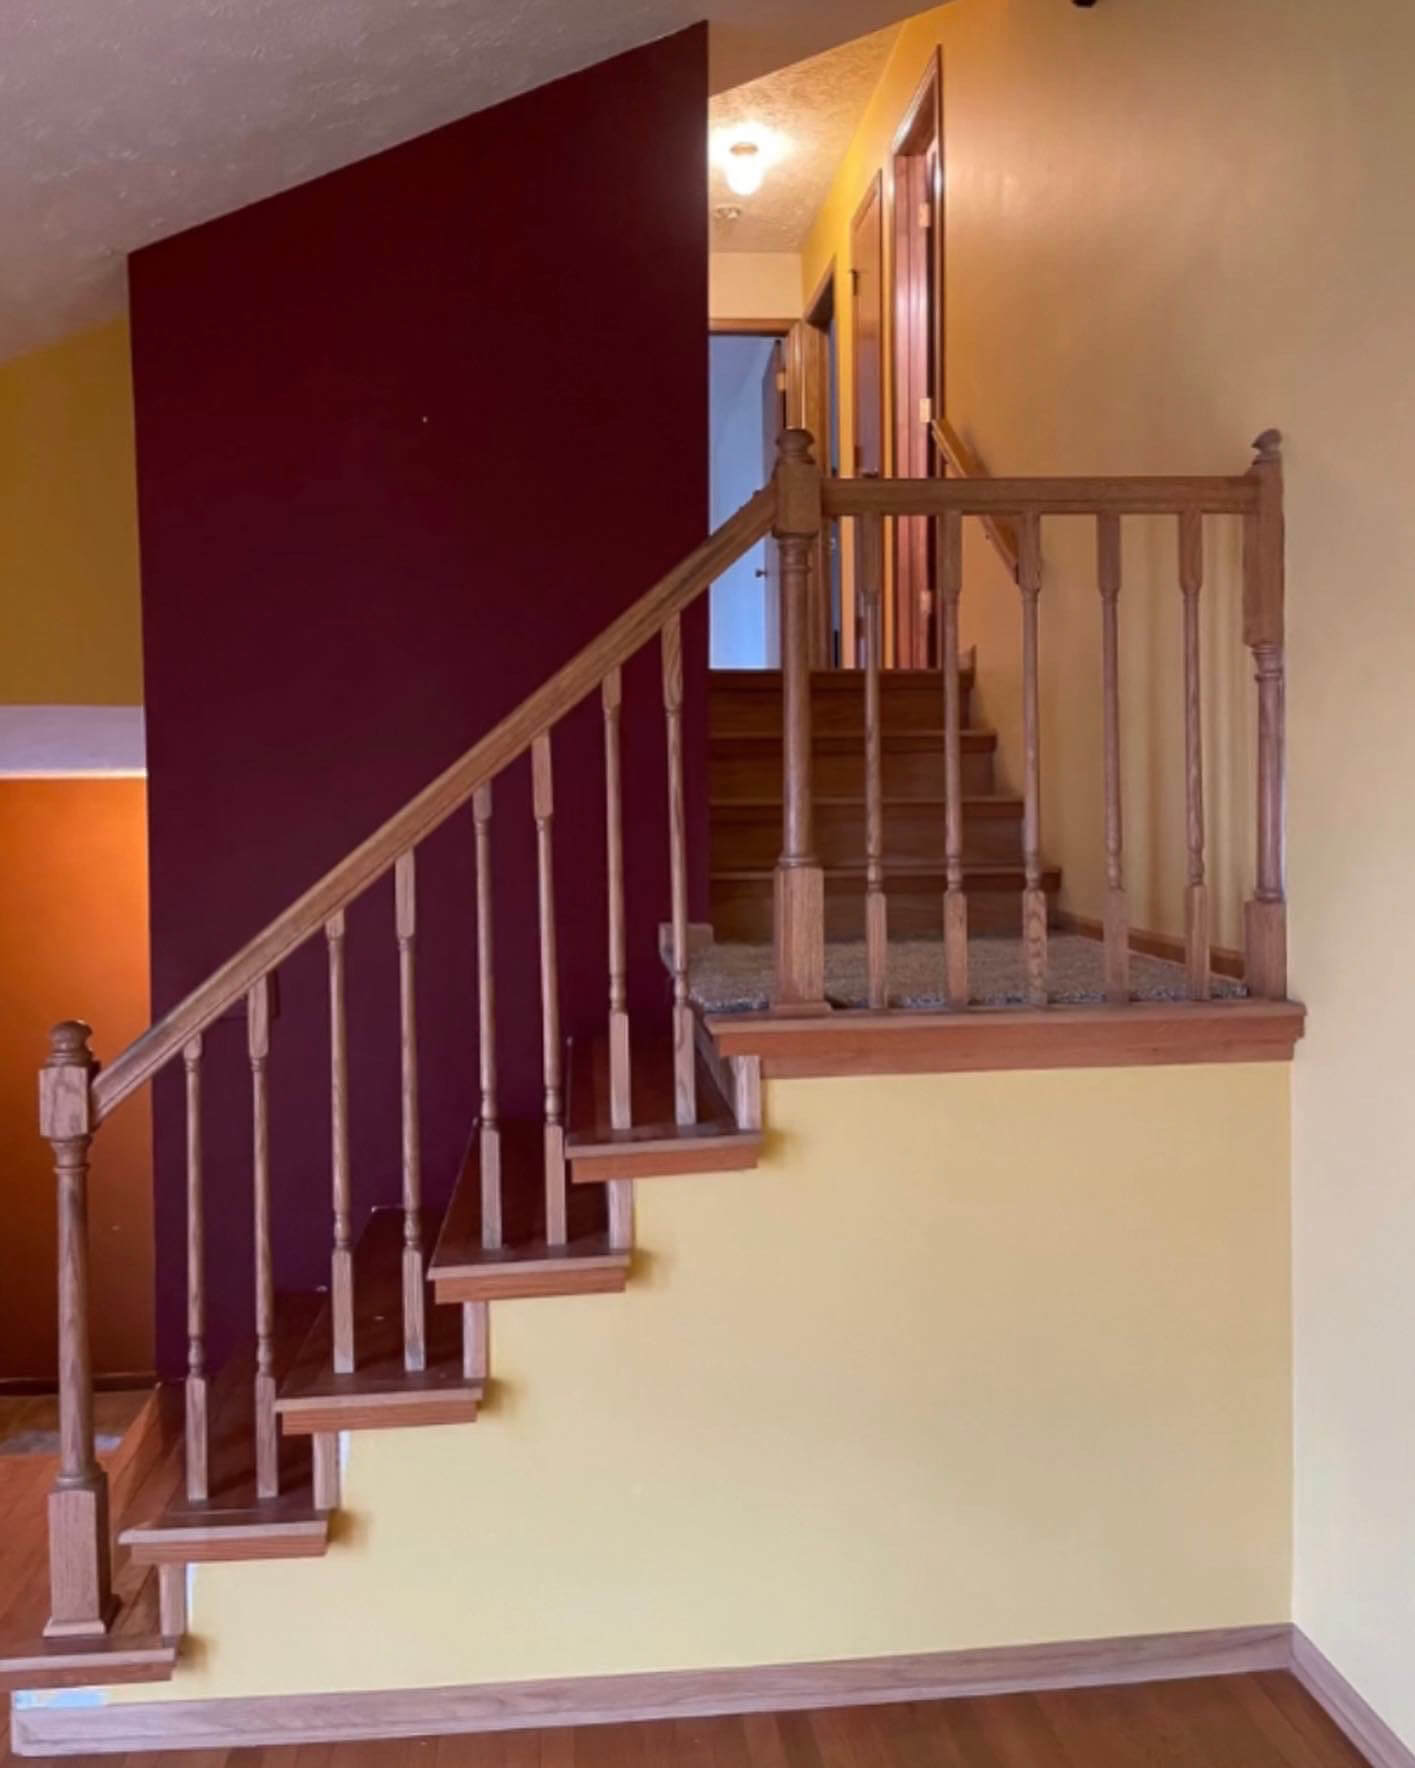
Have I mentioned before how much I hated the yellow paint job? It was everywhere when we first moved into our Nebraska house. The day we painted over it was a good day! After completely gutting and moving around the kitchen and dining section of the first floor, we could focus on this dated staircase. I couldn’t wait to bring it into this century with some new, modern stairs.
Products That I Used
- Stair treads
- Stair nose glue
- Flooring
- Wood glue
- Clear construction adhesive
- Wood conditioner
- Minwax Early American
- Polycrylic
- Painter’s mitt
- Stair brackets
Replacing Stair Treads and Risers
After painting over the yellow, the first step was demo. We removed the old bannister, flooring, risers, and treads.
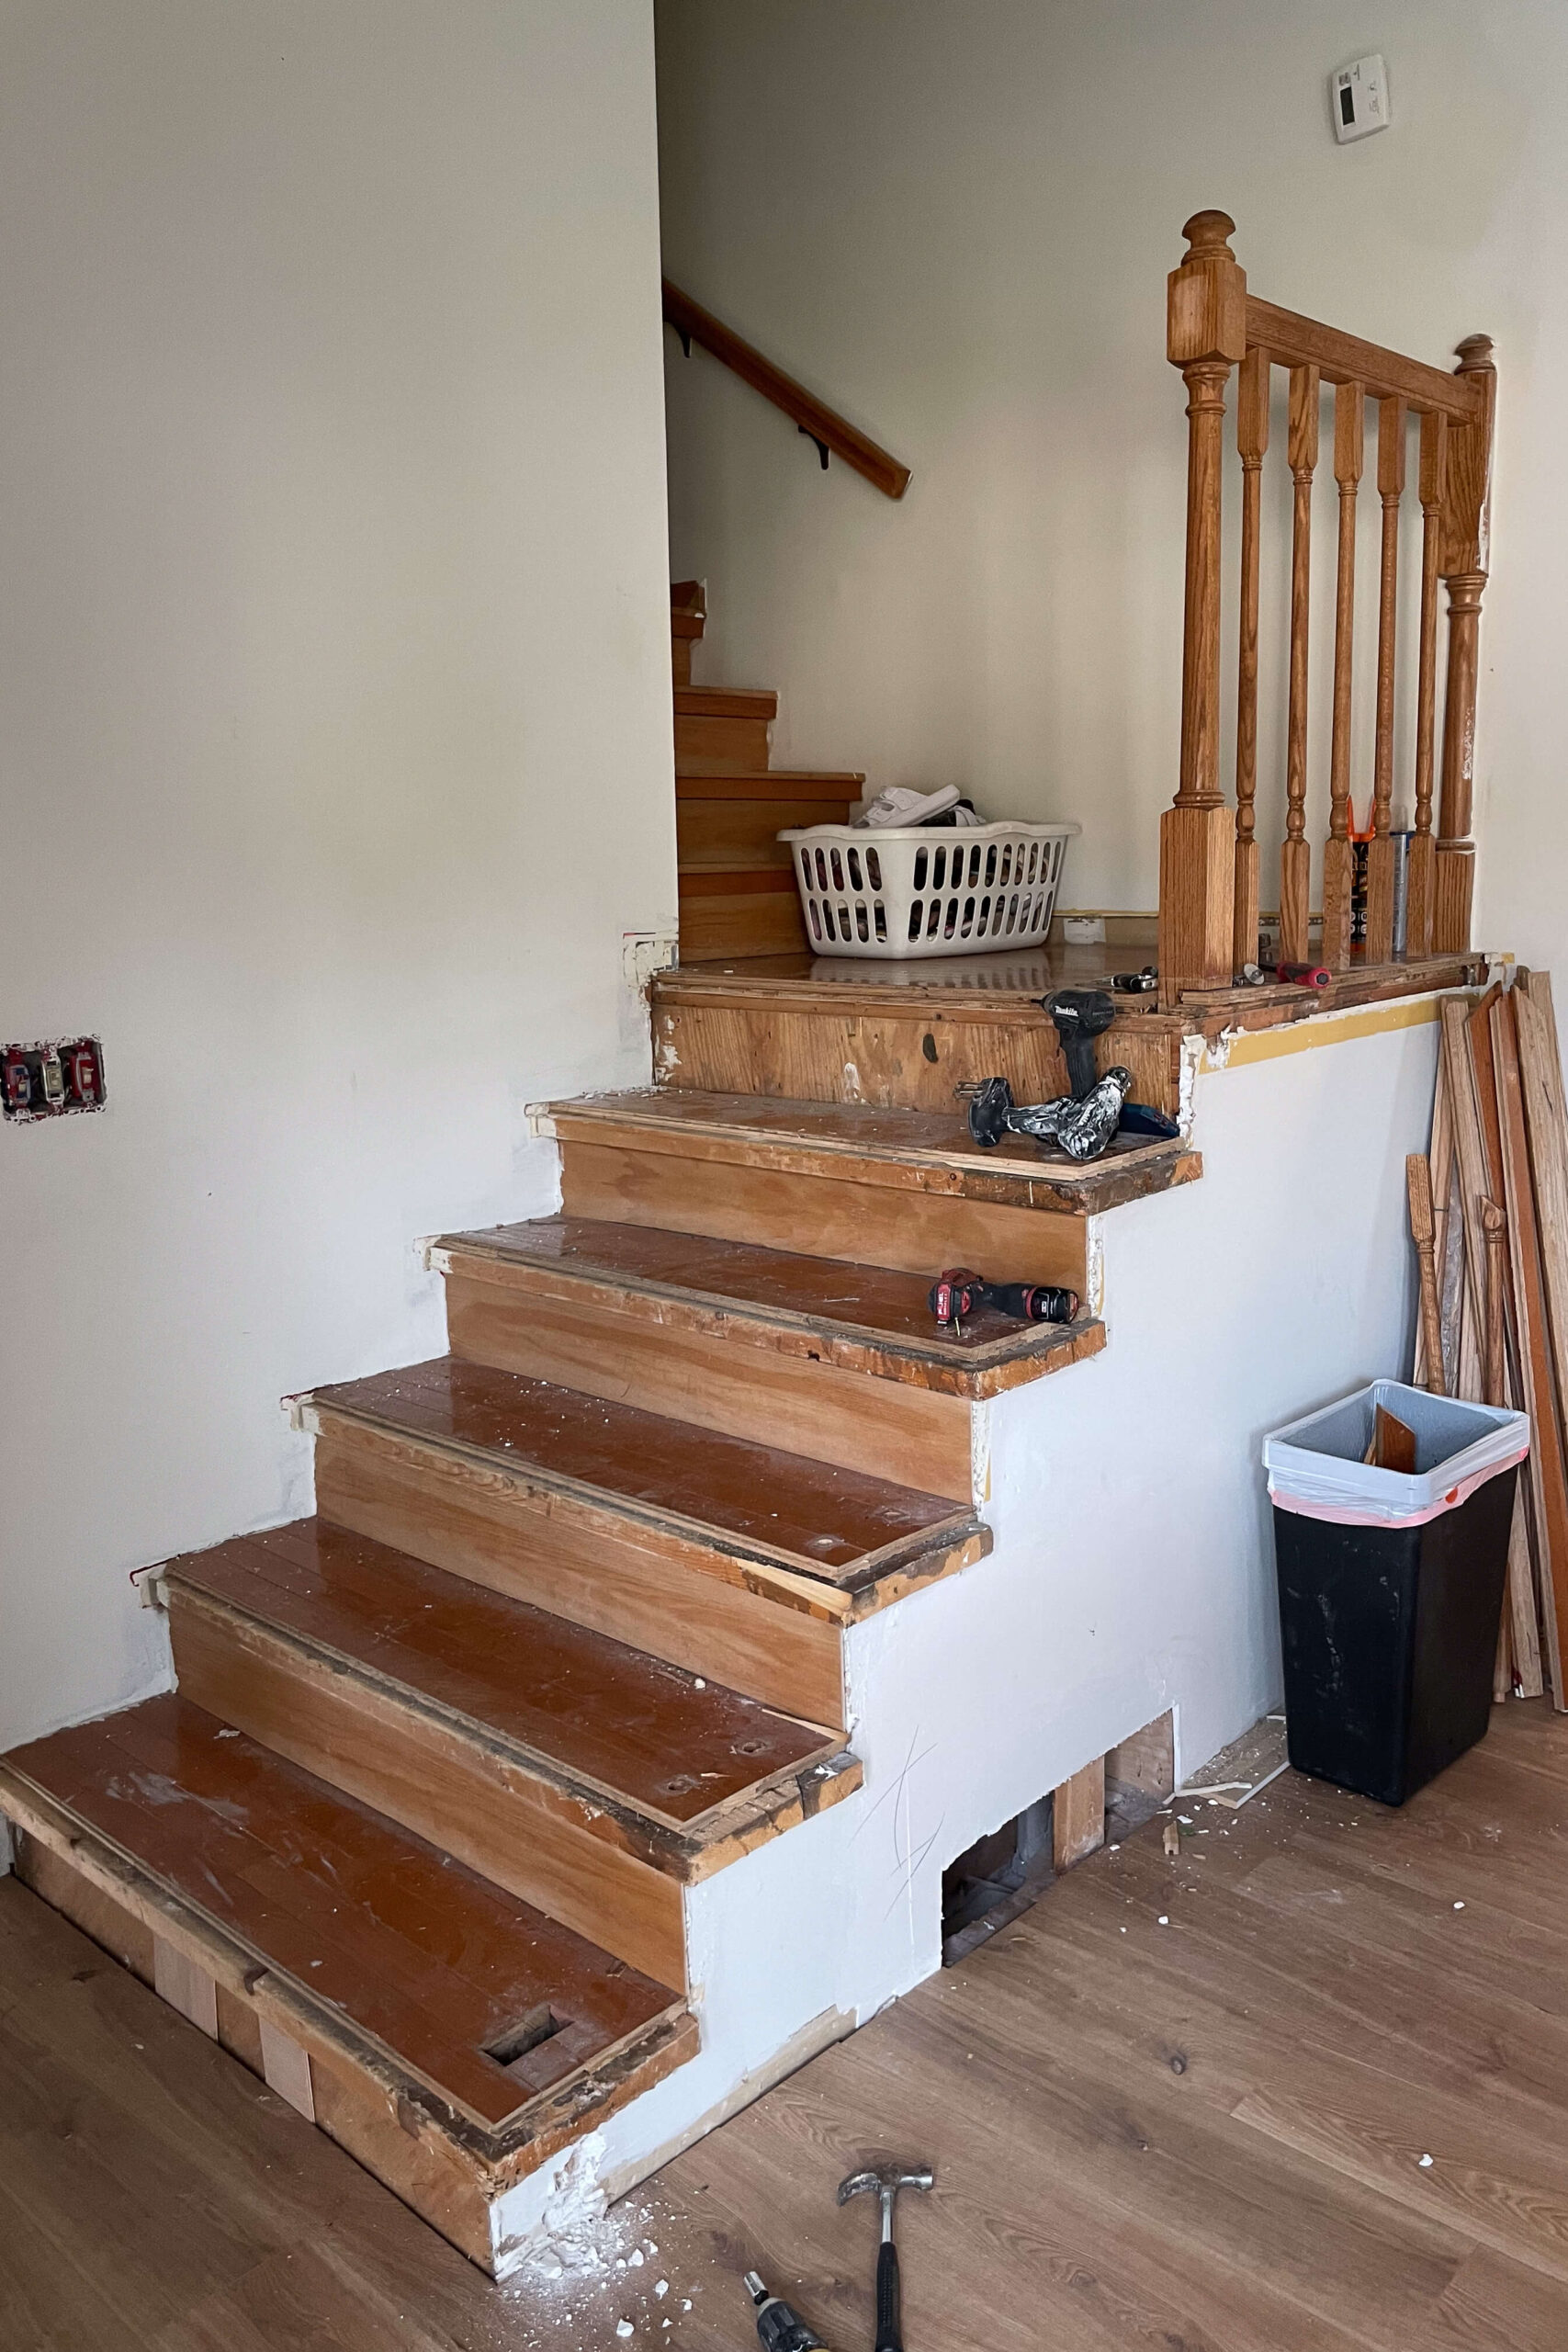
We noticed the stairs lacked a center support piece. The old, thick treads managed without it, but our new, thinner treads required additional support.
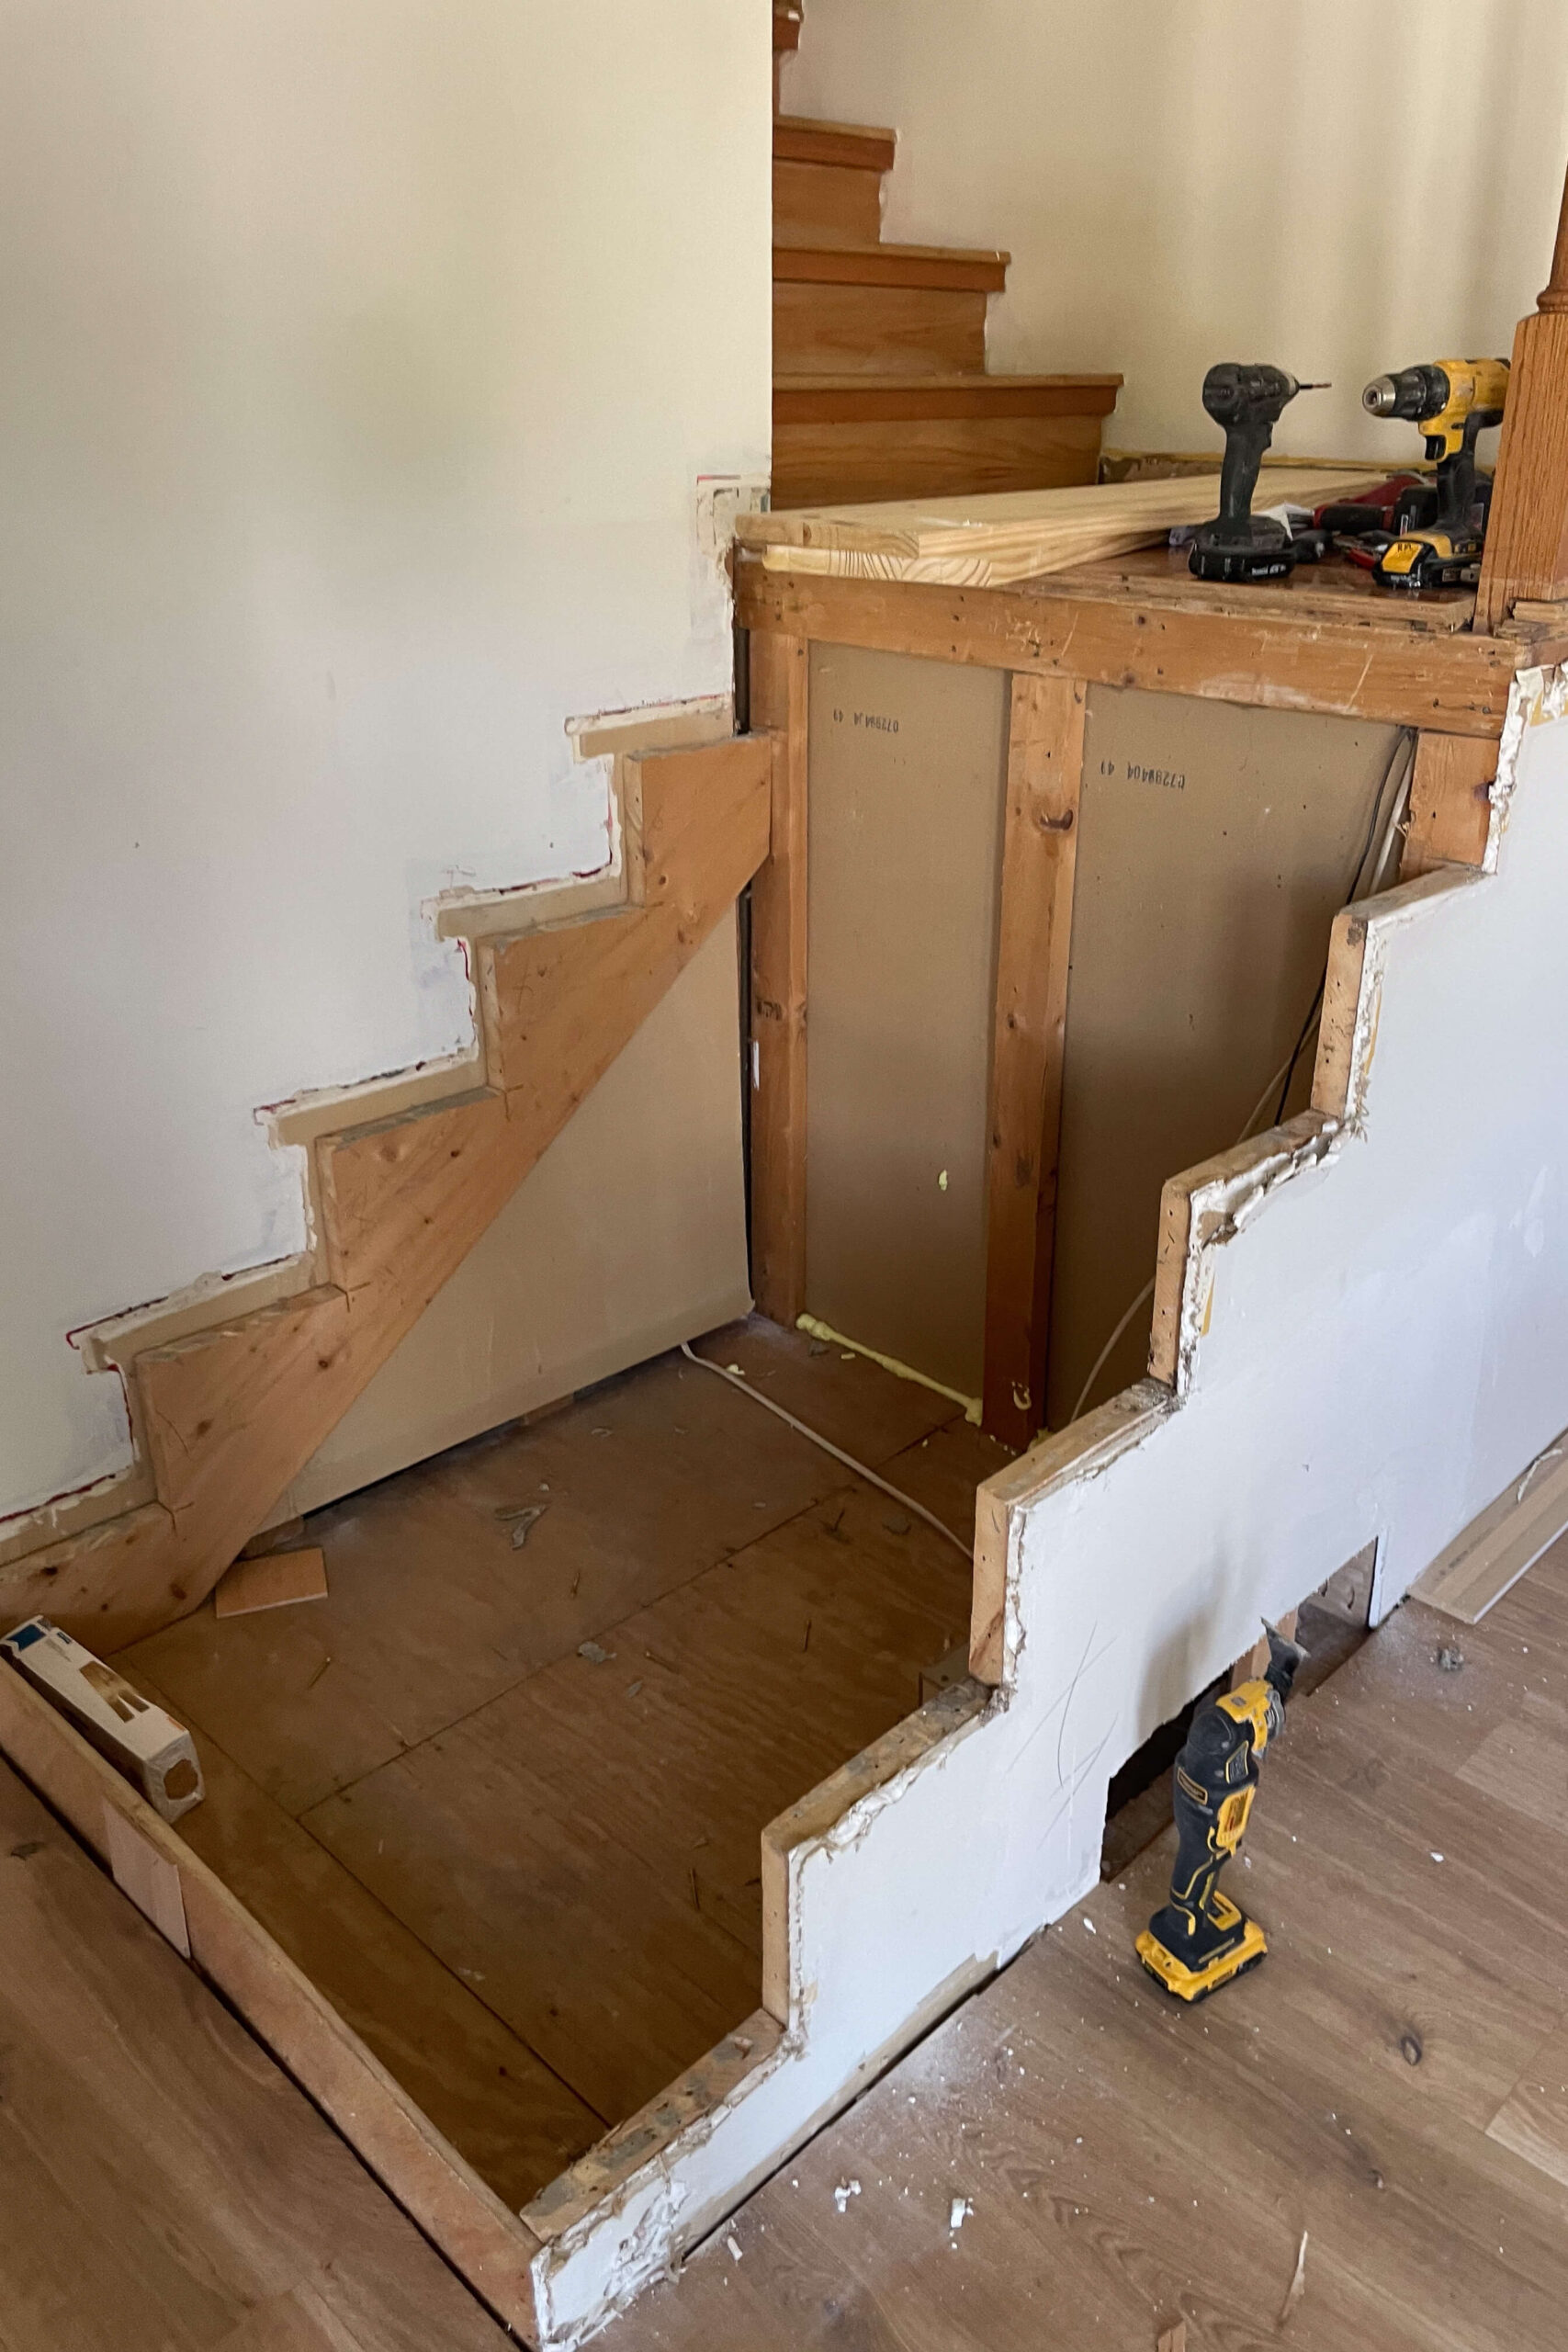
Grandpa (actually my father-in-law, but we call him Grandpa) cut a matching center support piece.
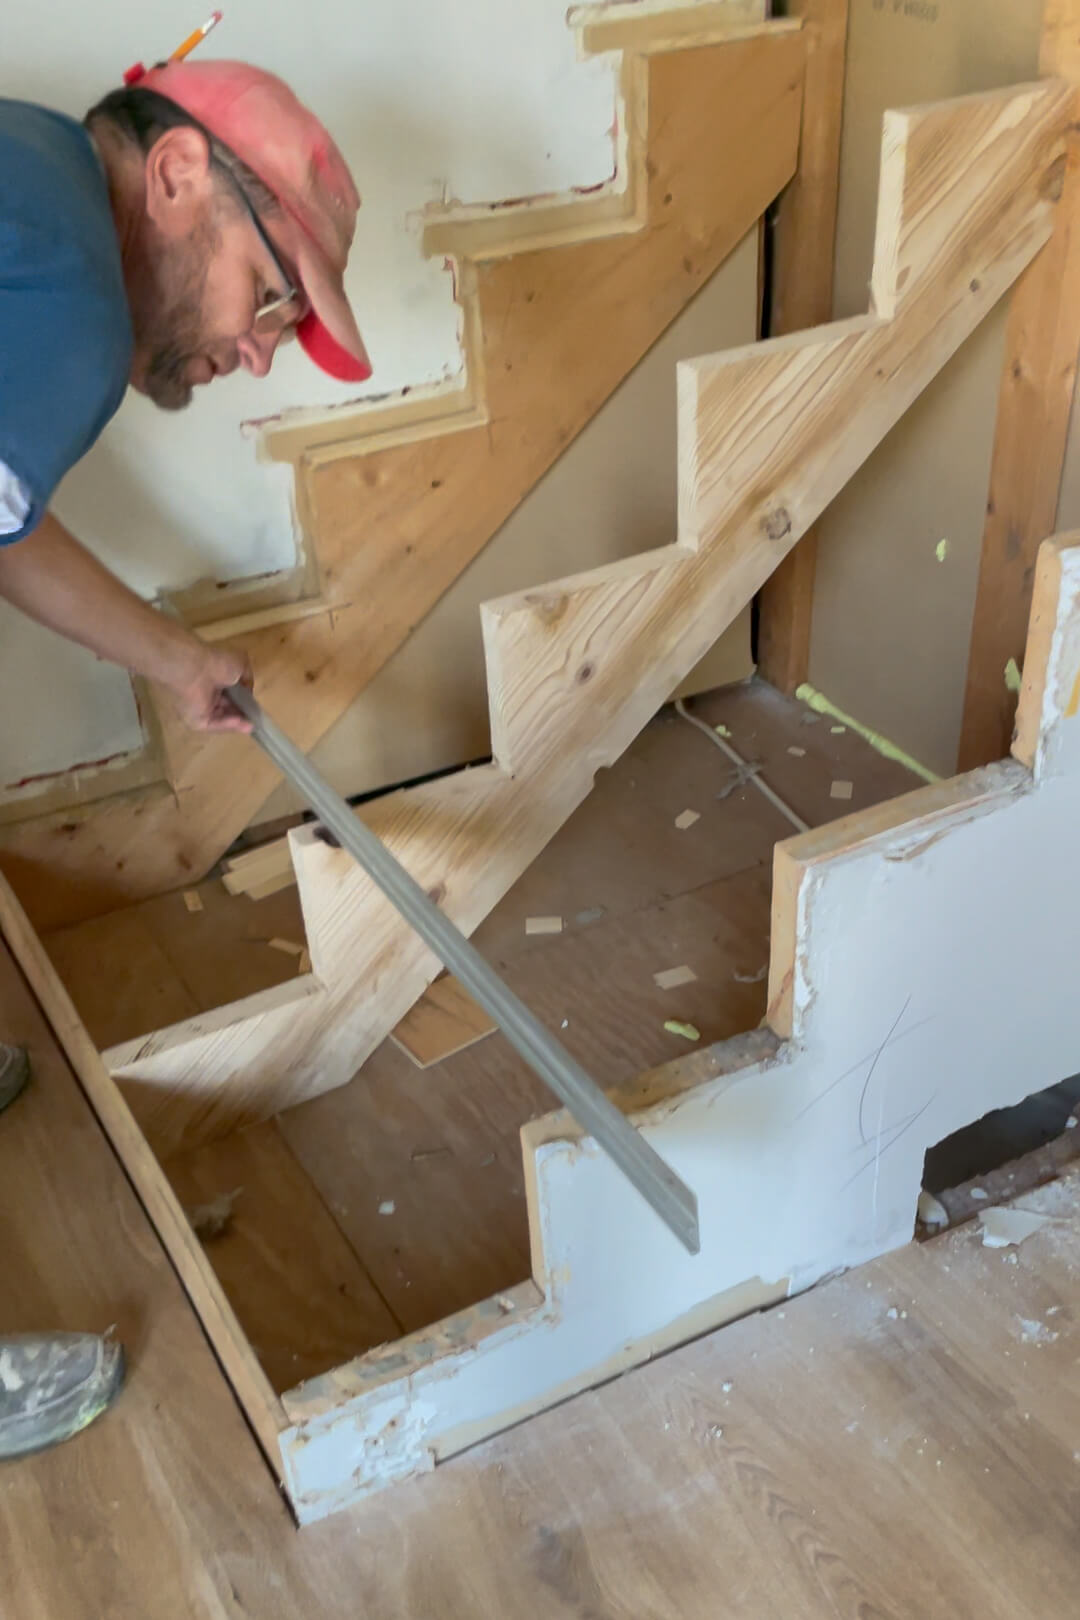
With the bracing in place, we attached the new treads. As the flooring went down, the vision of modern stairs began to take shape. We were reflooring the entire first floor, making it an ideal time for this stair project.
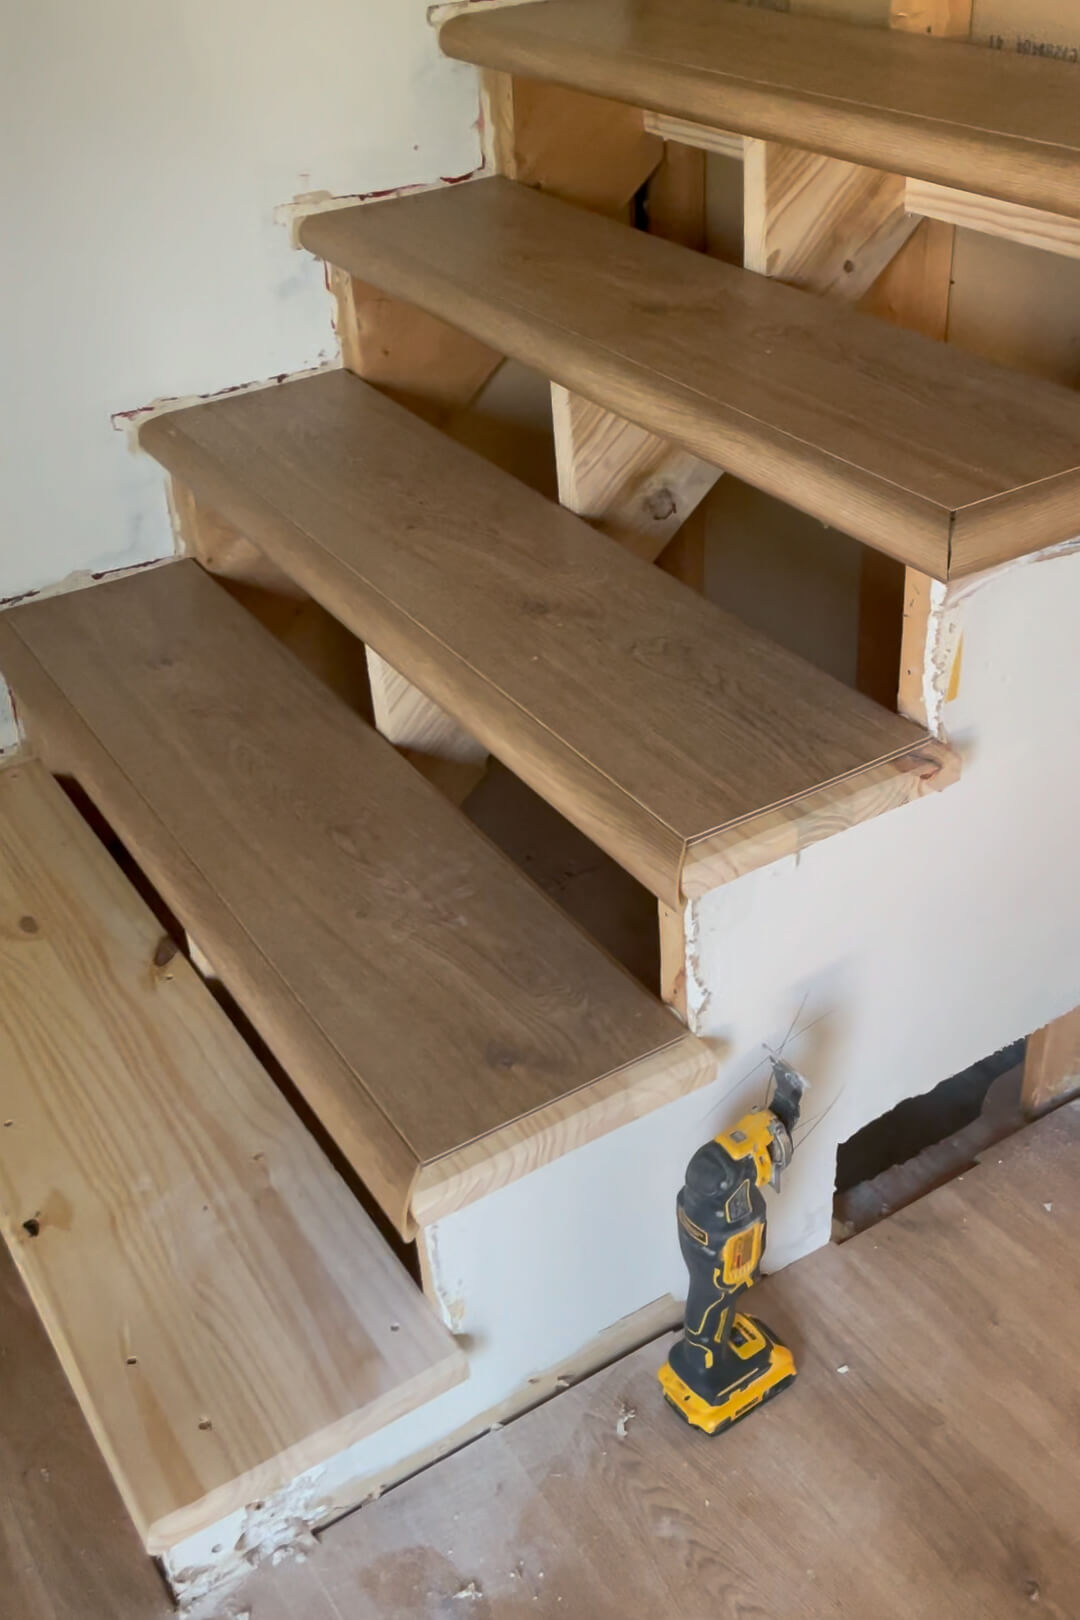
We chose Duravana plank flooring from LL Flooring for its durability, waterproof qualities, and beauty. We love these floors. I have a detailed post about this flooring and its installation.
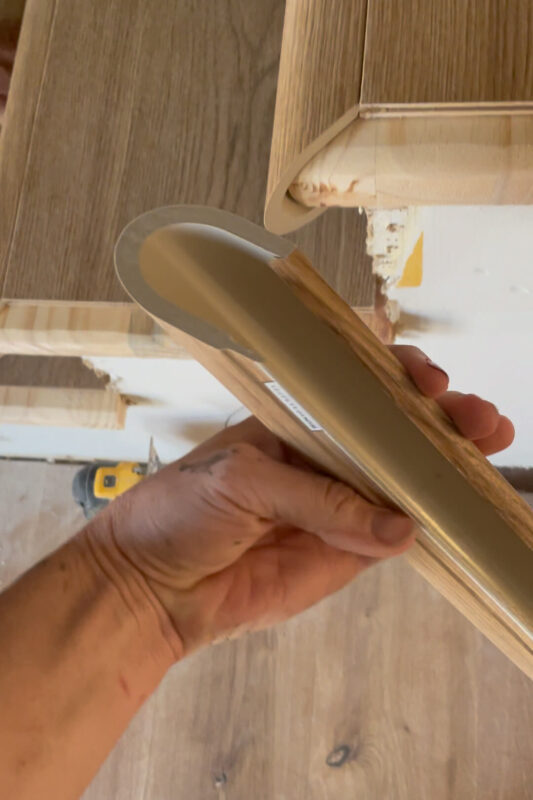
The flooring includes bullnose pieces for wrapping around the stair treads, which attach easily with special stair nose glue. Stairs get a lot of walking, a lot of weight, and a lot of movement, all things that could cause the glue to fail and your flooring to get loose and wiggly. This glue ensures a tight fit, preventing the flooring from becoming loose.
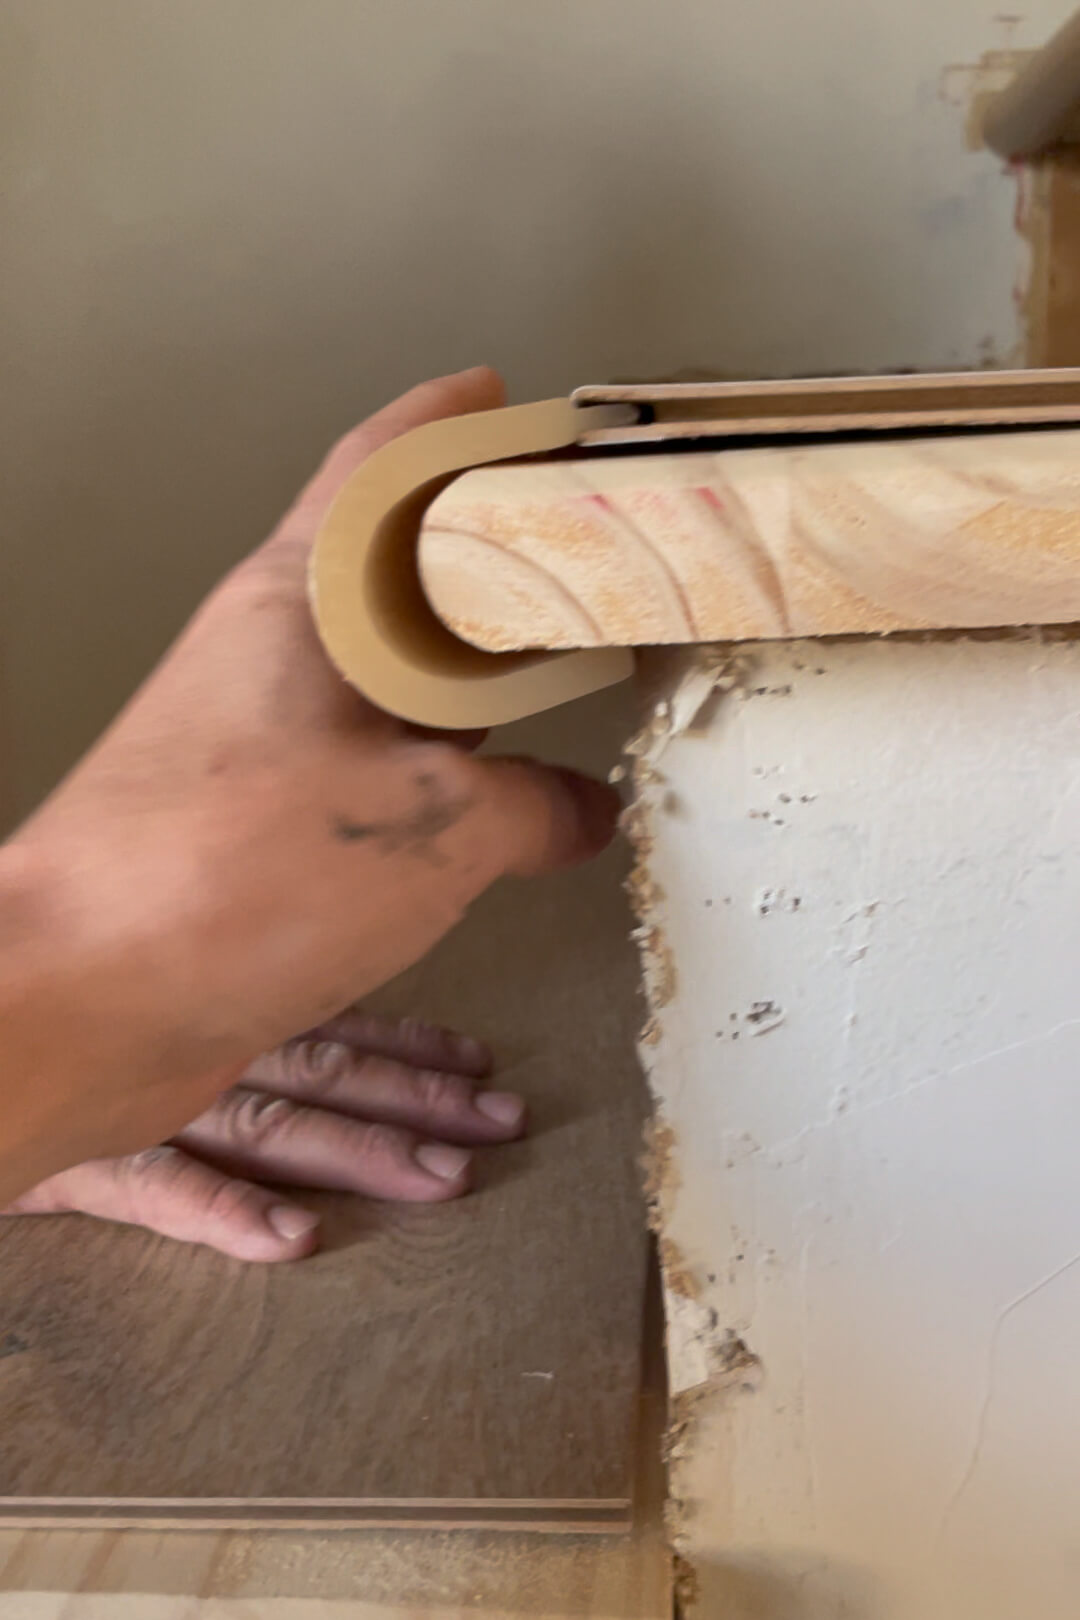
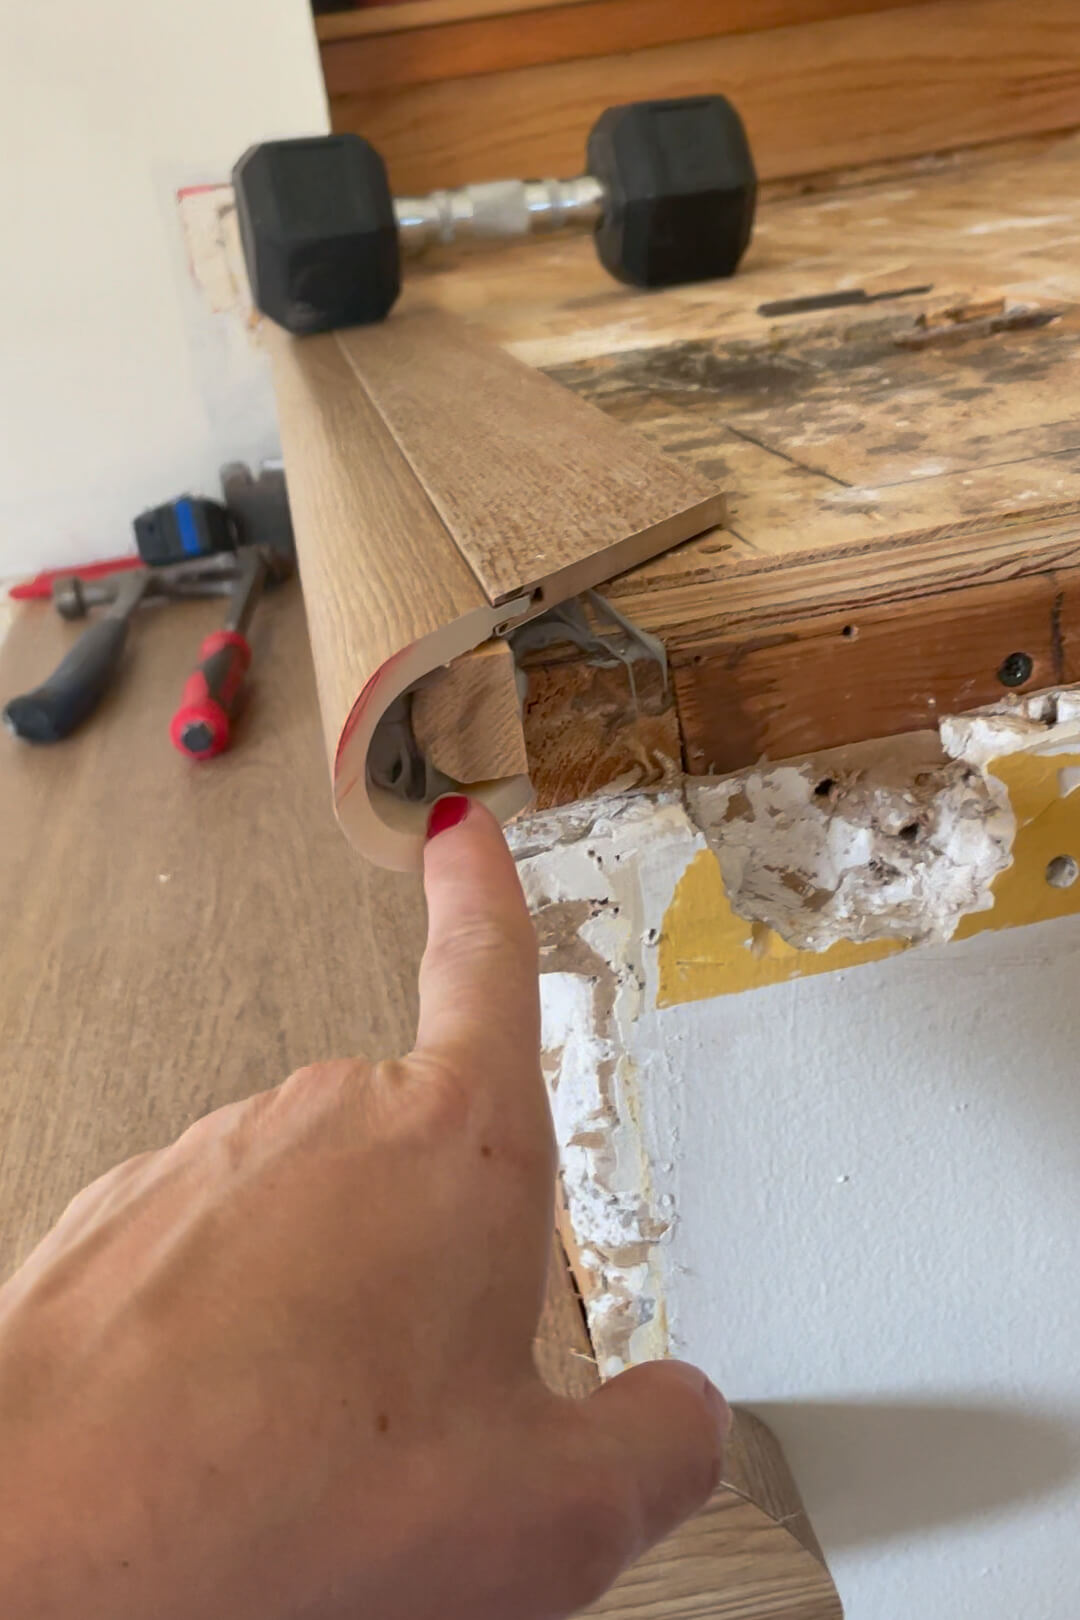
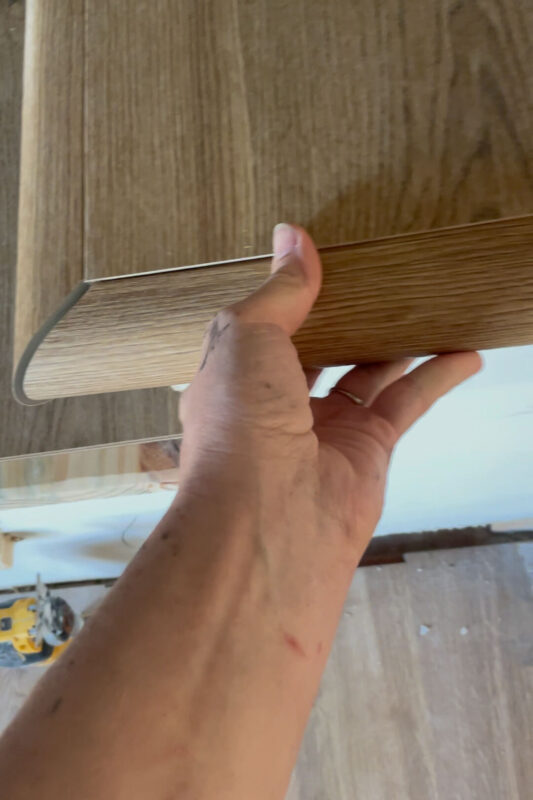
Bullnose pieces for the sides create a clean, finished look. We secured them with glue and used painter’s tape and weights to hold them in place while drying.
Installing Newel Posts and Handrails
Our stair railing parts came from L.J. Smith Stair Systems. They offer beautiful, modern options with all the necessary hardware. We used sleek newel posts with embedded anchors for a seamless look.
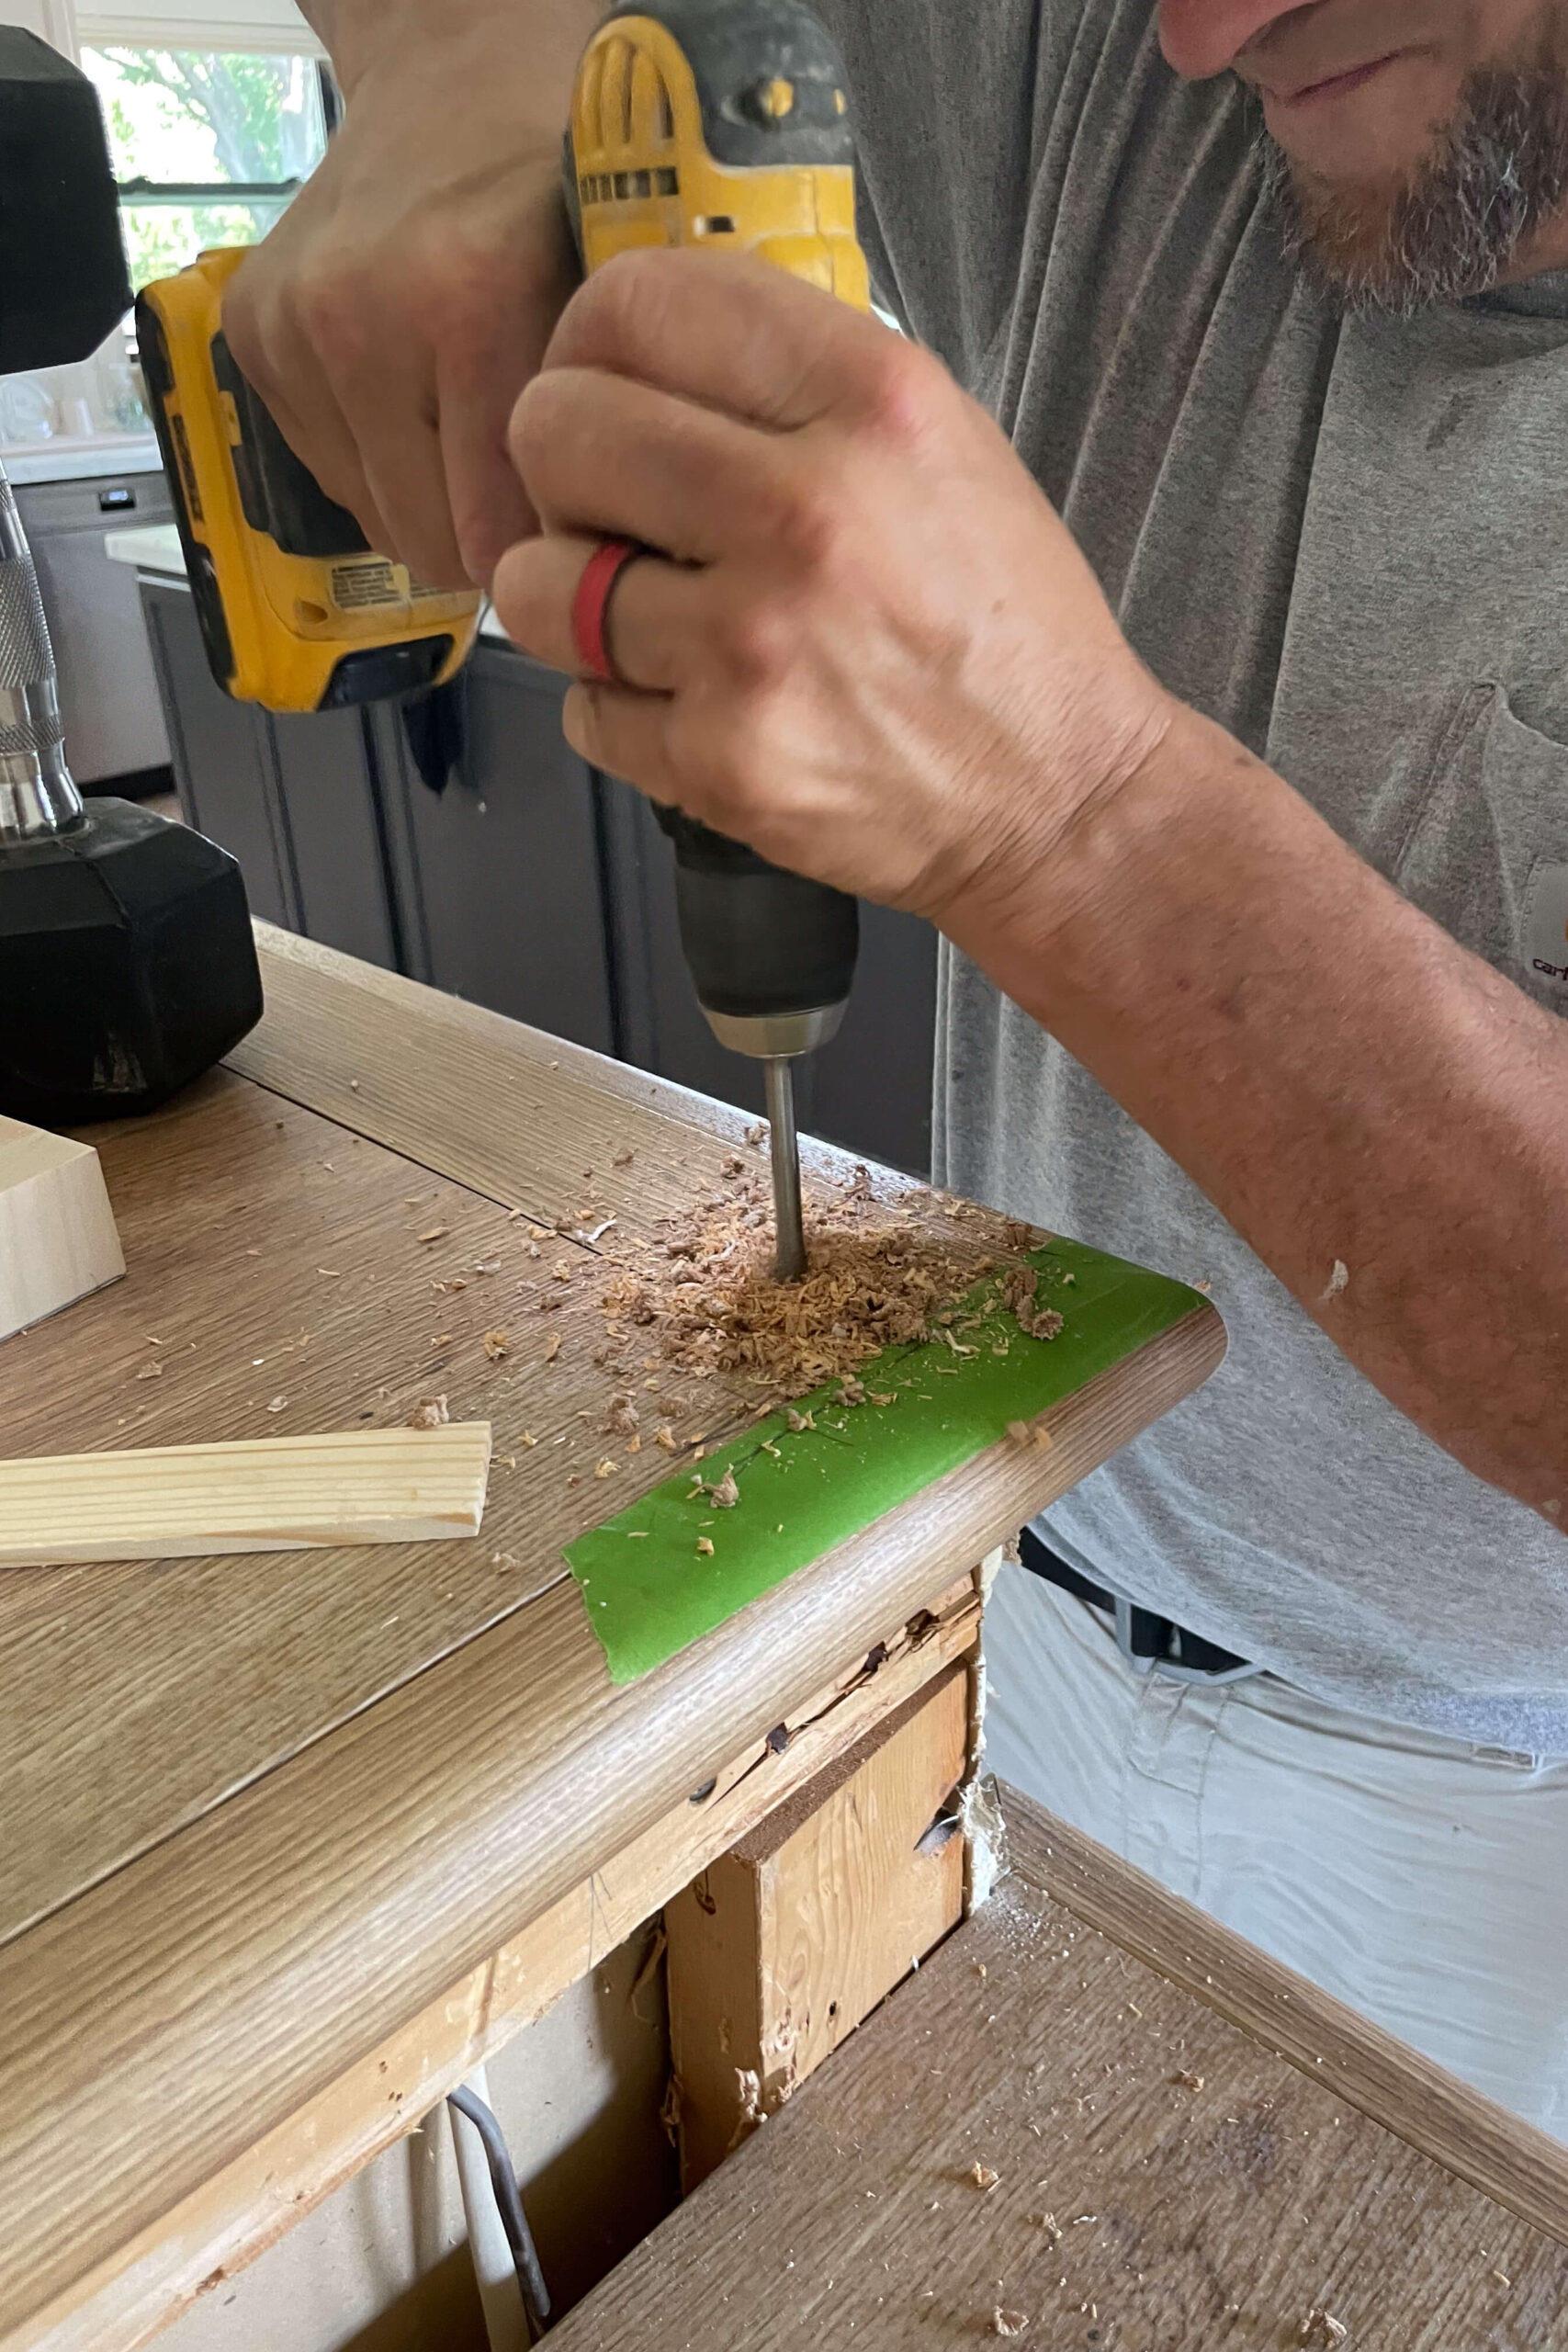
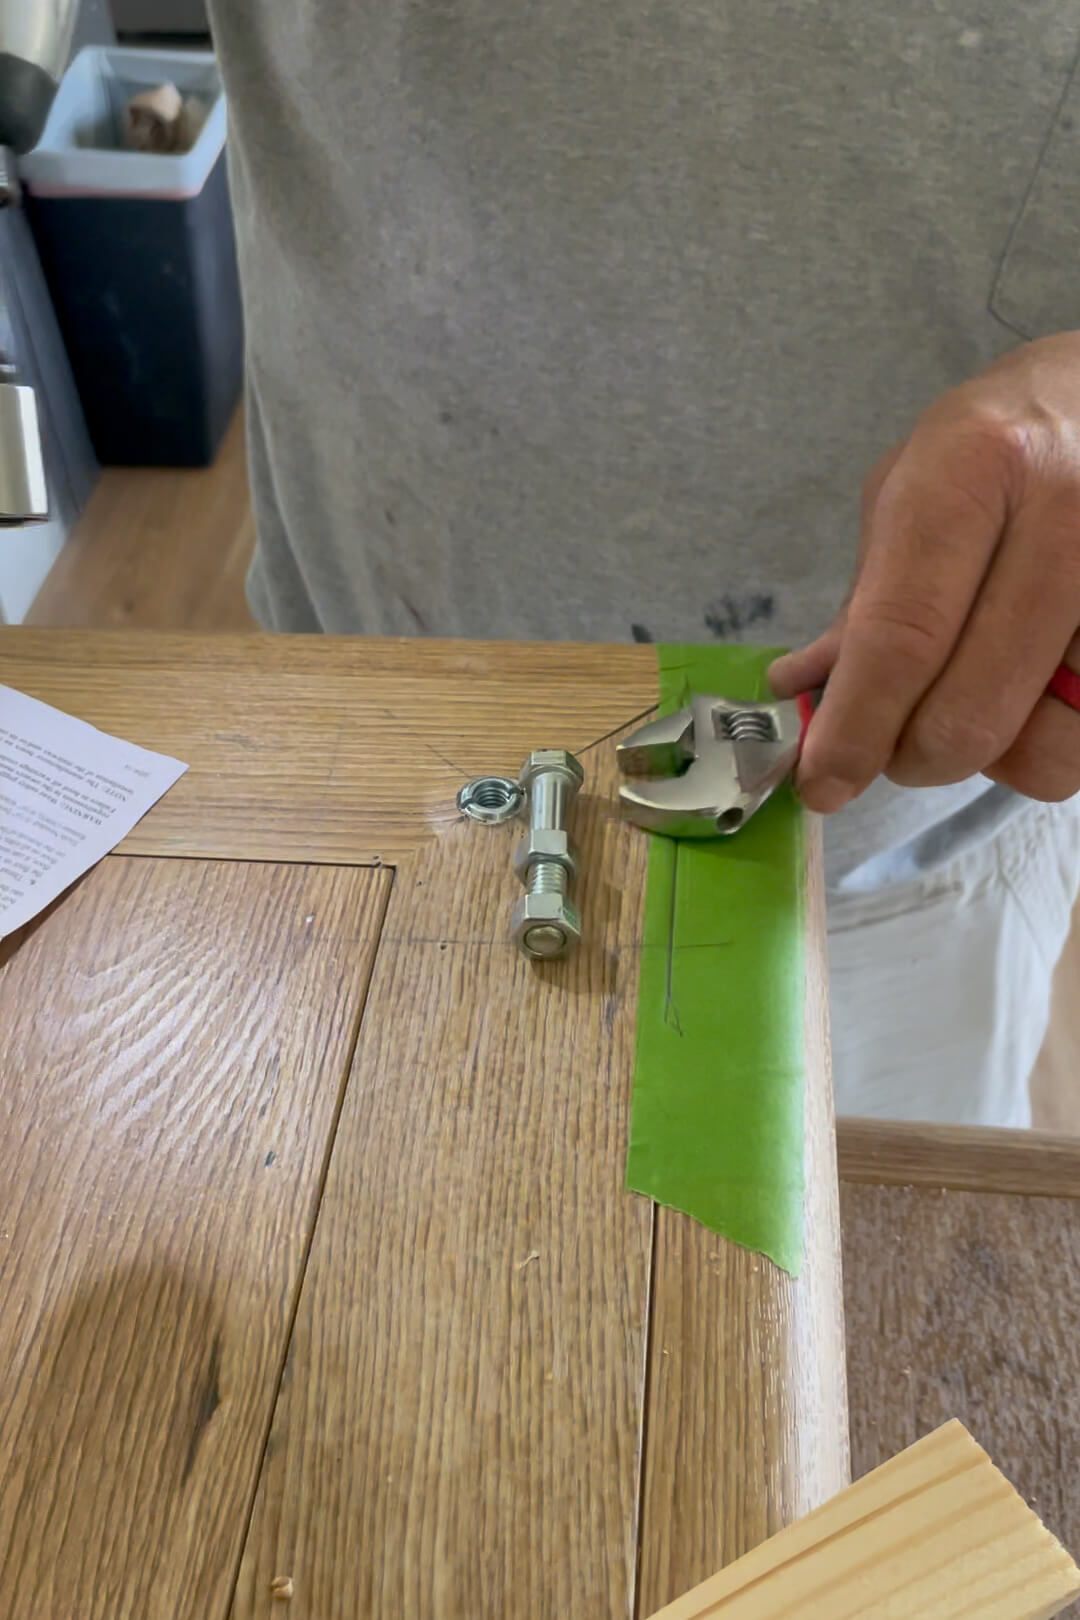
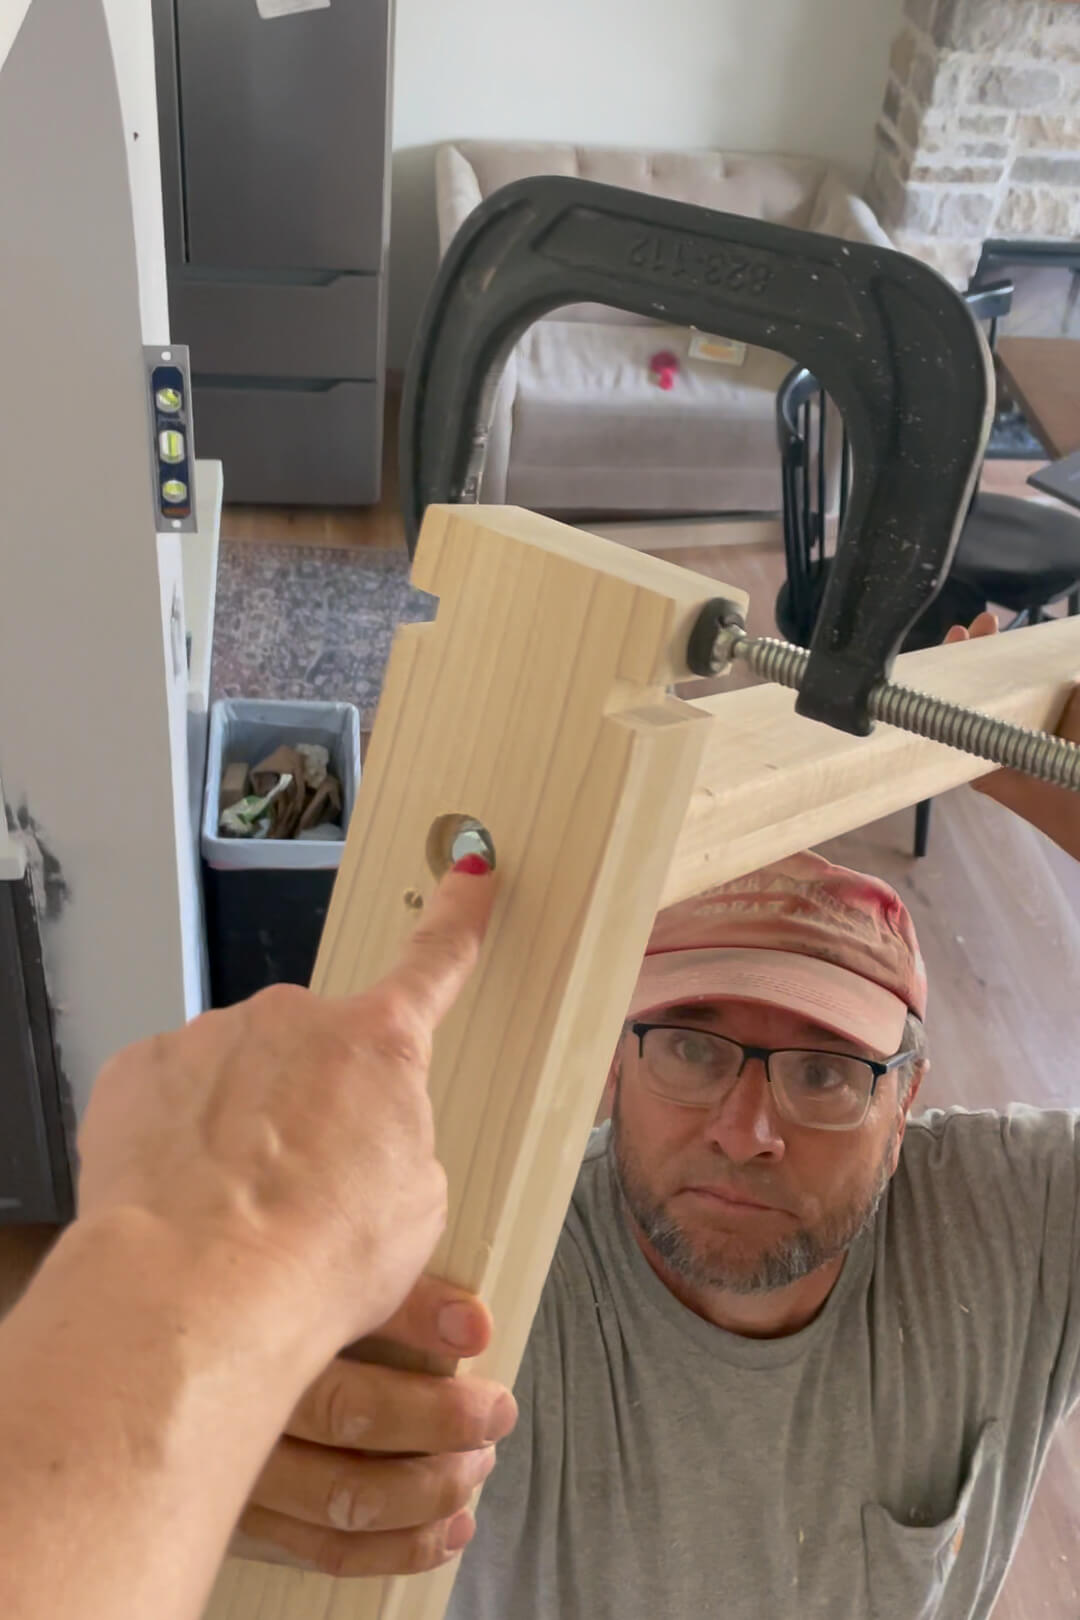
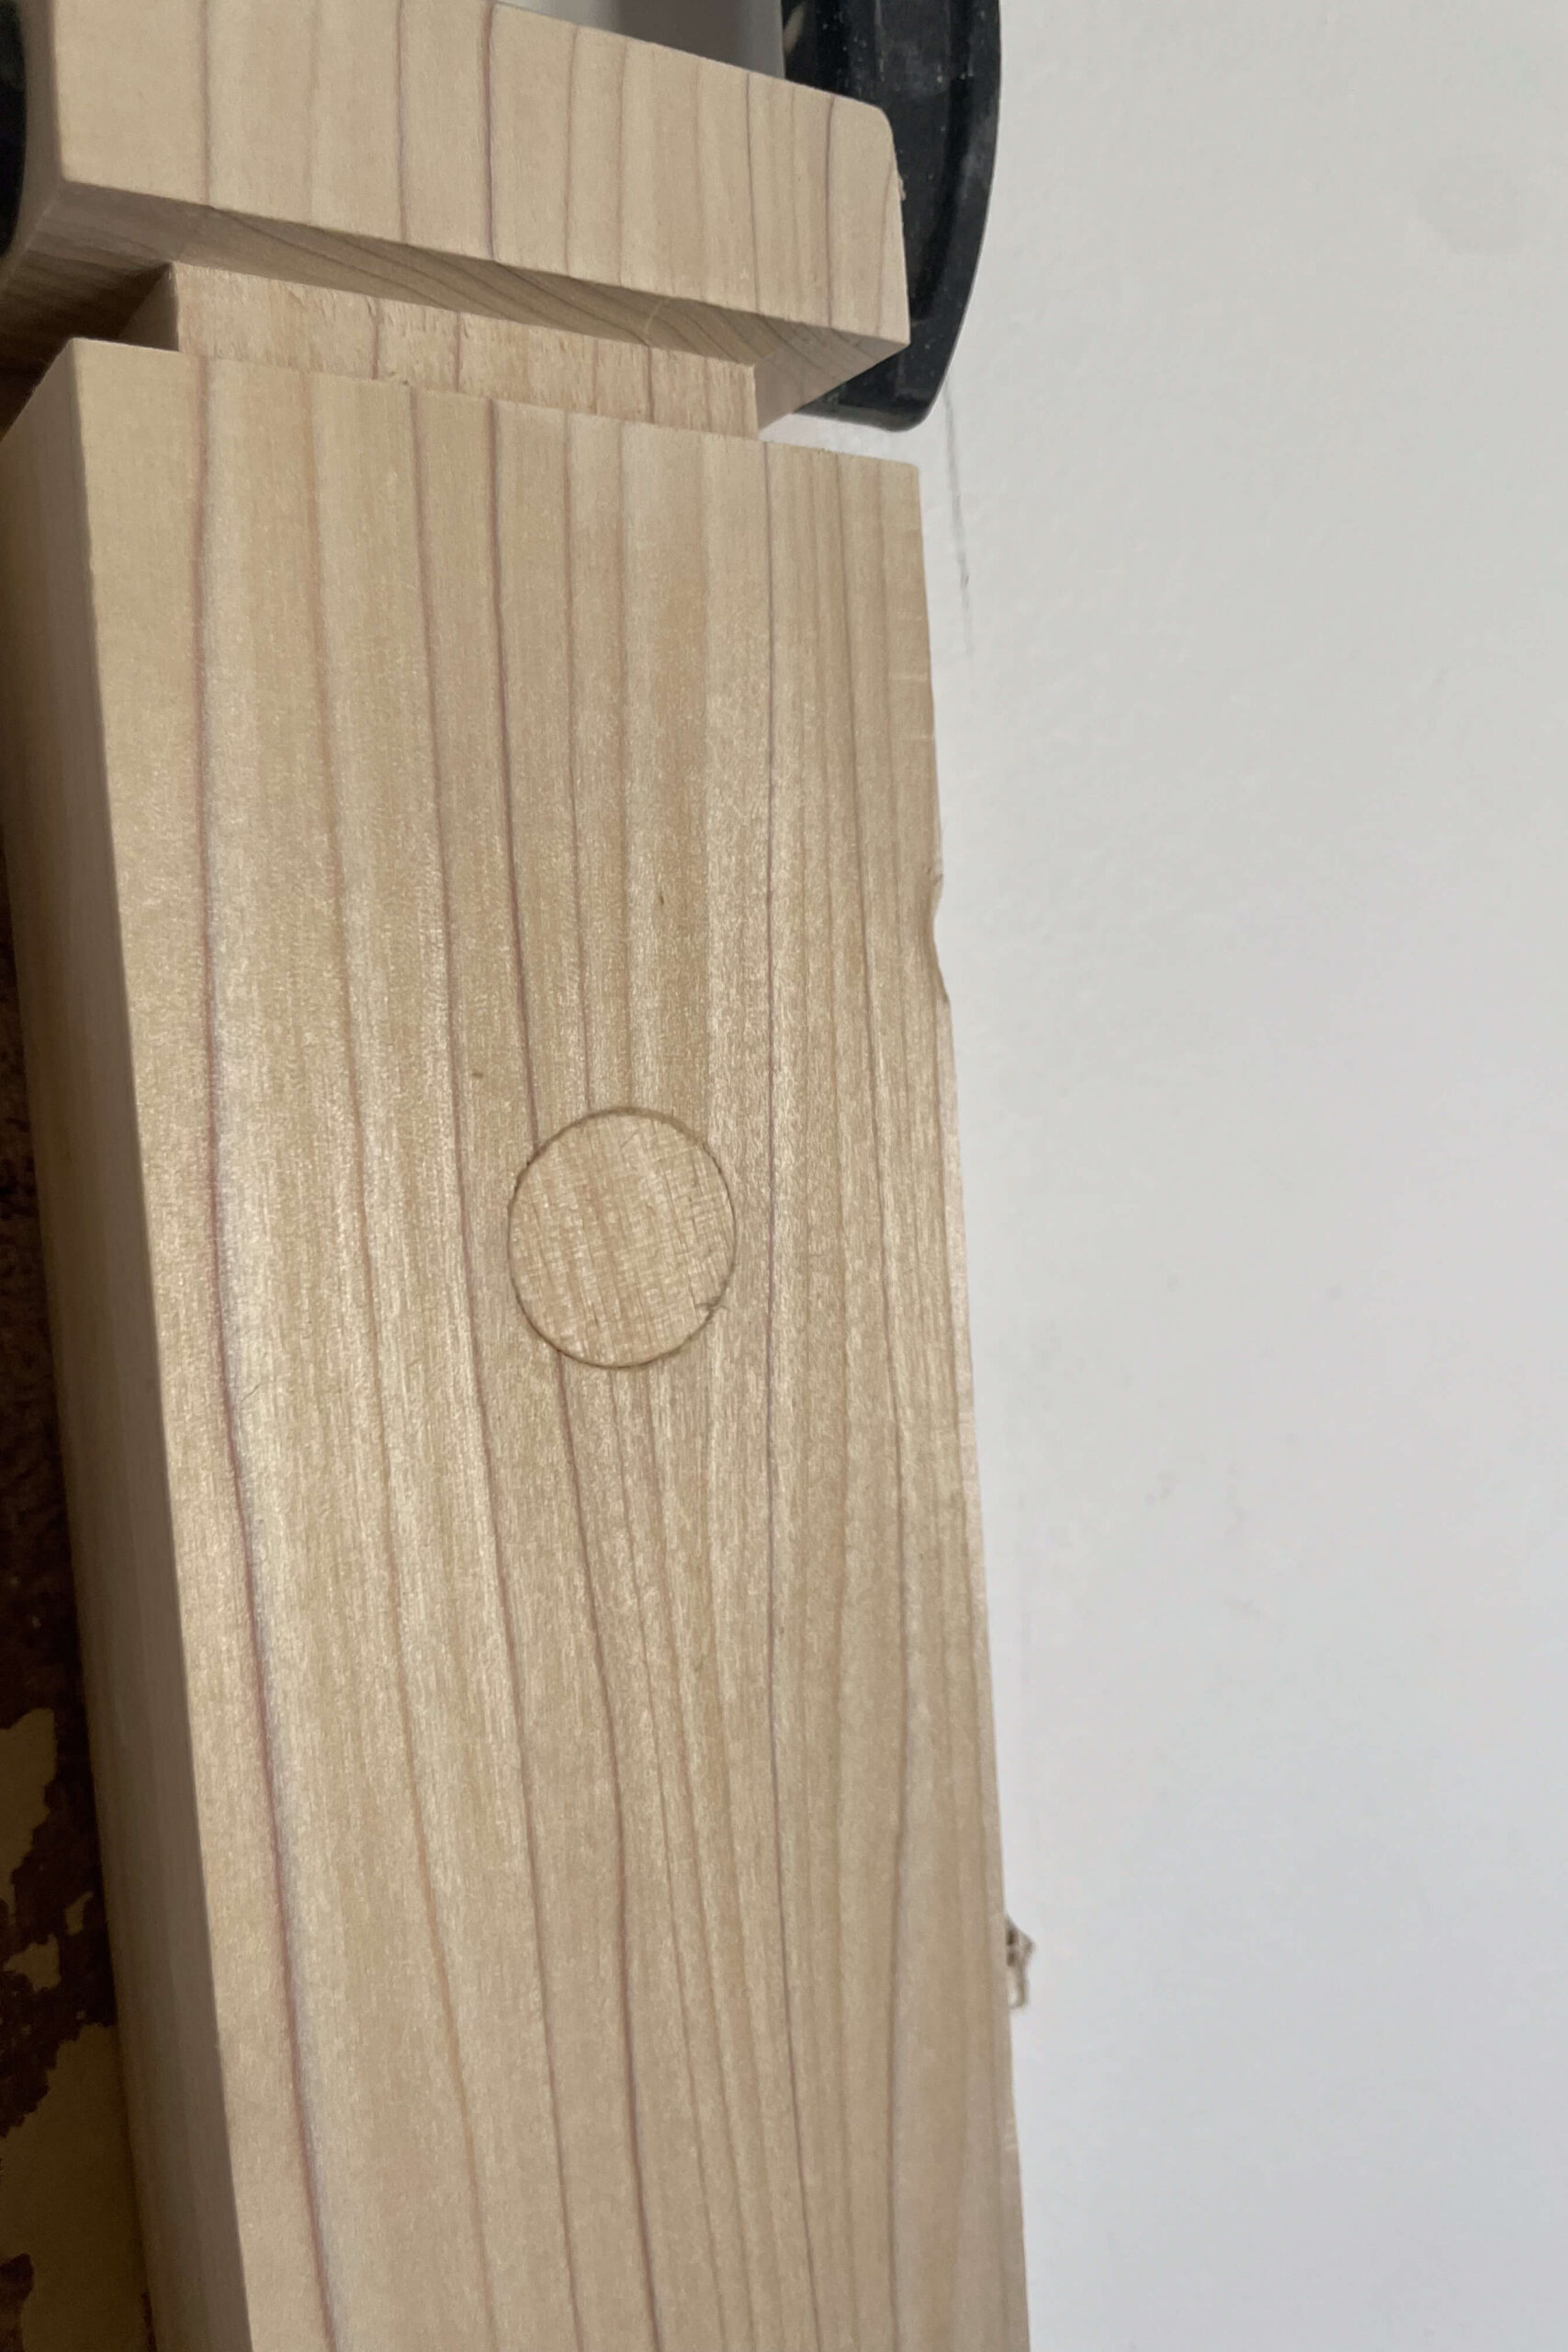
Grandpa followed the Newel Mounting Kit instructions: measuring and marking the post’s center, and then drilling a 5/8″ hole.
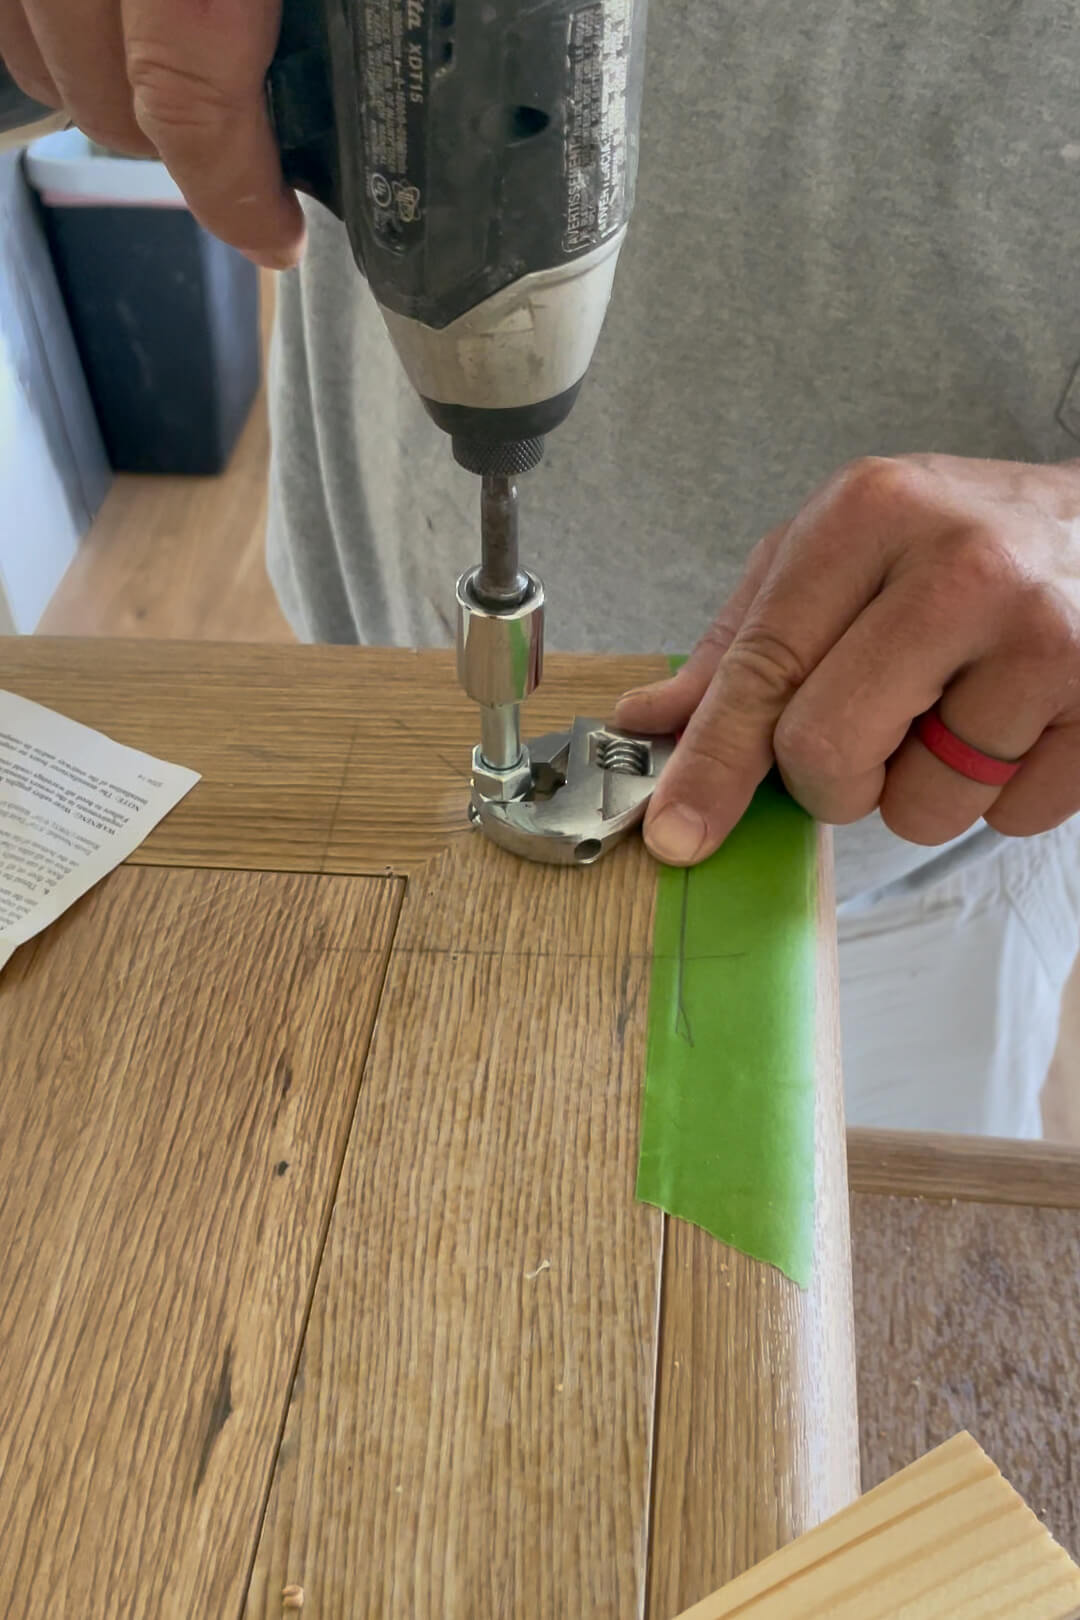
Then, using a drill, a bolt and the hex nuts, he inserted the steel insert.
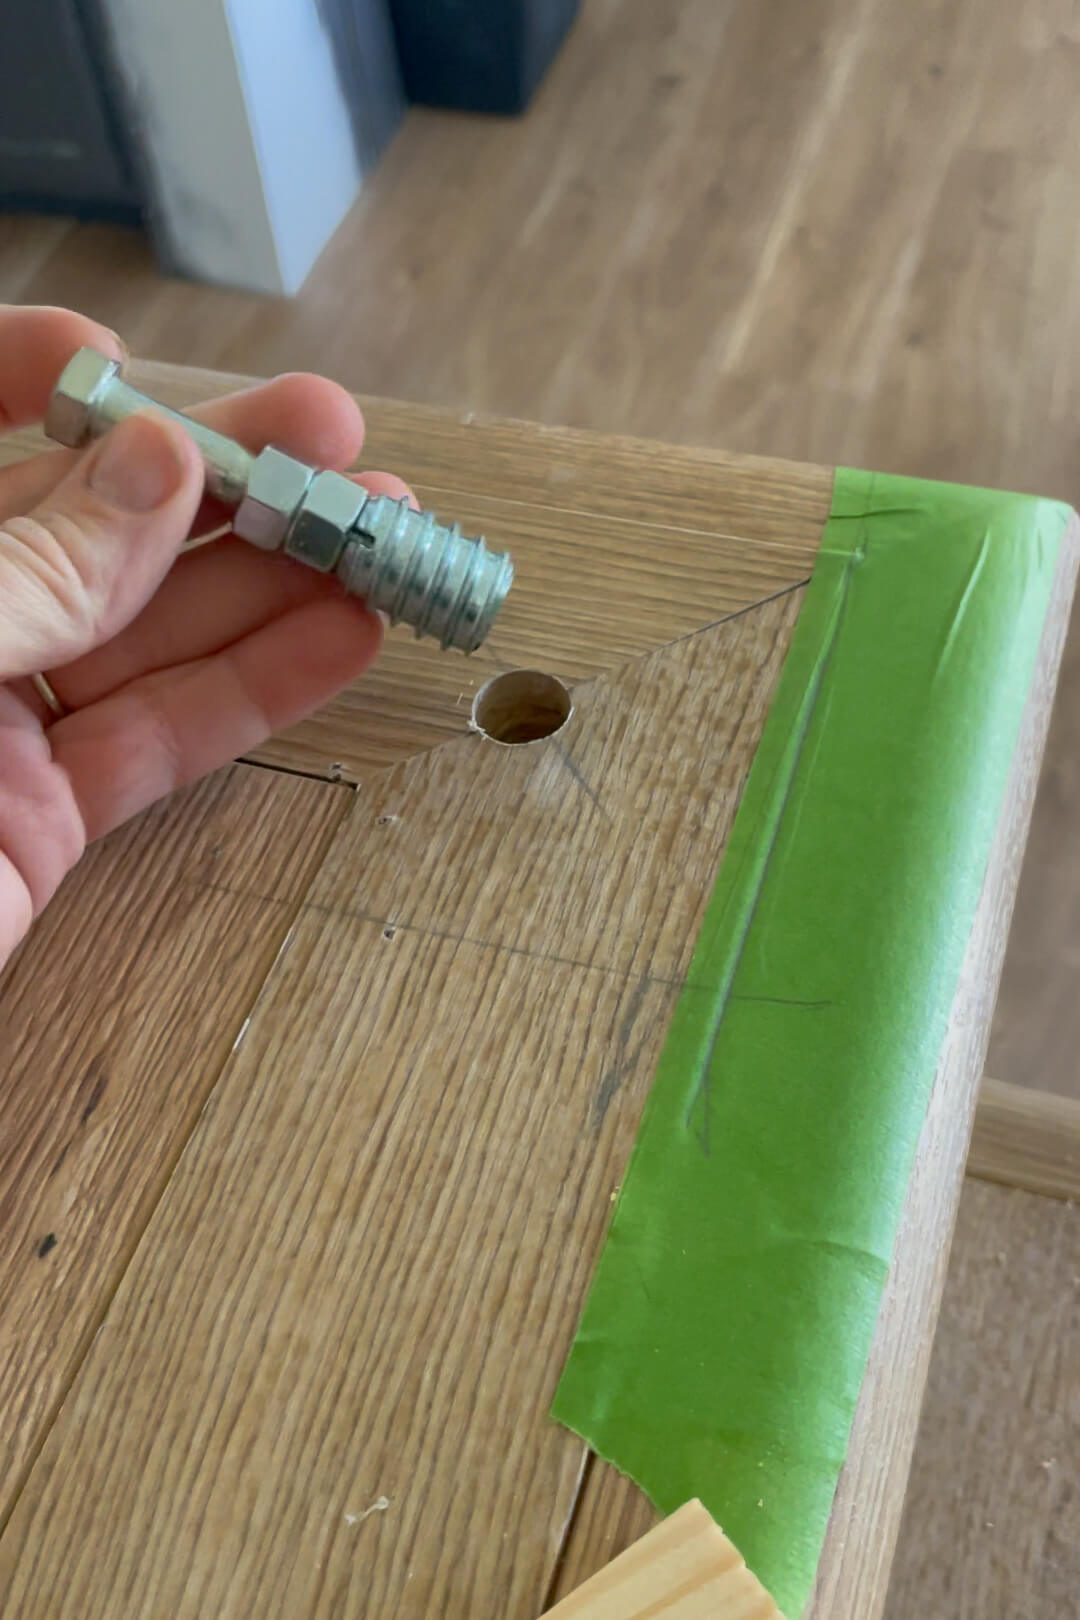
Using a drill, Grandpa drove the bolt (with the steel insert piece at the bottom) into the hole while holding onto the locking hex nuts with a wrench.
Once the steel insert is in place, he can back out the bolt, leaving the steel insert embedded in our stairs. Now we have a threaded piece for the newel post to screw into.
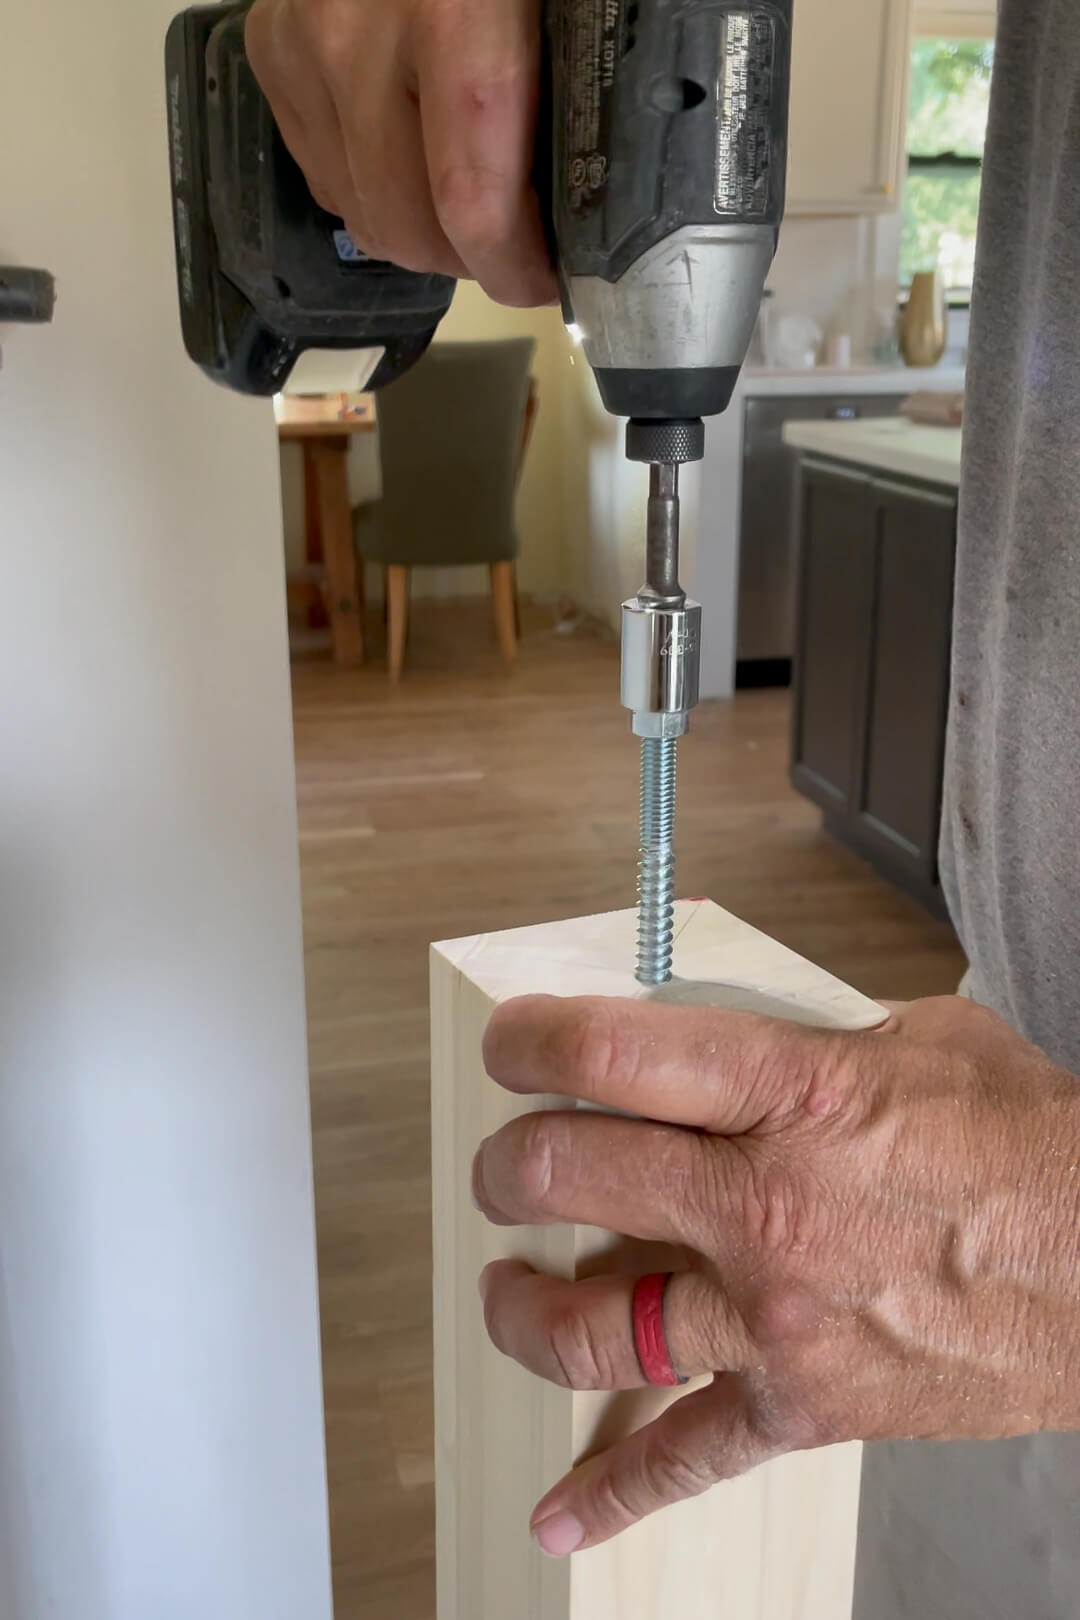
After embedding the steel insert, the newel post was cut to height, and a 5/16″ pilot hole was drilled in the bottom.
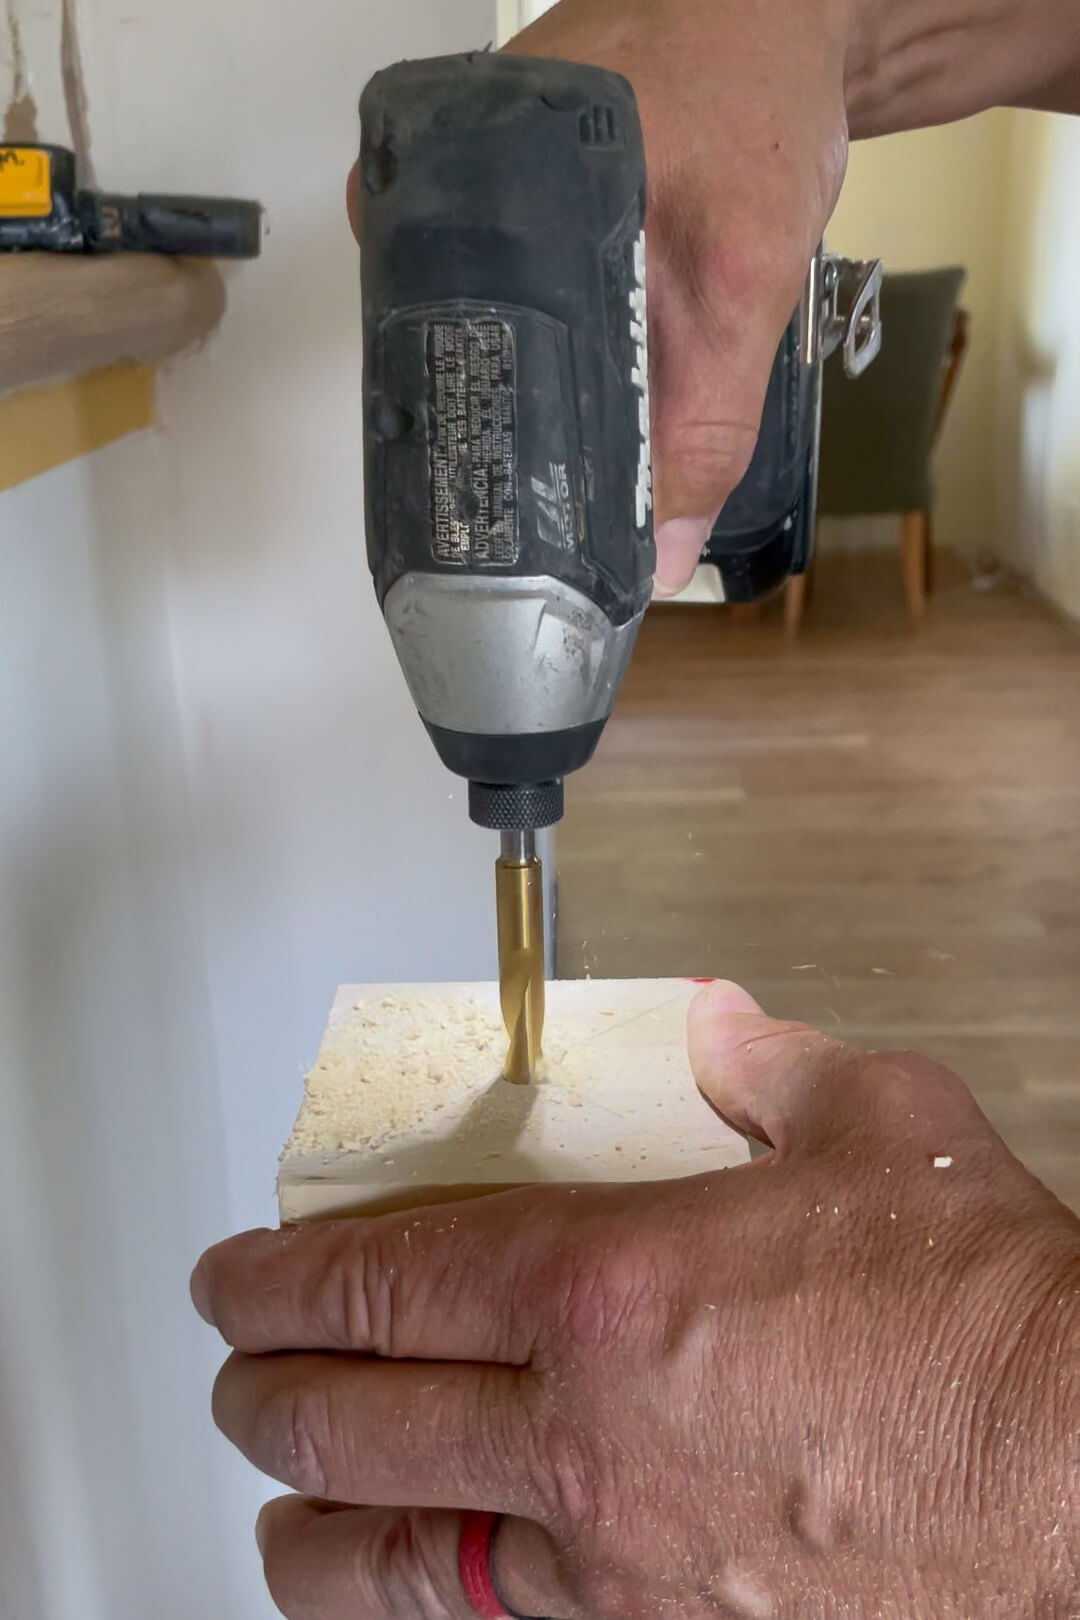
He installed a hanger bolt into the hole, creating a post that twists into the steel insert.

For the half-newel post at the landing, we mounted it to the wall stud.
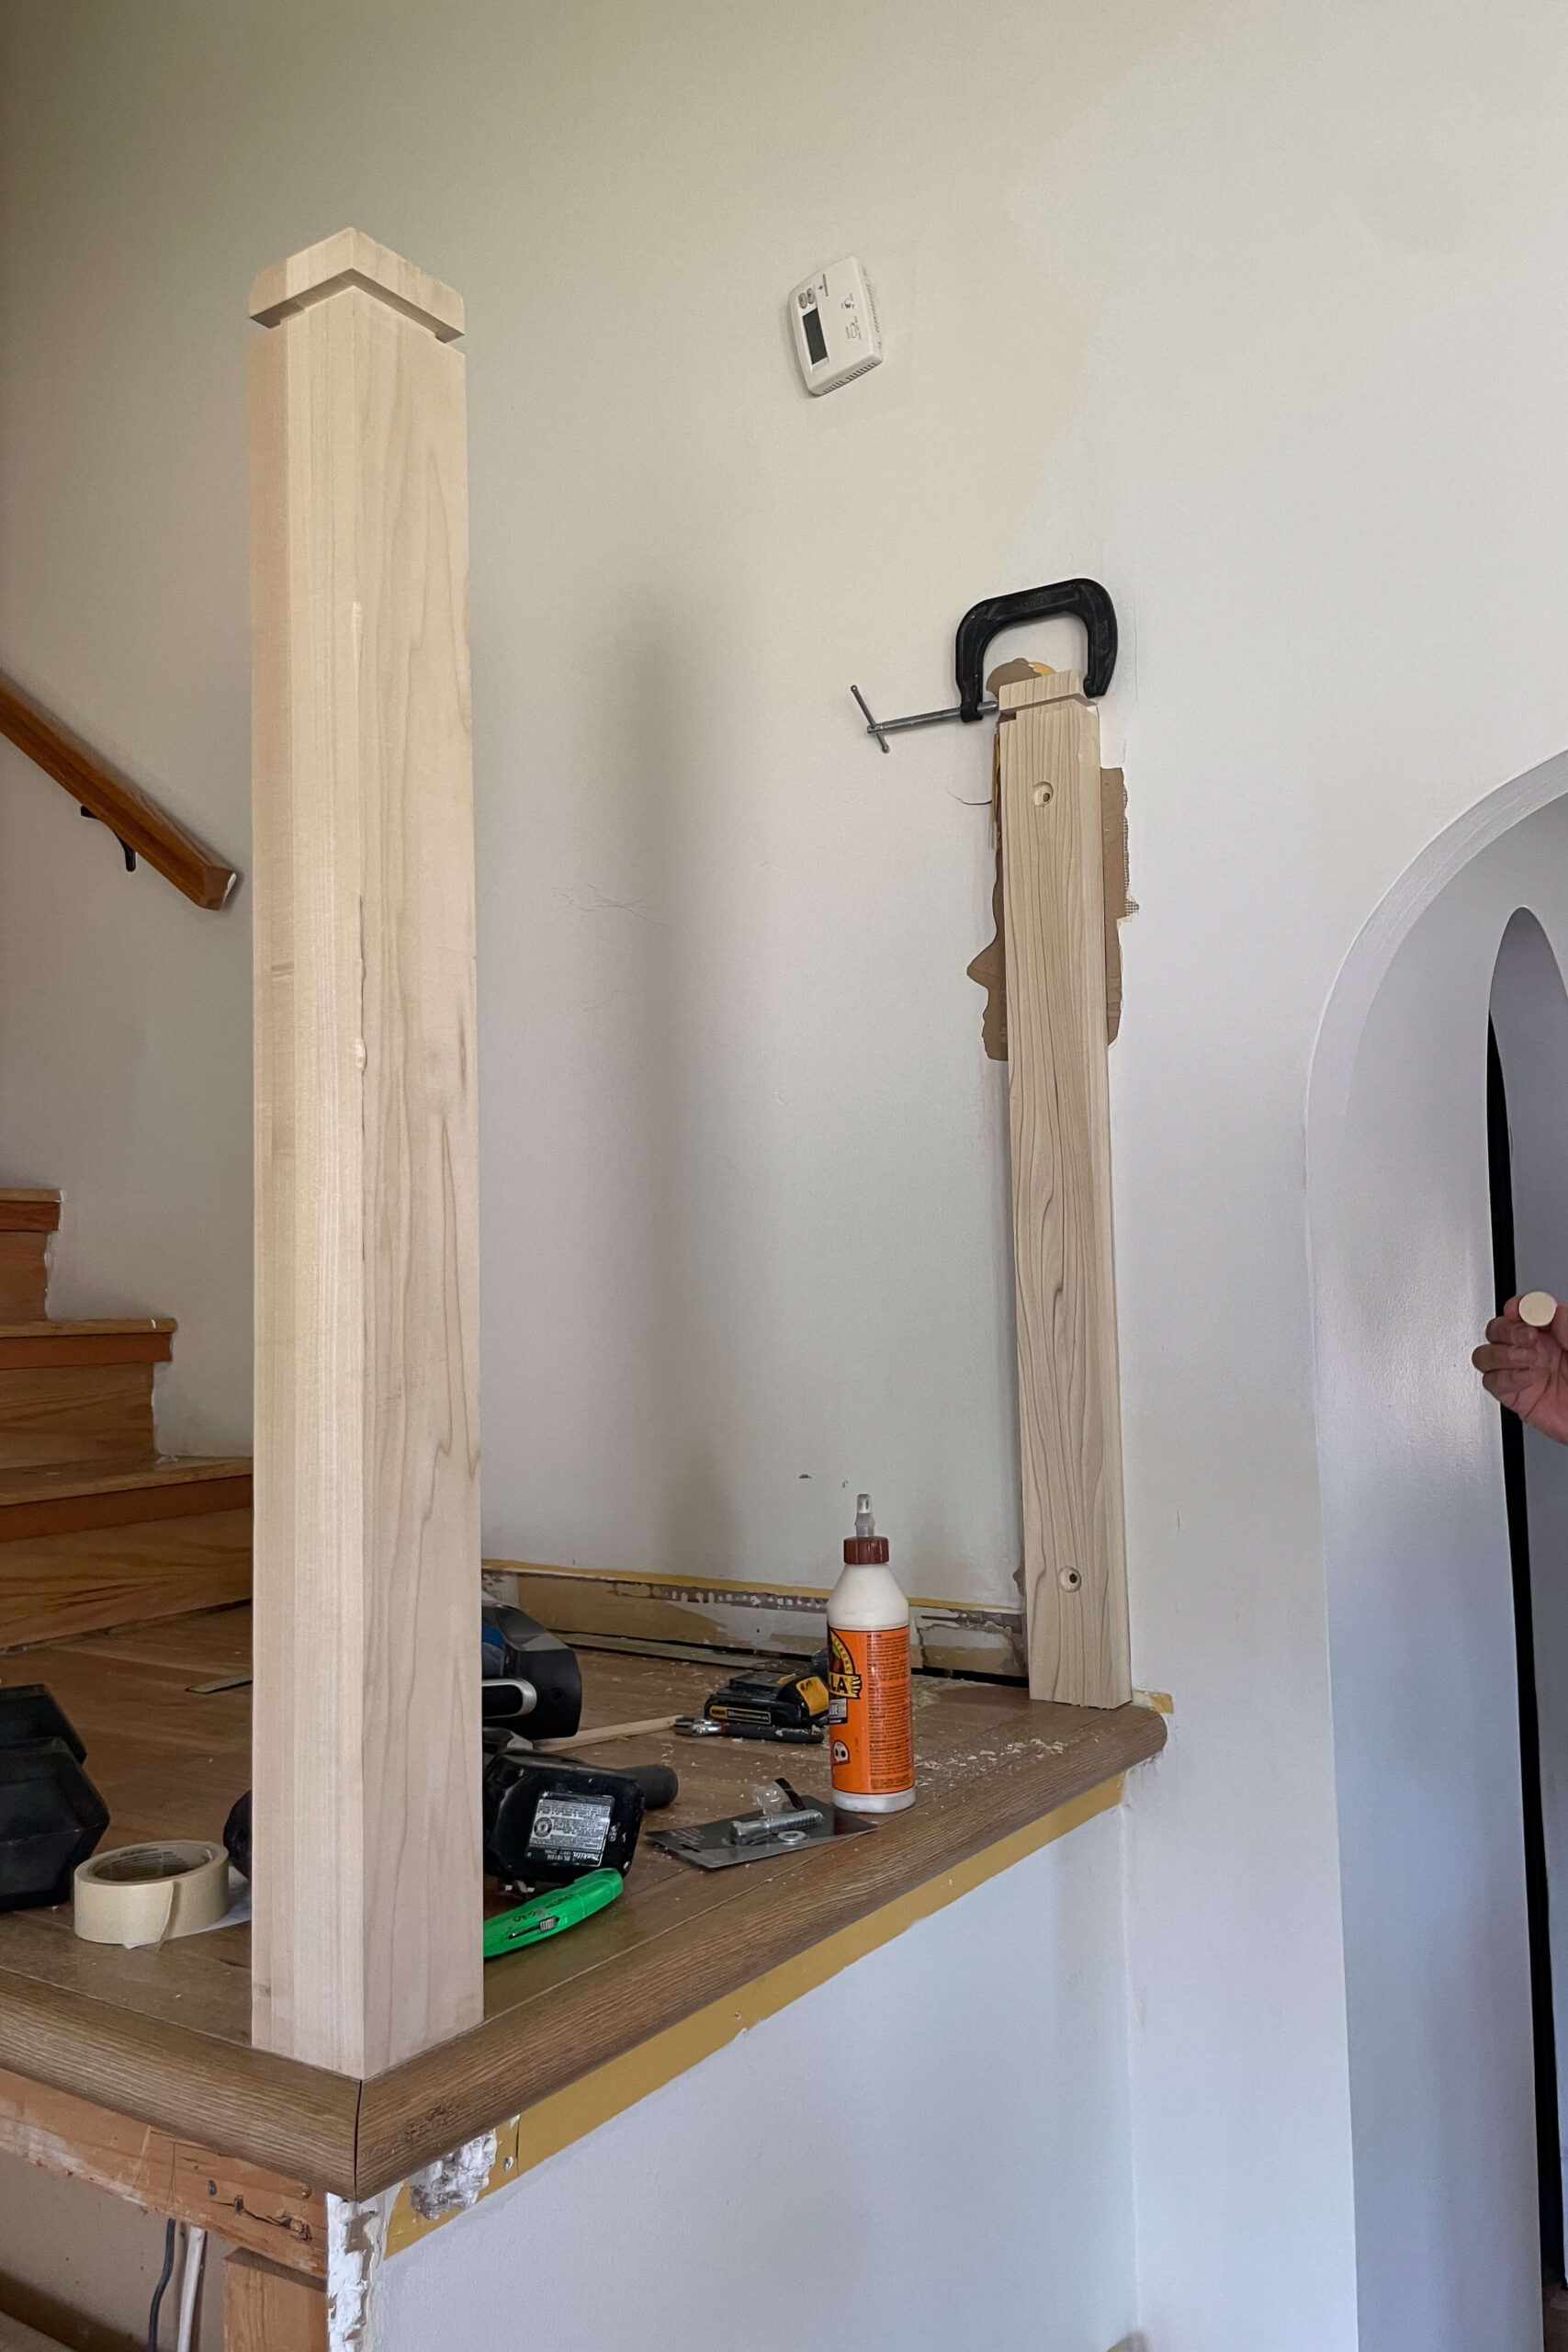
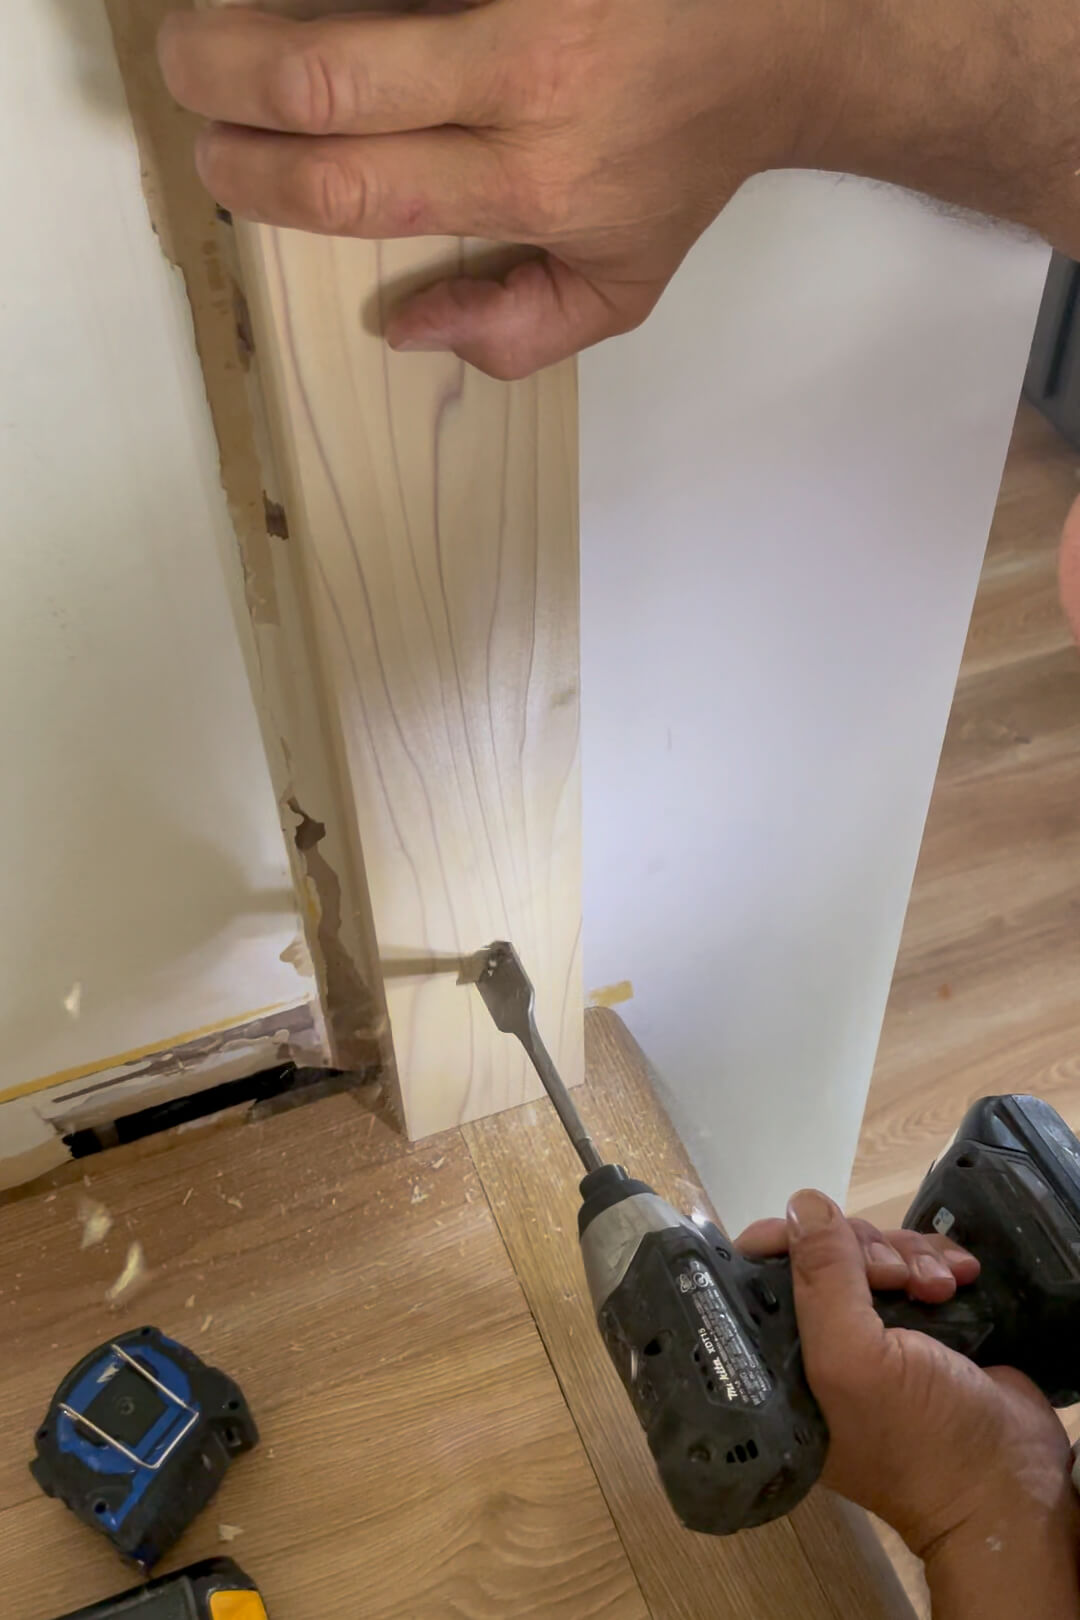
First, we attached the handrail with a lag bolt from the backside.
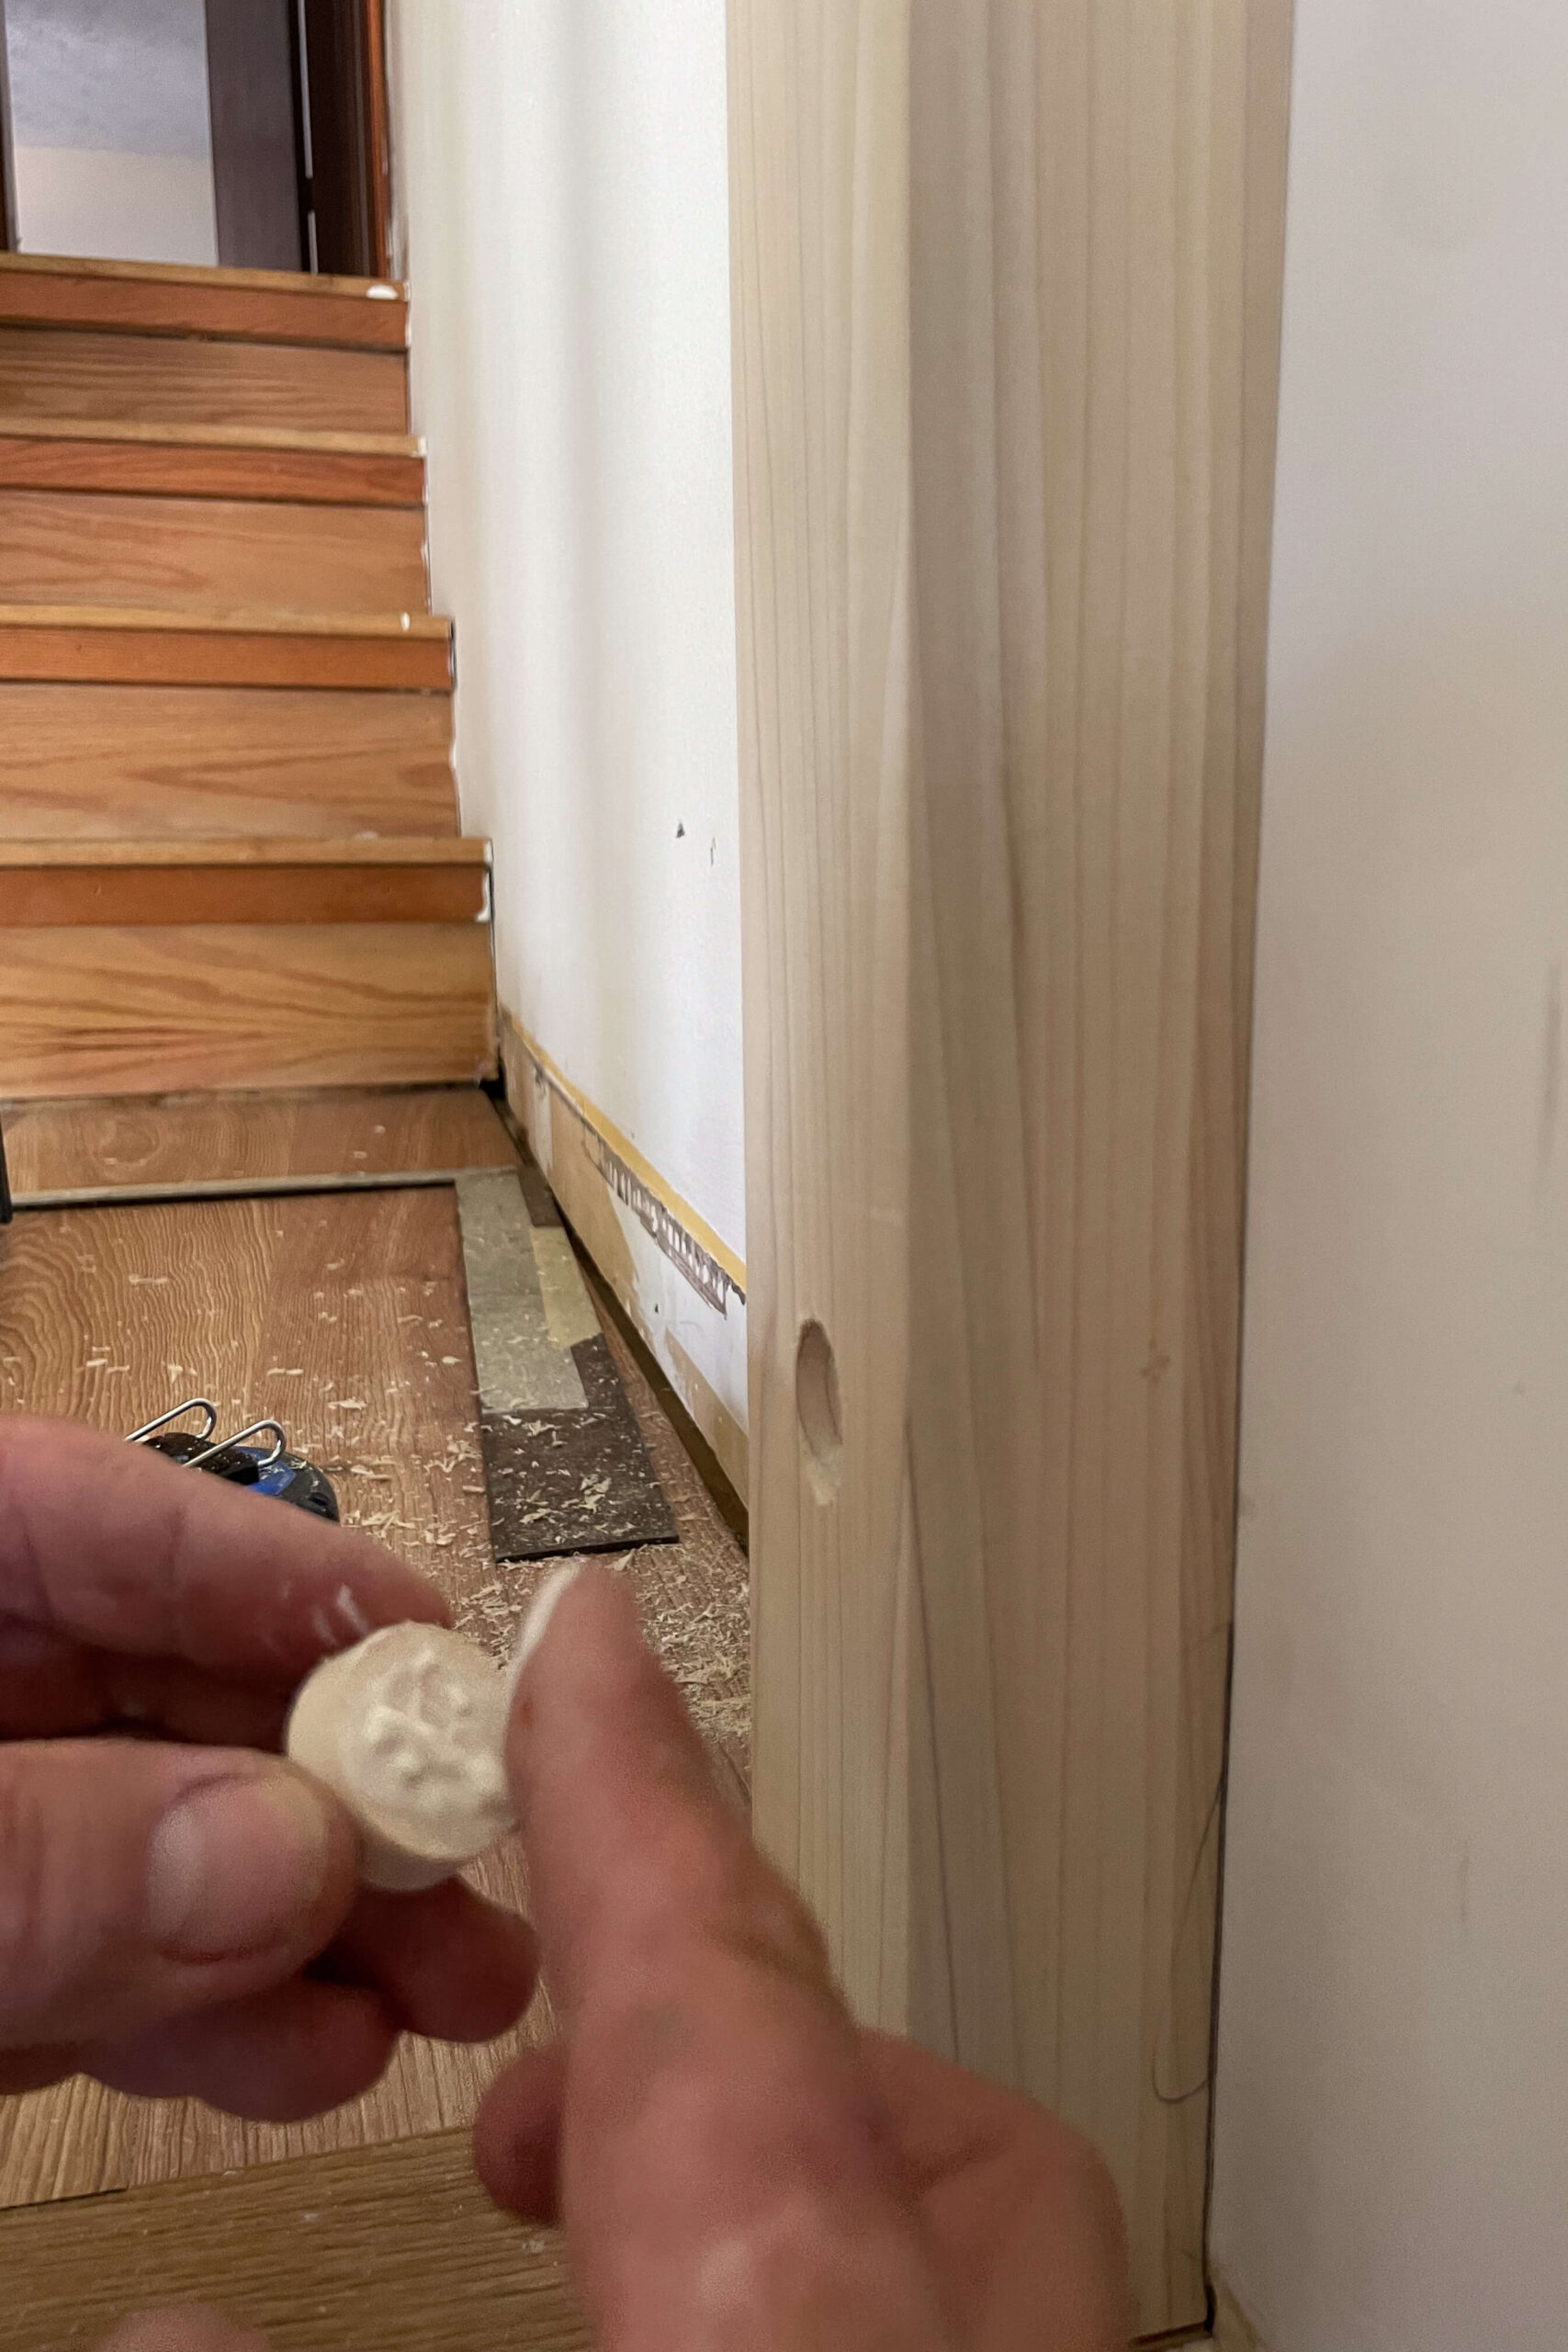
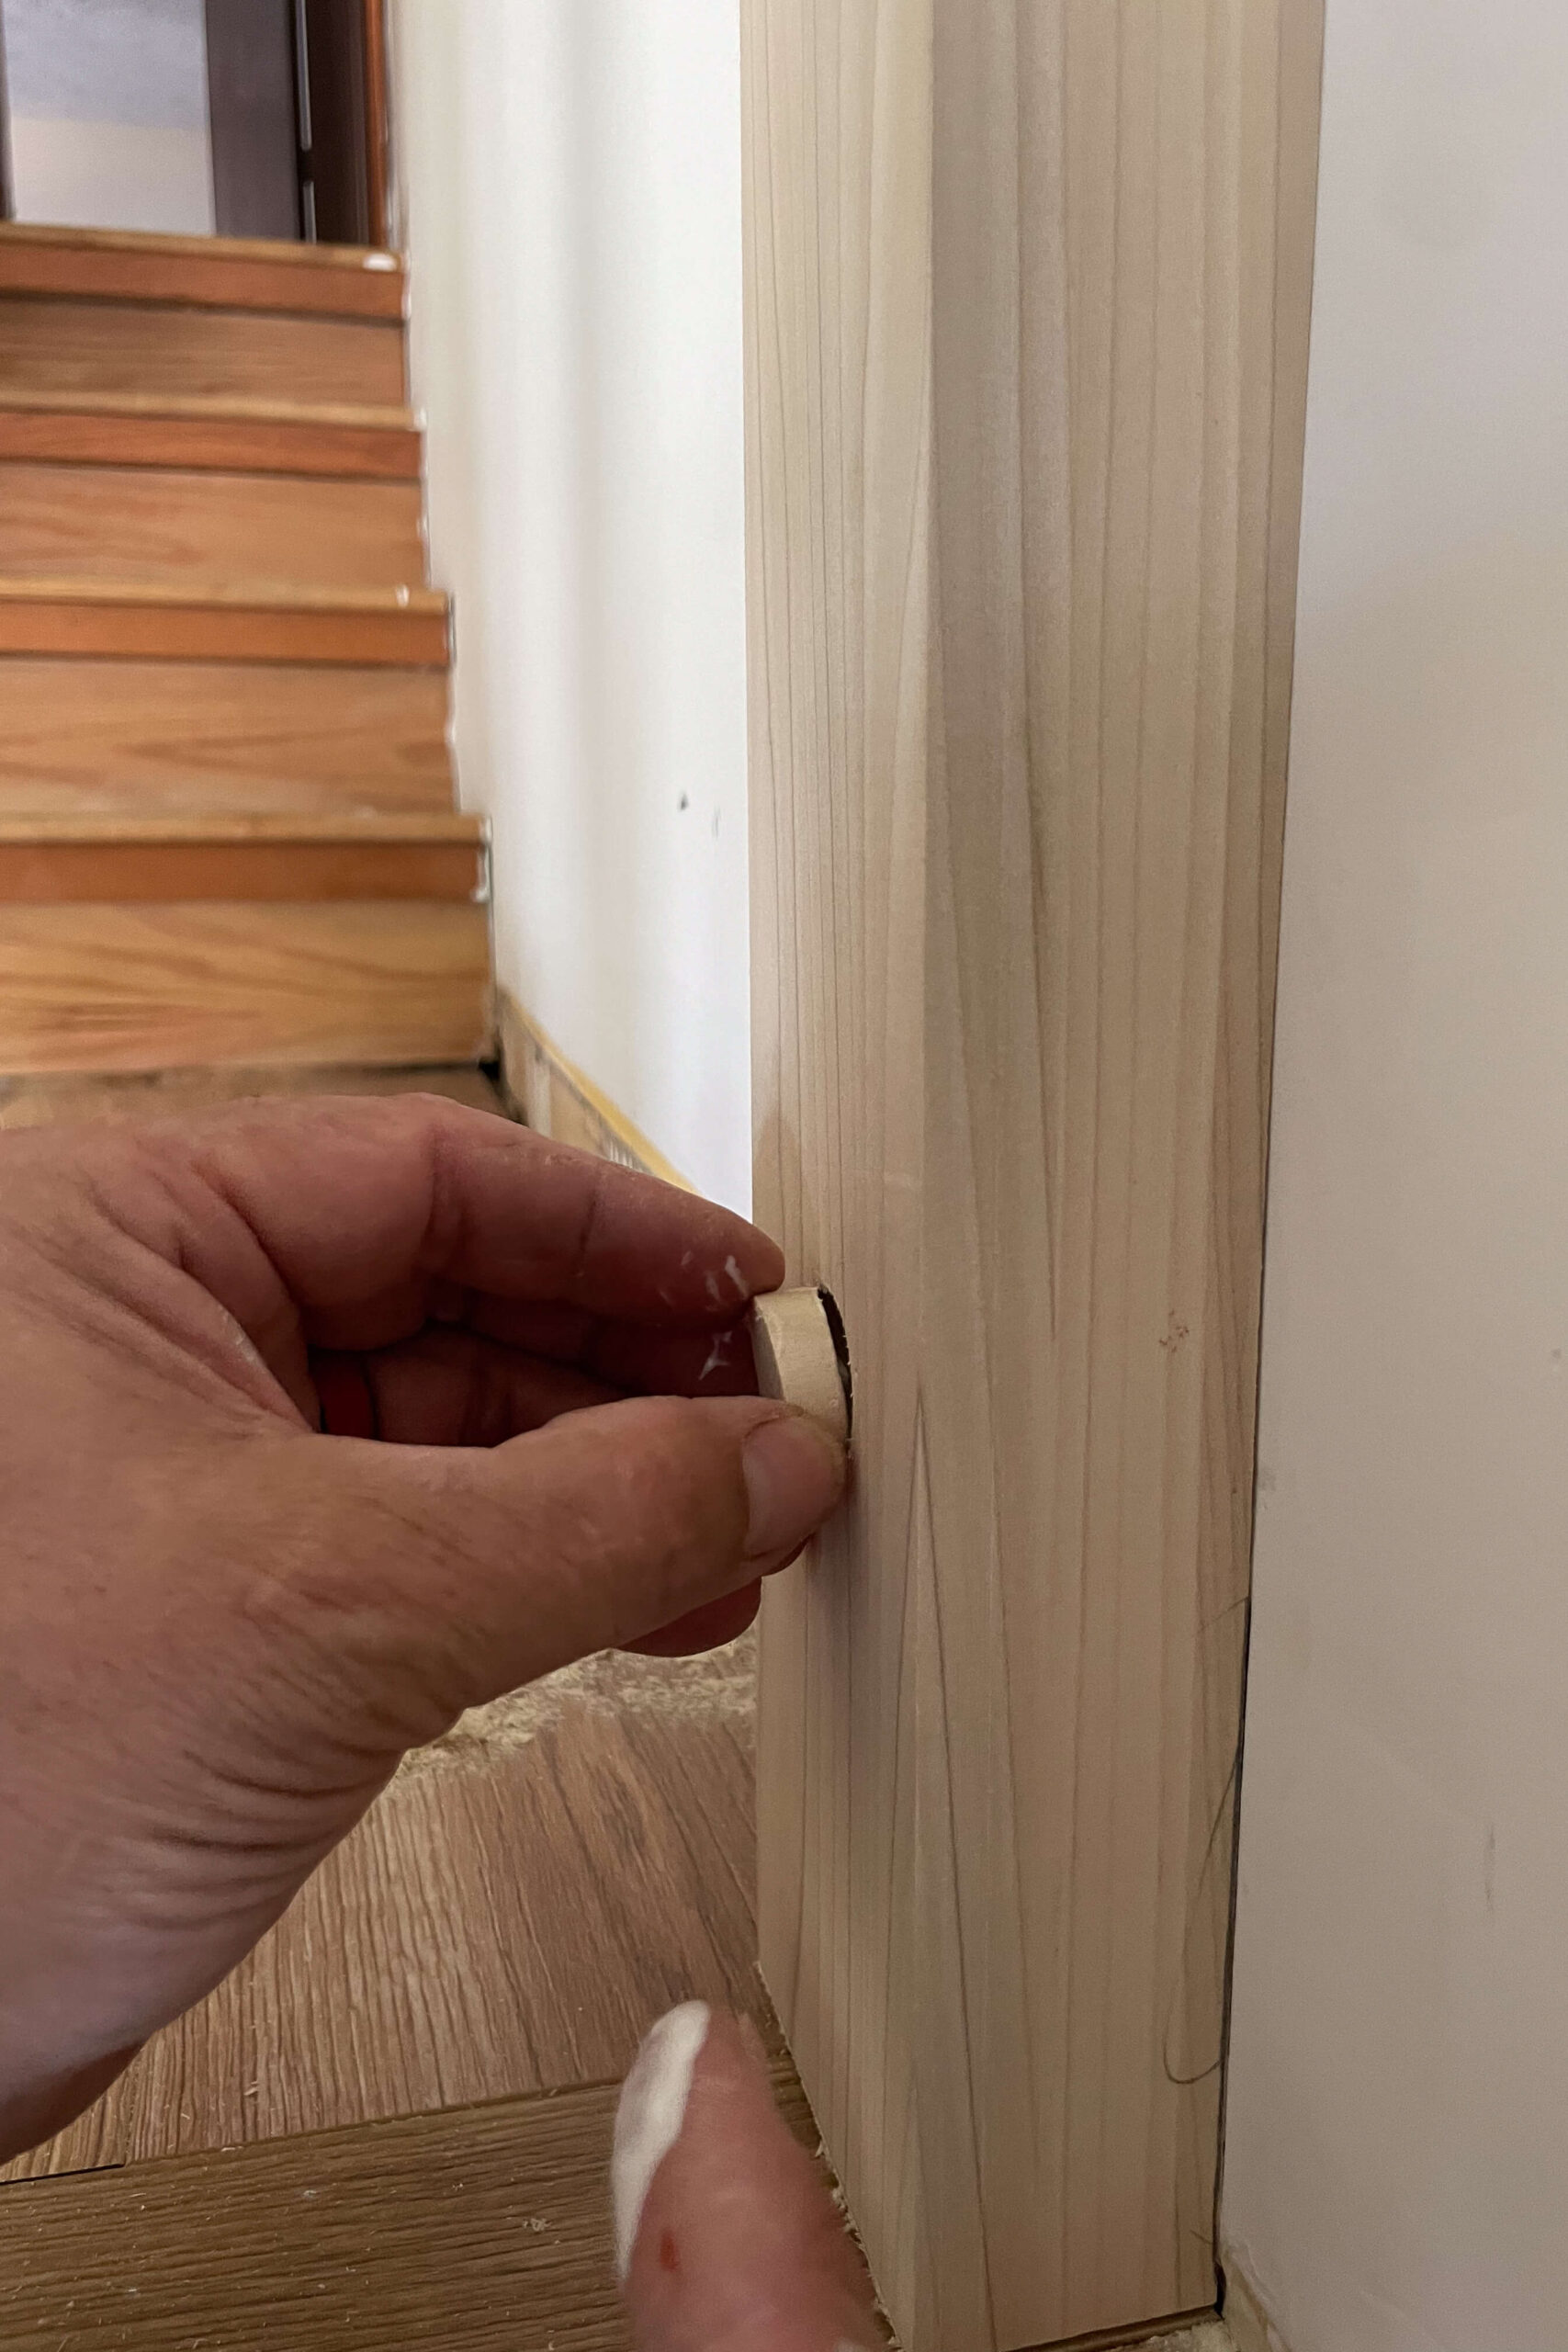
Then, we used a spade bit to drill holes for the lag bolt and wood plug. A spade bit makes a small pilot hole for the lag bolt, which secures the post to the wall. We glued the wood plug into place.
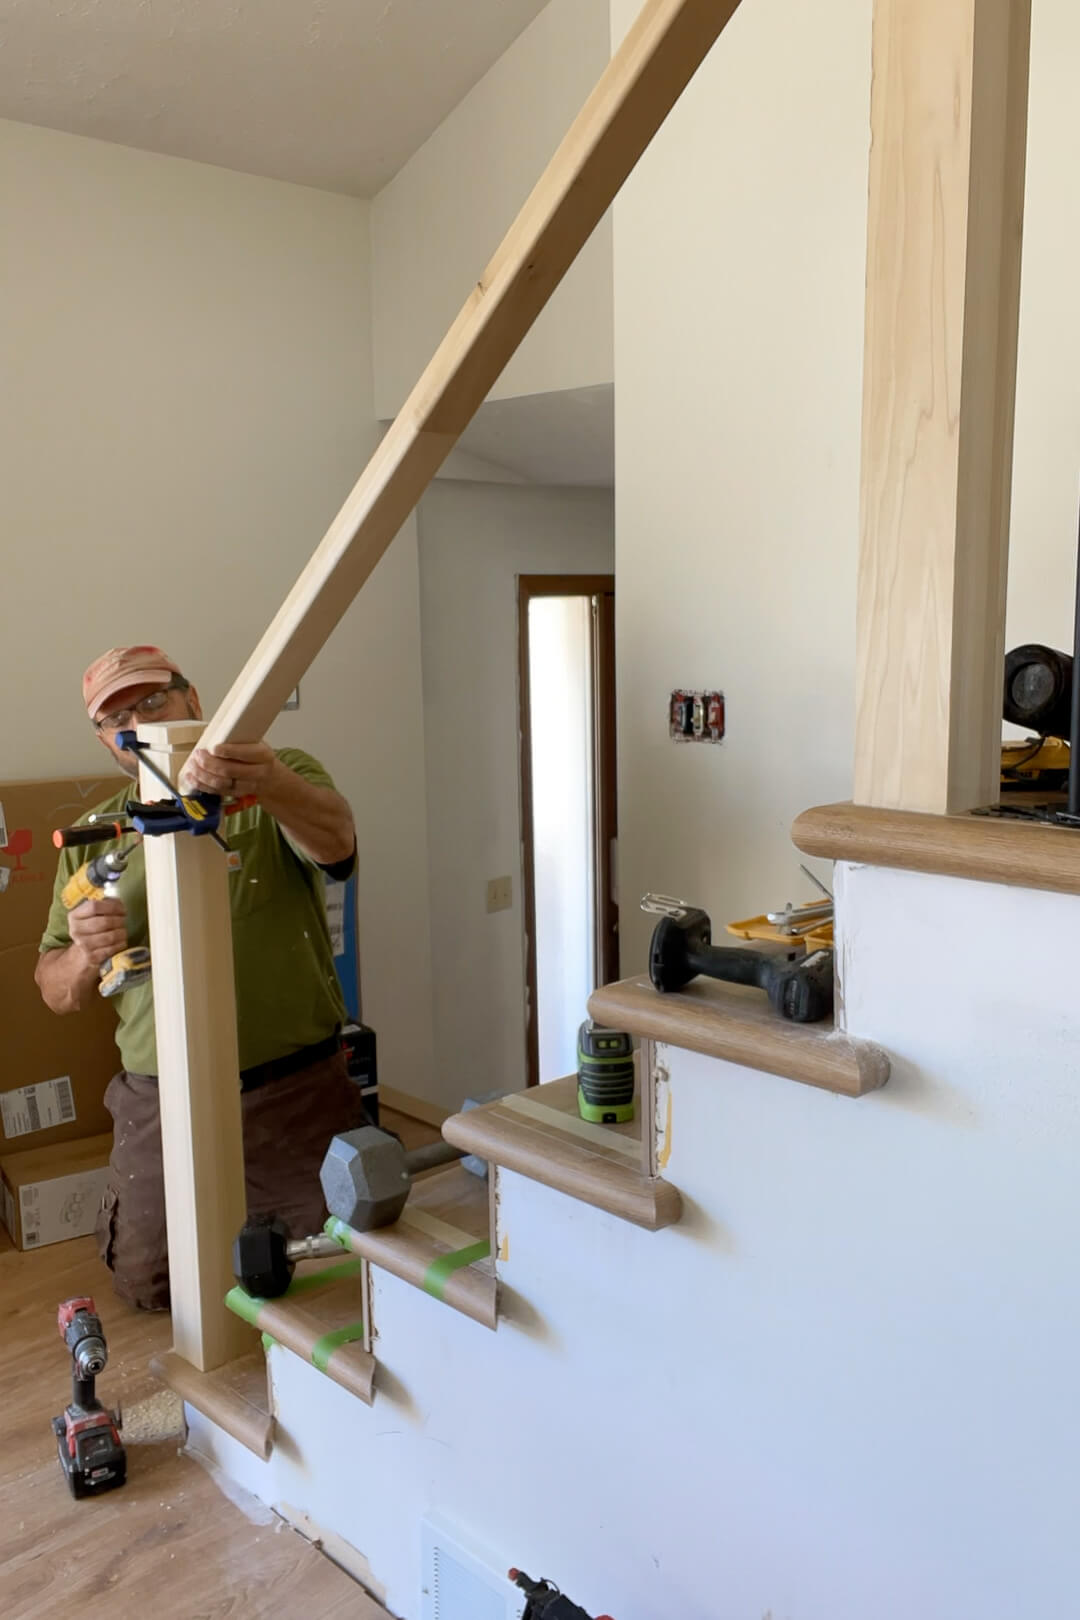
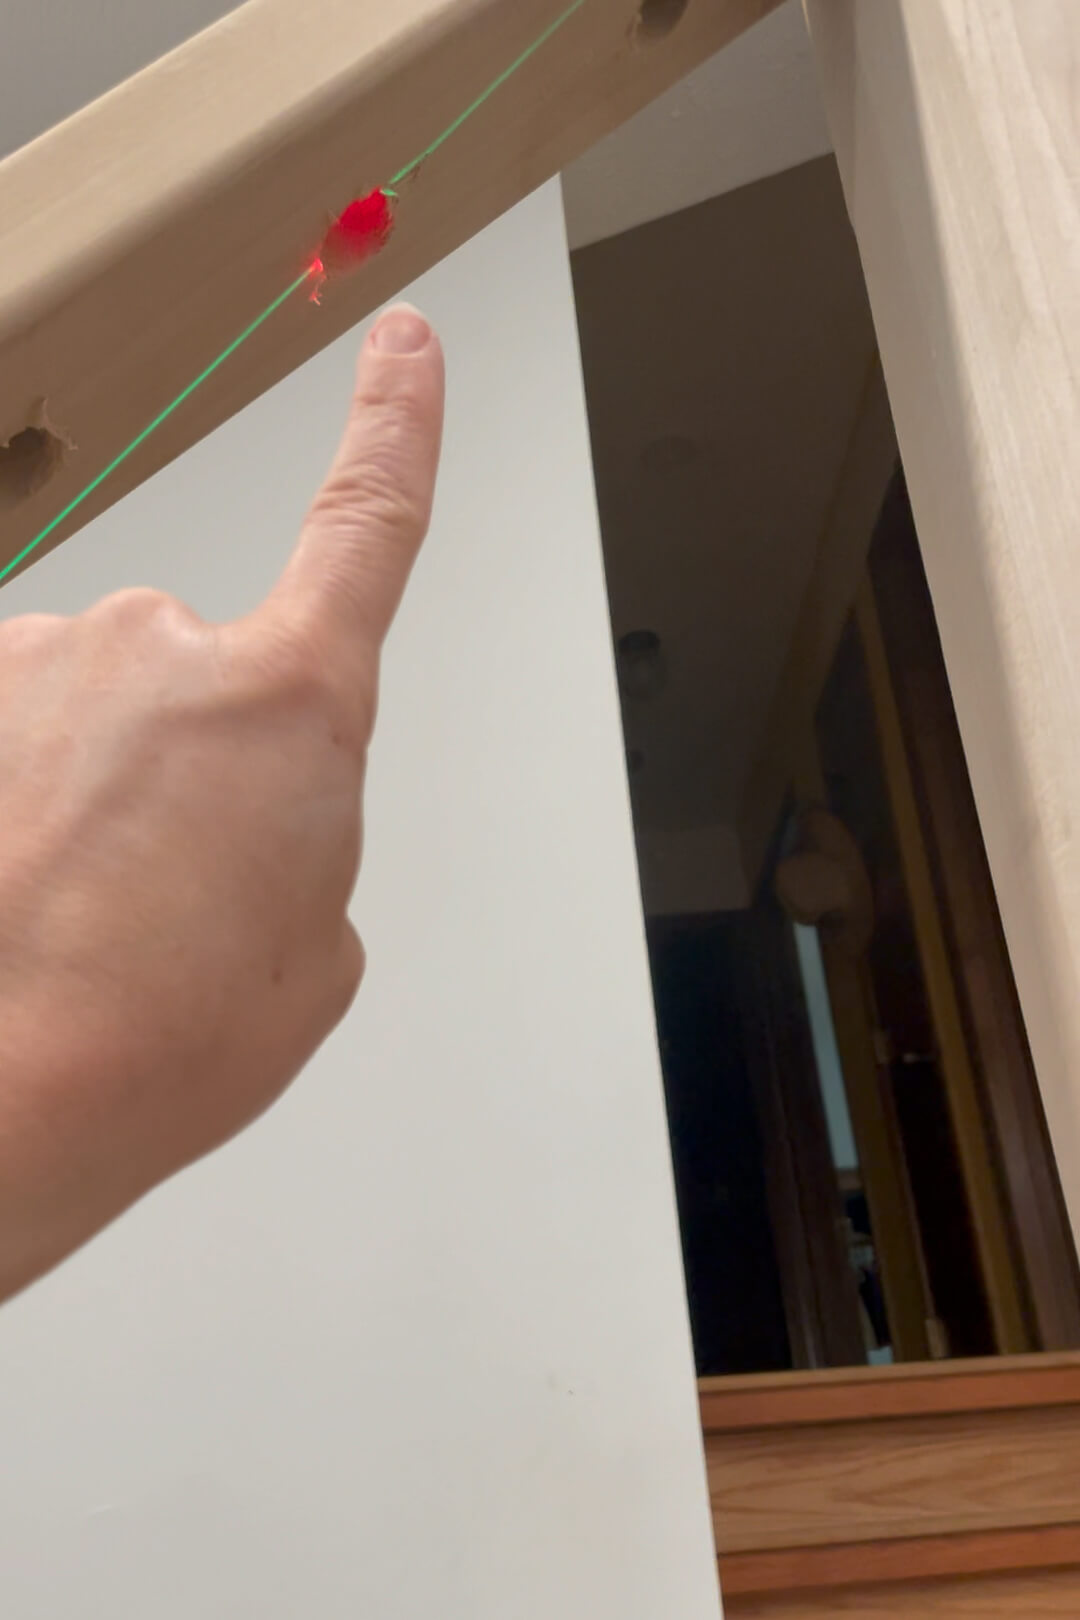
Installing the handrails requires a few clamps and a laser level.

Once everything was lined up, we cut the handrail to length and used the kit’s lag bolt and wood plug to secure it. Grandpa drilled a hole in the newel post, attached the handrail, and plugged the hole.
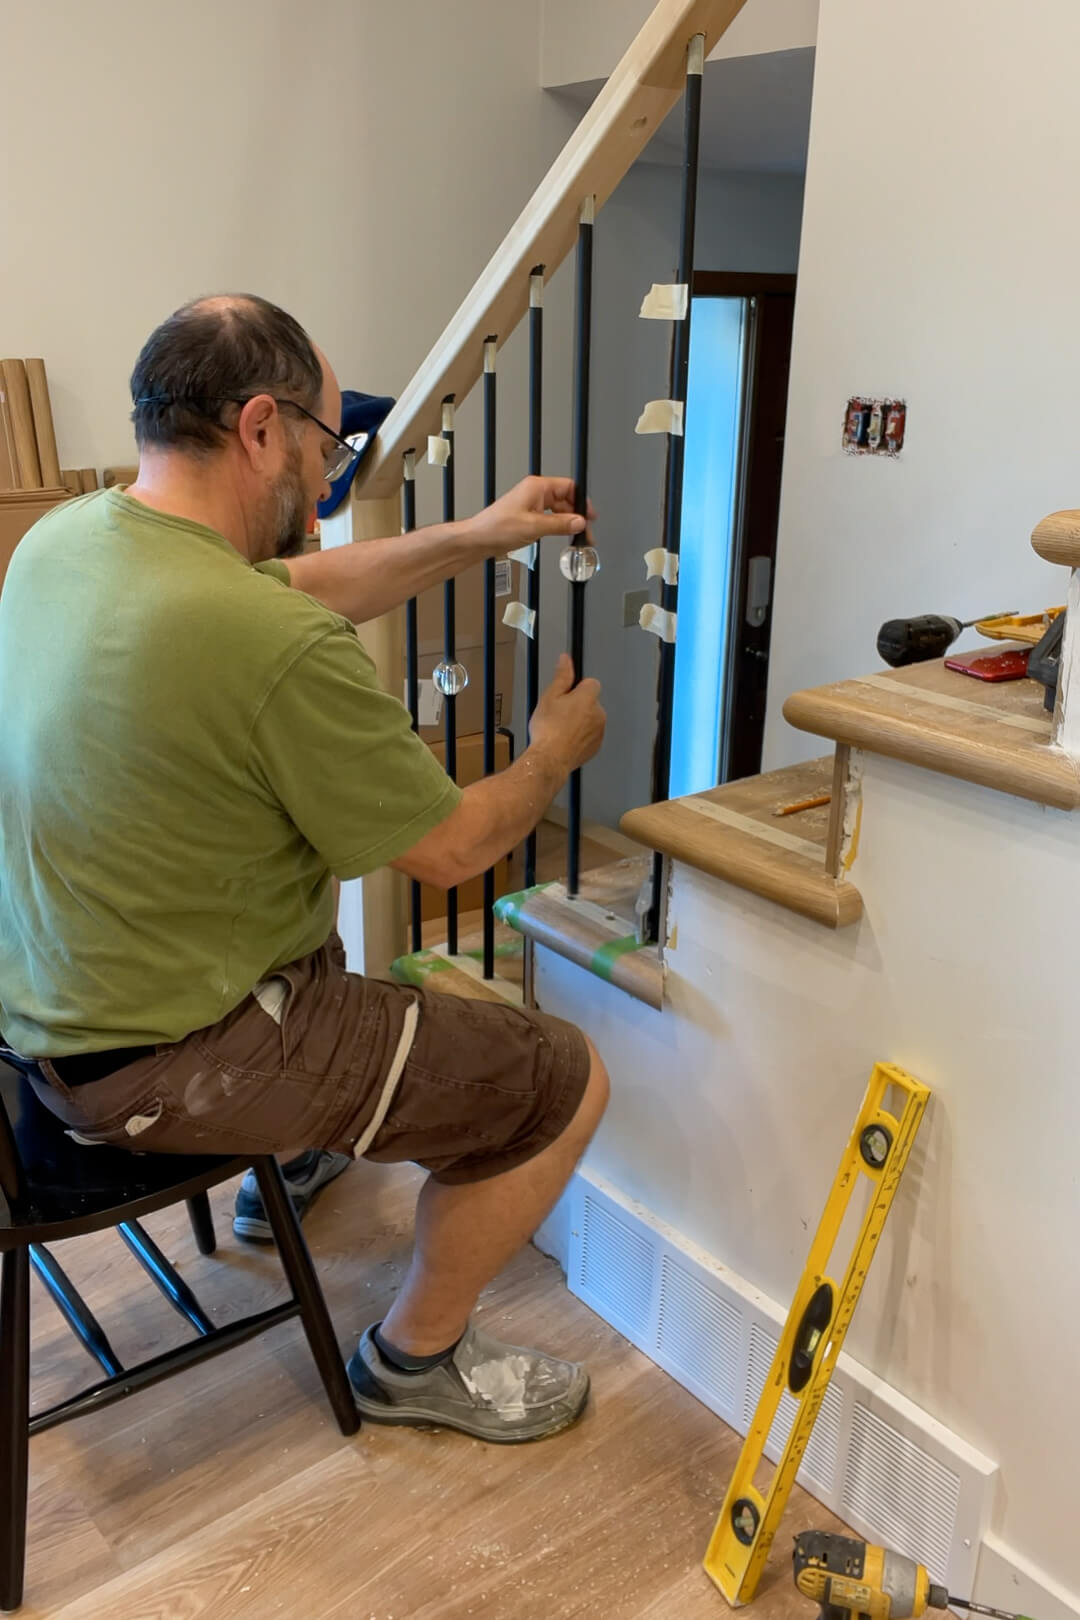
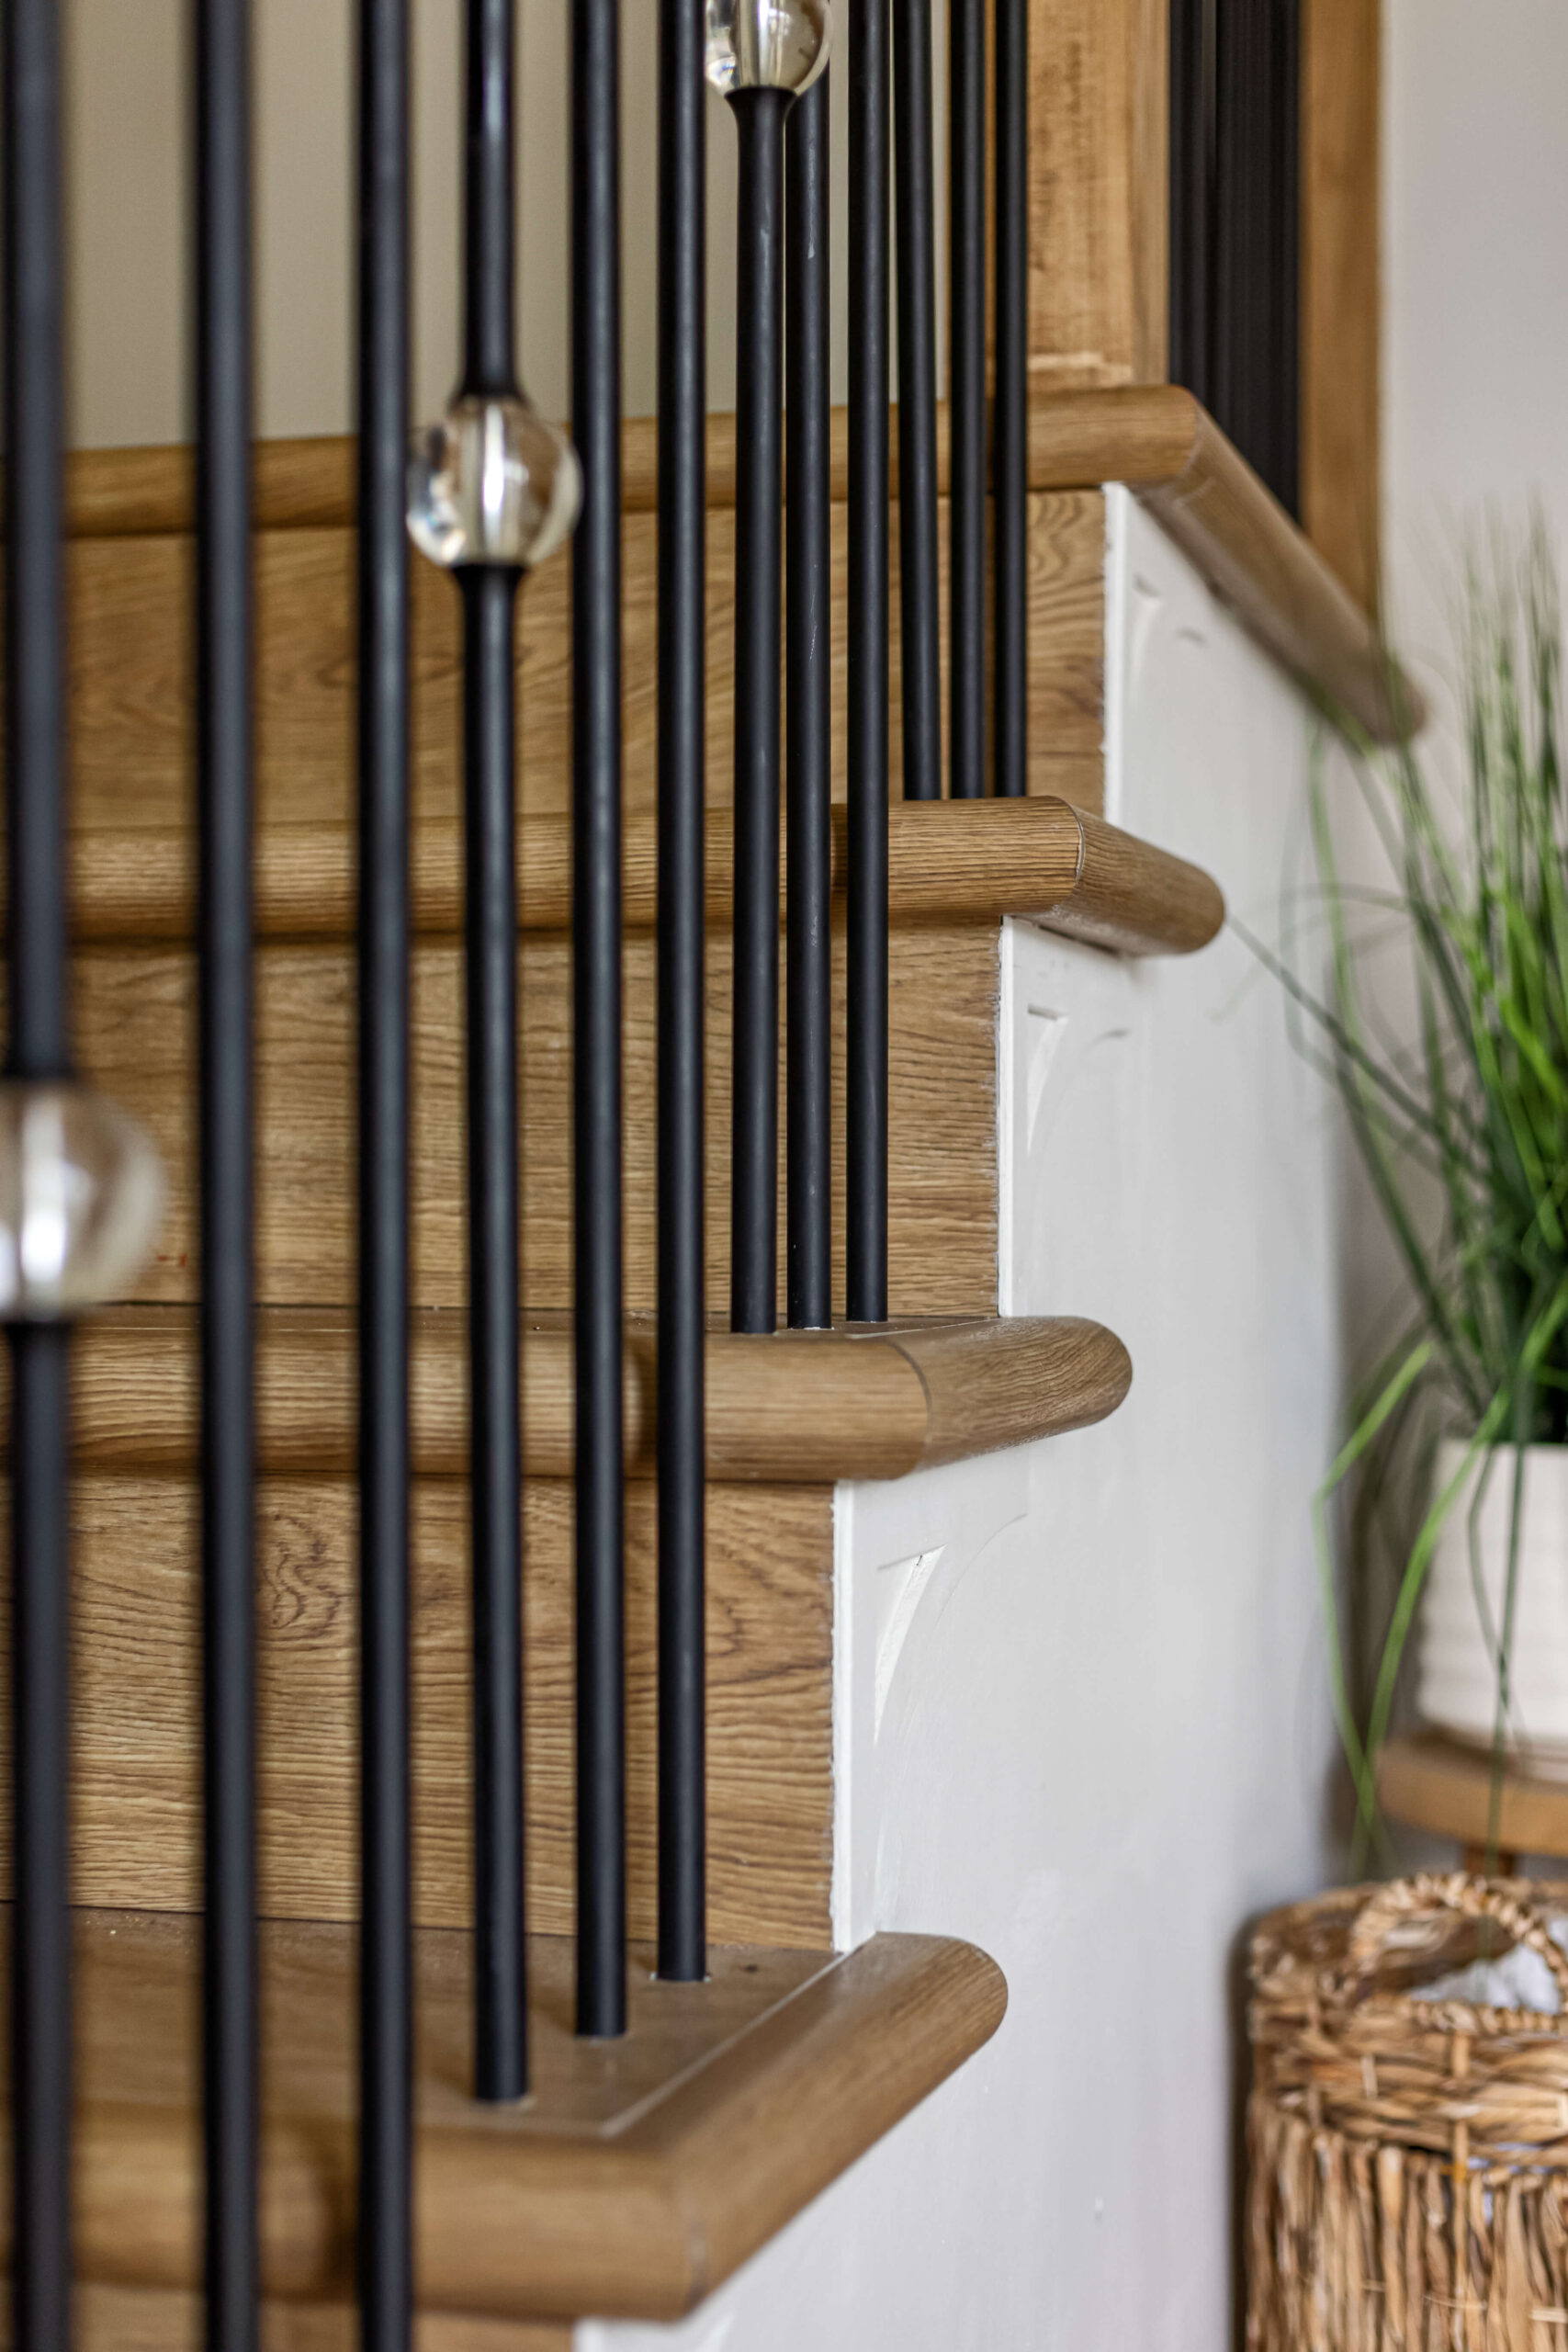
Installing Balusters
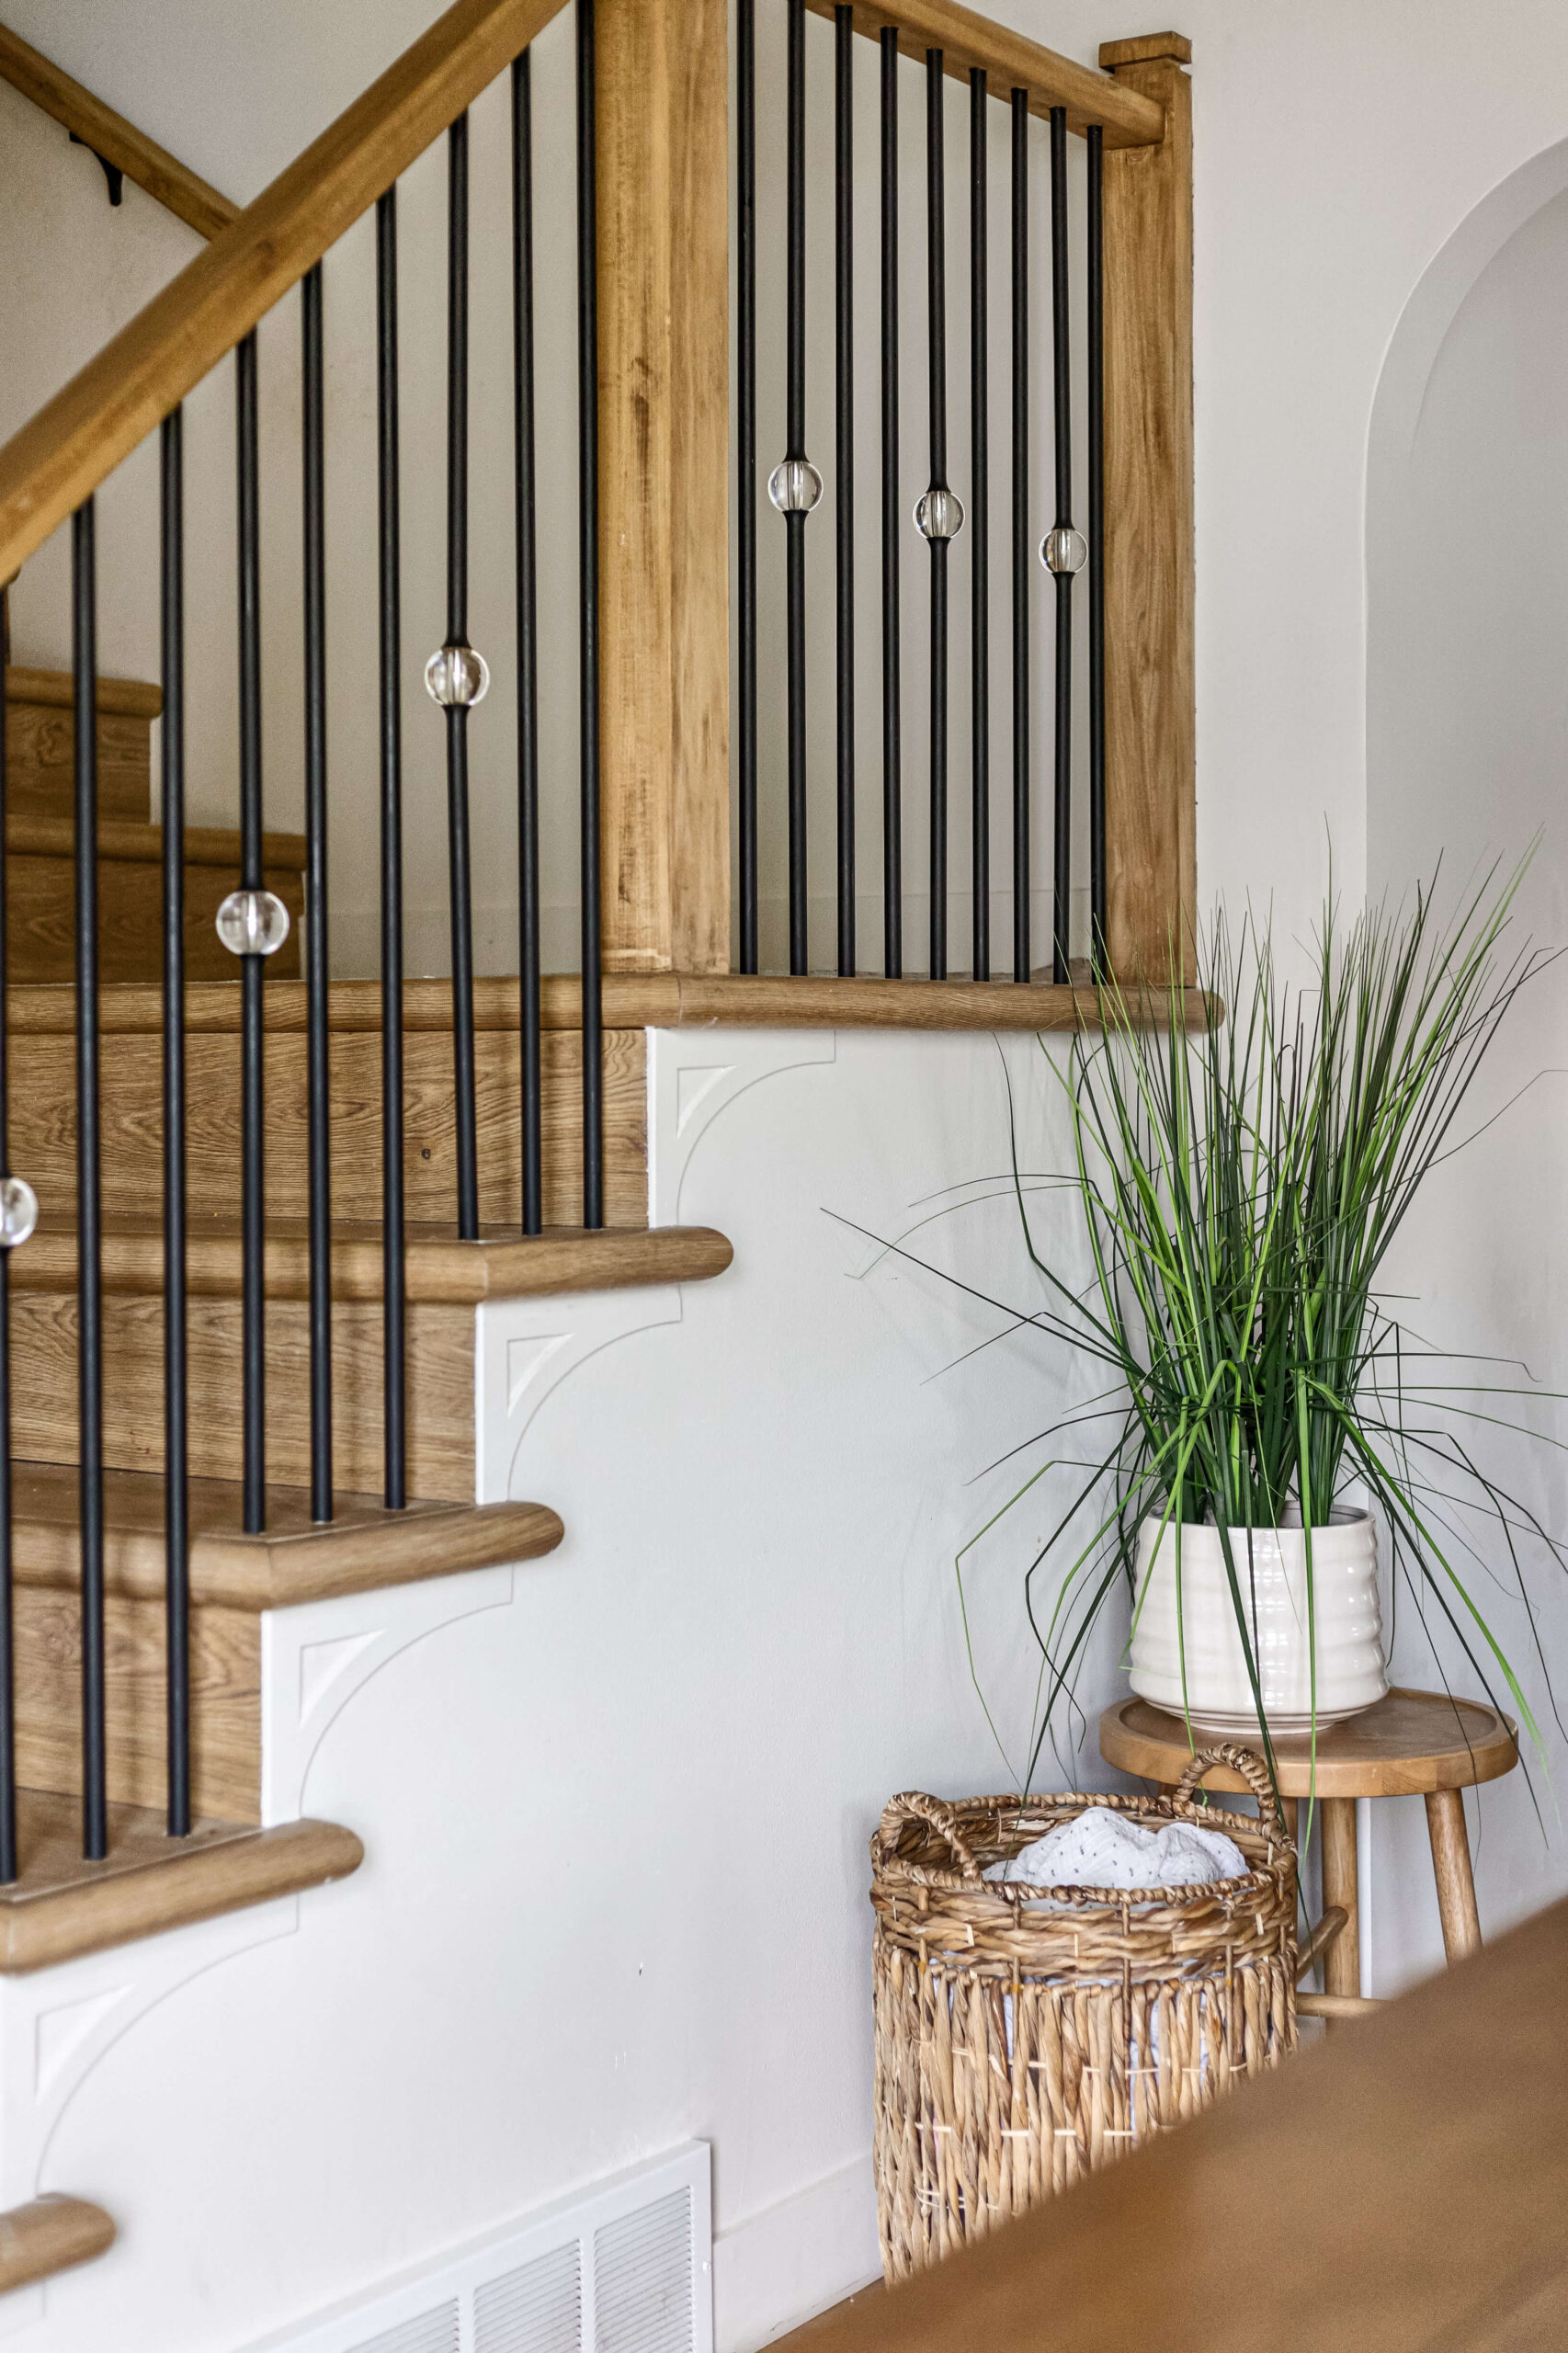
Modern stairs call for stylish balusters. We chose iron balusters, a perfect match for our home. They’re the perfect complement to the simple, square newel posts.
We marked where the balusters would go on the top of the step. Each step had three evenly spaced balusters.
Pro Tip: Use masking tape on steps for marking baluster positions without leaving permanent marks.

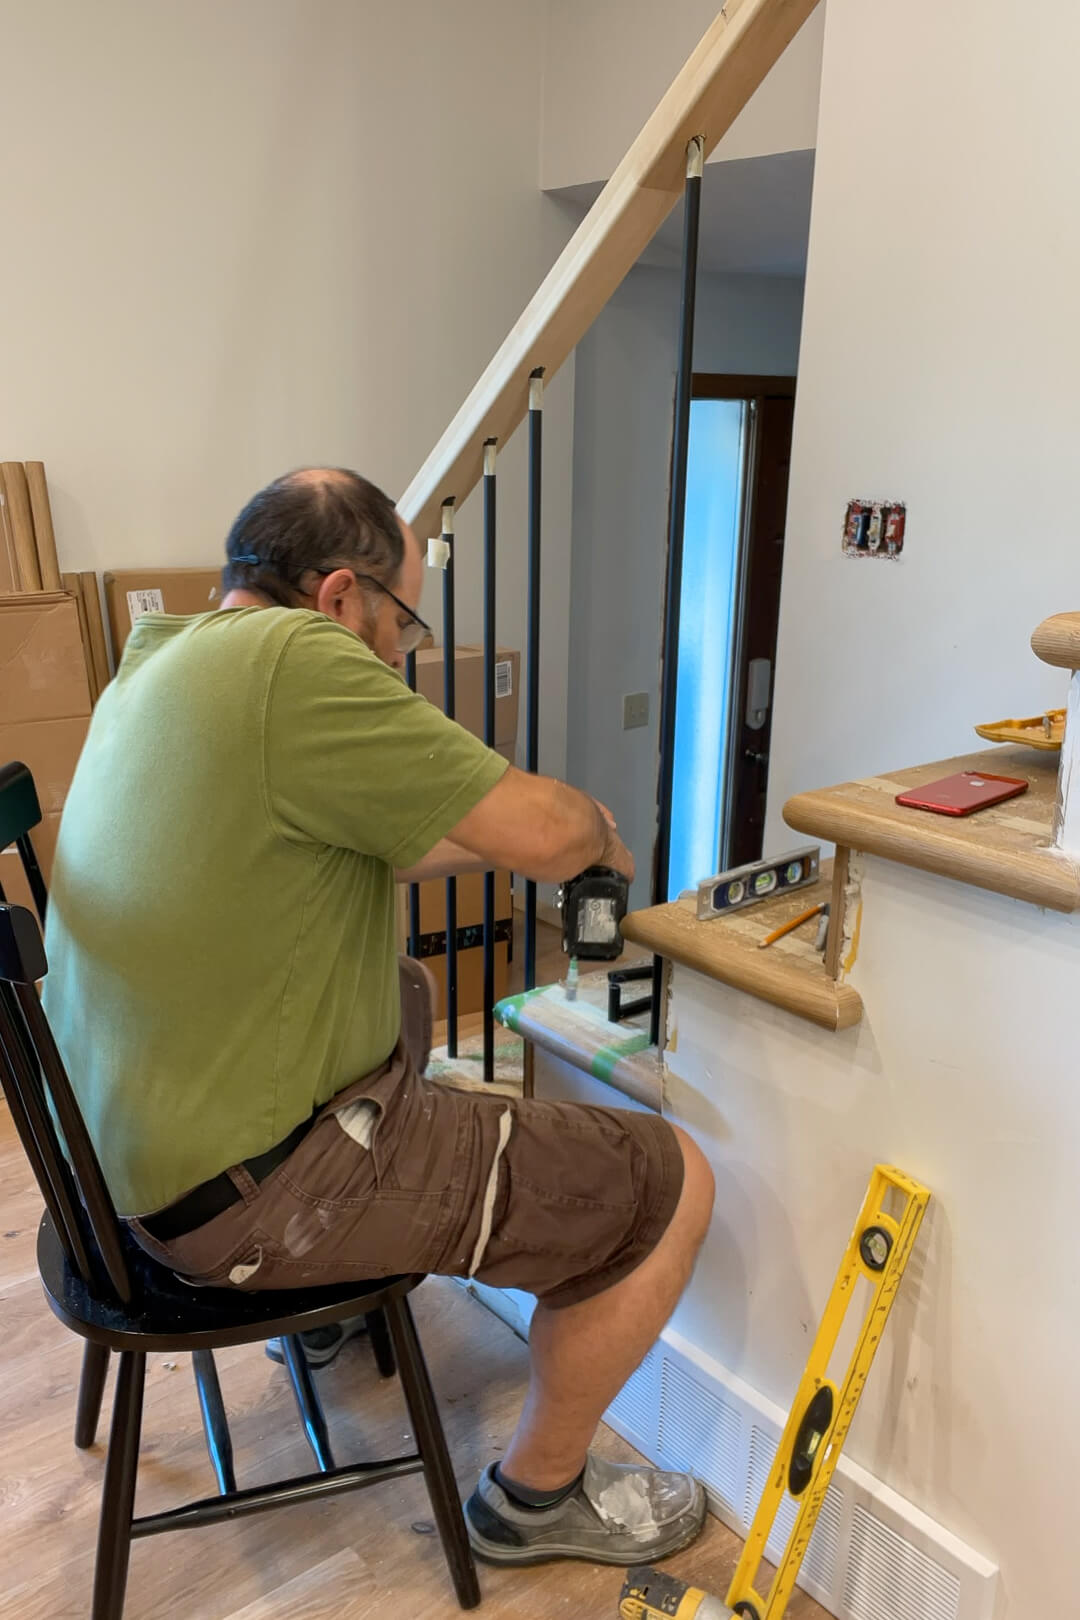
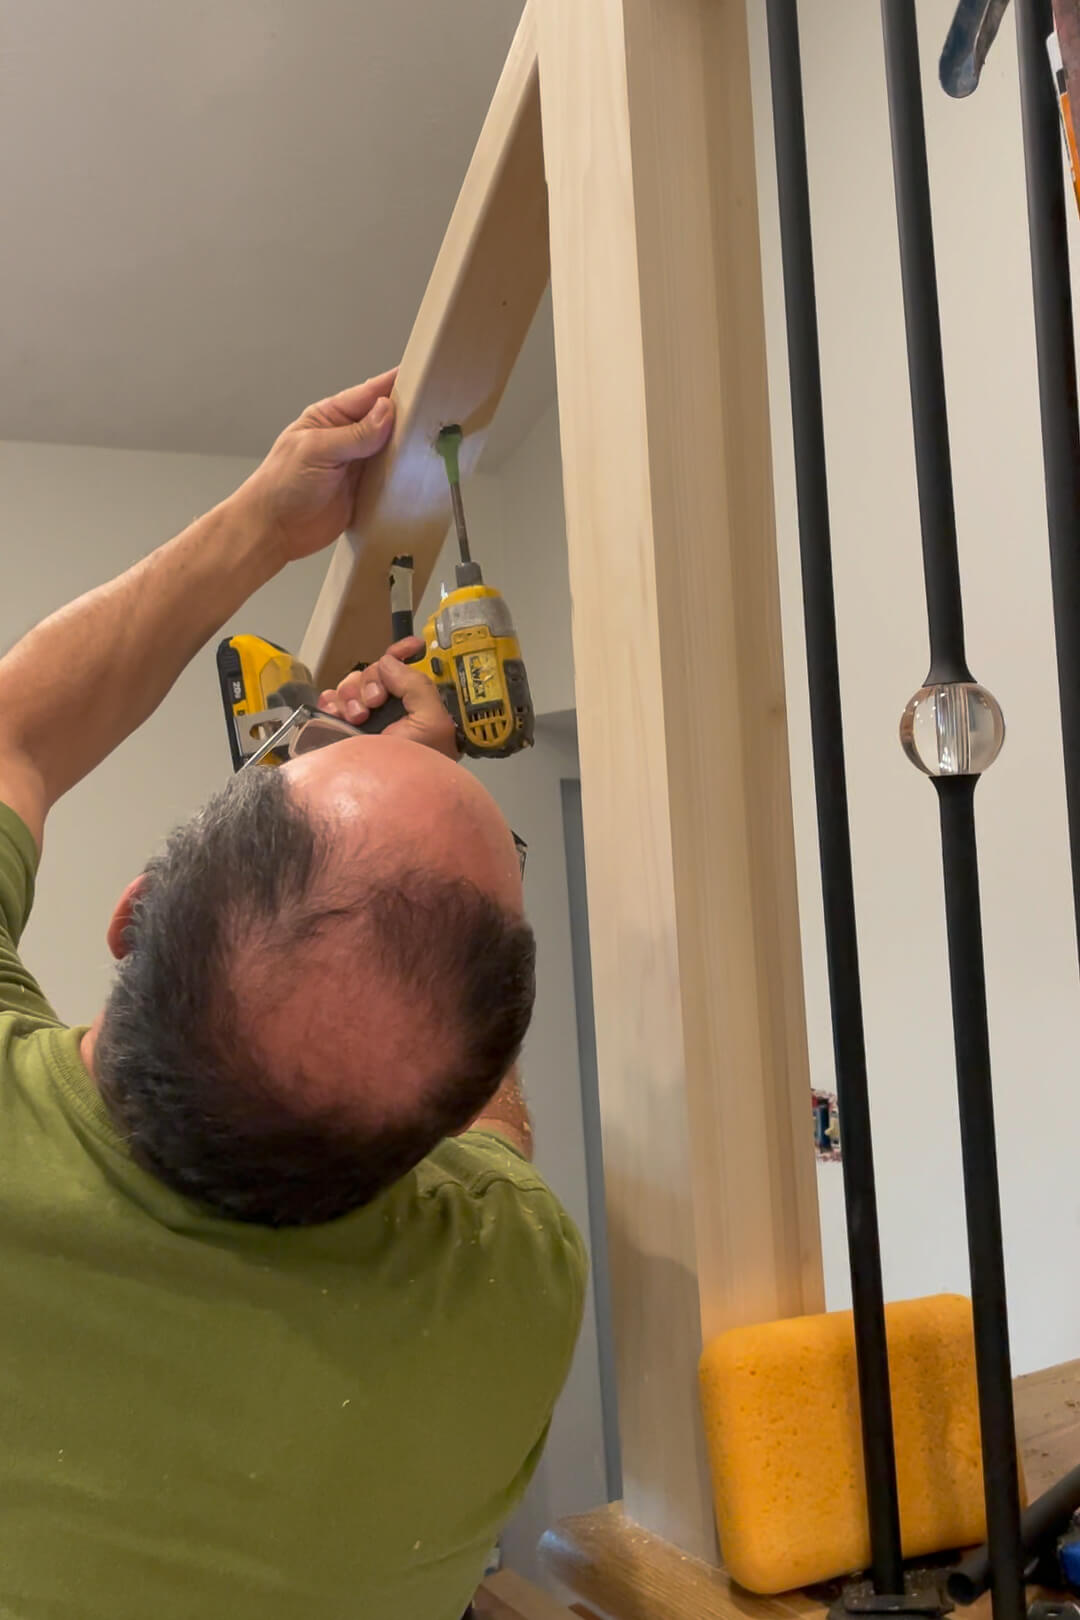
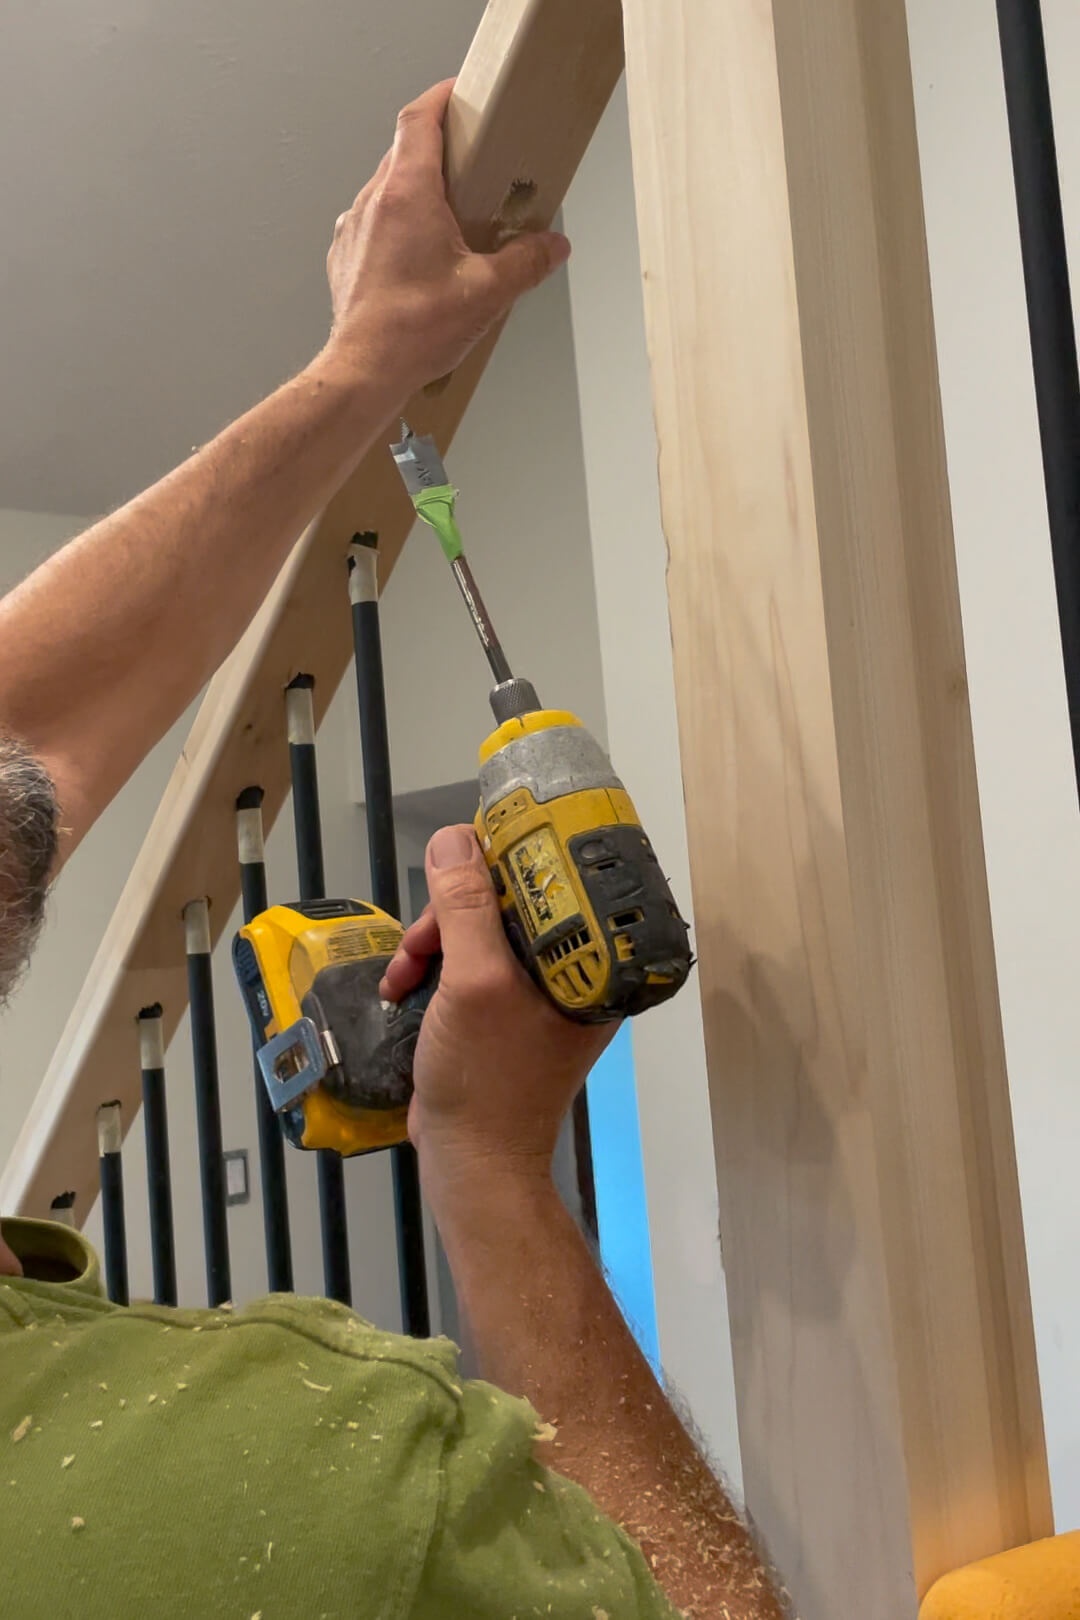
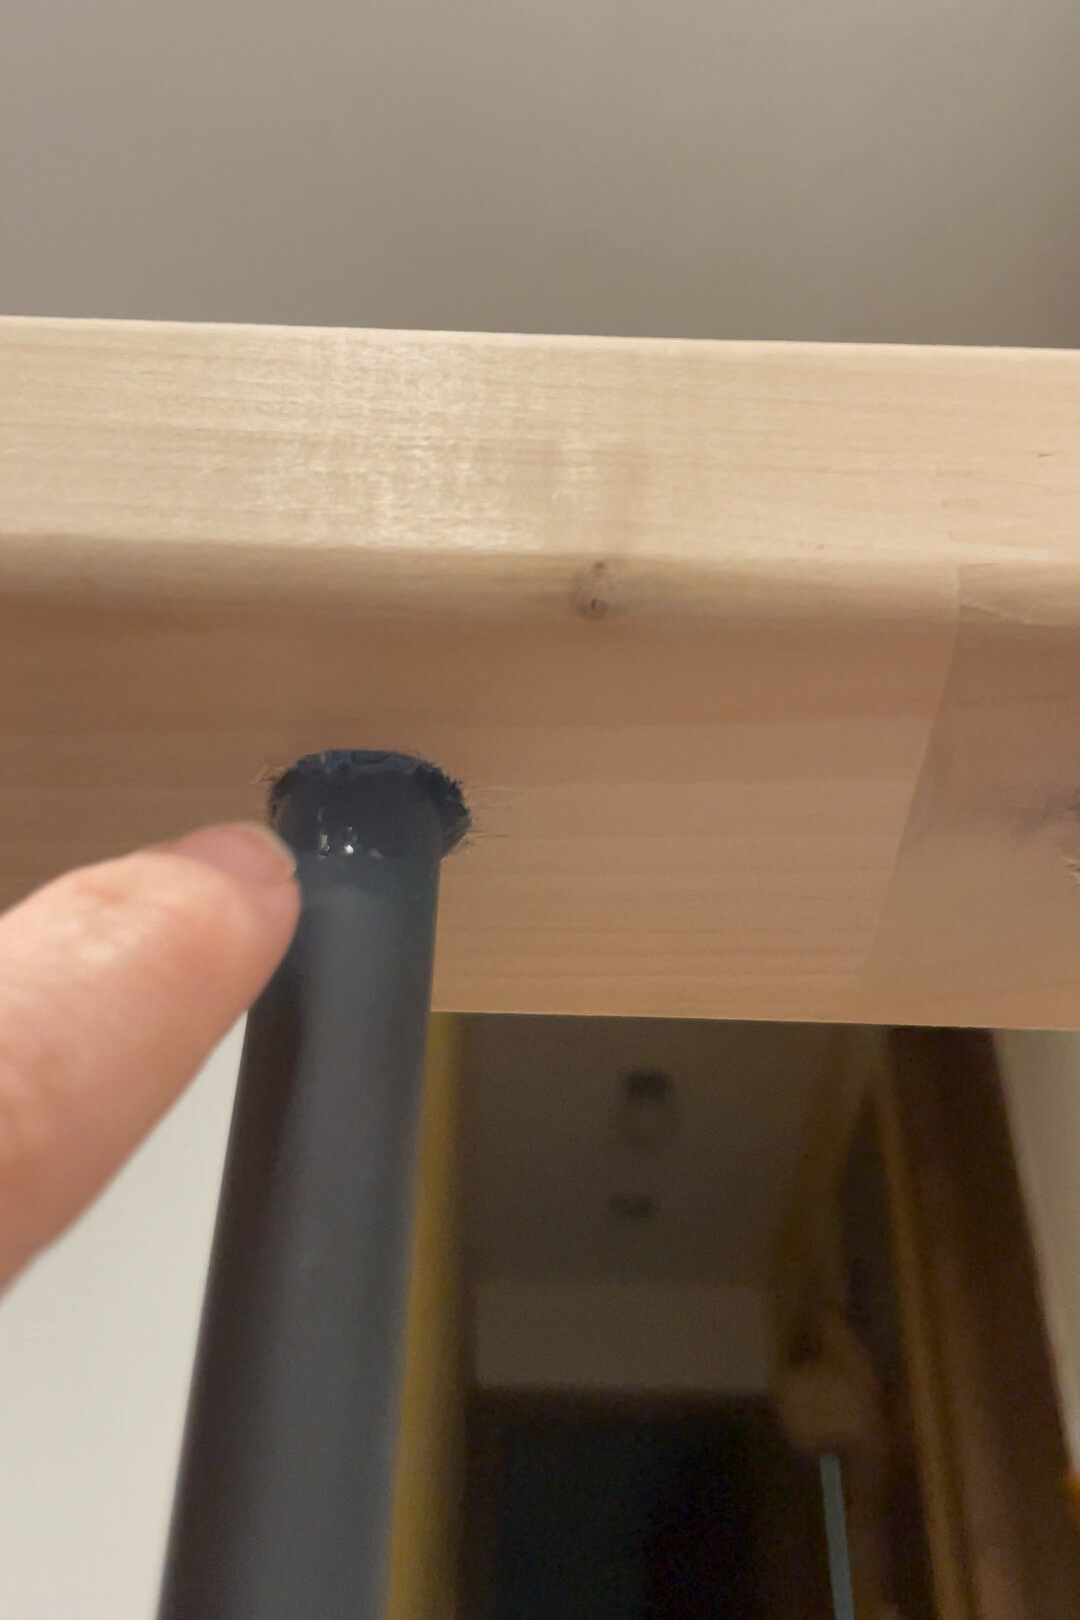
We drilled holes for the balusters, aligned them with a laser level, and drilled corresponding holes with a spade bit in the handrail. He made the hole slightly bigger than the baluster’s actual thickness.
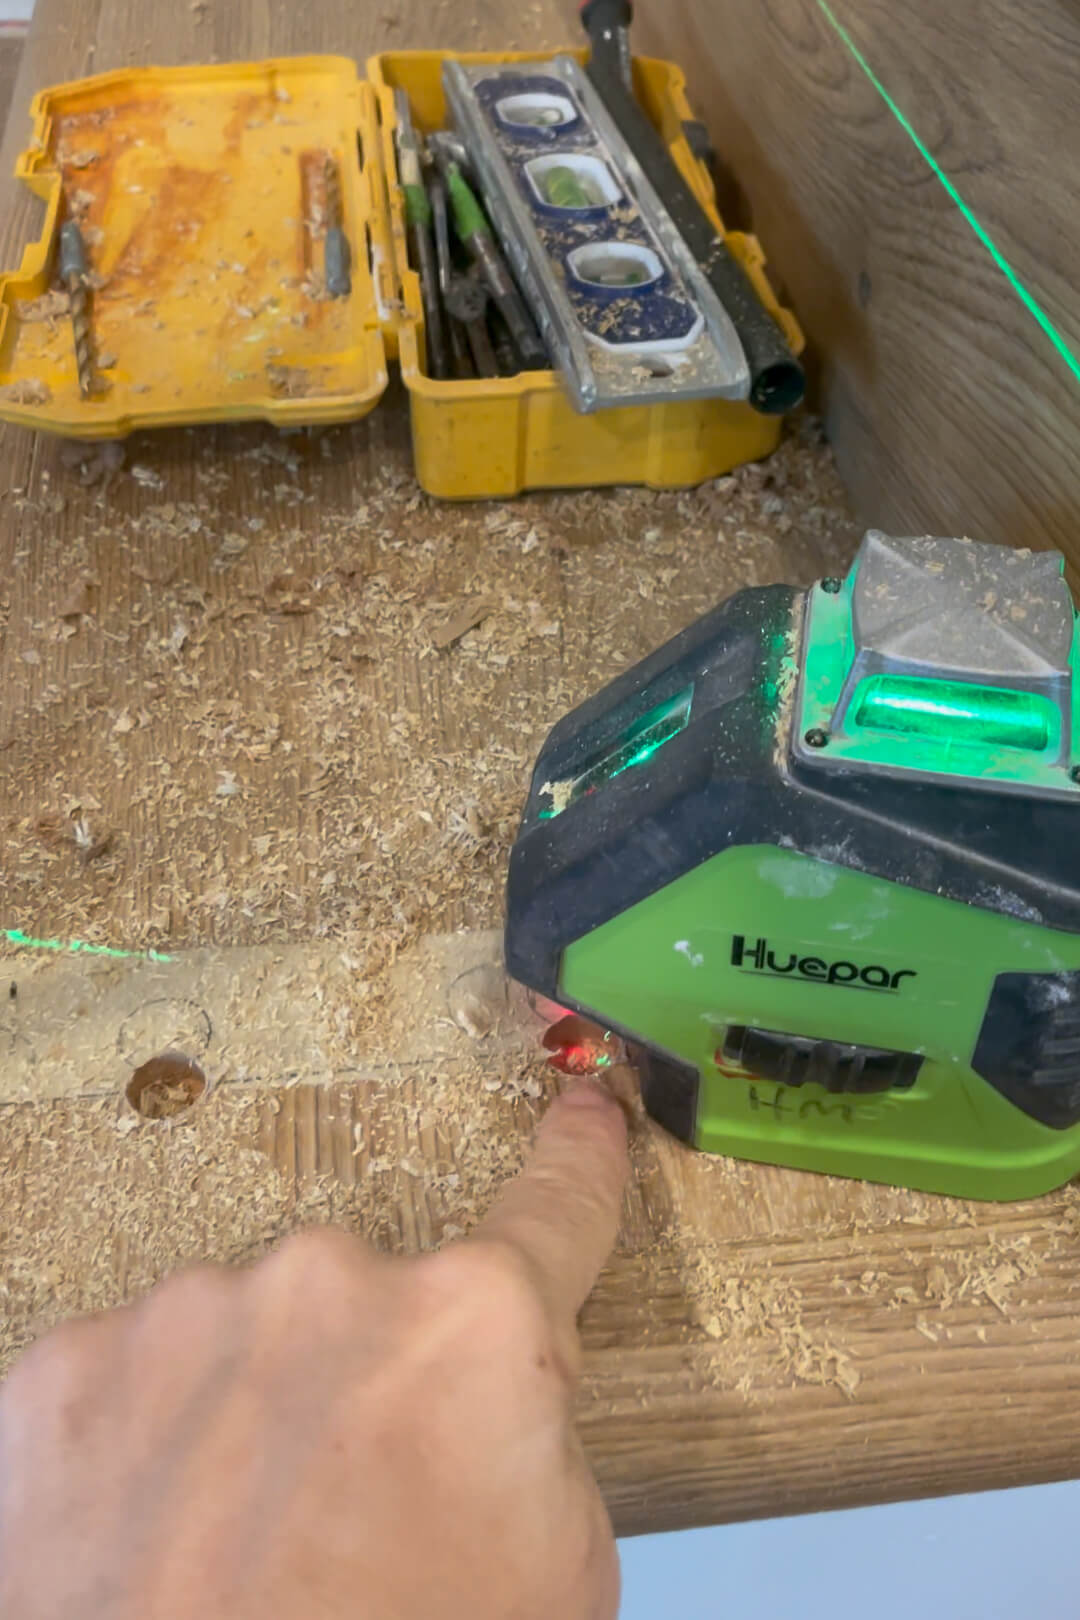
Pro Tip: Use painter’s tape on the drill bit to control depth.
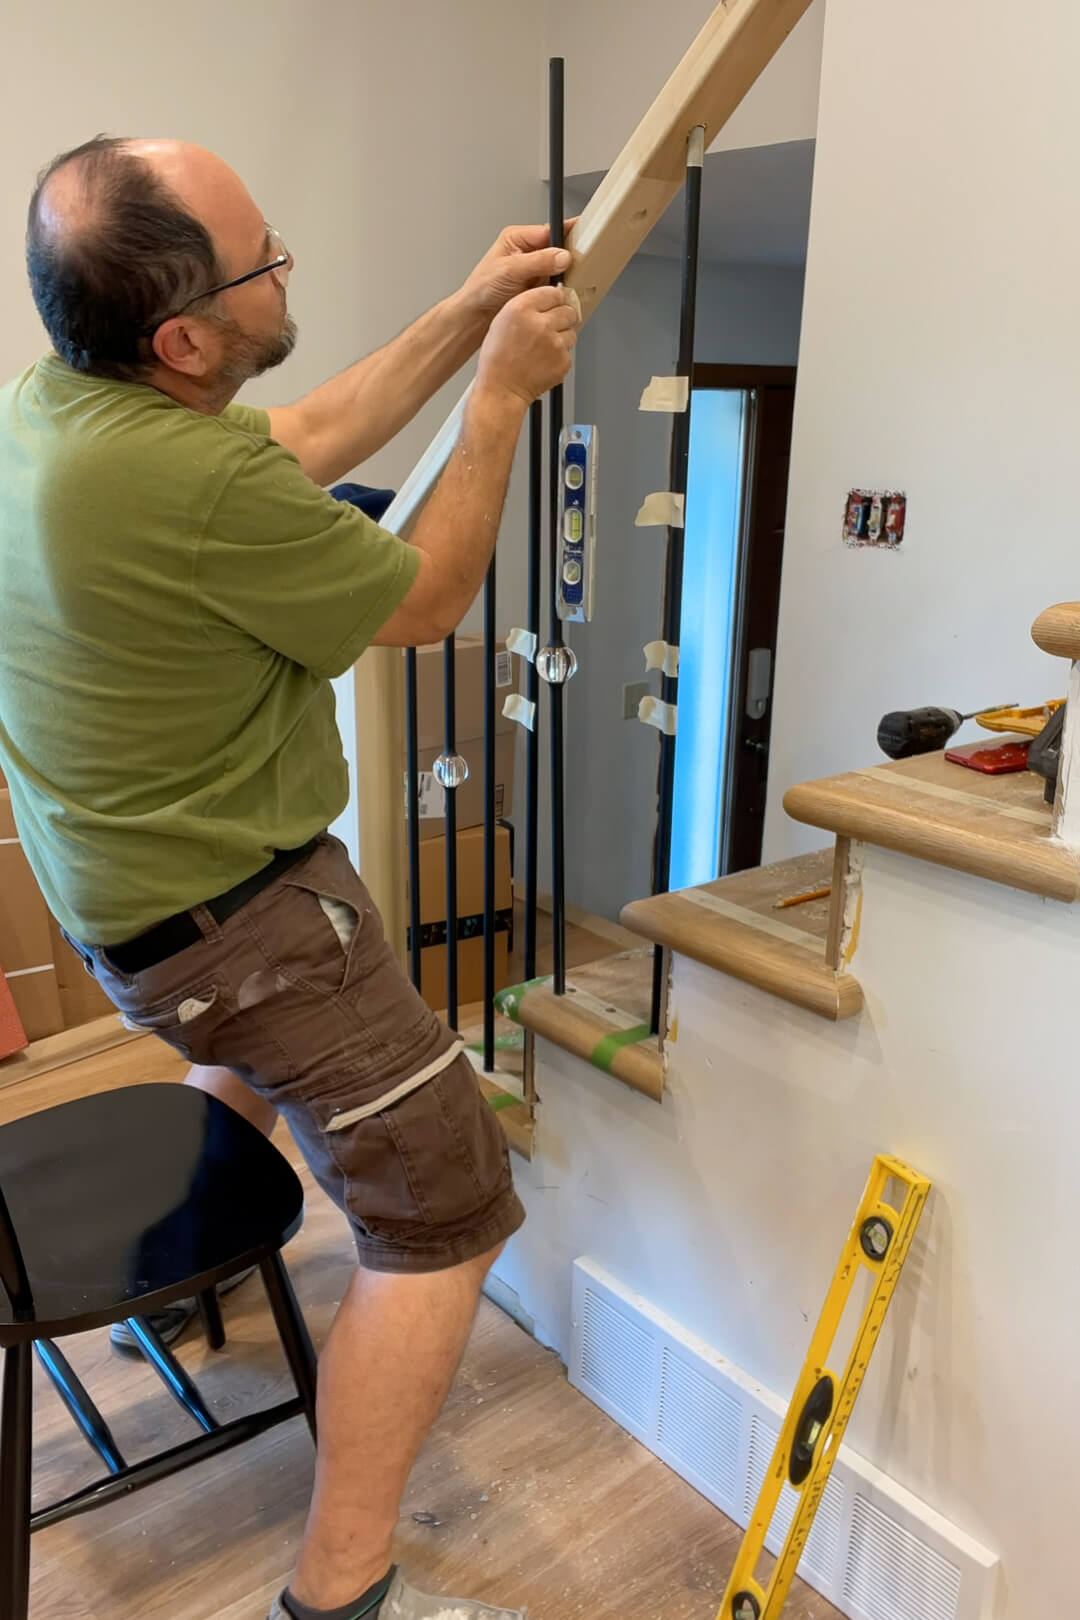
Now Grandpa could hold it up to see how much needed to be cut, using this little magnetic level to make sure the balusters were straight.
Since the balusters are black, he couldn’t mark them with a sharpie, so he used masking tape to mark them instead. What a smart idea!
To put the baluster in, we slid it in the top hole and because it was a little too big, it had just enough wiggle room to be able to pop the baluster into the bottom hole.
We ecured them with clear construction adhesive in the top hole. No one will ever see it on the underside of your handrail.
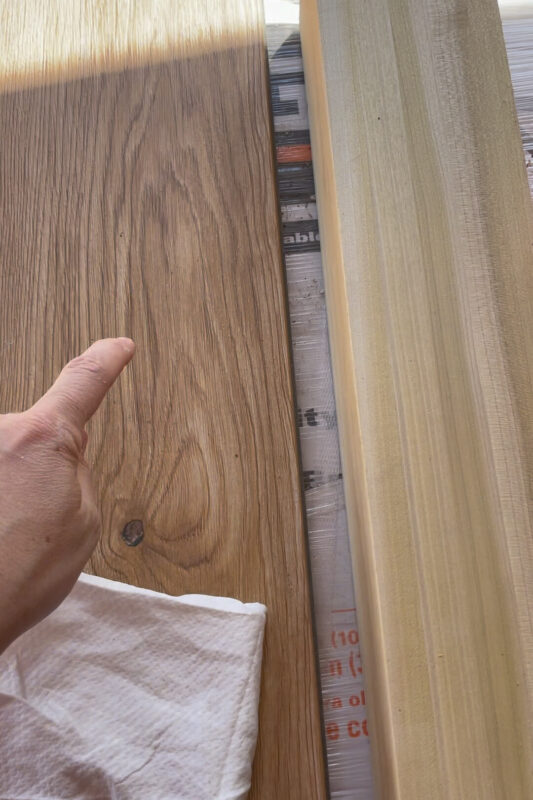
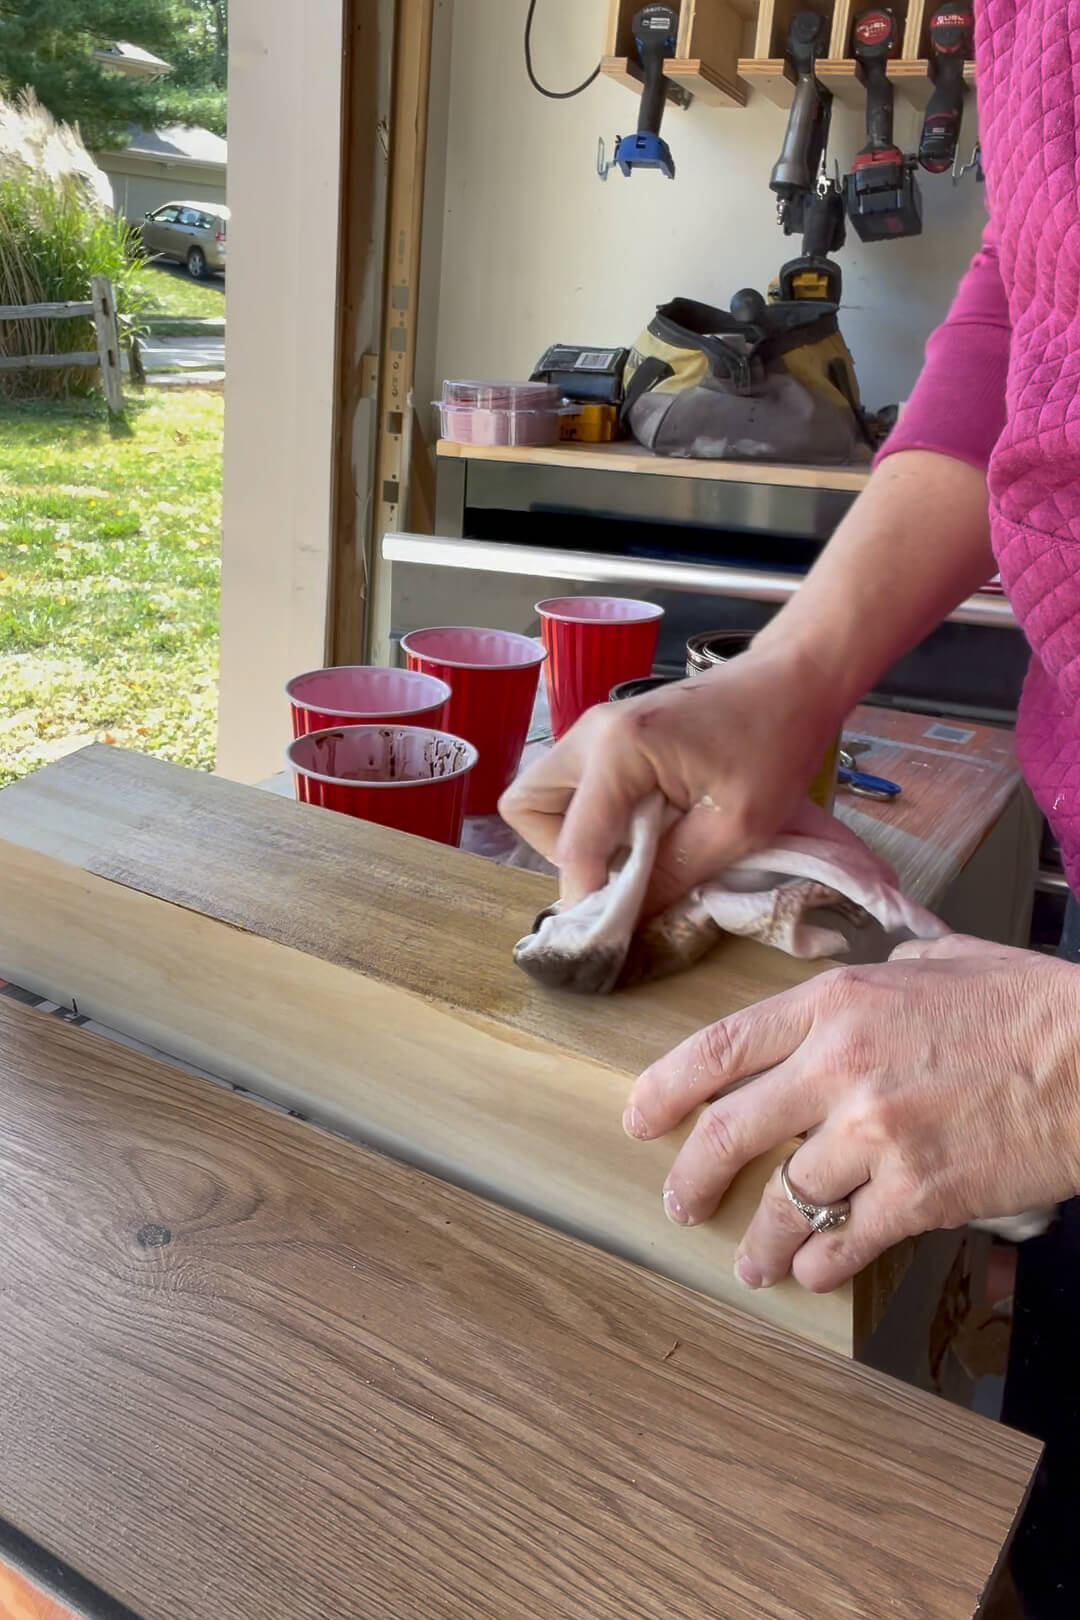
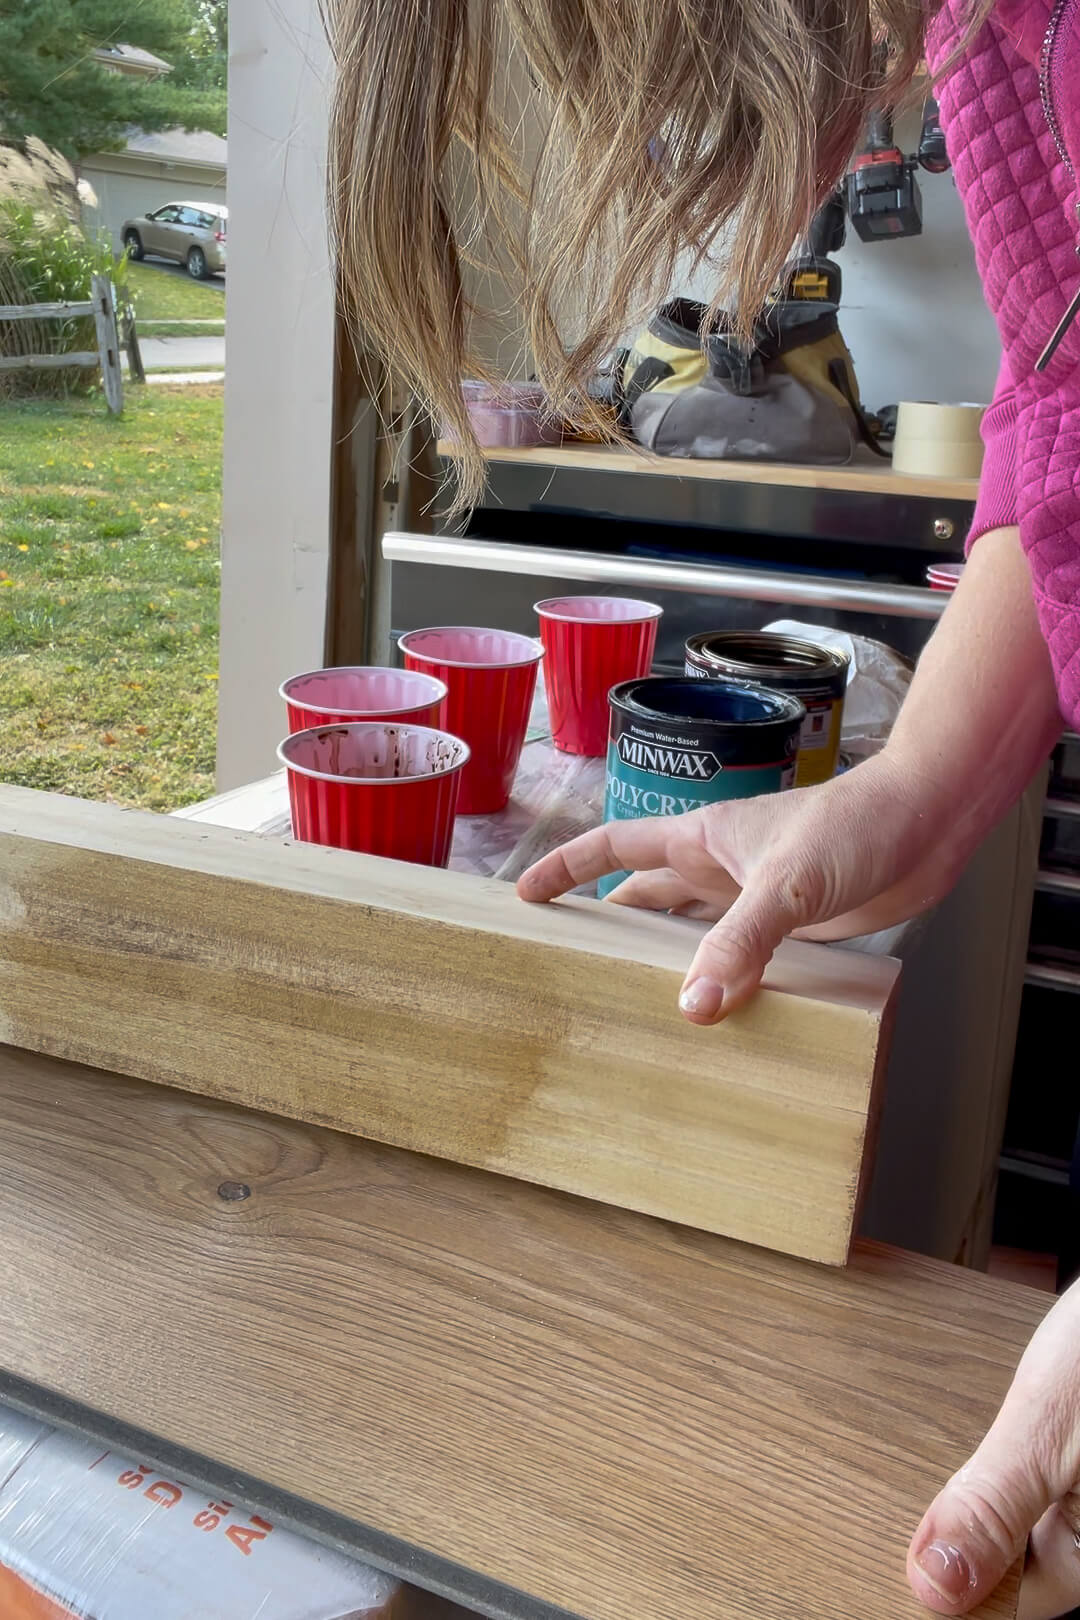
Staining Posts and Handrails
I wanted to stain them to match my flooring. I tested various mixtures of Minwax stain in Early American with Polycrylic.
This is not my first rodeo with color matching stains. You might recall when I stained my board and batten bathroom wall I had to test quite a few mixtures before getting the perfect match.

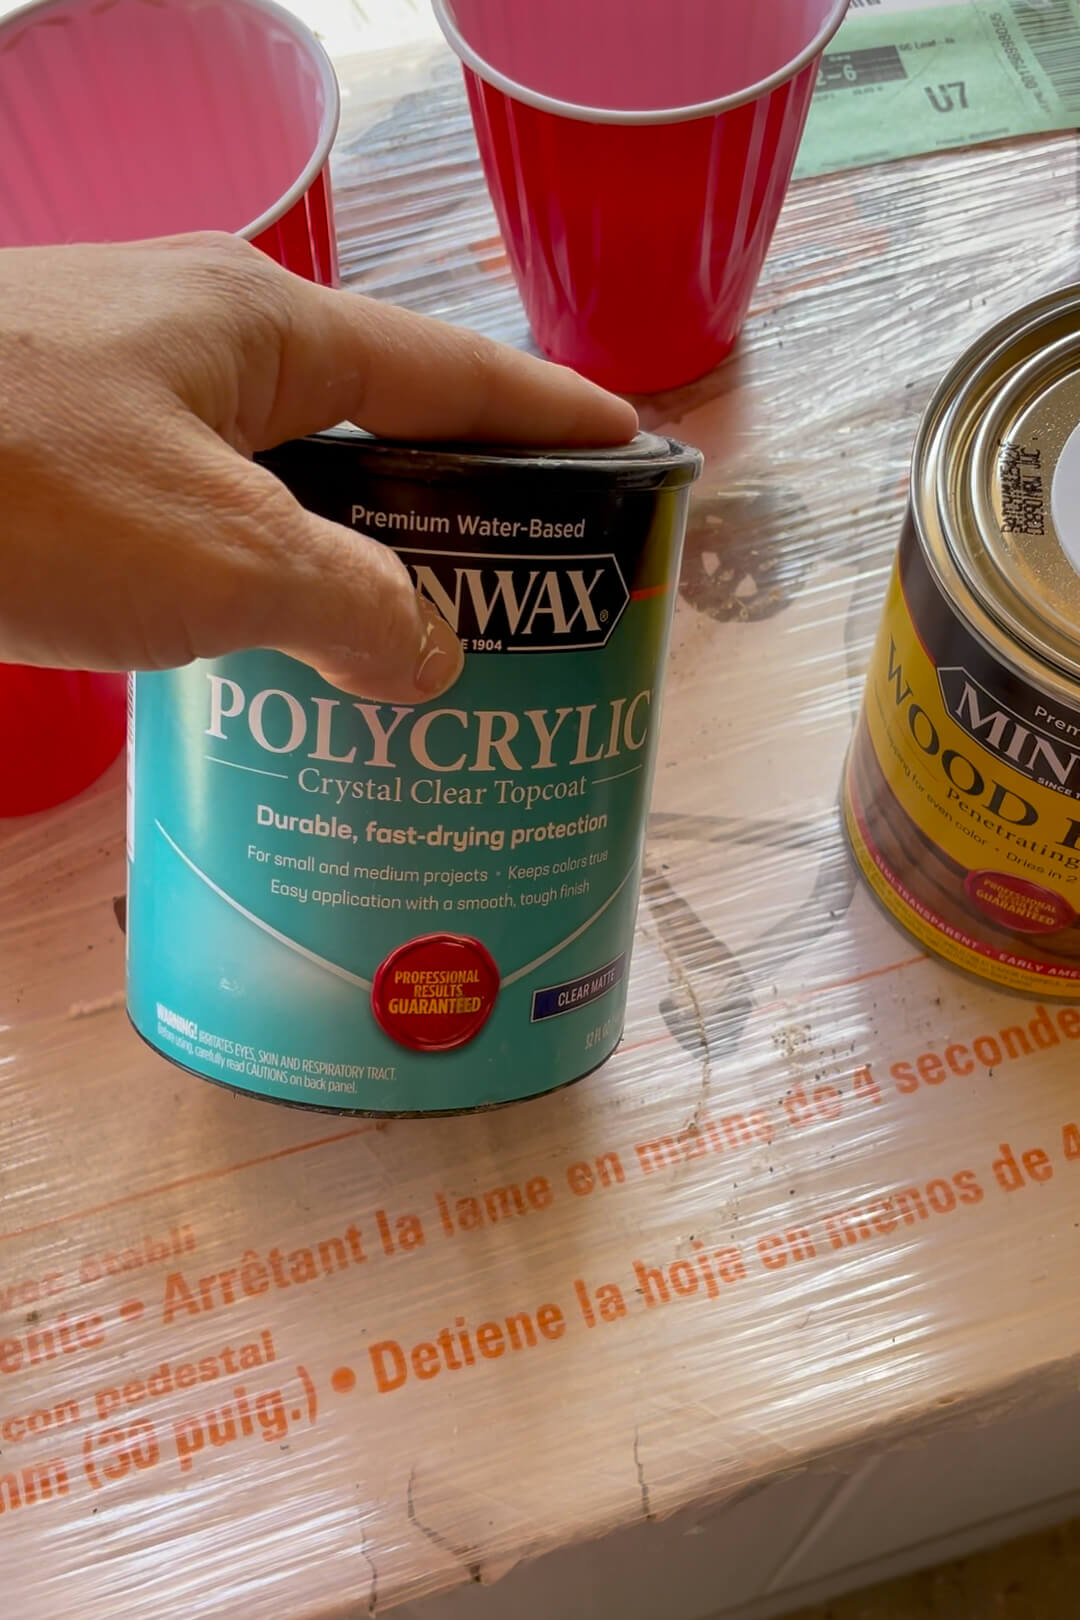
A 1:1 mixture worked best. Before staining, I masked the base of the newel posts and applied a wood conditioner. Using a painter’s mitt, I stained the posts and handrails, applying a second coat for an even finish
See how good it looks when the stain is finished and dry?! It’s so close to the color of the floor. I’m really happy with how my modern stairs are looking.

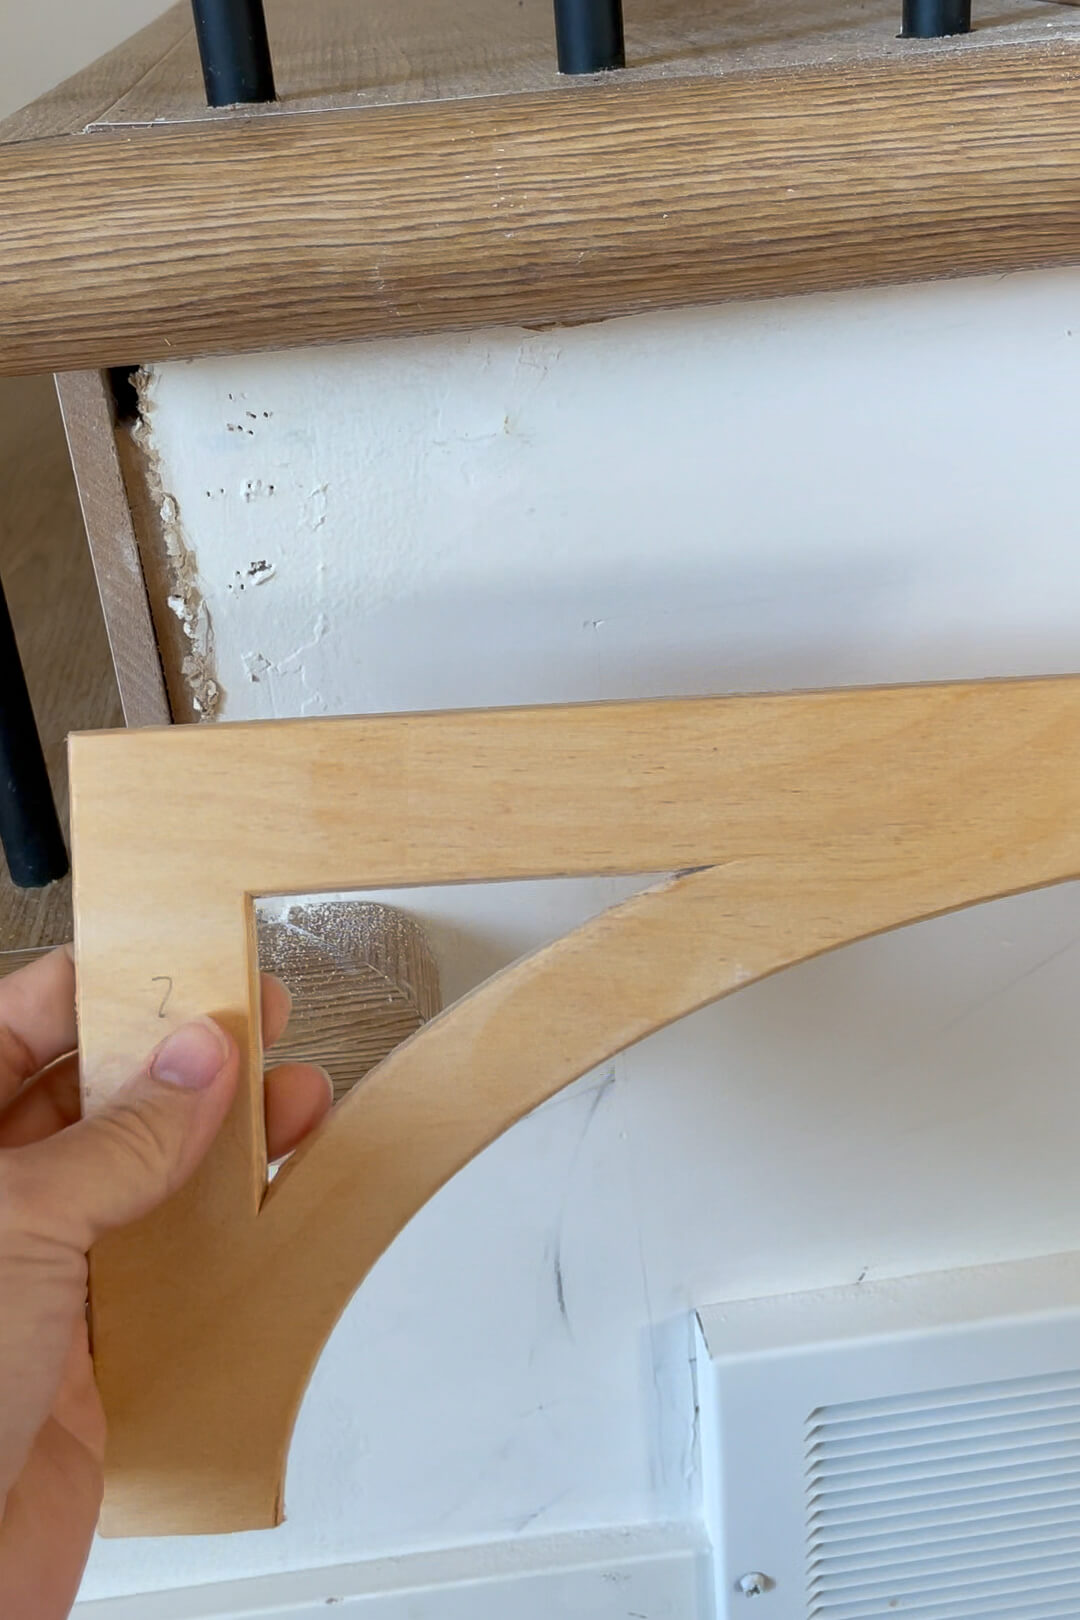
Finishing With Stair Brackets
To cover the unfinished area where the stair riser meets the drywall, I added stair brackets, securing them with a Brad nailer. I painted them the same color as the wall, Sherwin Williams Alabaster, for a simple, elegant look.
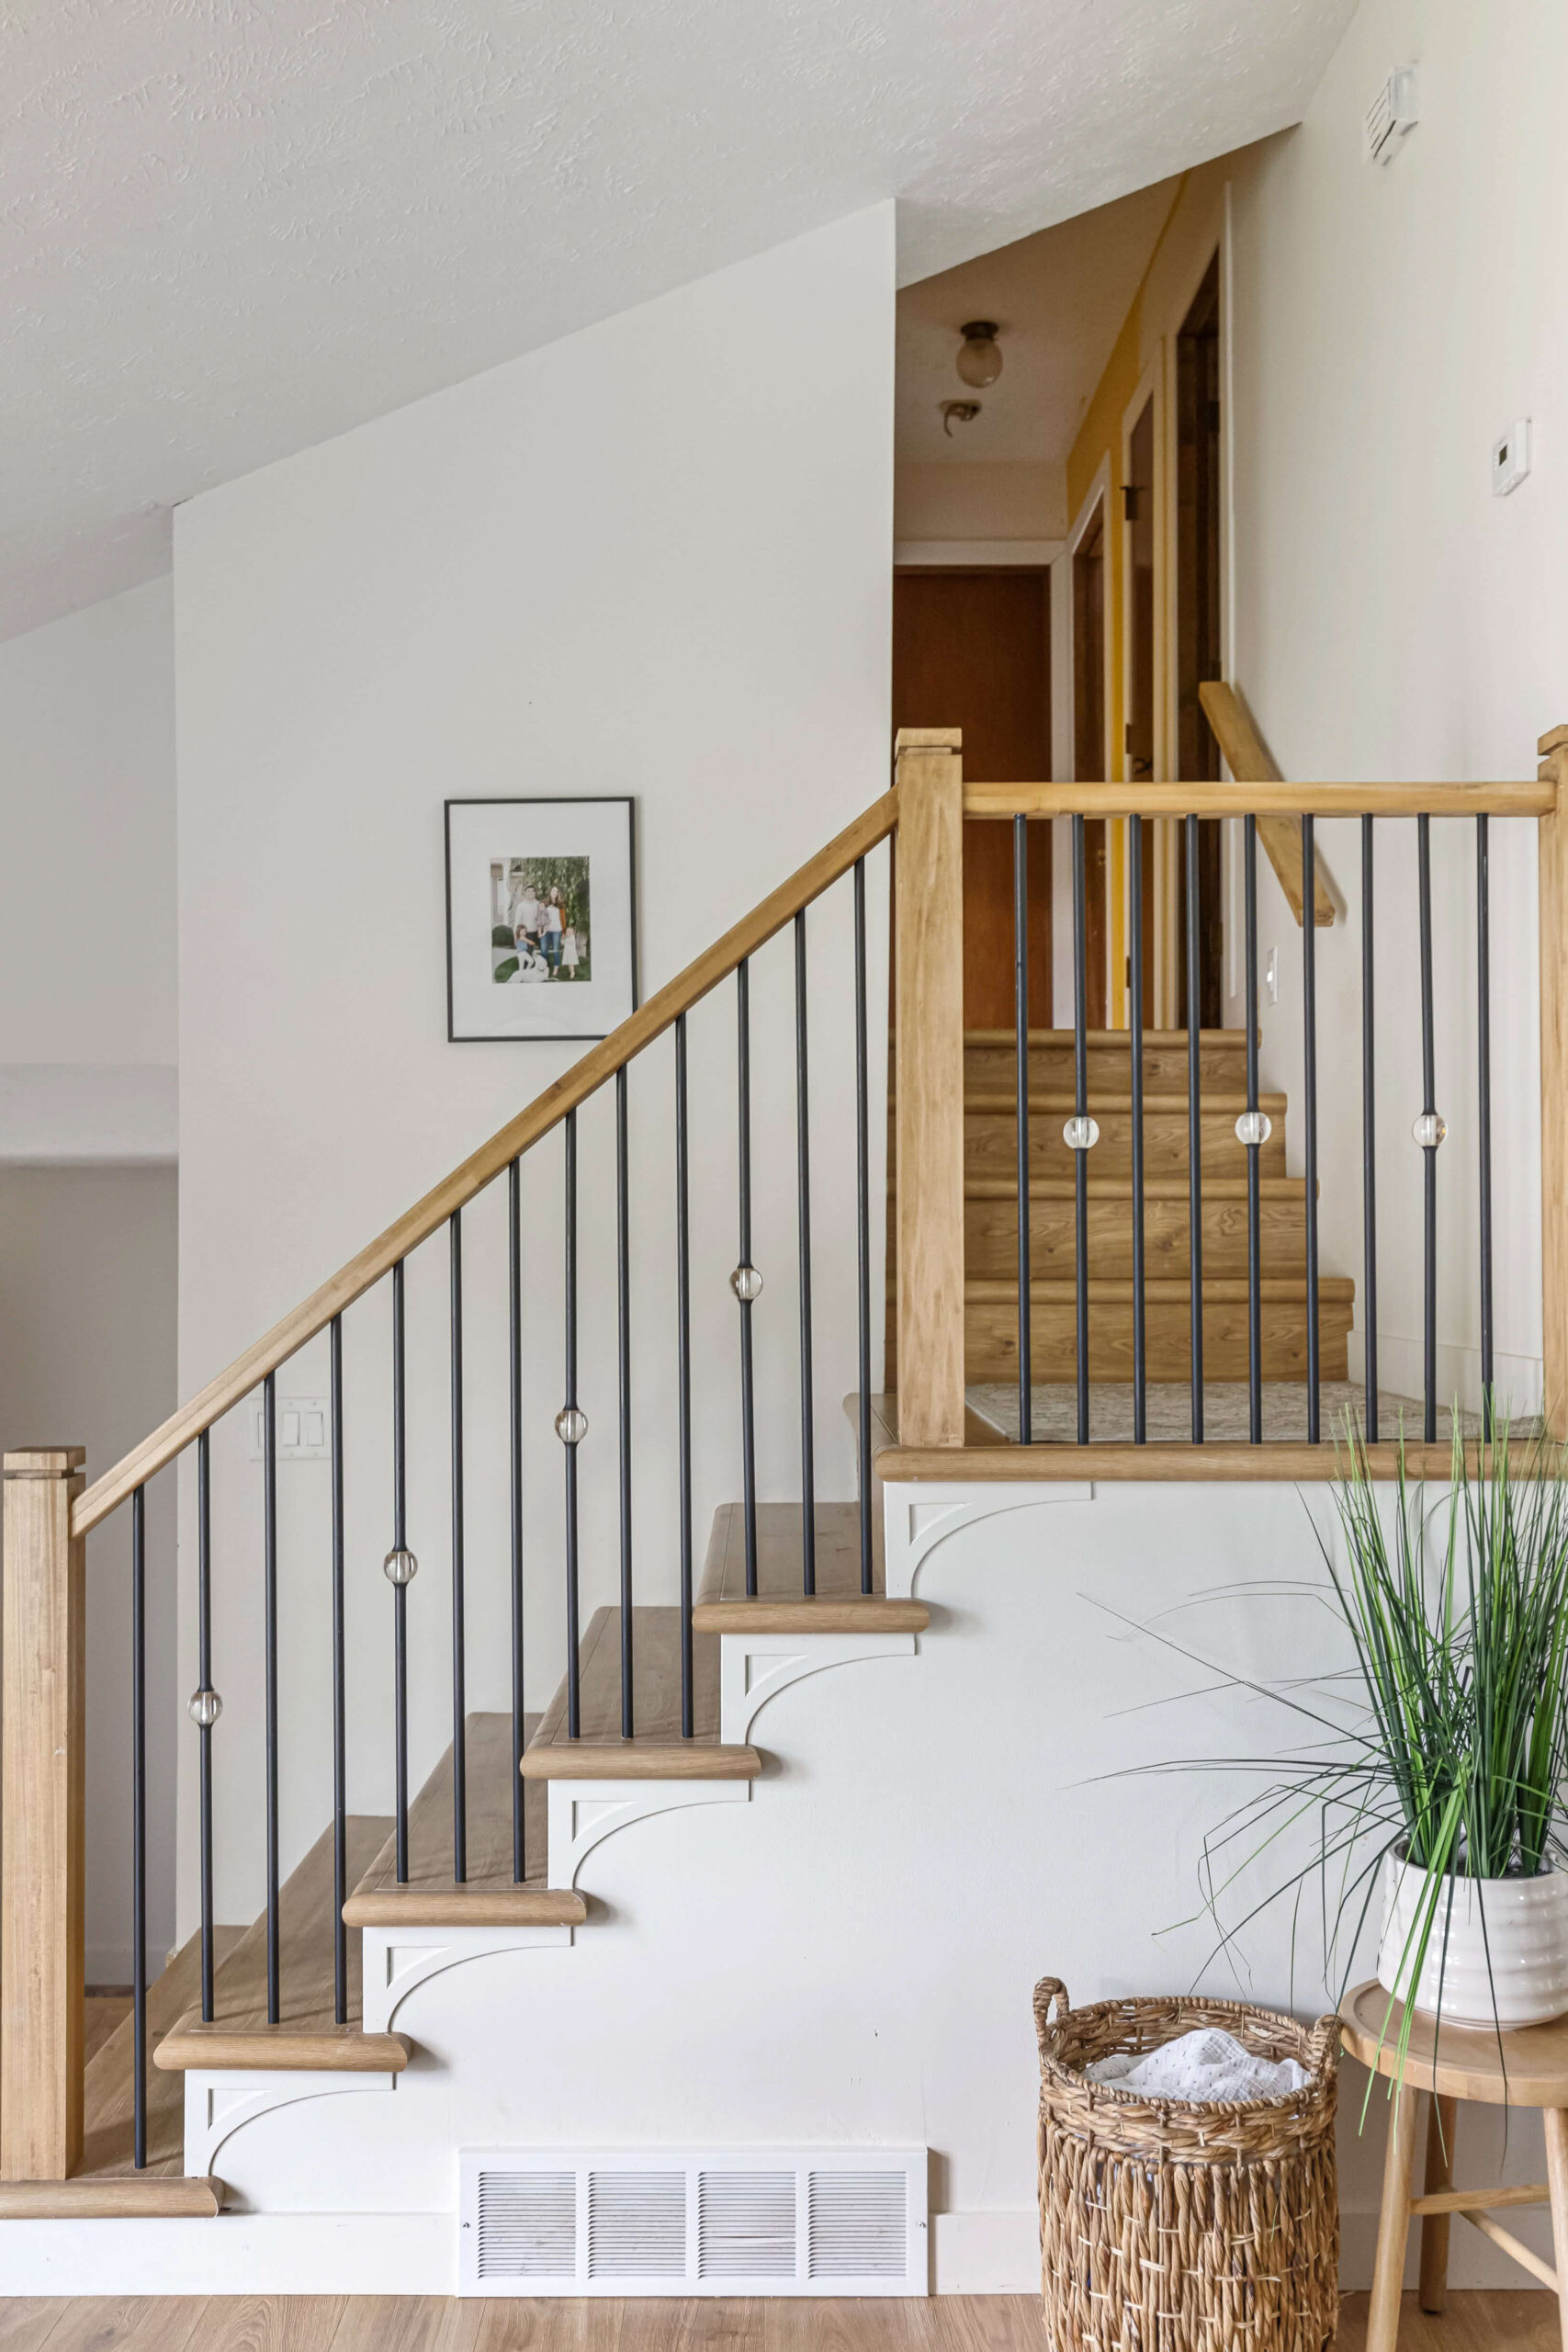
Before and After Modern Stairs
Can you even believe this is the same house? The paint job helps the room feel lighter, airier, and bigger, but the new, modern stairs make this space feel current and updated.
These modern stairs fit right in with the style of my home.
See how good those stair brackets look painted the same color as the wall? It’s a subtle detail that gives the stairs a style boost.
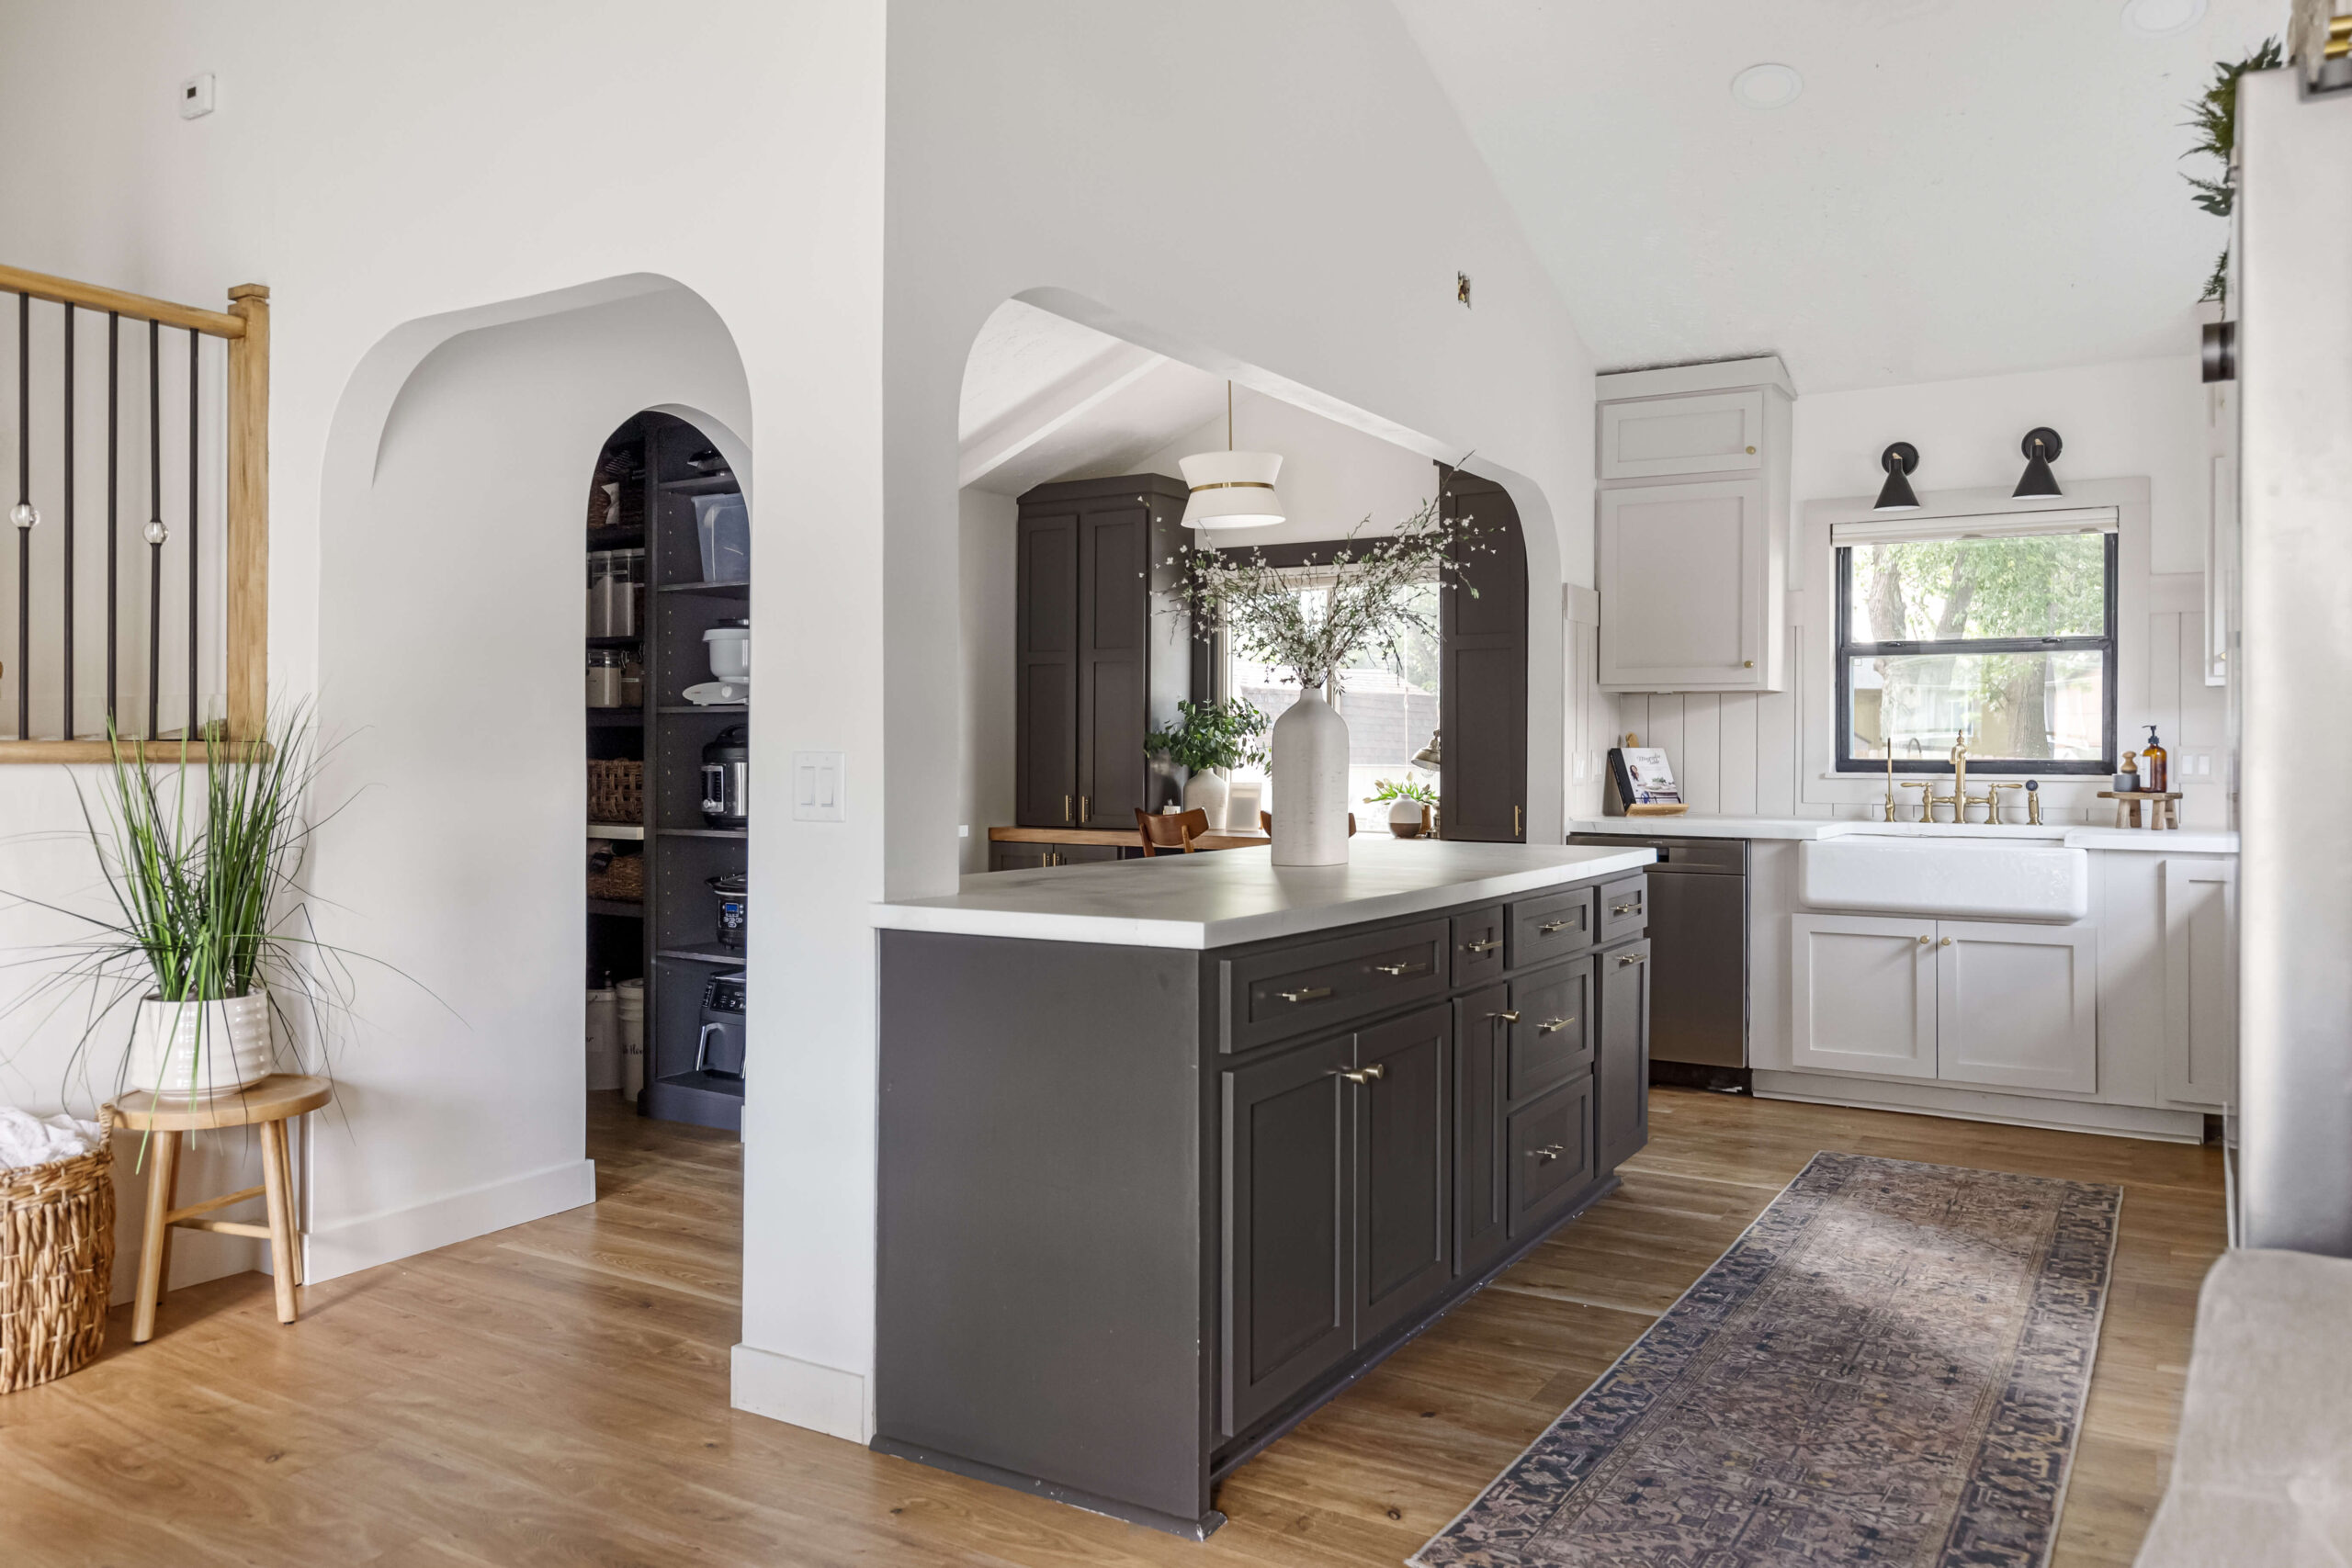
As you can see these modern stairs are right by the kitchen, so it’s important that it flowed together and looked cohesive.

The touches of warm wood from the handrail and posts look amazing with the floors. The black balusters compliment the black accents in my kitchen, like the sconces and the window frames that I painted black. It all works together to be one beautiful, cohesive space.
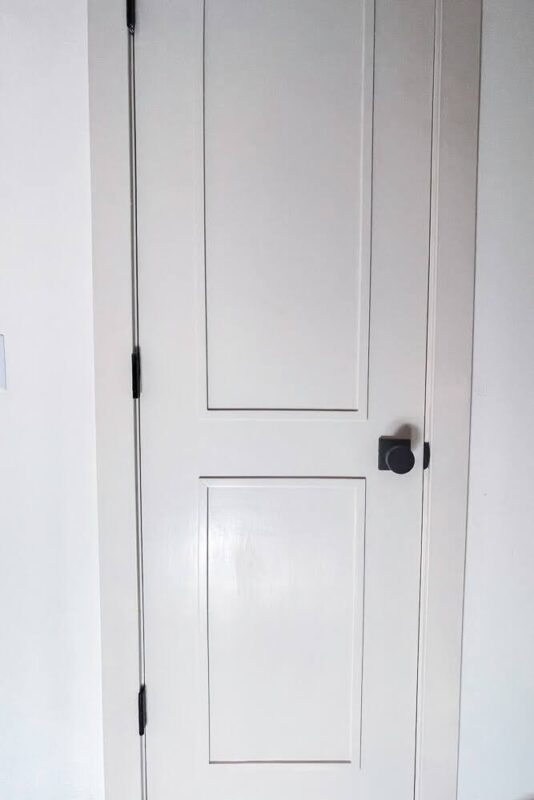
Love how these modern stairs turned out and looking for more projects to update your home? Check out this post where I upgrade my interior doors from basic 1970’s doors to custom, paneled doors.