

Updated August 6, 2025
(updated 2025) If you’re short on space but still want a comfortable guest bed that doesn’t eat up an entire room, let me introduce you to the horizontal Murphy bed – aka the space-saving hero of our basement makeover. We needed a place for family to stay during visits, but our basement has 7-foot ceilings, which ruled out a traditional vertical Murphy bed. So we DIYed a horizontal one—and spoiler alert – it turned out beautiful.
We used a Create-A-Bed Murphy Bed kit with hardware and detailed plans, and this post is a companion guide to that kit. I’ll walk you through how we built, painted, and installed a DIY queen horizontal Murphy bed, plus share tips that made a big difference for us along the way.
👉 View the full Murphy Bed Kit Instructions
Table of Contents
- Tools We Used to Build the Murphy Bed Frame
- Supplies for Our DIY Queen Murphy Bed
- Materials List for Building a Horizontal Murphy Bed
- Step 1: Cutting the Plywood for the Bed Frame
- Step 2: Build the Murphy Bed Mattress Box
- Step 3: Installing the Murphy Bed Hardware
- Step 4: Prepping + Painting the Murphy Bed
- Step 5: Anchoring the Bed to Our Basement Wall
- Step 6: Assembling and Installing the Horizontal Murphy Bed
- Step 7: The Finished Bed!
- 📌 Save This Project for Later
- FAQ: Horizontal Murphy Bed Questions Answered
- Room Sources
Tools We Used to Build the Murphy Bed Frame
Supplies for Our DIY Queen Murphy Bed
Materials List for Building a Horizontal Murphy Bed
- 4 – 3/4 x 4 x 8 plywood
- 2 – 1/4 x 4 x 8 plywood
- 12 – 1 x 2 x 8 pine boards
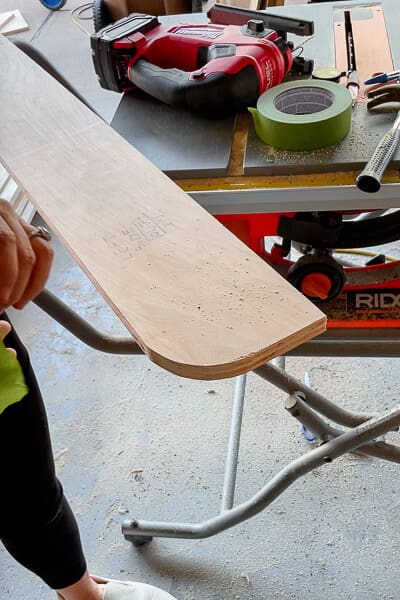
Step 1: Cutting the Plywood for the Bed Frame
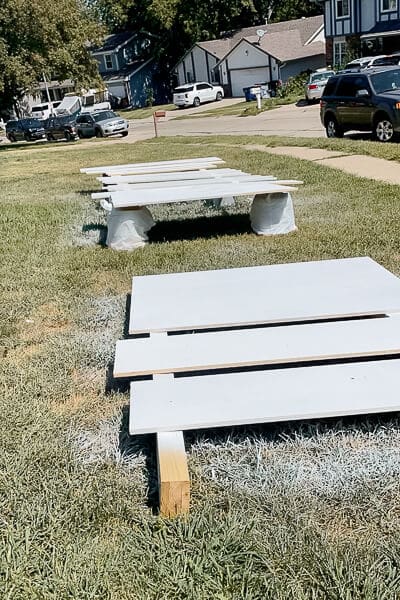
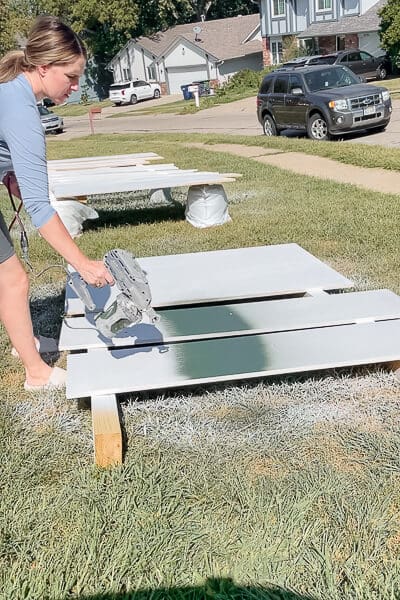
The Create-A-Bed instructions include all the cut dimensions you’ll need. We used poplar for its straightness (pine works if you’re on a tighter budget). Large plywood cuts can be tricky, so I laid foam insulation on the ground and used a circular saw with a guide rail for straight cuts.
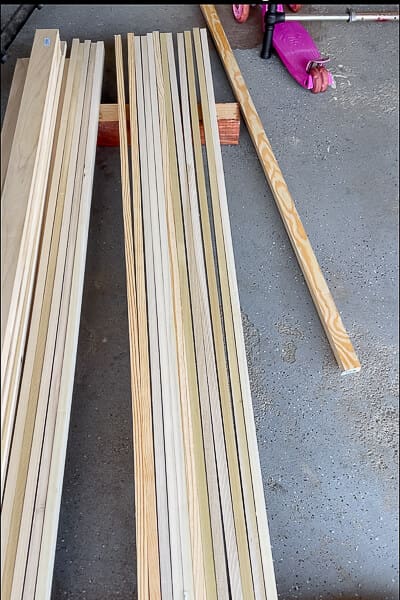
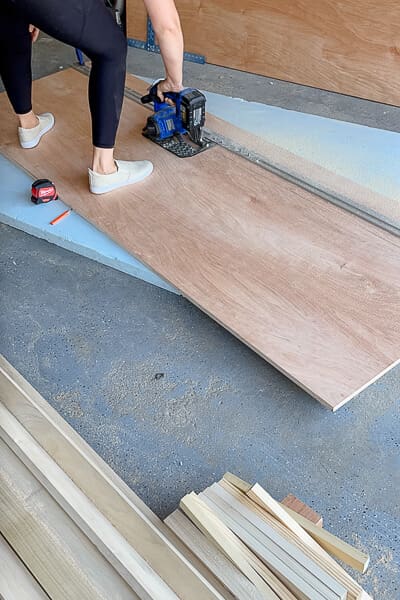
If you’re doing this solo, these plywood grippers can help a lot.
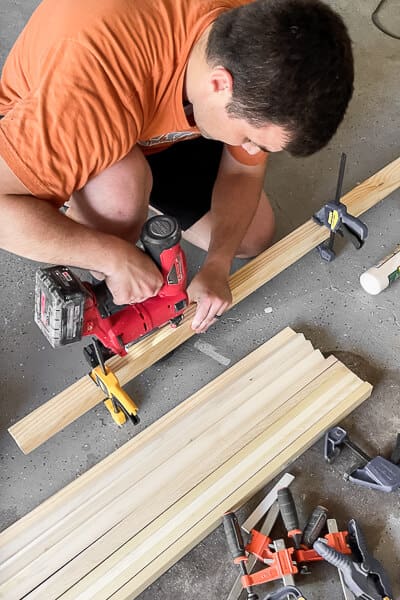
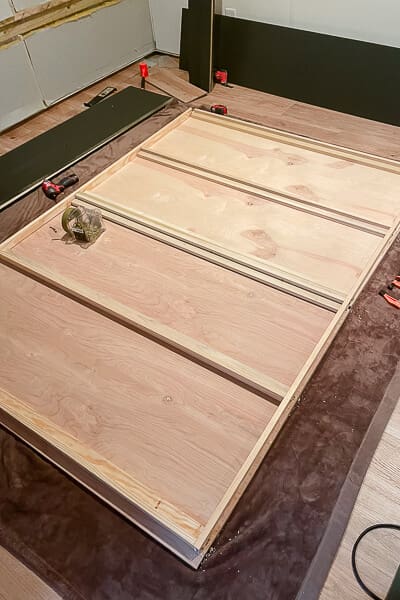
Step 2: Build the Murphy Bed Mattress Box
Once everything was cut, we built the mattress frame using wood glue, clamps, and screws. These are my favorite all-purpose clamps. There are helpful templates in the kit, including one for a curved cut on the side rail.
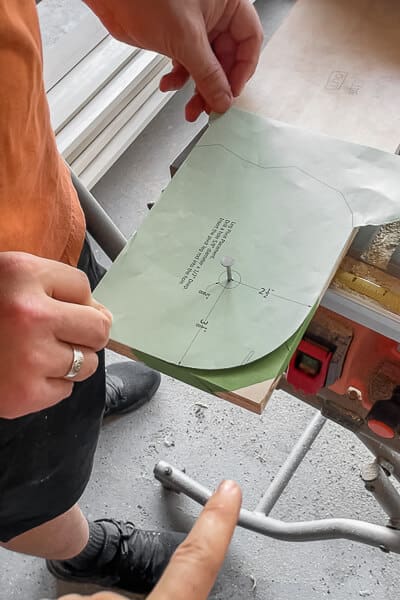
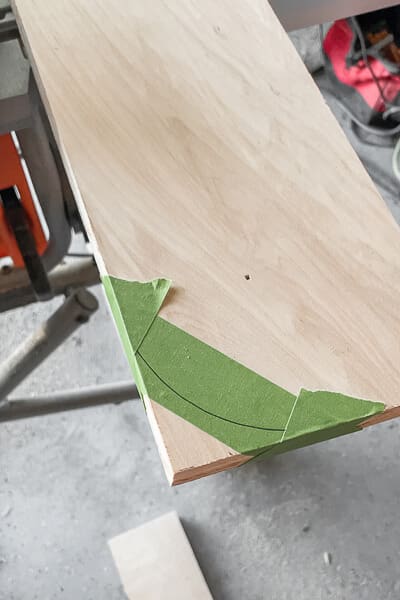
This type of cut requires a Jig Saw, which can sometimes shred plywood. To avoid rough edges, I add painter’s tape on both sides of the plywood before marking and cutting, which makes for a much cleaner cut.
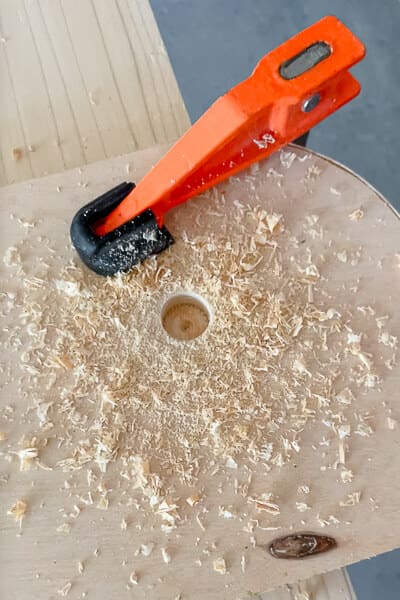
Step 3: Installing the Murphy Bed Hardware
The kit includes templates for hardware placement too. We used a Forstner bit to drill precise, clean holes and attached the mechanism before testing the movement. It worked like a charm.
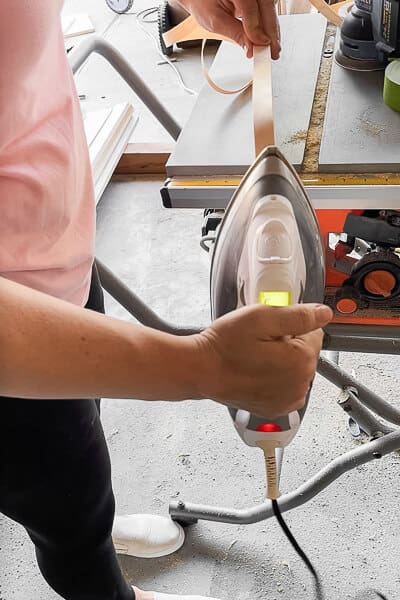
Step 4: Prepping + Painting the Murphy Bed
Now for the fun part! The instructions on the kit tell you which edges you need to apply edge banding because the newly cut edges of plywood always look rough and unattractive on a horizontal Murphy bed.
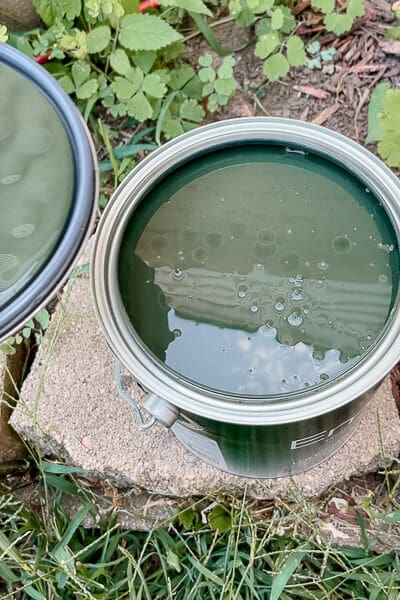
I custom-mixed this gorgeous green paint—Montenegro Green—so if you want this color, screenshot the lid image and bring it in to Sherwin Williams.

Then, I gave the horizontal Murphy bed wood an all-over sanding and then laid out all the pieces on top of buckets, food cans, scrap wood, and whatever random objects I could find in my garage.
I primed the boards with my favorite primer and Graco paint sprayer, and then after it dried, I sanded off all the primed rough spots. I love using a cordless sander for large projects like this.
The trick for a smooth paint job is to apply thin, even coats with gentle sanding using a high grit sandpaper between each coat. I go into more depth about painting cabinetry in this blog post about how I painted my kitchen cabinets.
Want to see exactly how I clean out my paint sprayer? I filmed the whole thing – watch the video below!
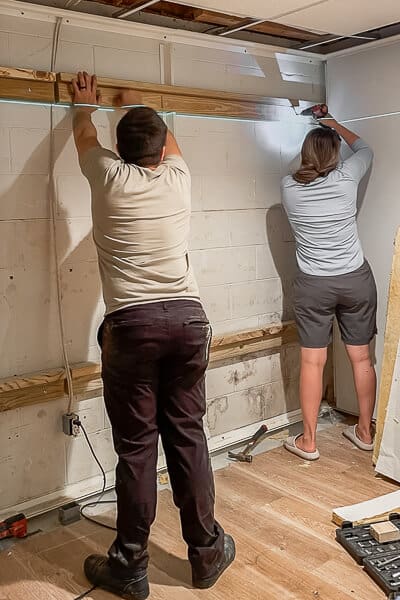
Step 5: Anchoring the Bed to Our Basement Wall
Since our walls are cinder block, we couldn’t just screw into studs. Instead, we attached 2×4 supports to the wall using toggle bolts and a masonry drill bit. Then, we positioned them exactly where the bed frame would mount. Our laser level was essential and took much less effort than a typical level.
If you’ve got drywall, you can probably just use a stud finder and call it a day!
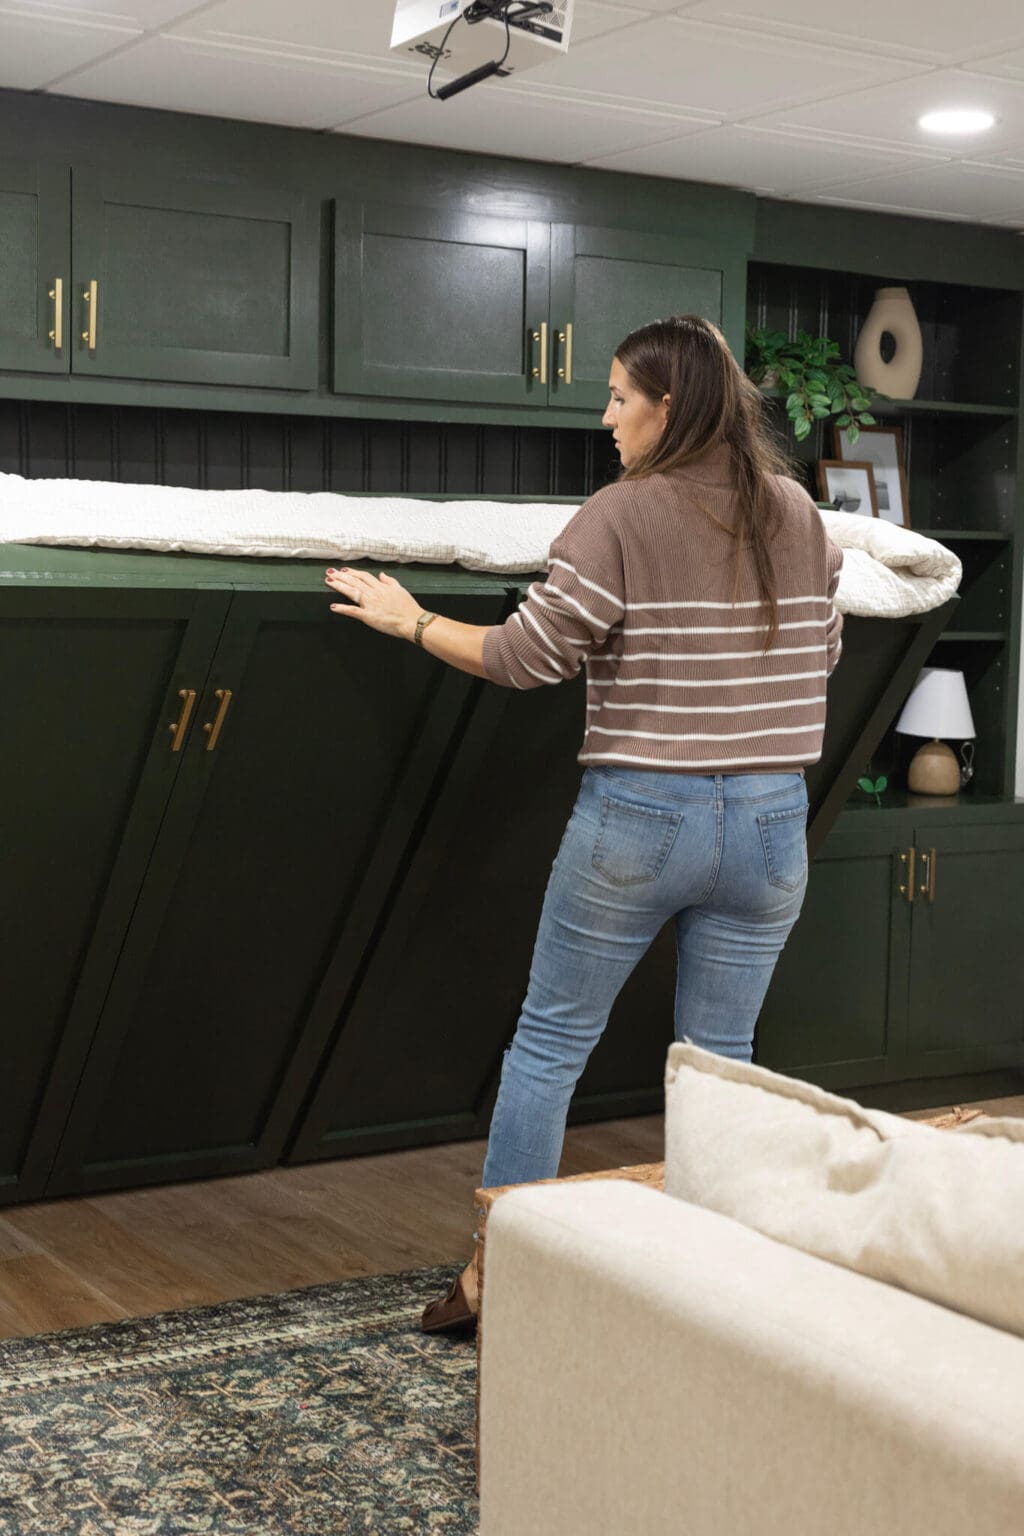
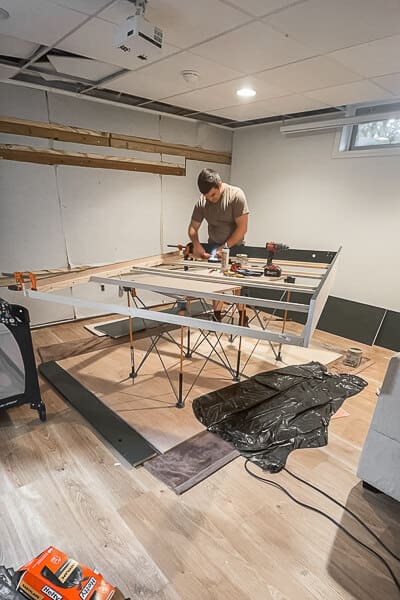
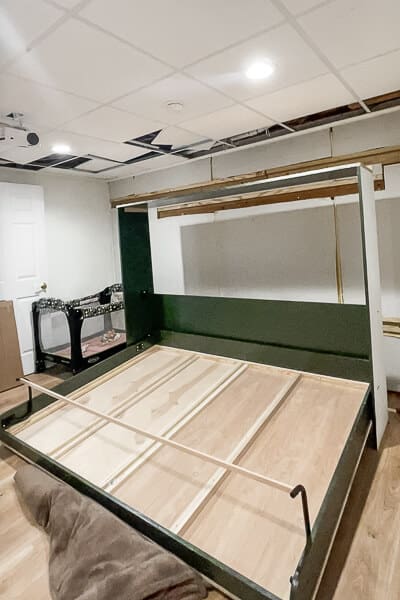
Step 6: Assembling and Installing the Horizontal Murphy Bed
It’s easier to assemble the horizontal Murphy Bed in the room where it’s being installed. Create-A-Bed provides detailed instructions for this next step, but I’ll add some pro tips.
- Label your pieces beforehand.
- Pre-drill your holes.
- Wipe up glue quickly before it dries.
- Use a blanket to protect floors while assembling.
- Watch your screw length so nothing pokes through.
- This folding work table made setup so much easier.
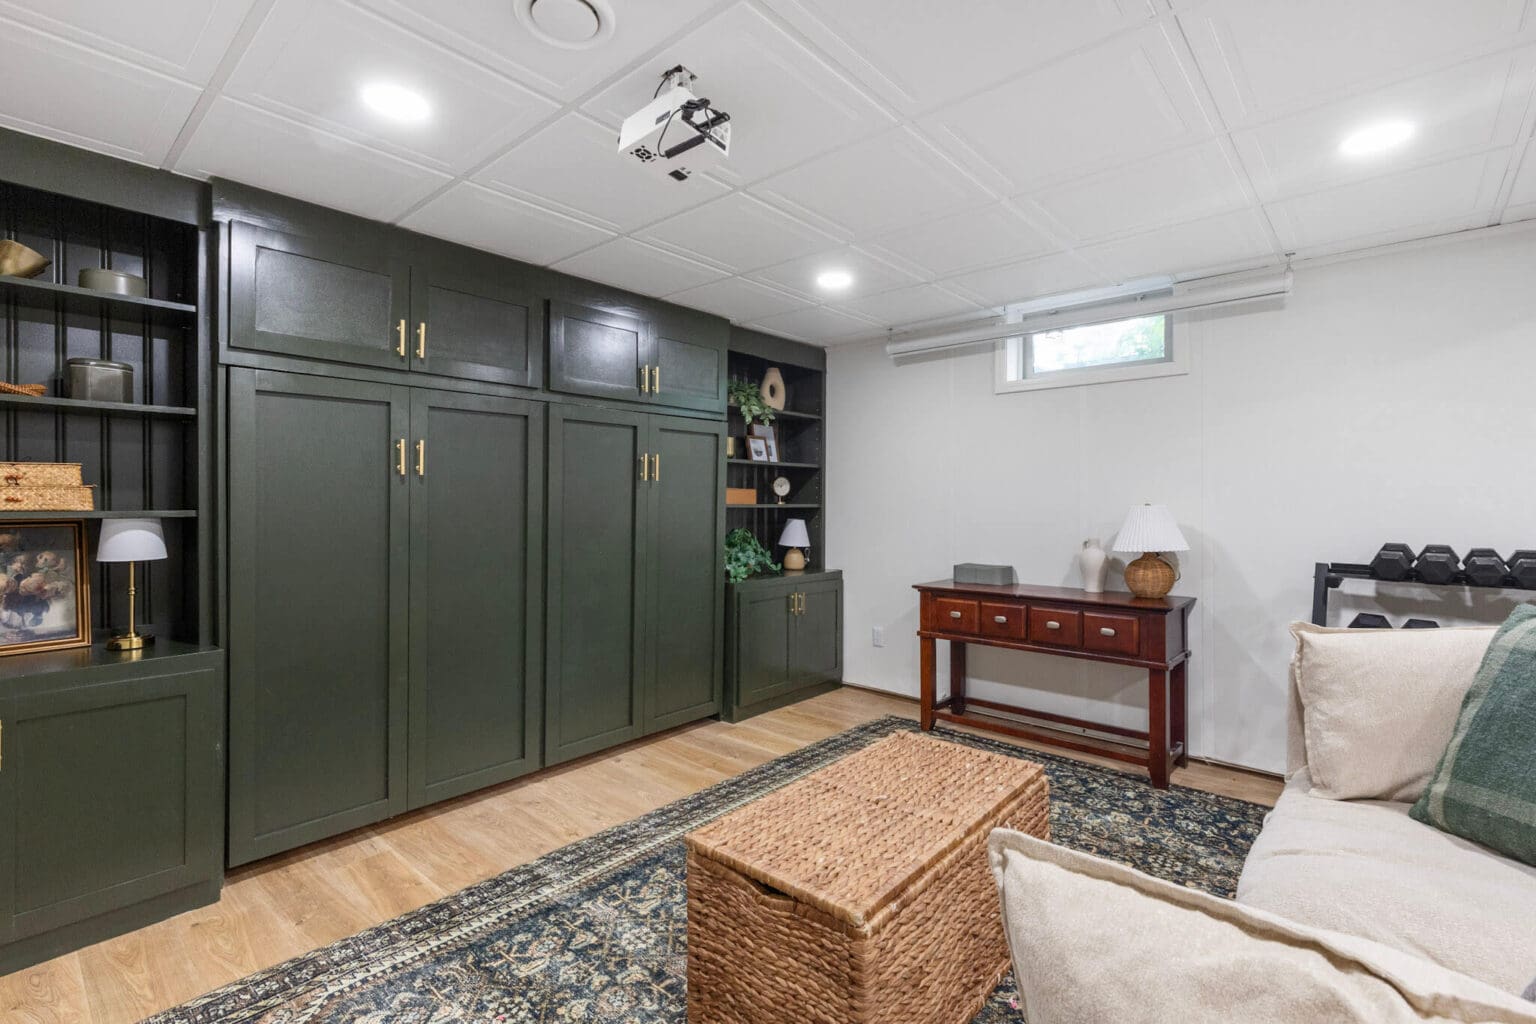
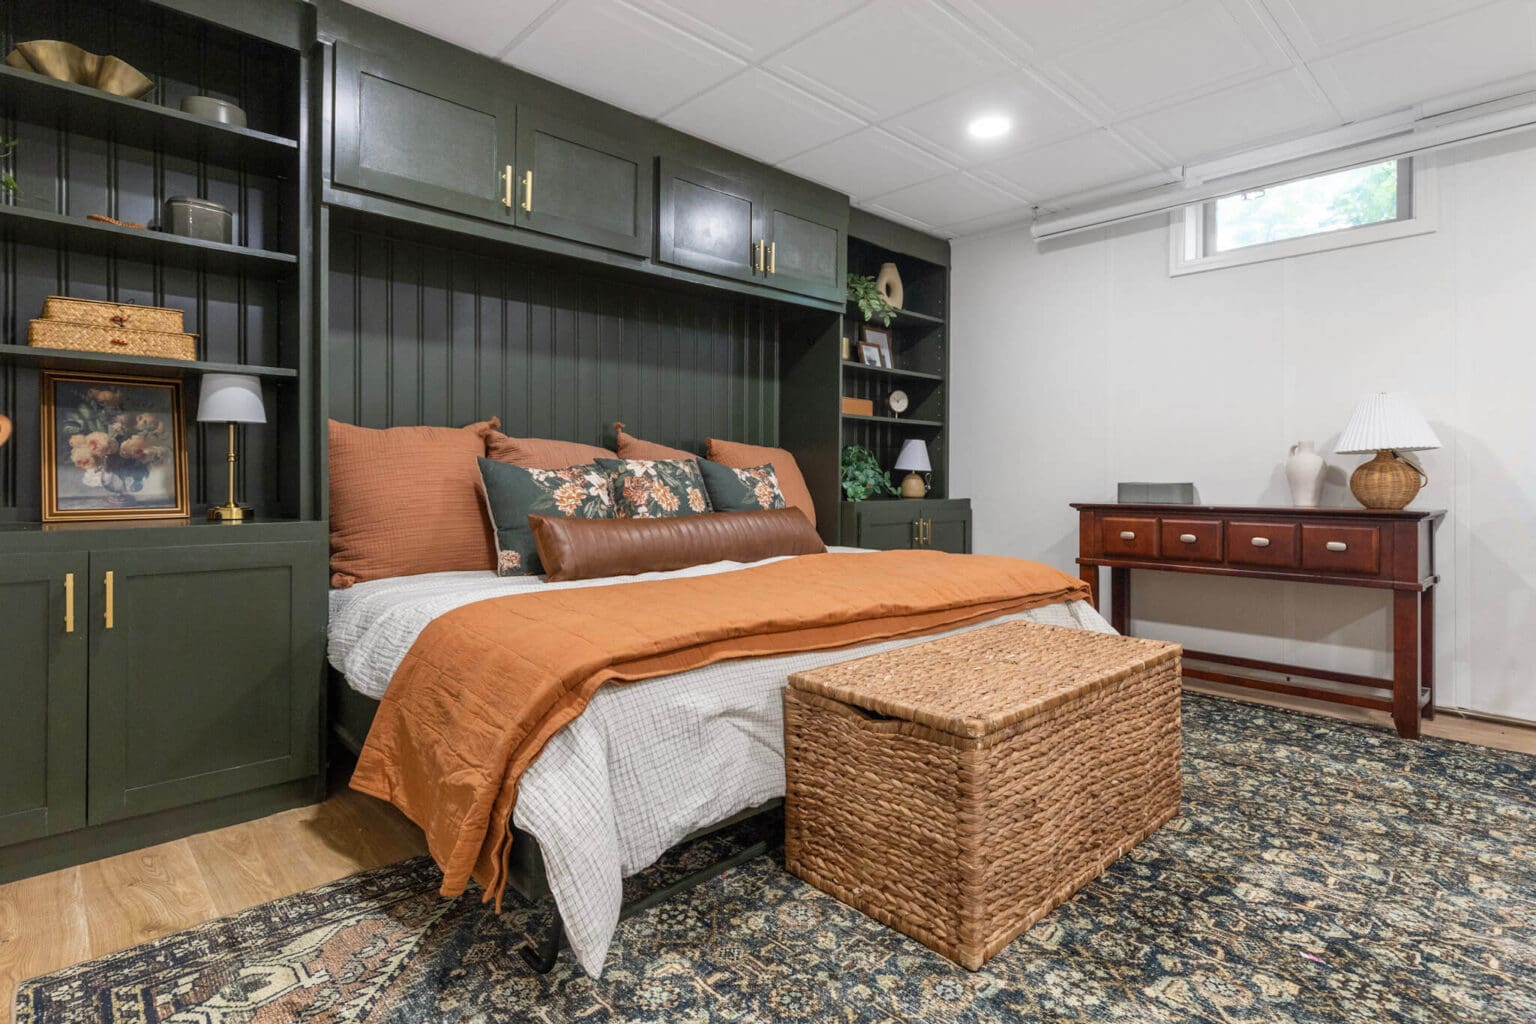
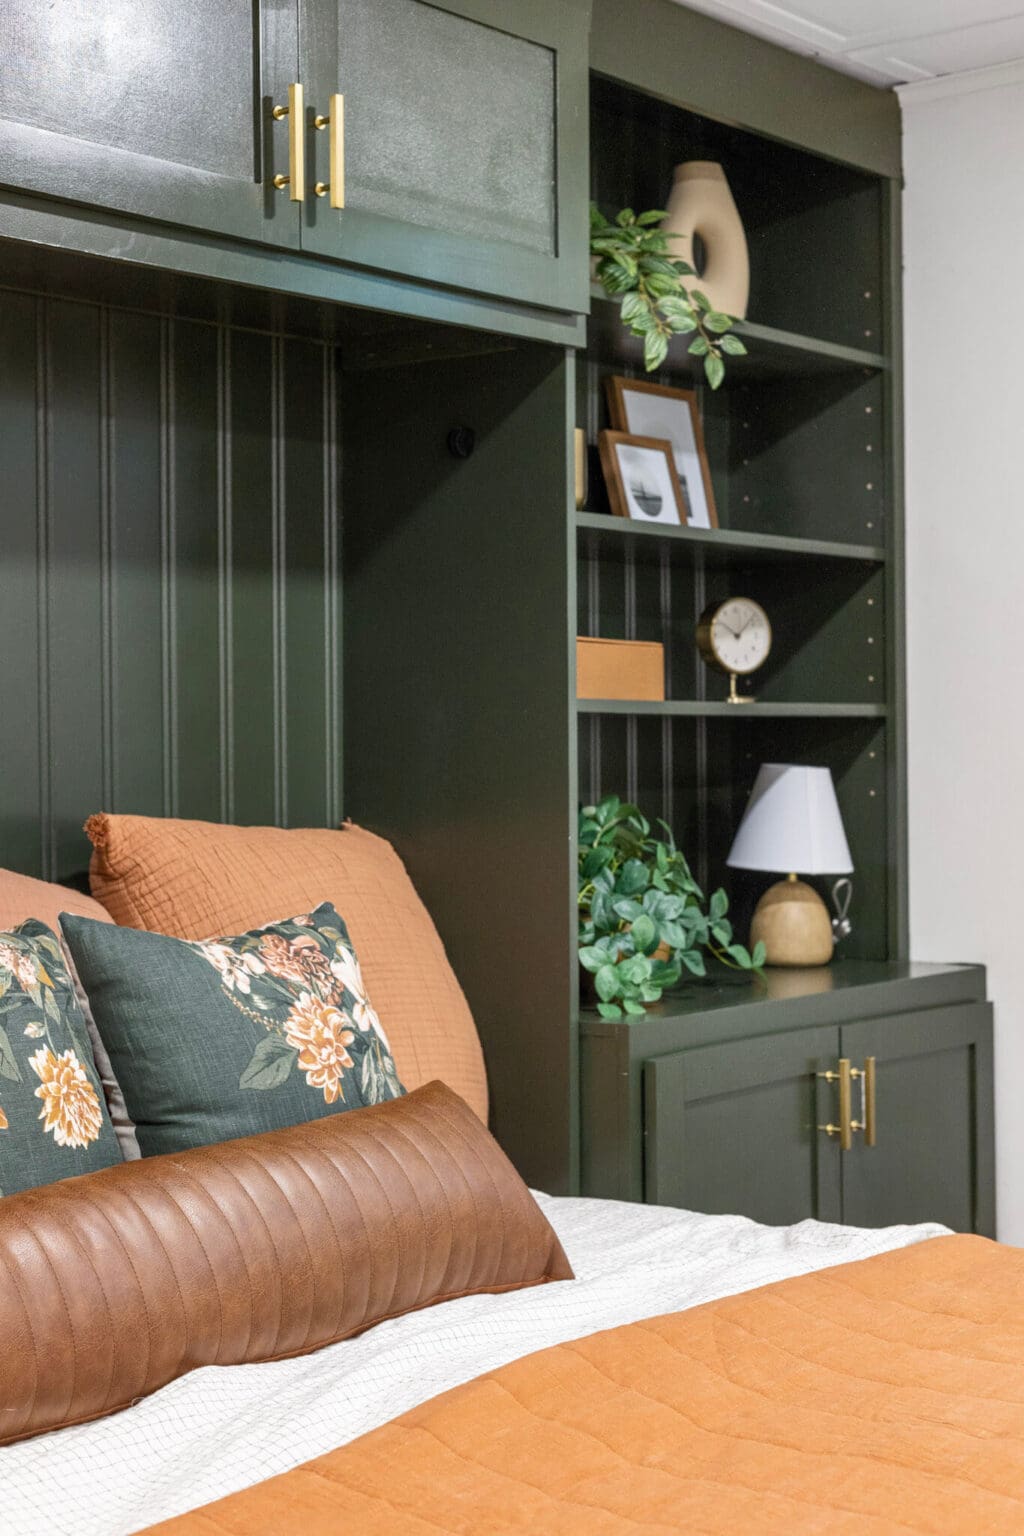
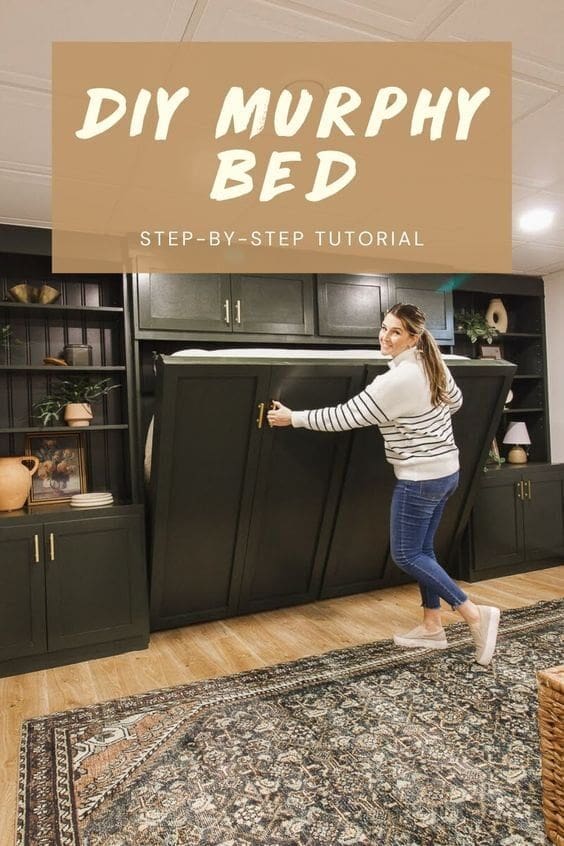
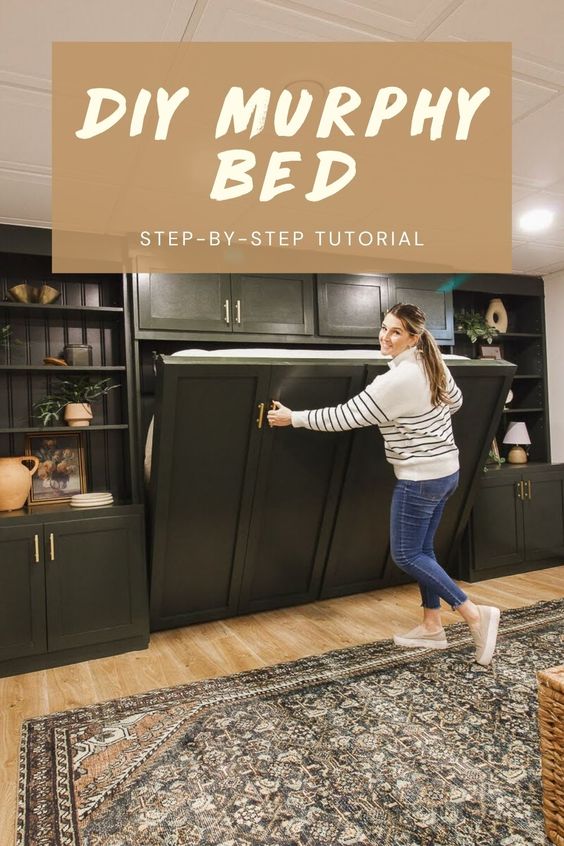
Step 7: The Finished Bed!
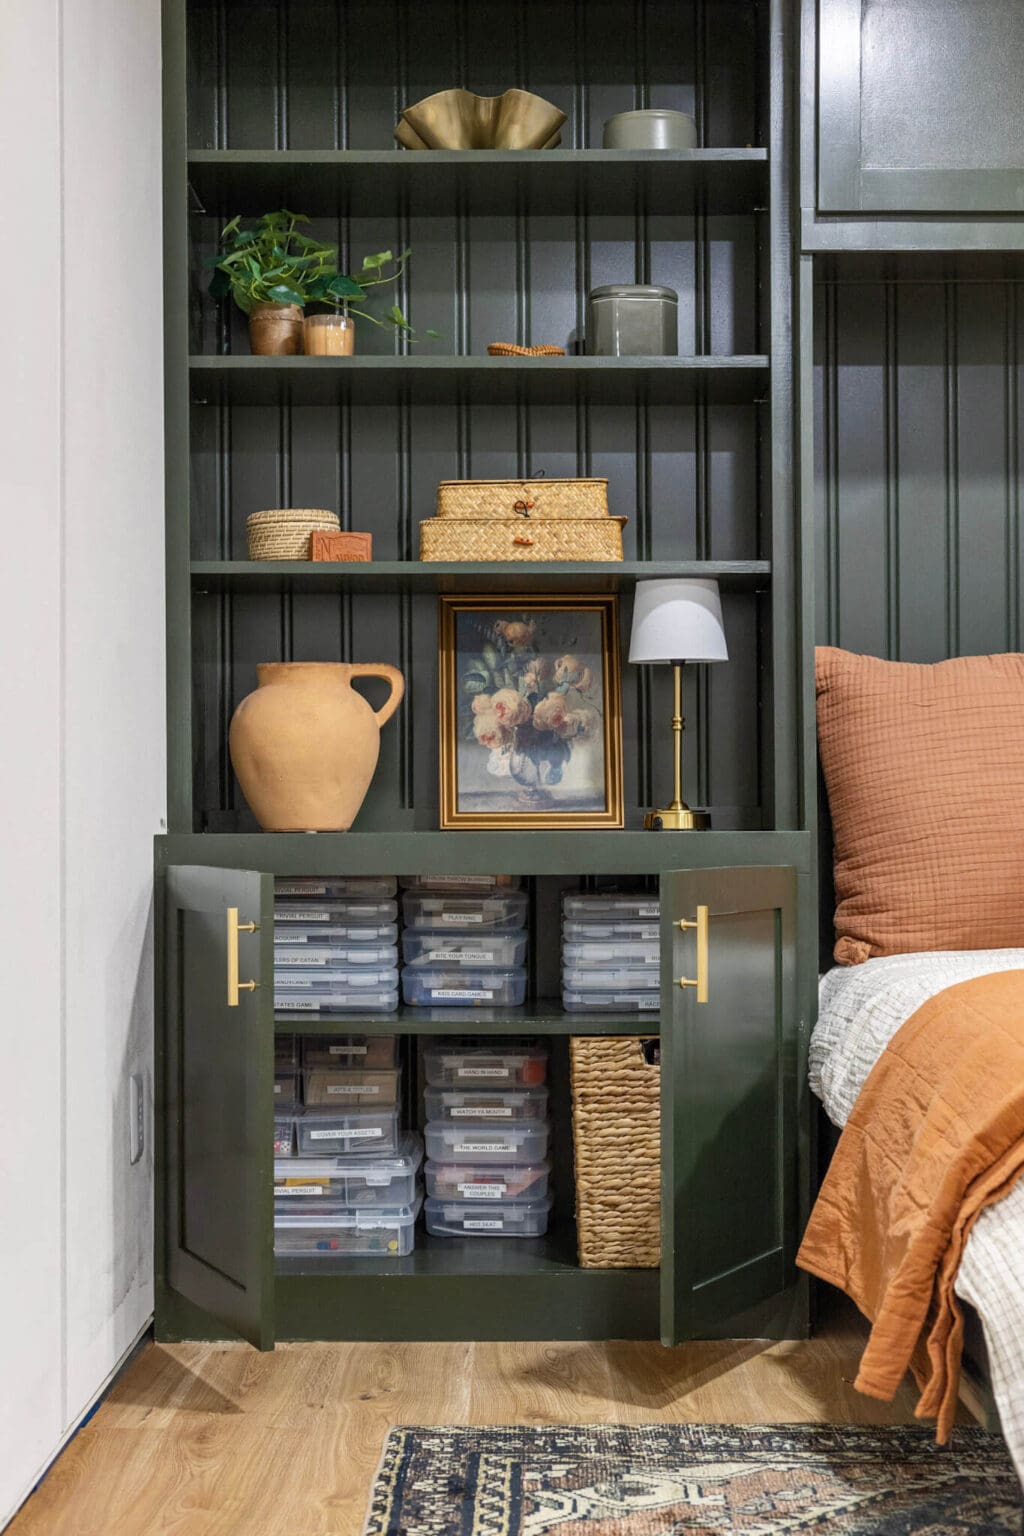
Here she is in all her glory – a fully functional horizontal Murphy bed for low ceilings, painted green and flanked by custom built-ins. Check out that blog post for the step-by-step instructions.
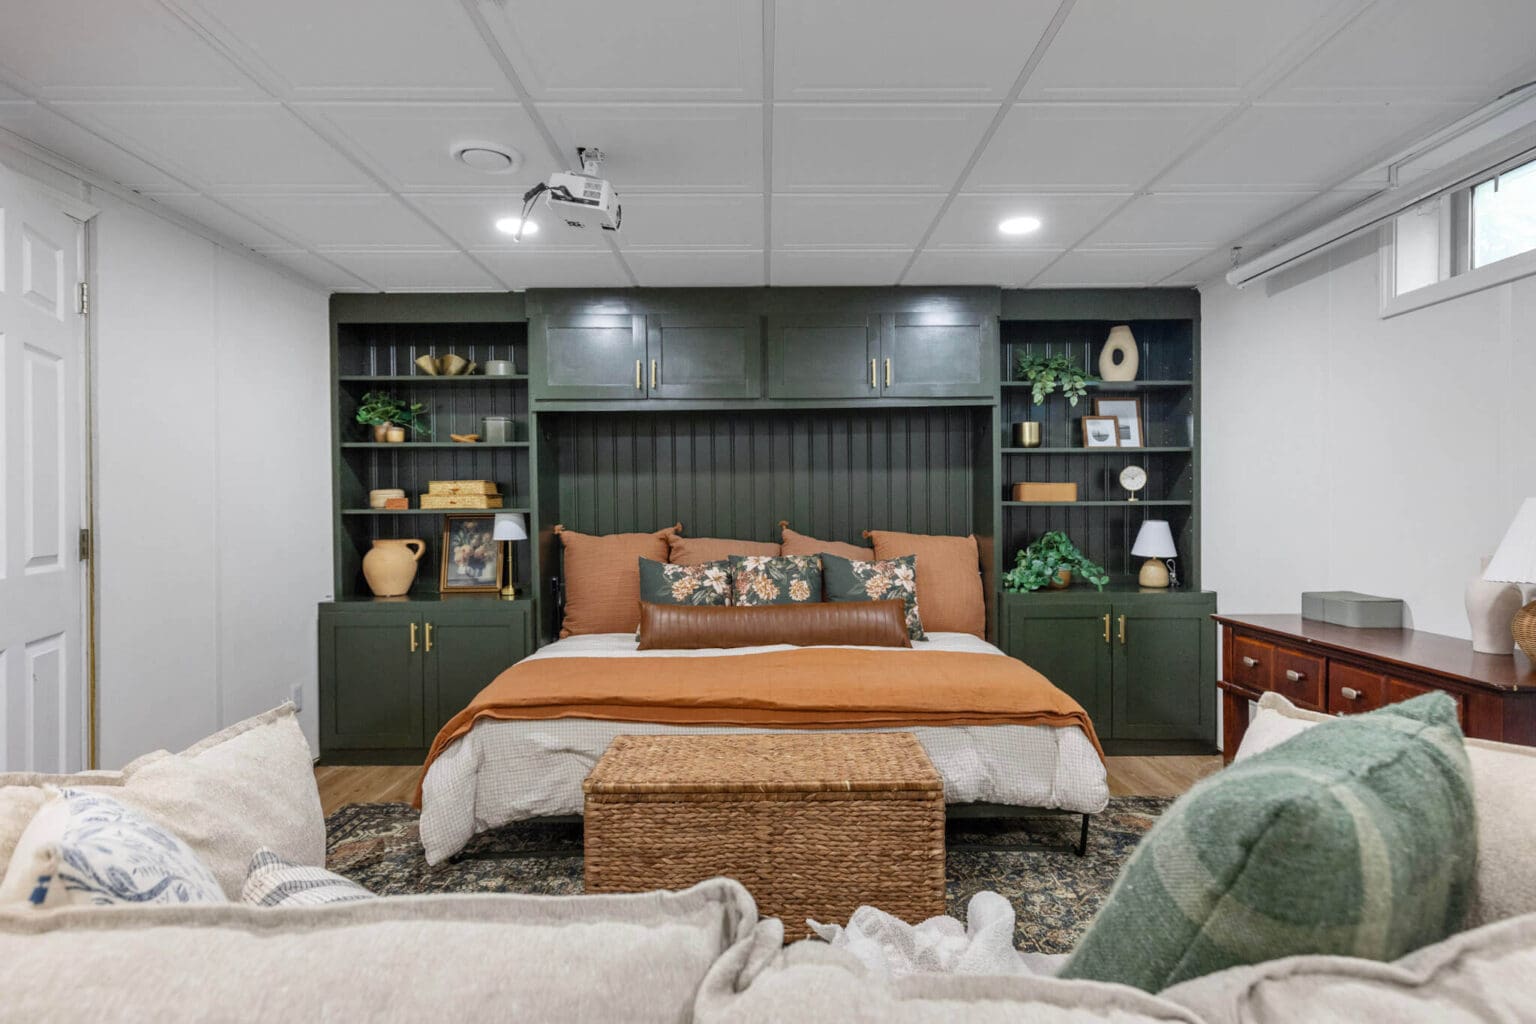
We use this space as a guest room, gym, and theater room – because who doesn’t love a multi-purpose room that looks this pretty?
📌 Save This Project for Later
Pin now and come back when you’re ready to build your dream guest bed for small spaces!
FAQ: Horizontal Murphy Bed Questions Answered
A horizontal Murphy bed opens sideways like a drawer, making it ideal for low ceilings. A vertical Murphy bed folds down from the top and requires more height clearance.
Yes! With a good hardware kit and some tools, this is a very doable DIY Murphy bed project—even for beginners who are comfortable with basic woodworking.
Plan on needing a wall that’s at least 85″–90″ wide for a queen-size version. You’ll also want about 16″–20″ of depth for the bed frame and clearance in front when it folds down.
Room Sources
- Satin Gold Bar Drawer Pulls
- 24″ x 24″ Drop Ceiling Tile Panels
- Duravana Hybrid Flooring
- Large Plastic Game Organizer
- Small Plastic Game Organizer
- Schwinn IC4 Indoor Cycling Exercise Bike
- Dumbell Rack
- Orange Linen Quilt
- Orange Decorative Throw Pillow
- Faux Leather Lumbar Throw Pillow
- Printed Floral Throw Pillow
- Green Knit Throw Blanket
- White Comforter
- Area Rug
- Woven Storage Bench
- Antique Floral Framed Canvas
- Green Glazed Ceramic Box
- Gold Metal Wavy Bowl
- Round Leather Links
- Woven Basket with Lid
- Ceramic Vase with Handle
- Faux Ribbon Fern Plant
- Faux Trailing Tropaeolum Plant
- Brass Pedestal Table Clock
- Leather Box with Lid
- Small Brass Planter
- Circle Mat Table Frame
- Arch Mat Table Frame
- Faux Hoya Plant
- Ceramic Modern Ring Vase
- Mini Wooden Table Lamp
- Terracotta Ribbed Jar Candle

Pretty! This has been a really wonderful post. Many thanks for providing these details.
I absolutely love this idea! The horizontal Murphy bed is such a clever space-saving solution for a basement. The detailed steps you shared make it feel attainable, and the finish looks amazing! Can’t wait to try this for my own home. Thanks for the inspiration!
Thanks so much!
I absolutely love this DIY Queen Horizontal Murphy Bed! The design is not only space-saving but also really stylish. Thank you, Crystel, for the detailed instructions and tips! Can’t wait to try this in my own home!
I absolutely love this DIY queen horizontal Murphy bed! The design is both stylish and functional, and it’s perfect for maximizing space. Your step-by-step instructions are so clear and easy to follow. I can’t wait to try this in my own home—thanks for the inspiration!
I absolutely love this DIY Queen Horizontal Murphy Bed idea! It’s such a clever way to save space while adding a stylish touch to the room. The step-by-step instructions are super helpful, and I can’t wait to try this in my own home. Thank you, Crystel Montenegro, for the inspiration!
Thanks!
I absolutely love this DIY Queen Horizontal Murphy Bed design! It’s such a clever way to save space while adding a beautiful feature to the room. The detailed instructions and tips you’ve provided make it feel achievable, even for a novice like me. Can’t wait to try this out! Thank you for the inspiration, Crystel!
Thanks!
I absolutely love this DIY Queen Horizontal Murphy Bed! The design is not only stylish but also so functional for small spaces. You’ve done an amazing job with the details, and I appreciate the step-by-step guidance. Can’t wait to try this in my own home!
I absolutely love this DIY Queen Horizontal Murphy Bed! The design is not only beautiful but also incredibly functional for maximizing space. The step-by-step instructions make it seem doable, and I can’t wait to try it in my own home. Thank you for sharing such an inspiring project, Crystel!
Absolutely love this DIY queen horizontal Murphy bed! The design is both stylish and practical, perfect for maximizing space. Can’t wait to try this out in my own home. Thanks for sharing such a detailed guide!
Thank you!
Two things I noticed.
The wall has black mold on it.
Why is a a horizontal bed made up like a vertical?
Hi Mike – Yep we found mold in our basement, and we took all the correct step to treat it. Regarding the bed, mattresses can be used both horizontal and vertical. They only thing that’s permanently horizontal is the Murphy bed frame itself. Other than that, it’s all fair game. 🙂
Test comment
test