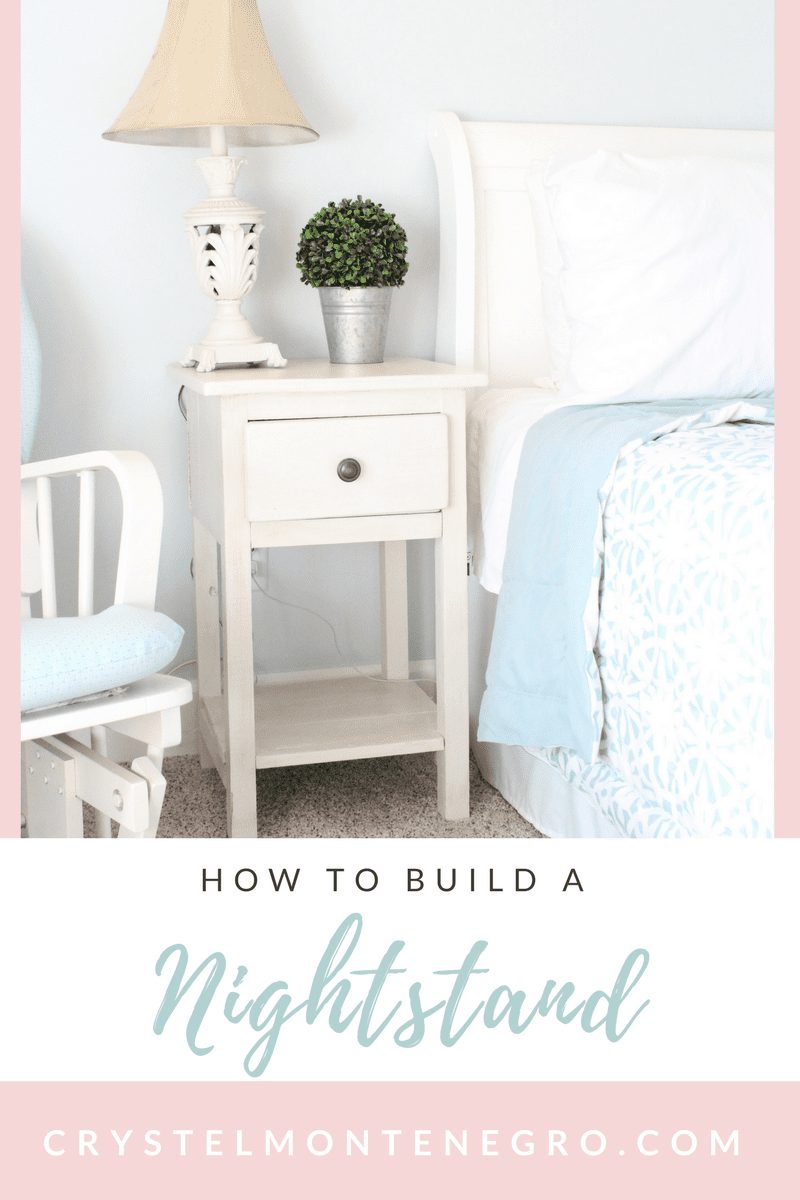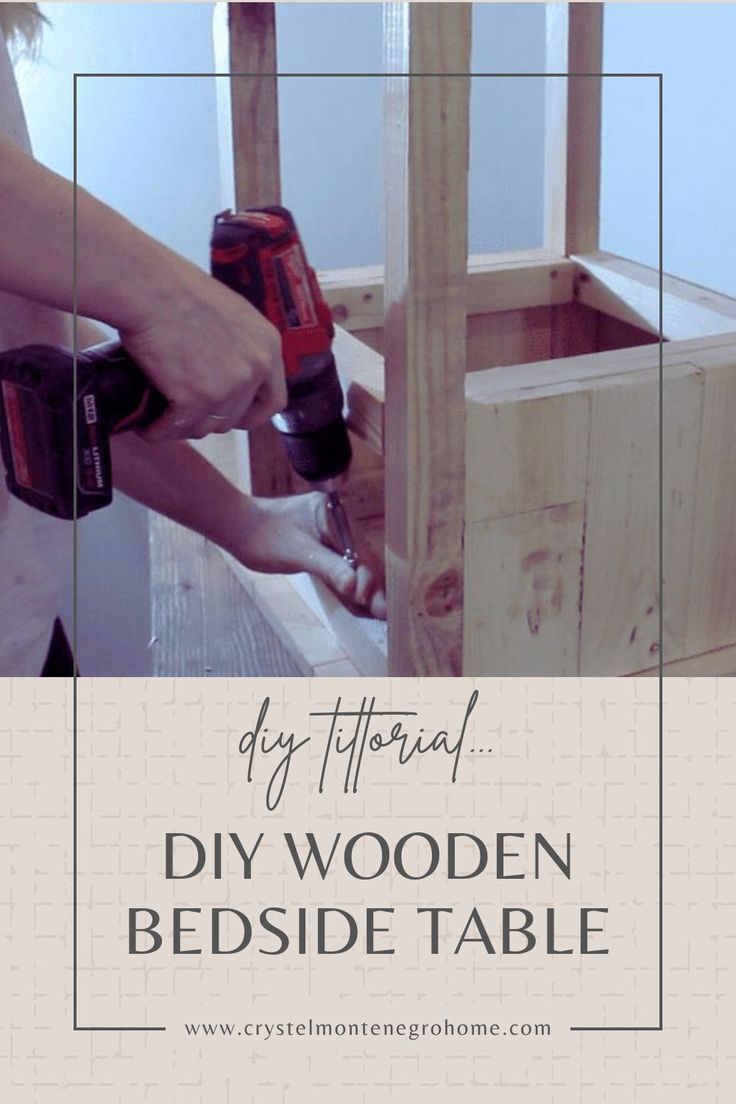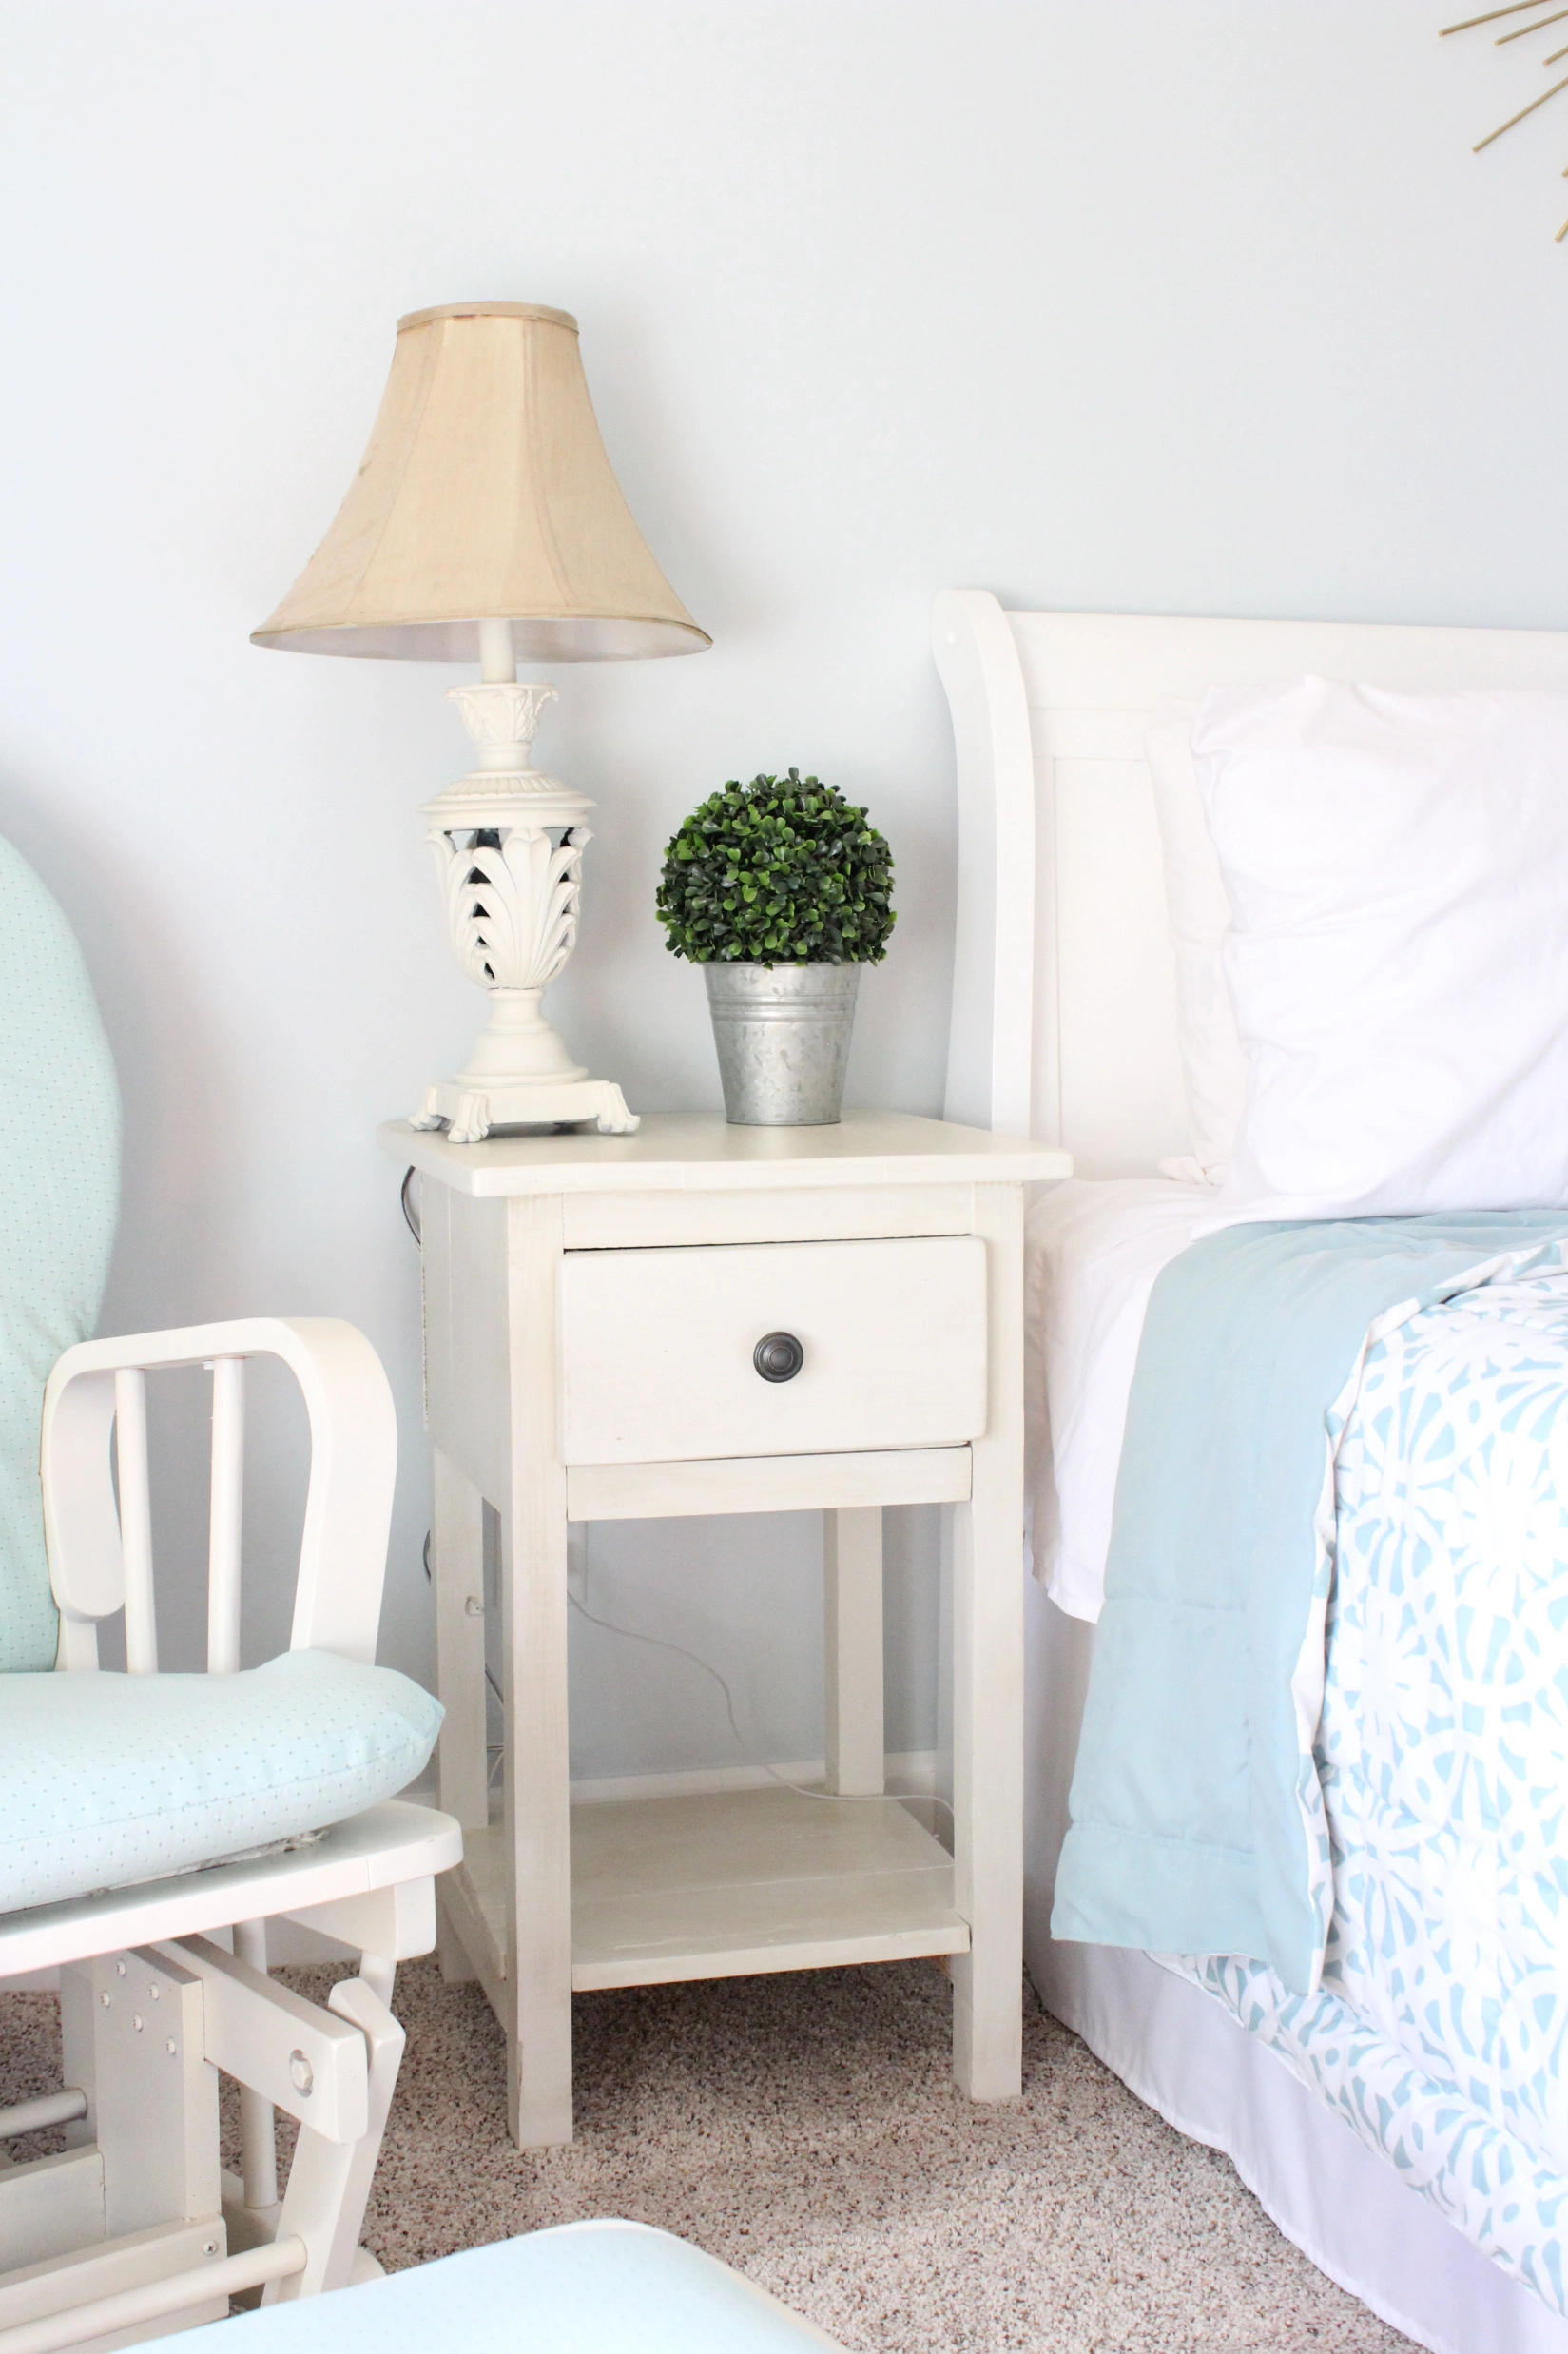
Are you ready to get your build on?? My room was looking quite barren for lack of furniture, and my alarm clock was just hanging out on the floor, so I decided that it was about time to build a DIY Nightstand or two. I decided to build my own to save money and the plans I used can be found here. Although, I will warn you, those plans do forget about a few key pieces of wood in the cut list, and I modified mine a bit, so I’m going to show you how I built it here and provide you with my own cut list.
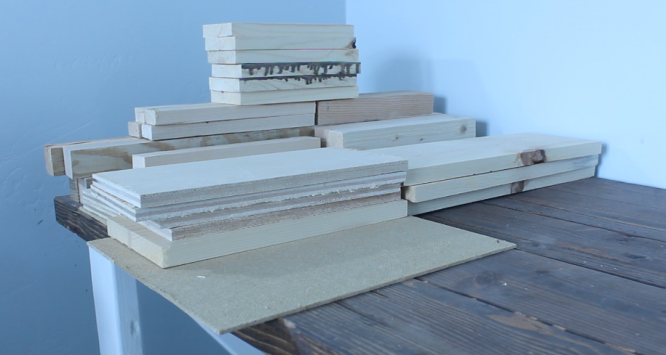
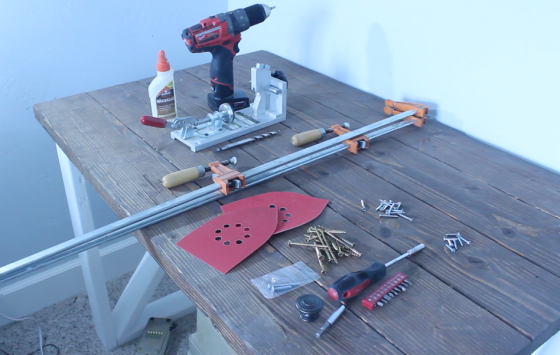
Cut list:
- SIDES: 6 pieceS of 1×2 lumber – 10 1/2″ long, 6 pieces of 1×4 lumber – 8 3/4″ long, 2 pieces of 2×2 lumber, 10 1/2″ long
- LEGS: 4 pieces of 2×2 lumber – 26 1/4″ long
- BACK: 1 piece 1/8″ tempered hardboard –
- SUPPORTS: 4 pieces of 2×2 lumber – 11 1/4″ long, 1 piece of 1/4″ plywood – 8 3/4″x14 1/4″ long
- LOWER SHELF: 3 pieces of 1×4 lumber – 14 1/4″ long, 2 pieces of 1×2 lumber – 11 1/4″ long
- TABLETOP: 3 pieces of 1×6 lumber – 16 1/4″ long
- DRAWER: 2 pieces of 1/2″ plywood – 5 5/8″x12″ long, 2 pieces – 5 5/8″ x11″ long, 1 piece tempered hardboard – 10 1/2″x13″ long , 1 piece 1×6 lumber, 11 1/2″ long
Materials list:
- Drill
- Wood glue
- Miter saw (or you can have Home Depot or Lowes cut it for you like I did)
- Clamps, if you’ve got them
- 1 1/4″ screws
- 2″ screws
- 1/2″ screws
- Kreg jig and Kreg drill bit, if you’ve got them
- drawer knob
- measuring tape
**NOTE:** If you do have someone at Home Depot or Lowes make your cuts for you, make sure they’re making the cuts on the correct side of the line they use to make the measurement, not on the line. The saw doesn’t just slice two pieces of wood apart, it actually takes out the width of the saw blade from the wood. So, even an 8th of an inch can throw off the measurement of your nightstand and make it slightly wobbly. Some workers there know this, but I’ve had experience with others that either don’t know it or don’t really care. So check their work!
First you’re going to start by building your sides. If you’ve got a Kreg jig begin by drilling pocket holes in each end of 4 pieces of your 10 1/2″ 1×2’s. If you’re planning on doing more building I would definitely recommend making the investment and getting a Kreg jig. If you don’t have one, you can still complete this project although putting your tabletop and bottom shelf together can be a little tricky. To remedy this you might consider making your tabletop and bottom out of a solid piece of wood but you may need access to a saw and it may be a little more expensive, unless you’ve got some wood on hand already.
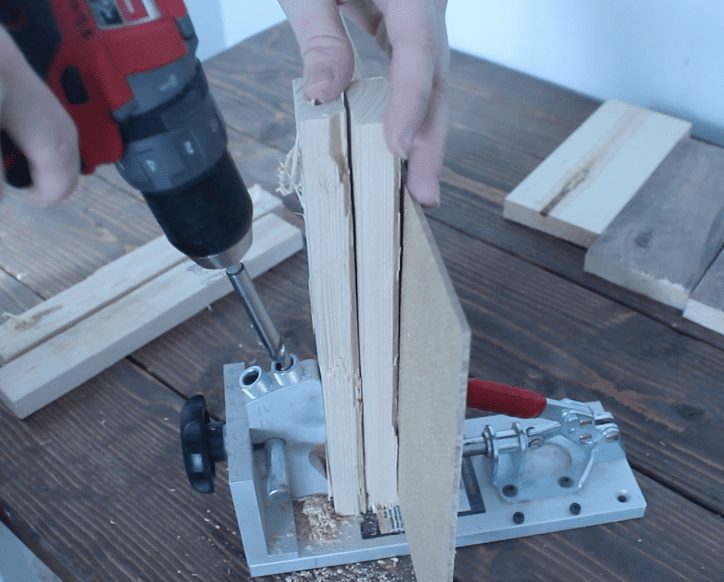
Glue together three 1×4’s. Secure with a clamp if you’ve got one.
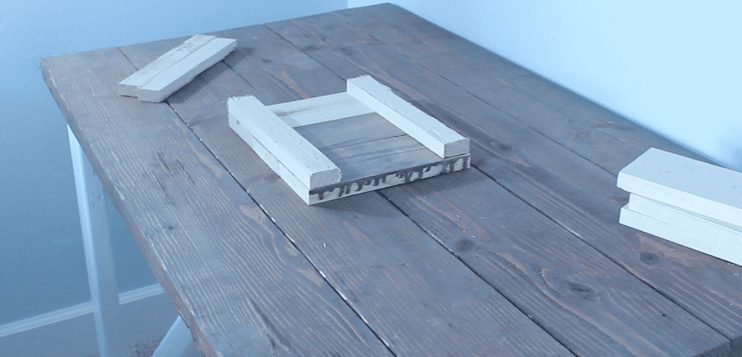
Screw a 1×2 onto the top and bottom of the boards with 1 1/4″ screws. Make two of these.
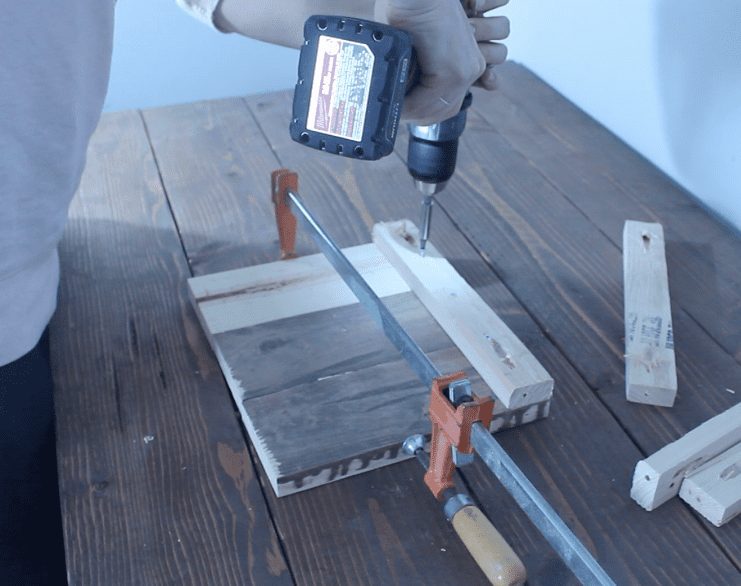
Next, glue one of the sides and screw on your 26 1/4 2×2’s.
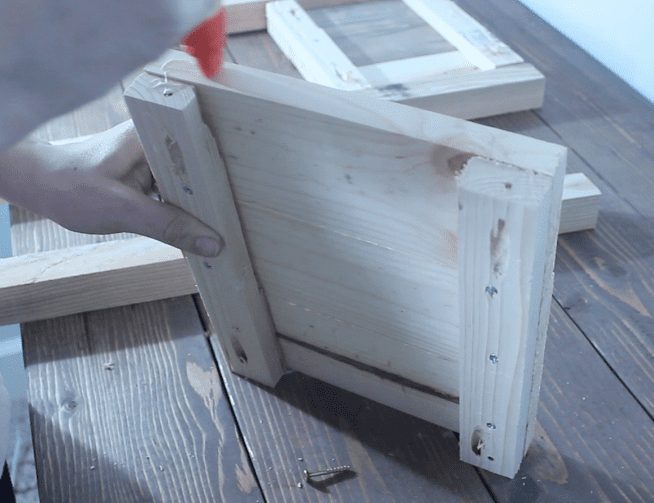
Repeat with all 4 sides. This part is where it’s especially important to get each side as square as possible, otherwise you’ll end up with a wobbly nightstand. Make sure you’re working on a flat surface and that all legs lay flat on the table.
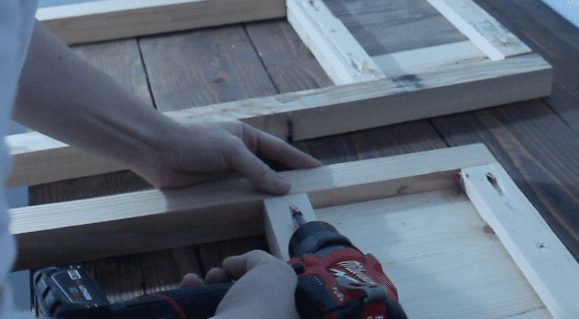
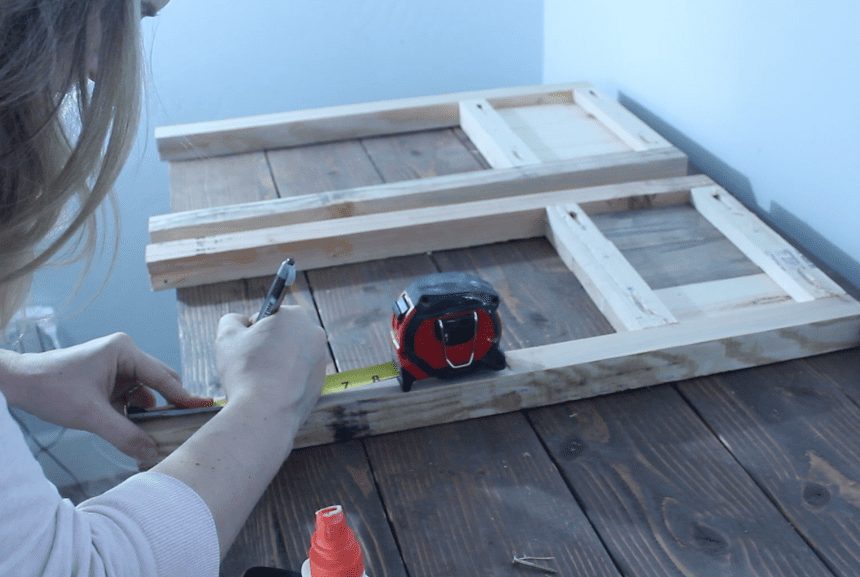
Next, measure 3 inches from the bottom on all 4 of the legs. This is the mark you’ll use to put the supports in for the lower shelf.
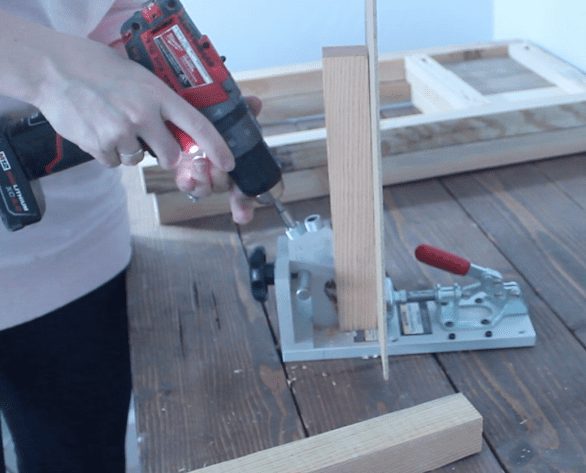
If you’ve got a jig, drill pocket holes in the ends of two 10 1/2″ 2×2’s.
Use the marks you made, add glue, and screw in your 2×2’s. If you don’t have a kreg jig, drill two pilot holes on the legs where you want your screws to go, then screw in your supports from the outside in with 2″ screws. You’ll want to bury the nail head deep enough that you can cover it with some wood filler. I had to do this later on and I’ll show you what I mean.
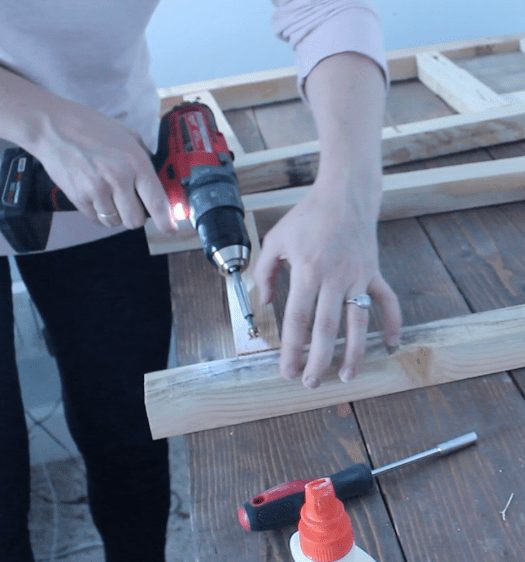
Next, grab your 4 2×2’s that are 11 1/4″ long. Drill pocket holes on each end.
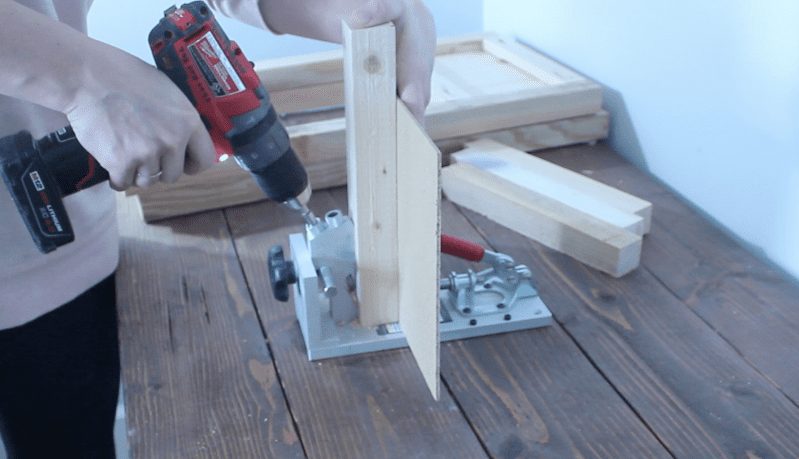
Glue and attach to one of the sides using pocket holes, or coming in from the back side with a 2″ screw.
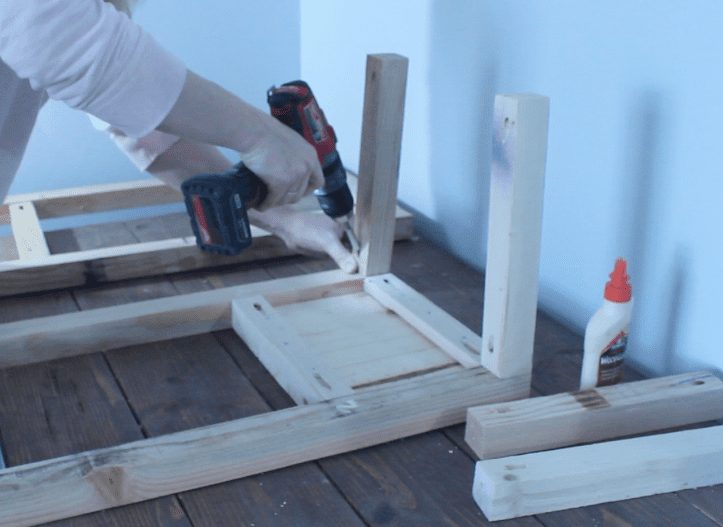
Now, attach the two sides together. This is also an important part that you’ll want to make sure is square.

One of my pocket holes here was stripped all the way through so I ended up having to come in from the back side, which is what I would be doing anyway if I didn’t have a kreg jig.
So first I drilled a pilot hole with a drill bit that was roughly the same diameter of the screw.
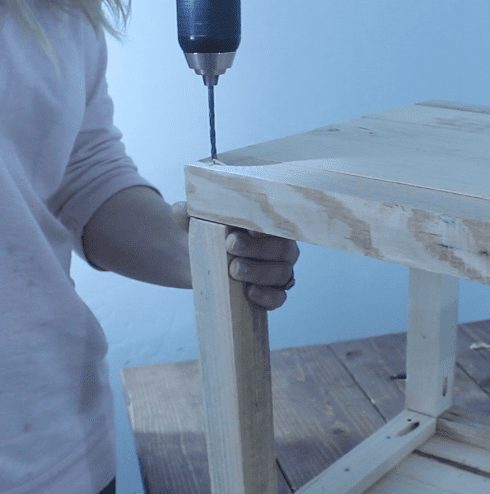
And then I drove a 2″ screw through the pilot hole to secure the two boards. Don’t forget about the glue!
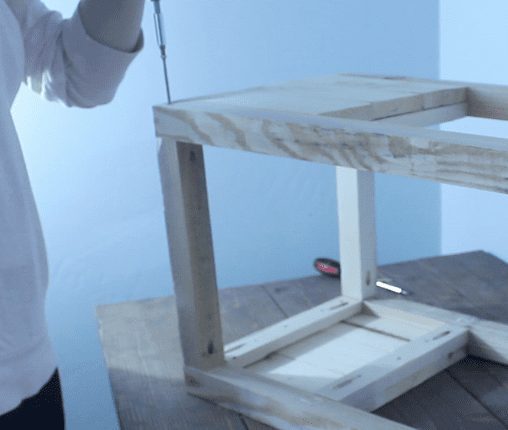
Make sure you drive the screw deep enough into the wood that you can cover the whole head of the screw with some wood filler to hide it.
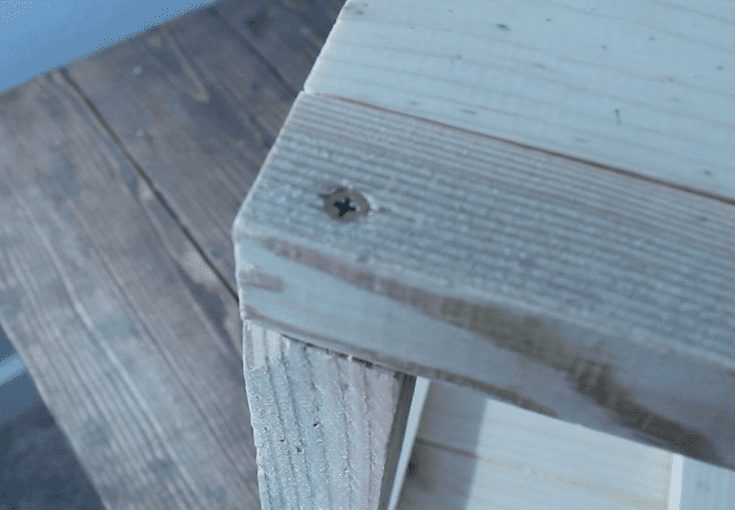
Cover with wood filler. Once the wood filler is completely dry, sand it down to make it flush with the wood. You may want to do this at the very end when you sand the whole nightstand.
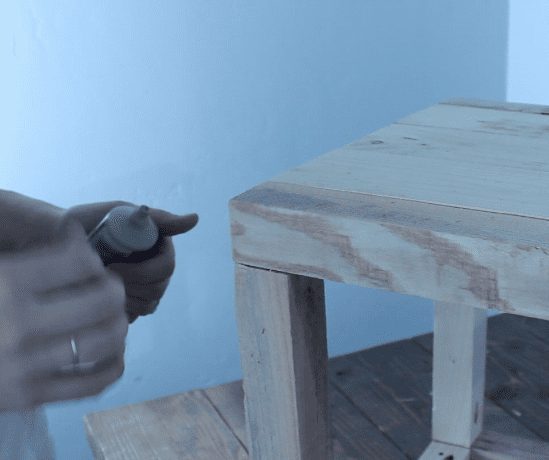
Attach the lower supports in the same way.
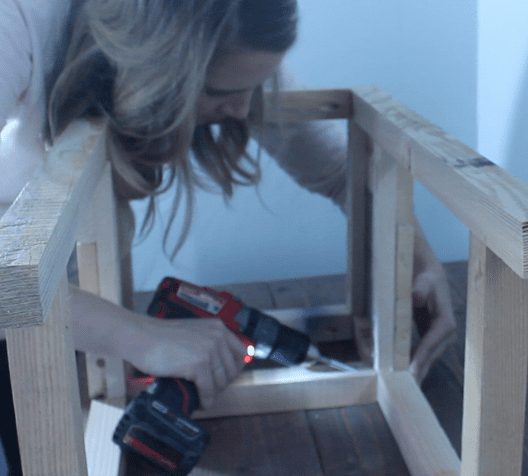
Here’s what your nightstand should look like so far!
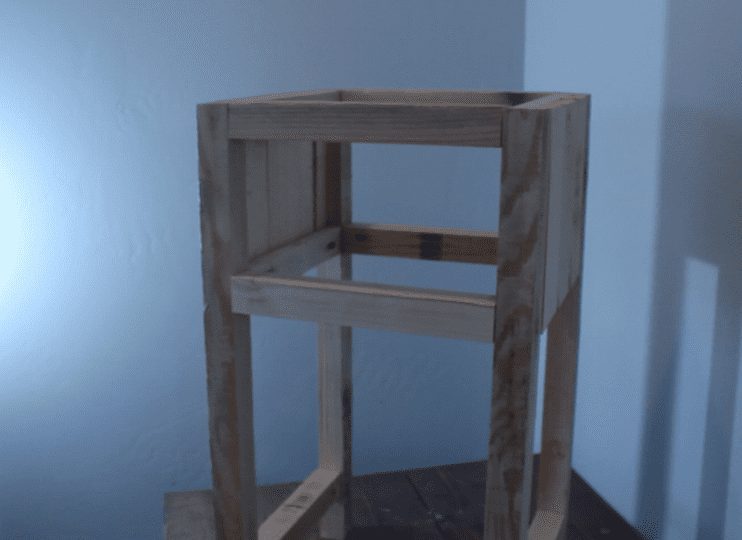
Next you’re going to attach your 10 1/2″ cleats for the drawers using 1×2’s.
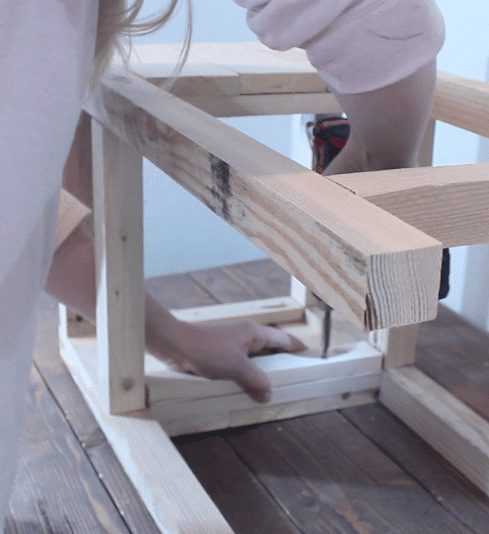
Glue and attach the back piece of tempered hardboard.
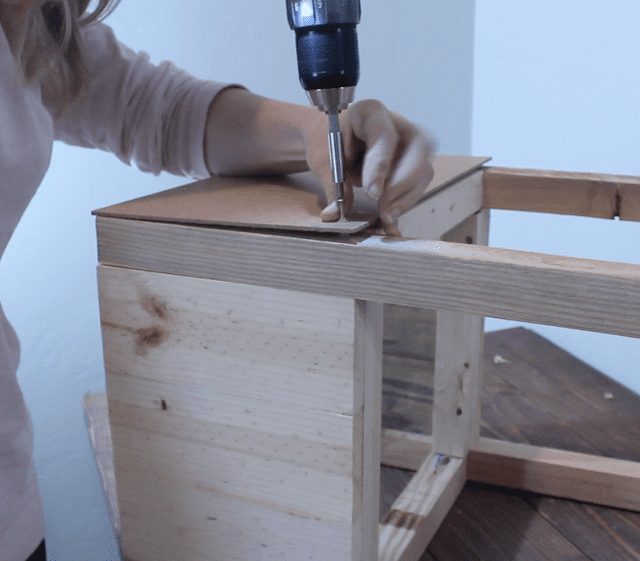
The next step is to build your lower shelf. Drill 3 pocket holes in one side of two of your 1×4 14 1/4″ boards. If you don’t have a kreg jig here you can either hand-drill your own holes at a very shallow angle (be sure not to go all the way through the wood! you want something your screw can hold onto) or you can make this part out of a solid piece of wood.
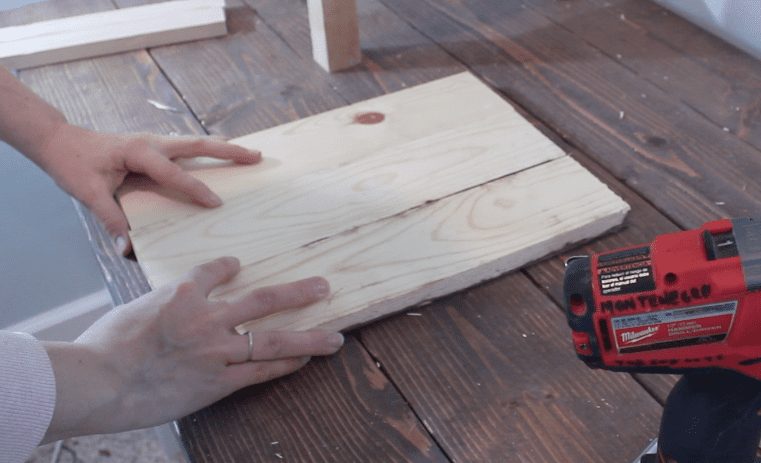
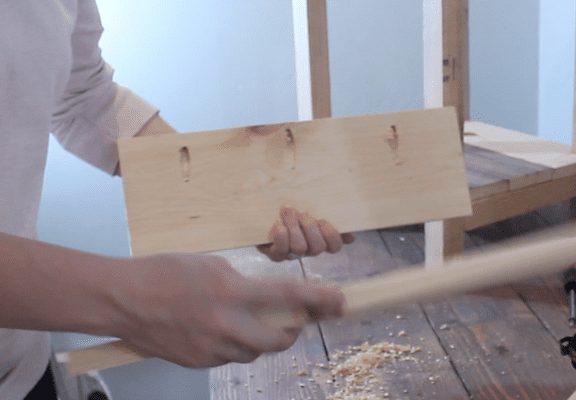
Glue the joints together and attach with 1 1/4″ screws.
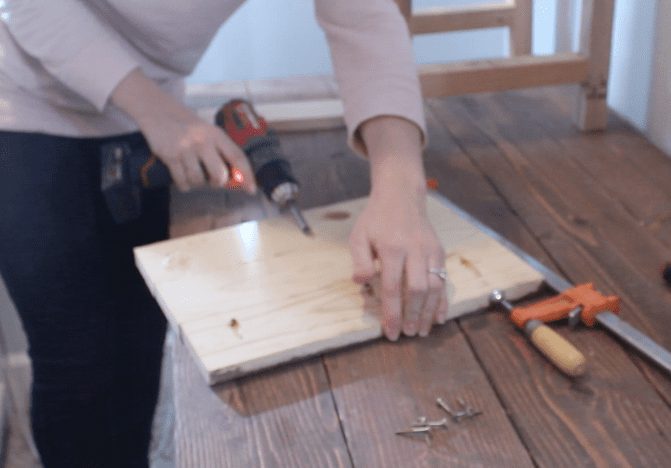
Next, attach your 11 1/4″ 1×2’s to each end. You’ll want to measure this part on your nightstand to make sure you get the placement correctly.
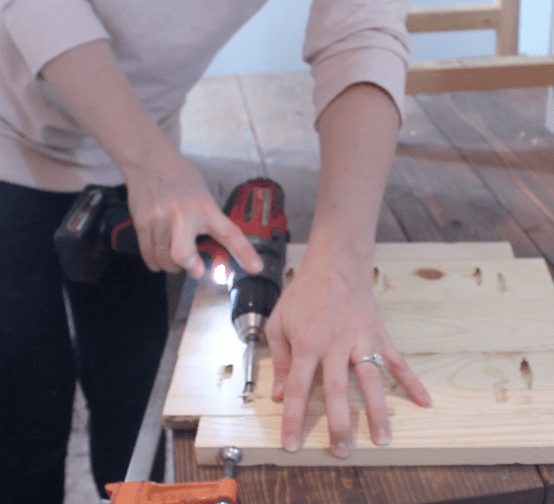
And, attach to the nightstand from underneath using 2″ screws.
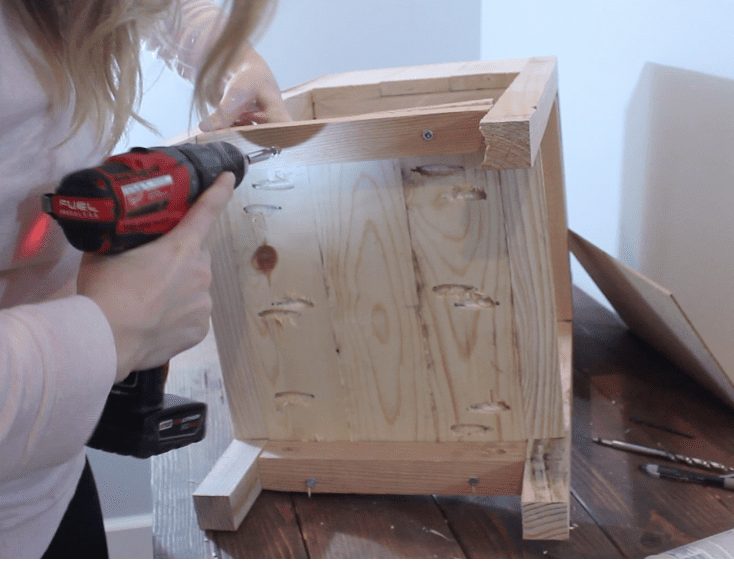
Next, build your tabletop. Drill pocket holes in one side of two of your 16 1/4″ 1×6’s. Glue and attach together with 1 1/4″ screws.
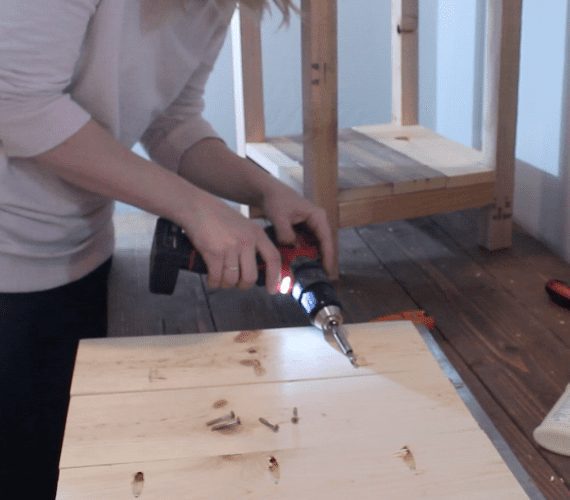
Position your tabletop upside-down with the nightstand and attach using 2″ screws.
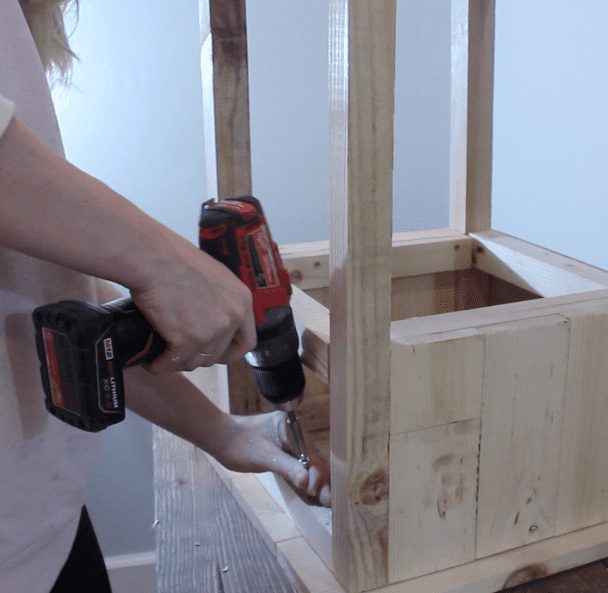
We’re almost there!!
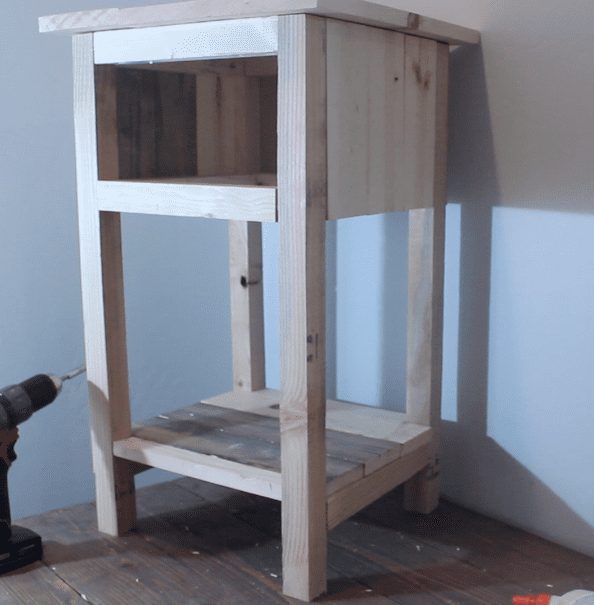
Next, build your drawers. You want the drawer to be longer rather than wider, so you’ll position your 12″ boards parallel to each other and use your 11″ boards for the front and back of the drawer.
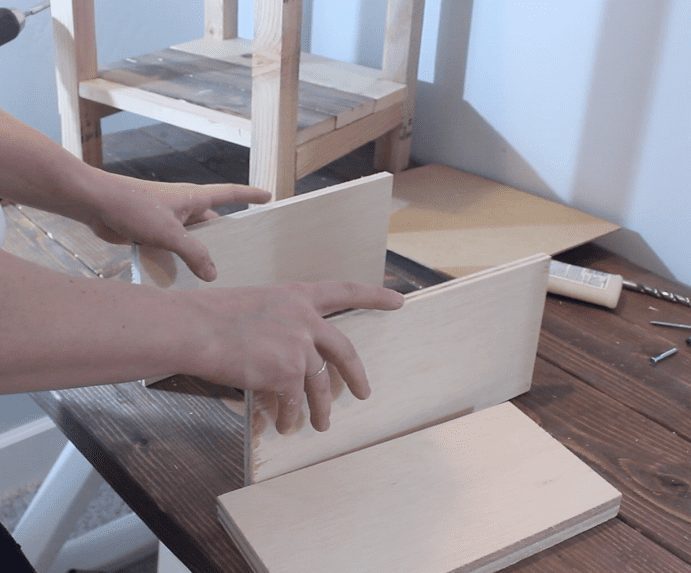
I attached mine with a finish nailer but you can just as easily use thin 1/2″ or 3/4″ screws for the same job. Make sure to glue those joints for extra strength!
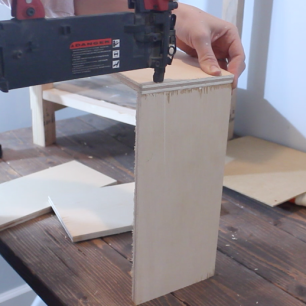
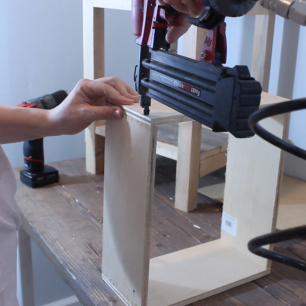
Not pictured: I also attached the bottom of the drawer (tempered hardboard) with my finish nailer. I made sure to check my drawer dimensions to see if they fit correctly, and the drawer had a hard time going in unless I fidgeted with it for a while. So, I added a guide for my drawer by screwing in place a 10 1/2″ 1×2 into the nightstand on either side of the drawer. This helped it go in much smoother. Also, if you really want smooth movement, coat the bottom of the drawer with some household wax to eliminate any friction. The tempered hardboard does have an almost waxy side to it which I made sure to put that side facing down, but more wax will help.
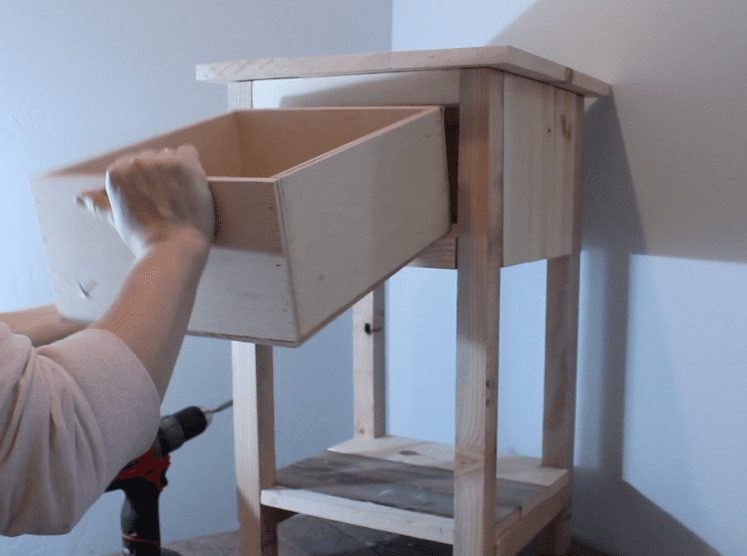
Now, attach the face plate. I used a 1×6 board for my face plate but it ended up being the same height as the drawer itself, and you could still see the bottom part of the drawer. This didn’t bother me much but if you’re picky about it you may want to use a piece of wood that is a little taller to cover any imperfections. The cuts of the wood are little bit funky, a 1×6 isn’t actually 6″ tall, it’s more like 5 5/8ths tall and they just call it a 1×6. It’s the same with all standard wood sizes. If you can find a piece of wood (or cut one yourself) that is actually 6″ tall that should be enough to do the trick.
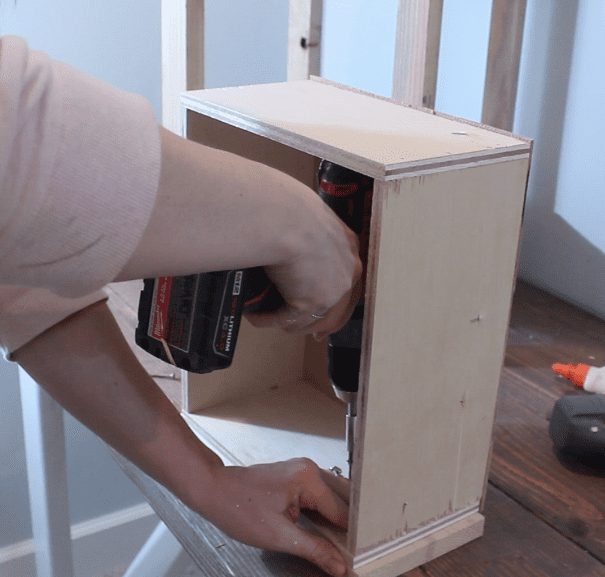
Measure the direct center of your face plate and drill a pilot hole for your knob.
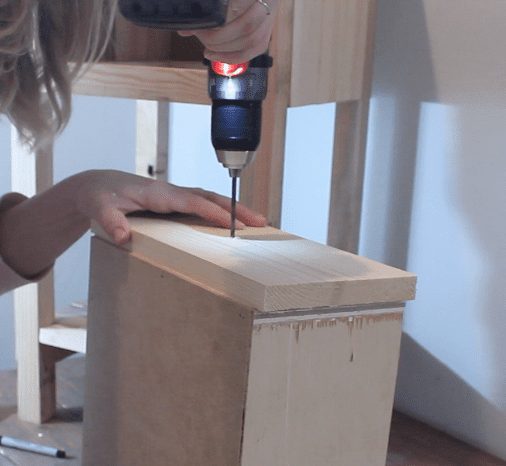
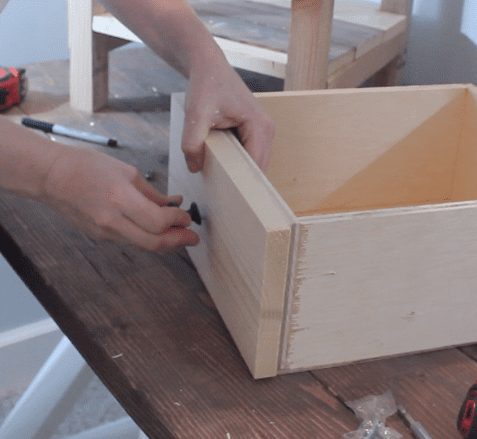
And there you have it!! To prep it for paint I sanded it down first with a 60 grit sandpaper and slightly rounded the edges my tabletop and drawer. This also helped me to smooth out any joints where wood glue had dried and/or the wood wasn’t even. Then I went over it all again with a fine grit sandpaper, I think I used 150.
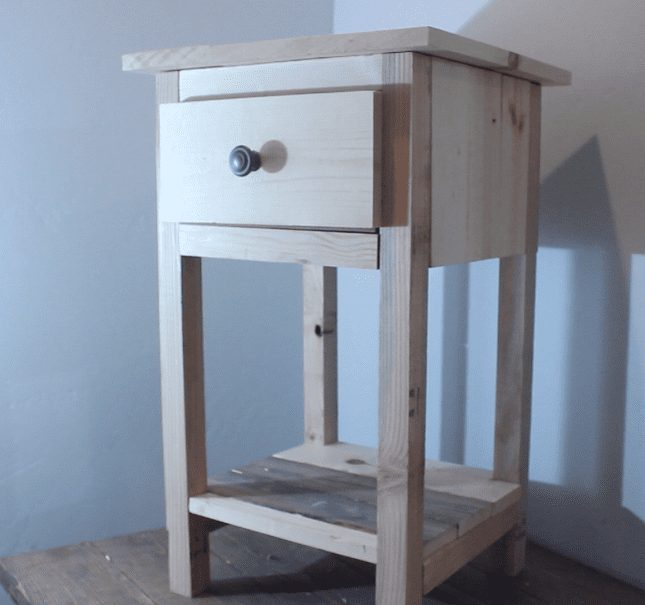
After I painted I used a glaze for a little added dimension and there you go!

Thanks for tuning in! I’d love to hear about your experience building it, and if I’ve left anything out.
While you’re here, you might be interested in checking out these other projects I’ve been working on, like this DIY Sunburst mirror or this DIY Boxwood wreath.
XOXO
~Crystel
