Are you looking to install a space-saving horizontal Murphy Bed? We needed a room in our house for our family to stay when they visit, and since we’re short on space, we built a Murphy Bed in our basement, and it turned out beautiful!
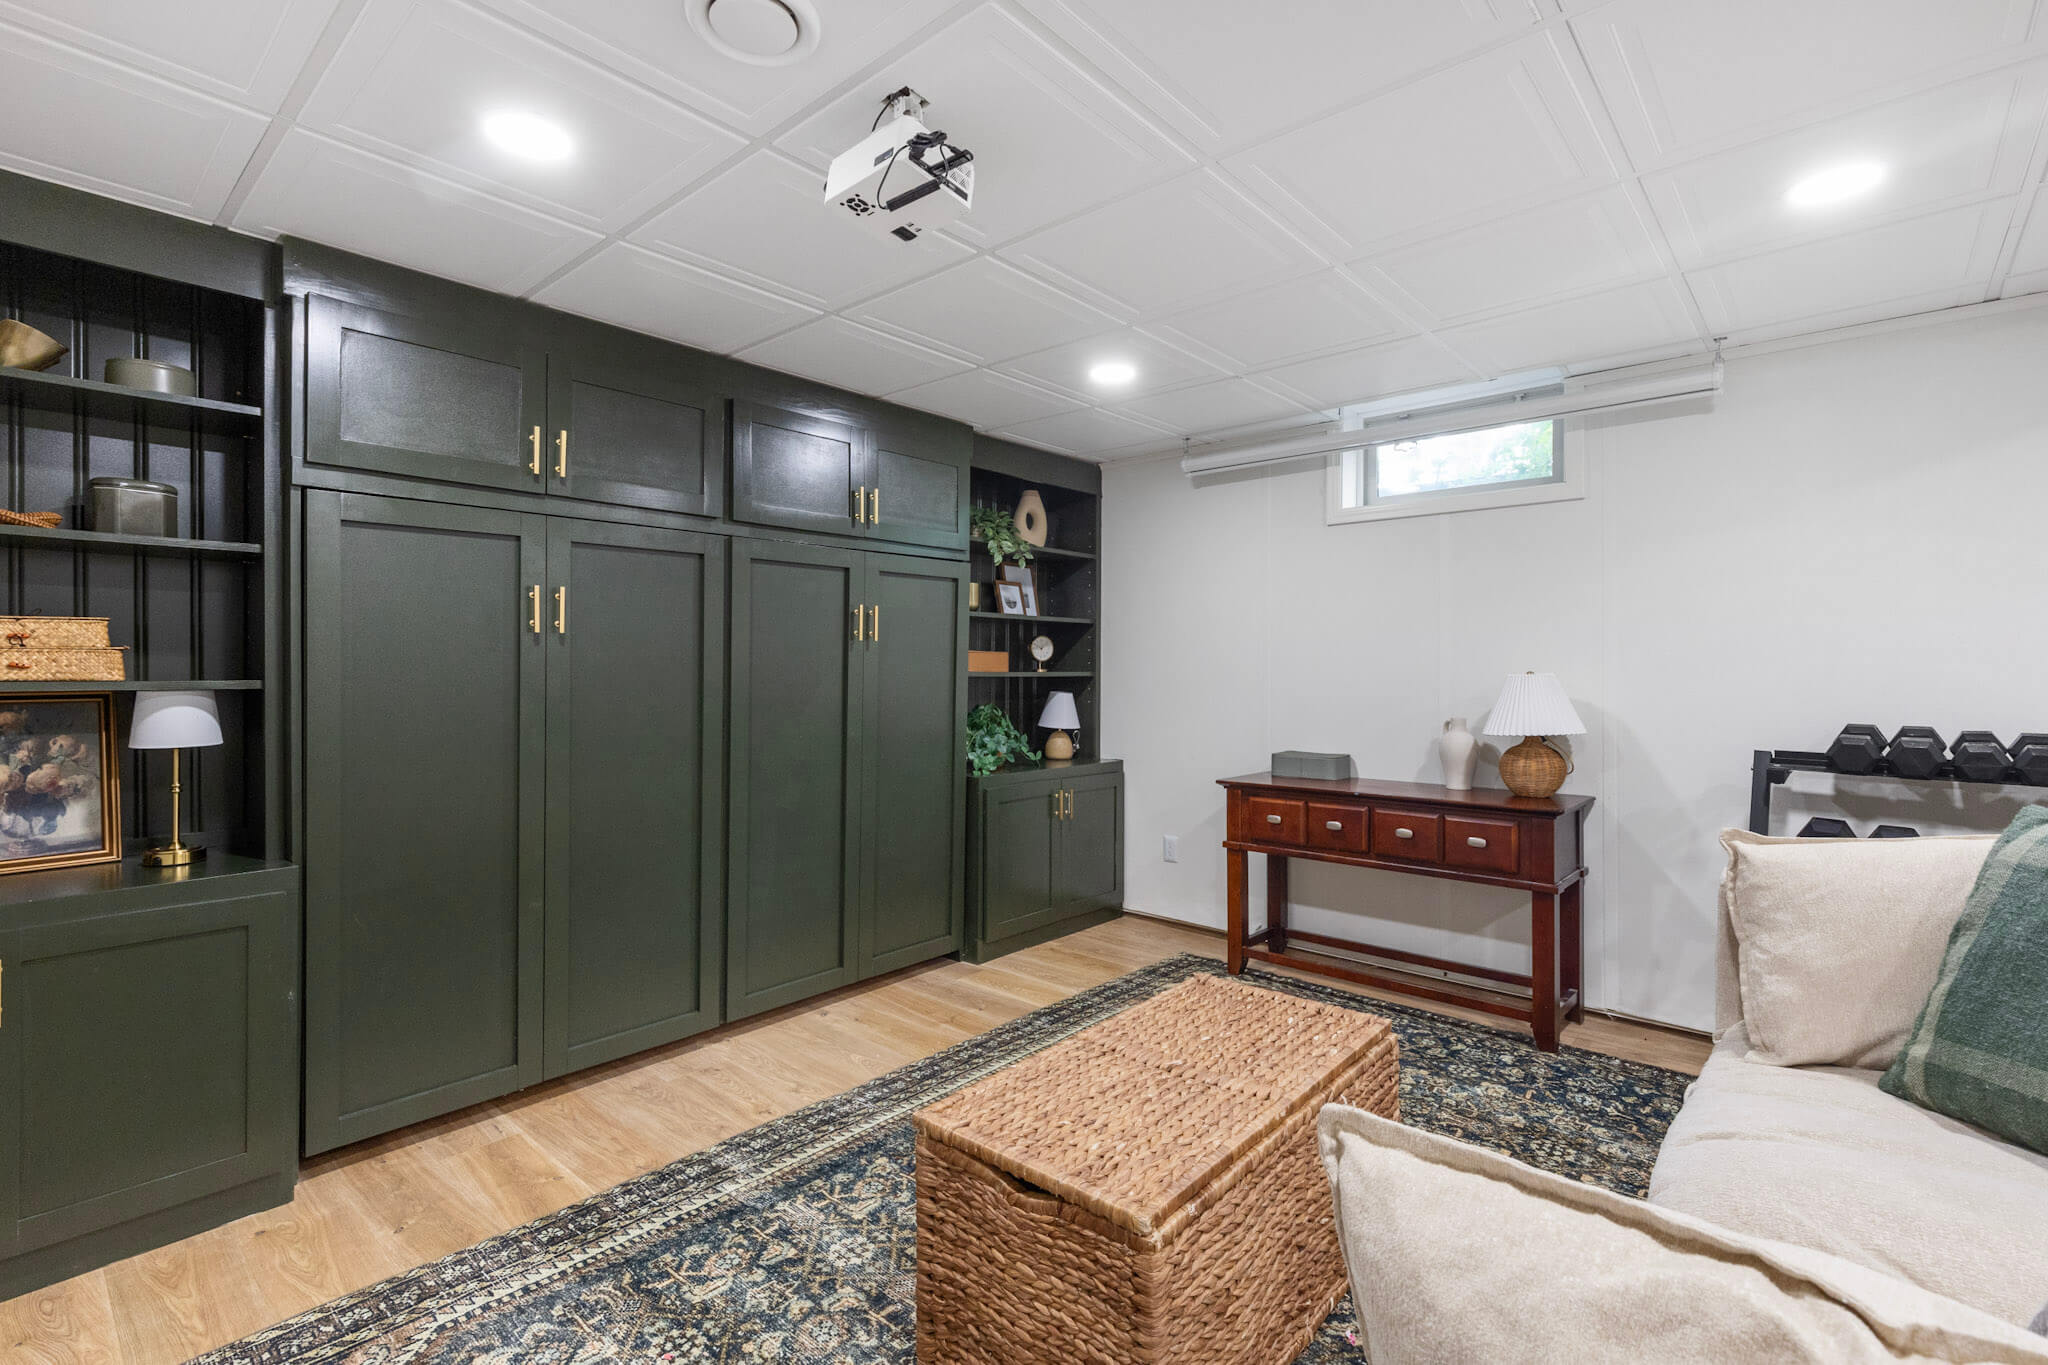
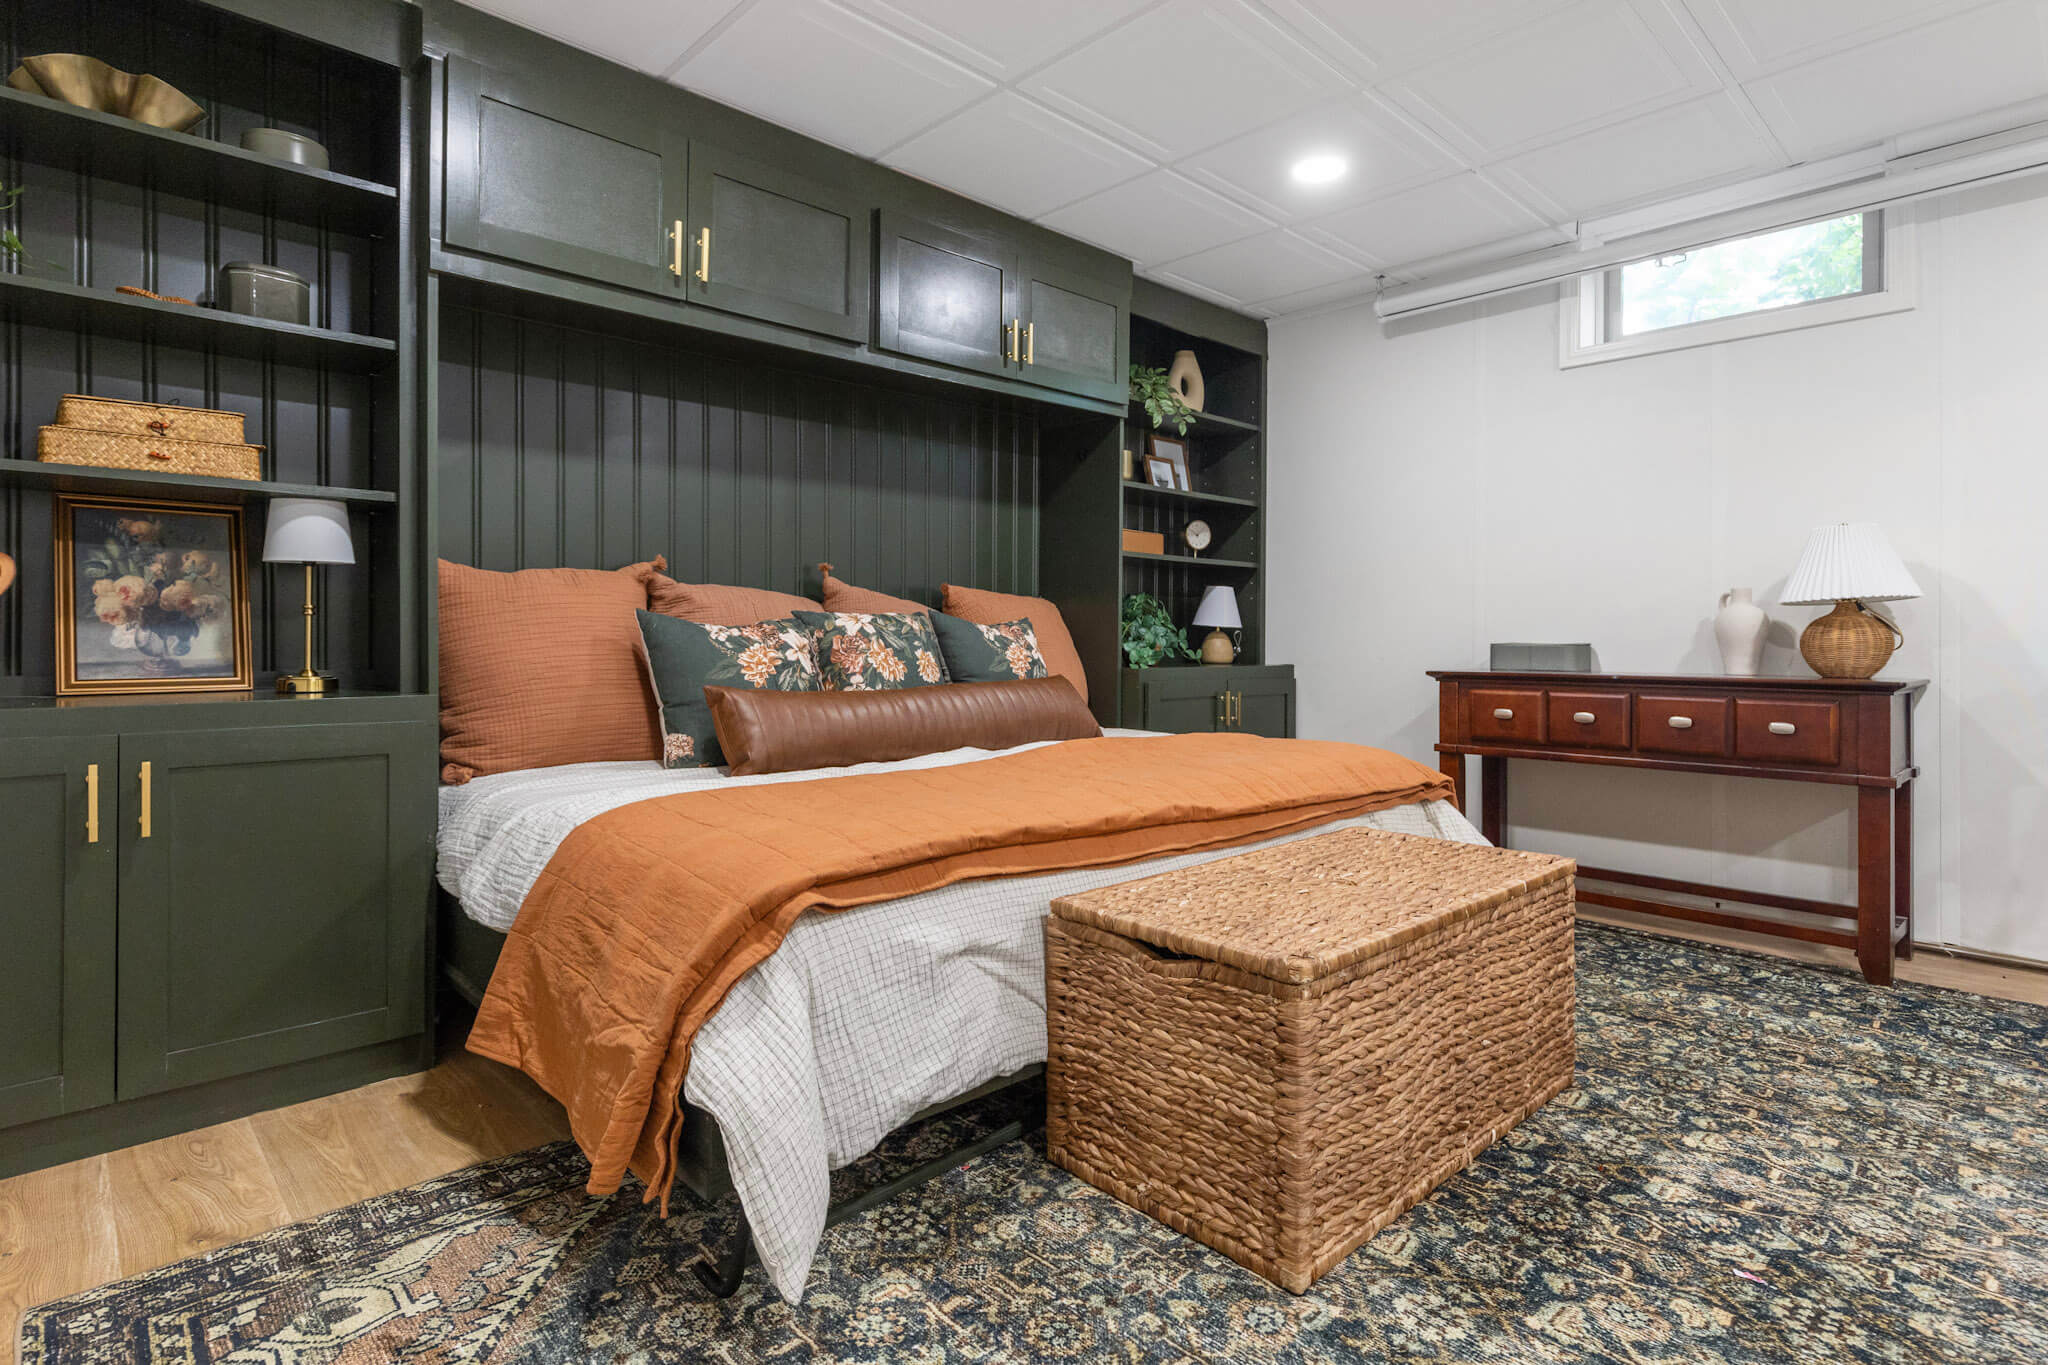

We purchased a horizontal Murphy Bed kit by Create-A-Bed that we found on Amazon. Their instructions are very detailed, so I’m just going to give you an overview of our experience; consider this blog post a companion guide to Create-A-Bed’s guide. They also have kits for vertical beds, but we chose a horizontal Murphy Bed because our basement ceiling is only 7ft tall, which isn’t enough to allow for the clearance a vertical bed needs.
If you want to take a look at the instructions, I’ve linked them here for you.
Tools
Table Saw
Circular Saw
Miter Saw
Jig Saw
Sander
Drill
Driver
Straight Edge
Supplies
Wood Glue
Clamps
Edge Banding
Wood Screws
Forstner Bit
Materials
4 – 3/4 x 4 x 8 plywood
2 – 1/4 x 4 x 8 plywood
12 – 1 x 2 x 8 pine boards
Cutting the Plywood and Boards to Size
The instructions in the kit from Create-a-Bed explain what wood to buy, what size cuts to make, what types of screws to use, etc. The first thing we did was make all the cuts, which were pretty simple straight cuts…not a miter cut in sight thank goodness. We opted to use poplar rather than pine since poplar tends to be straighter. However, pine is cheaper.

The more difficult cuts involved the large sheets of plywood. If you’ve got two people, you can run the large sheet of plywood through your table saw or have Home Depot cut it, although the instructions are VERY specific about measurements, so it would be risky having someone at Home Depot get the measurements off.
I was by myself, so I used my go-to trick of cutting it on top of foam insulation with my circular saw and a straight edge. Works like a charm. I’ve also used these plywood grippers when the plywood is still too awkward to handle on my own.

Building the Frame for the Mattress
After we made all our cuts, we started assembling the bed frame. This involved some gluing, nailing, and lots and lots of clamps. You really can’t have too many clamps. These are my favorite all-purpose clamps.


Create-A-Bed has perfected the process of building a DIY Queen Horizontal Murphy Bed. They include templates that help minimize guesswork and mistakes. One of the templates was for cutting a rounded corner of the side rails.

This type of cut requires a Jig Saw, which can shred plywood sometimes, even if your blade is brand new. So, to reduce tear-out, I added painter’s tape on both sides of the plywood before marking and cutting, and this made for a much cleaner cut.


Cuts for the Hardware in the Horizontal Murphy Bed
The holes for the hardware must be exact, but there’s a template for those locations as well. We used a Forstner bit that cuts a clean, straight, smooth hole.

After all the holes were drilled, we attached the hardware and tested it to see how we did with the required exactness. I’d say we passed!


Painting the Horizontal Murphy Bed
Now for the fun part!
The cut edges of plywood always look rough and unattractive. Birch edge banding is an awesome product that is easy to apply and makes a huge difference in the appearance. I used my iron to apply the banding and a razor blade to trim the excess. The instructions on the kit tell you which edges you need this on!

Next, I pulled out all the pieces of wood that were going to be painted and gave them an all-over sanding to help the paint adhere better.
I then laid out all the pieces of wood on top of buckets, food cans, scrap wood, and whatever random objects I could find in my garage and set them up on our front lawn. (Pro tip: clean up is a cinch because all it needs is a good mow when you’re done!)
I loaded up my favorite Graco paint sprayer with my favorite primer for wood and sprayed everything with a thin, even coat. After thoroughly drying, I sanded every surface to smooth out all the rough spots the primer created. I love using a cordless sander for large projects like this.


Isn’t this color gorgeous?!? It’s a custom color that I named Montenegro Green. Screenshot the picture of the paint lid and take it to your local paint store to mix up the exact same color.

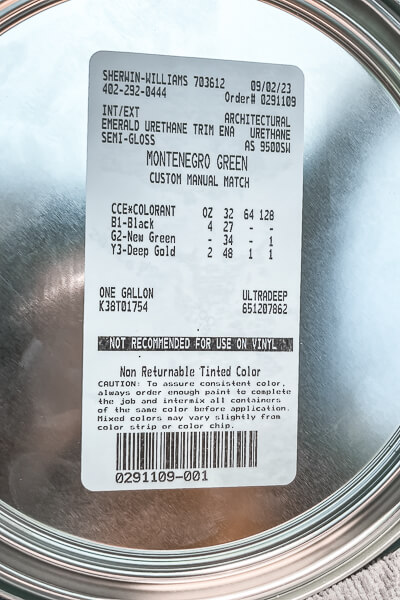
After cleaning out my spray gun, I loaded the green paint and did an even coat. Watch my YouTube video on how I clean out my paint sprayer.
The trick for a smooth paint job is to apply thin, even coats with gentle sanding using a high grit sandpaper between each coat. I go into more depth about painting cabinetry in this blog post about how I painted my kitchen cabinets.


Adding Studs in our Basement
We’ve invested considerable time and effort into transforming our unattractive basement into something more cozy. But first, we had to contend with our cinder block walls. Cinder block makes for a solid basement; however, when we need to secure things to the wall, like, say, a queen horizontal Murphy Bed, we’re missing those oh-so-important studs.
Rather than furring out the entire wall with studs, we used a few horizontal pieces and bolted them to the wall. We measured where the horizontal Murphy Bed would need to be attached to the wall, placed our 2 x 4 studs strategically in those spots, and used toggle bolts and a masonry drill bit to secure it to the walls. Our laser level was essential and took much less effort than a typical level.

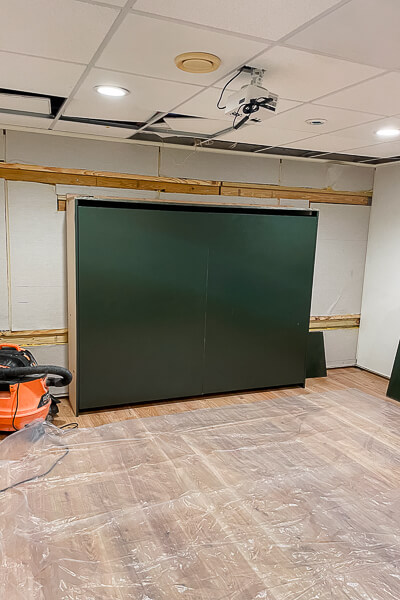
If there ever was the perfect “BEFORE” shot, this is it. I promise it’s going to look like a million bucks when I’m done with it. If you’re lucky, your basement doesn’t look like an abandoned industrial factory, and all you’ll need to do is use a stud finder, you lucky duck.

Assembling the Horizontal Murphy Bed
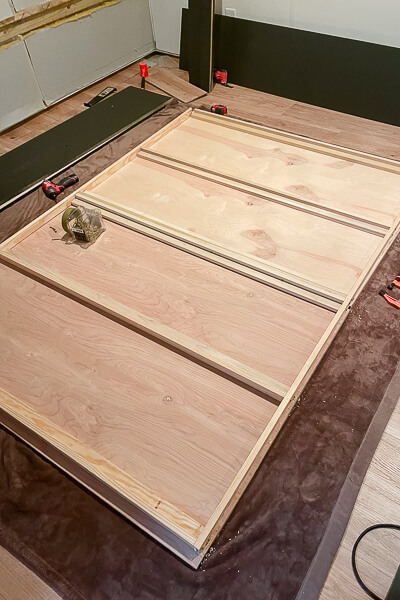
It’s easier to assemble the horizontal Murphy Bed in the room where it’s being installed, so we hauled all our wood into the basement. We had previously labeled every piece, so laying it all out in the correct spot was easy.
Create-A-Bed provides detailed instructions for this next step, but I’ll add some tips.
- Pre-drill all your holes.
- Wood glue is your friend, but if any oozes out, wipe it off right away because it’s a bugger to remove after it’s dried. Have you seen this wood glue bottle? I’ve heard good things.
- Clamps, clamps, and more clamps.
- Take your time lining everything up to ensure it’s square.
- The bed frame will be heavy, so either invite Stuart to come help you, or find yourself a friend.
- We put a large blanket underneath the pieces to protect the floor and the paint on the bed.
- Pay attention to what length screws you’re using because you don’t want anything poking through the other side.
- Buy yourself one of these Centipede portable workstations. It’s easy to set up and makes a sturdy, portable work table.


The *Almost* Beautiful Horizontal Murphy Bed!
And here’s what it looks like after it’s installed. Yes, I’m sure you’re not booking a trip anytime soon to Omaha to stay in my basement.
But maybe you’d give this room 4-stars? This is what the horizontal Murphy bed looks like now because it’s finished and ready for bookings!
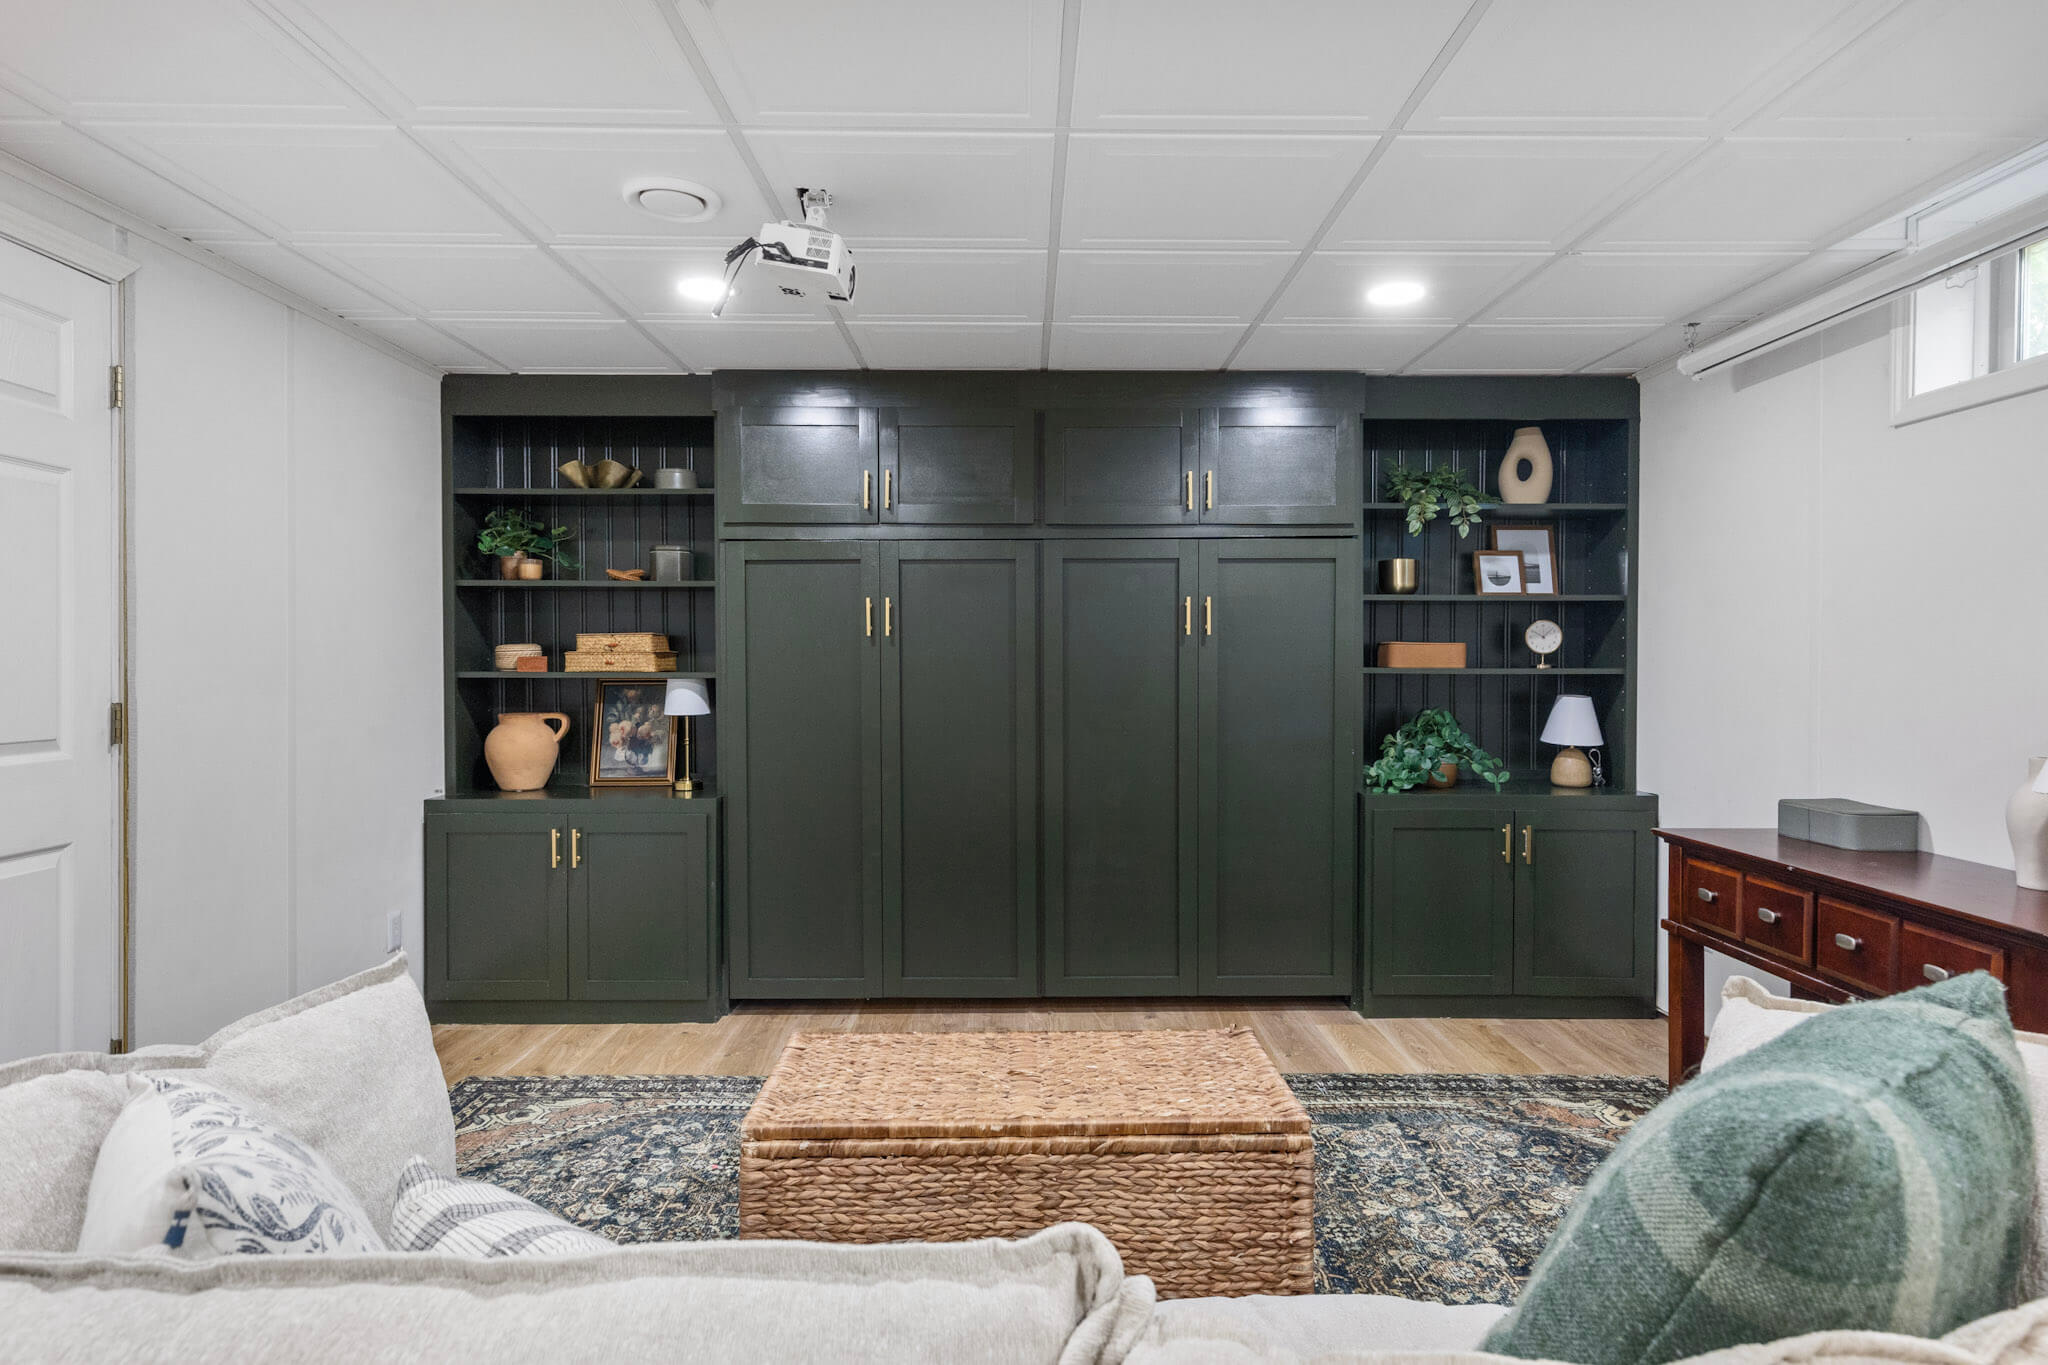
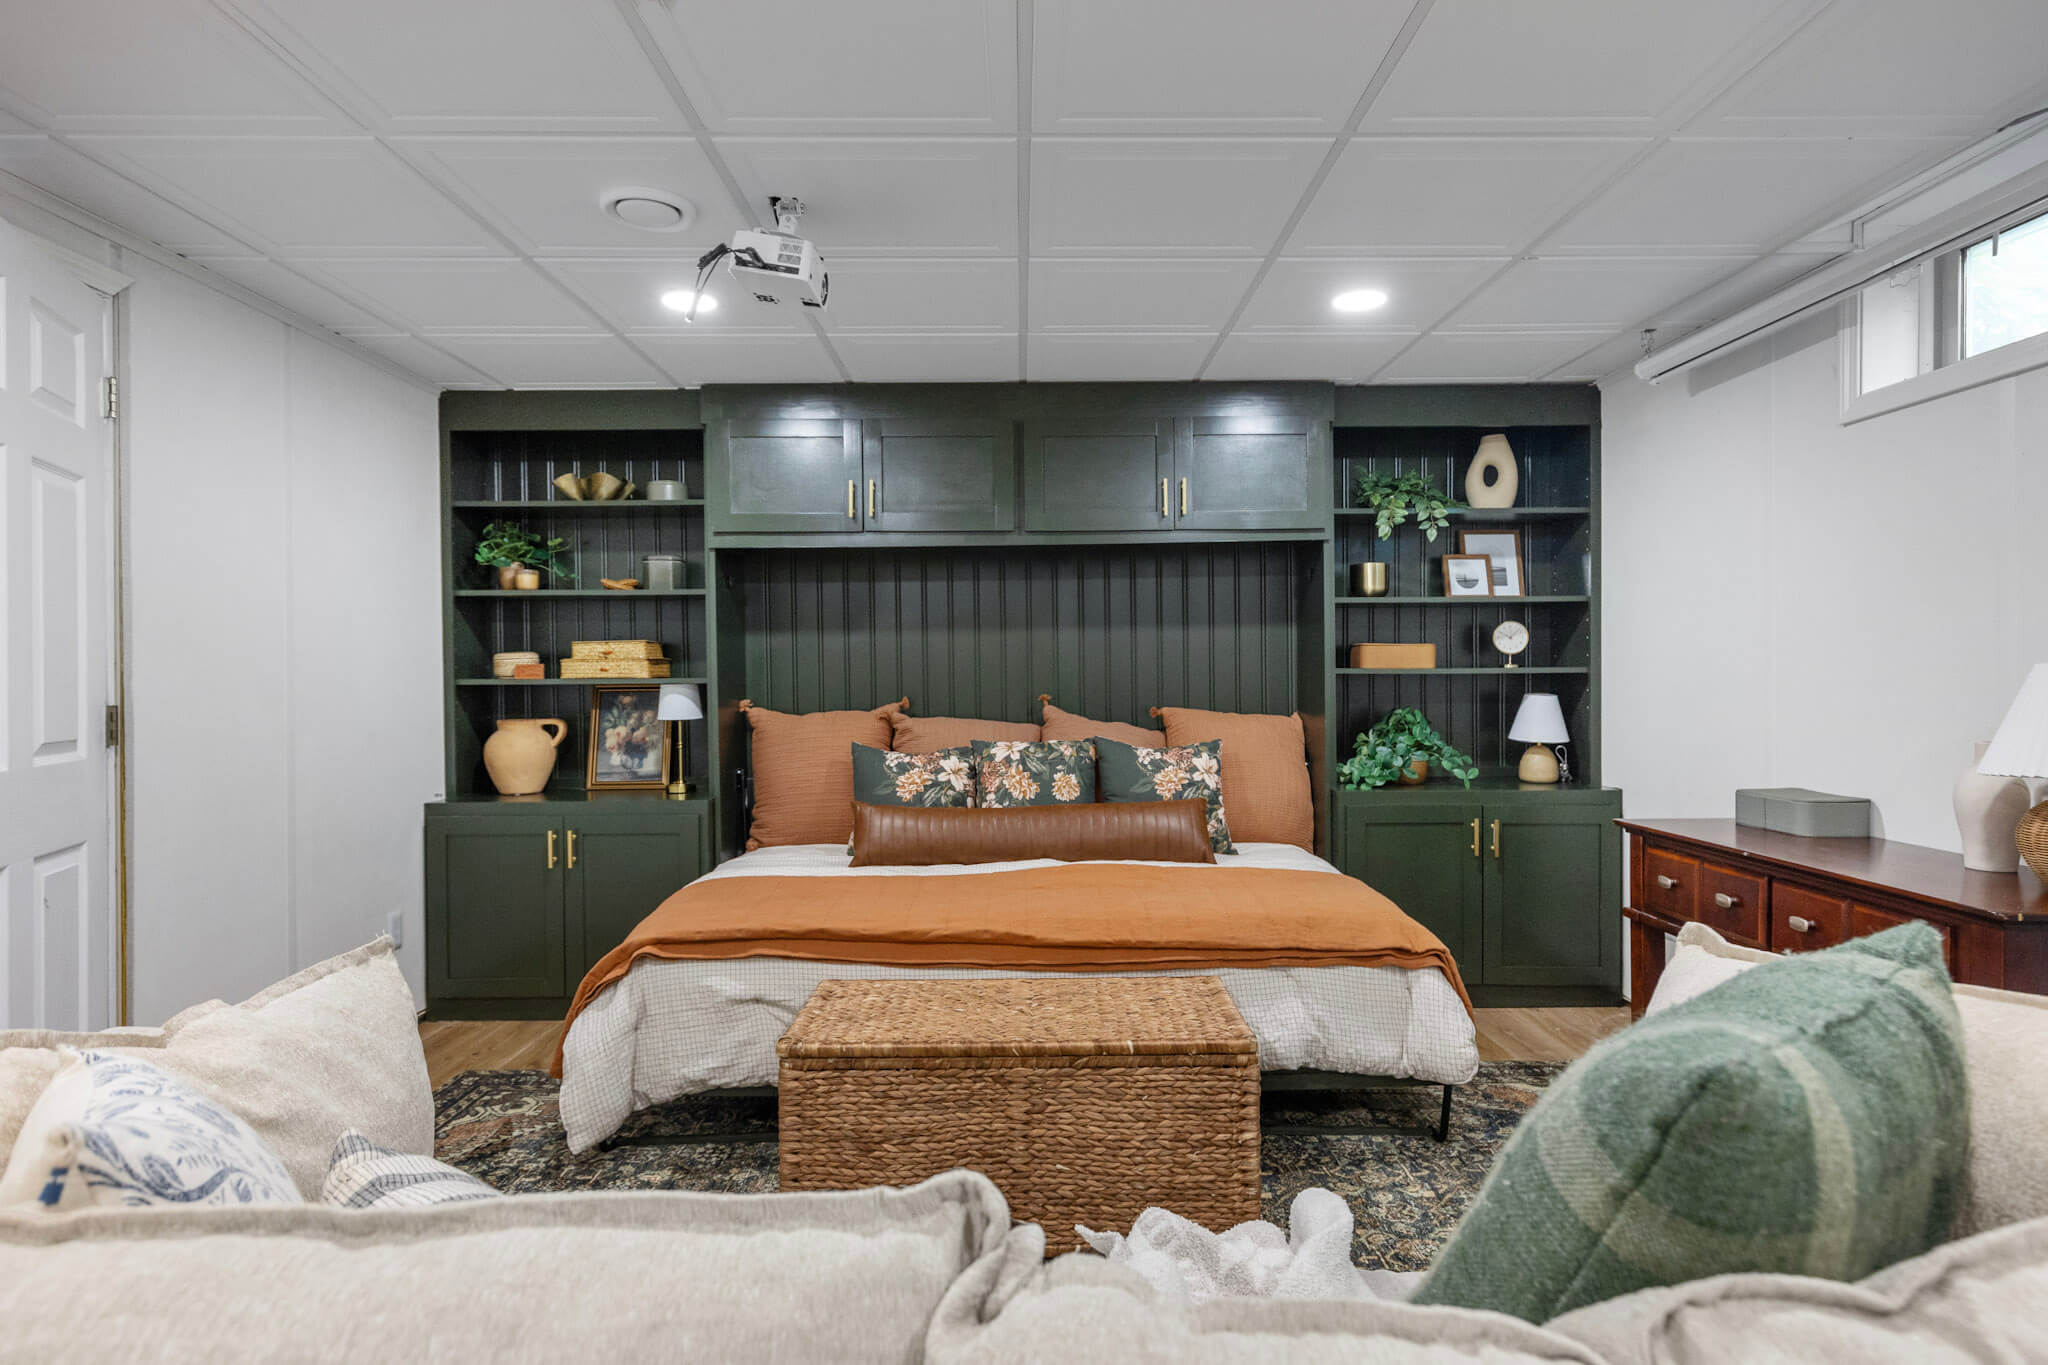
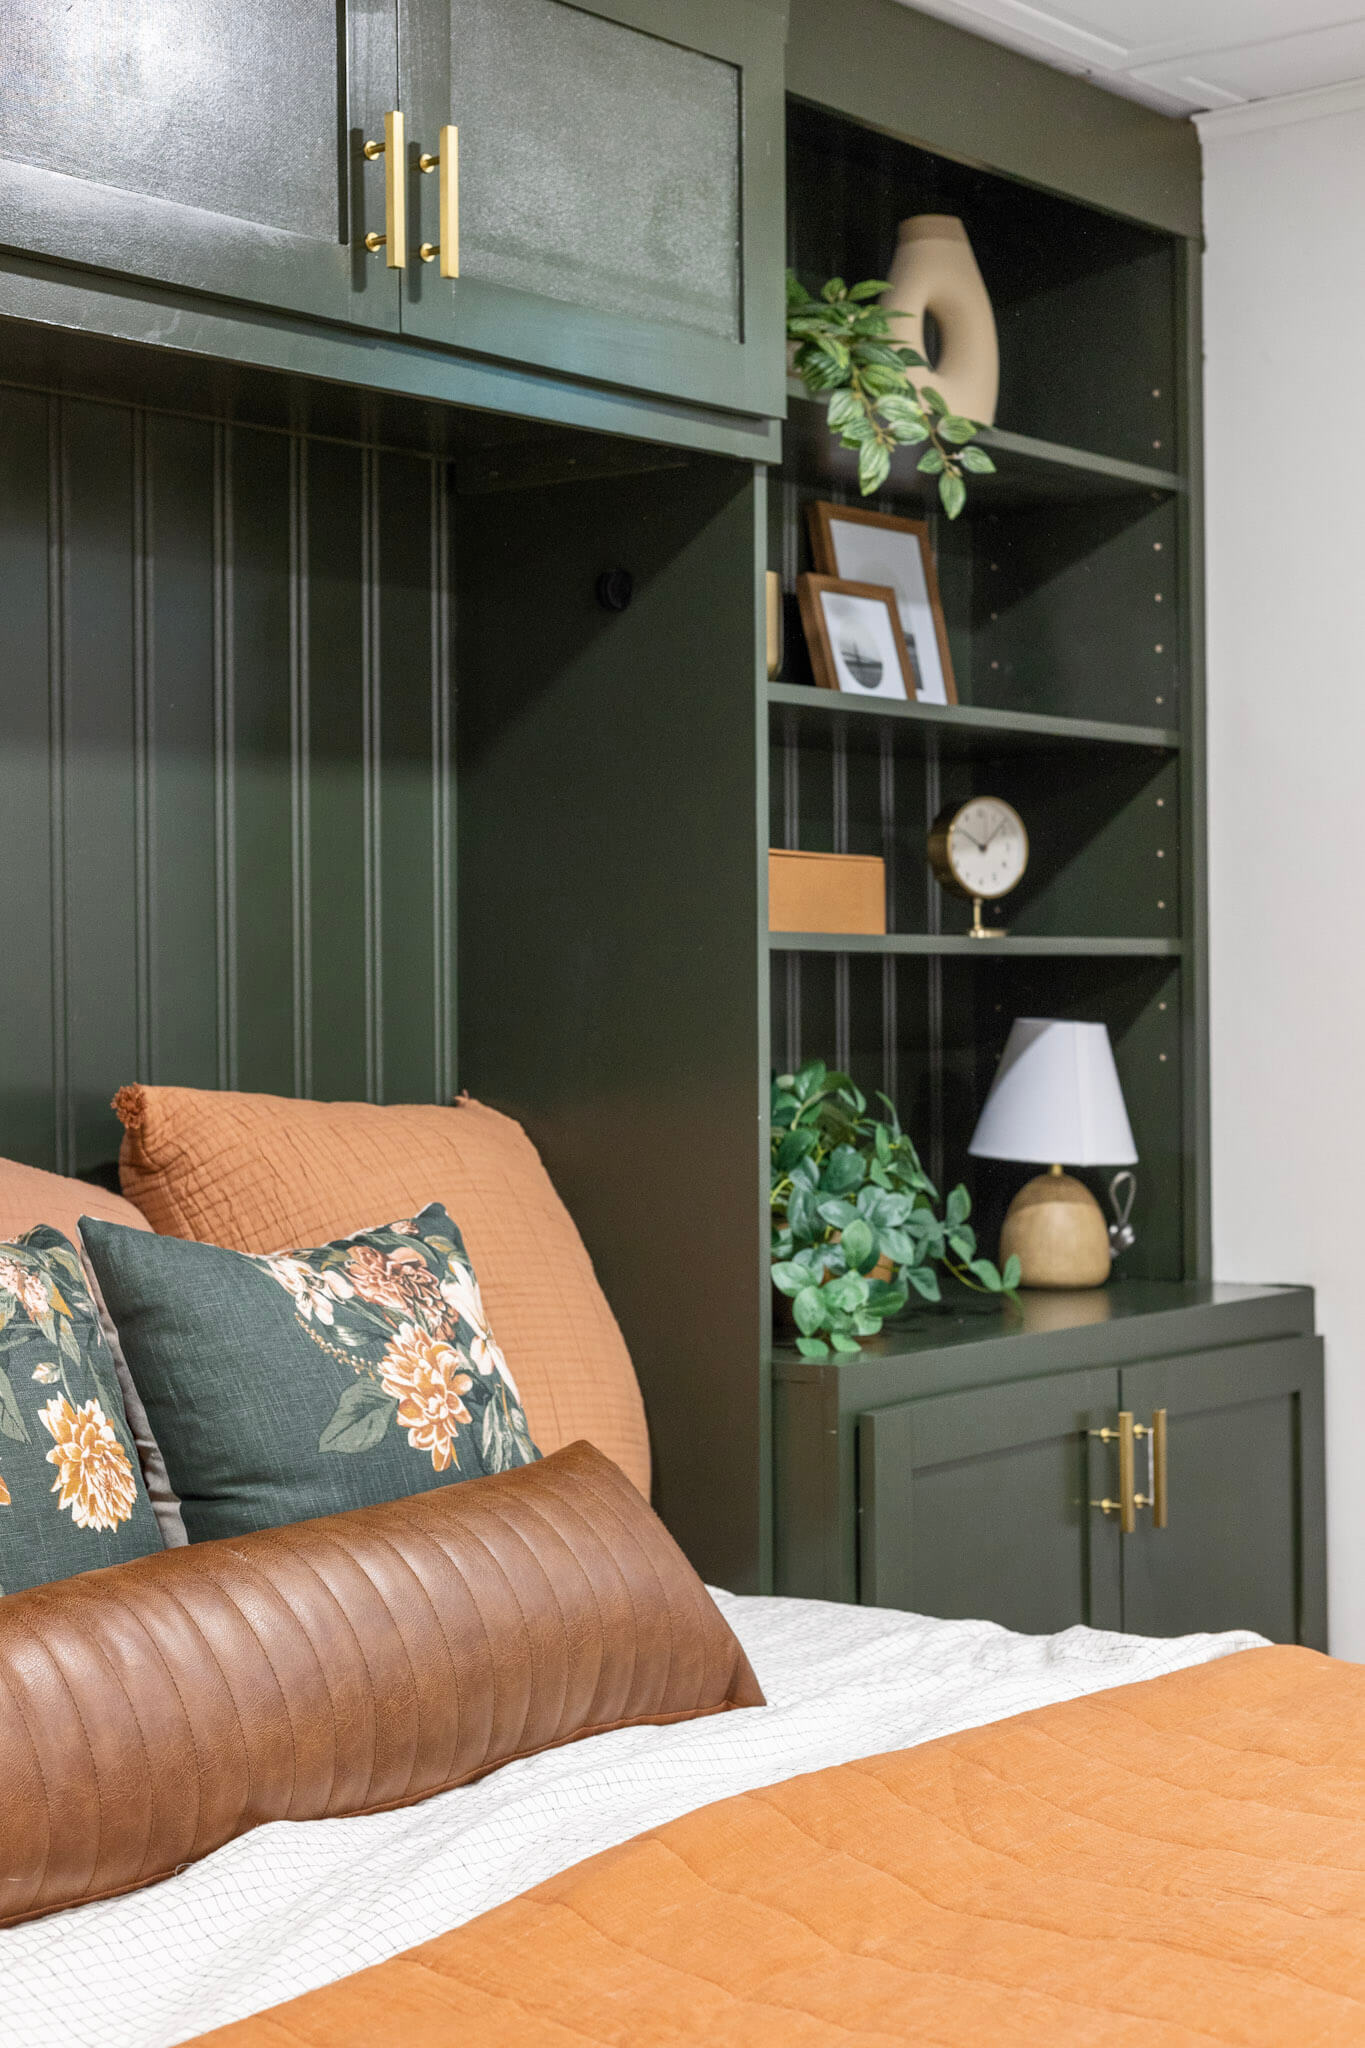
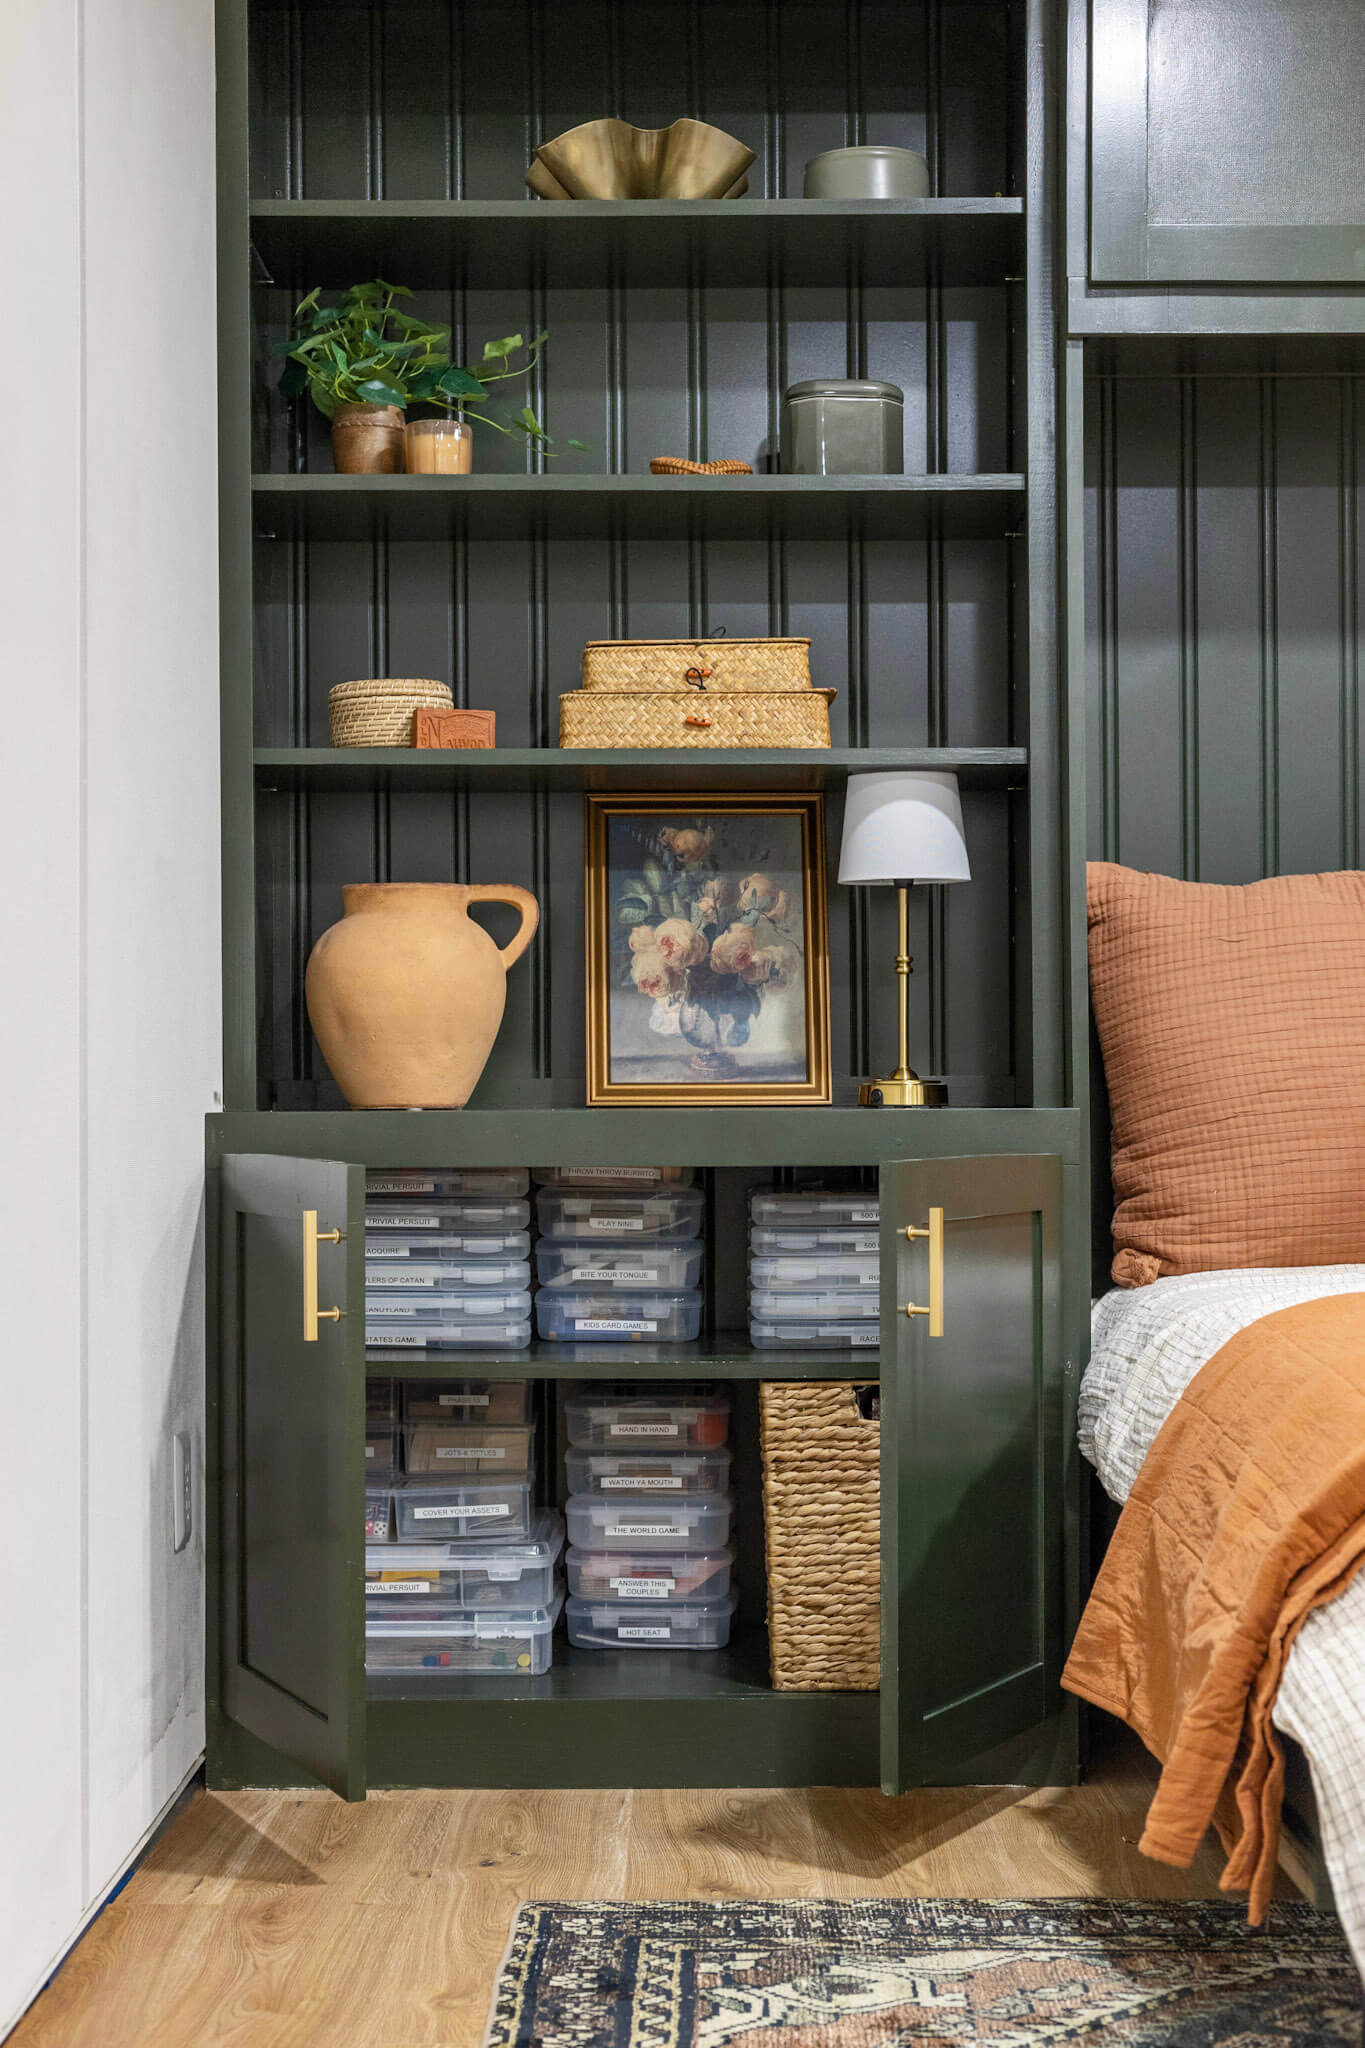
I built those custom built-ins around my Murphy bed! Check out that blog post for the step-by-step instructions.
Sources
Satin Gold Bar Drawer Pulls
24″ x 24″ Drop Ceiling Tile Panels
Duravana Hybrid Flooring
Large Plastic Game Organizer
Small Plastic Game Organizer
Schwinn IC4 Indoor Cycling Exercise Bike
Dumbell Rack
Orange Linen Quilt
Orange Decorative Throw Pillow
Faux Leather Lumbar Throw Pillow
Printed Floral Throw Pillow
Green Knit Throw Blanket
White Comforter
Area Rug
Woven Storage Bench
Antique Floral Framed Canvas
Green Glazed Ceramic Box
Gold Metal Wavy Bowl
Round Leather Links
Woven Basket with Lid
Ceramic Vase with Handle
Faux Ribbon Fern Plant
Faux Trailing Tropaeolum Plant
Brass Pedestal Table Clock
Leather Box with Lid
Small Brass Planter
Circle Mat Table Frame
Arch Mat Table Frame
Faux Hoya Plant
Ceramic Modern Ring Vase
Mini Wooden Table Lamp
Terracotta Ribbed Jar Candle


I absolutely love this DIY Queen Horizontal Murphy Bed! The design is not only beautiful but also incredibly functional for maximizing space. The step-by-step instructions make it seem doable, and I can’t wait to try it in my own home. Thank you for sharing such an inspiring project, Crystel!
Two things I noticed.
The wall has black mold on it.
Why is a a horizontal bed made up like a vertical?
Hi Mike – Yep we found mold in our basement, and we took all the correct step to treat it. Regarding the bed, mattresses can be used both horizontal and vertical. They only thing that’s permanently horizontal is the Murphy bed frame itself. Other than that, it’s all fair game.
Test comment
test