Do you want to add a DIY small front porch to an existing house? I built one myself and now I’m sharing all the tips and tricks I learned along the way.
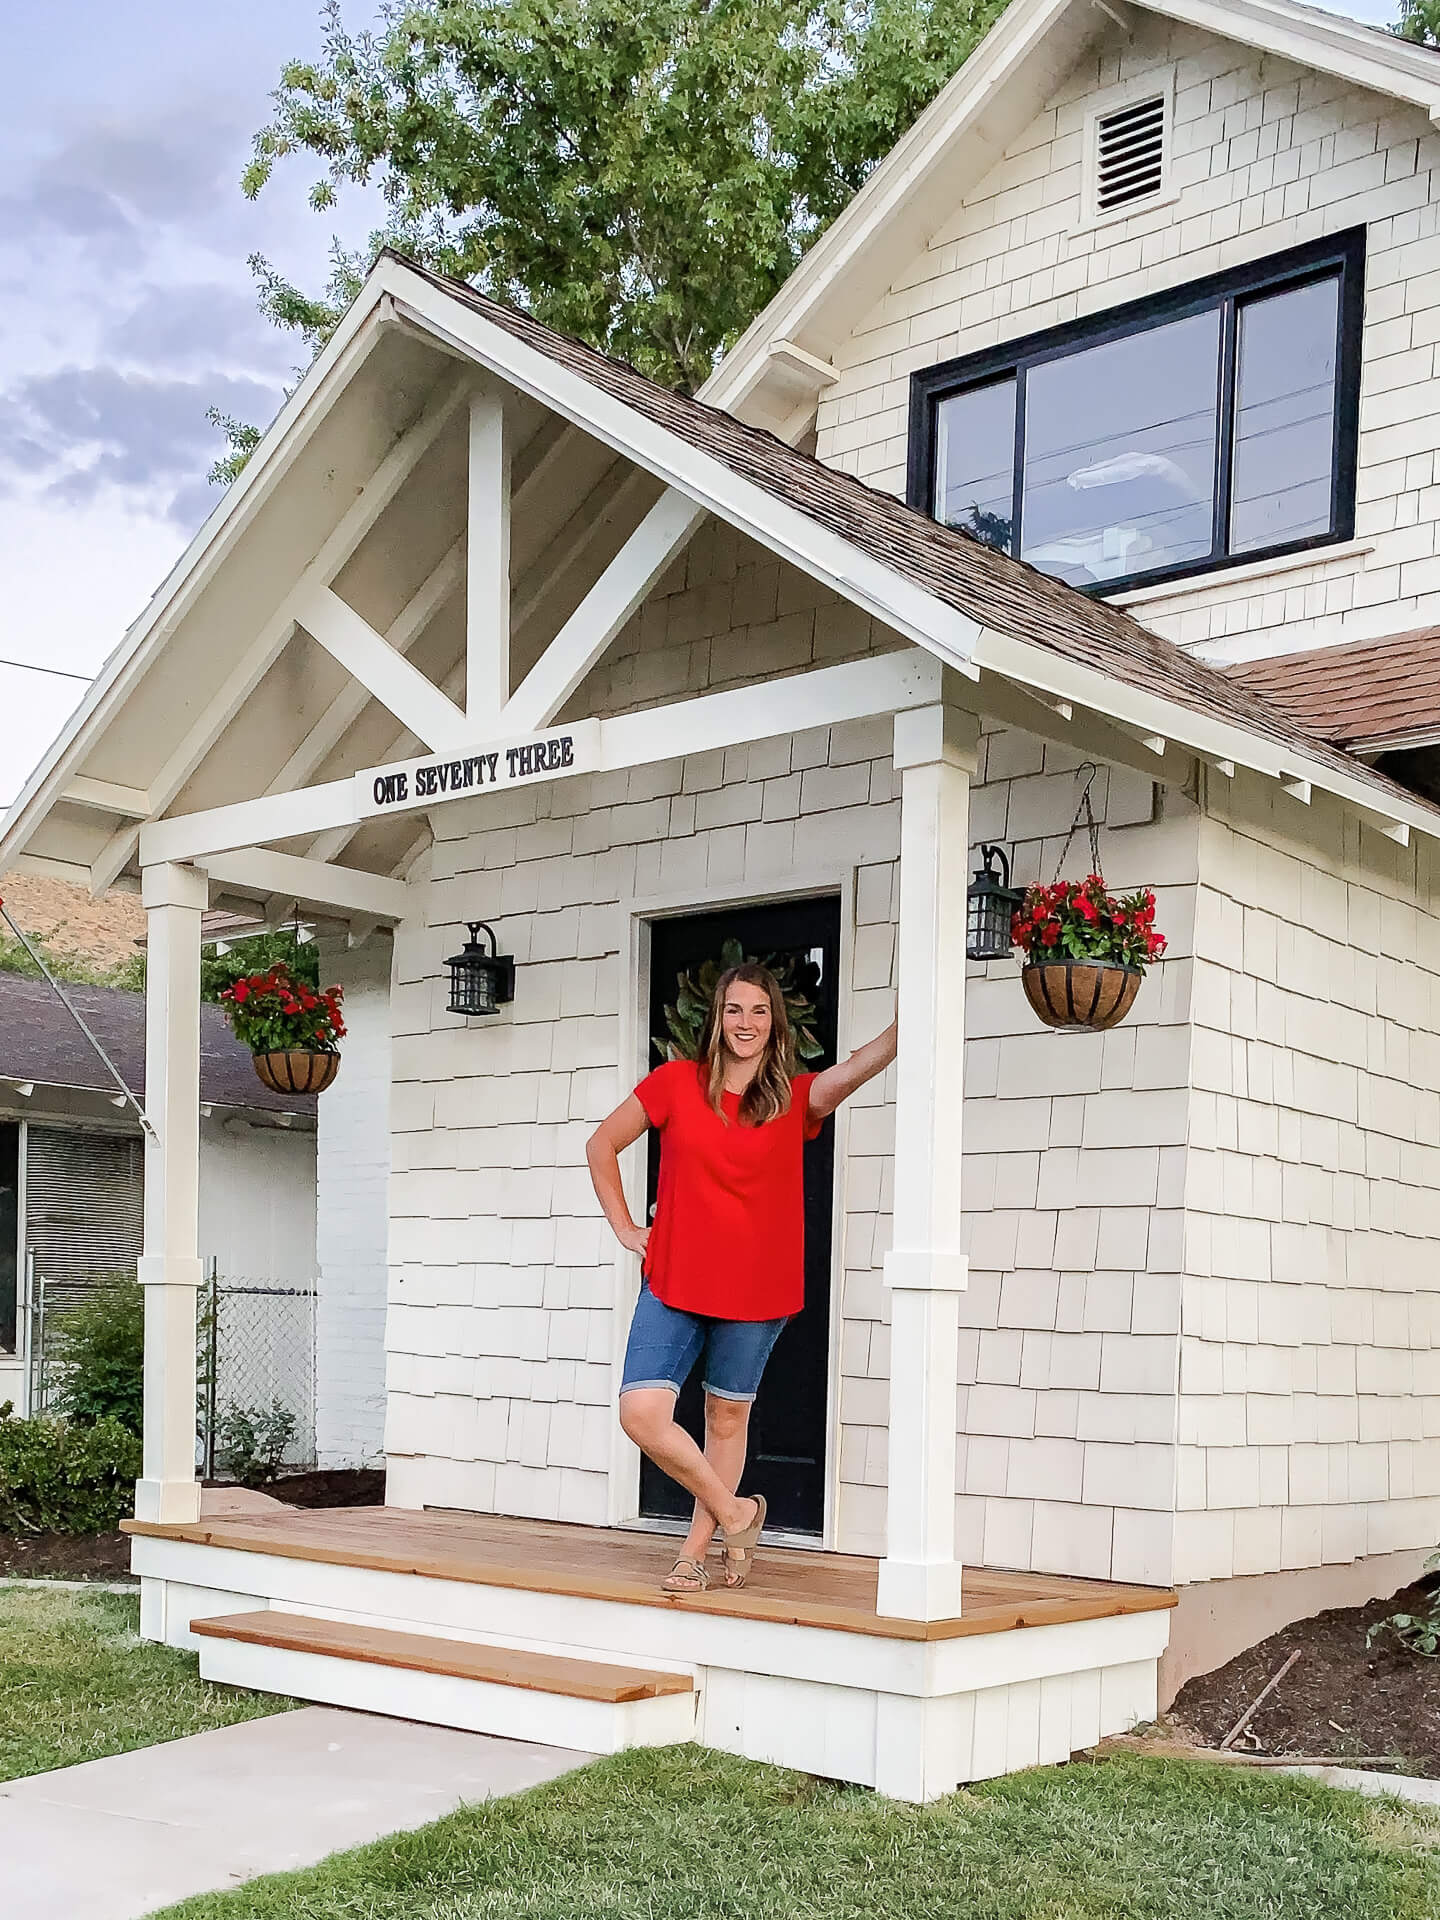
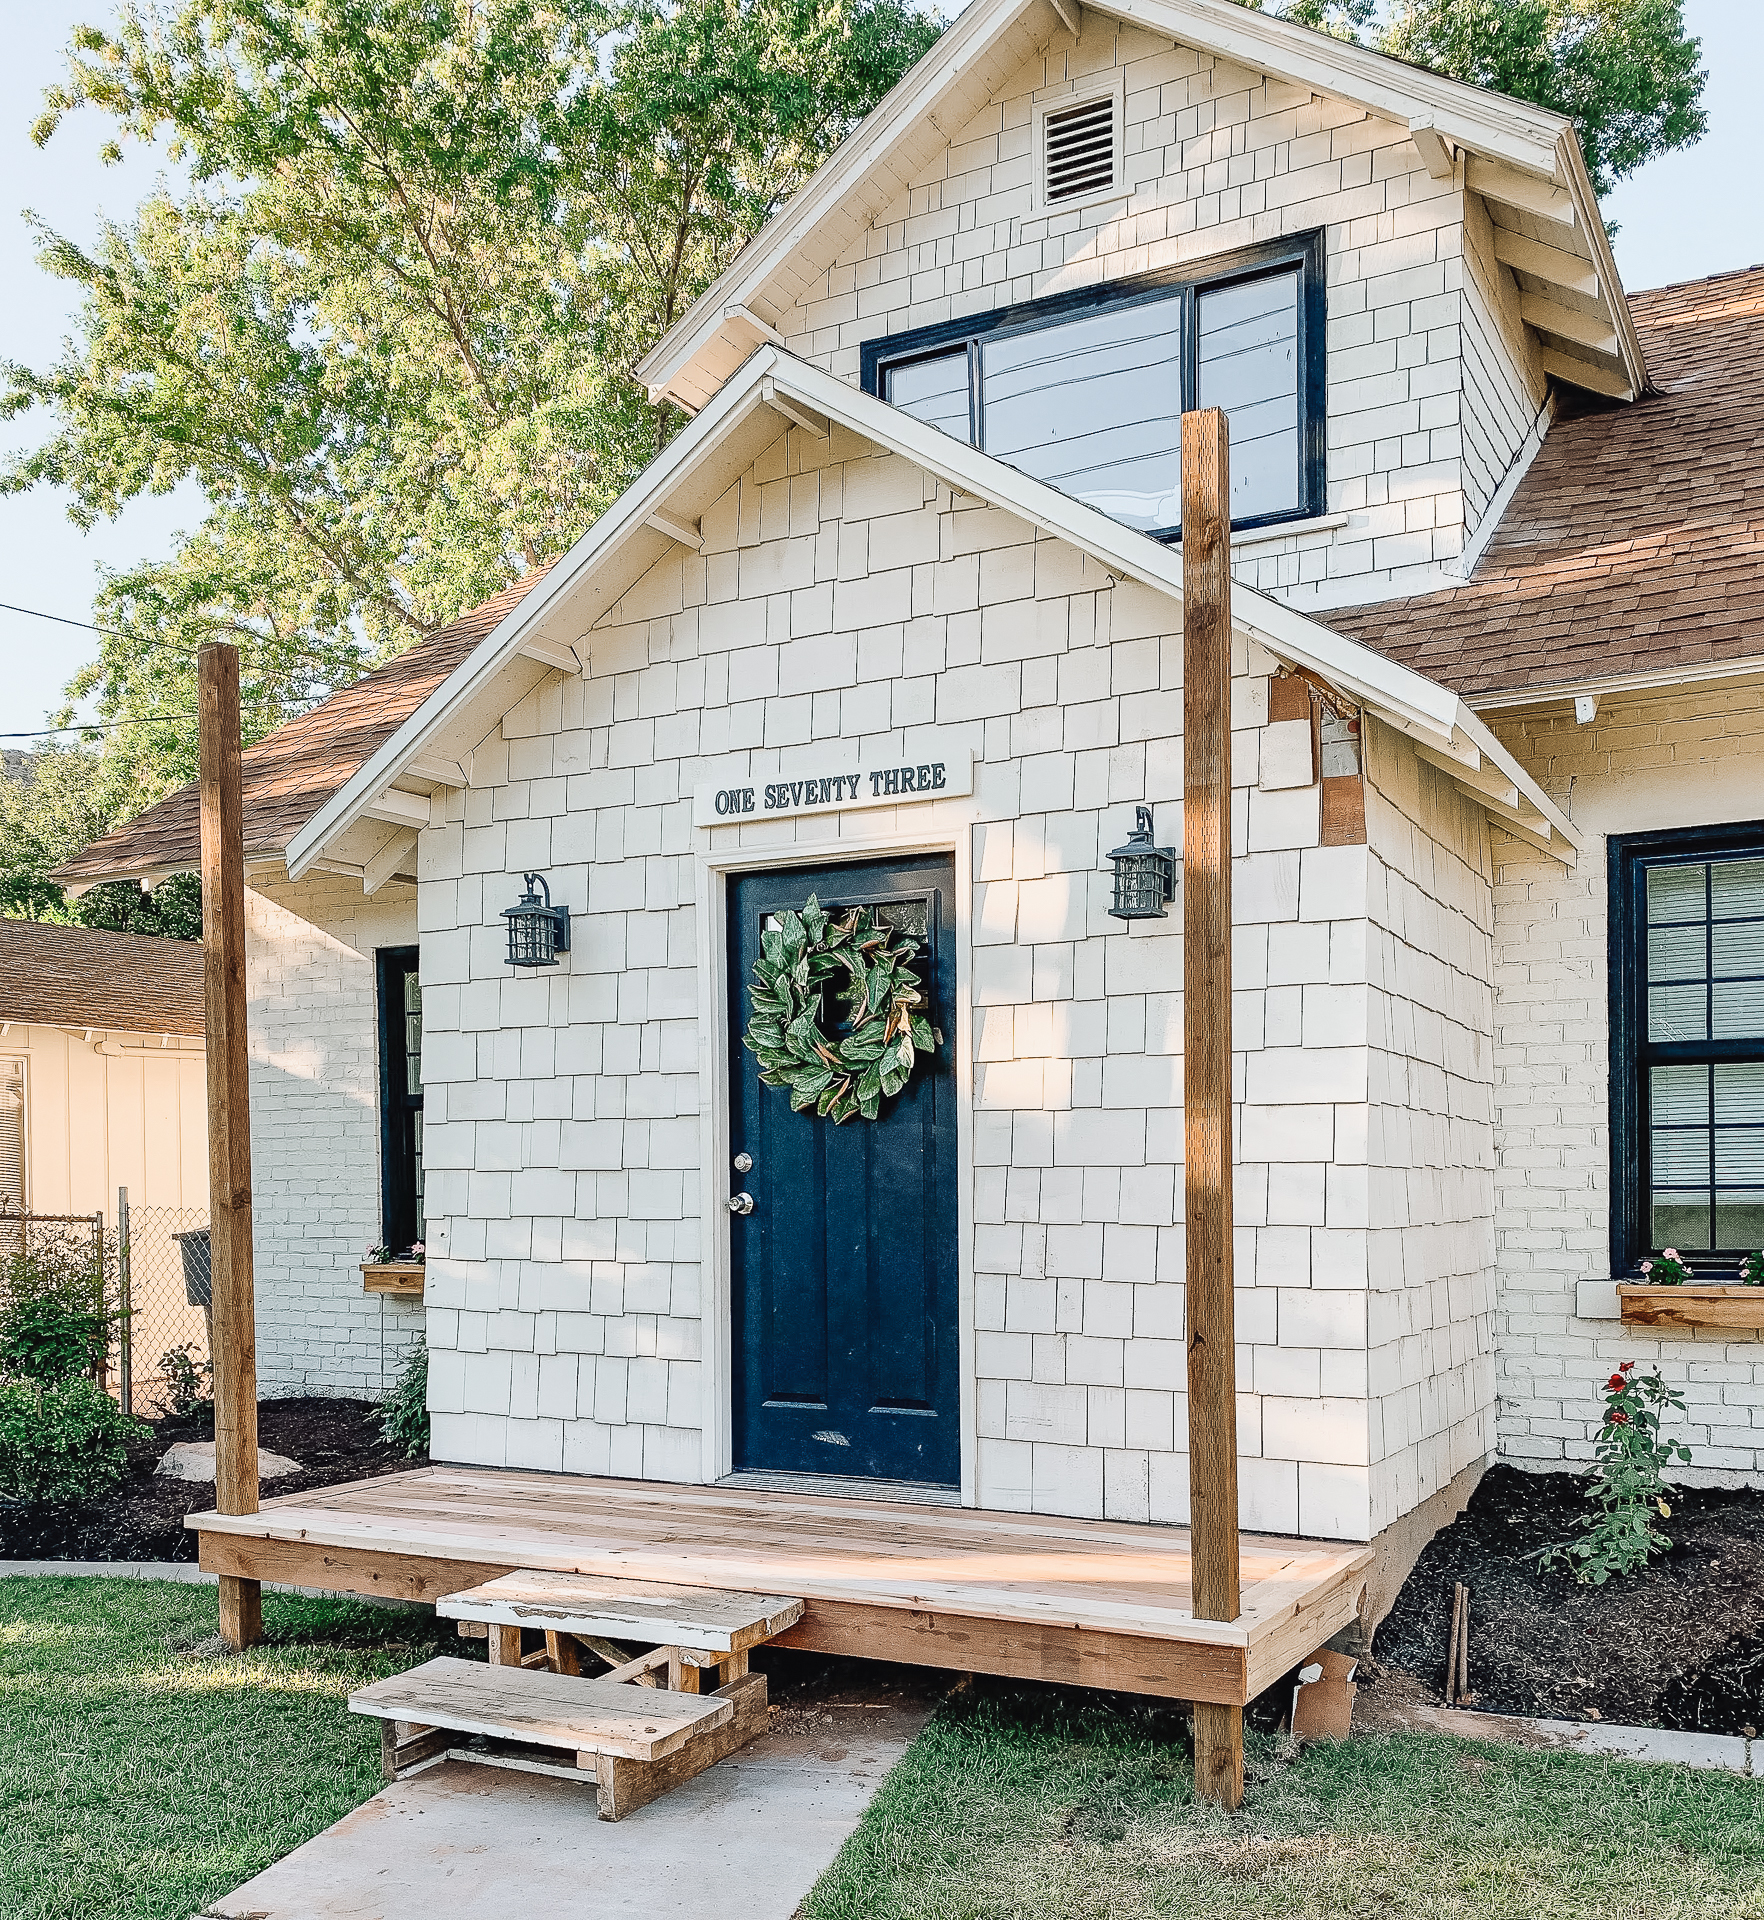
Hello again! I’m splitting up my DIY front porch tutorial into separate posts so it doesn’t seem so overwhelming. The construction was done over the course of many days, so it makes sense this tutorial would be split up as well, right? If you want to start from the beginning, this is the blog post you’ll need to check out. Here is what we’re trying to accomplish today:
**This post includes affiliate links. If you purchase from these links, I may get a small commission from the seller. But the great thing is, this doesn’t cost you any extra money! **
SUPPLIES
Lumber
Power Tools
Misc Supplies
- 2 in. Framing Nails
- Level
- Carpenter Square
- 3″ Star Bit Wood Screws
- Hammer
- Tape Measure
Prepping the Porch for the Deck Boards
We left off with all the joist hangers installed, resulting in a nice, sturdy base.
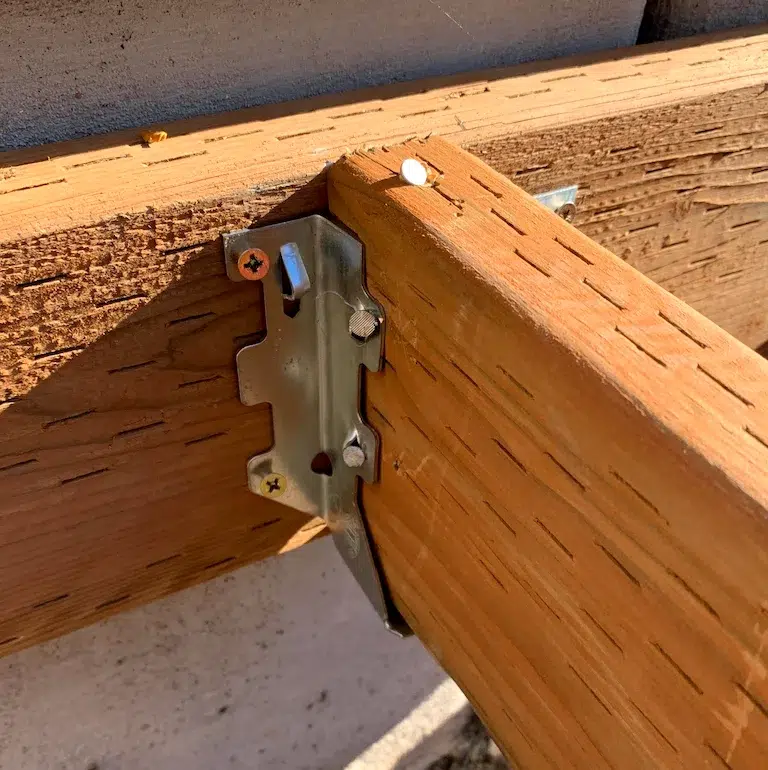
But before we can lay the actual deck boards, I needed to install the boarder first. Adding a boarder enhances the look of the porch.
I started with the installation of the back board, which is the board closest to the house.
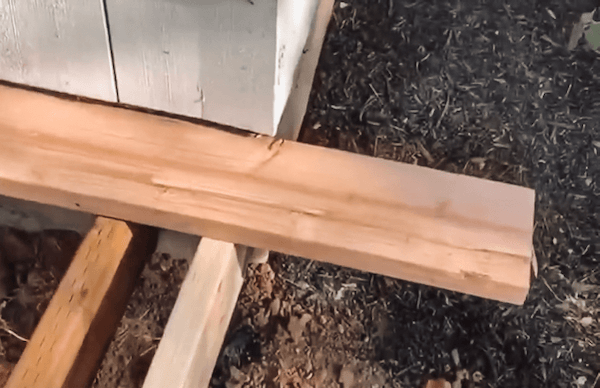
I wanted to miter the corners for the border around my deck because they give the finished deck a clean, professional appearance. I’m putting a lot of faith into these corners to distract from the DIY-ness of everything else.
First task was to cut the back board to the right length. I measured the width of the porch and added 2 inches to that total because I want the deck to have a 1-inch overhang on both sides. It came out to exactly 12 feet, which was the exact length of my redwood.
Mitering the Corners of the Back Board
After making sure the board was the right length, I cut a 45-degree angle on one end of the board. The trick was to make sure I kept the entire 12-foot length, so the 45-degree angle started at the very corner of each end.
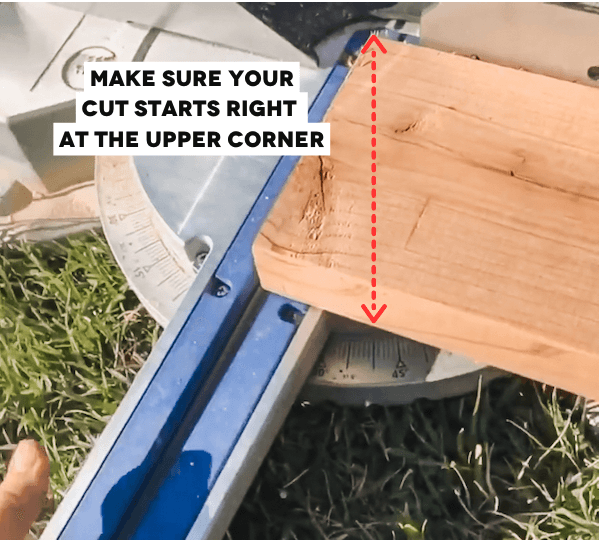
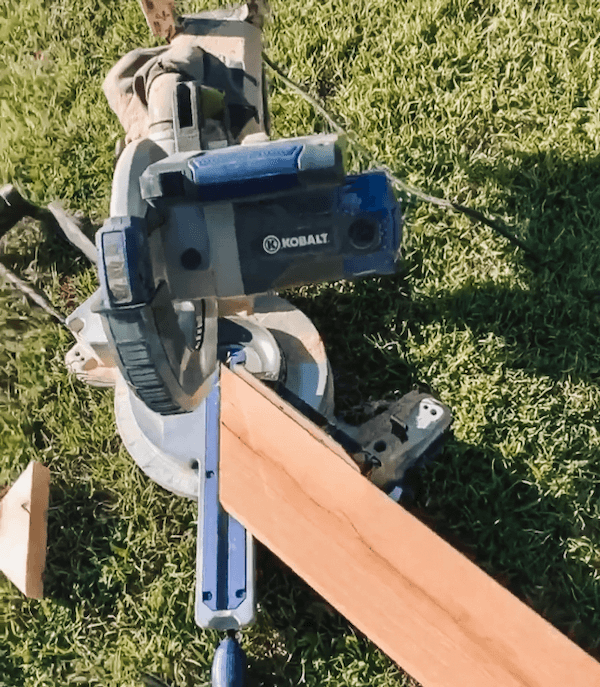
I cut a 45-degree angle on the other end as well. Be aware of what direction you’re making your cuts because each end should be cut inward.
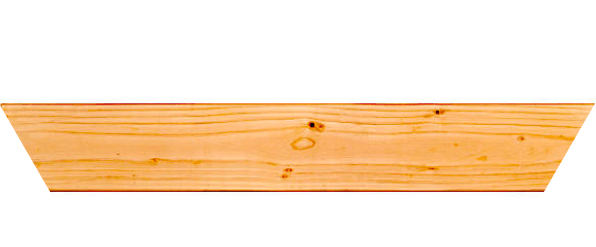
I’ll be dry fitting everything first, so I set that board on the joists along the front of the house just to make sure it fit, and then left it alone.
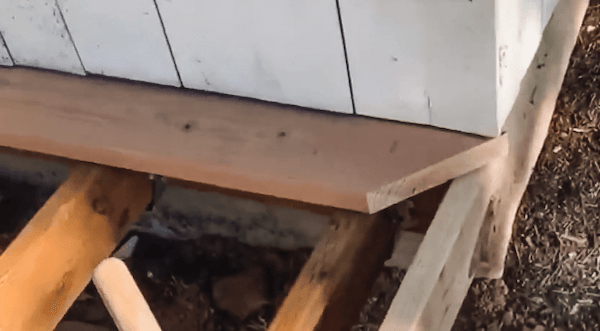
Cutting a Notch for the Deck Posts
Next, I cut the sides of the border. I measured the length starting at the house to the outside edge of the rim joist, and then added 1-inch to account for the overhang. The porch comes out 4 feet from the house, so I cut the board 4 feet and 1 inch.
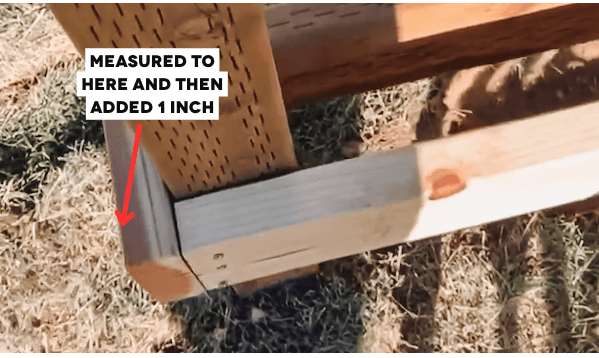
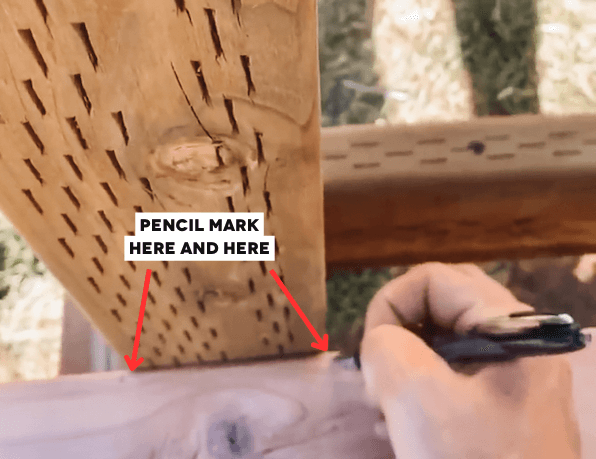
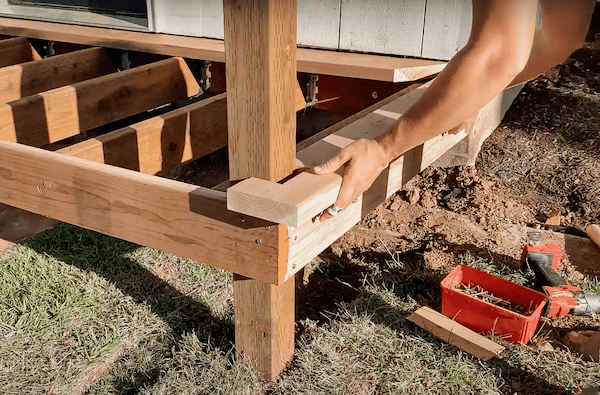
After I made the cut, next step was to cut a notch out of the board to account for the post. If I didn’t make a notch for the post, it would hang over by several inches. I butted the board up against the post and made pencil marks that were just a hair fatter than my post.
Then I measured the distance from the post to the edge of the rim joist, and then added an inch, which in my case was 2 ½ inches.
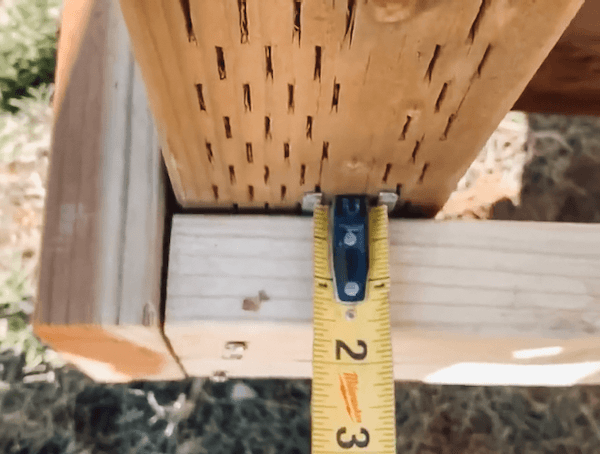
Then I took that measurement and drew my cut lines on the board using my speed square.
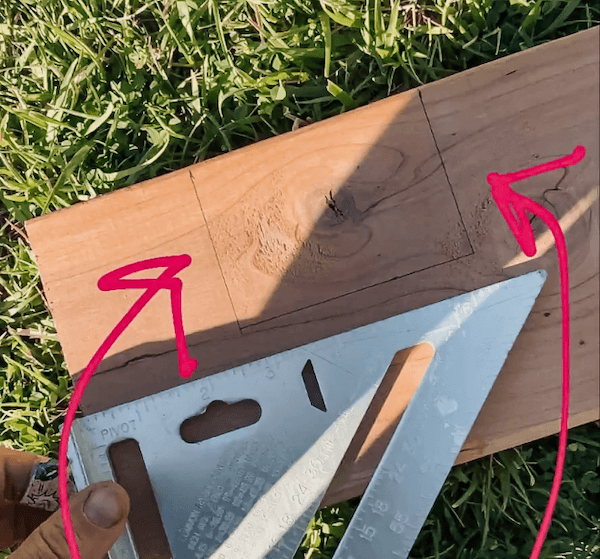
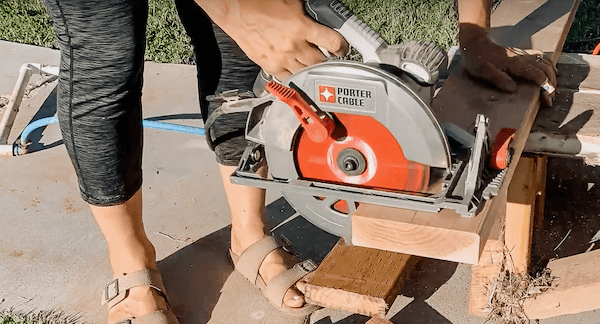
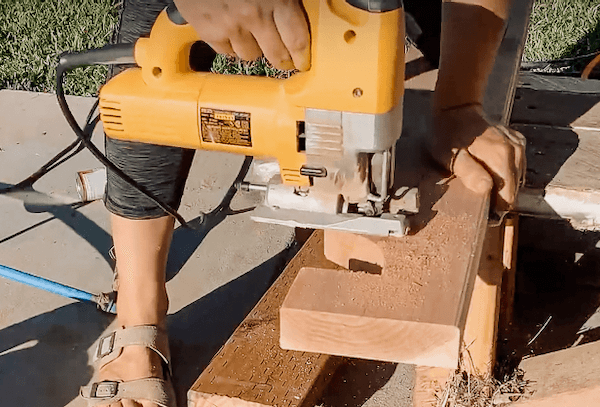
I used my circular saw to start off the cuts, but I had to use my jig saw to finish it off. I did a dry fit and it was as close to perfect as I could get it.
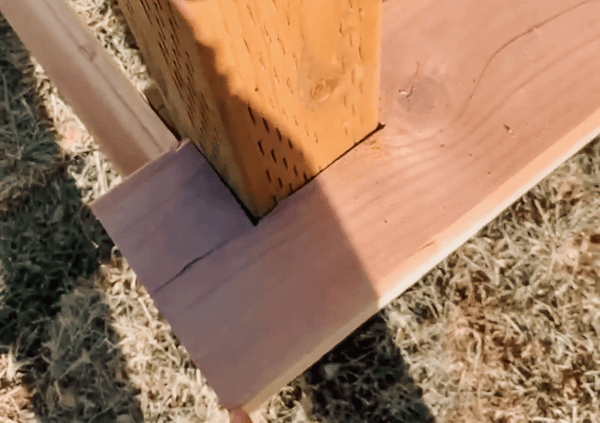
Additional Miter Cuts on the Front Deck Boards
Okay! Now we’re back to making some miter cuts, which after all that, seems like a piece of cake. The miter cut was long enough to touch the corner of the notched out square, and that’s it. It didn’t go all the way to the other end of the board.
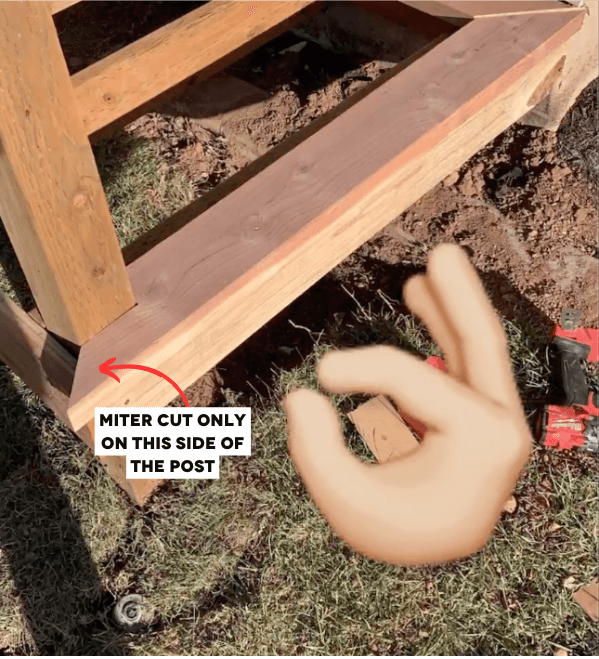
At this point, I still have not screwed anything down until EVERYTHING was dry fit. Now that the two boards are laid down and look great, I made the same types of cuts for the front and side borders. I had to make the same notched out squares on both ends of the front border since I had to account for two posts rather than just one.
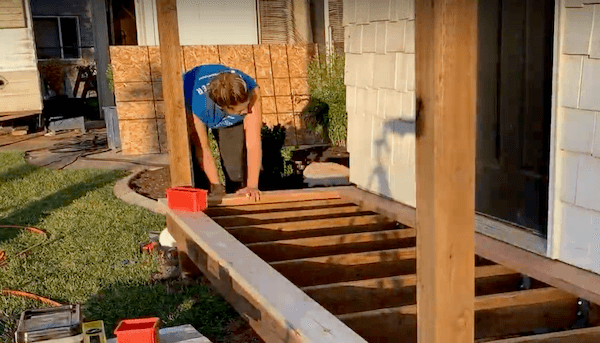
It’s looking good enough to screw them to the rim joists, so that’s what I did next, followed by the most satisfying step which was to start laying my deck boards.
Laying Deck Boards for a DIY Small Front Porch
First, I measured and cut each board one at a time. Again, I just dry fit everything until all the boards were cut and placed. I started from the front of the deck and worked my way towards the house. The very last board was cut down the entire length because it was a hair too wide, but you couldn’t even tell unless you got down on the deck with a tape measure. I worked up until the sun set because I was determined to get this floor laid. All the floorboards were secured into the joists using wood screws.
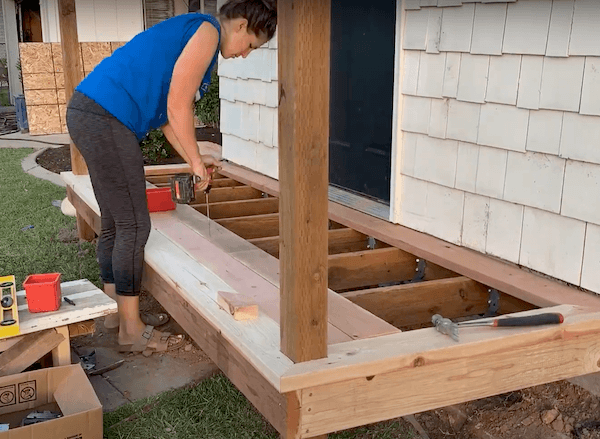
DIY Front Deck is (Almost) Complete!
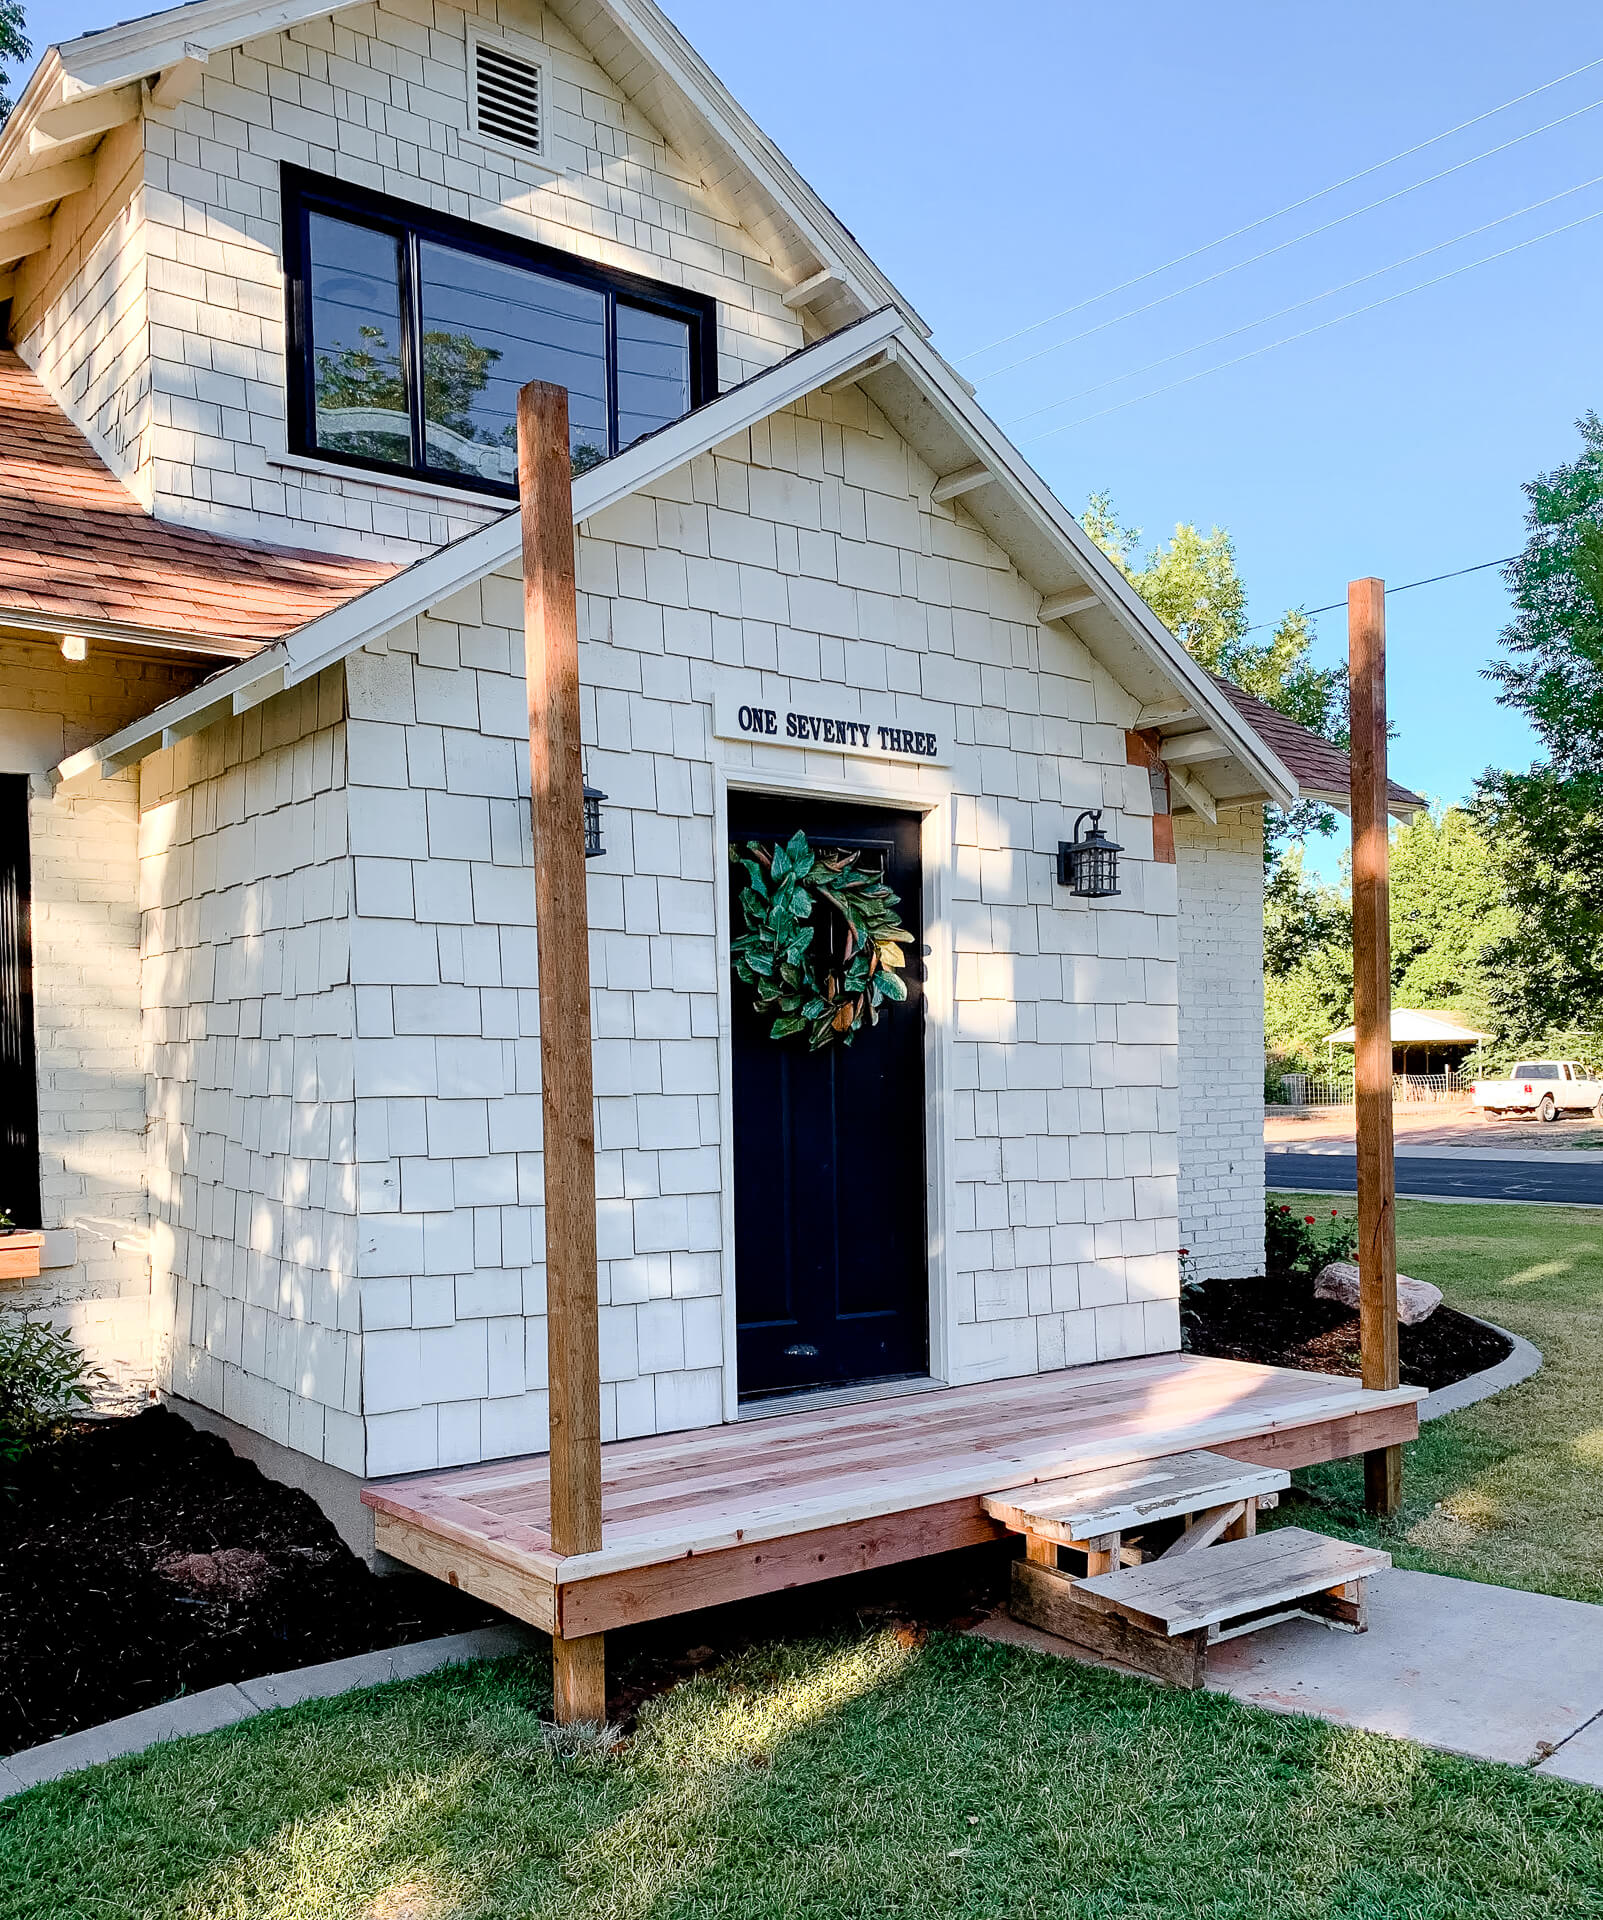
This seems like a good ending point. I mean, honestly I could have stopped right here, but I’m glad I kept going because this is what you and I have to look forward to –
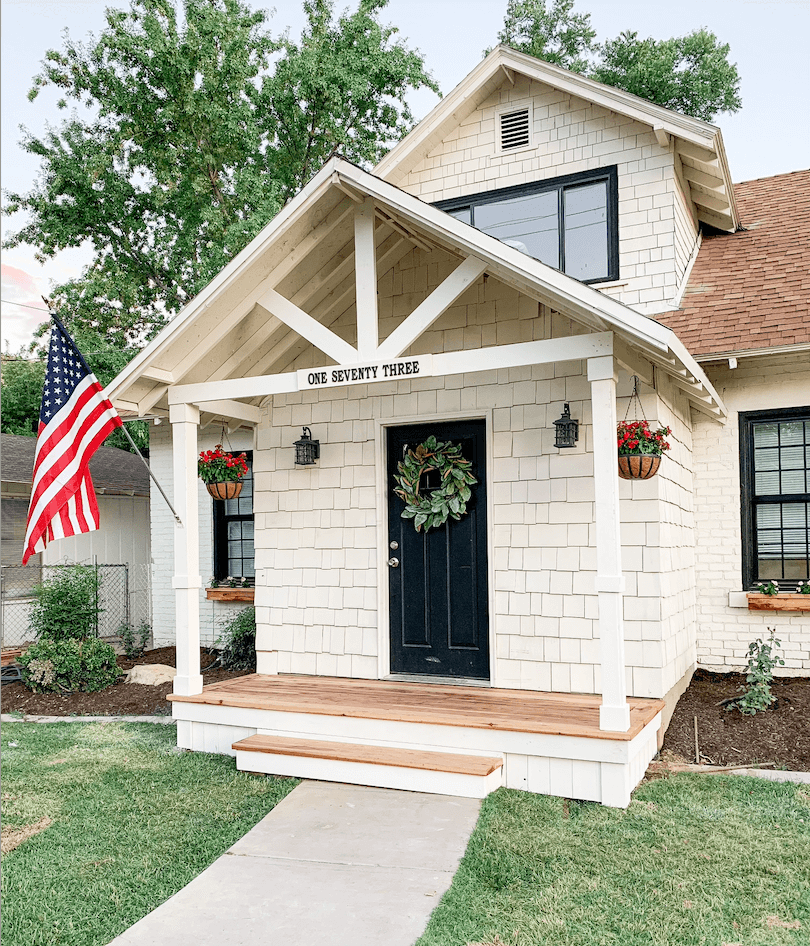
Here’s Part 1 of the DIY Small Front Porch Build in case you missed it. I’ll be writing up and posting Part 3 very soon. If you have any questions, leave a comment below and I’ll make sure to respond as best as I can with an answer.
I would love to see any projects you do that were inspired by this one! Be sure to tag me on Instagram so I can see!
XOXO,
Crystel


