Updating My Ugly 1970s Exterior Rock Siding


Updated May 16, 2025
The first time I saw our 1970s fixer-upper, I was already thinking about how to fix the exterior rock siding. It was brown, outdated, and just plain ugly. Not everyone on my Instagram account agreed with me about changing it—some thought I should’ve kept it—but I’m thrilled with how it turned out. The old exterior rock siding made the house feel stuck in the past, but now it finally looks like it’s part of this century!
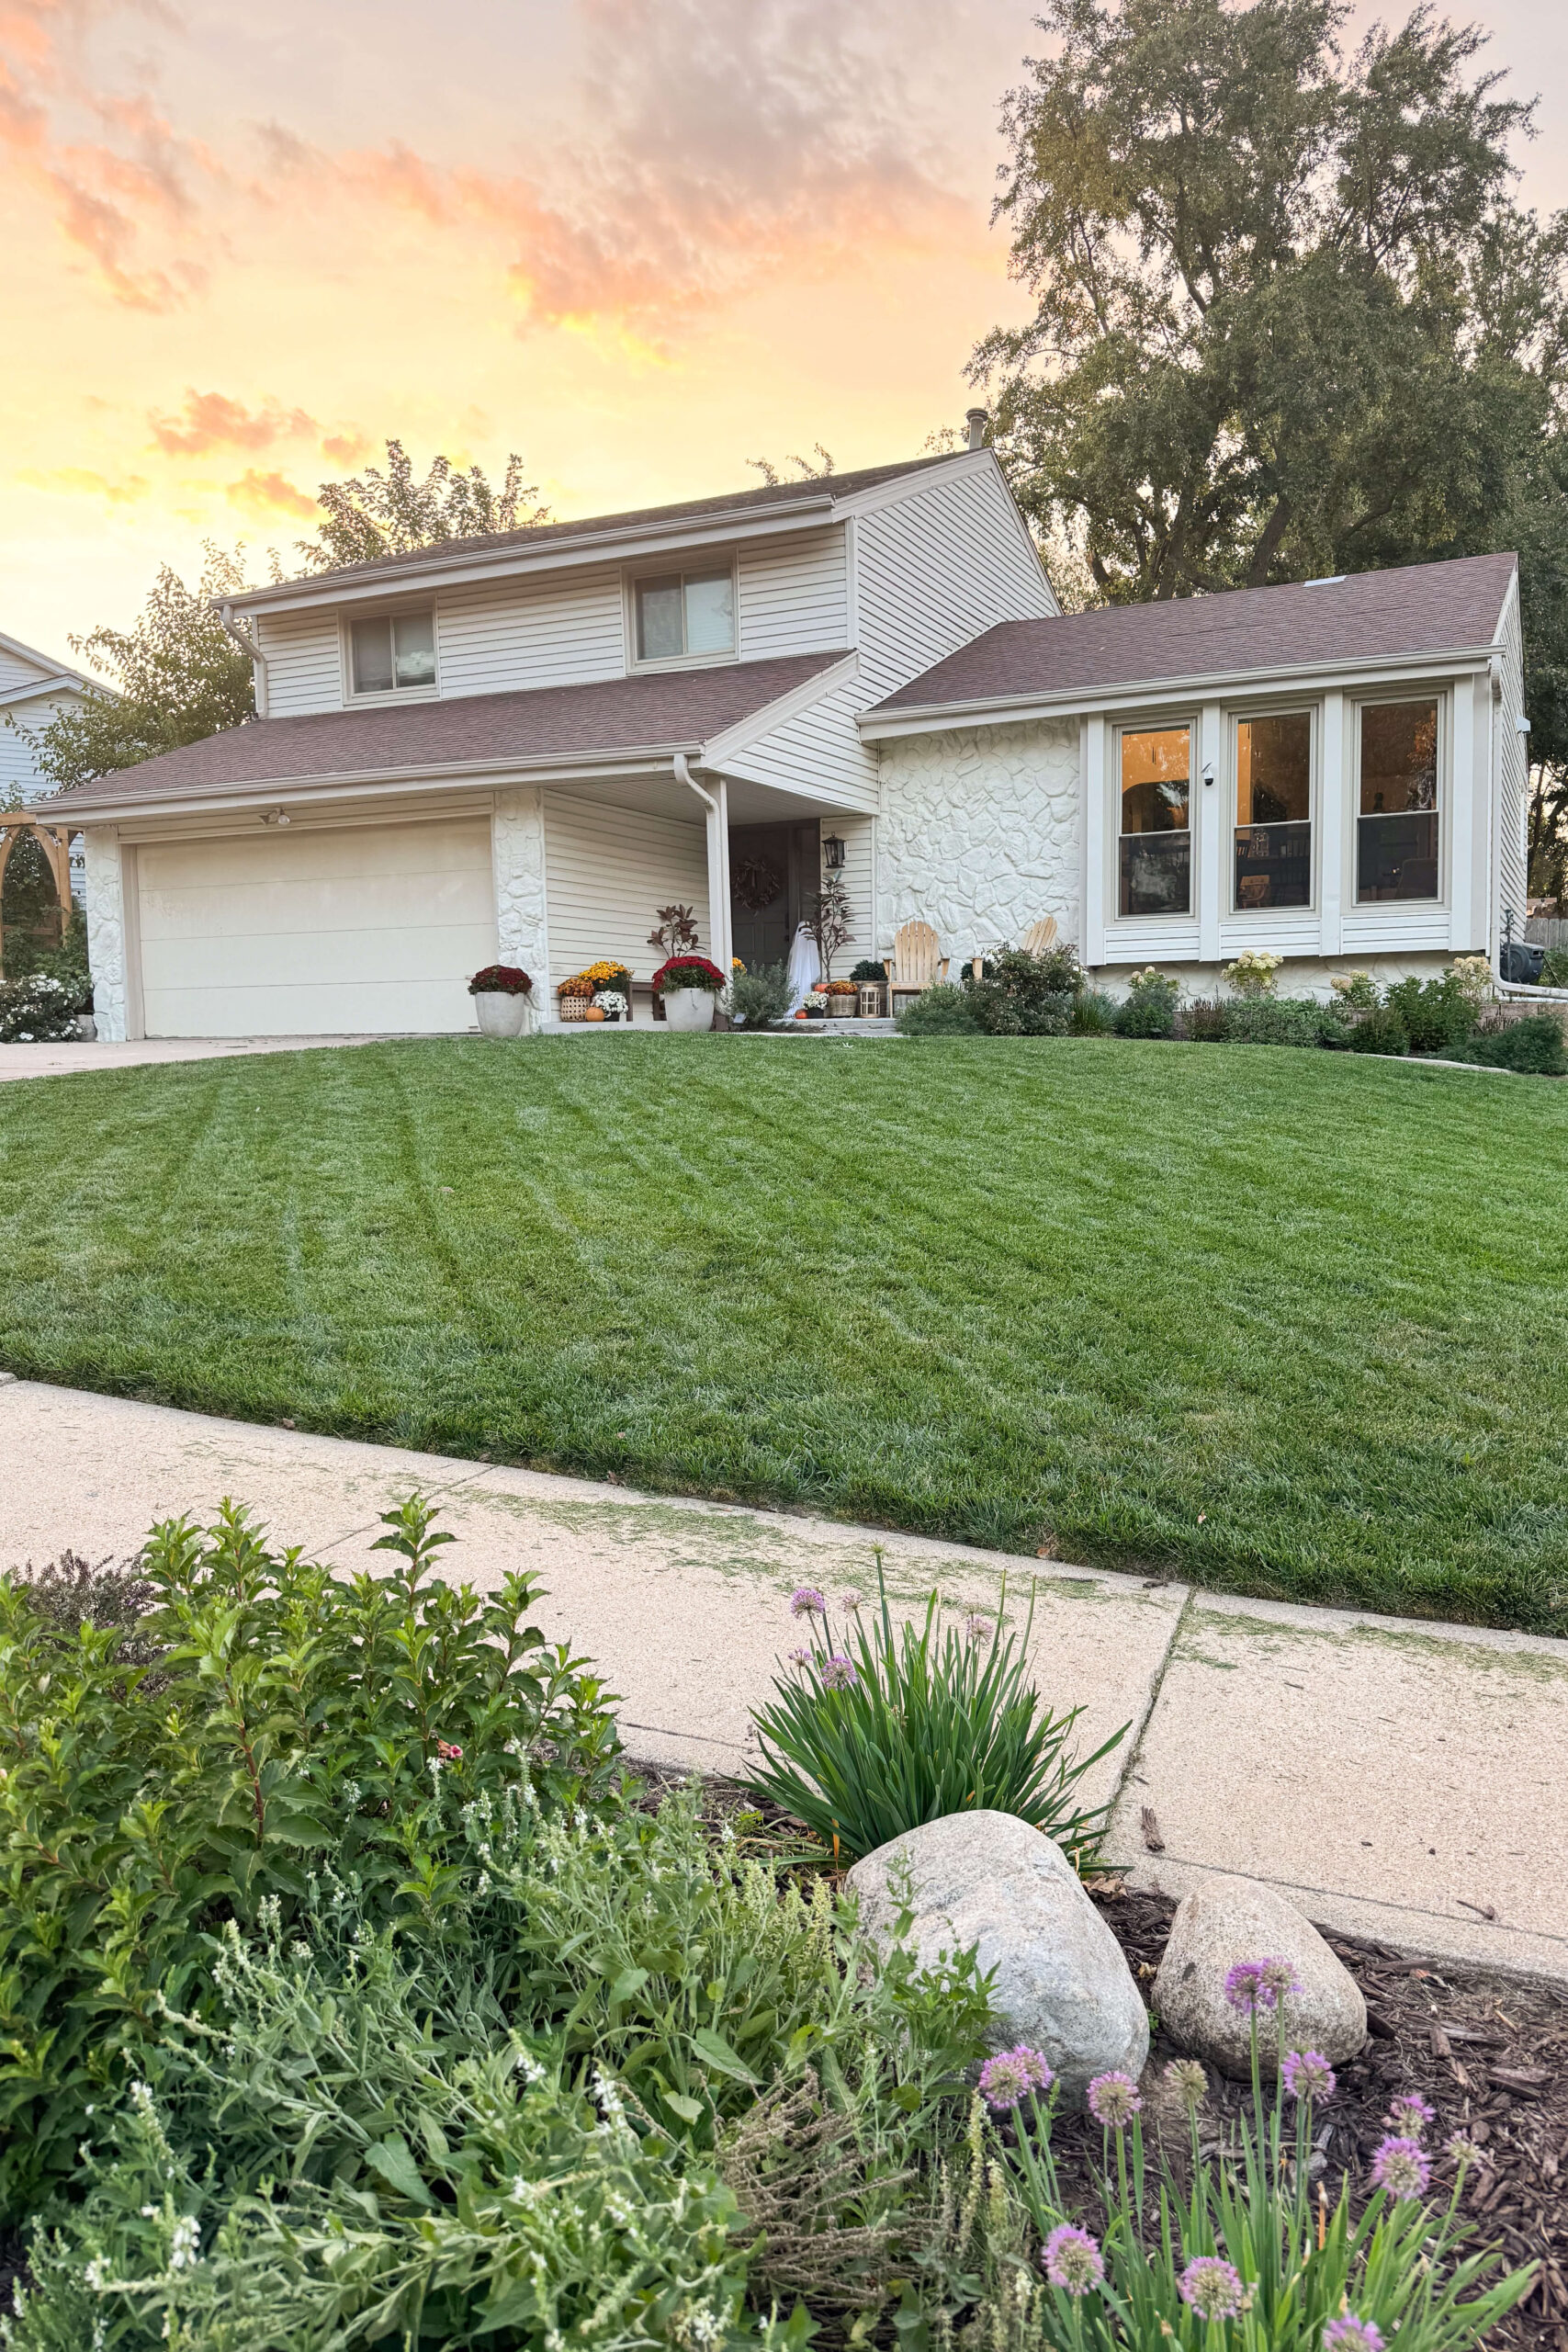
This spring and summer, I’ve been focused on boosting our home’s curb appeal. I’ve installed sod, added fresh landscaping, and even built cement curbing—just a few of the many projects I’ve tackled. But that old exterior rock siding? It stood out like a sore thumb, and I couldn’t wait to finally change it.
Here are some ‘before’ photos to show you what I was up against. It’s that typical 1970s rock—if you’ve seen it on houses or fireplace surrounds, you know exactly what I mean. It was everywhere back then!
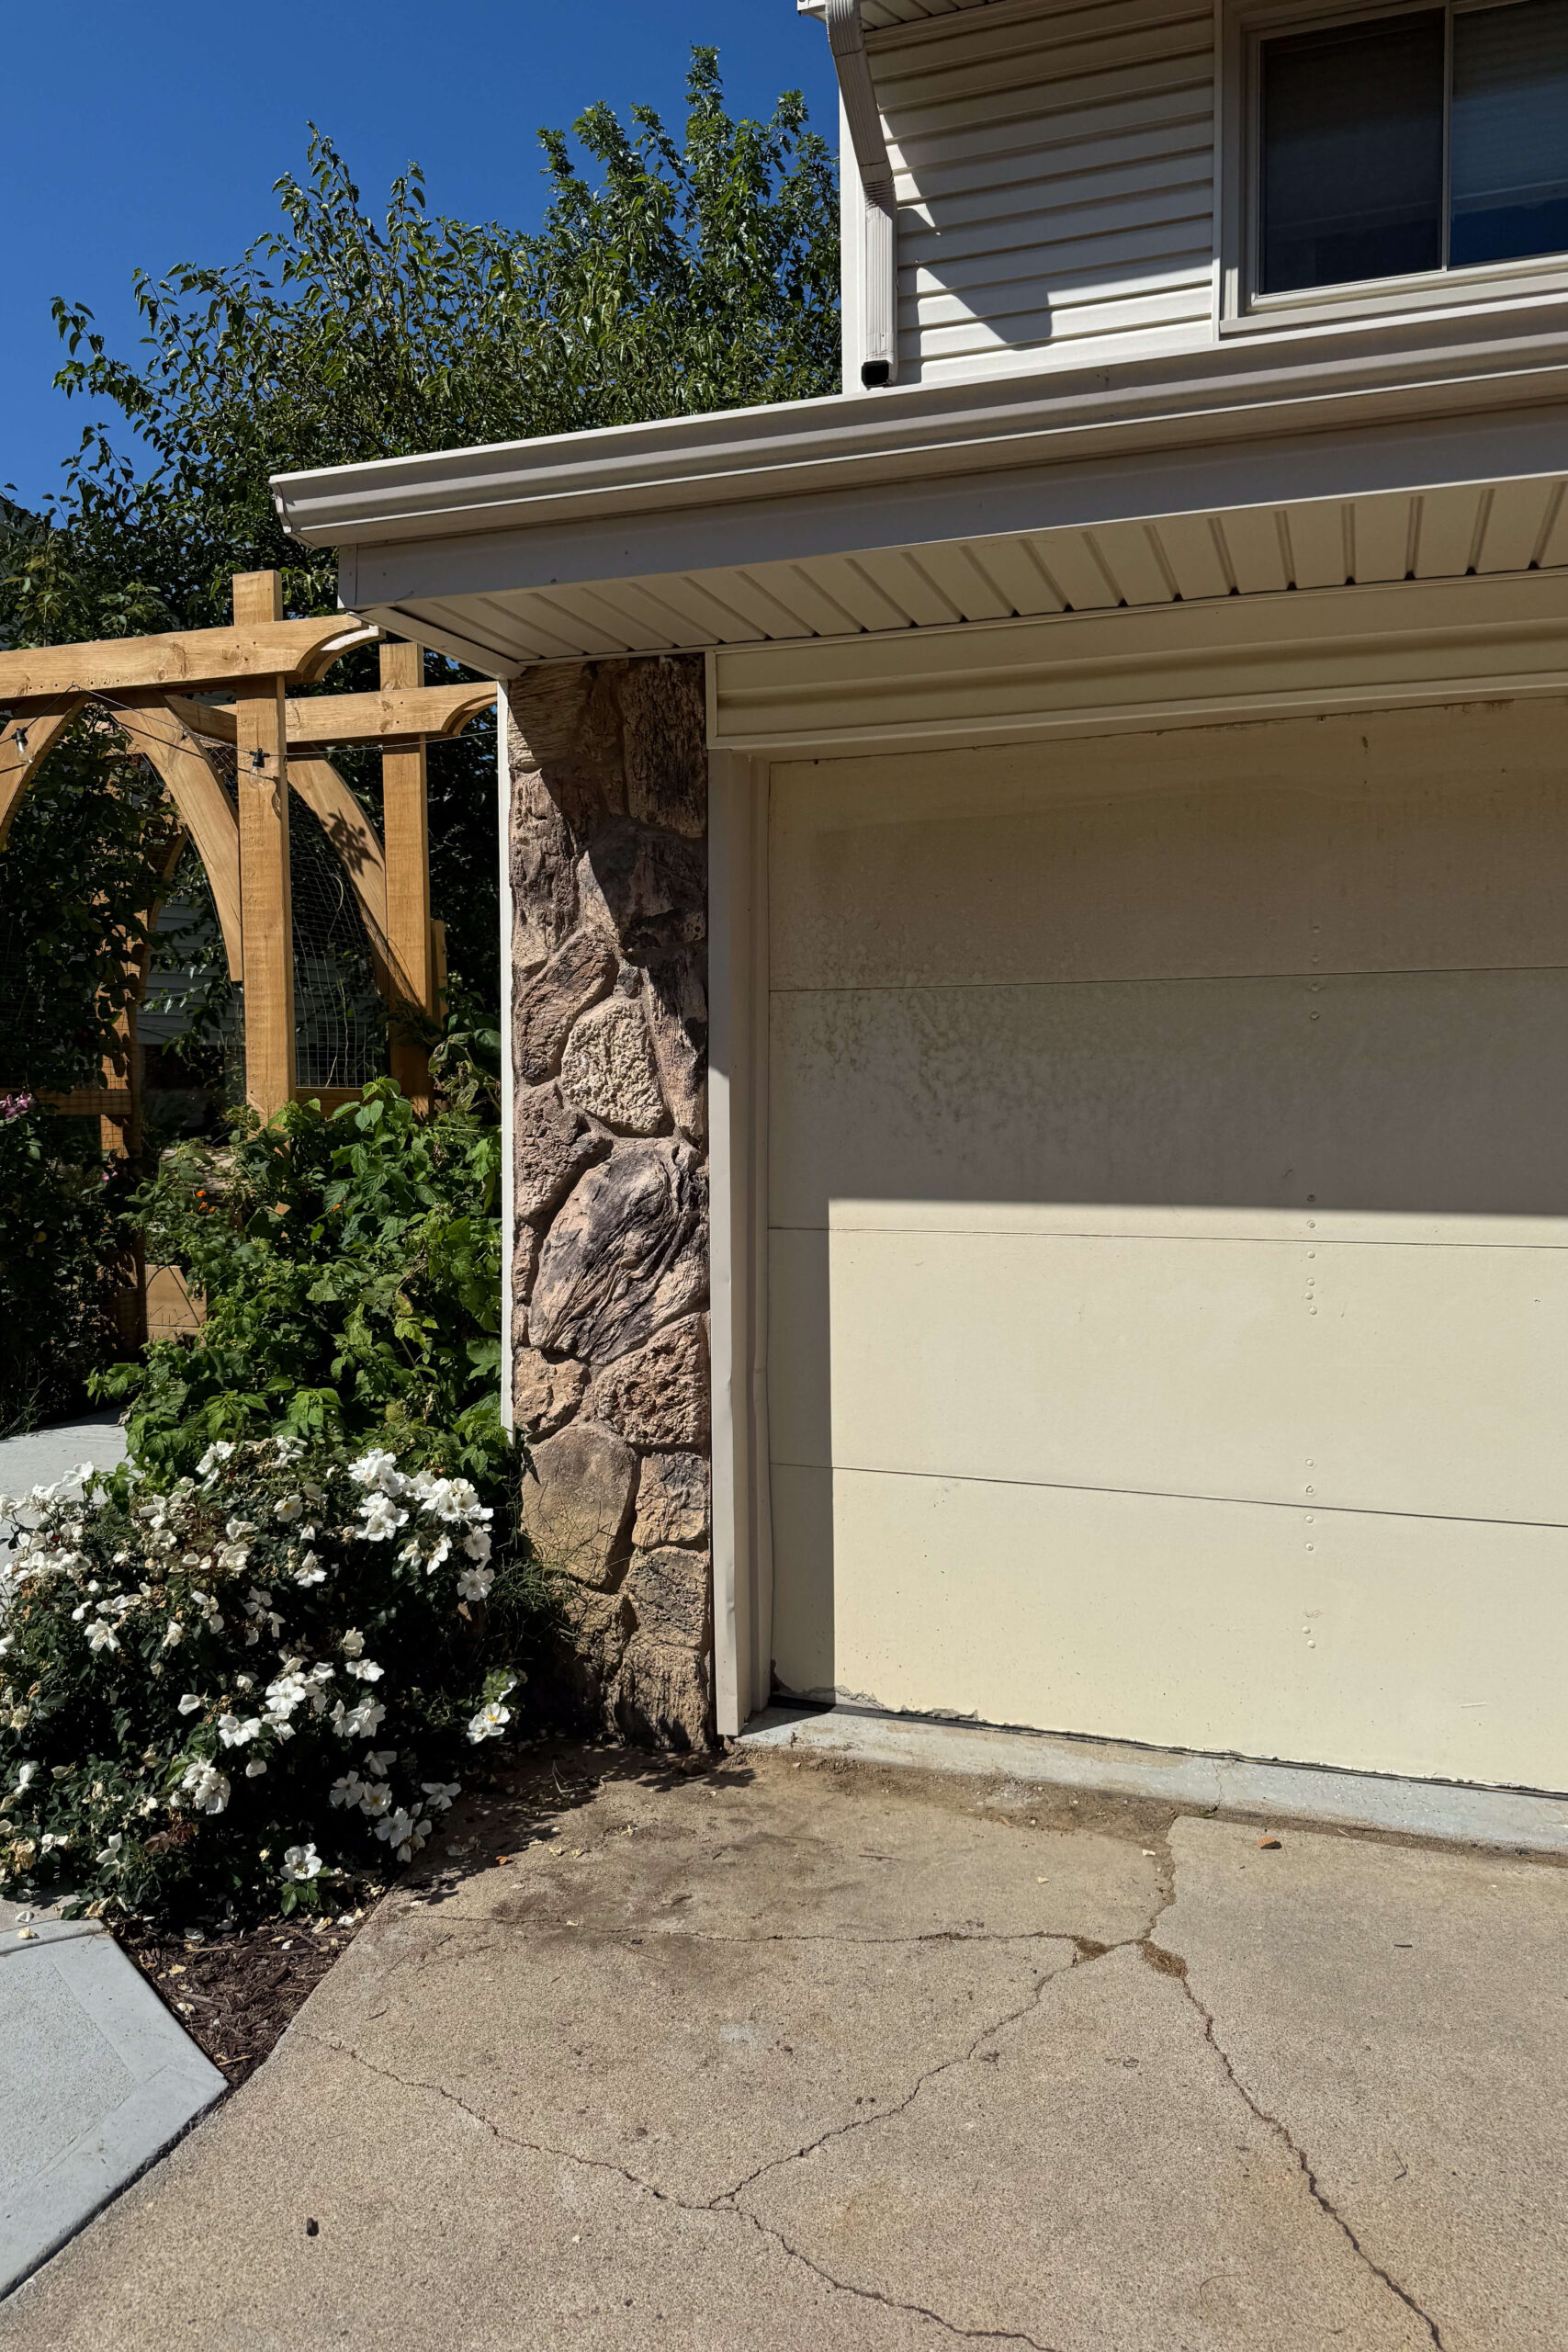
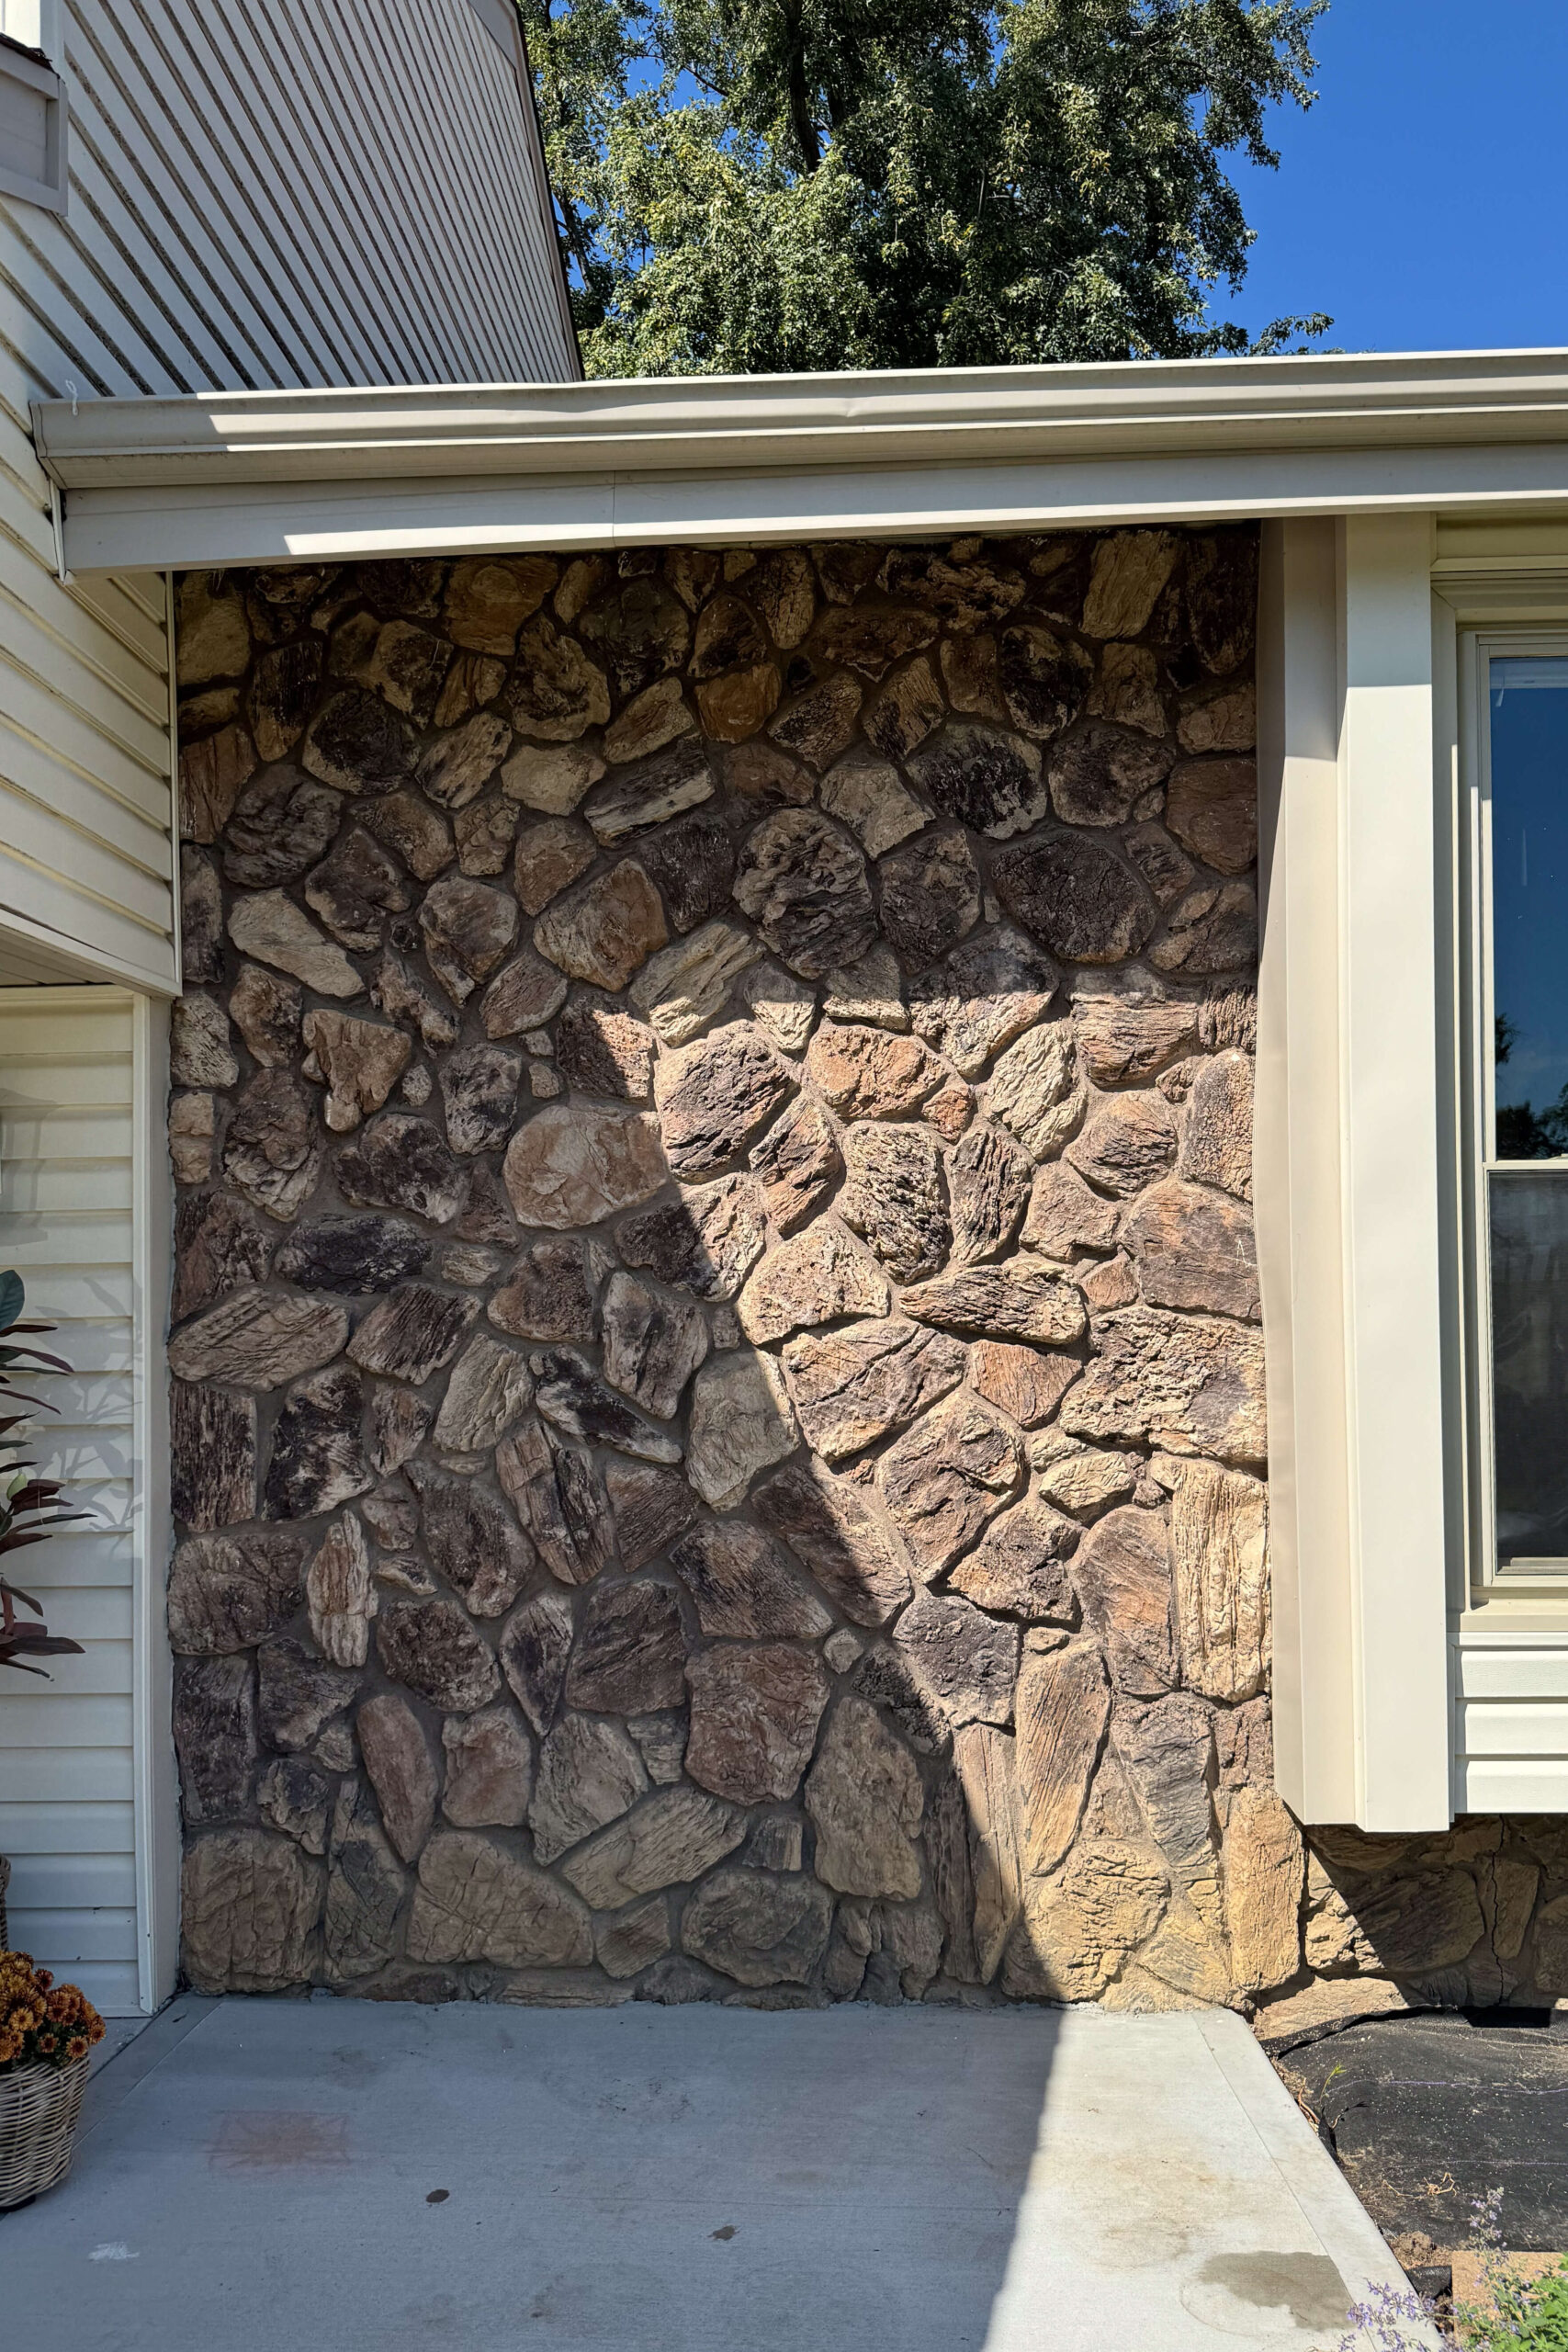
A lot of people suggested just painting the exterior rock siding, but the color wasn’t the only problem. The heavy texture and deep grooves made it look so outdated. I wanted to give my exterior rock siding a true makeover, not just a quick paint job. Keep reading to see how I transformed it!
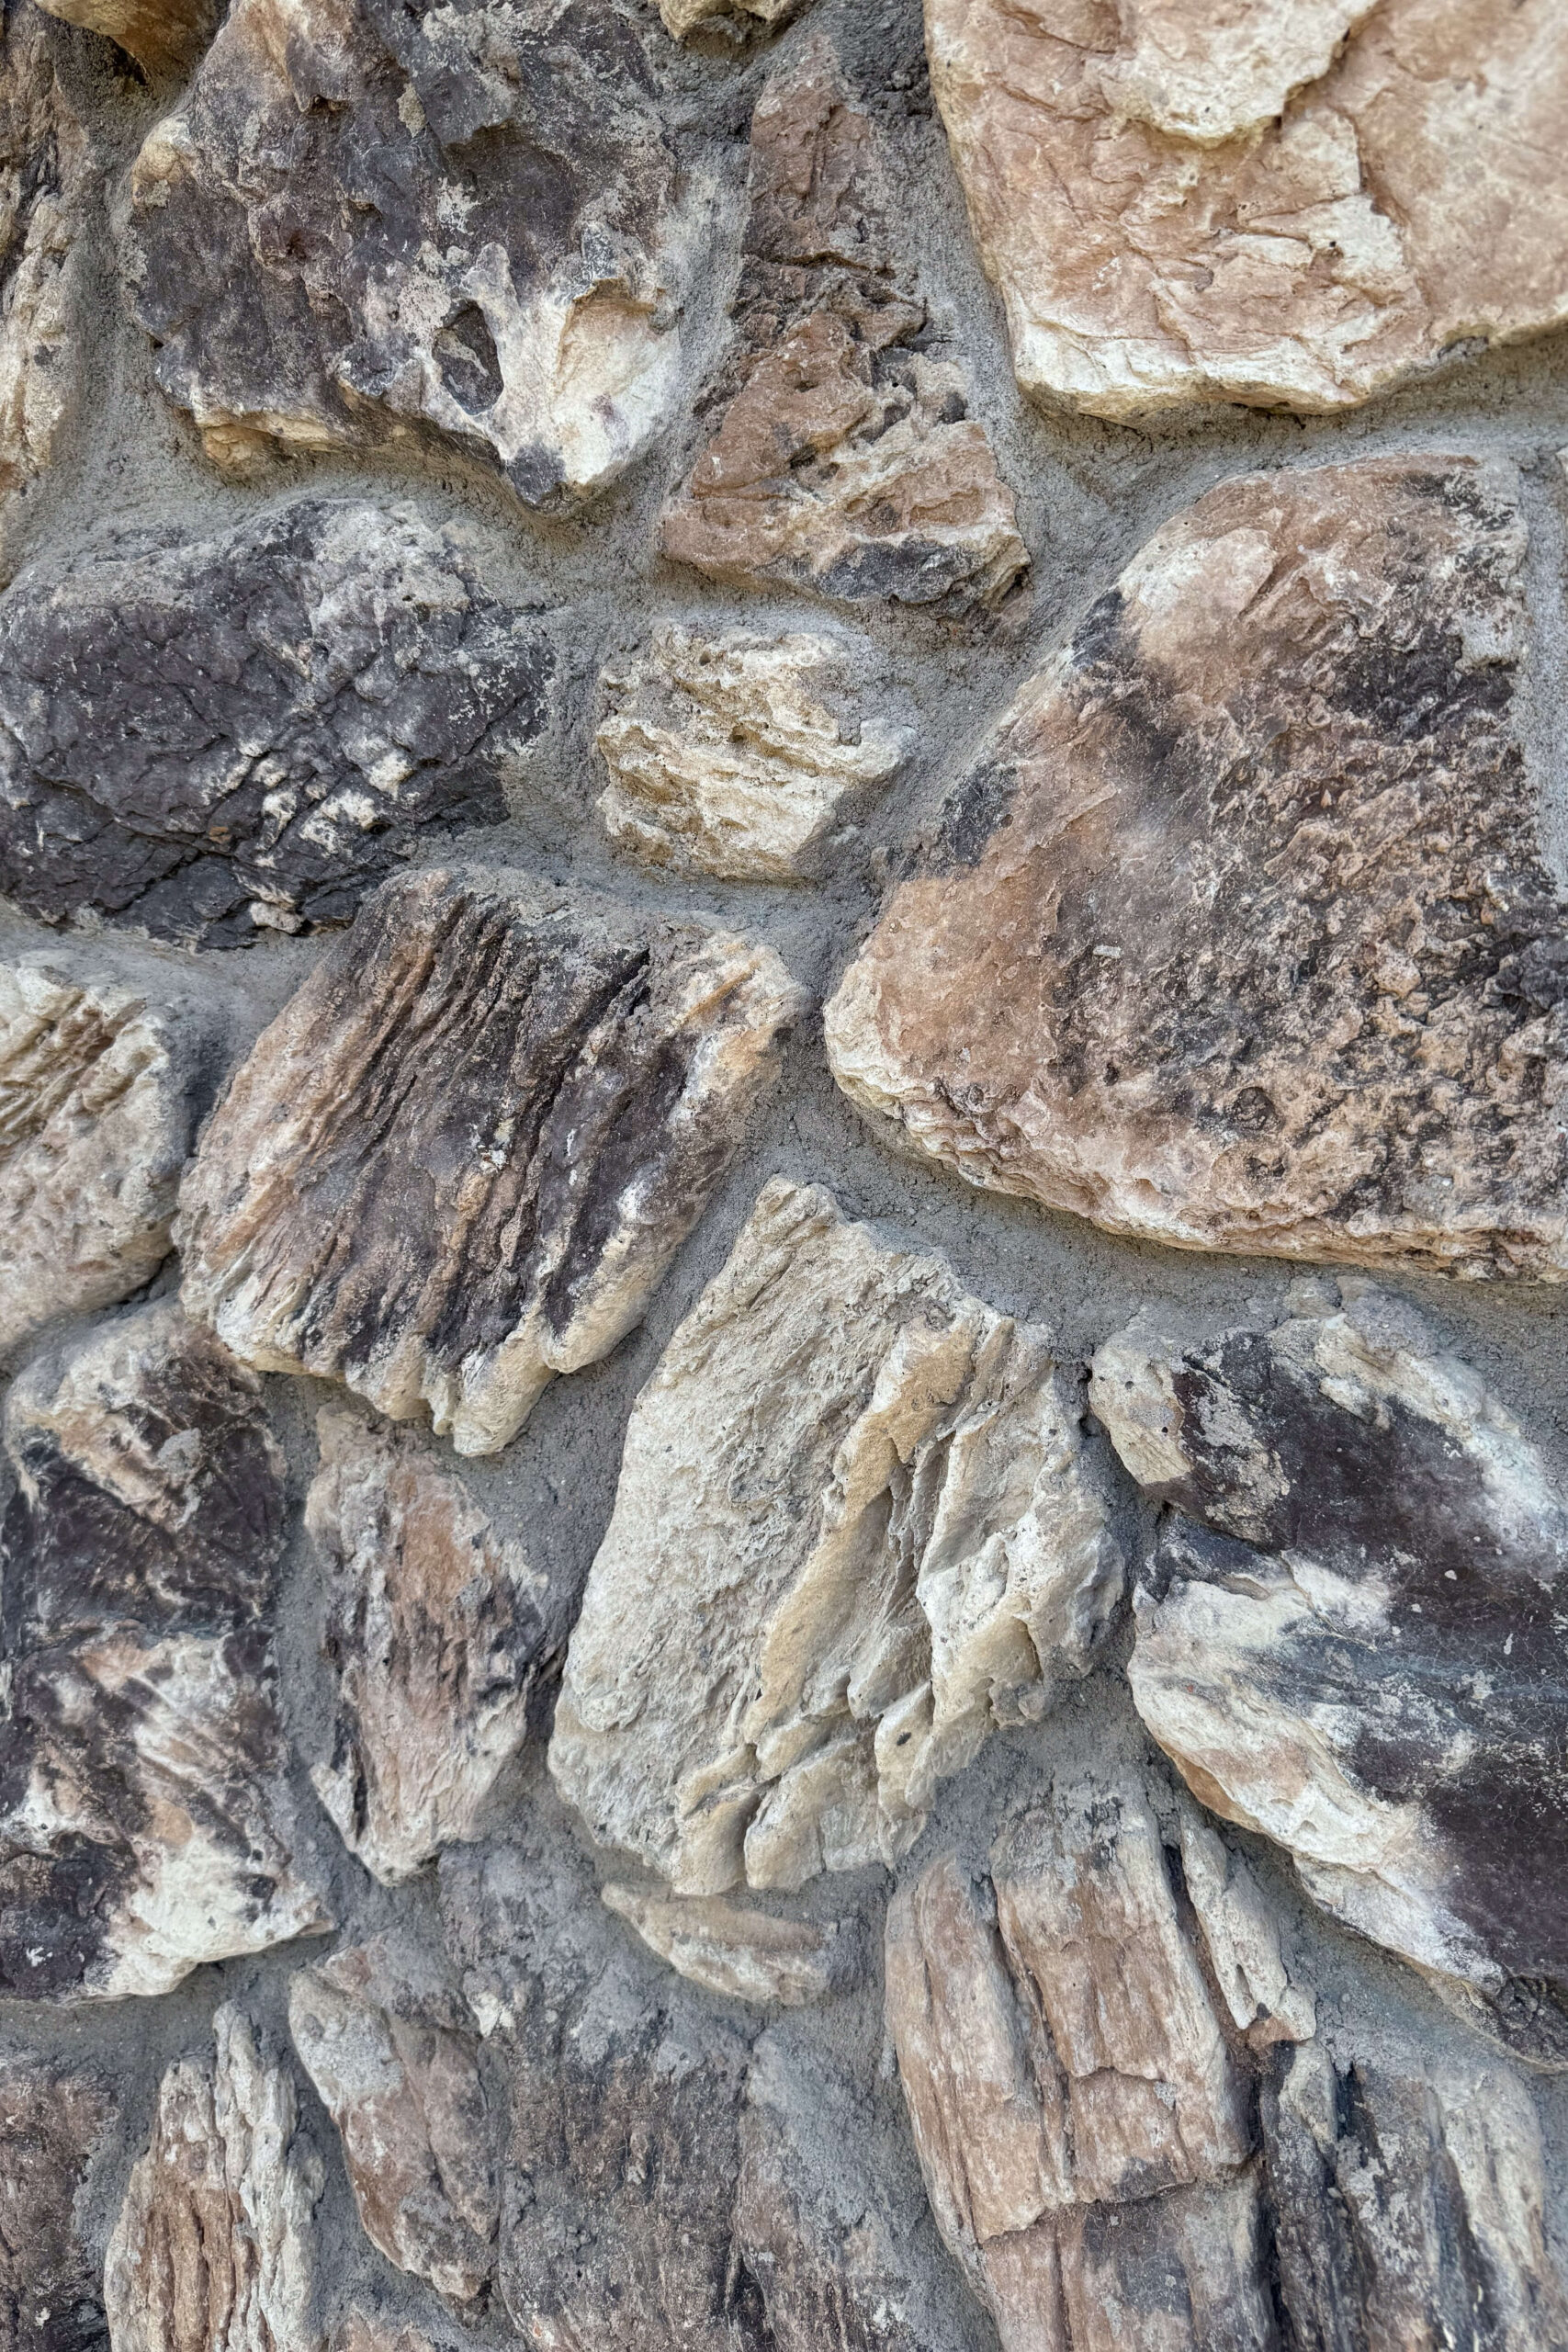
Table of Contents
Tools and Materials
- Mortar
- 5 gallon buckets
- Drill
- Paddle mixer attachment
- Gloves
- Mortar sponges
- Paint
- Paint sprayer
- Painter’s tape
- Pre-taped plastic
How to Mix Mortar
Mixing mortar is similar to mixing concrete. I like to cut a slit across the bag with my utility knife, flip the bag over, and pour a little into the bucket. It’s best to mix small batches at a time since mortar starts to set up quickly.


Add water to the dry mortar gradually—you can always add more, but you can’t take it out! Use a drill with a paddle attachment to mix it, and keep adding water until you get a toothpaste-like consistency. The mortar should hold its shape when you lift the paddle but still be thin enough to spread easily.


Applying Mortar to Exterior Rock Siding
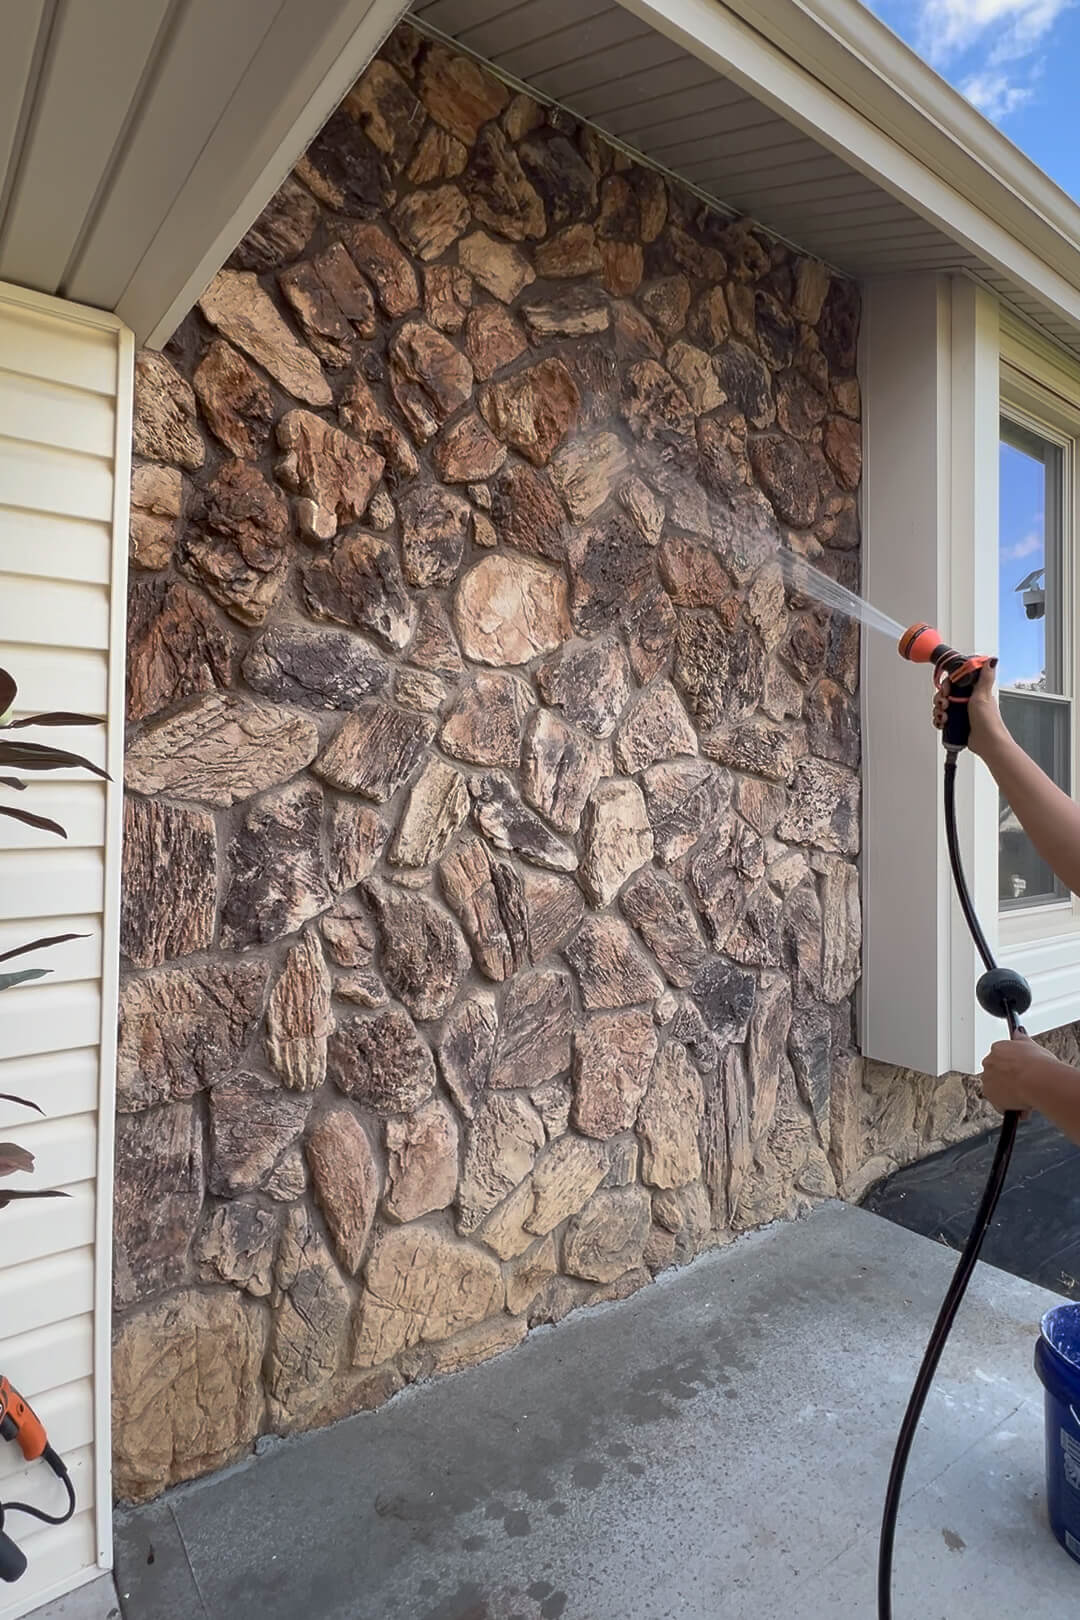
First, spray down the exterior rock siding with water to dampen the stones. I used a hose since I was working outside, but if you’re working on an interior wall or fireplace, a spray bottle will work just fine.
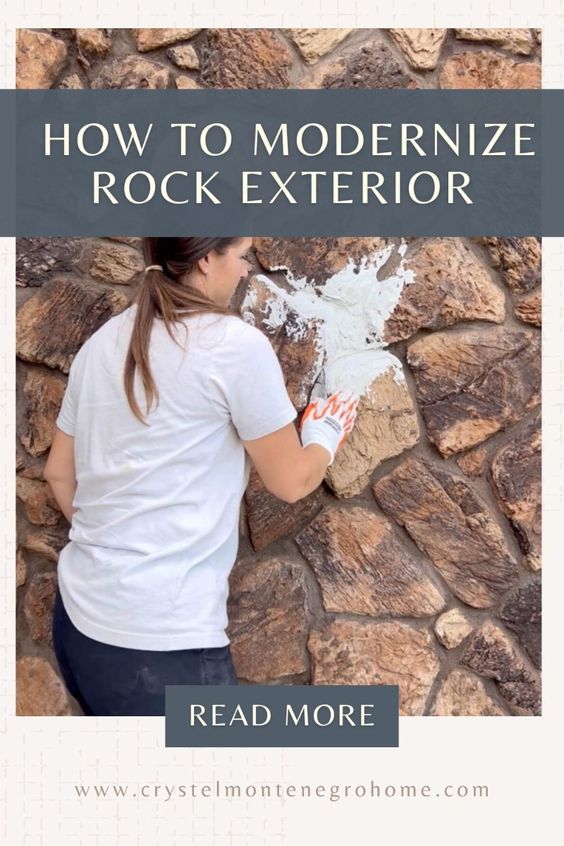
Put on gloves, grab a handful of mortar, and start spreading. My goal was to keep some of the stone’s texture but fill in the deep gaps between the rocks and smooth out the rough 1970s lava rock appearance.


One handful at a time, work your way across the exterior rock siding—spreading the mortar, shaping it, and filling in areas as needed. If you see areas you missed or don’t like, just add more mortar and smooth it out until you’re happy with it.

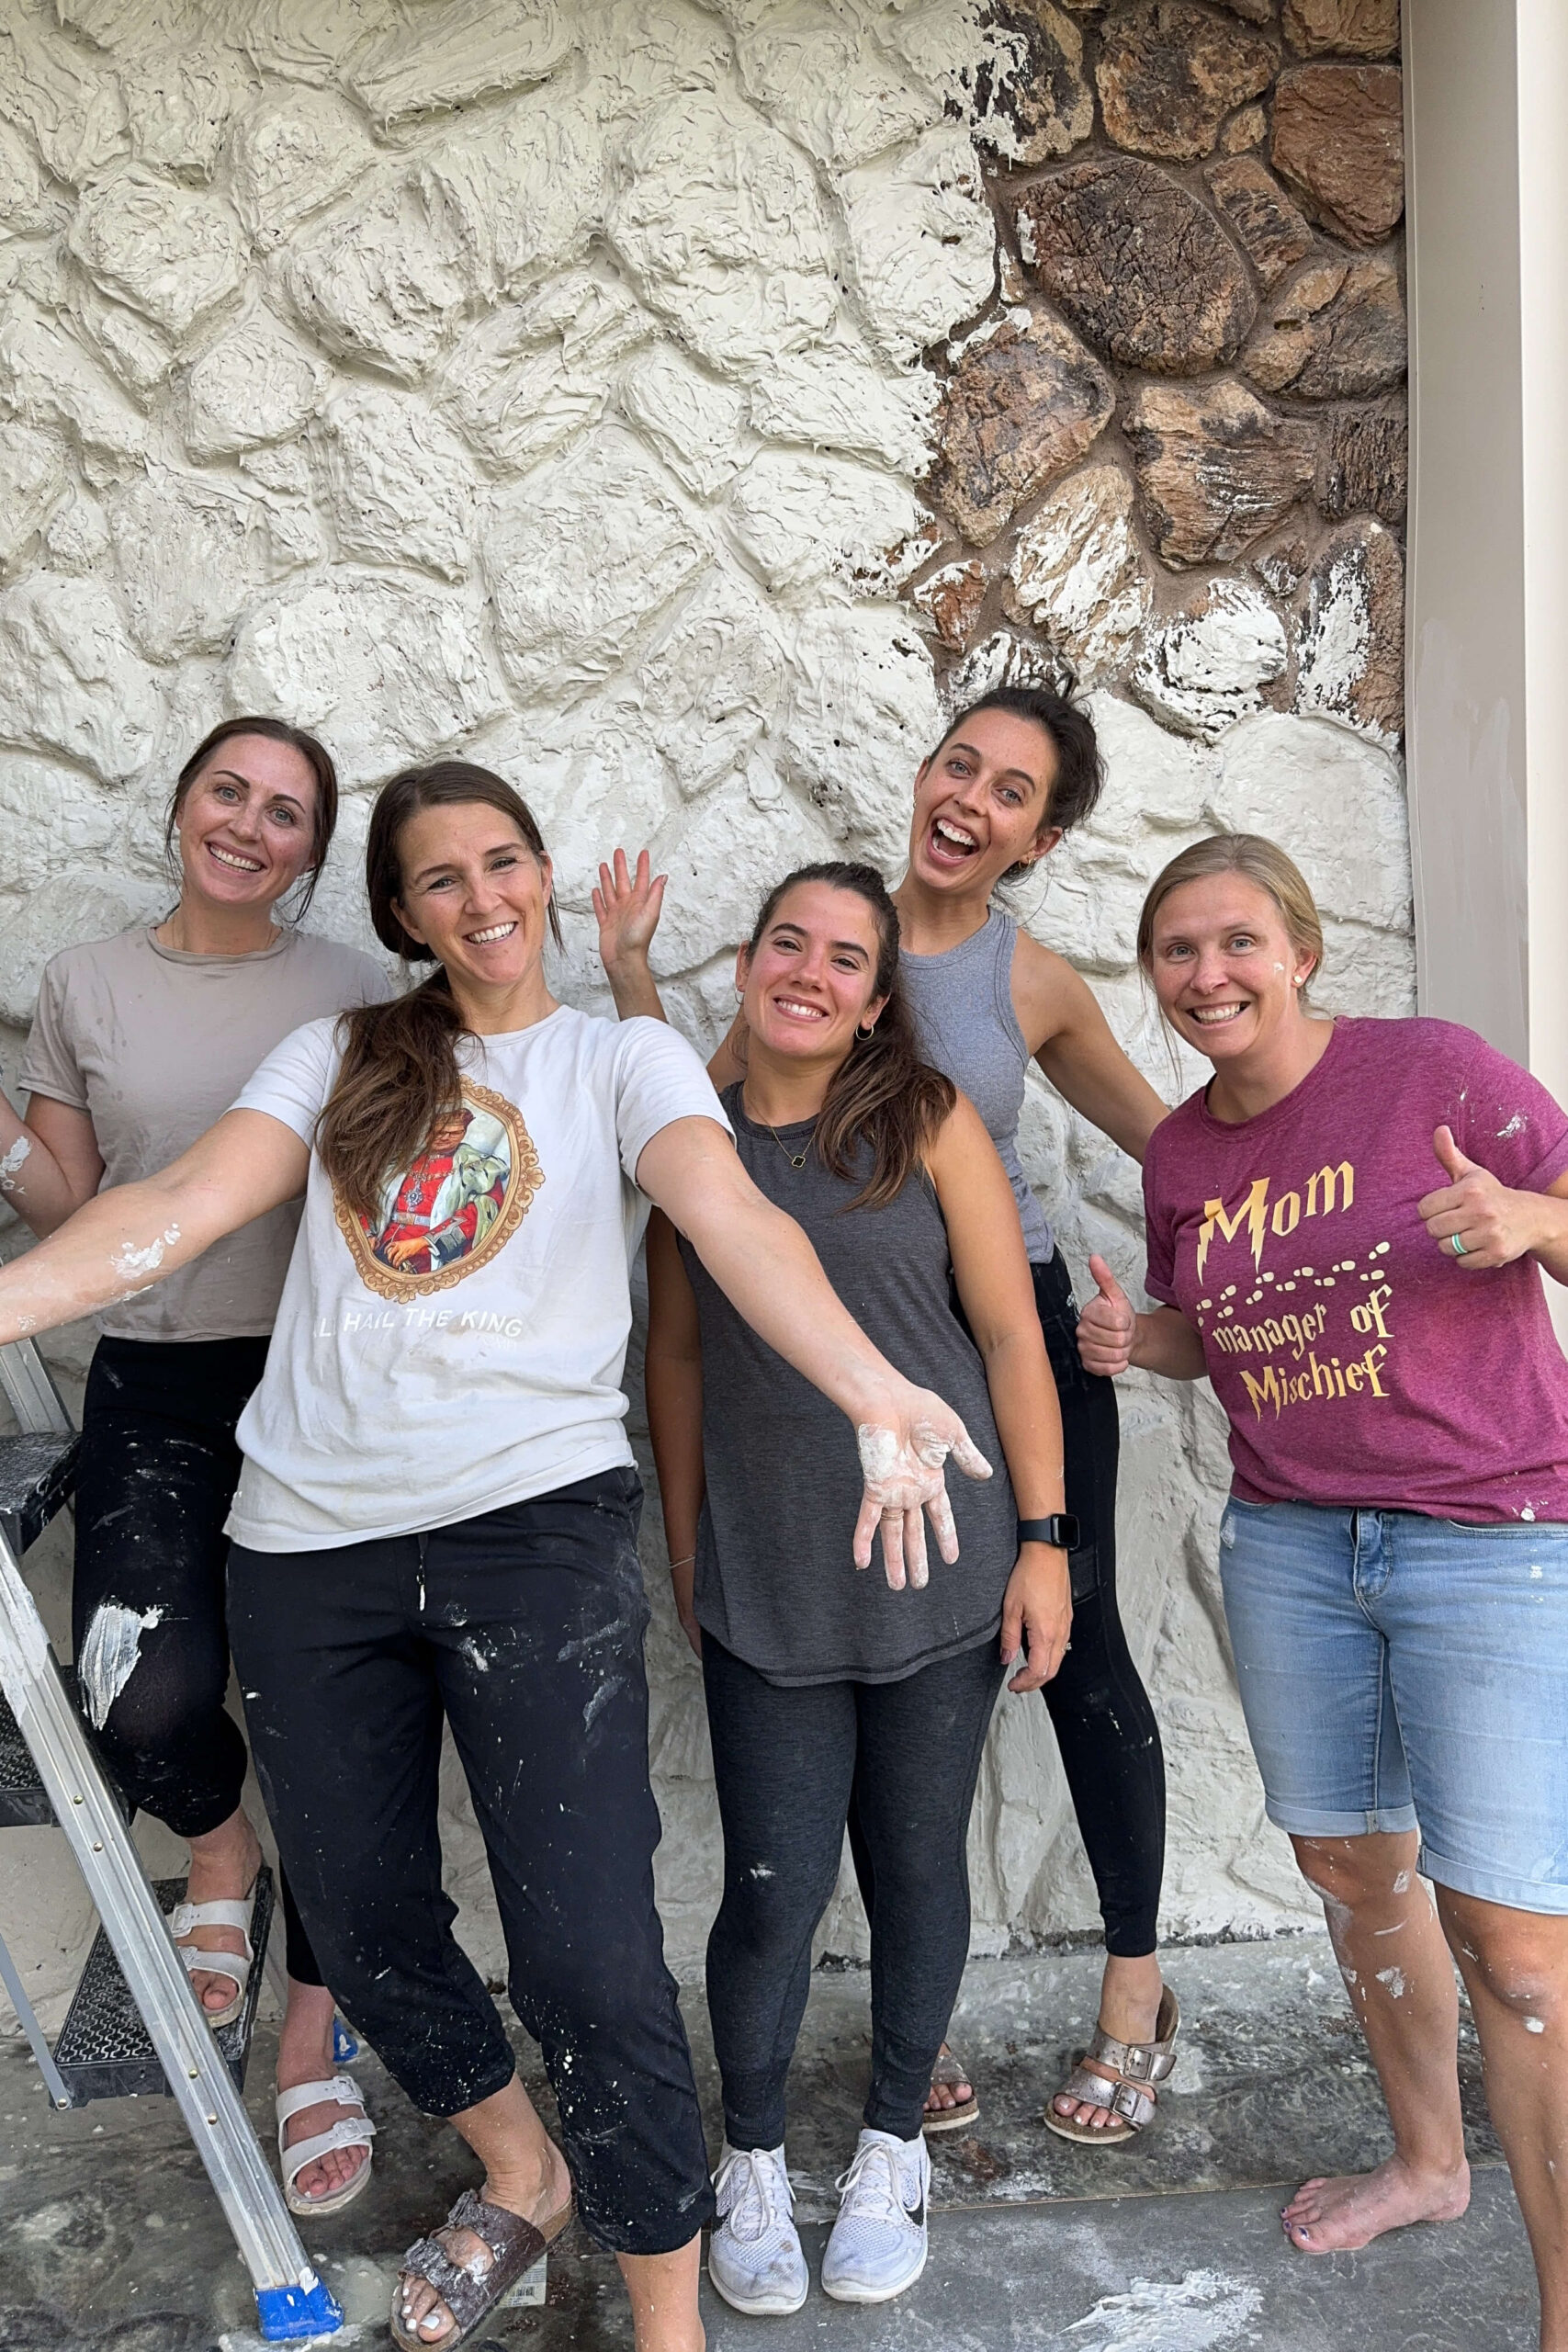
I had large sections of exterior rock siding around the patio, dining room windows, and both sides of the garage. Since it was such a big project, I called in some reinforcements, and I’m so thankful a group of friends came over to help for the day. Many hands really do make light work! This is a fun project to tackle with a group.
Smoothing the Extgerior Rock Siding With a Sponge
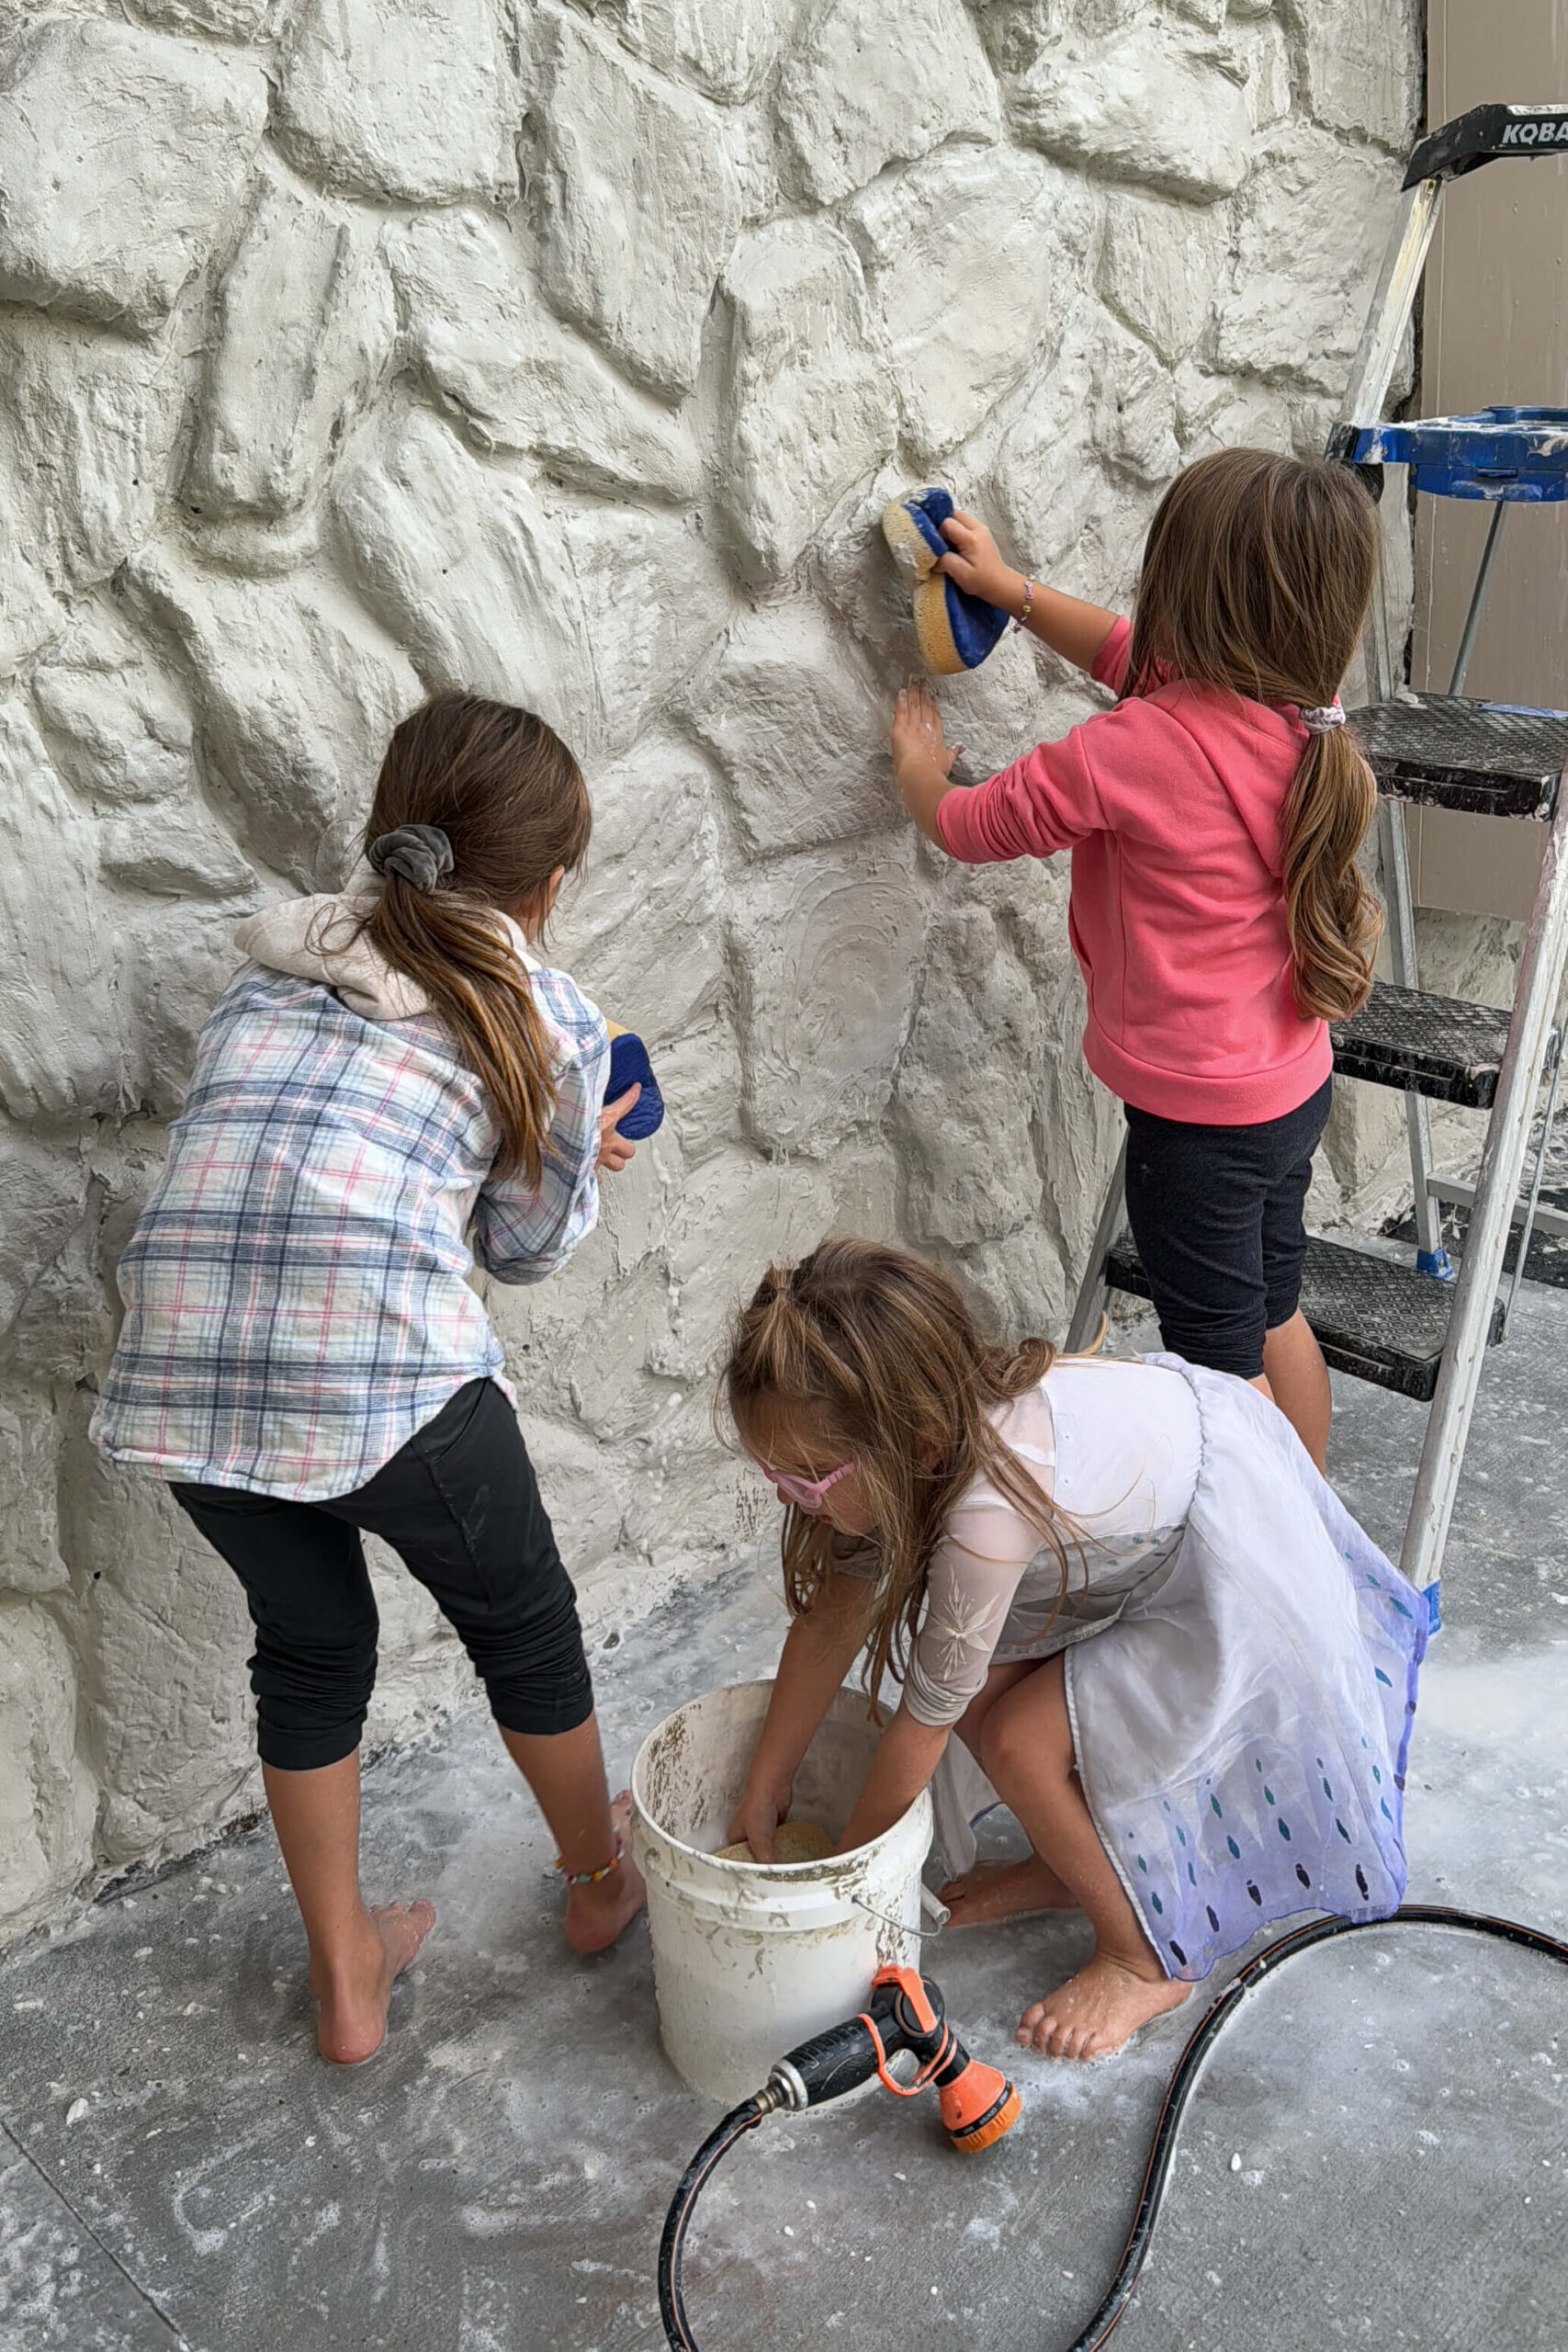
When you first apply the mortar, it may look a bit rough or have finger marks—that’s totally normal. Wait about 15 minutes for it to start setting up, then use a wet mortar sponge to smooth it out. You can smooth and work the mortar on the exterior rock siding as much or as little as you want with the sponge.


The girls loved helping with this part!
This project can get pretty messy! If any mortar drops, clean it up quickly before it hardens. A pressure washer is super helpful for cleanup.

Painting the Stone
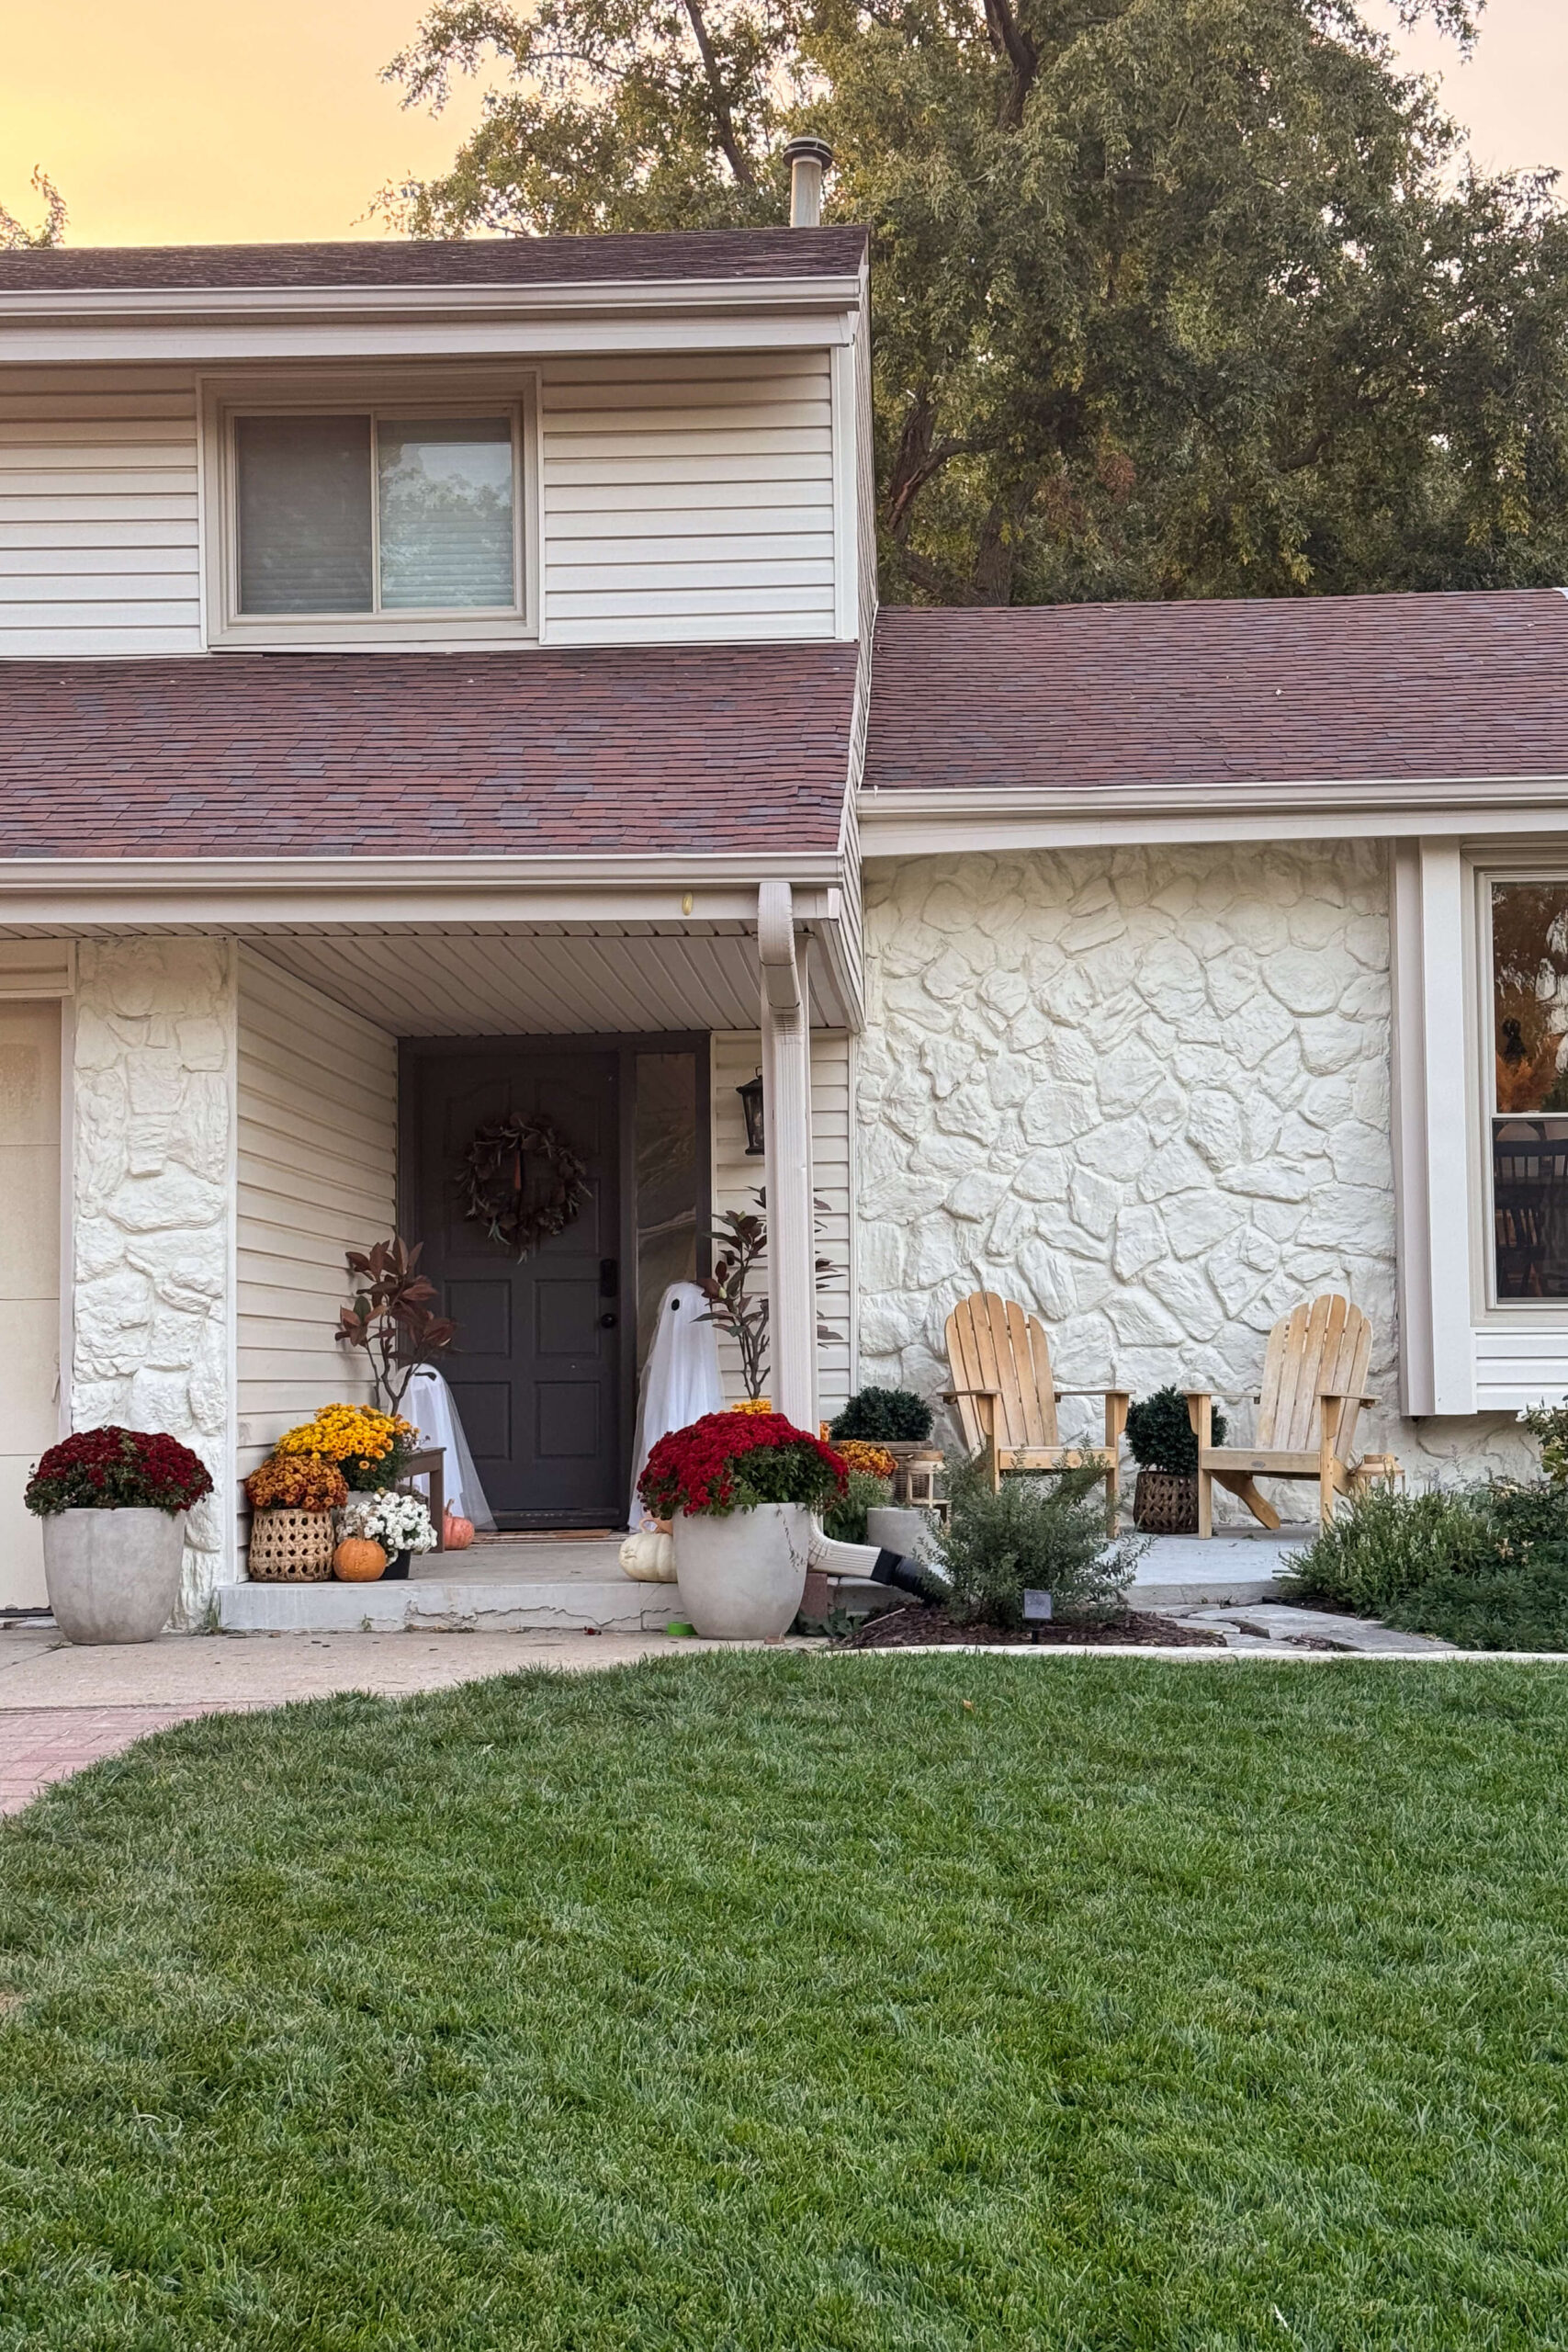
I chose white mortar for this project, so the color of the exterior rock siding matched the rest of the house closely, but it still wasn’t quite right. I took a small piece of the siding to my local Sherwin-Williams and had them color-match it. They mixed it into their LOXON concrete and masonry primer/sealer for me.

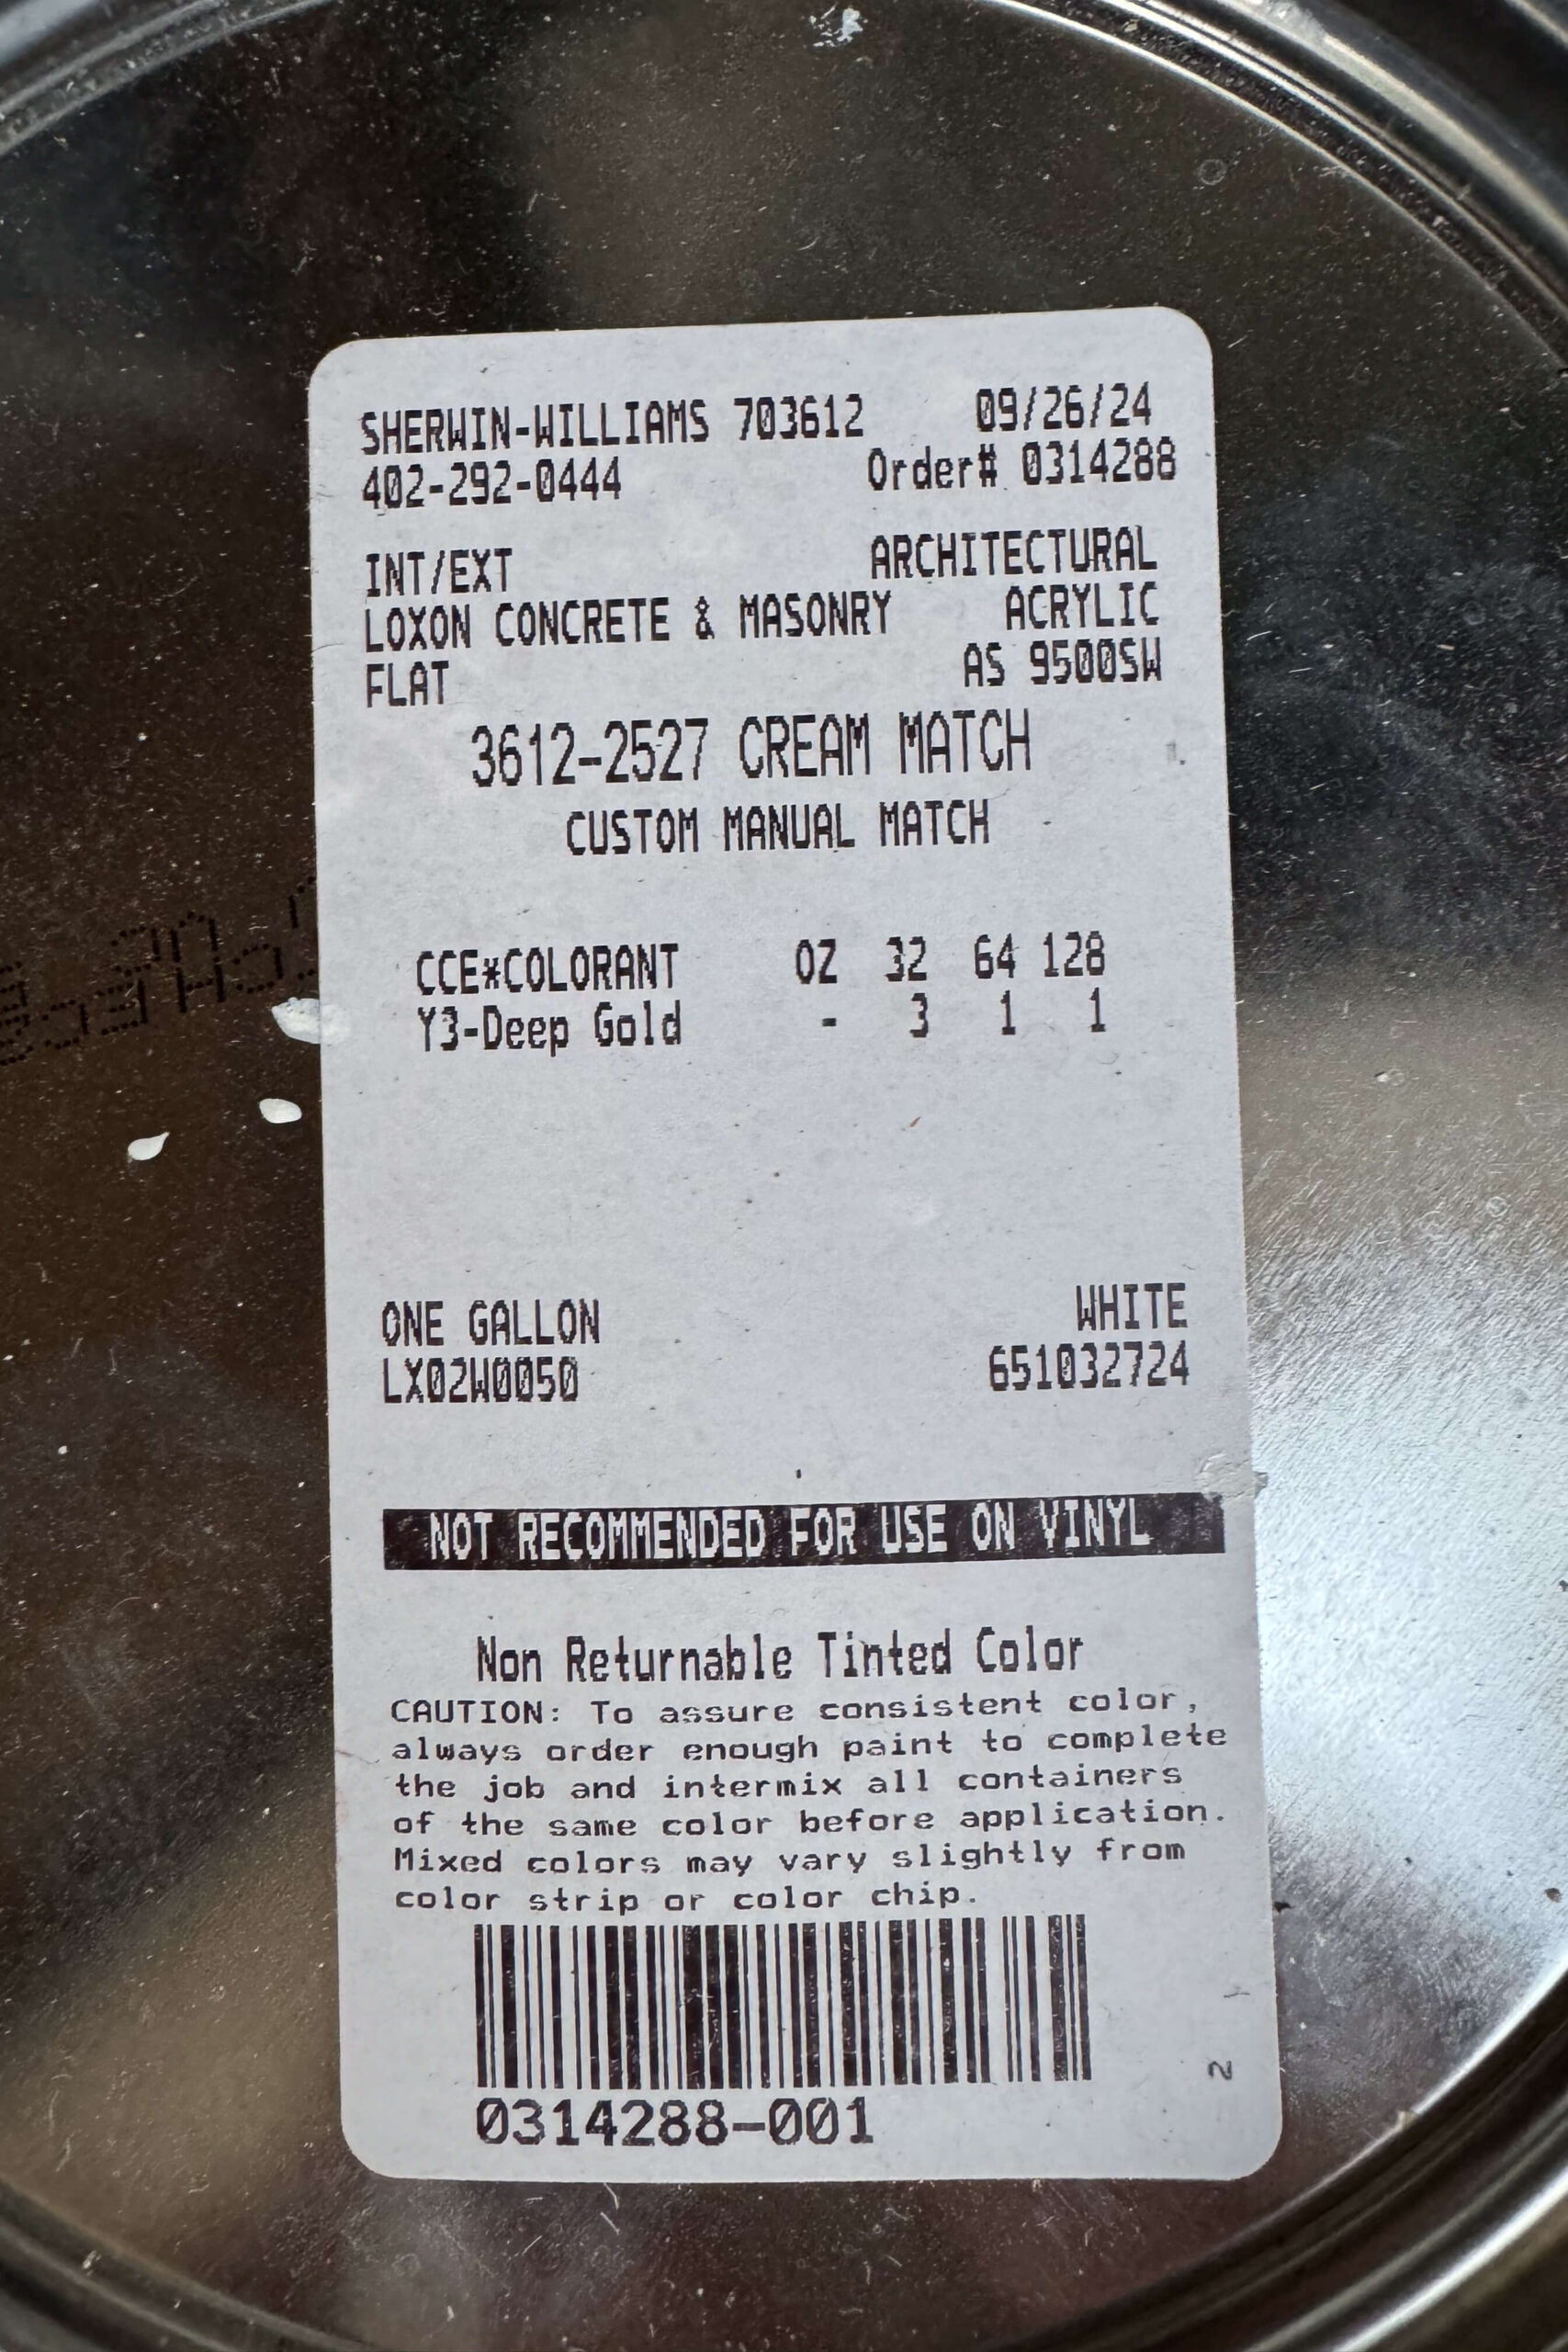
After masking off everything I wanted to protect from the paint, I went to town with my paint sprayer. That creamy off-white looked amazing! So much better than the stark white of the mortar.
Quick sidenote: This paint sprayer is awesome! It attaches to your drill, making it way more cost-effective than other sprayers, and it works like a charm! The first time I used it was while building my girls’ bunk beds, and I’ve loved it ever since!


Here’s a YouTube Video of The Entire Process!
And with that, my exterior rock siding project is done! It looks so good!
The before and after photos on this project are so satisfying. I can’t believe what a big difference some mortar, paint, and an afternoon with friends can make.

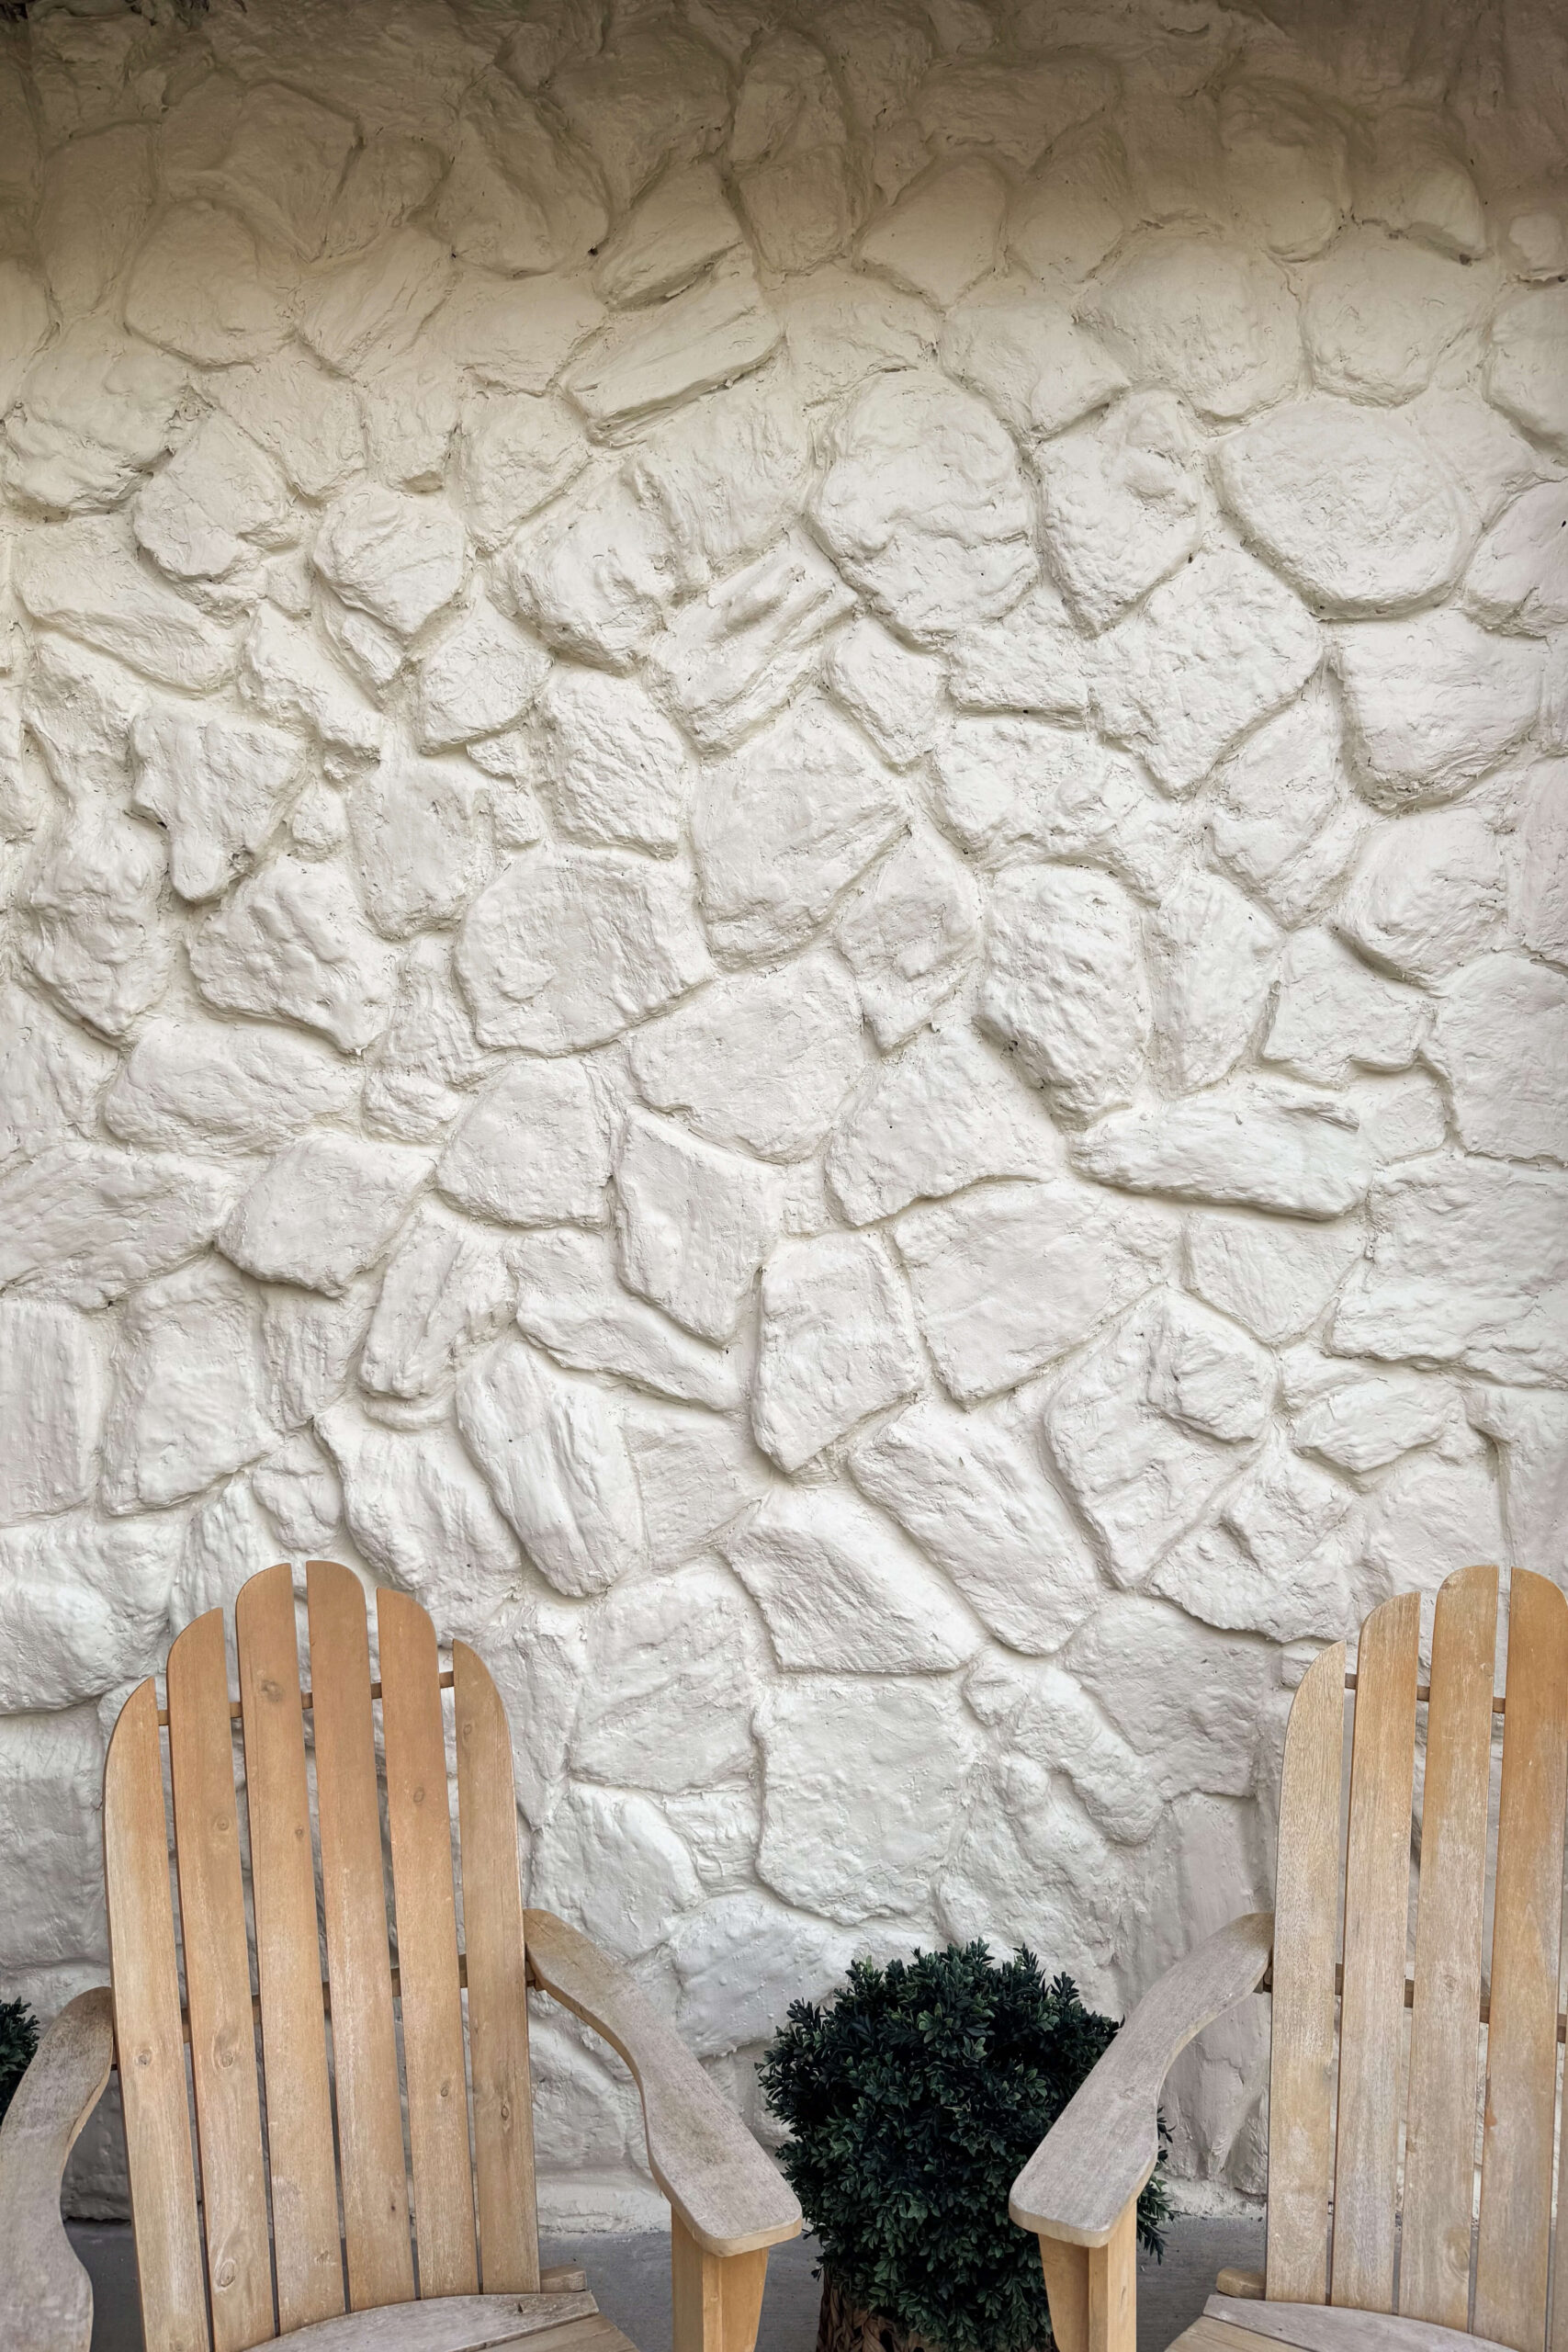
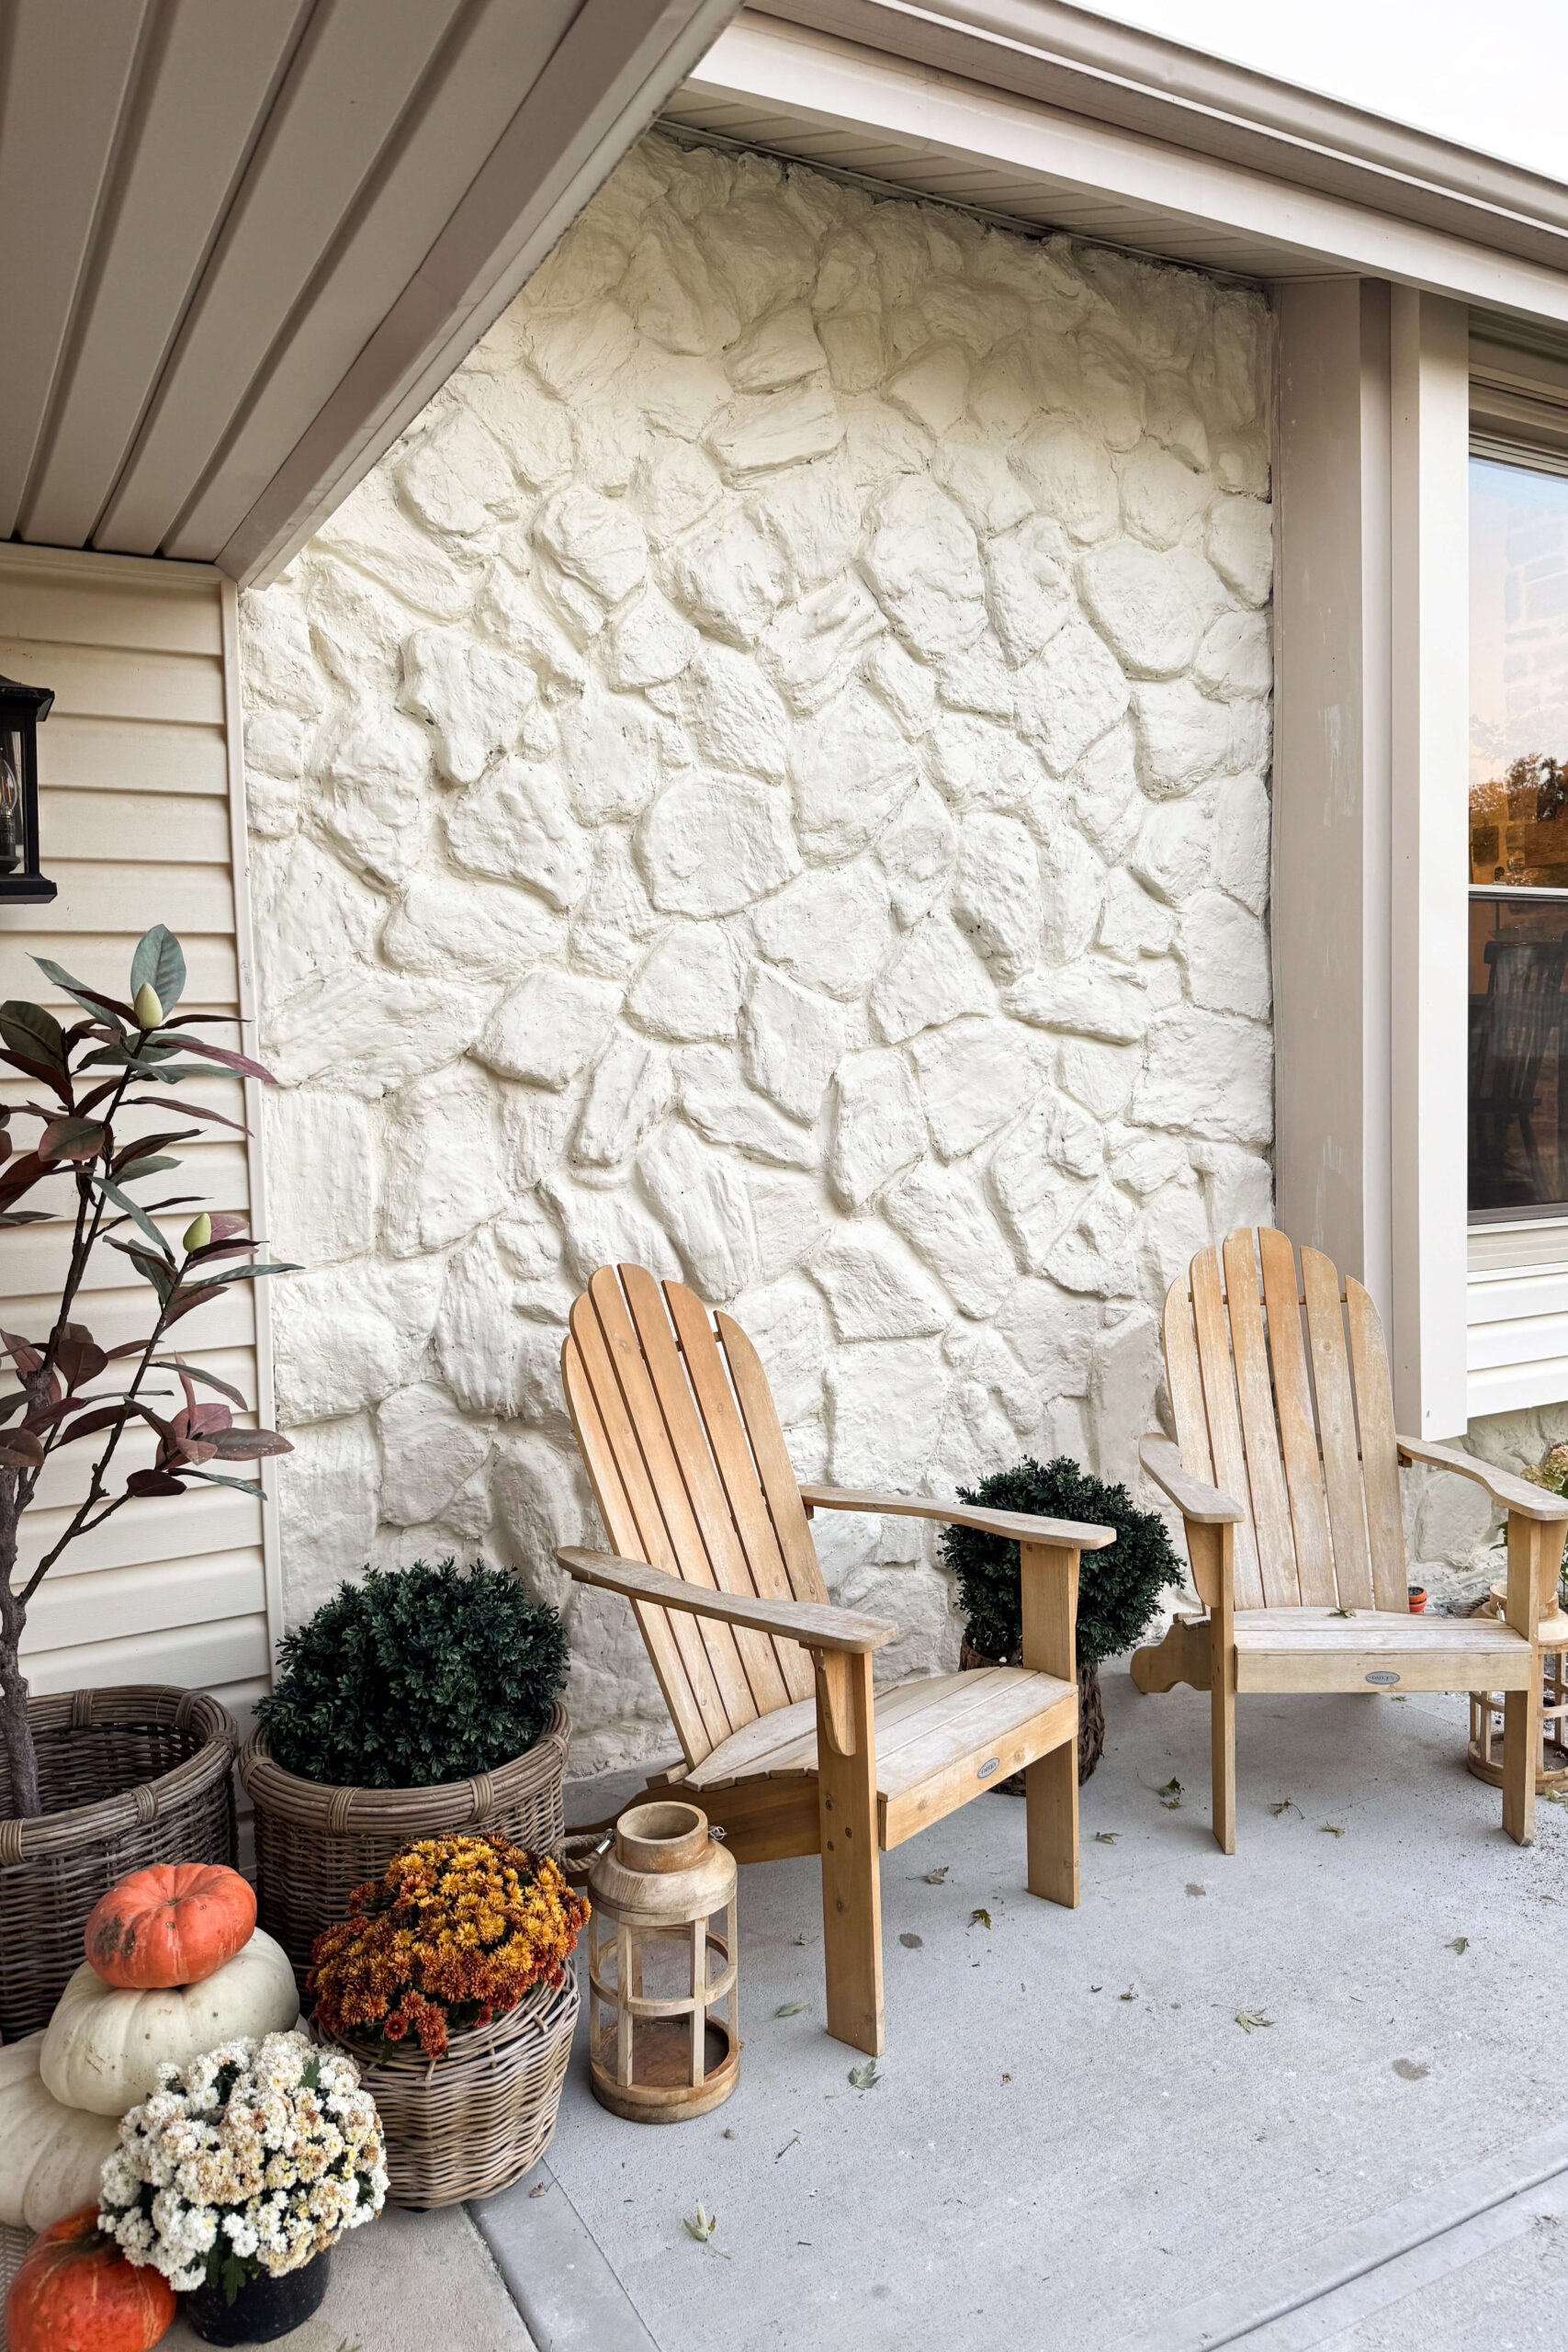
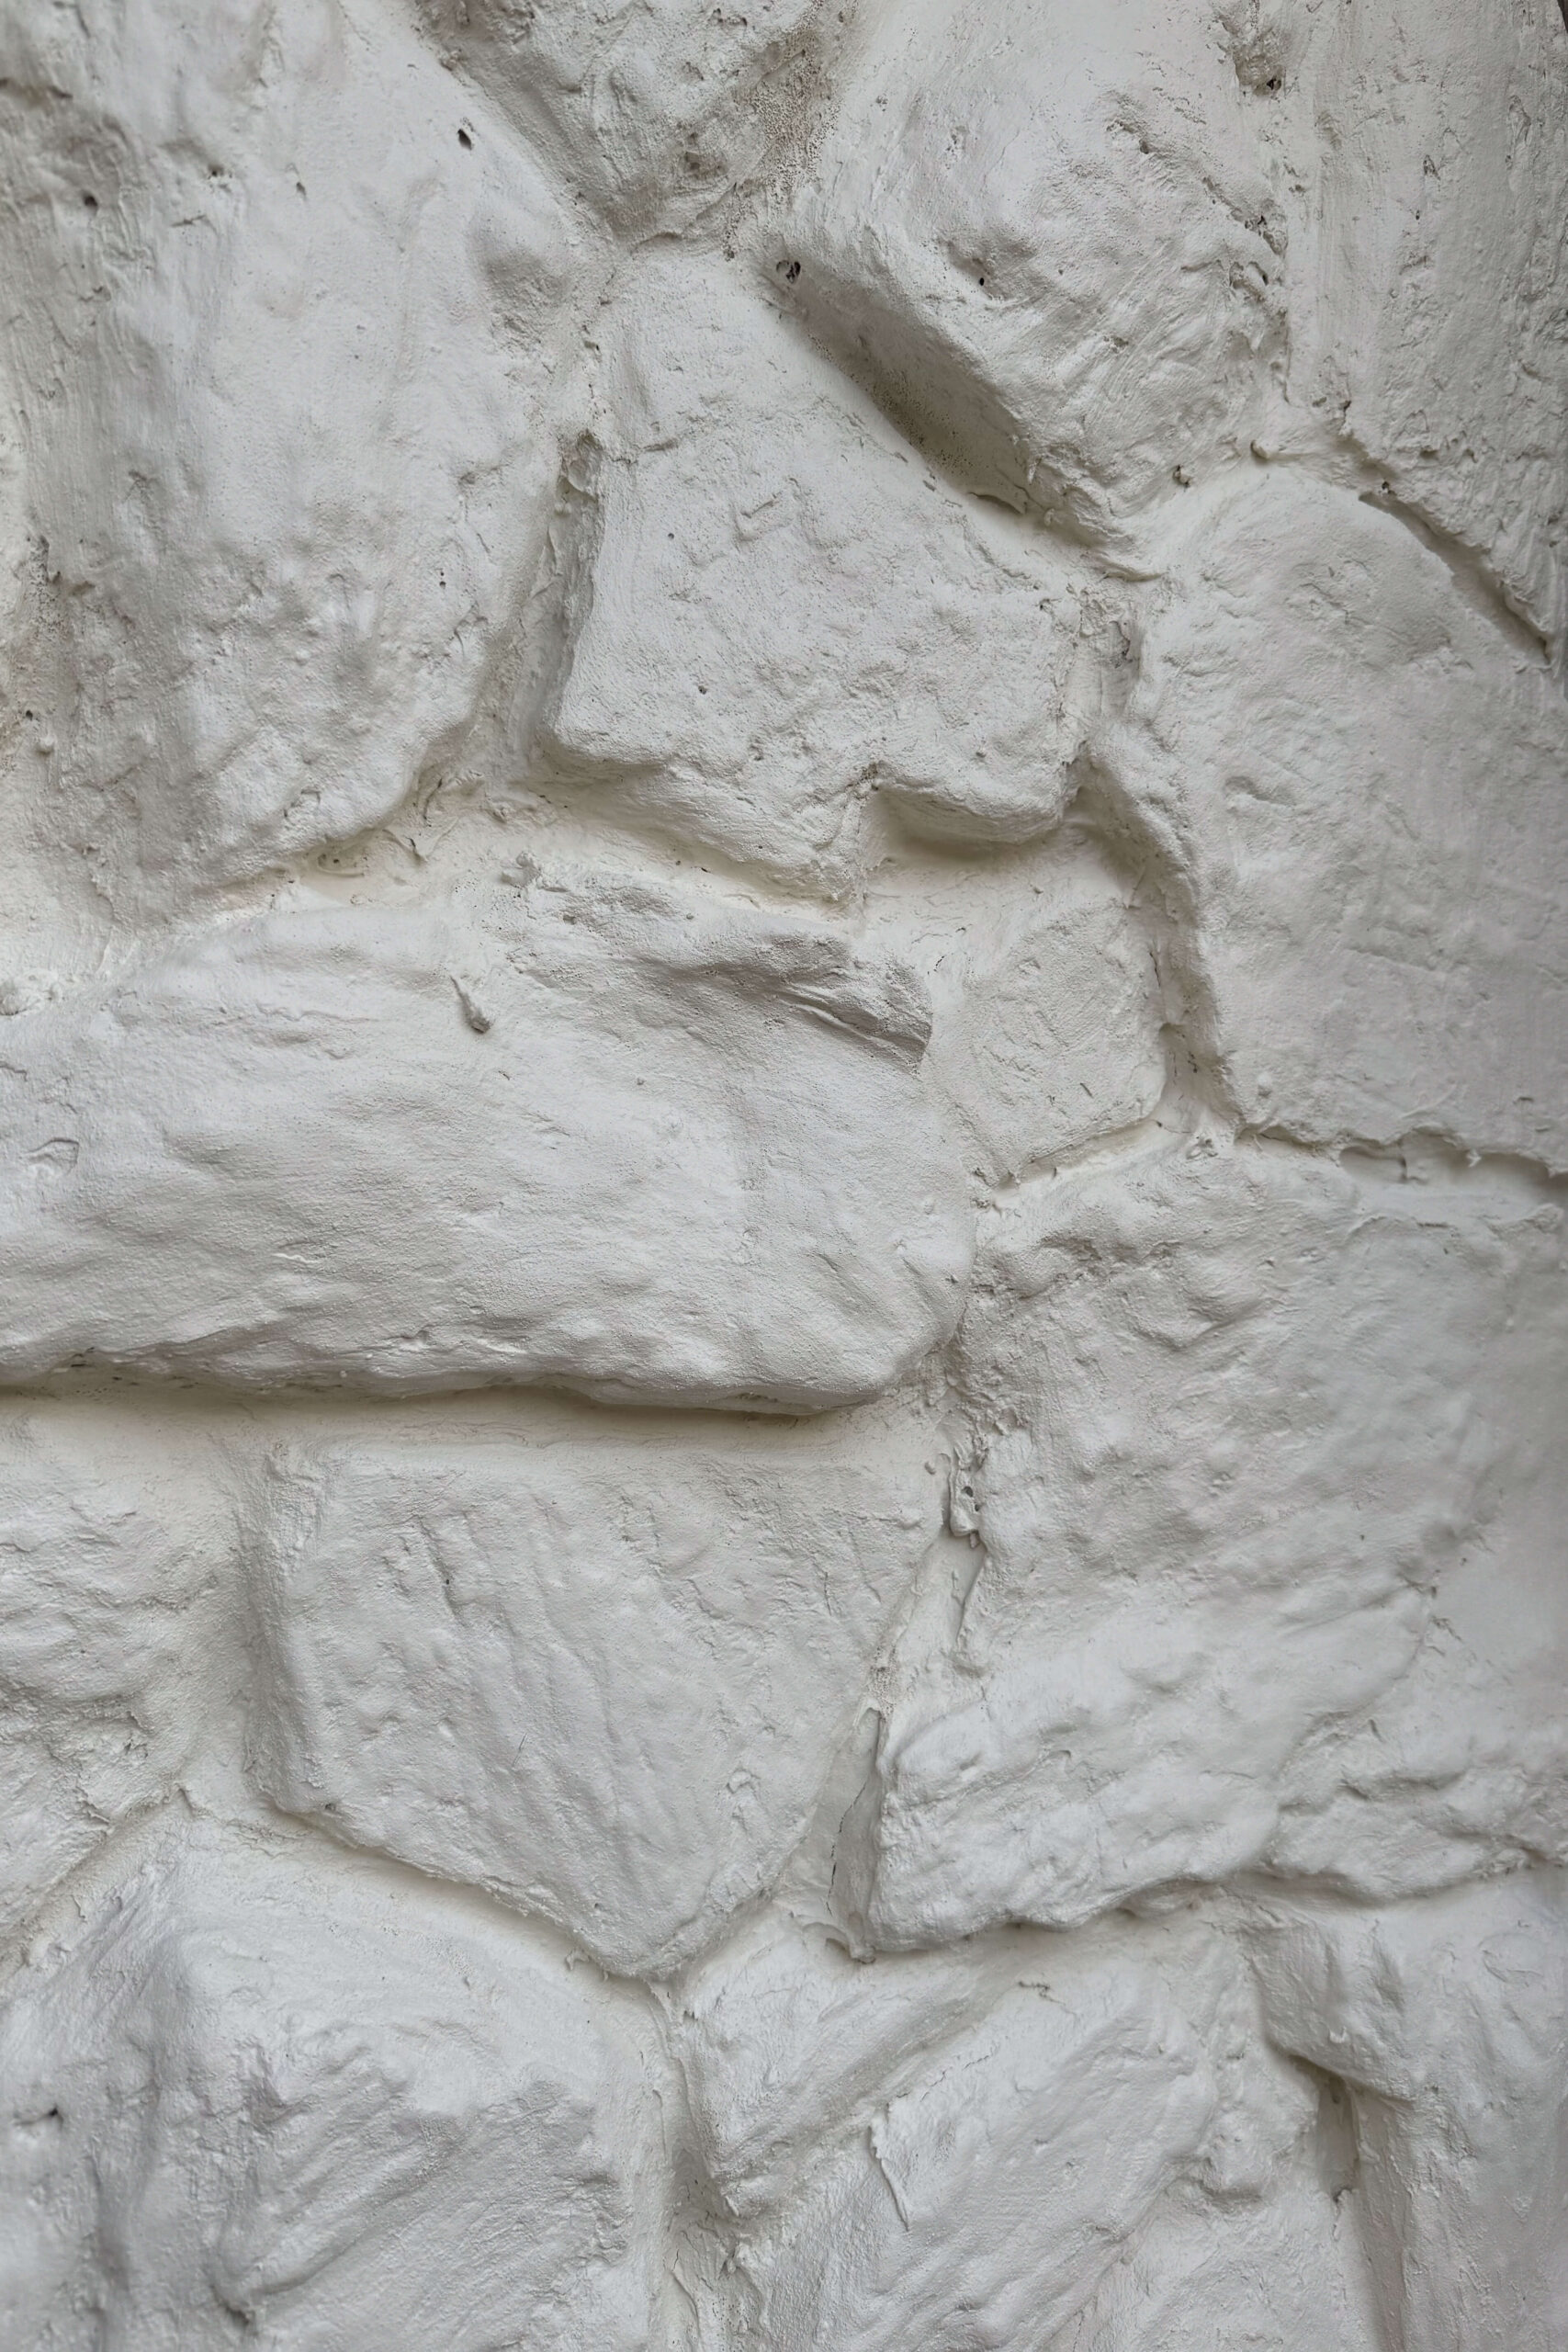
And here’s a close-up! You can still see some texture in the stones, but the after of my exterior rock siding is way smoother overall. It looks modern and clean, exactly the look I was going for.
My house looks so fresh and updated now! The exterior rock siding I used to hate is now a gorgeous feature that adds character to my home. It doesn’t scream ‘1970s eyesore’ anymore. I’m so glad I finally tackled this project!
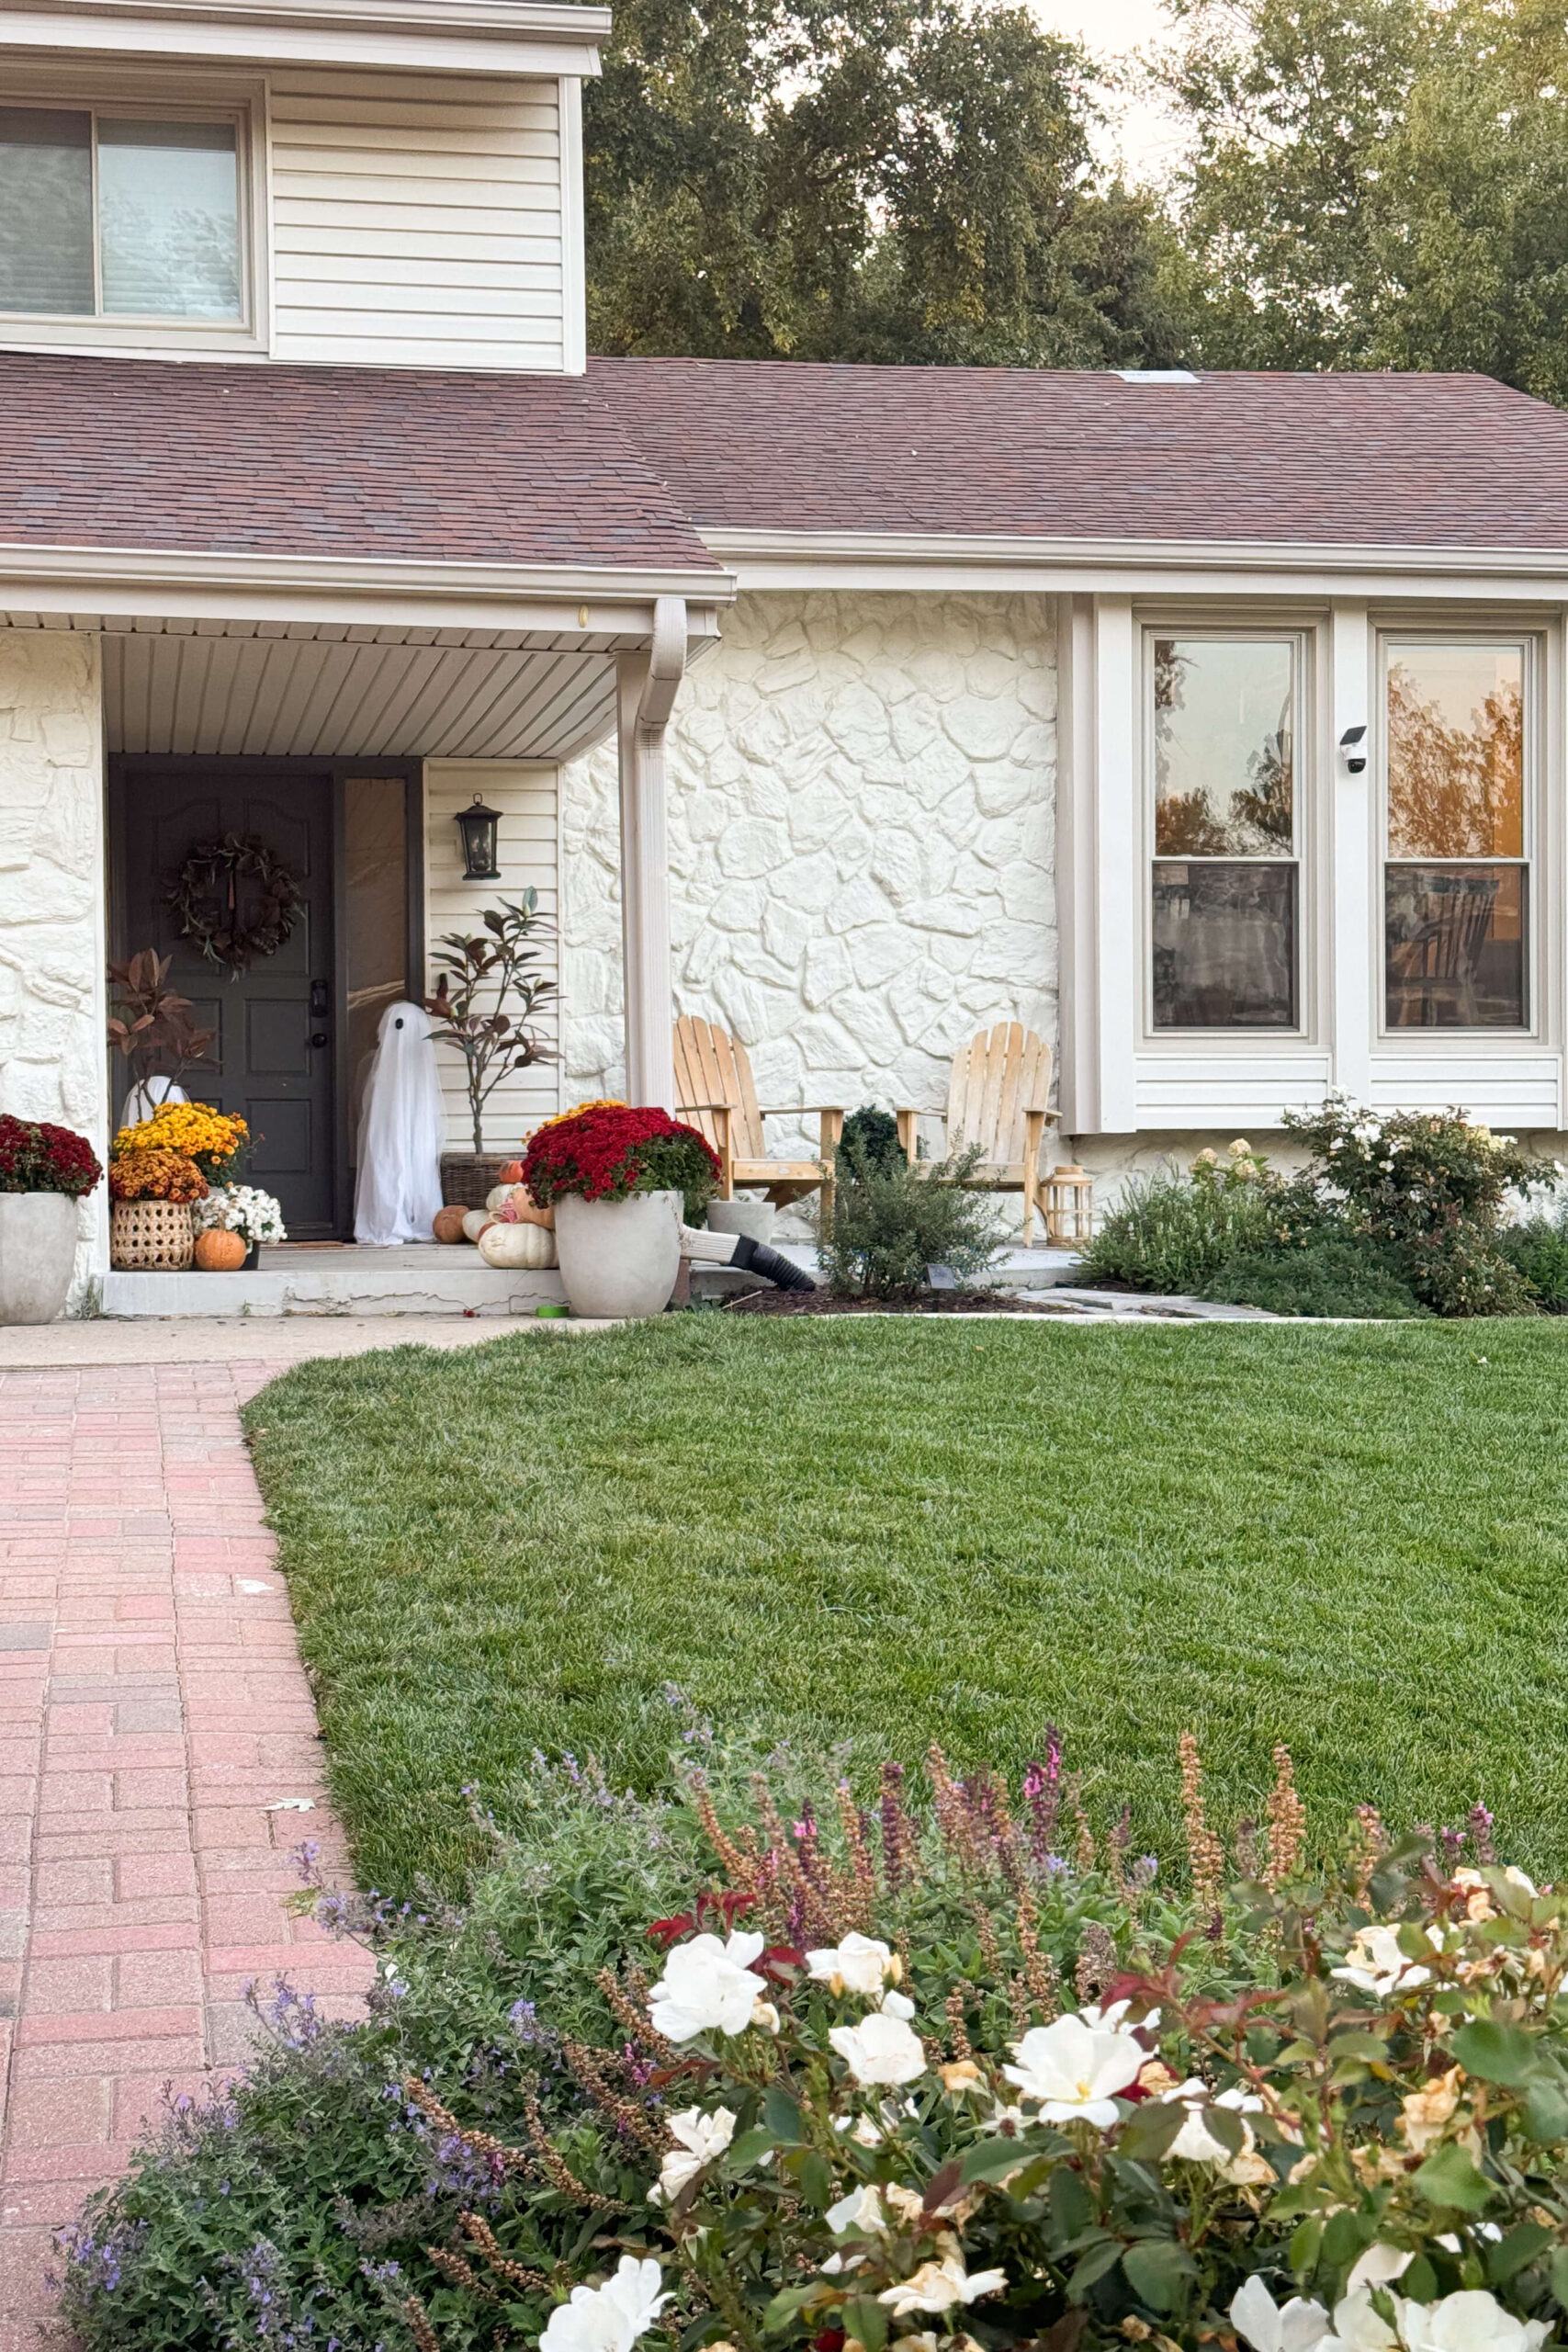
I’ve got even more planned for the front of my house! We’ve got a new roof scheduled for install, I’m building some shutters, and I’m giving the garage door a facelift. It’s going to look amazing when it’s all done! If you want to keep up with my exterior makeover, you can follow along on Instagram!
You’ll want masonry paint, primer, rollers, brushes, and painter’s tape. Some people also use a sprayer for faster coverage.
Clean the rock thoroughly and apply a masonry primer to help the paint stick and last longer.
With the right primer and high-quality masonry paint, it can hold up well for years, even outdoors.
Yes! Paint is a simple way to transform the look without removing or replacing the rock.

Great job- it looks beautiful! Will you and your friends come help me with my entire lava rock house? 🙂
Send me your address and we’ll be right over 🙂
Looks amazing! First impressions sell houses and the old stone wasn’t doing it for how beautifully you’ve updated the interior.
I think it looks a gazillion times better! Only thing I thought was maybe it would look more natural if you painted your own variations on the rocks with pretty tones to break it up. But honestly, this looks great too!
I think what you did looks wayyyyy better however I do think it needs to be a different shade to give your house some dimension. Possibly a little darker than the rest of the house.
I think it looks great!!!
Thank you! I’ve got someone in my corner 🙂
It looks beautiful and is the perfect refresh! I love that you didn’t just rip it all out and you still have all the texture from the stone, but now the color of the original stone doesn’t take away from the rest of the house.
Exactly! That’s what I think too.
I agree Taytum!
I love it!
Awe thank you LeaAnn!
Thank you LeaAnn!