

Published December 13, 2025
If you have a cabinet big enough to fit a trash can, you can turn it into a pull-out trash can cabinet. It’s such a simple upgrade, but it makes a huge difference in how your kitchen looks and functions. Instead of a trash can sitting out on the floor, you get a clean front of cabinets and a hidden spot for all the mess.
The best part is that this is a very basic, beginner-friendly DIY project. You don’t need fancy tools or custom cabinets. In this tutorial, I’ll walk you through exactly how I built a pull-out trash can cabinet from an empty base cabinet, from measuring and building the insert to installing the drawer slides and attaching the cabinet door so it all moves together like one smooth drawer.

Table of Contents
- Tools & Materials for a DIY Trash Can Cabinet
- Before Photos + Why a Trash Cabinet
- Choosing the Cabinet & Prepping the Space
- Building the Trash Can Cabinet Insert
- Installing the Drawer Slides
- Attaching the Cabinet Door for a Seamless Pull-Out
- The Finished Trash Can Cabinet
- More DIY Kitchen Cabinet Upgrades
- 📌 Save This Project for Later
- FAQ About Building a Pull Out Trash Can Cabinet
Tools & Materials for a DIY Trash Can Cabinet
These tools and materials are what you’ll use to build a custom pull-out trash can cabinet that fits your kitchen layout. A DIY trash can cabinet is an easy upgrade that adds storage, hides clutter, and helps keep your kitchen clean and functional.
- 1/2″ plywood
- Wood glue
- Brad nailer + nails
- Jigsaw
- Drill
- Heavy-duty drawer slides
- Screws
- Polycrylic clear coat
- Foam paint roller
- Tape measure
- Handheld sander
- Sanding discs
- Your existing cabinet door
- Spacers (scrap wood works great)
Before Photos + Why a Trash Cabinet
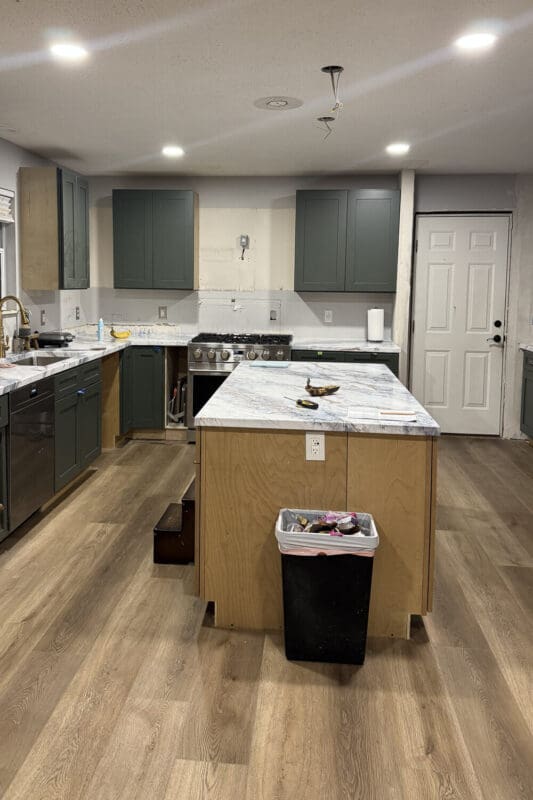
Here’s the real-life situation: we’re deep into remodeling the kitchen in our latest fixer-upper. I’m talking no backsplash yet, no range hood, and cabinets that still need finishing touches like end panels and hardware. But even though everything isn’t perfect, I’m working hard to make this kitchen feel organized and functional as we go.
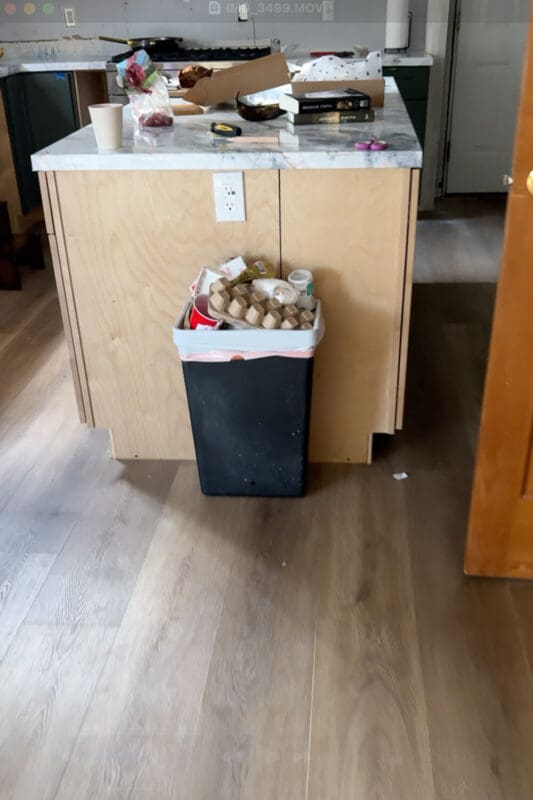
Our trash can was just sitting at the end of the island, totally exposed and taking up floor space. Cute, right? With a baby crawling, a toddler exploring, and a family of seven generating a surprising amount of trash every day, we needed a better setup yesterday.
A pull-out trash can cabinet was the perfect solution. It’s clean, hidden, and totally space-saving.
Choosing the Cabinet & Prepping the Space
You can turn almost any base cabinet into a trash can cabinet as long as it’s wide enough for your bins. At the end of my island, I had an empty cabinet that was just begging to be put to work.
Before I could install drawer slides, I had to add spacers inside the cabinet. The face frame sticks out a bit, and if you attach drawer slides without spacers, the slides hit the frame and can’t extend. So I cut spacers the same thickness as the cabinet face frame and installed them on both sides.
I also removed the cabinet door, just to get it out of the way. Don’t worry, we’ll attach it again later.
Building the Trash Can Cabinet Insert
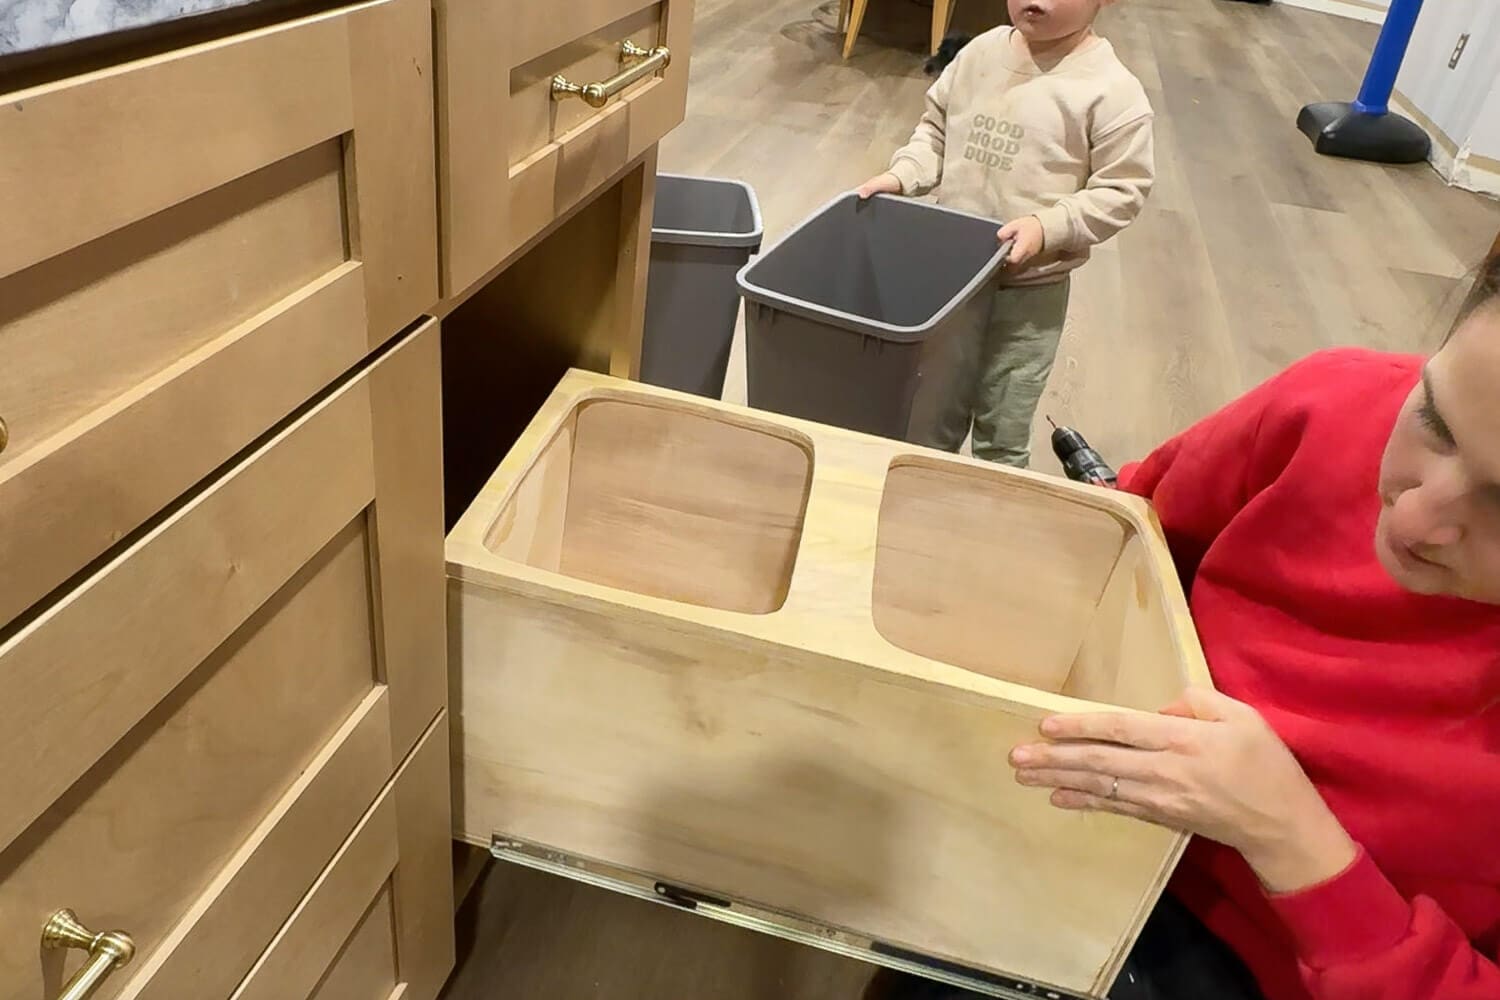
With the cabinet prepped, it was time to build the insert. I measured the space between the spacers to figure out the largest size box that would fit comfortably.
From 1/2″ plywood, I cut:
- a top
- a bottom
- two sides
- a front
- and a back
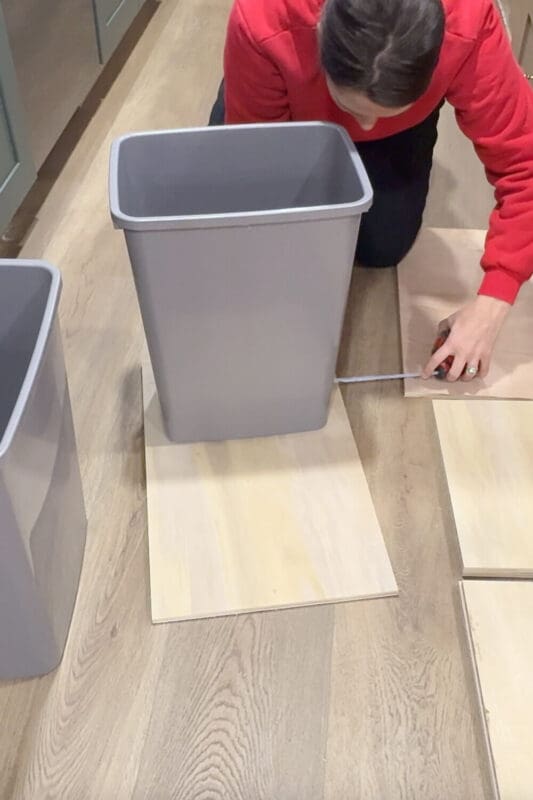
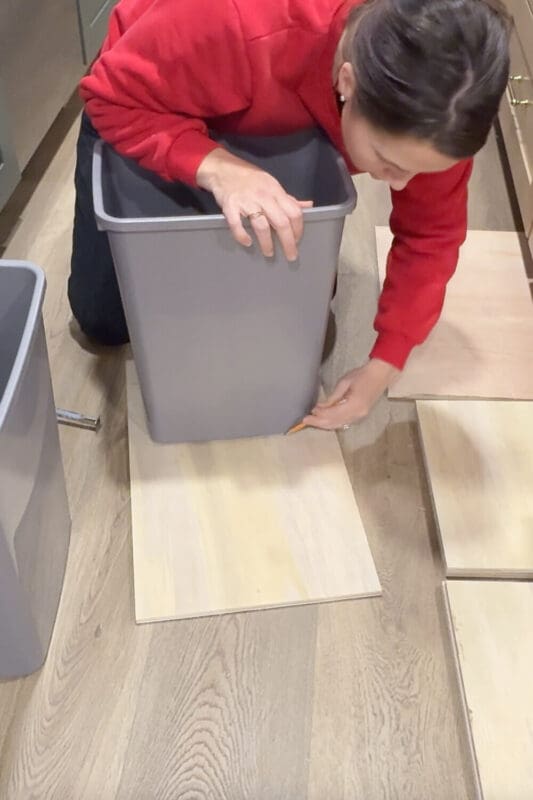
Cutting the Trash Can Openings
Using the top piece, I placed both trash bins exactly where I wanted them. I measured, double-checked the spacing, and traced around each bin with a pencil.
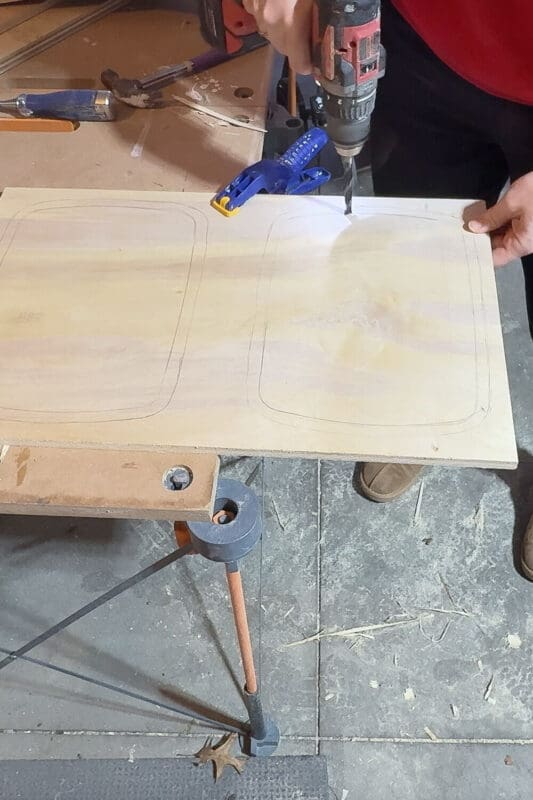
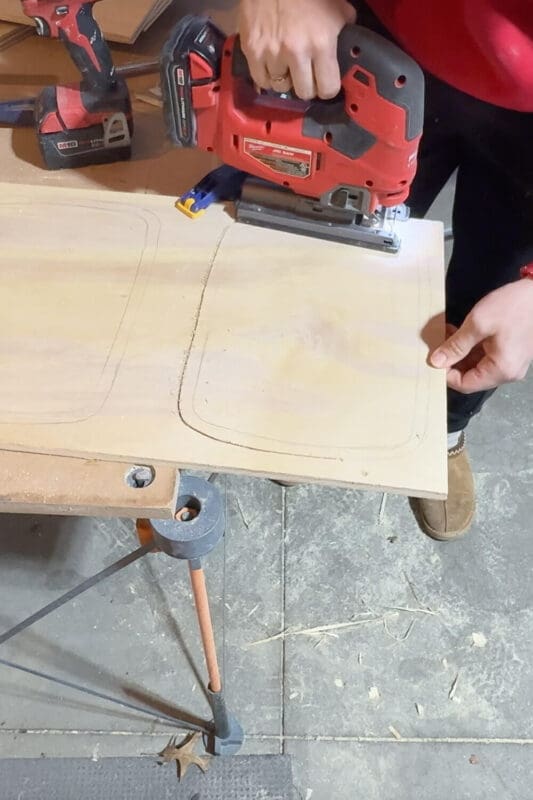
Next, I went back and freehanded a new line about 1/2″ outside my tracing. The bins need a little wiggle room to drop in and out easily, so the holes you cut have to be just a bit bigger than the trash cans that you’re using.

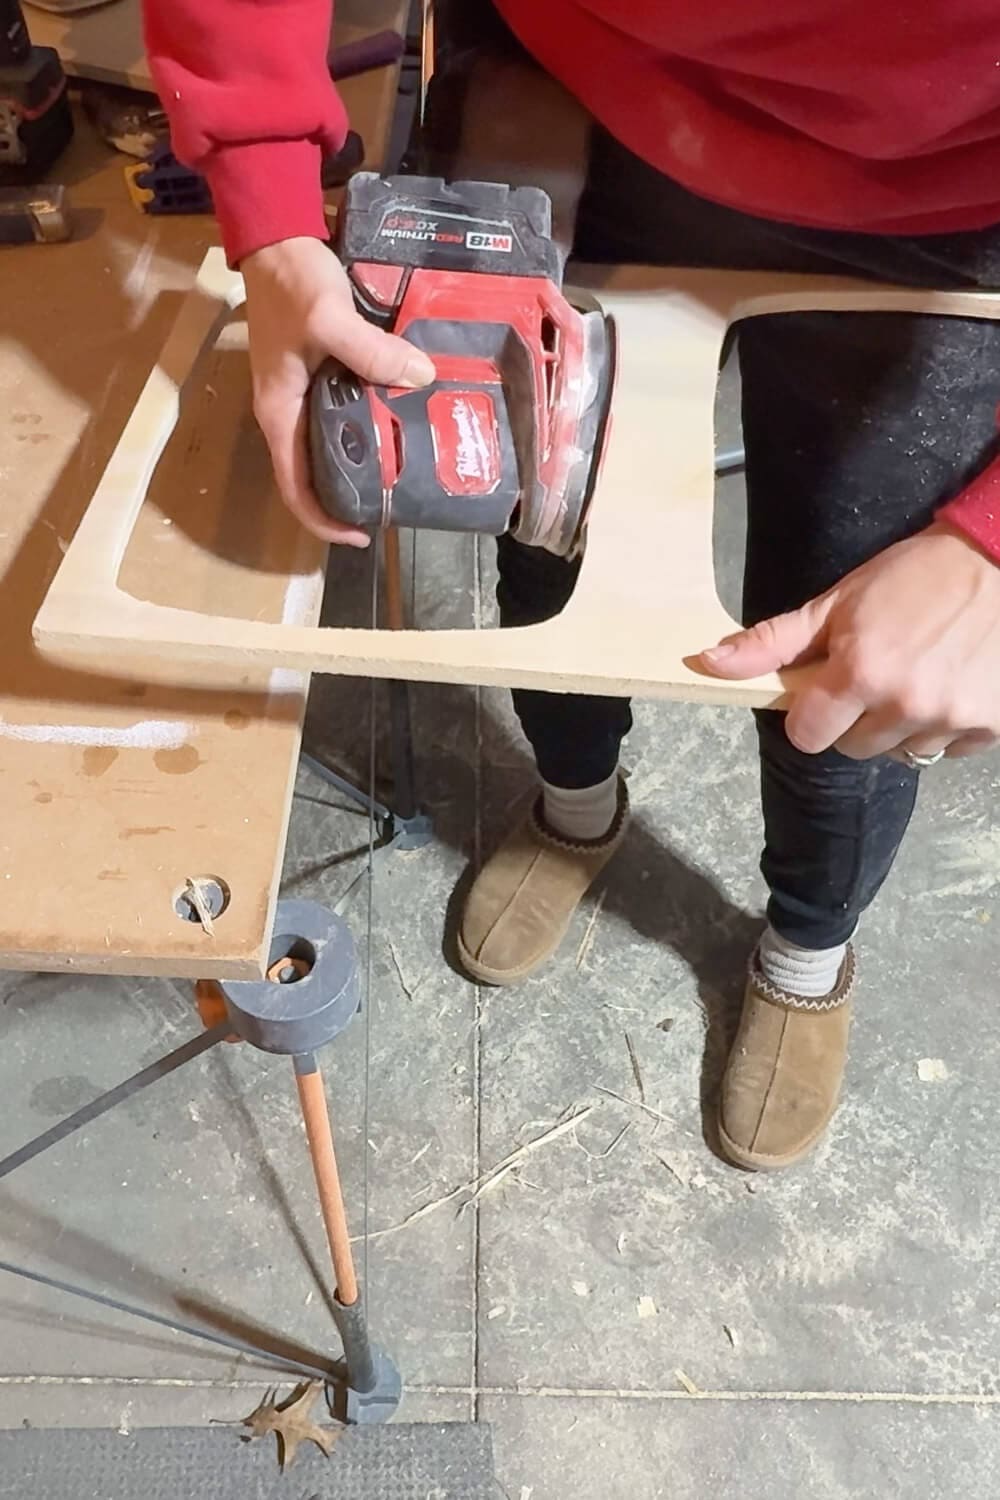
To cut the openings, I drilled a starter hole big enough for my jigsaw blade, then cut along my pencil lines. After both holes were cut, I sanded the whole thing down with my orbital sander.
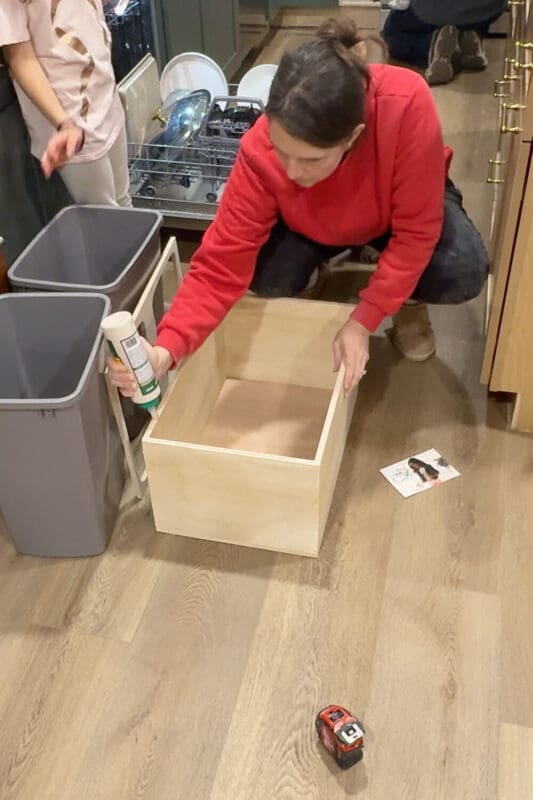
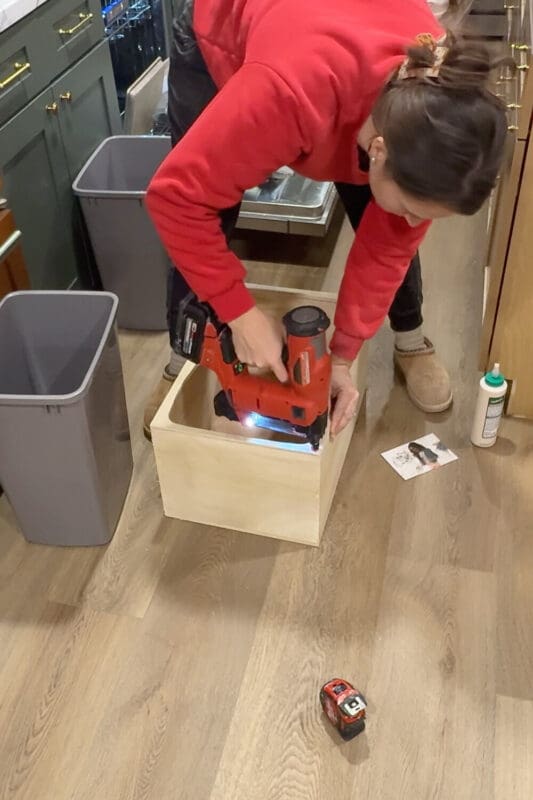
Assembling the Box
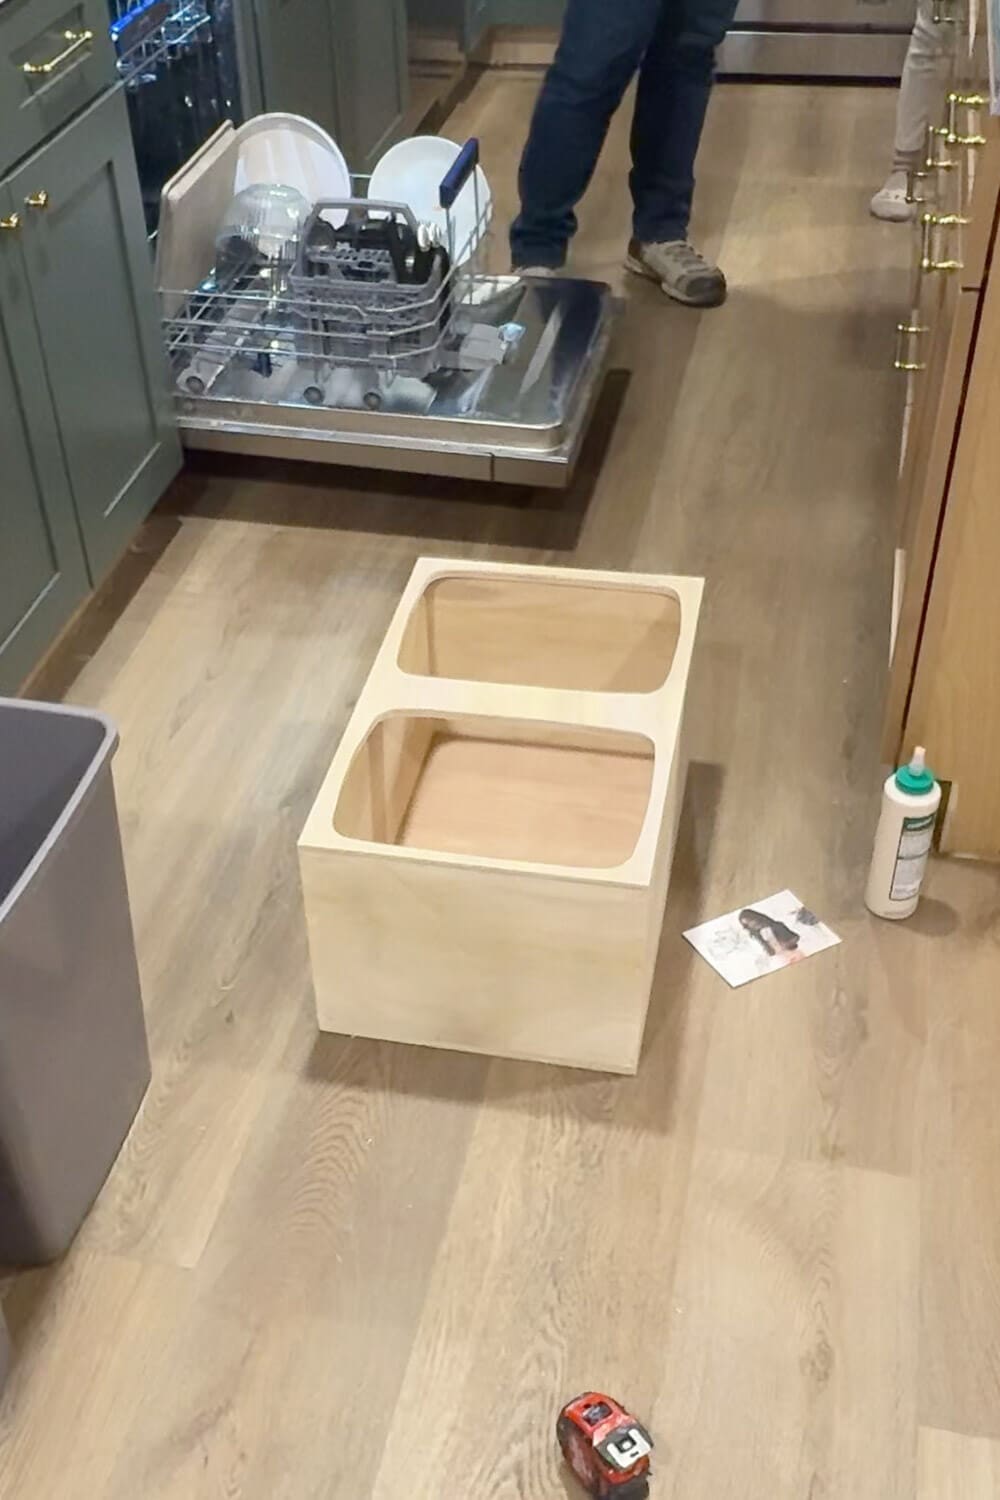
Time to build the box! I added wood glue anywhere two pieces touched, then used my brad nailer to secure each joint. Once the bottom portion was assembled, I attached the top piece that I made with the cutouts.
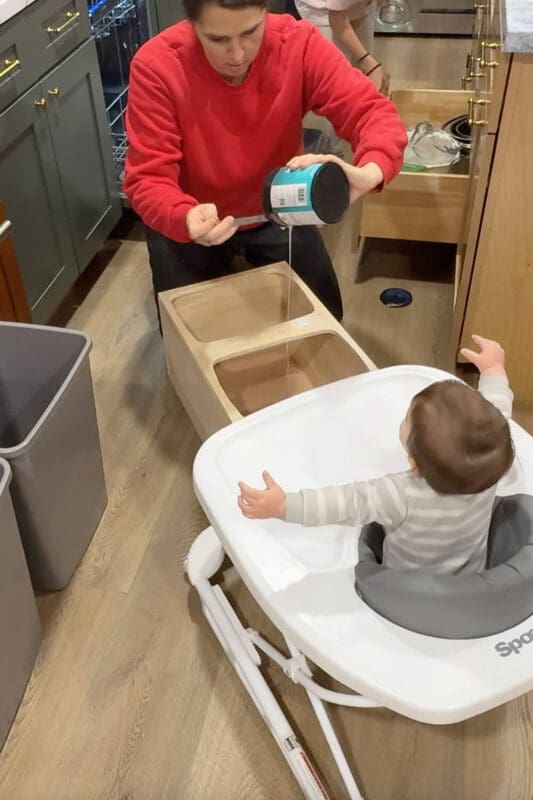
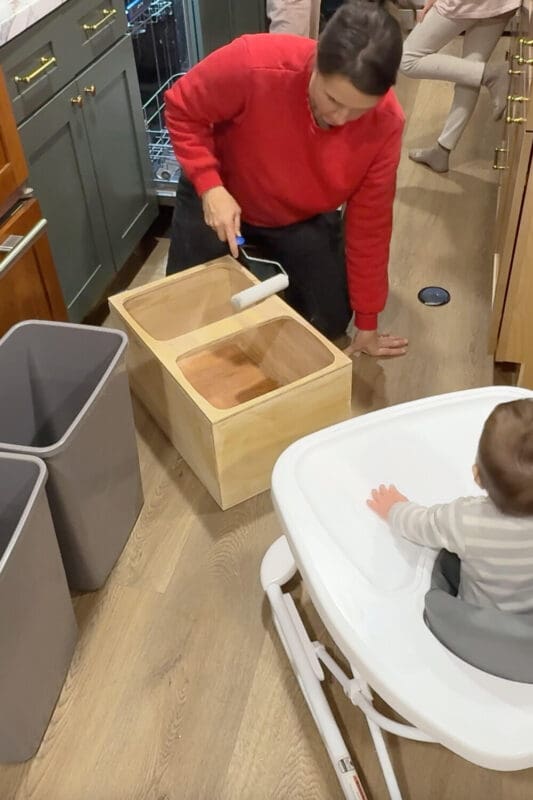
Sealing the Wood
Since this insert is holding trash cans in my cabinet, spills and messes are just part of the deal. To make cleaning easier, I coated the entire box with Polycrylic, a clear protective finish that keeps the wood from staining and makes the trash can insert wipeable.
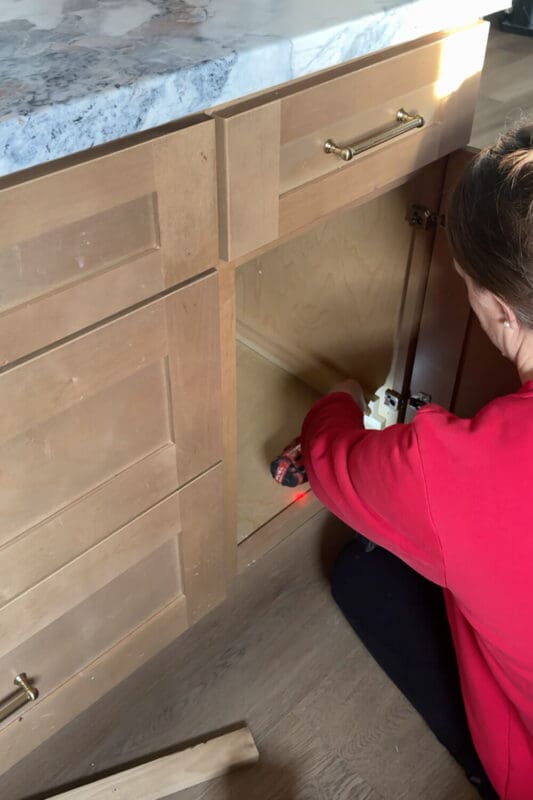
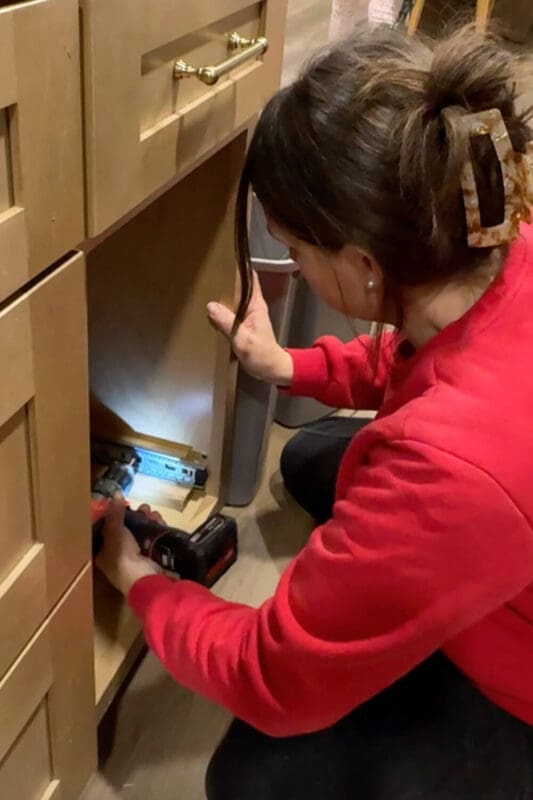
Installing the Drawer Slides
Drawer slides come in two parts:
- the outer piece attaches to the spacers inside the cabinet
- the inner piece attaches directly to the plywood trash can cabinet insert
My little helper and I used a drill and screws to secure both sides.
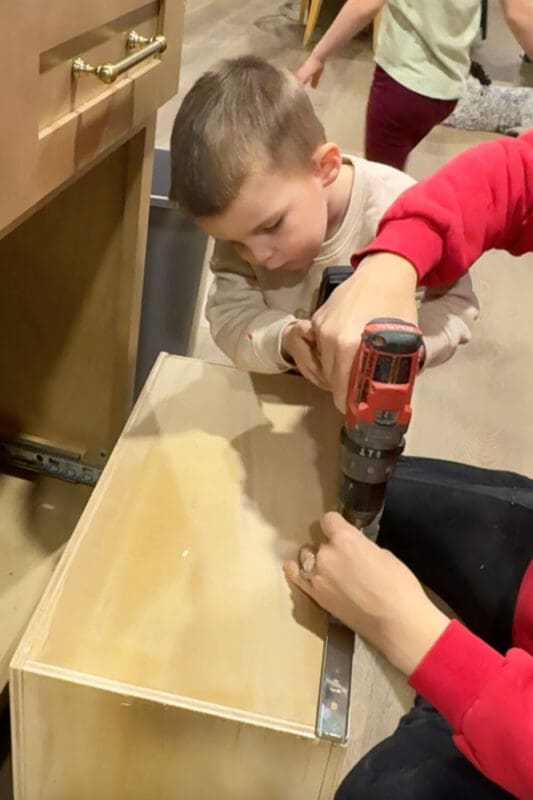
Once the slides were securely attached, I could slide the insert into the cabinet and test the fit. So satisfying!
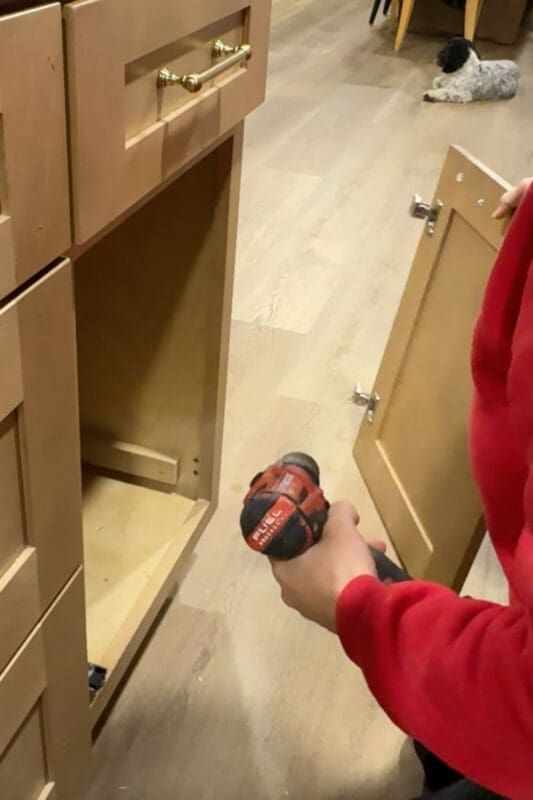
Attaching the Cabinet Door for a Seamless Pull-Out
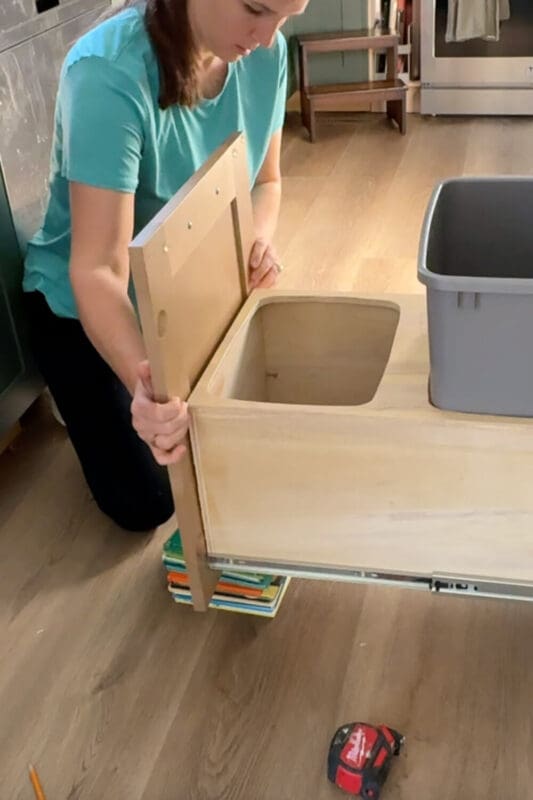
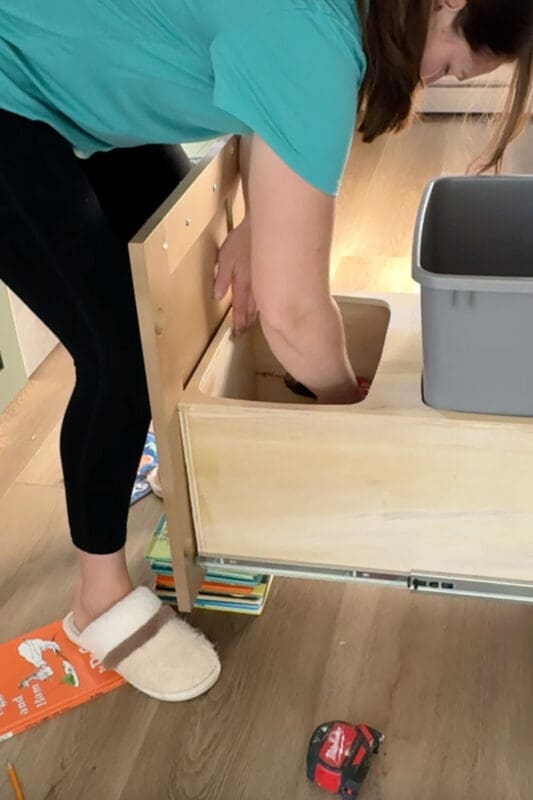
You can leave the cabinet door on its hinges and simply pull the trash can drawer out from inside. That totally works. But I wanted this to function like a true pull-out drawer with the door and trash insert moving together.
To get the cabinet door to the perfect height, I grabbed a stack of my kids’ books and used them to prop the door up from below. After a little trial and error of adding and removing different-sized books, I had the door where I wanted it, and attached it from the inside of the insert using screws. Just make sure your screws are short enough not to poke through the front of the cabinet door!
And done! A hidden, space-saving, baby-proof trash can cabinet. No more garbage bin hanging out at the end of the island. No more wasted floor space. And no more dogs or toddlers getting into things they shouldn’t.

The Finished Trash Can Cabinet
This DIY pull-out trash can cabinet looks intentional, works smoothly, and makes our kitchen feel so much more organized, even in the middle of a remodel. There are high-quality wood options you can buy and just skip the DIY, but you’ll save a lot of money building this trash can cabinet insert yourself, and it will be made to fit your specific cabinet perfectly.
More DIY Kitchen Cabinet Upgrades
I’ve been slowly giving all of my cabinets little upgrades to make this kitchen work harder for our family. I’ve added custom pot and pan storage, built a pull-out organizer for all of our Tupperware-style containers, and even created vertical cutting board storage to keep those bulky items from piling up. This pull out trash can cabinet is just one more way to make everyday life in the kitchen feel a whole lot smoother.
📌 Save This Project for Later
Pin this DIY trash can cabinet tutorial so you can find it again when you’re ready to upgrade your kitchen storage. It’s a beginner-friendly build that makes a huge impact, and you’ll be so glad you added this hidden pull-out trash setup to your cabinets.
FAQ About Building a Pull Out Trash Can Cabinet
Measure the inside width, depth, and height of your cabinet and compare it to the trash can you plan to use. Most standard 10 to 13-gallon bins will fit inside a typical base cabinet, but always double-check your measurements before cutting any wood.
Heavy-duty, full-extension drawer slides (usually 18–22 inches) work best. They allow the trash cans to fully clear the cabinet opening so you can lift them straight out to empty or clean them.
A clear coat like polycrylic works great. It seals the plywood, protects it from spills, and makes the whole insert wipeable and easier to clean while keeping the look of raw wood.
Yes! This is a very beginner-friendly project. If you can measure, drill, cut along a traced line, and use a brad nailer, you can absolutely build this pull-out trash can cabinet.
