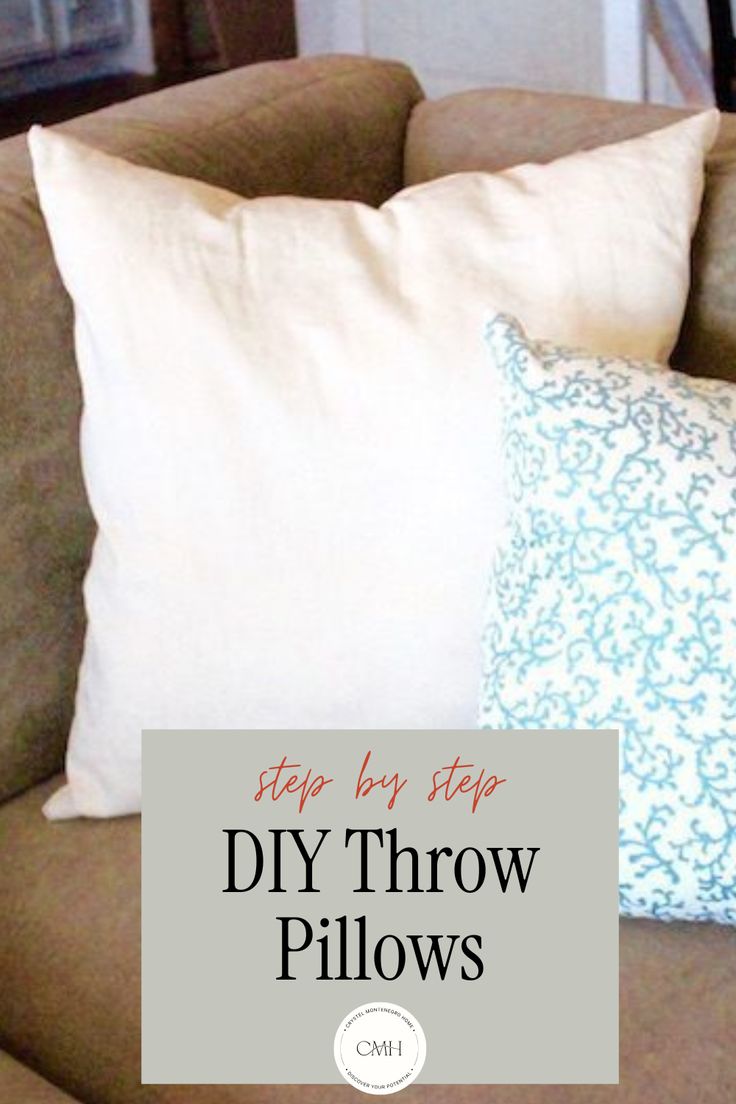
How To Make An Easy Throw Pillow Cover


Updated August 18, 2025
Throw pillows are one of the easiest ways to change up the look of a couch or bed, but buying them new adds up fast. When I spotted cute $30 pillows at Walmart, I realized four of them would cost over $120. No thank you. Instead, I decided to make my own DIY throw pillows for a fraction of the price—using a little fabric, a pillow insert hack, and my mom’s old sewing machine.
This project is beginner-friendly (my last sewing class was in 7th grade!) and works even if you don’t have a machine.
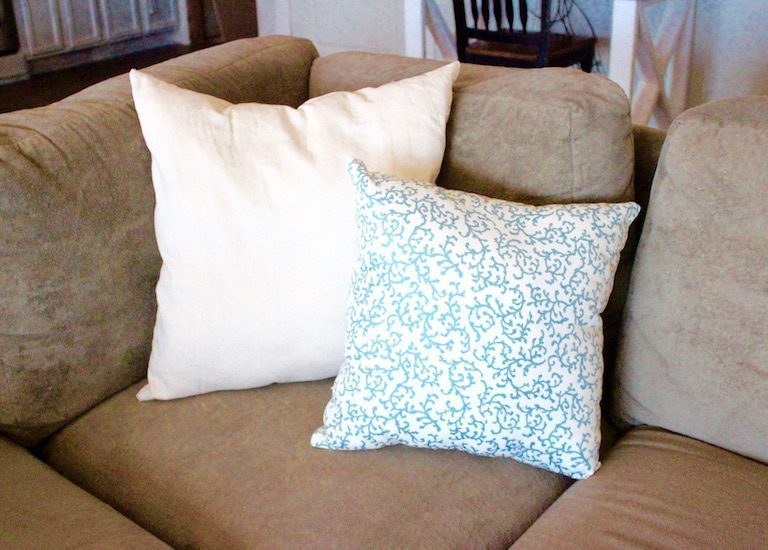
Table of Contents
- A Budget Hack for Pillow Inserts
- Supplies for Sewing a Pillow Step by Step
- No Sewing Machine? No Problem!
- Step 1: Measure and Cut Fabric for Your Accent Pillow
- Step 2: Fold and Sew the Pillow Edges
- Step 3: Trim and Flip the Pillow Cover
- Step 4: Stuff the Accent Pillow
- Step 5: Hand Sew the Decorative Pillow Opening Closed
- The Finished DIY Throw Pillow
- More Easy DIY Decor Projects
- 📌 Save This DIY Throw Pillow Tutorial for Later
- FAQs About DIY Throw Pillows
A Budget Hack for Pillow Inserts
Here’s a secret: skip the expensive $13 pillow forms. Instead, grab a $4 Mainstays standard pillow from Walmart . Cut it open, and you’ll find enough polyfil stuffing to fill a throw pillow up to 20″. You can also reuse old bed pillows if you’ve got some tucked away.
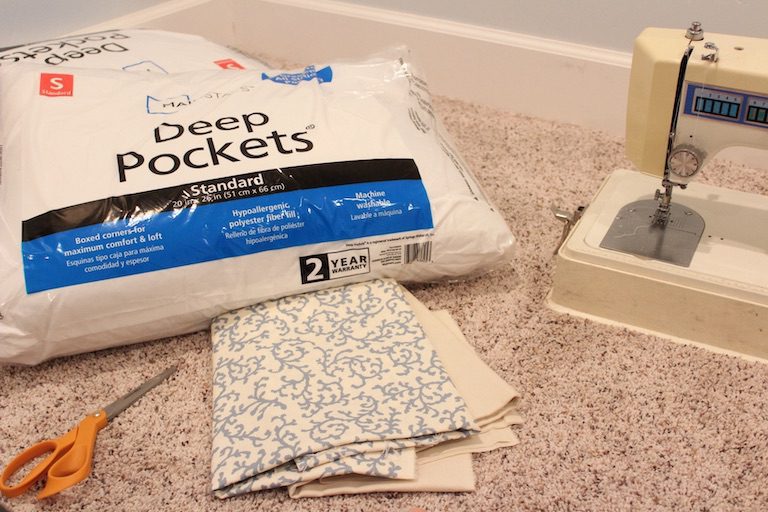
Supplies for Sewing a Pillow Step by Step
- Mainstays standard pillow or really any old pillows you’ve got if you don’t use them
- Fabric of your choice (1 yard makes about one 18–20″ pillow cover)
- Sewing machine (or fabric glue/hot glue if you don’t sew)
- Hand-sewing needle + thread
- Scissors
- Measuring tape
No Sewing Machine? No Problem!
If you don’t have a sewing machine, you can still make a DIY throw pillow on the cheap. A hot glue gun works in a pinch, or for a sturdier hold, try heavy-duty fabric glue. Want to go classic? Hand sew the seams instead—just keep your stitches small and tight so the pillow holds its shape.
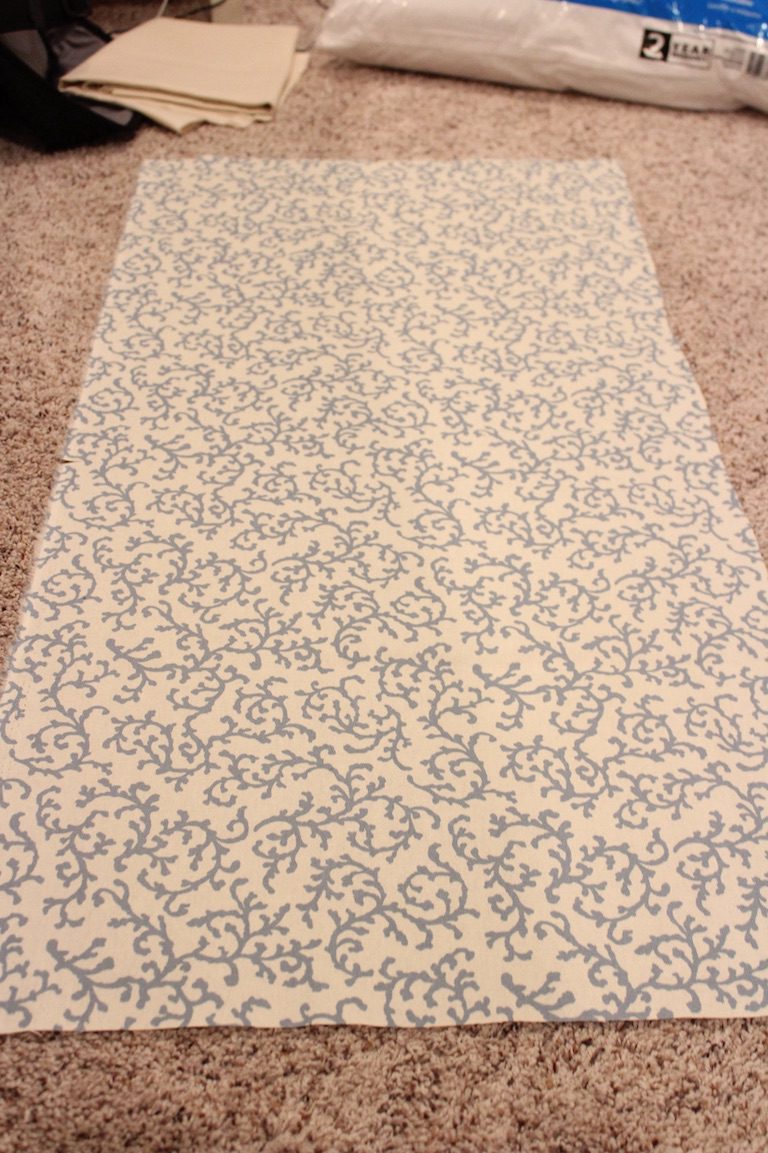
Step 1: Measure and Cut Fabric for Your Accent Pillow
Decide the size of pillow you want to make. For my 18″ pillow, I cut the fabric 19″ wide by 35″ long. That measurement includes seam allowance (18 + 18 + 1 = 35).
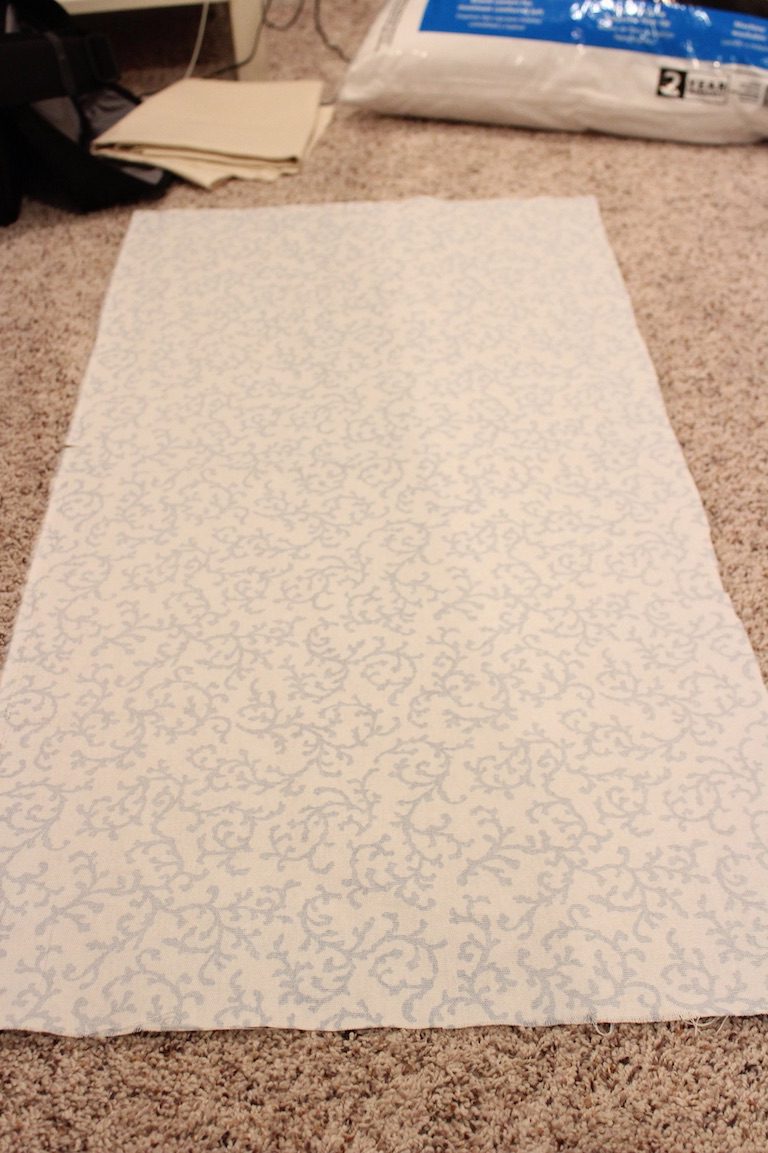
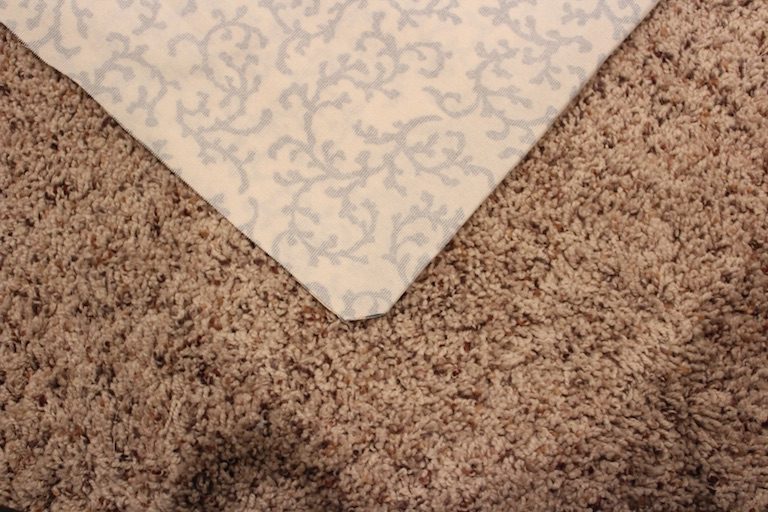
Lay your fabric out with the right side facing up (the pretty side). Smooth it flat before cutting to keep the edges even.
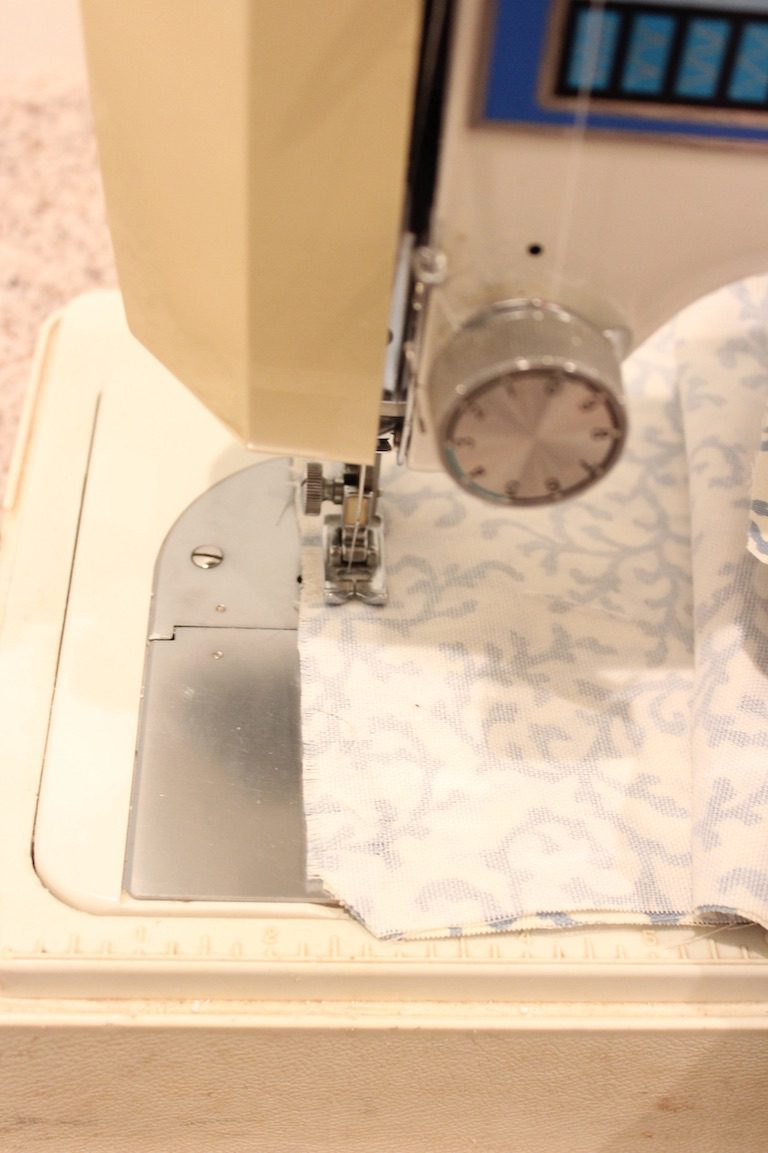
Step 2: Fold and Sew the Pillow Edges
Fold the fabric in half “hamburger style” with the right sides facing each other. Start sewing about two-thirds of the way down one edge.
Sew around the perimeter, leaving a 4–5″ opening for stuffing later.
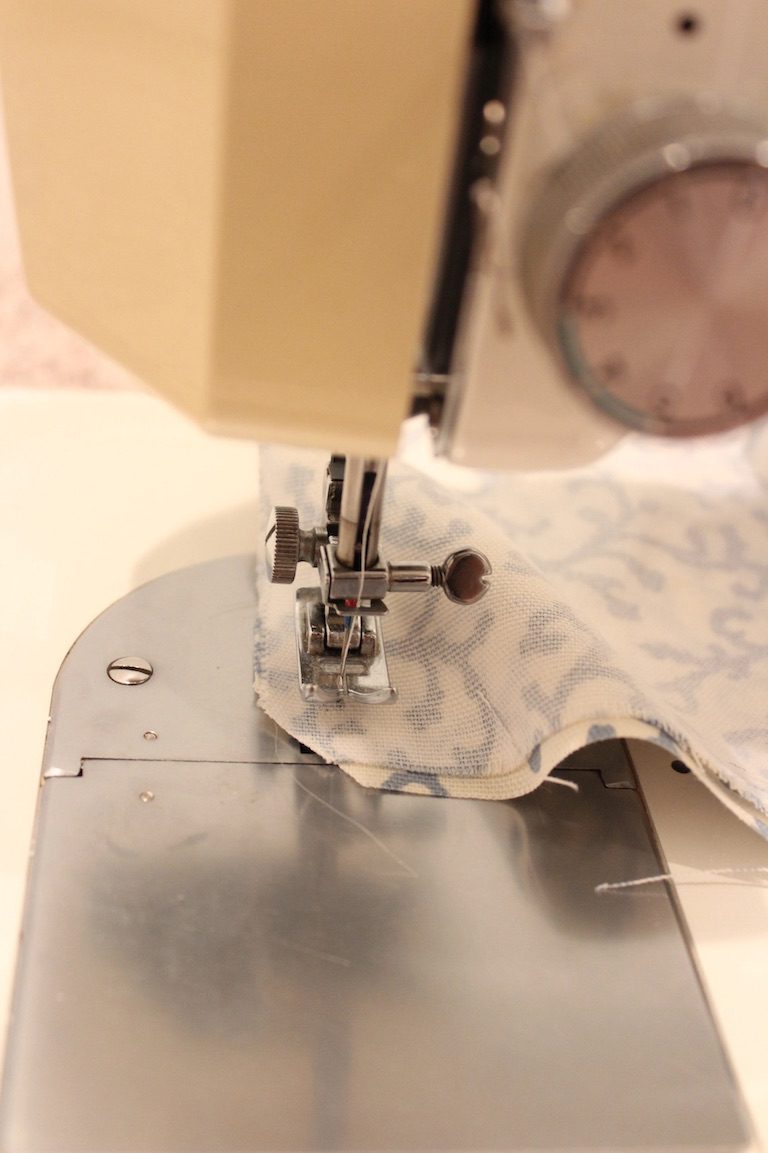
When you reach a corner, keep your needle in the fabric, lift the presser foot, rotate the fabric, lower the foot, and keep sewing—this makes sharp, clean corners.
At the start and end of your seam, sew a few stitches forward, reverse stitch, then sew forward again to lock the thread.
Stop sewing about a third of the way down your starting edge, leaving that gap unsewn.
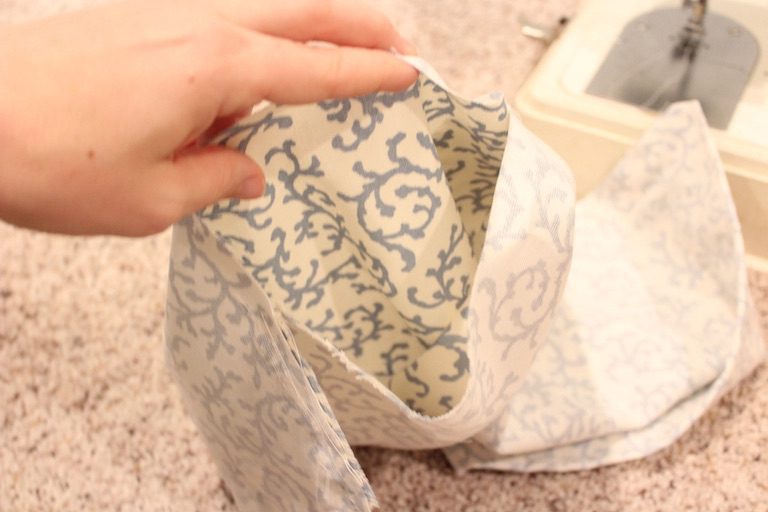
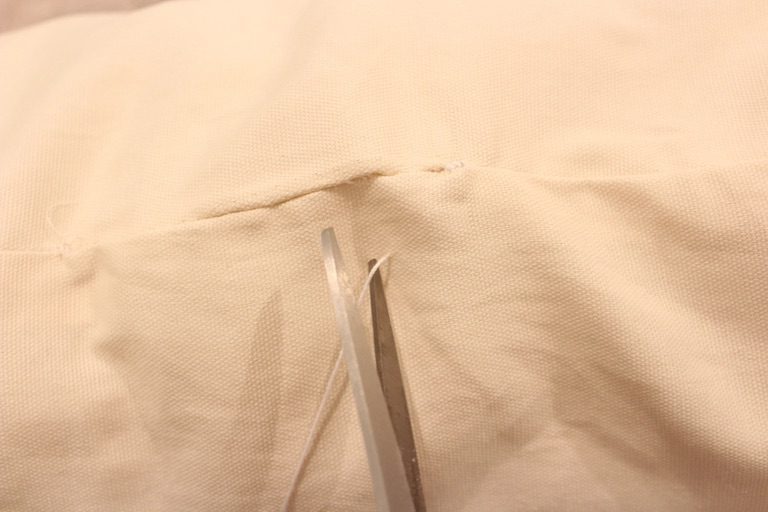
Step 3: Trim and Flip the Pillow Cover
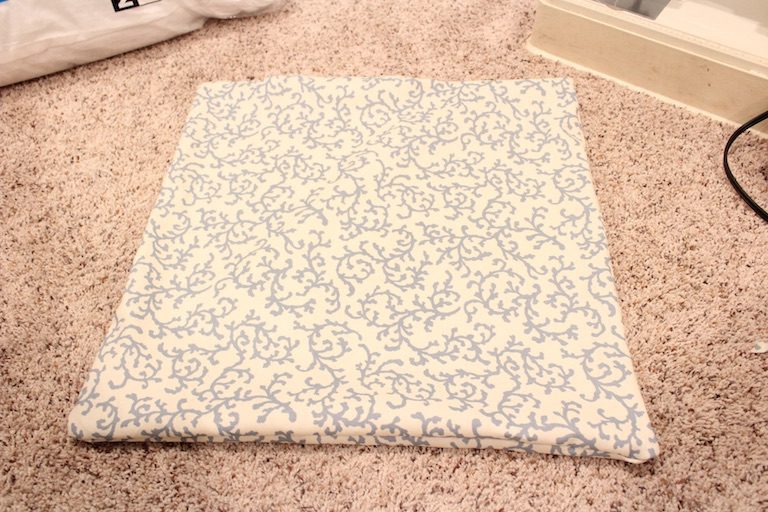
Before flipping the cover inside out, trim away the excess fabric at the corners to reduce bulk.
Then turn the cover inside out, using your fingers or a blunt tool to push out the corners neatly. Now’s a good time to iron the fabric if it looks wrinkled. For the opening, fold the raw edges inward and press them flat with an iron—this will make hand sewing the seam much easier later.
Step 4: Stuff the Accent Pillow
Time to add filling! Cut open your budget pillow and pull out the polyfil.
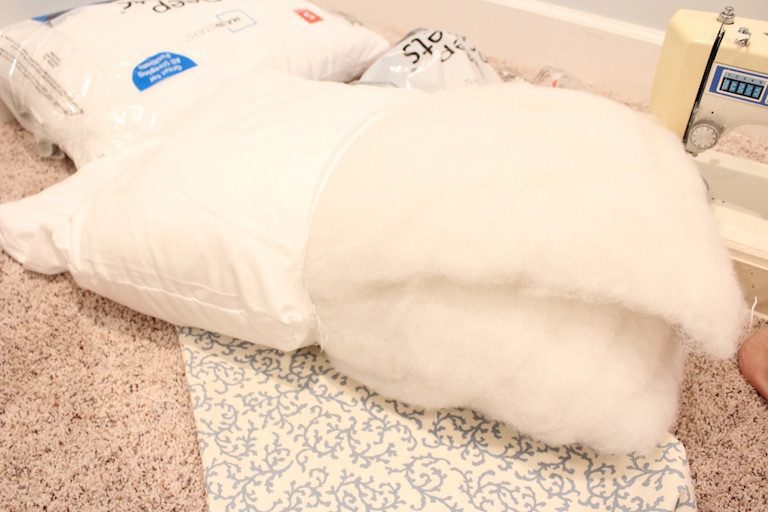
Use small handfuls of stuffing instead of large chunks—this keeps the pillow smooth and avoids lumps. Push filling into the corners first, then fill the middle. I used the entire contents of a standard pillow for my 18″ throw pillow to give it a firm, full look. Stop stuffing once your pillow feels full but not stiff – it should spring back when pressed.

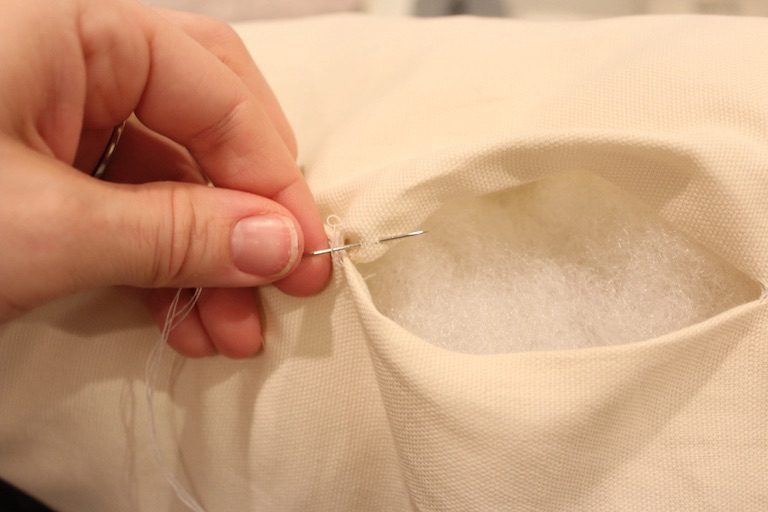
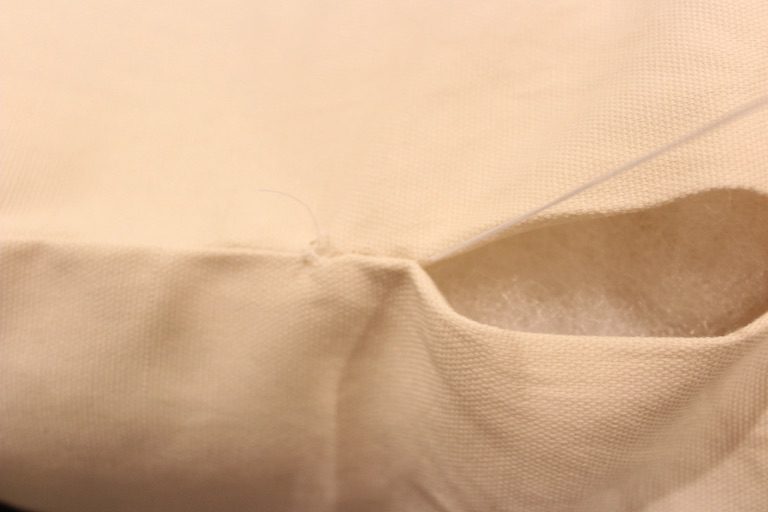
Step 5: Hand Sew the Decorative Pillow Opening Closed
Now comes the final step: closing the gap with an invisible ladder stitch. Don’t worry if your first stitches aren’t perfect – the ladder stitch hides mistakes well.
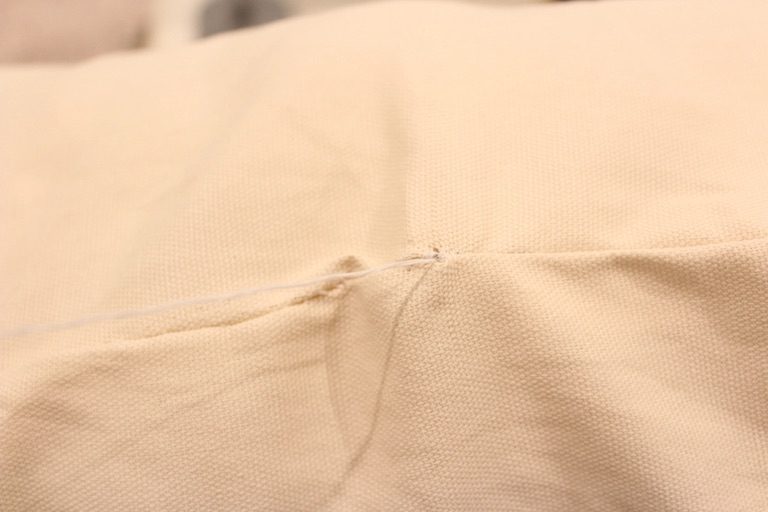
Thread your needle with doubled thread, knot the ends, and insert the needle inside the fold so the knot is hidden.
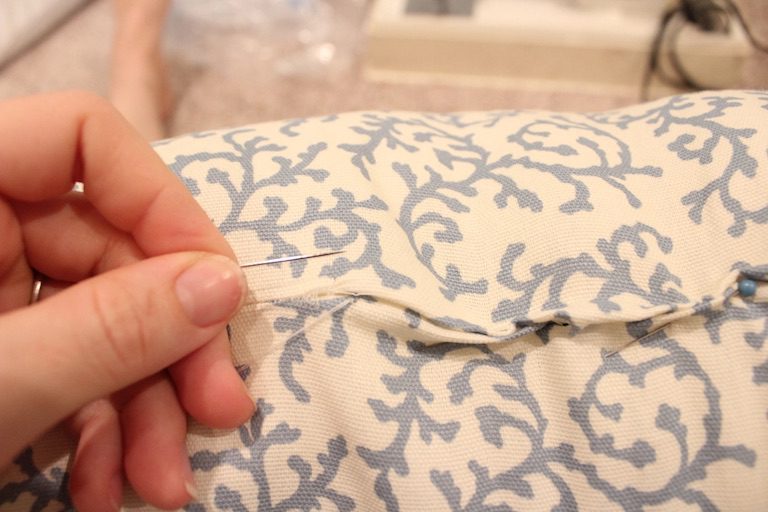
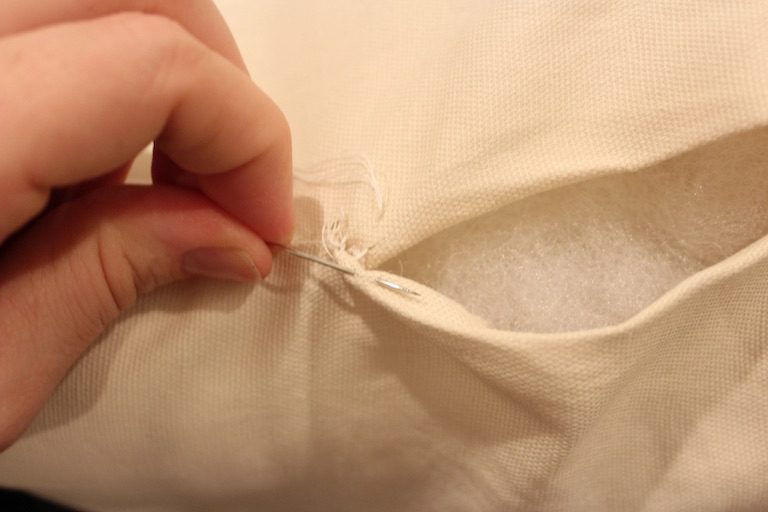
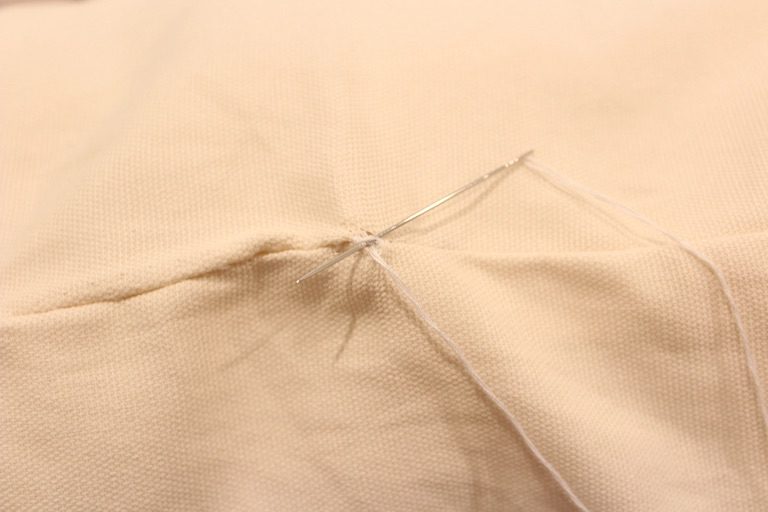
Push the needle through the fold on one side, then directly across into the opposite fold. This creates the first rung of your “ladder.”
Pull the thread through so the knot is tucked inside the seam.
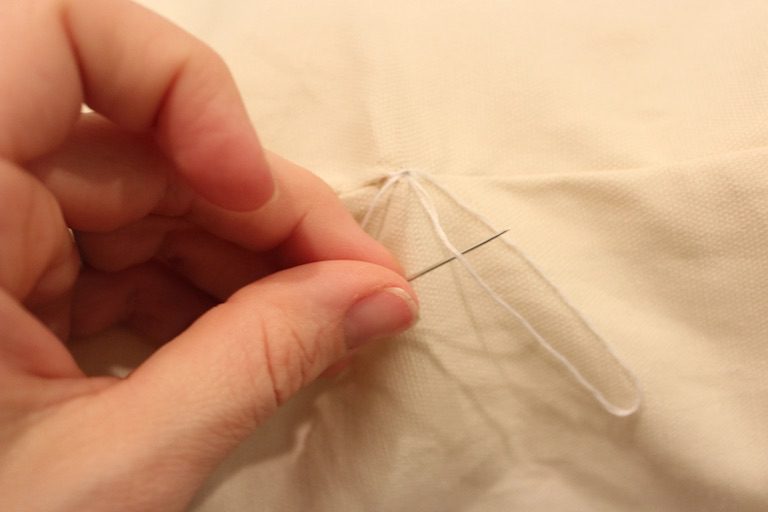
Keep stitching directly across, alternating sides, about ¼” at a time. Your stitches will look like ladder rungs.
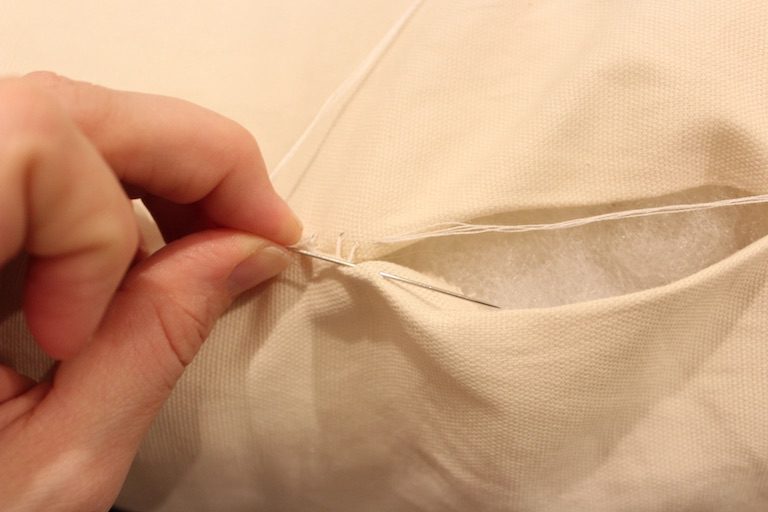
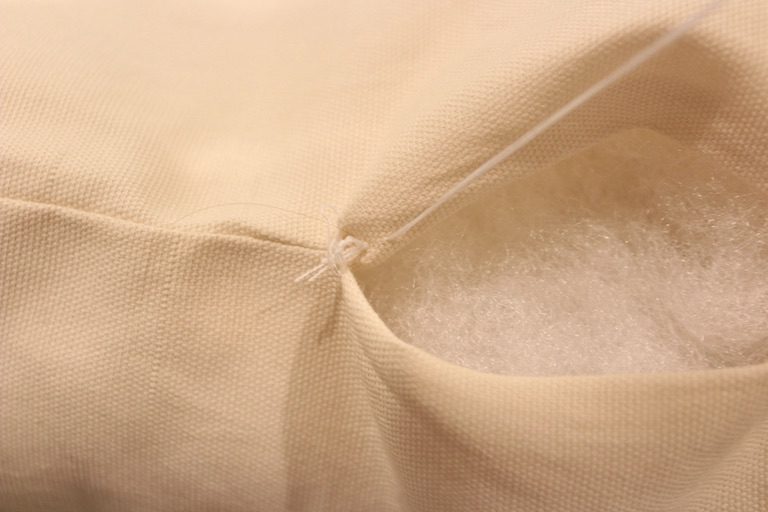
Every few stitches, pull the thread snug. The folds will pull together, hiding the stitches completely.
Keep working until the opening is fully stitched closed and the seam looks smooth.
When you reach the end, loop the needle through your last stitch to create a knot. Repeat once or twice for security.
Push the needle into the seam and out through the pillow body a couple of inches away. Snip the thread—the tail will retract back inside and disappear.
And look at that! A nice, beautiful seam.
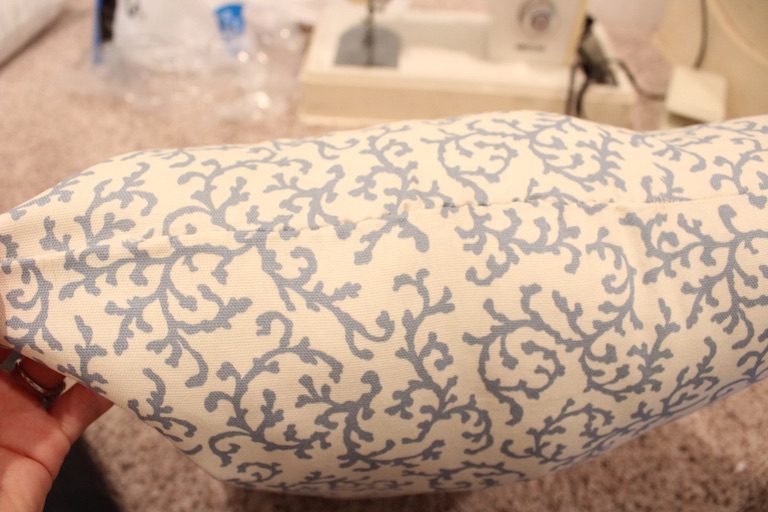
The Finished DIY Throw Pillow
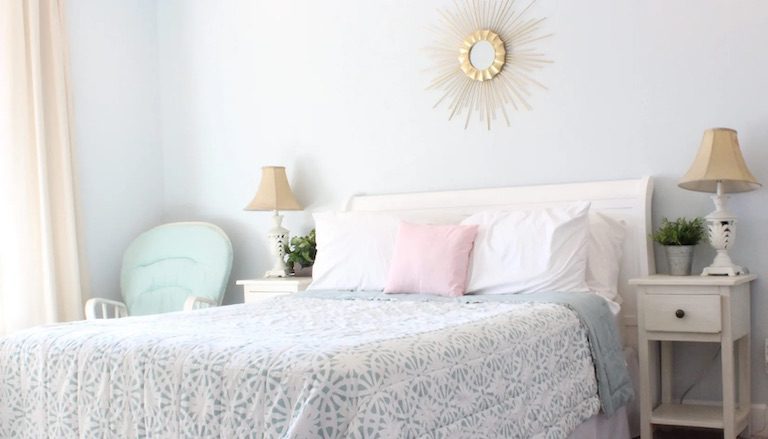
And that’s it! A full, fluffy throw pillow for just a few dollars. Mine completely transformed an old olive-green basement couch, and I even made extras for my bed. Store-bought pillows can’t beat the price or the custom look you get with DIY.
I actually made this pink one for my bed out of one of the small $4 pillow forms I found at Walmart but I don’t like it as much because it’s not fluffy at all. And it also cost more for a smaller pillow!
More Easy DIY Decor Projects
Love budget-friendly sewing and decor projects? Try these:
📌 Save This DIY Throw Pillow Tutorial for Later
Pin now and make your own throw pillows the next time you want a quick, affordable home upgrade.

FAQs About DIY Throw Pillows
For an 18″ pillow, cut fabric 19″ wide by 35″ long. Adjust the measurements based on your pillow size.
Yes! You can hand sew with a needle and thread, or even use hot glue or fabric glue. Just make sure seams are secure.
Skip pillow inserts and use polyfil from a standard $3 bed pillow—it’s budget-friendly and works perfectly.
Stuff with small sections of polyfil and distribute evenly, especially into corners. This gives the pillow a smooth, professional finish.