I’m a stay-at-home mom turned home design and DIY expert. I've discovered the thrill of creating a beautiful, functional home, and I'm here to inspire and teach you to do the same
I’ll admit it—making dinner rolls used to intimidate me. The precise measurements, the rising times, the fear of ending up with dense, unappetizing lumps of dough. But then I discovered Mel’s Perfect Dinner Rolls, and everything changed.
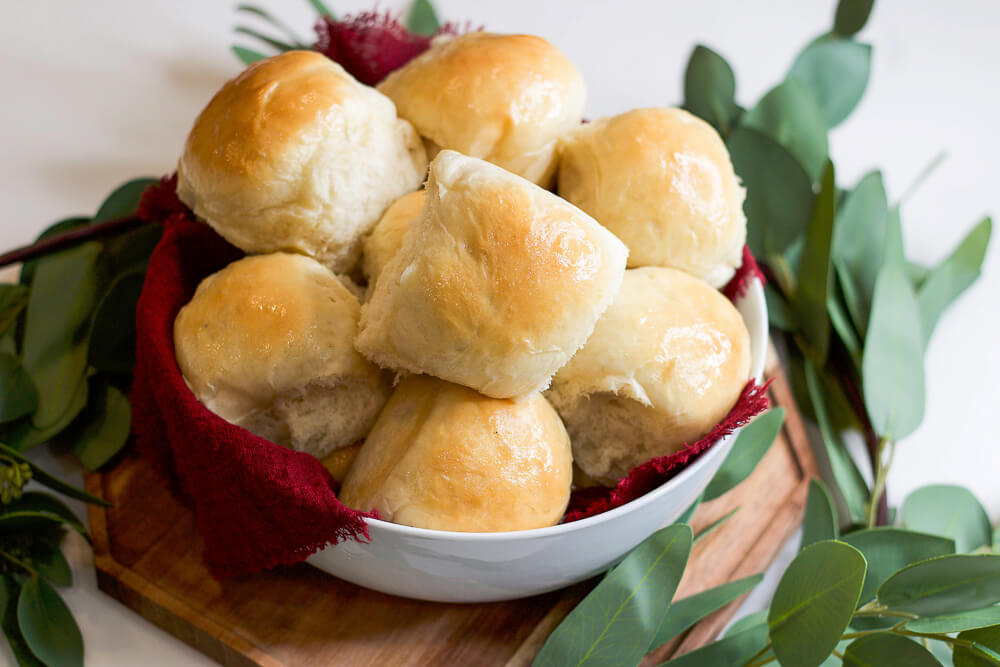
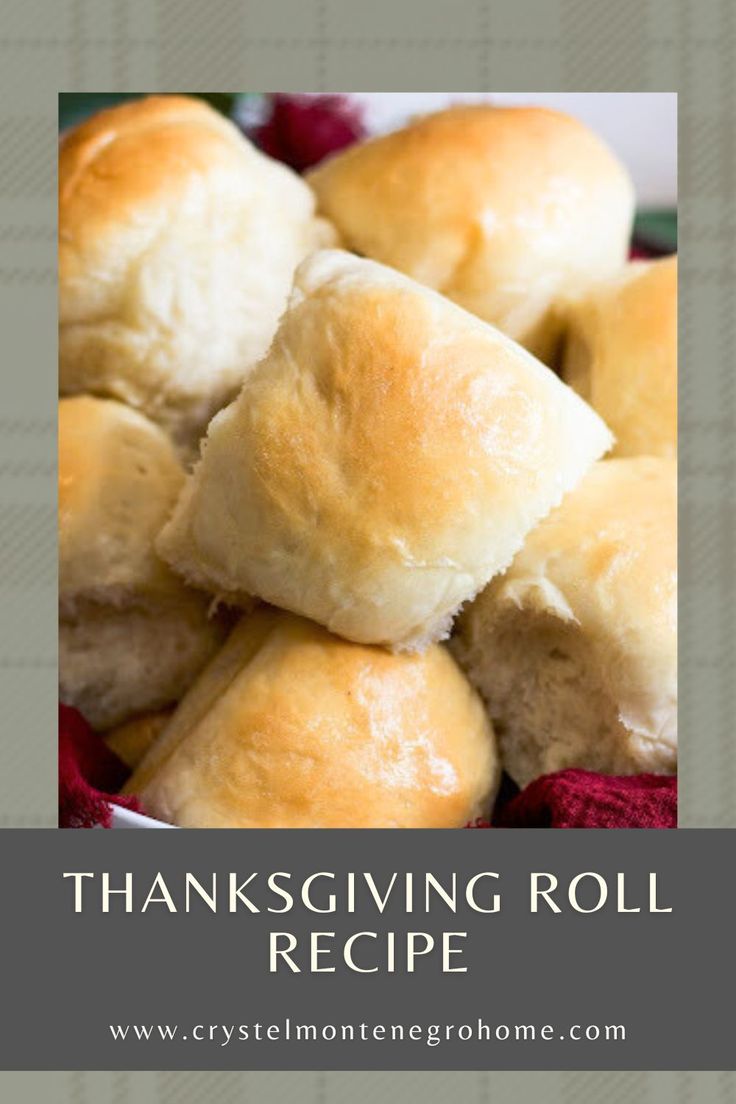
These rolls are soft, fluffy, and buttery, with just the right amount of sweetness. They’re the kind of rolls that make you close your eyes and savor every bite. And the best part? They’re surprisingly easy to make.
Beginner-Friendly: Even if you’re new to baking, this recipe is straightforward and forgiving.
Versatile: Perfect for holiday feasts, weeknight dinners, or as a base for sandwiches.
Make-Ahead Option: Prepare the dough in advance and bake fresh rolls when you need them.
Whether you’re hosting a festive gathering or simply want to elevate your everyday meals, Mel’s Perfect Dinner Rolls are a must-try. They’ve become a staple in my kitchen, and I’m confident they’ll earn a permanent spot in yours too.
Want to watch this recipe in action? Here’s a video of me making these rolls step by step.
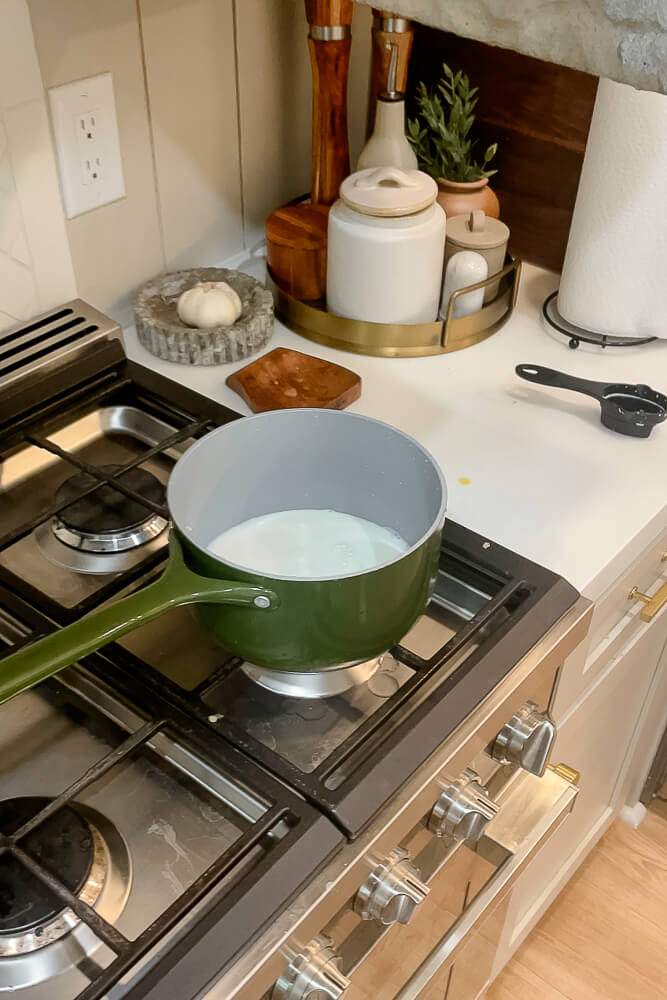
Step 1 – Warm the Milk
Heat the milk slowly until bubbles form around the edges and the milk starts to steam.
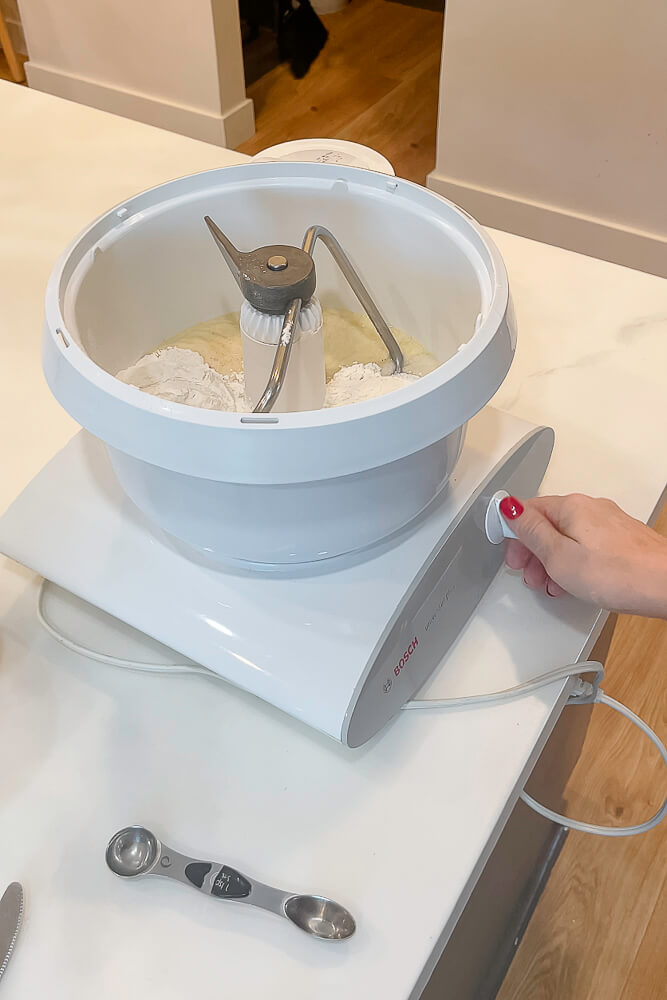
Step 2 – Combine Ingredients
Pour the milk into a stand mixer that uses a dough hook. A must-have for making homemade bread is a Bosch Mixer. This machine is a beast and makes quick work of kneading the dough. It’s a bit expensive, but it will last for years.
Add the butter, water, and sugar. Let the mixture cool off until it’s warm. Dip a finger in to test it; it should feel warm, not hot or cold.
Step 3 – Activate Yeast
Add the yeast and let sit for 5-7 minutes until the liquid foams. Technically, active dry yeast doesn’t need time to proof, but it makes it rise better if you activate it first.
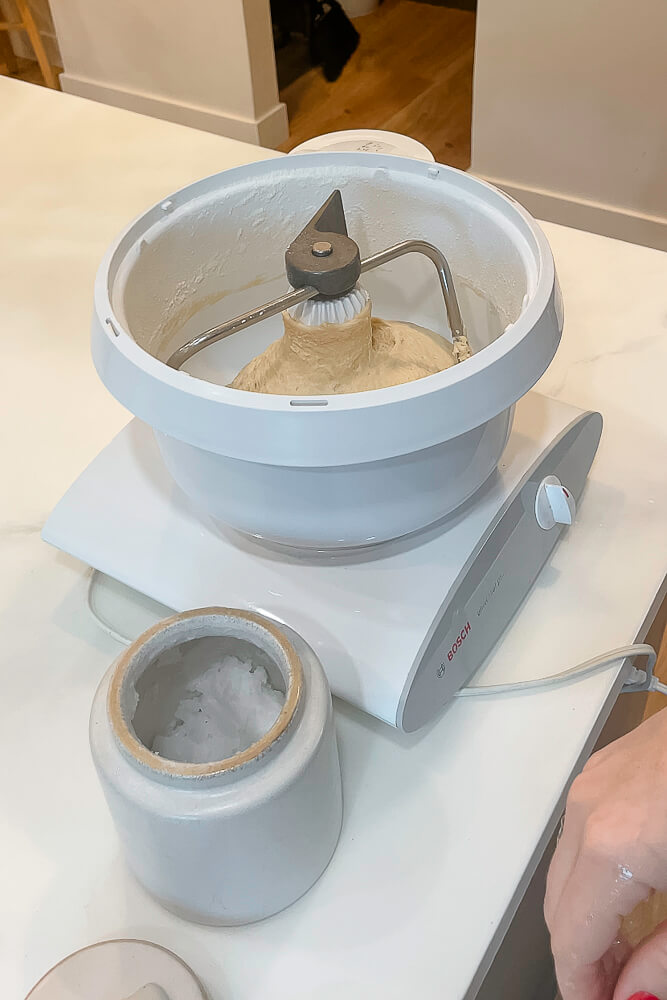
Step 4 – Mix Dough
Add the salt, egg, and flour, and turn the mixer on. Don’t add all the flour at once – start with 3 3/4 cups and add additional flour gradually. You only want to add enough flour to make the dough clean the sides of the bowl. If you add too much flour, your rolls will become more dense and less light and fluffy.
Step 5 – Knead
Let the dough knead for 5-6 minutes until it’s soft and smooth.
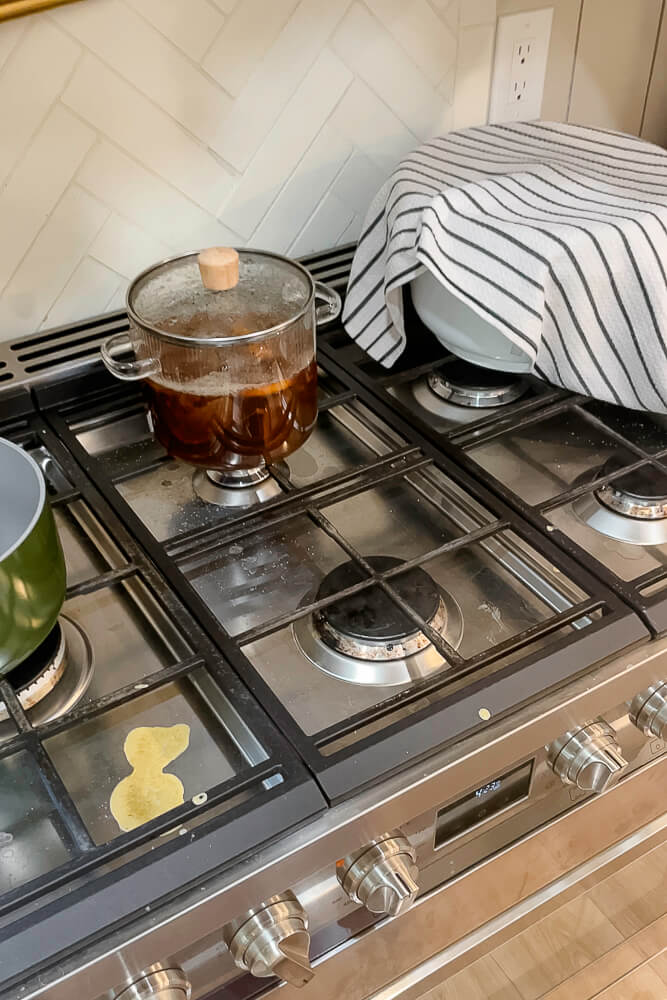
Step 6 – First Rise
Let the dough rise in a warm spot until doubled, about an hour or so. I left the dough in the mixing bowl, covered it with a towel, and set it on my stovetop next to my simmer pot.
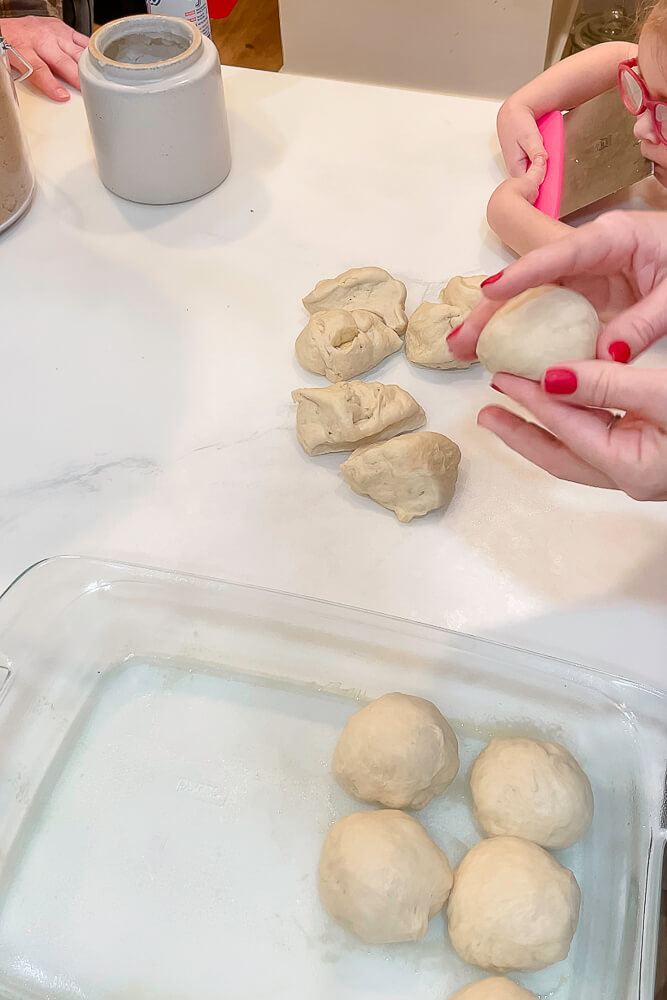
Step 7 – Shape Rolls
Grease a 9 x 13-inch pan. Lightly punch down the dough and lay it on a greased countertop. I like to add a little bit of coconut oil to my hands to help the dough not to stick while I’m handling it. My cute coconut oil canister is still available, but it’s on clearance, so get it while you can.
Divide the dough into 12 equal pieces. I started by cutting the dough ball into thirds. They should weigh about 3 to 3.5 oz, or just measure with your heart like I do. Roll every piece into a ball and place it in the pan.
If you want a nice smooth top when your rolls are finished, shape the dough balls and place the smooth side up. My pan fit four rows of three rolls. Using a dough cutter is much easier than using a knife.
Step 8 – Second Rise
Cover and let the rolls rise until doubled. They should be puffy with the sides touching.
Step 9 – Bake
Preheat the oven to 375°F (190°C). Bake the rolls for 15-20 minutes until golden on top.
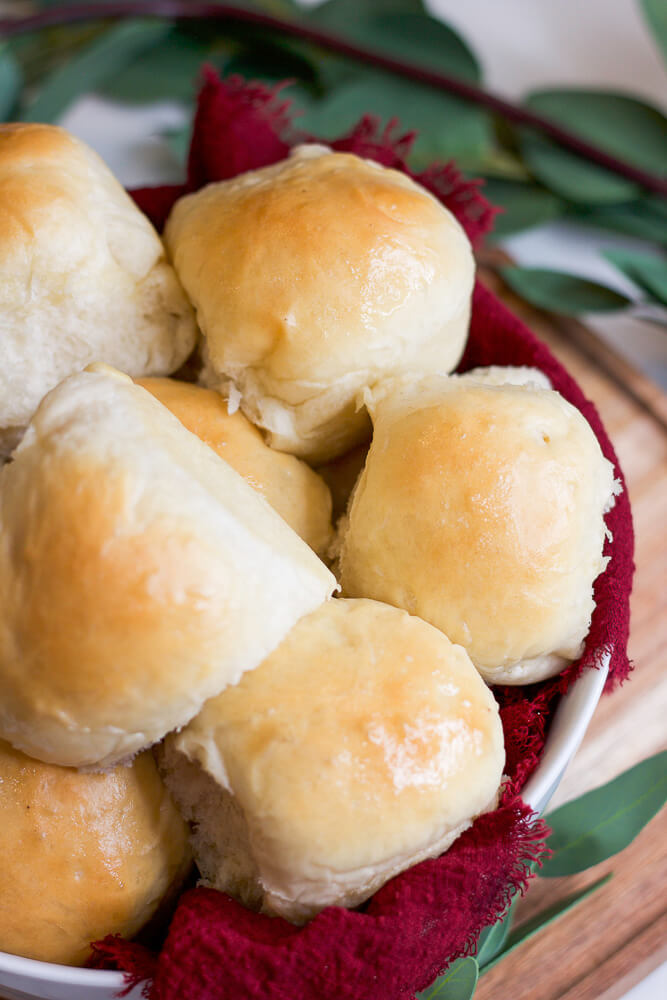
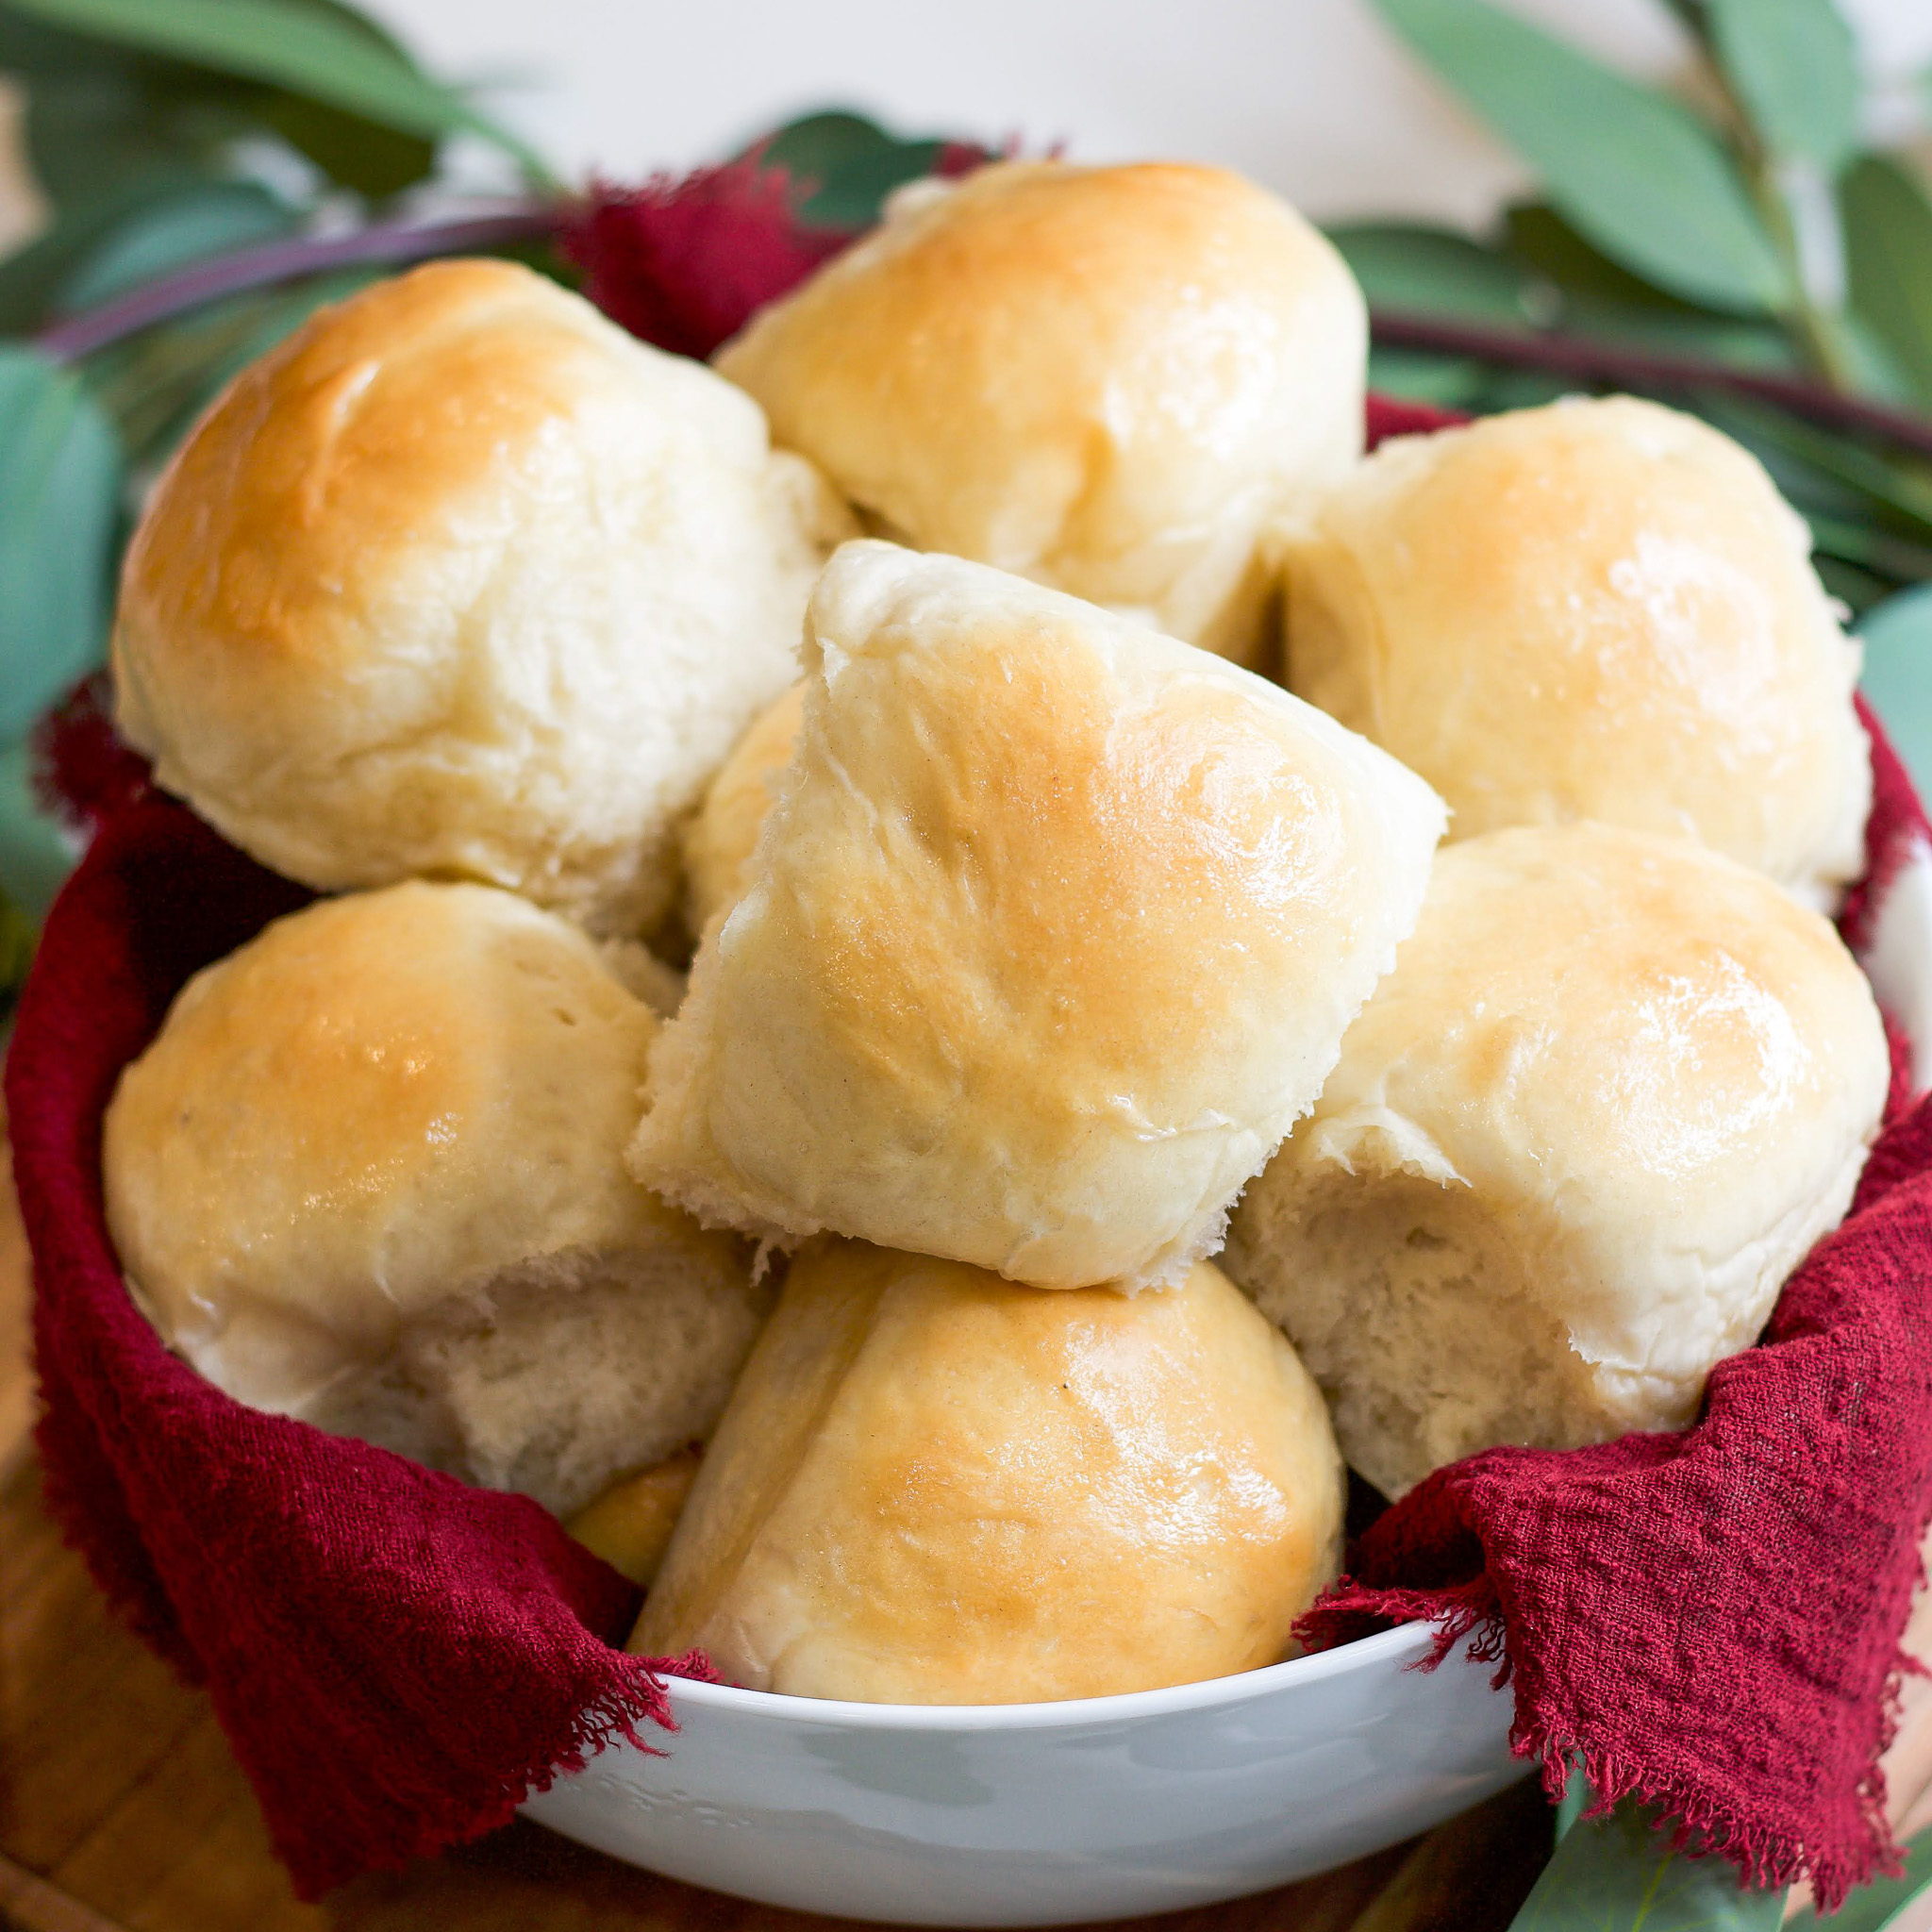
Step 10 – Finish
Brush the tops of the rolls with melted butter immediately after removing them from the oven.
Are you interested in other Thanksgiving recipes or need ideas? If so, I created a complete guide on hosting a Friendsgiving / Thanksgiving dinner party. Download it below!
These homemade dinner rolls are soft, fluffy, and buttery—perfect for any meal.With simple ingredients and straightforward steps, they’re a delightful addition to your table.
Ingredients
Scale
1 ¼ cups milk
¼ cup water
¼ cup (57 g) butter, softened or melted
2 tablespoons (27 g) granulated sugar
1 tablespoon instant or active dry yeast
1 large egg
1 ¼ teaspoons salt
4 ¼ to 4 ½ cups (604-639 g) all-purpose flour
Additional butter for brushing the tops
Instructions
Warm the Milk:Heat the milk until bubbles form around the edges and it starts to steam.
Combine Ingredients:Pour the warm milk into a stand mixer fitted with a dough hook. Add the water, butter, and sugar. Let the mixture cool until warm to the touch.
Activate Yeast:Stir in the yeast and let it rest for 5-7 minutes until foamy.
Mix Dough:Add the egg, salt, and 3 ¾ cups of flour to the mixer. Mix, adding additional flour gradually, until the dough clears the sides of the bowl and forms a soft, sticky ball.
Knead:Knead the dough for 5-6 minutes until soft and smooth.
First Rise:Let the dough rise in a warm spot until doubled, about 1 hour.
Shape Rolls:Grease a 9×13-inch pan. Punch down the dough and divide it into 12 equal pieces. Roll each piece into a ball and place them in the prepared pan.
Second Rise:Cover and let the rolls rise until doubled and puffy, with sides touching.
Bake:Preheat the oven to 375°F (190°C). Bake the rolls for 15-20 minutes until golden on top.
Finish:Brush the tops of the rolls with melted butter immediately after removing them from the oven.
Notes
These rolls are best enjoyed warm and can be paired with butter, jam, or your favorite spread. credit: Mel’s Kitchen Cafe