


How To Make A Large Flower Arrangement


Updated May 9, 2026
Get ready for Flower Arranging 101! We have been living in this tiny one bedroom apartment in Austin, Texas for the last couple of months while my husband has been working. We’ll be here for one more month before we head back to Utah so my husband can start medical school, so I’ve been having this huge battle with myself about decorating or not decorating. Let me tell you something… I am OBSESSIVE about home decor. Since we were going to be here for such a short time the practical side of me thought we should just leave it be. But then there’s the question about what I would do with all of my spare time while baby girl takes naps? I’m not much of a TV watcher, and there’s only so much cleaning I can do in 100 square feet. I definitely needed a hobby, but I also had to do things I made sure we could either sell or take back with us, so they couldn’t take up much space. So I decided I would DIY my own flower arrangement!
I have this little nook where my table sits, and it was definitely needing a little bit of pizzazz. I recently just made over this kitchen table and 4 chairs that we got from craigslist and I wanted something that would help me break out from the boring without costing me an arm and a leg. So I ran to my nearest hobby lobby when all the floral stems were 50% off (they rotate through this deal every 4 weeks or so) and picked up myself some faux flowers! I do love the freshies, but they’re not exactly in the budget right now. Plus they only last for like, 4 days around my house. Yeah, I’ve got a black thumb.
So what I’m about to tell you aren’t rules by any means, they’re just the guidelines I used to create my arrangement. I found some flowers that were a variety of sizes. I usually like to get large, medium and small flowers, plus I grab some greenery to throw in there too. I also made sure they were colors that complimented each other.

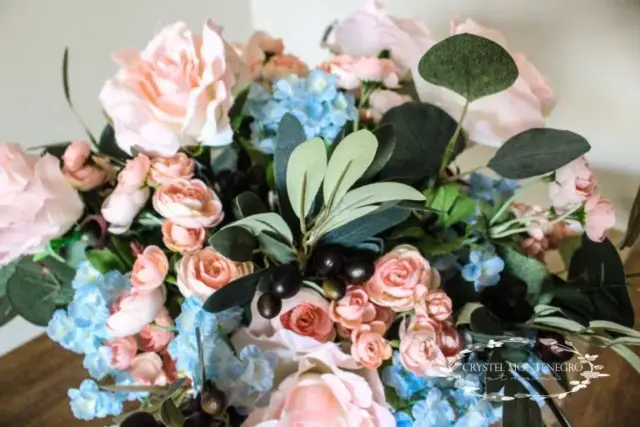
When I saw this eucalyptus bush I just had to have it. It was easily the most expensive part of my bouquet even at 50% off (normally one is $19) so I only got one but it was totally worth it and made all the difference.
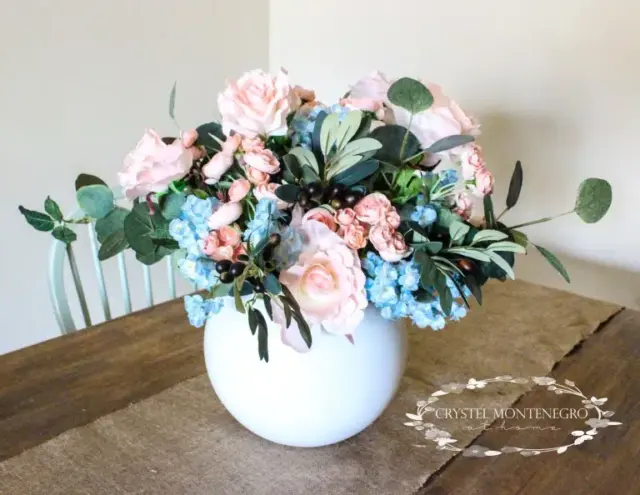
First, I prepped my vase. I found this Bubble Ball vase at hobby lobby for 50% off and it was perfect! I wanted something that wasn’t too tall or too short, but also something that had a wide enough mouth so I could make a larger flower arrangement. Also, did you know that you can spray paint almost ANYTHING that’s made out of wood, metal, or glass? This is my favorite trick to spruce up an old thrift store find!
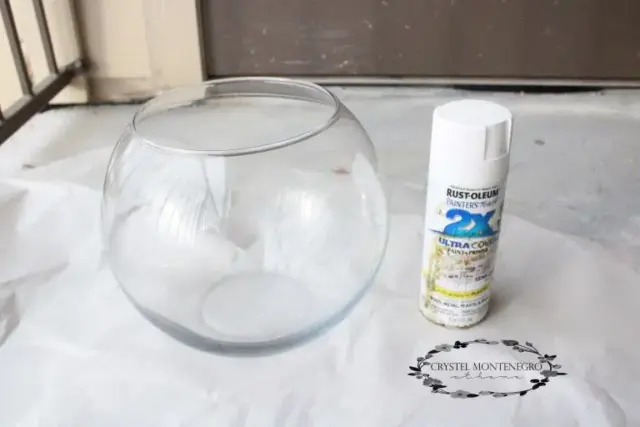
If you want, you can grab some fine grit sandpaper just to rough up the glass a tiny bit so the paint adheres better, but I didn’t bother with that. I first started by spray painting the bottom of the vase, then let it dry. One thing you do have to do is shake your can of spray paint reeeeaaaalllly well. Otherwise it will shoot out grainy little particles that disrupt the smooth surface of the paint.
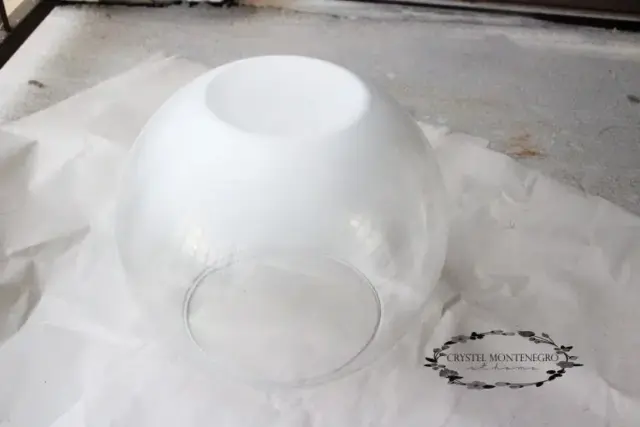
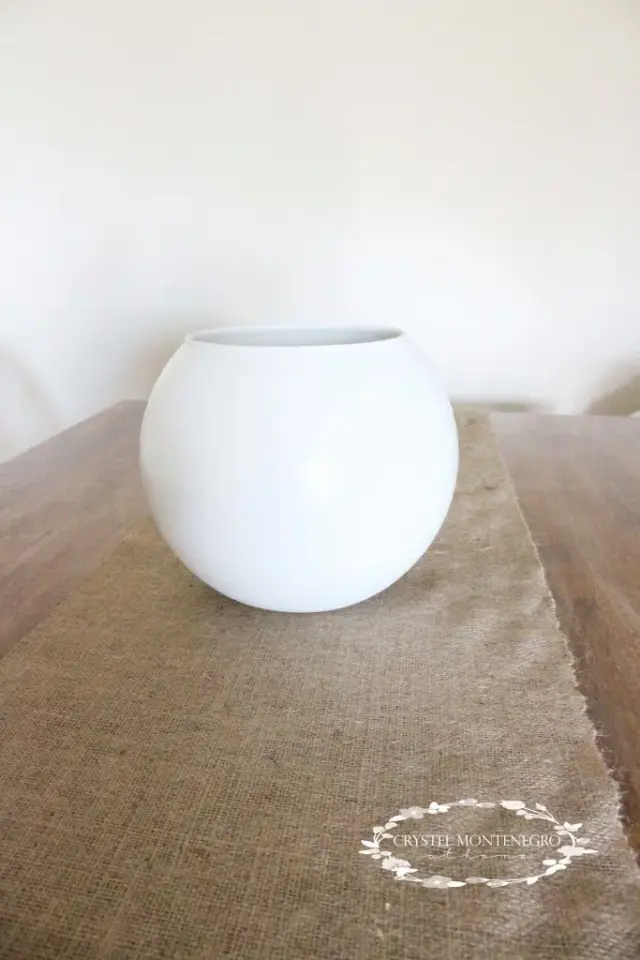
Once dry, I finished painting it, let that dry, and then covered it with a couple coats of Varathane water based polyurethane.

I love this stuff because it dries quickly, doesn’t yellow white paint, it has no odor and it has a nice, hard semi-glossy finish. It will keep the chipping to a minimum.
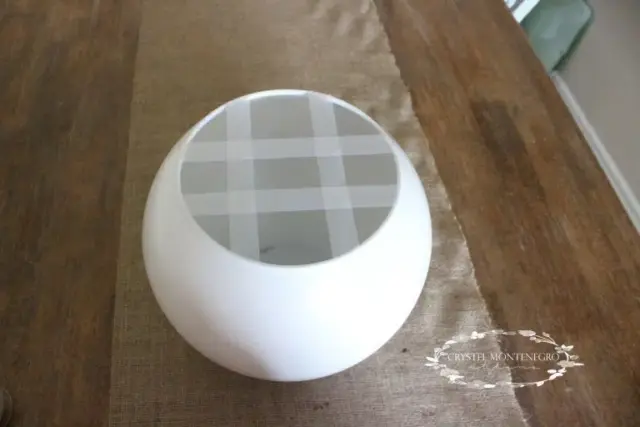
Here’s another nifty little trick I learned. Tape! It’ll help keep the stems in place as you’re arranging.
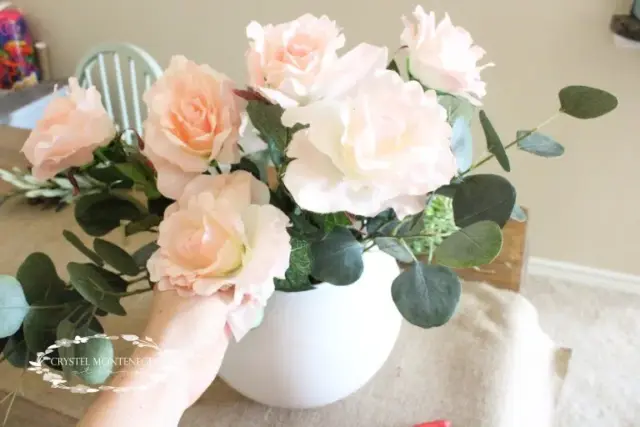
I started arranging by first using my eucalyptus stems as a base.

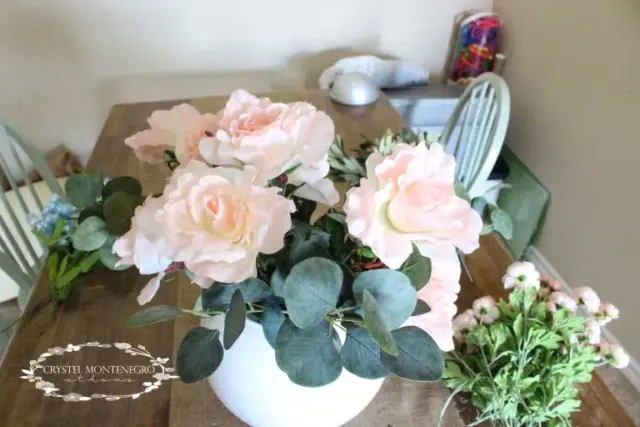
Next, I added my large flowers, spreading them evenly about the vase.
Next, I added my medium sized flowers, in this case my ranunculus sprays.
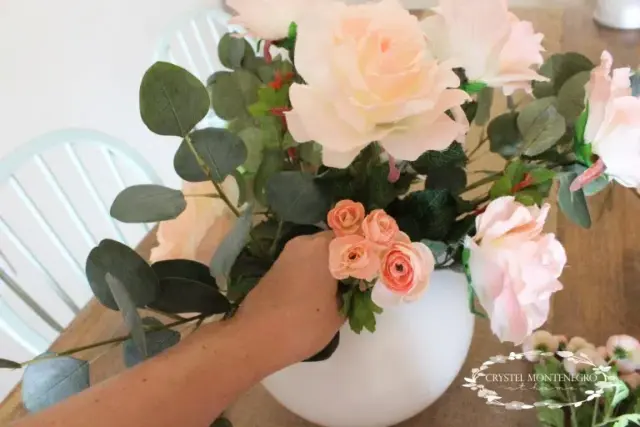
I had quite a few of these so I only used about half to go around the outside edge of my arrangement and I saved the rest for later to fill in any gaps.
Next, I added my small flowers one sprig at a time. I tried to add them evenly around the edges and threw a few in the middle that were evenly spaced.

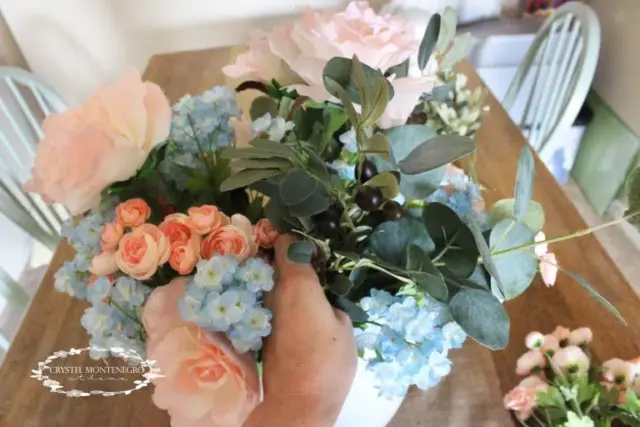
Next I added my little Olive sprays. I never would have thought the brown of the olives would add so much to my arrangement, but I love it!
The last thing I did was finish off with the remaining ranunculus to fill in the gaps.
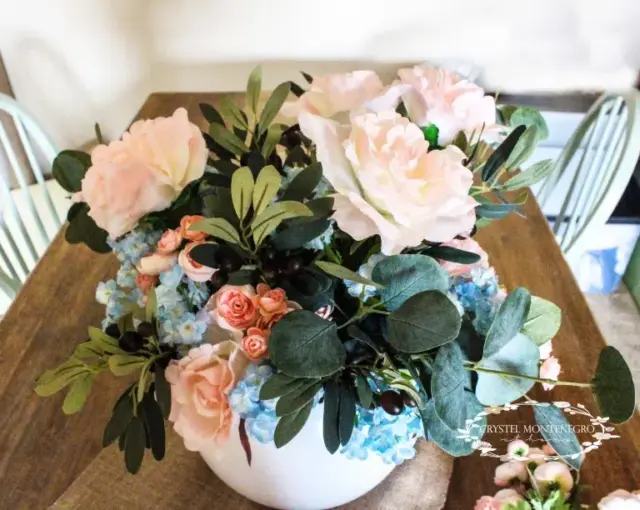
I love how it turned out!!

Thanks for stopping by, I hope you got some great ideas! I would love to see how yours turned out, so let me know!!
XOXO,
Crystel
