Why I Hired Outside Help to Install a Concrete Sidewalk
Updated June 29, 2025
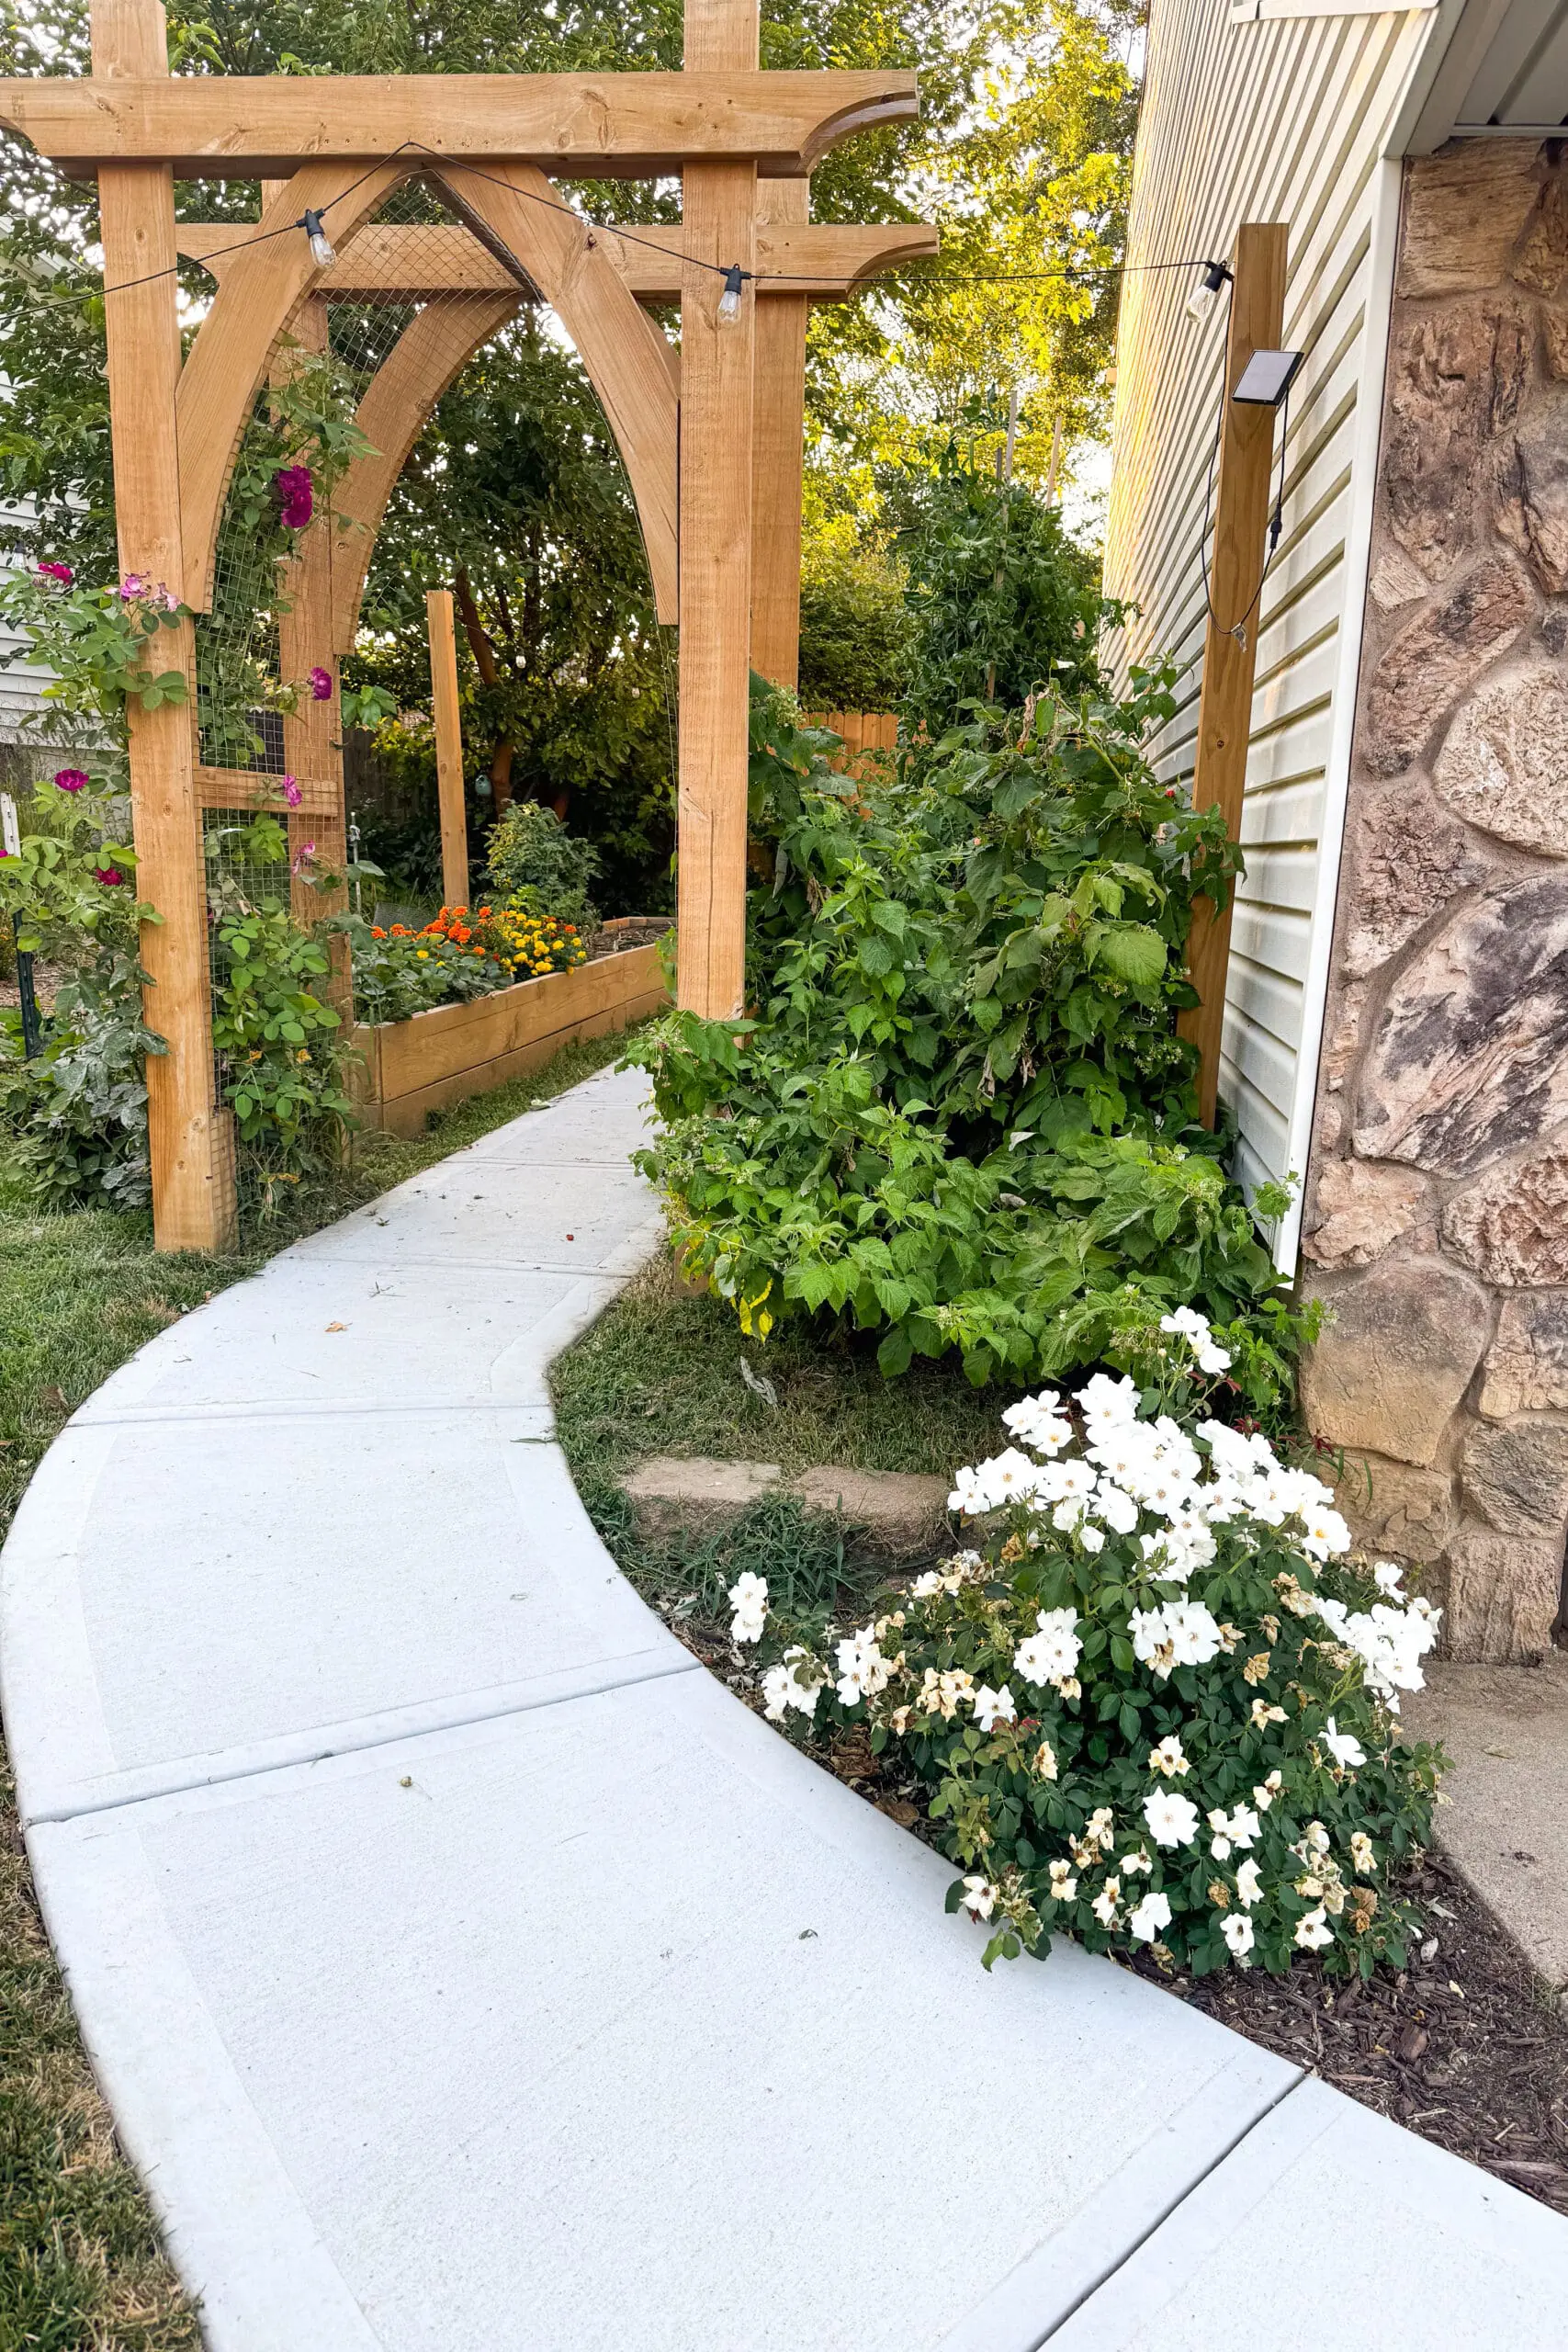
I really wanted a concrete sidewalk added at my house, but concrete is a lot of work to DIY, and it’s also really expensive to hire out. But, I was able to get a smokin’ good deal on my concrete sidewalk and an extension of our front porch. I’m sharing all the details, from how I found such a great deal, all the progress photos along the way, and what to expect if you venture into this process yourself.
Hiring Workers From Facebook Marketplace
Last summer we removed our old paver patio and swapped it for this much bigger concrete patio. We were so impressed with the workmanship of the guys we hired that we hired them again when it came time to do our concrete sidewalk. I initially found these gentlemen by searching on Facebook Marketplace. When hiring from Marketplace, there are for sure some pros and cons, and it can definitely be risky.
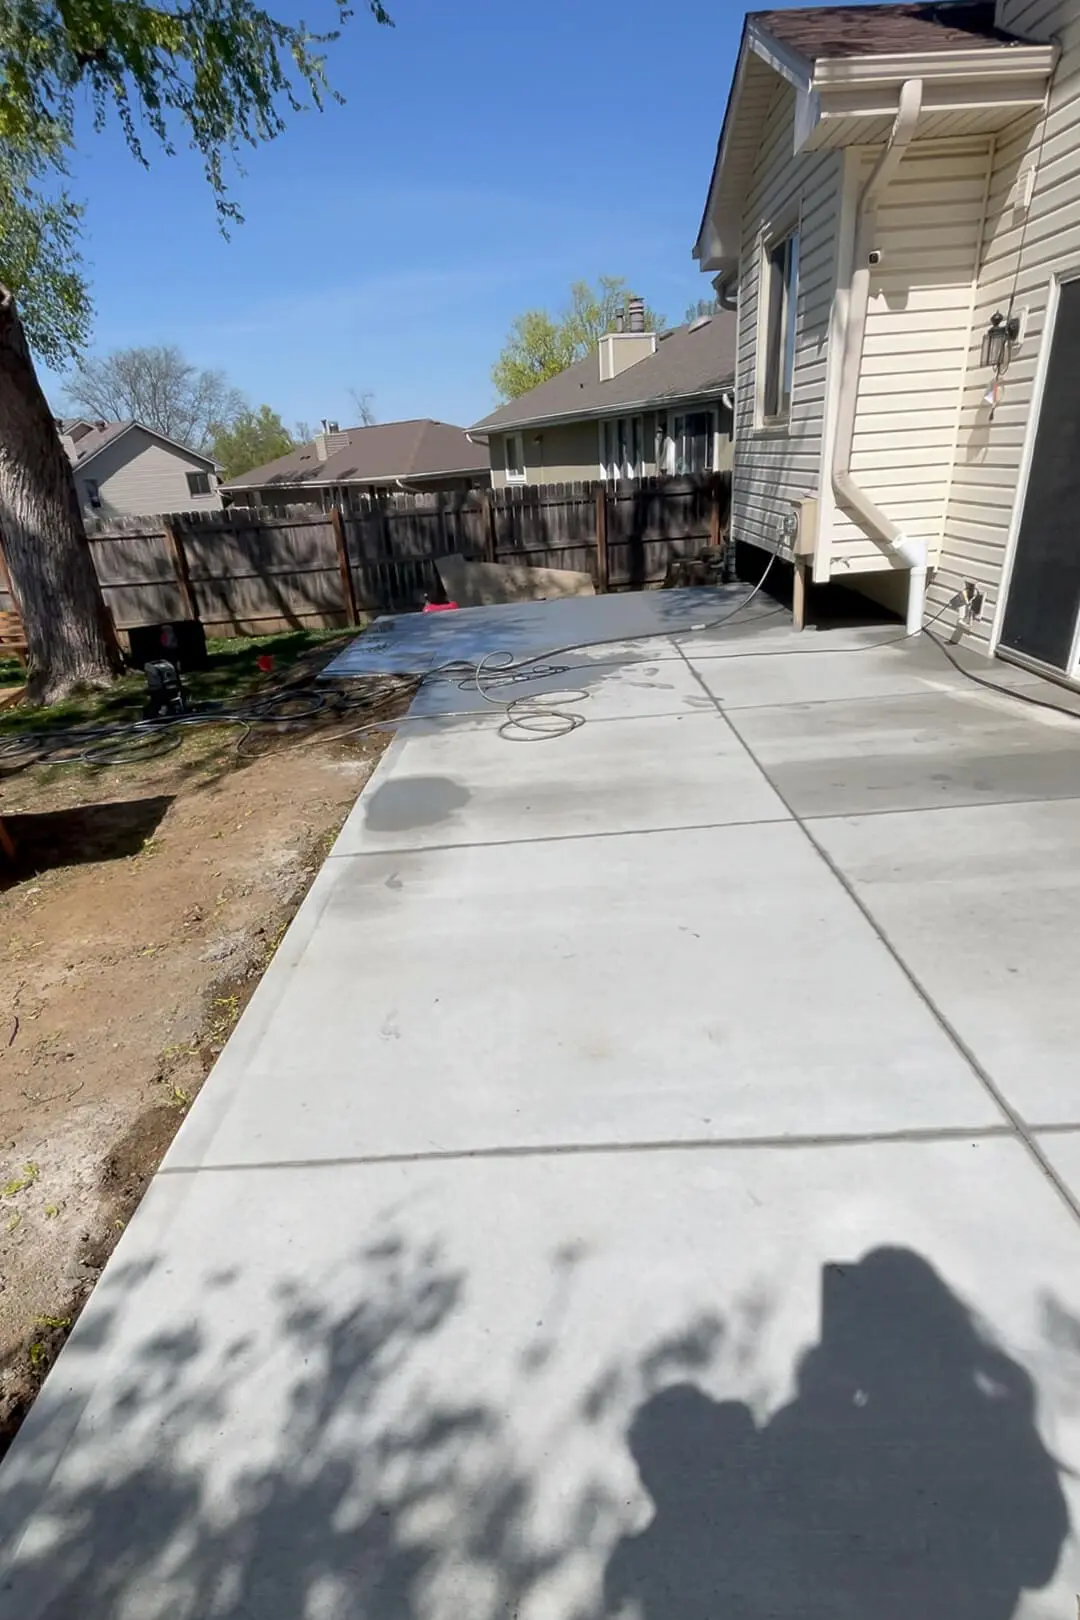
The biggest pro is absolutely the price. Currently, my driveway has lots of cracks and breaks. I called a regular concrete company to come out and give us a quote to fix it, and they told me $12,000! And that was just to fix it, not replace it. For my entire patio to be put in last summer, the guys I hired charged me less than $4000. Huge price difference! So when it came time to hire for this sidewalk project, I didn’t even call the expensive concrete company for a quote.
Now for the cons. When hiring from Facebook Marketplace, they may not be licensed properly through your state and county. They may not have insurance. Sometimes, this is a side job for them, so you may only be able to schedule them to work when they’re available outside of their day job’s hours.
You’re also taking a risk on the quality and workmanship. With a typical company, you can look at Yelp or Google reviews, research them on Better Business Bureau, etc., but you don’t have that luxury when hiring off Facebook Marketplace. You can ask them for references or photos of their previous work, and sometimes there are reviews on there from people who have used them but you’re still taking the risk that things may not turn out so well on your project. Like I said, it may be risky and this method may not be for everyone.
I’m incredibly happy with how our patio and sidewalk turned out for the price that I paid. There may be a few things that I would’ve liked to be different, but I’m not going to nitpick because of the amazing deal we got. If you are pickier than me, hiring off of Facebook Marketplace may not be your best option.
Removing Old Concrete
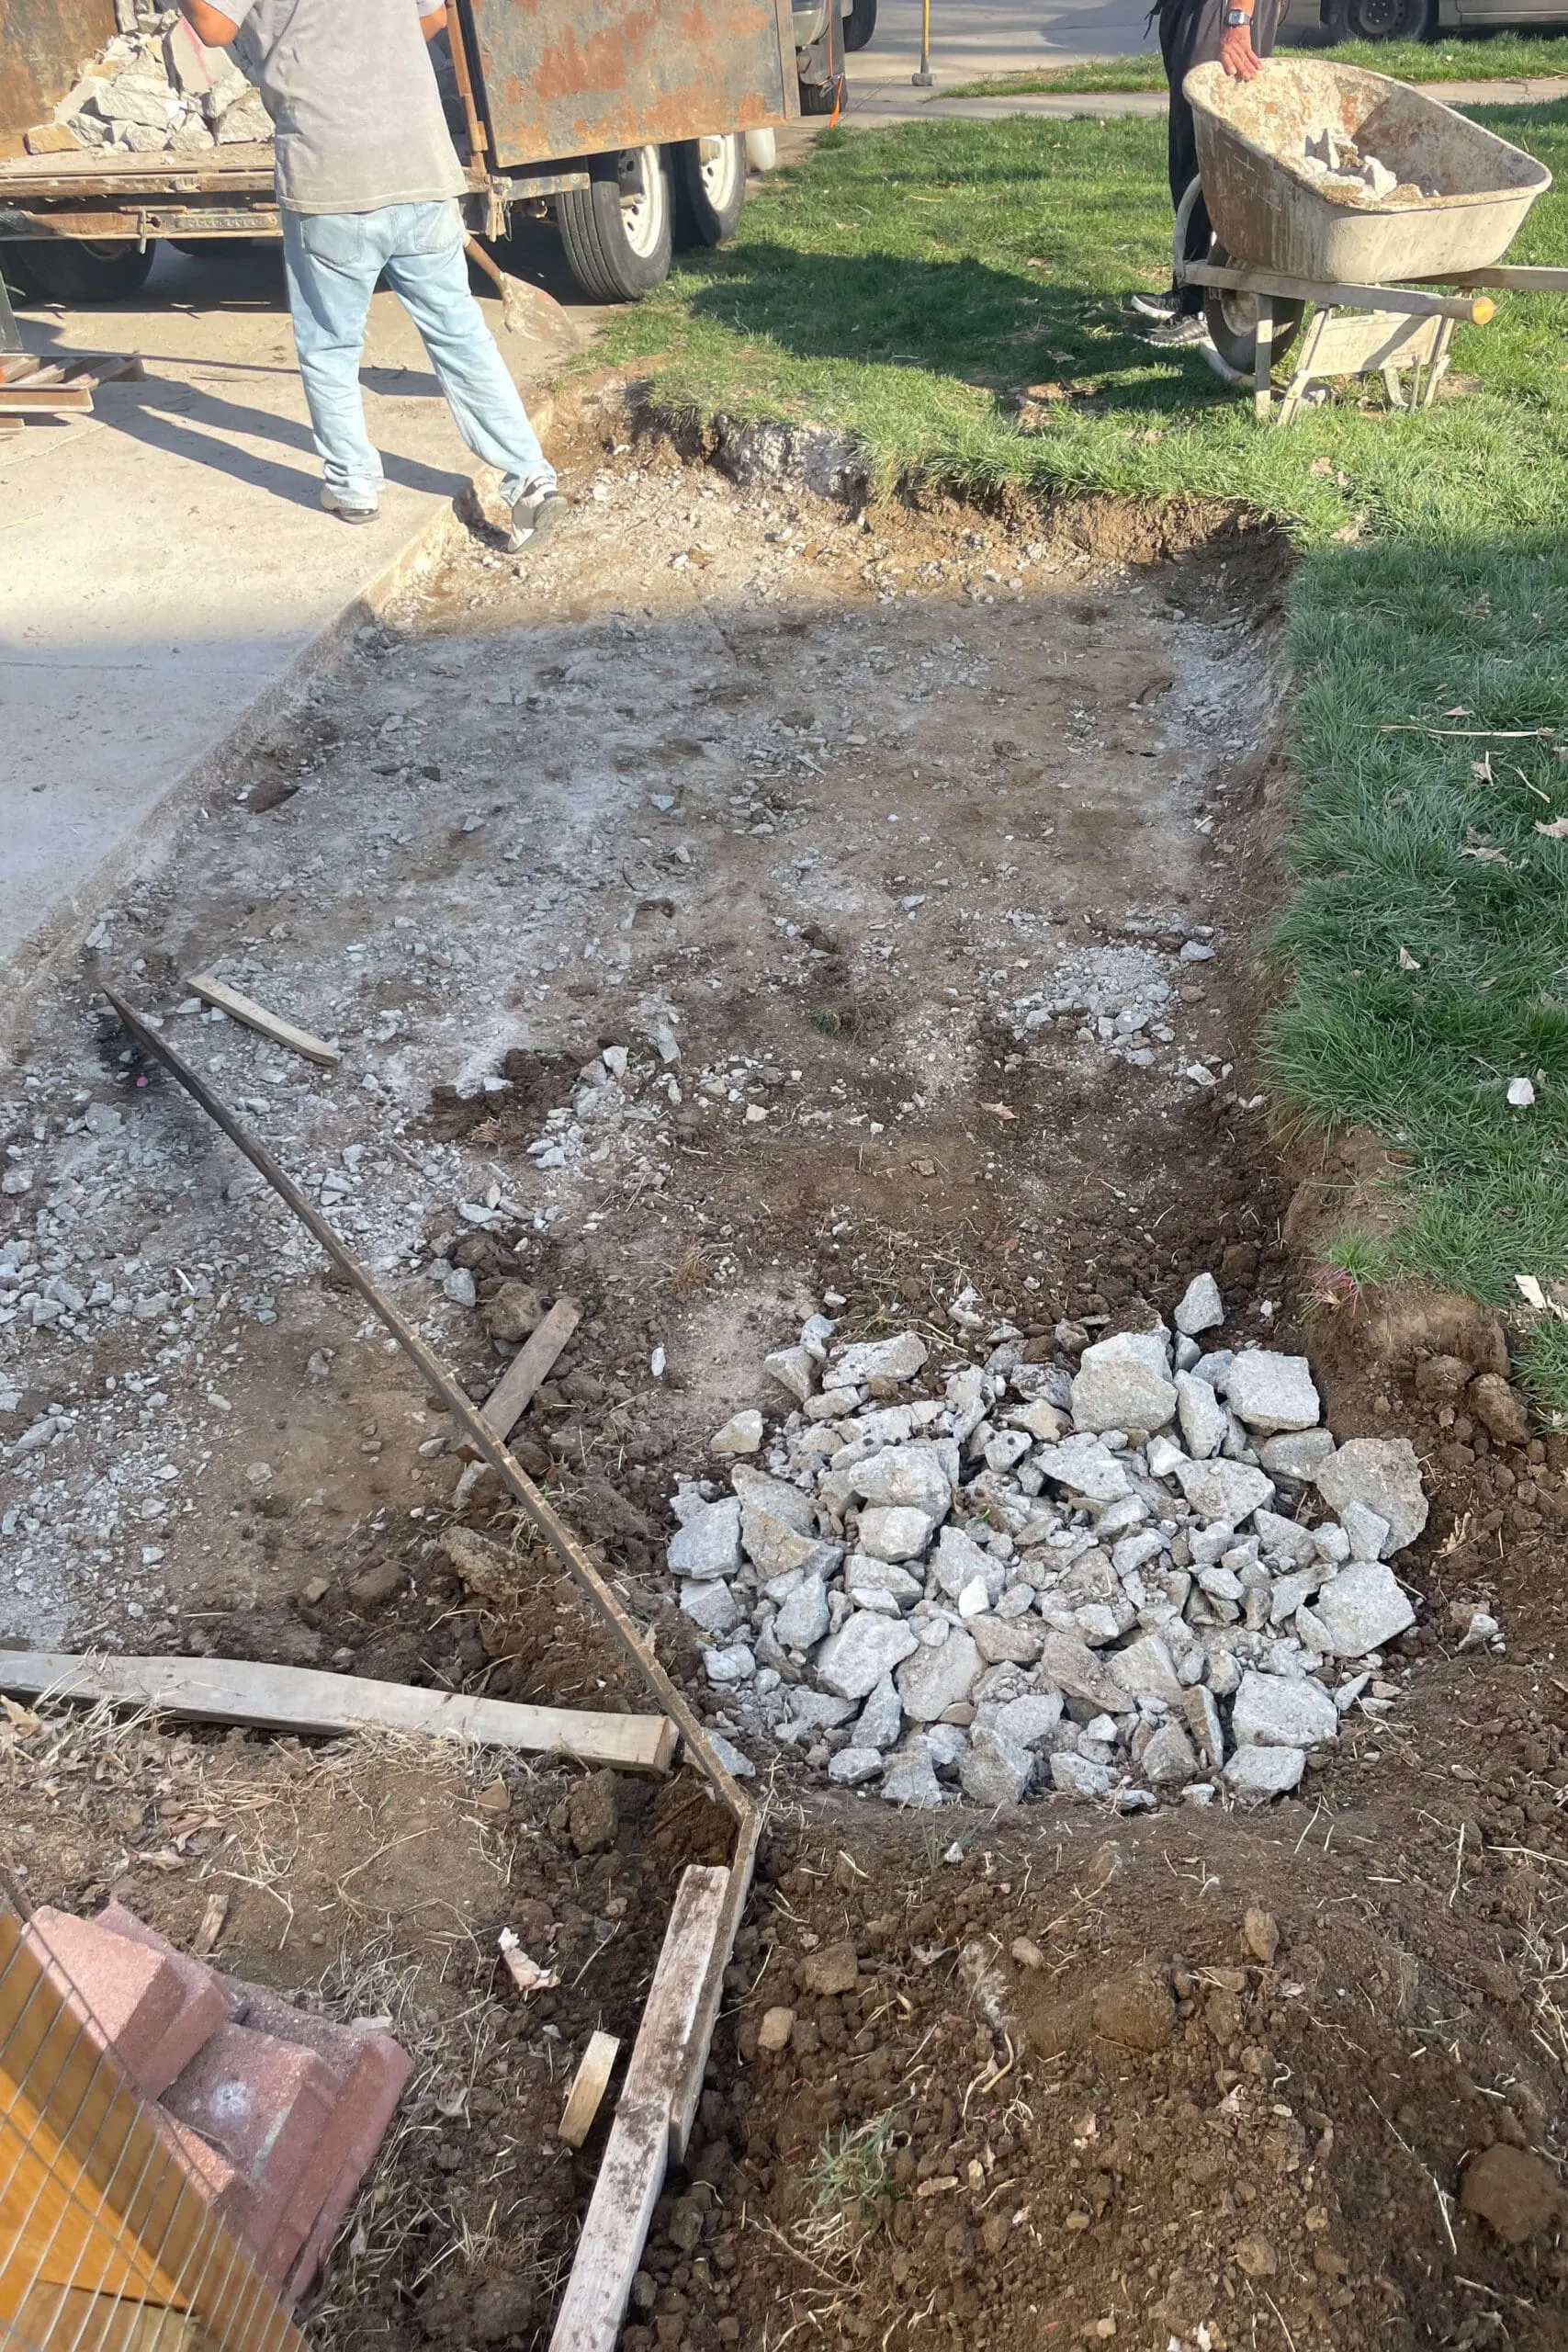
Before we could even start installing a sidewalk, they first had to remove this concrete pad. We needed somewhere to park our trailer, so in a knee-jerk decision, we had them put in a concrete pad right next to our driveway while they were doing our patio last summer. Afterward, I realized that I hated having the trailer there. It looked awful parked in front of my beautiful garden arbor, so it was time for the trailer to go somewhere else.
We decided to DIY a paver patio for parking our trailer and just have this section of concrete removed to make way for our new sidewalk. Removing concrete is so difficult. We probably could have gotten a lower price by doing this part ourselves, but I was more than happy to pay them to do it.


They even hauled off most of the rubble. Some of it was left to fill in as a base on some low spots, and the rest they loaded into a trailer to be taken away.
Setting Forms for Our Concrete Sidewalk
To give them an idea of where I wanted the concrete sidewalk to go, I bought a can of marking paint and marked it out for them.

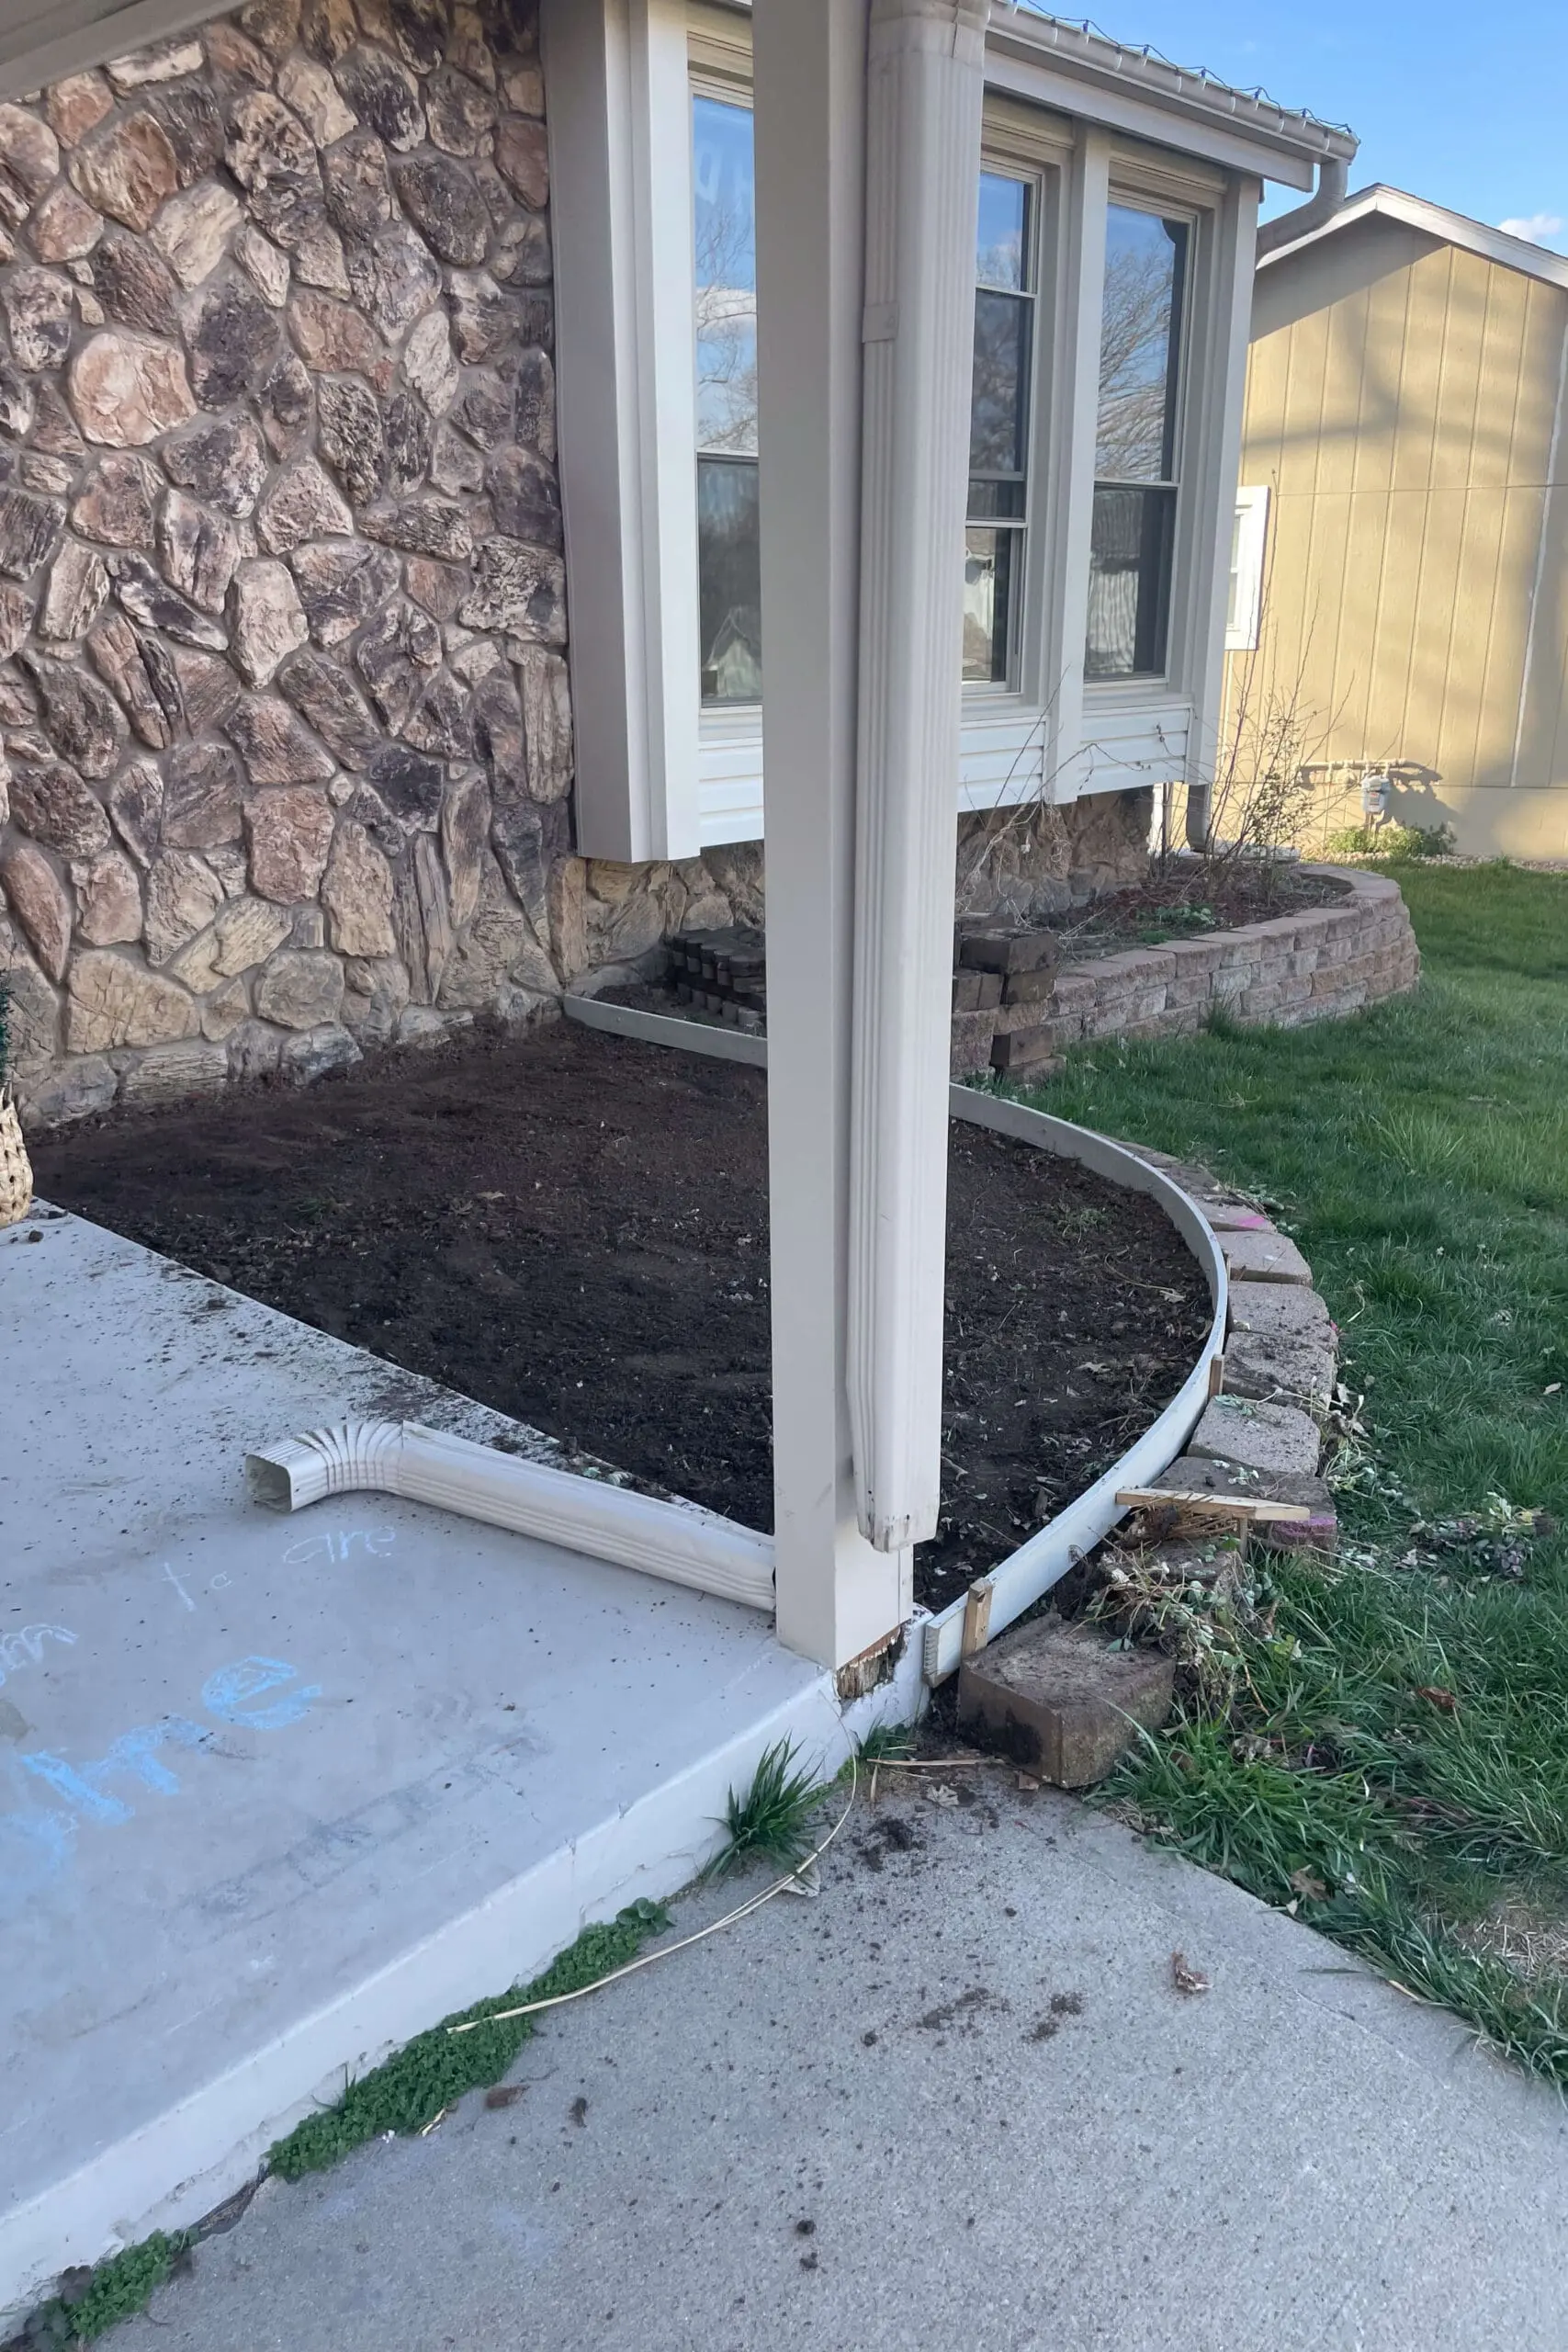
Then, they got to work setting the forms for our concrete sidewalk. They used mostly 2x4s mixed in with some bendier boards on the curvier areas. When putting the forms in they might have to dig down in some areas to make sure that the finished sidewalk will be level.

Once all the forms were in, I started to see my vision coming to life.
Note on the 2nd photo here, there is a little spot in the forms that they left open. This is so they can get a wheelbarrow in there with all the concrete. That will be the last spot that they close up.


In addition to the sidewalk, we also hired them to put in a porch extension up front. This area was just an unused flower bed I hadn’t done anything with since moving in. Since our front entryway isn’t that big (you can get a better look at it here), extending it to the side will be a better use for our family. I can’t wait to add a porch swing and decorate this space for the holidays.
After the guys all went home for the day after setting the forms, I dug a trench and ran this piece of pvc pipe underneath. I had an awesome drip watering system that I put in for my veggie garden, and the waterline needed to get over to the other raised garden box. I really didn’t want a water line going across my concrete sidewalk, where it would just be a tripping hazard, so that meant it needed to go underneath.
After placing the pipe and running my water line, I just buried it back up and smoothed out the dirt again. Before pouring concrete around your home, definitely take a second to think if there are any water or electrical lines that you want to run underneath.


Pouring the Concrete Sidewalk
The next day our awesome crew showed up to pour our concrete sidewalk. The kids of course loved watching the concrete truck in action.

One wheelbarrow full at a time the concrete gets moved from the truck to be dumped inside the forms. They’re dumping it right on top of these pieces of tension rods they added to give our concrete sidewalk some rigidity and help it hold together better over time.

One wheelbarrow load down, and a million to go! Not really, but kind of feels like it. So thankful we hired this job out. I never could’ve finished this by myself.

As they dump the concrete with the wheelbarrow, they’re going to fill in the forms by working the concrete with a few different tools.
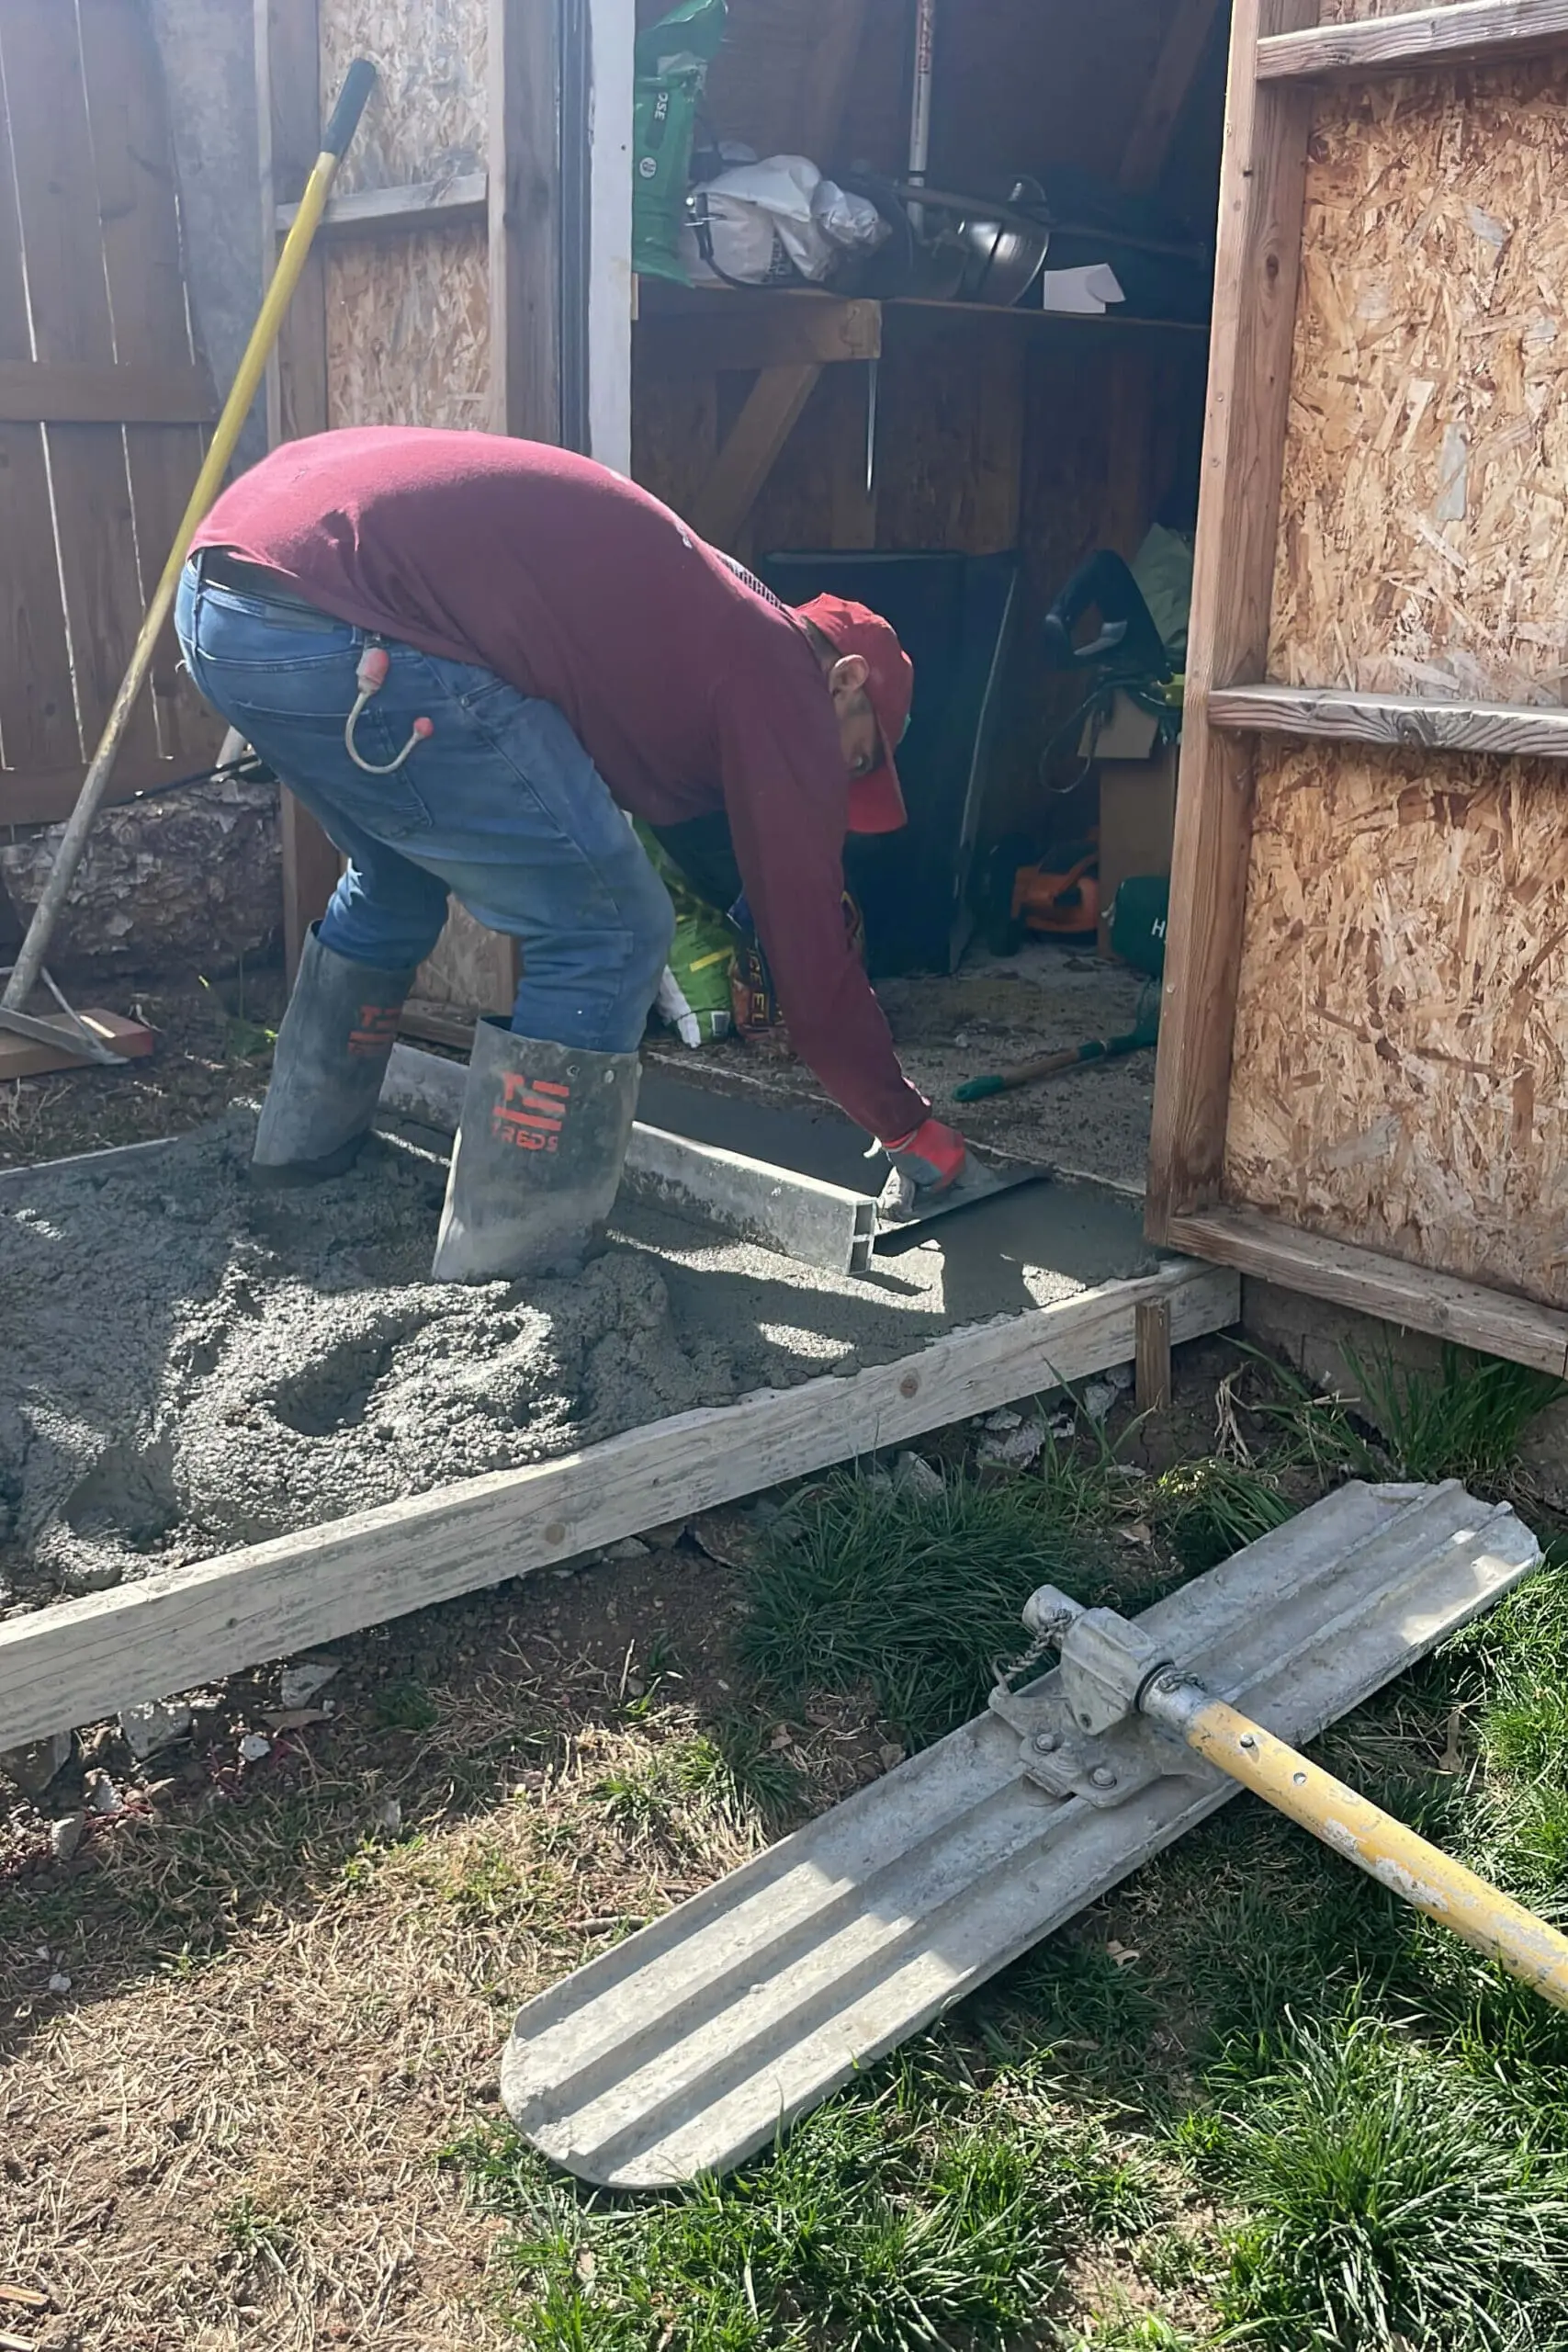
A screed is used to make sure your concrete is level with the top of the forms.
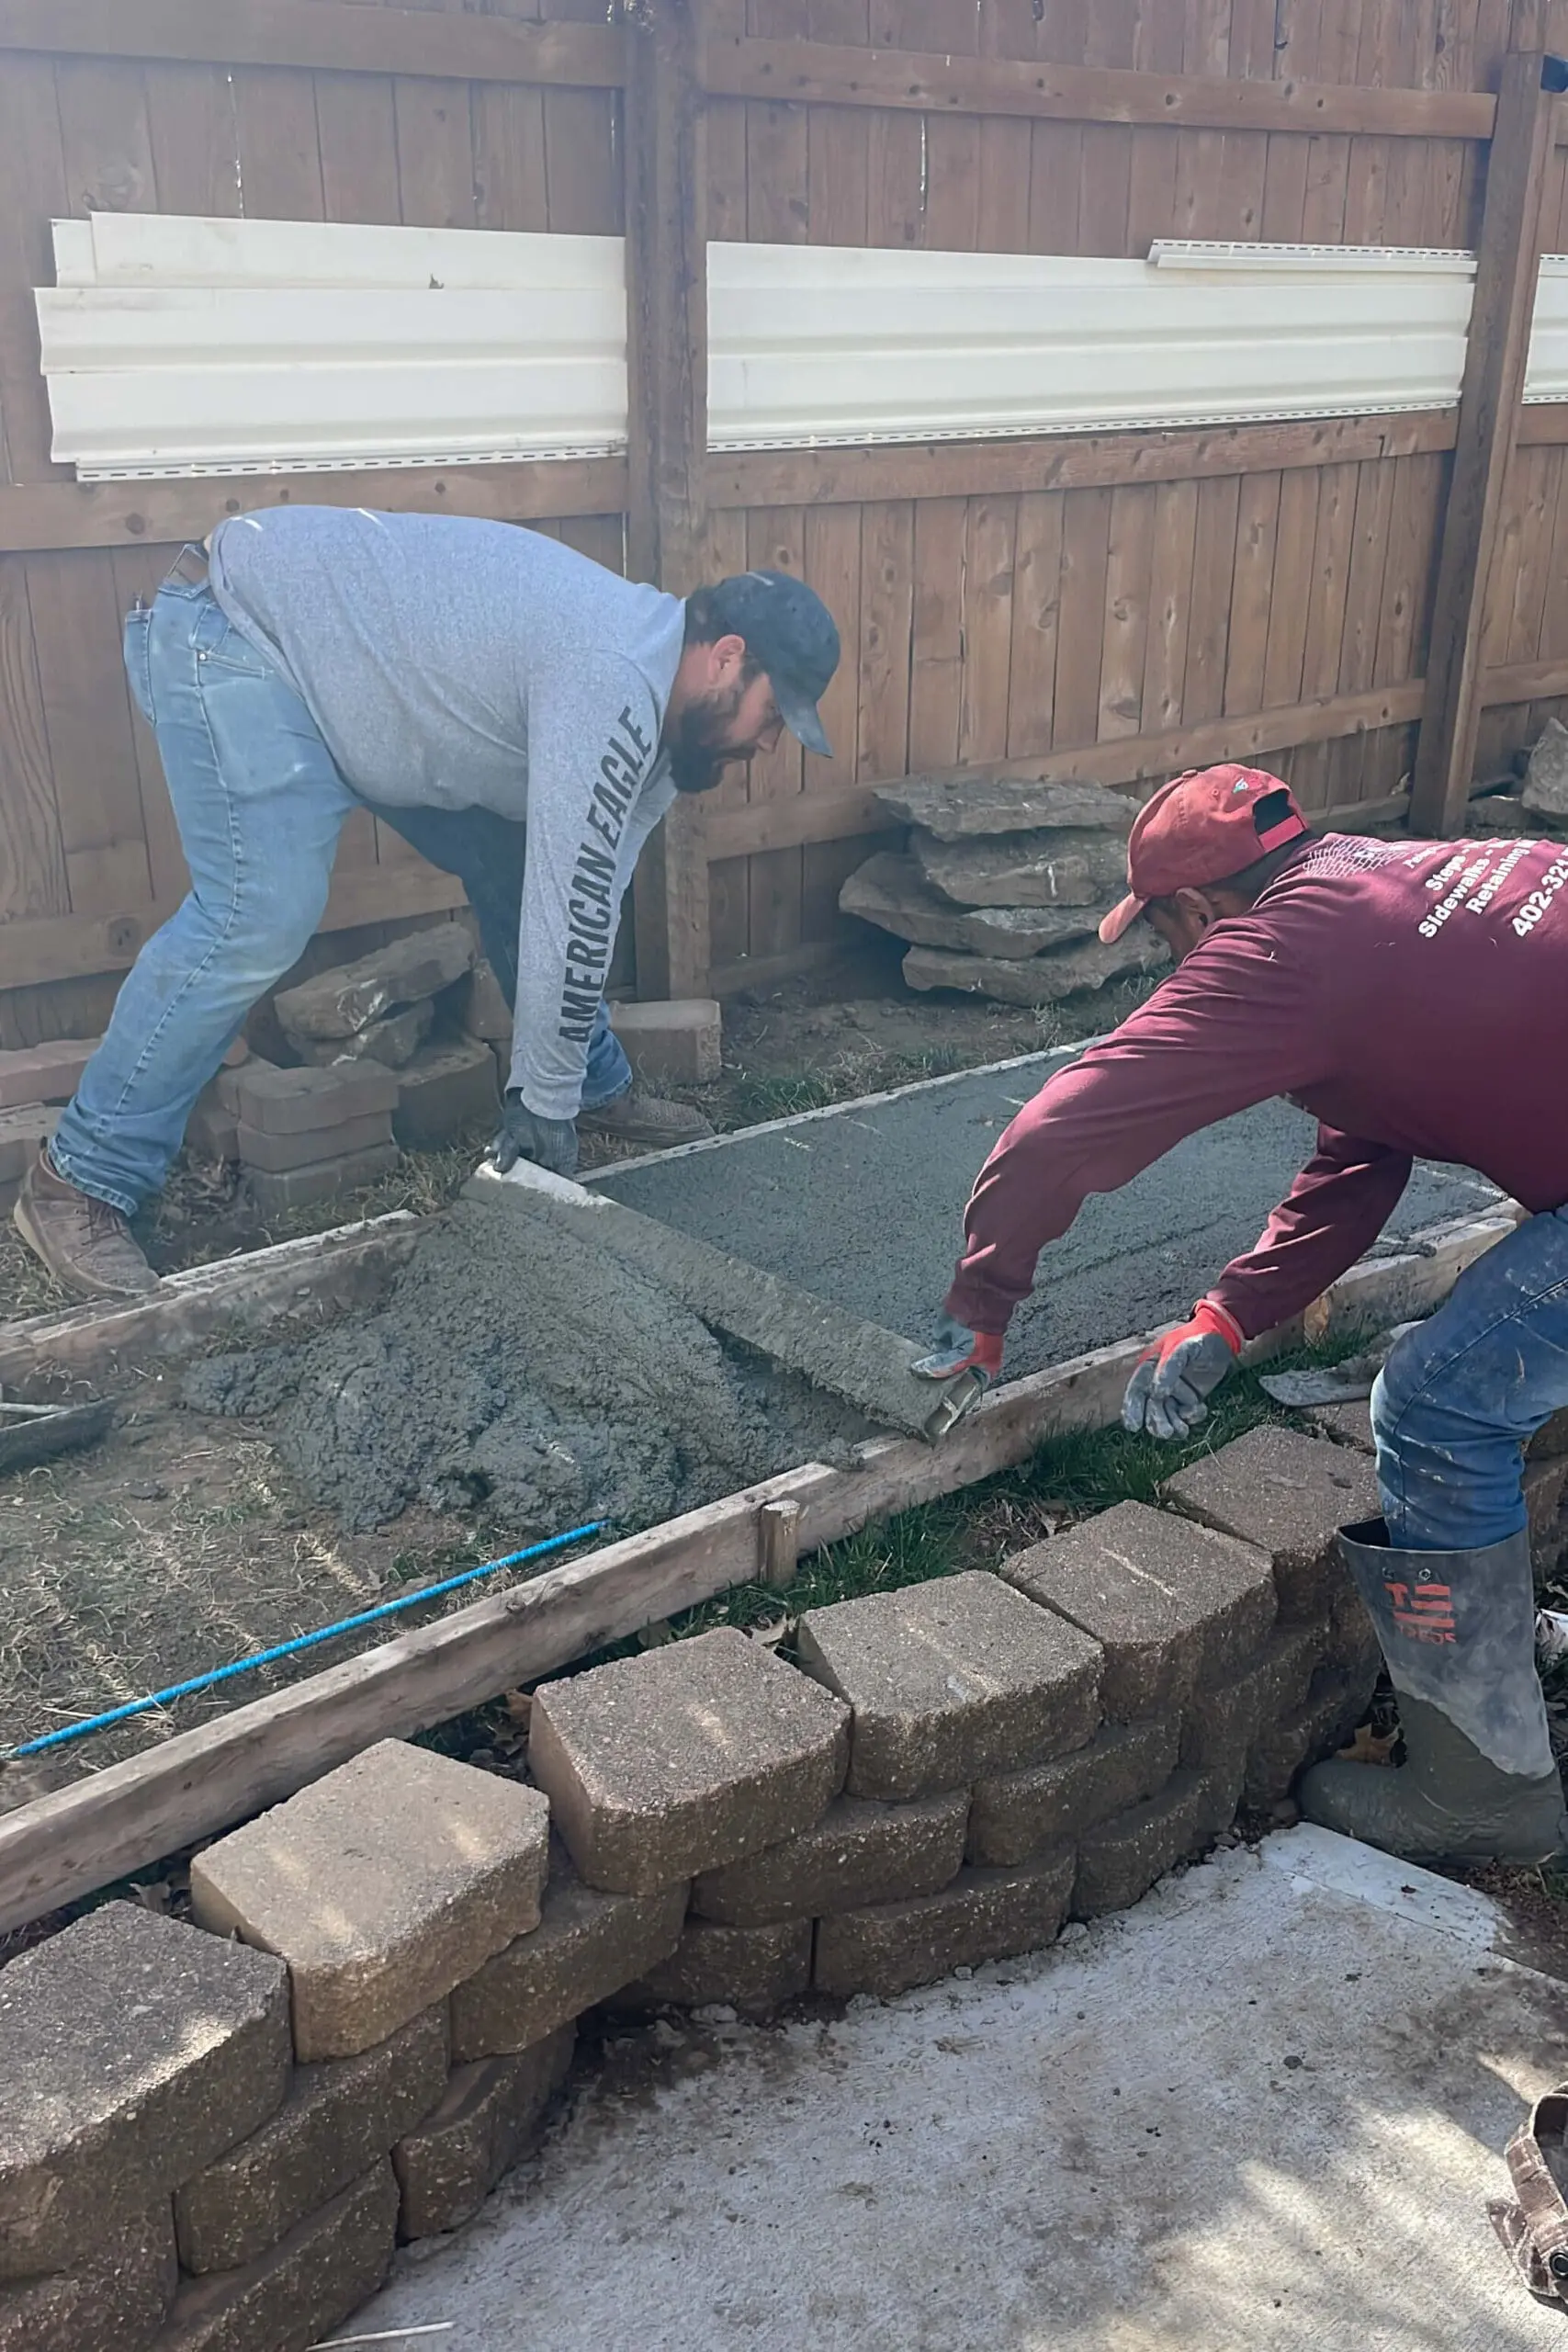
A concrete rake (lower part of the picture) is used to pull the concrete back and move it around inside the forms, making sure they’re completely full. A concrete float (upper part of the picture) is used to give the concrete a nice smooth finish.

See how they’re working their way towards that open spot in the form?

Once they reached that point, they used one final bendy board to close off the sidewalk completely.
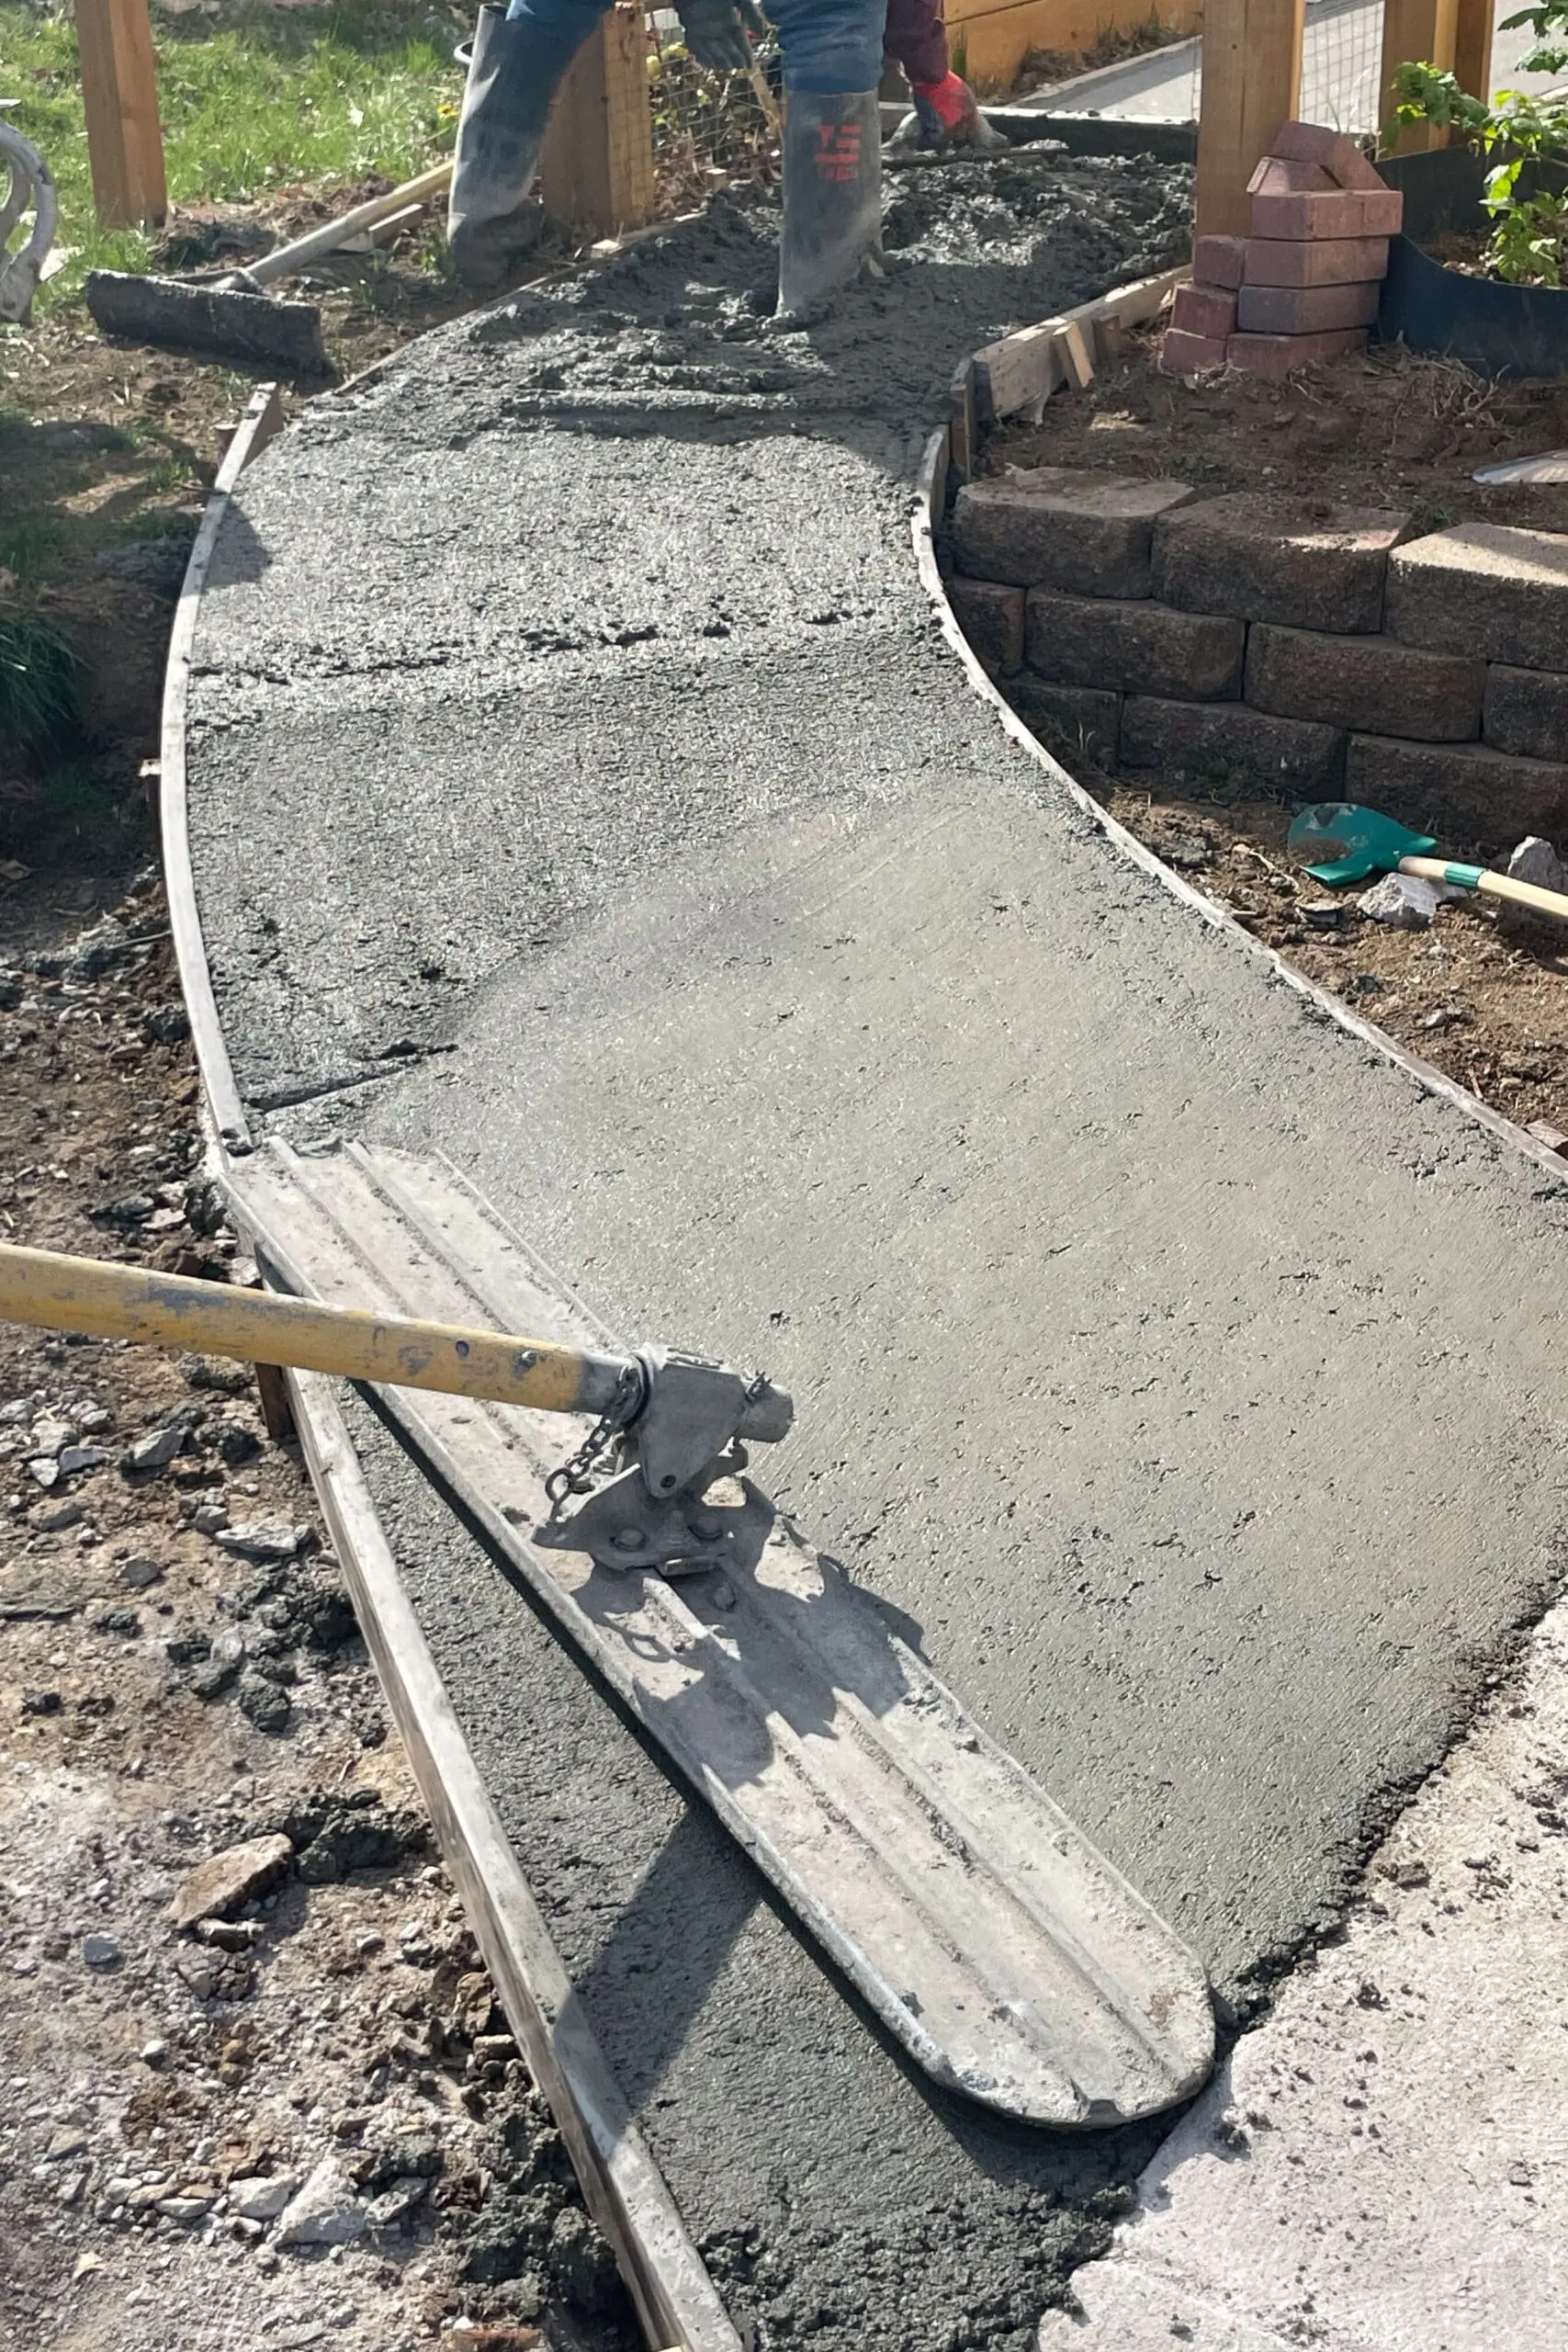
Then they finished floating it out to just about perfection.

The process for the front patio extension was pretty much the same: dump the concrete with the wheelbarrow, use a screed to make the concrete level with the forms, and then use the float to smooth it all out.
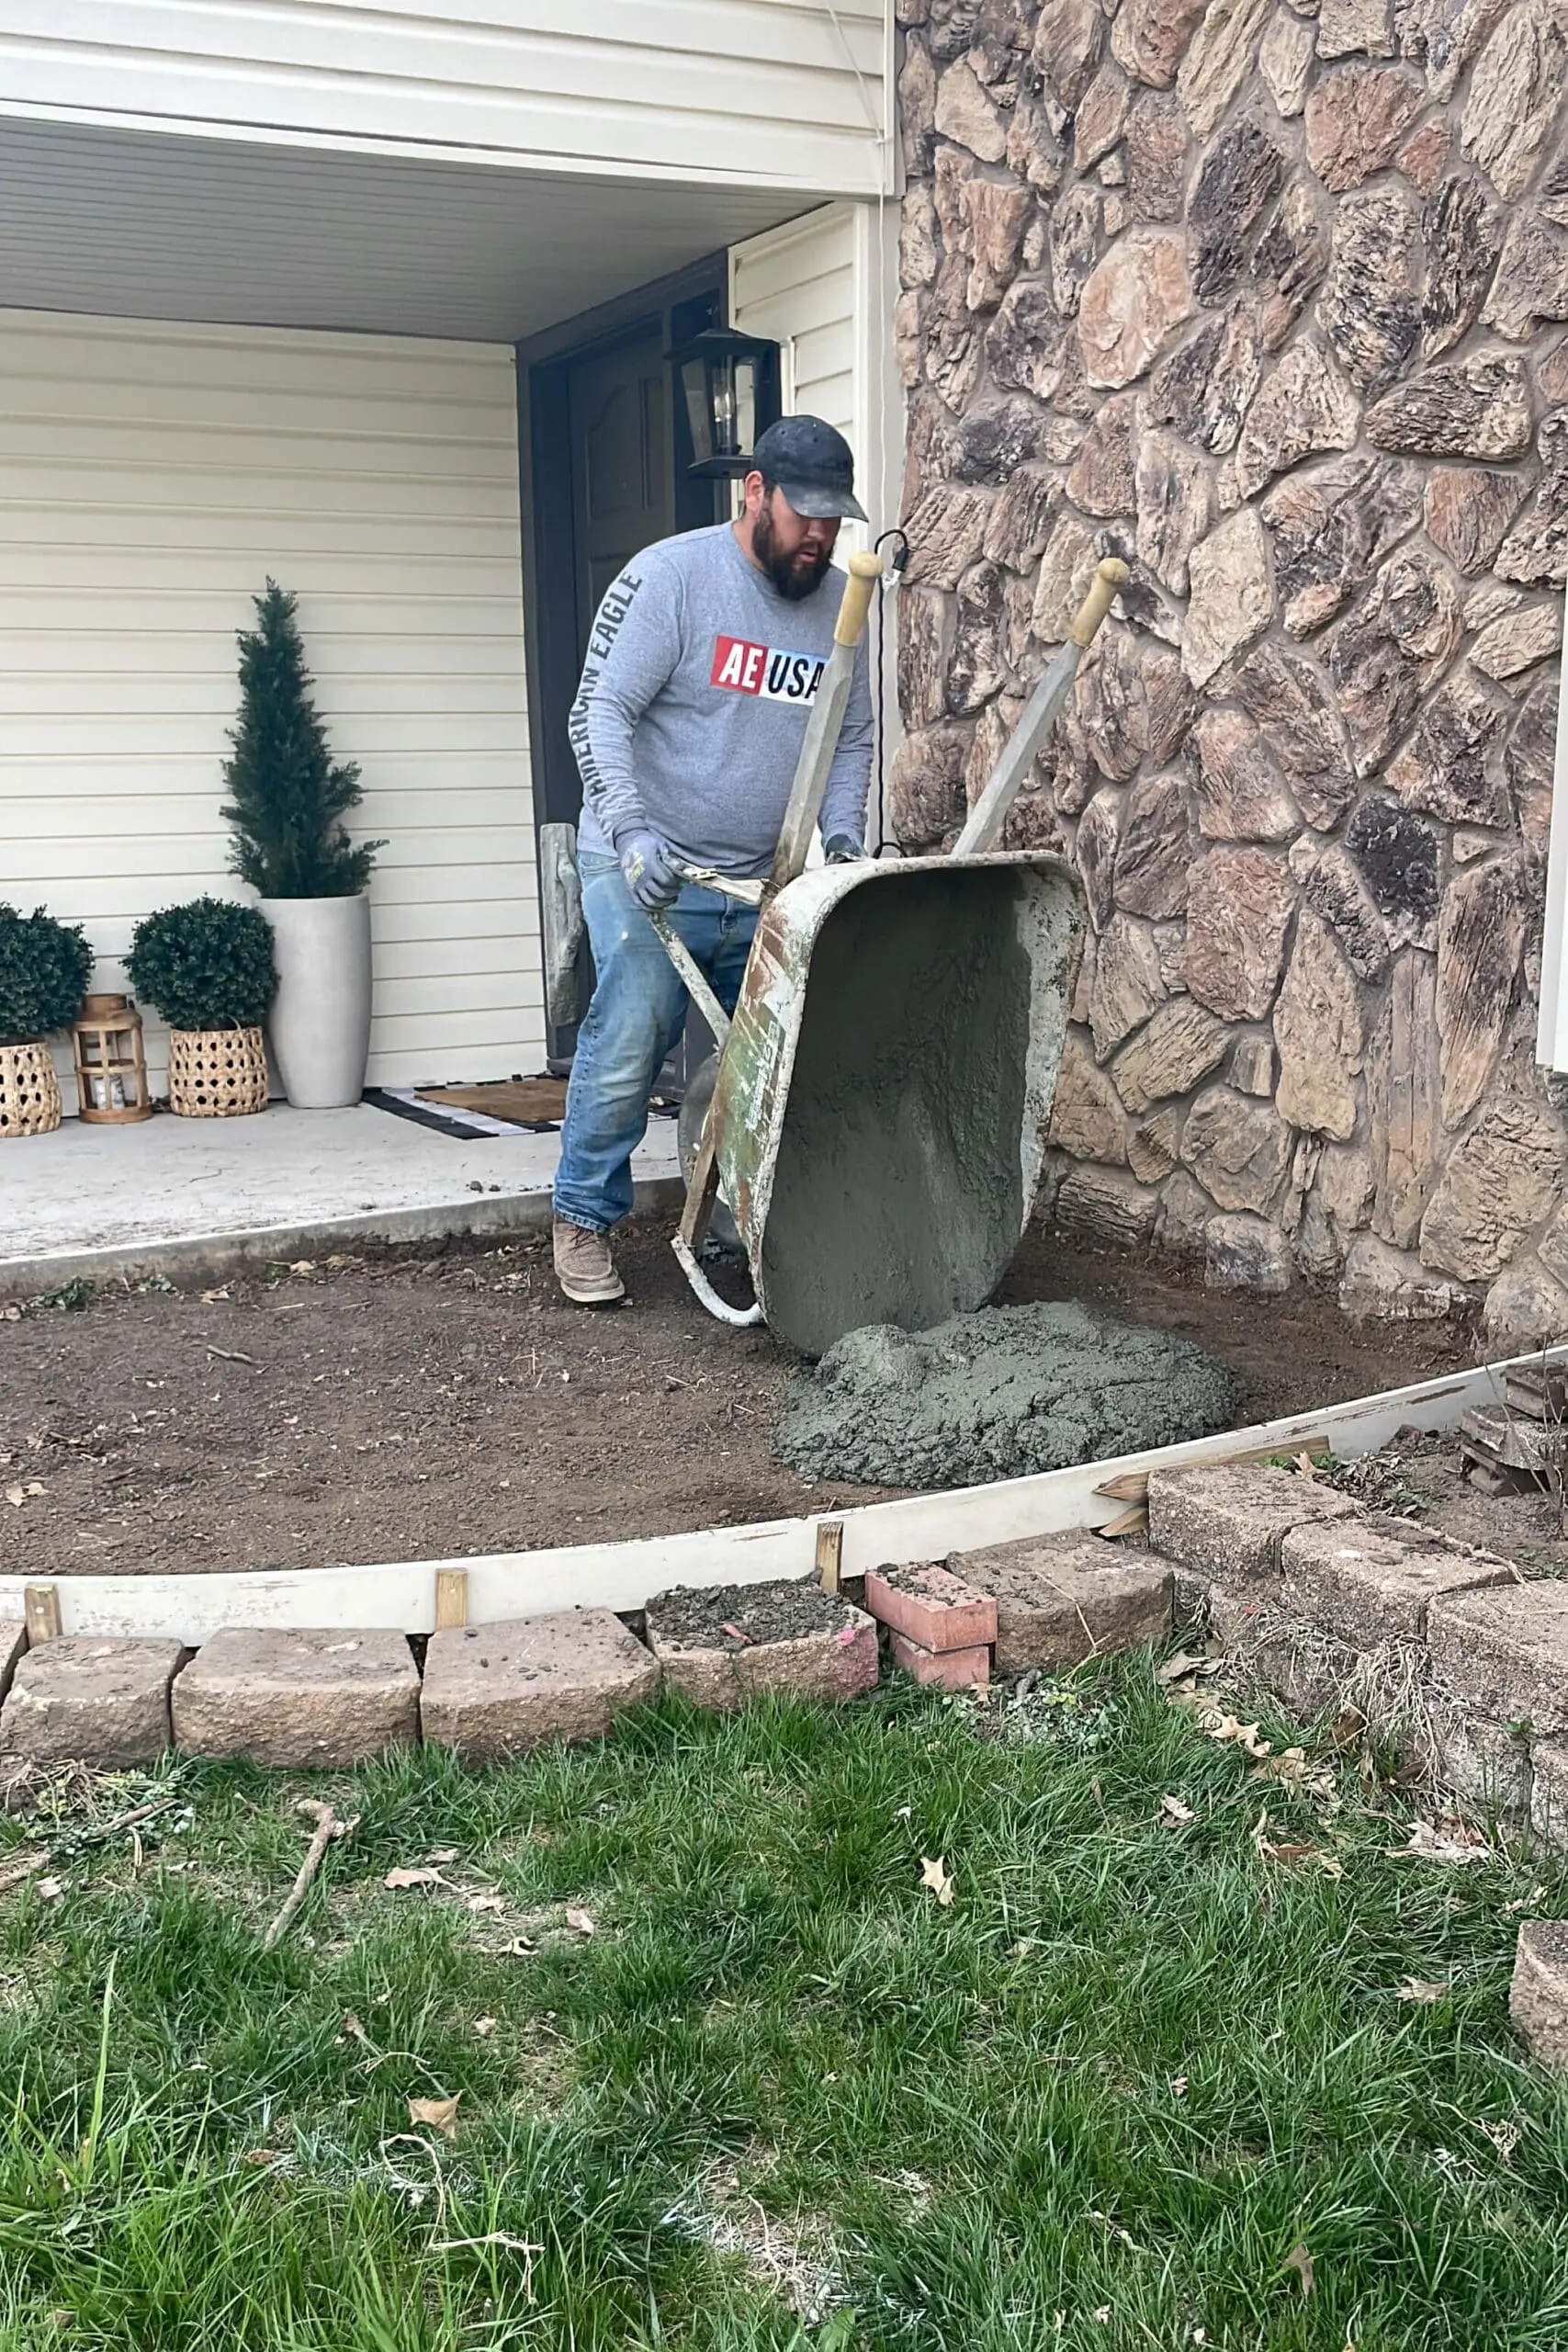

It’s already looking so good, but we aren’t done yet!

Finishing Concrete
Finishing concrete takes some skill and some experience. There really is an art to doing it, and this is where you’ll know if you made a good or bad hire off Facebook Marketplace.
After screeding and floating the concrete sidewalk, the edges are level with the forms, but kind of messy looking.

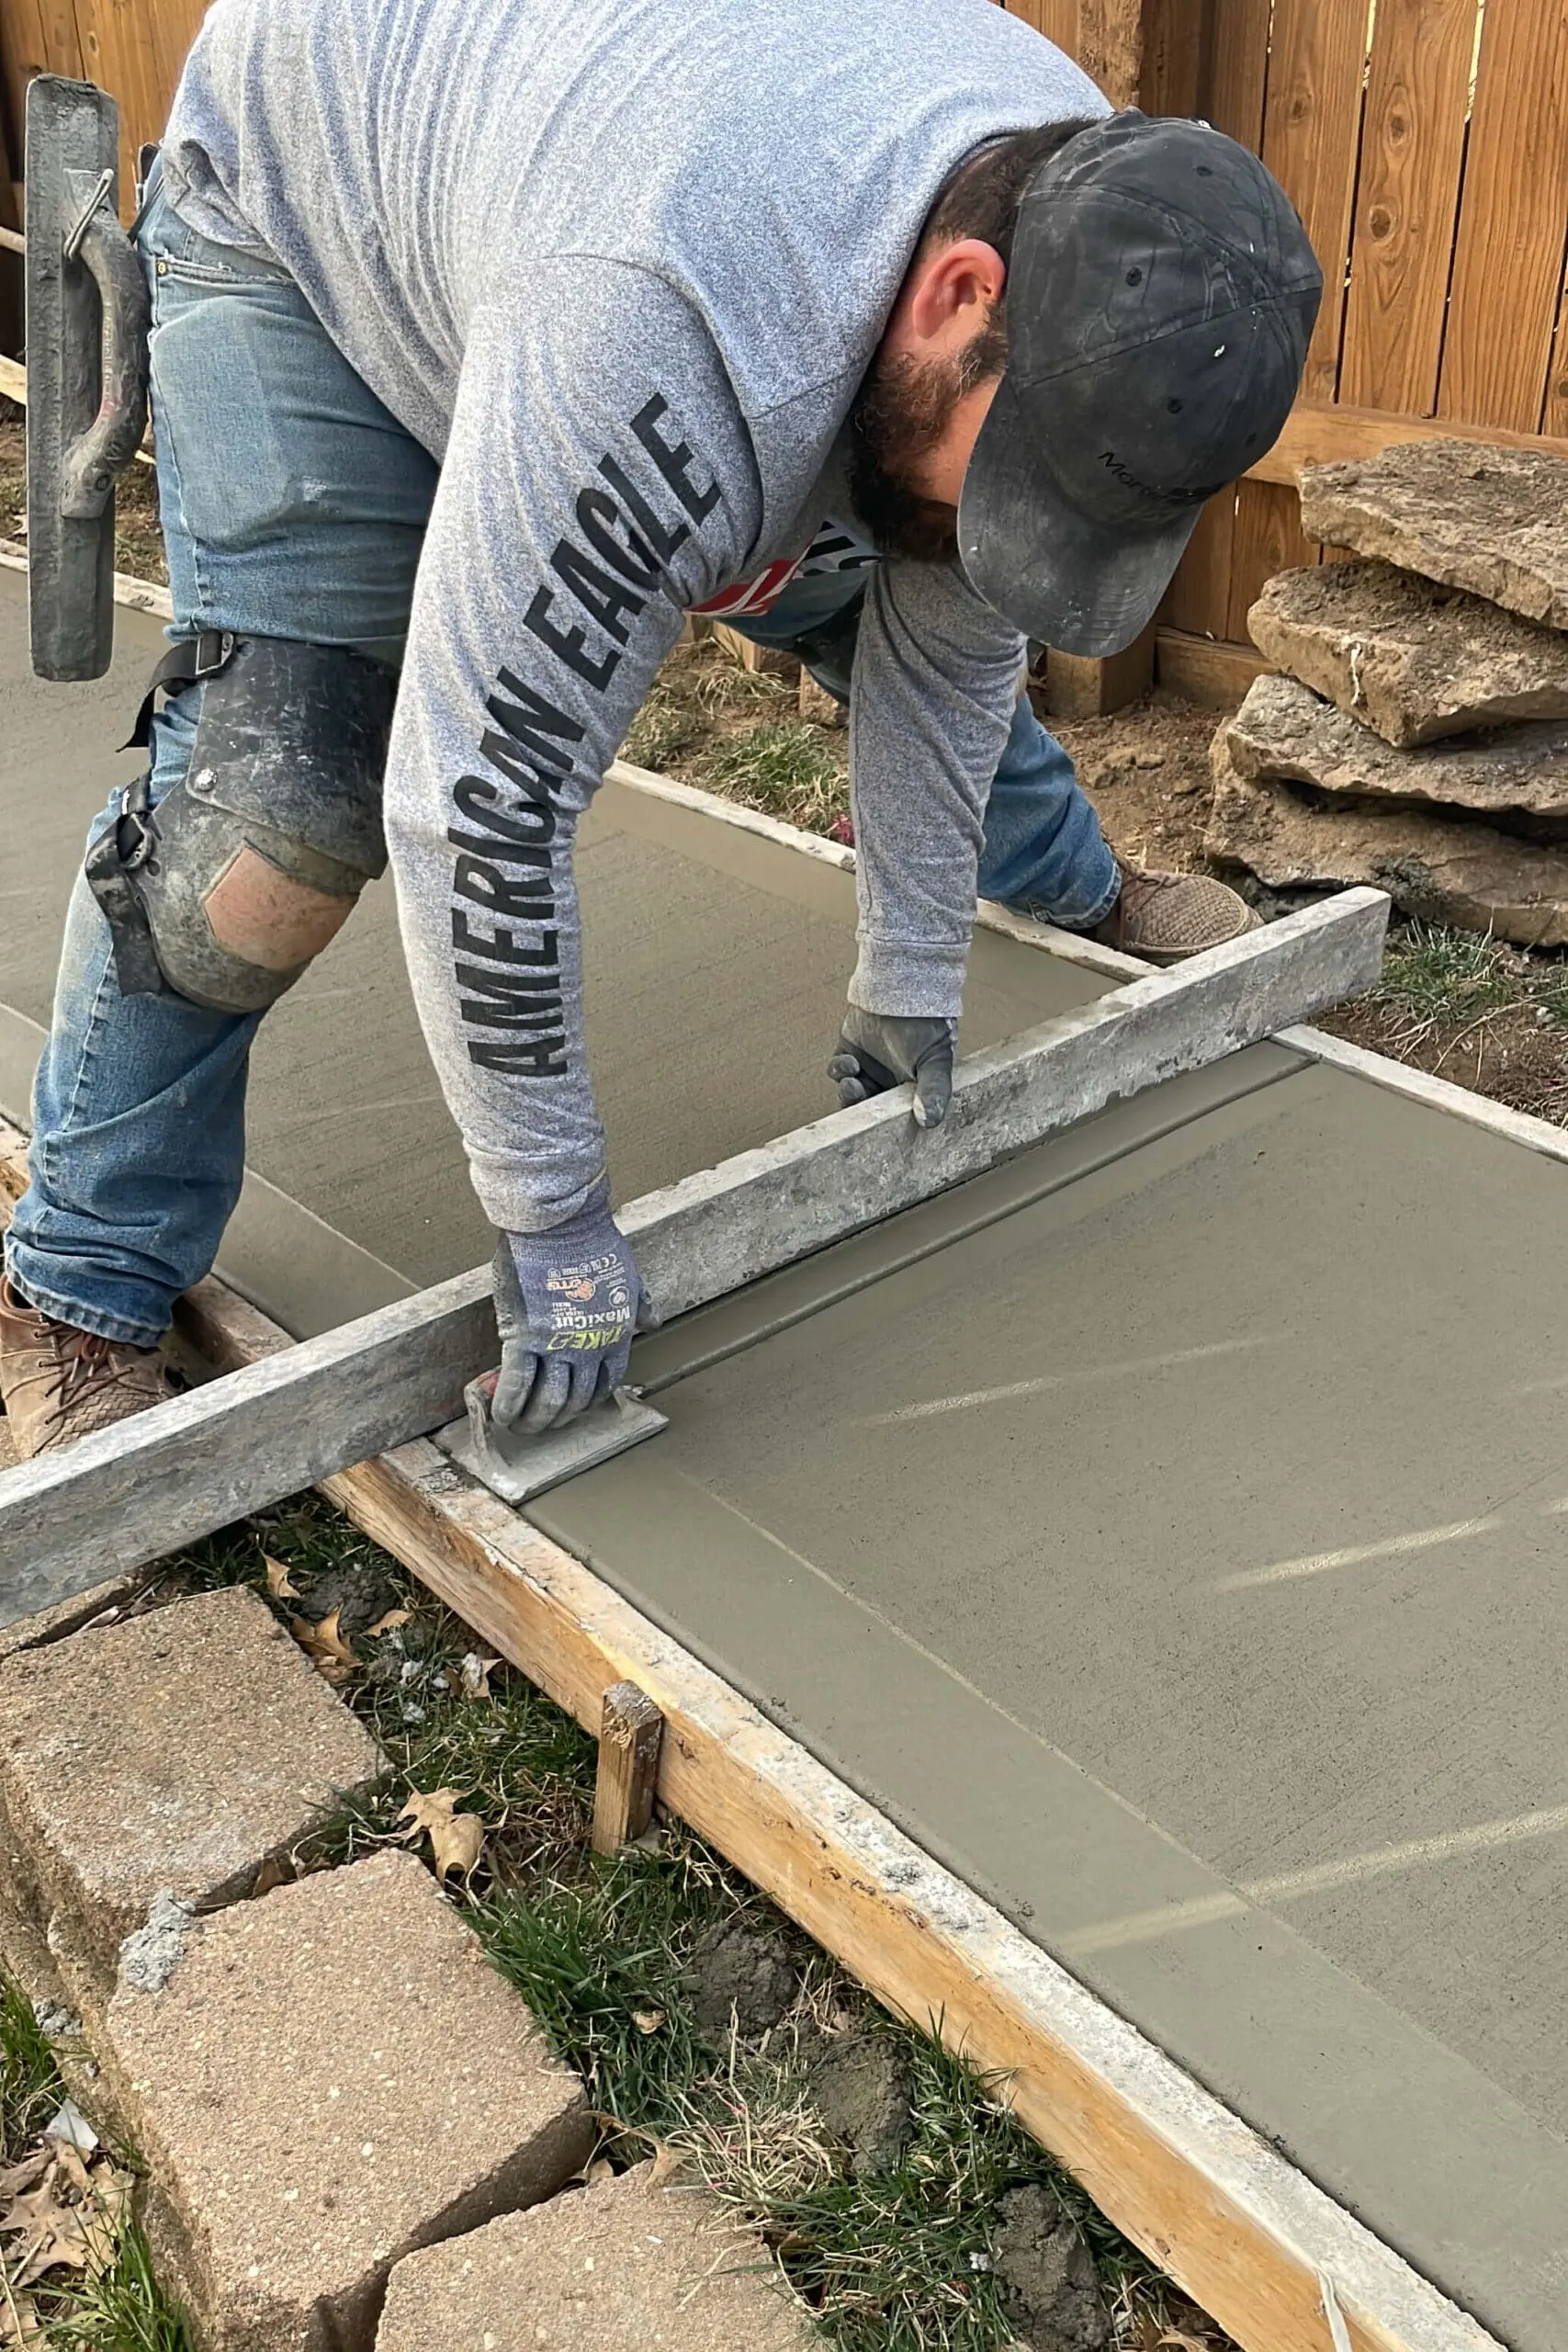
While the concrete is still wet, they will use an edger tool to clean up the edges of your concrete sidewalk. They run it along the forms, leaving a nice, clean edge.

Then they use this handheld float to smooth the small ridge left by the edger tool. Looks so much better!

As beautiful as this nice smooth finish is, you don’t want your concrete sidewalk to be perfectly smooth. If you left it like this, it would be so slippery when wet. Instead you want just a bit of a texture to the concrete finish, which they achieve by gently dragging a special broom across the surface and sweeping the concrete.

The last step in finishing our concrete sidewalk is to cut some relief lines. Over time, concrete will crack. It a sad inevitability. By cutting these lines in the concrete it gives a place for the concrete to contract as it dries, but also gives it a direction to crack in, maintaining the beauty of your sidewalk for many years.
Once the guys were done, we of course had to run out and add our own special touch before the concrete sidewalk had a chance to dry.


At this point it’s just about done and it was already looking beautiful. It’s going to look so good in the peak of summer when my garden boxes are overflowing with veggies.
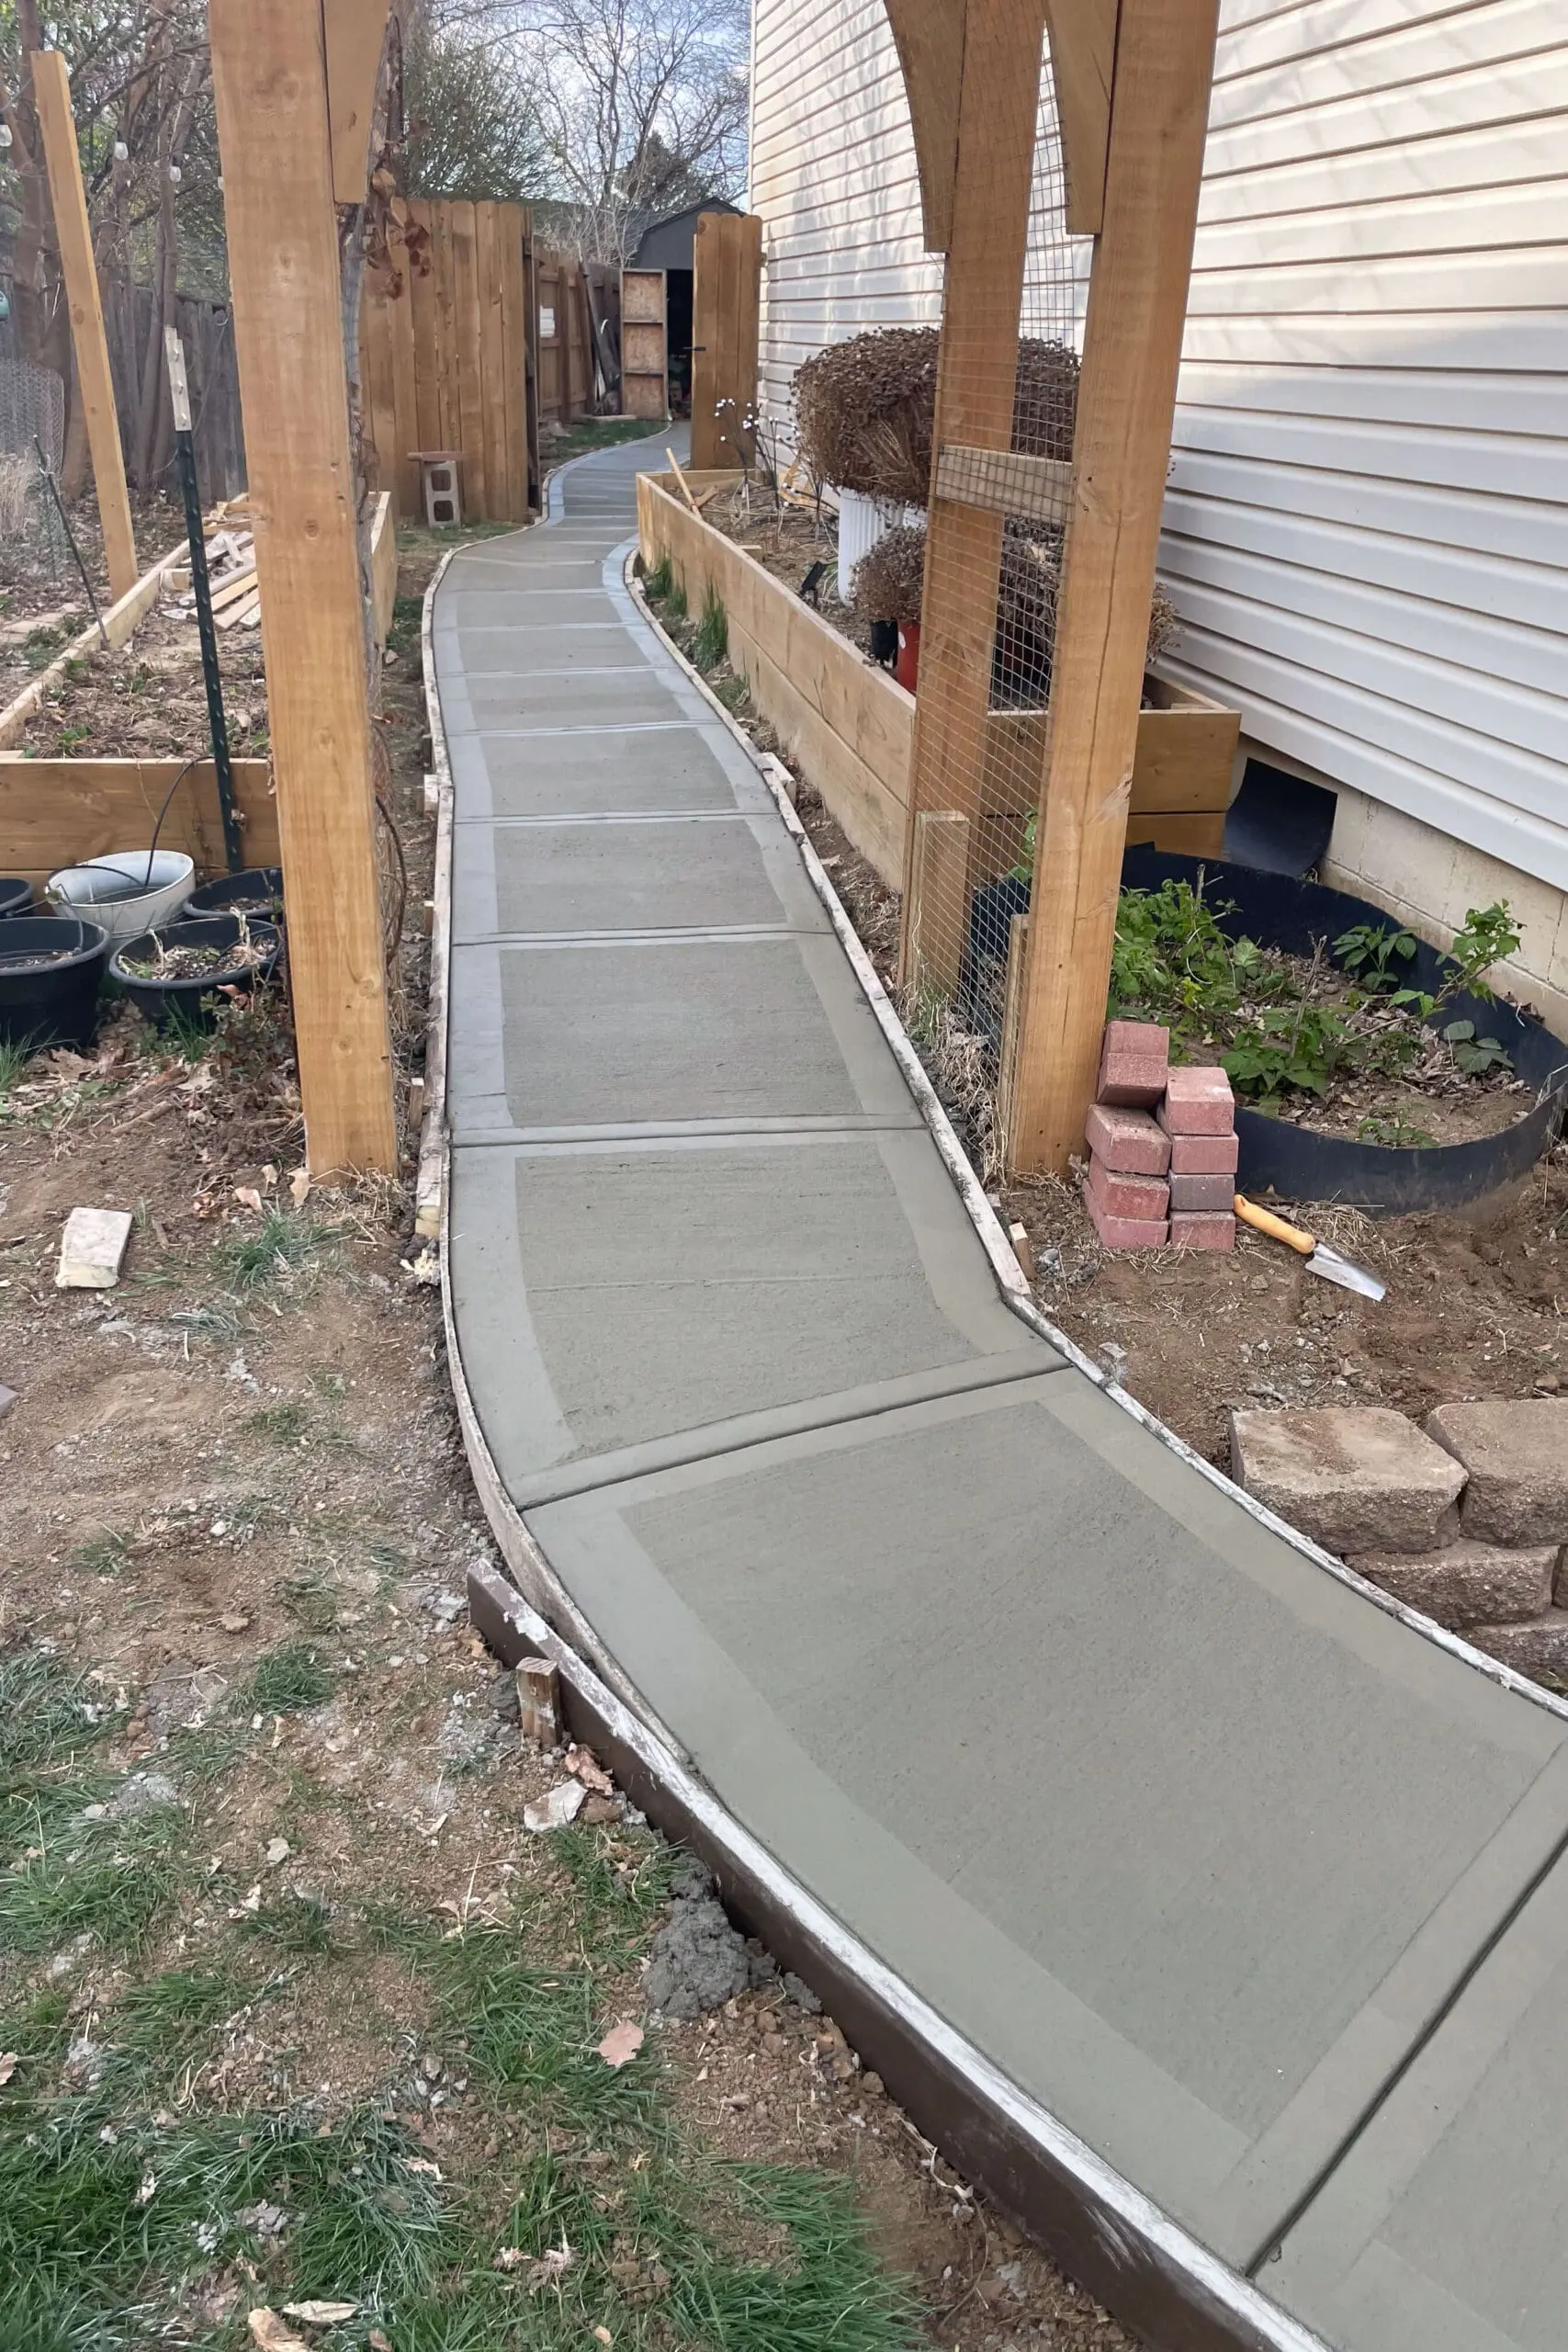
They did such a good job transitioning the sidewalk to the driveway. Once the concrete sidewalk has a chance to dry, it’ll lighten up to be closer to same color as the driveway, although it won’t perfectly match just because concrete changes color as it ages.

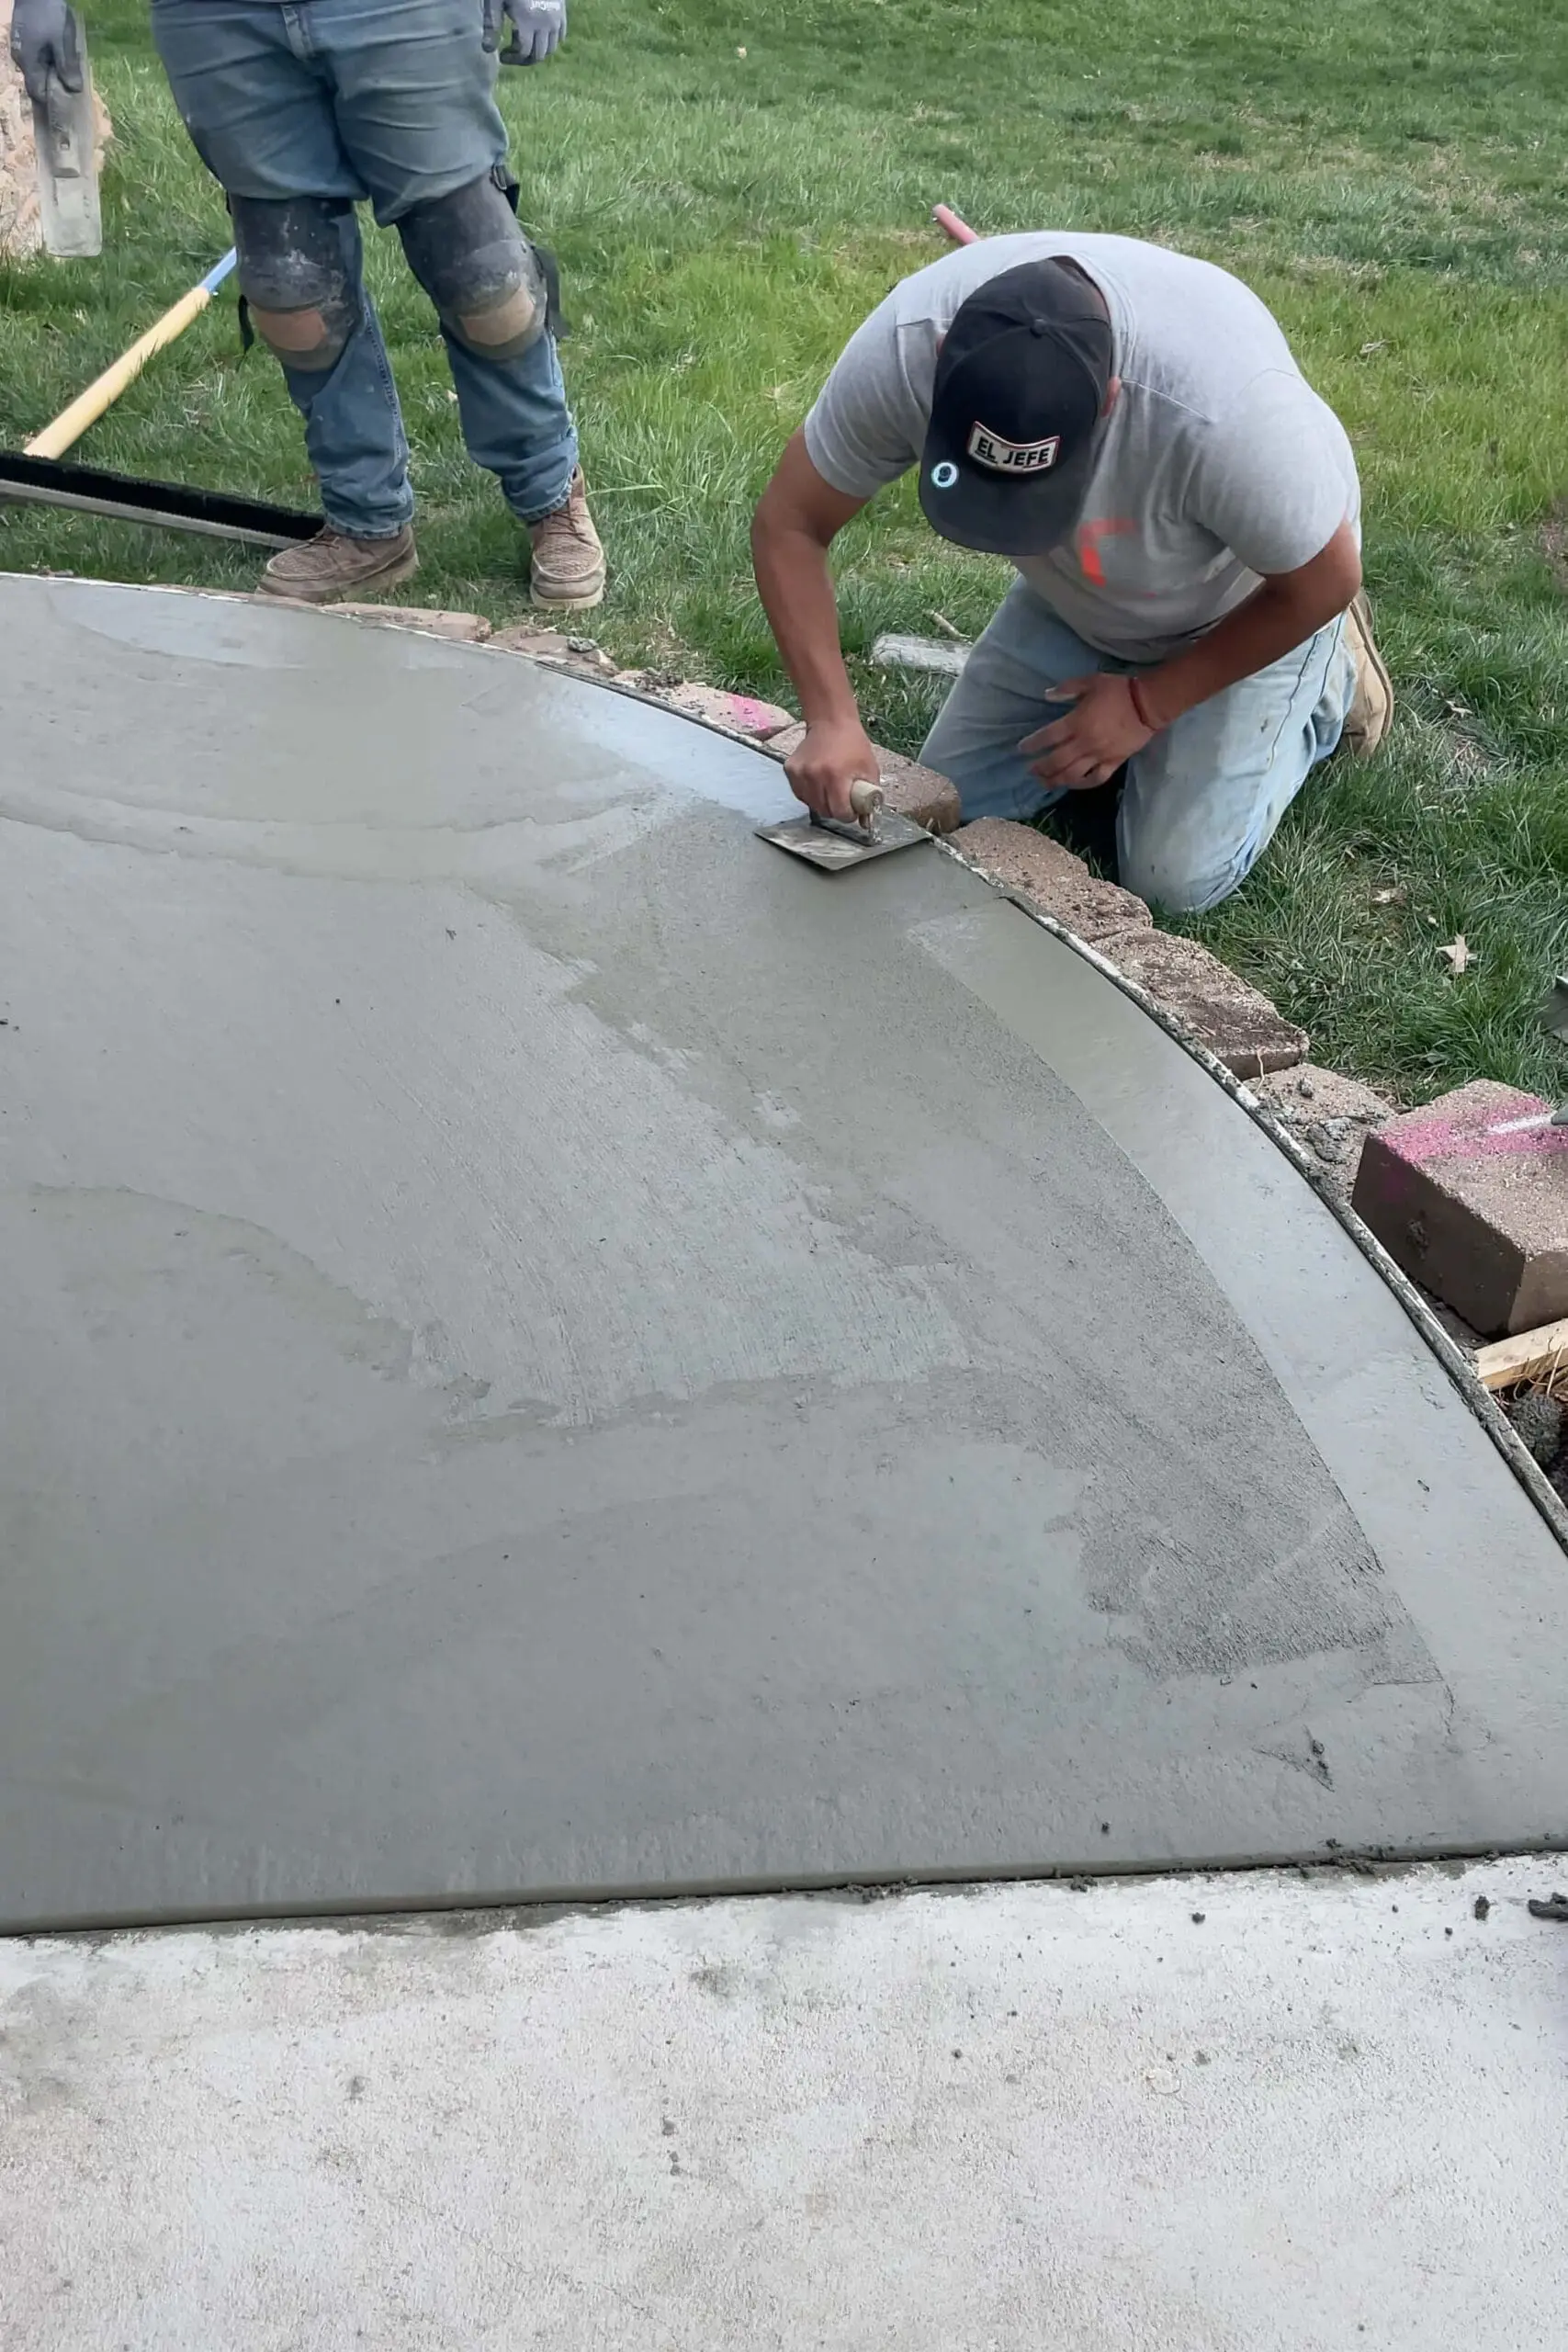
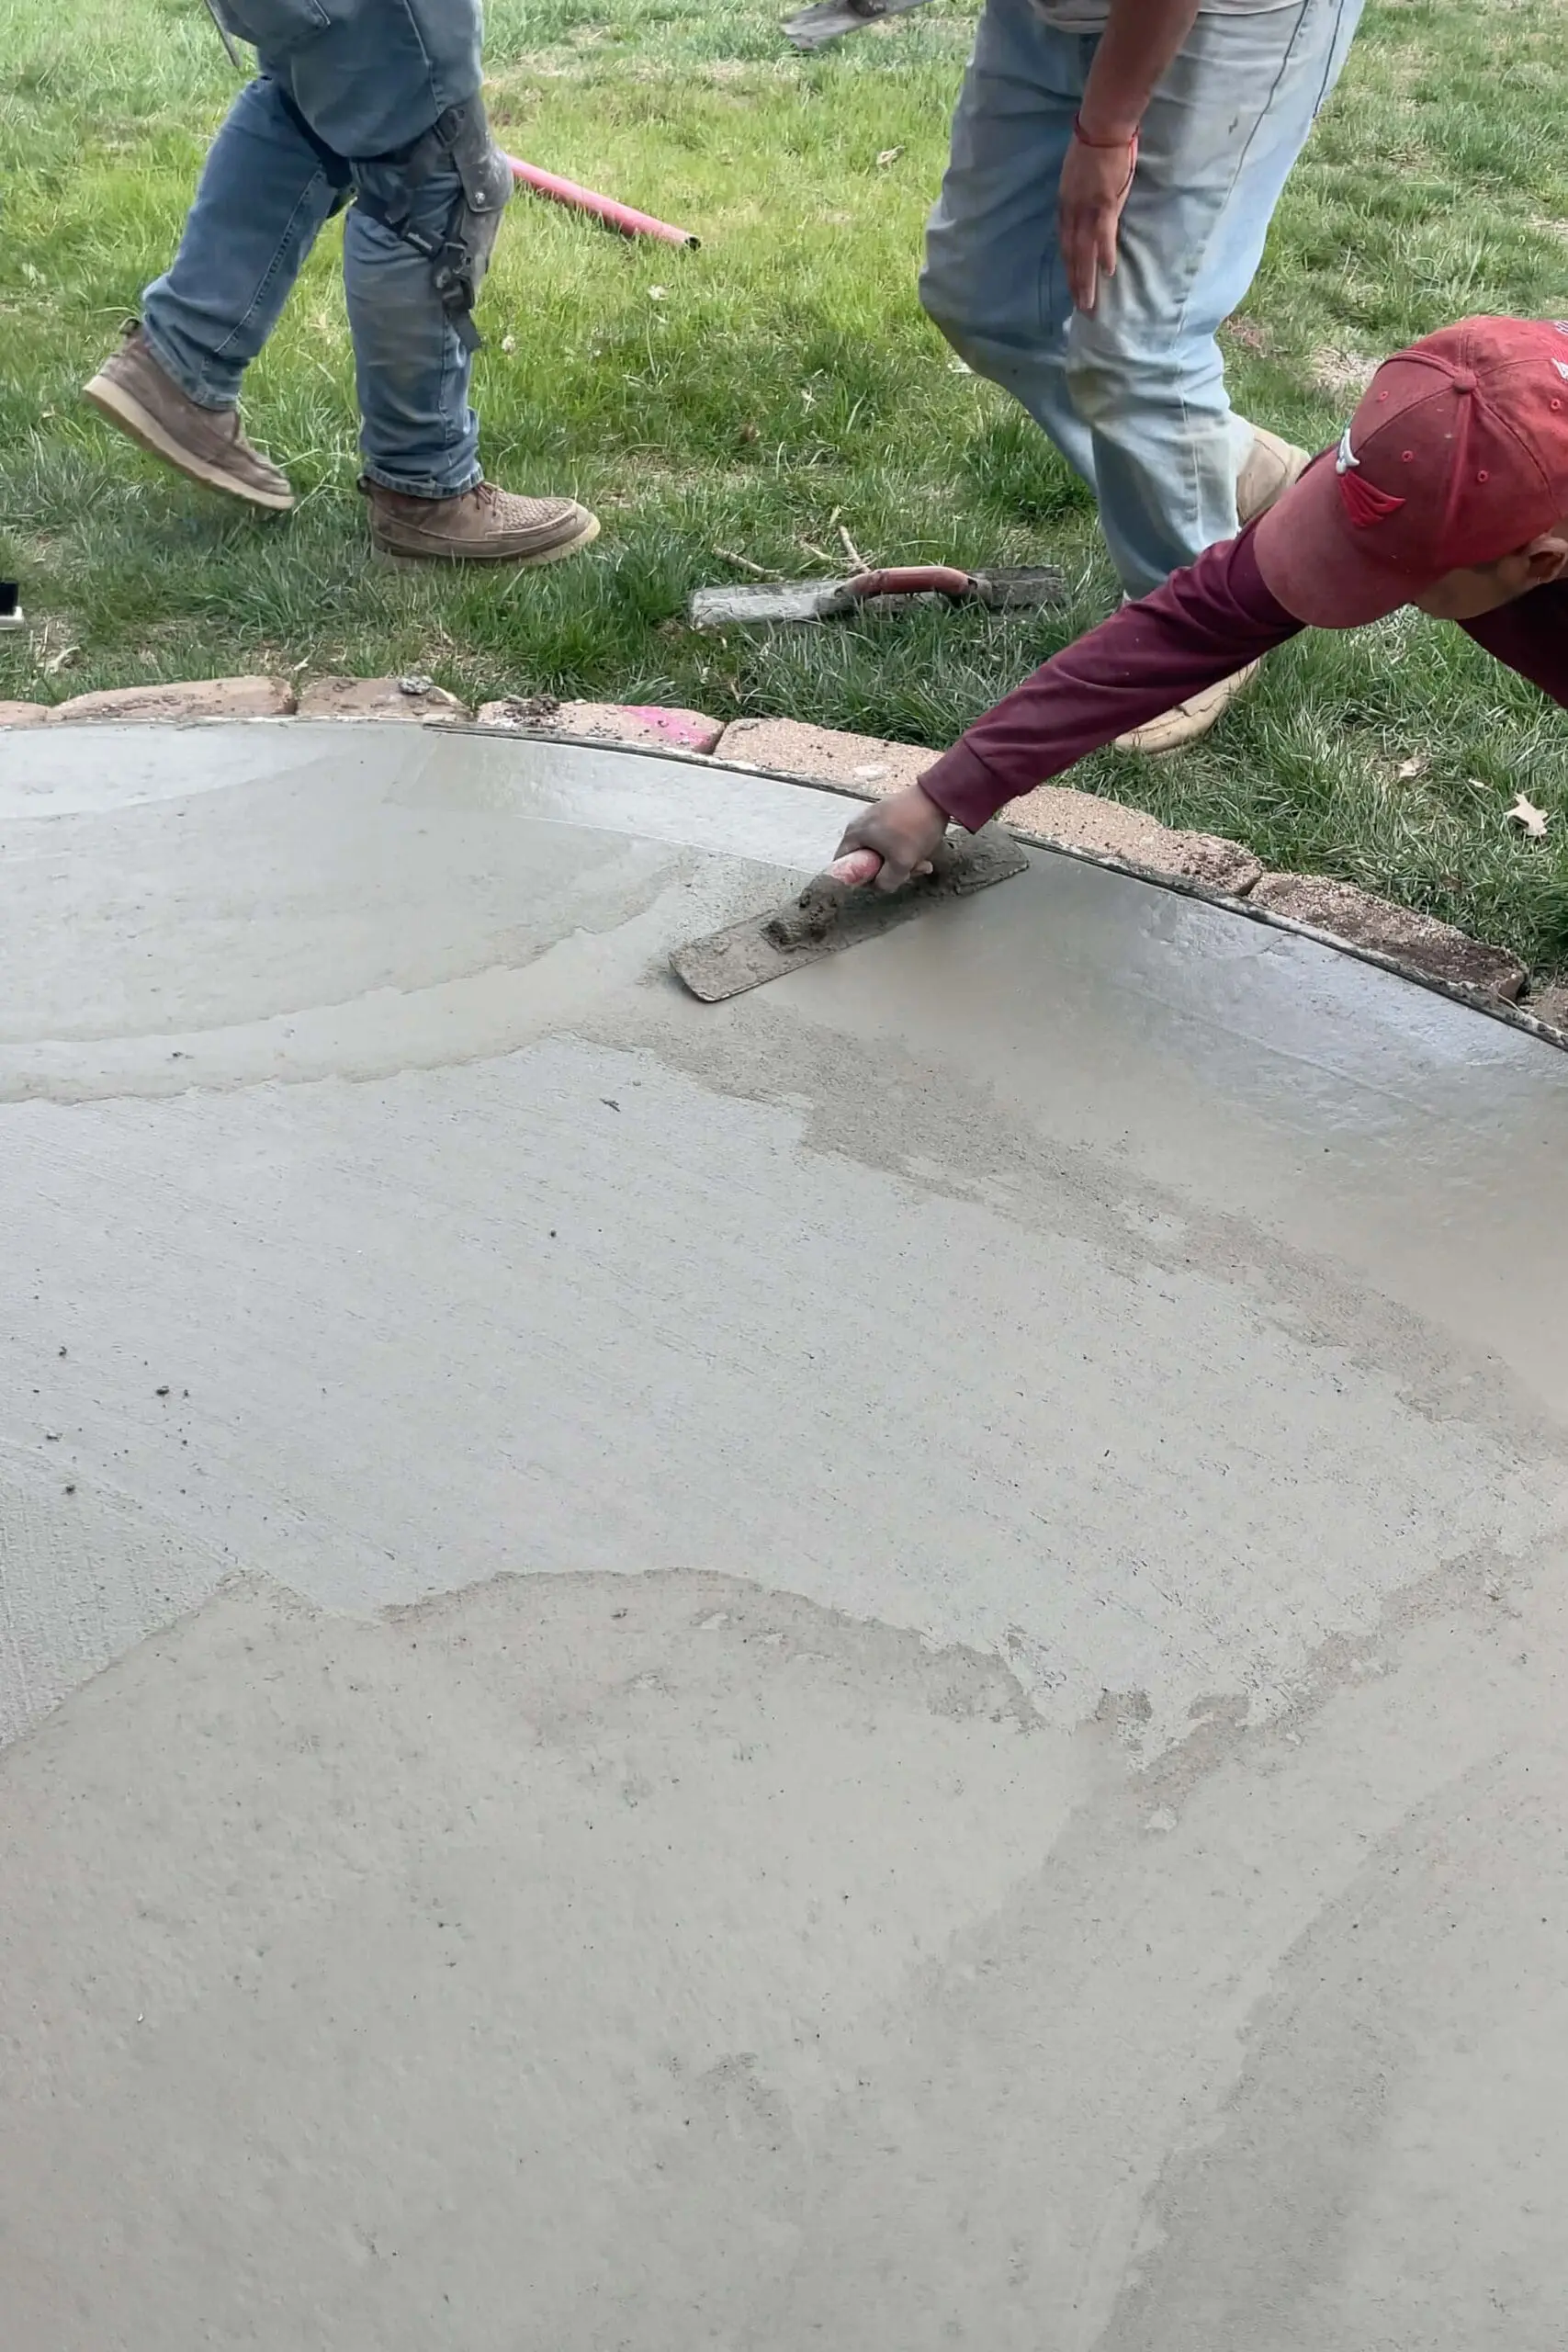
For finishing the concrete on our front porch extension, the process is pretty much the same. They used the edger, then used a float to clean it up, then finished it by sweeping the concrete. They cut one, long relief line along the middle.
Removing the Forms
The next day, the concrete had dried enough for us to begin walking on and using our new sidewalk.

They returned to remove the forms from our concrete sidewalk and porch extension, and then they were done!

I’m so glad we decided to not only add this sidewalk, but also to hire it out rather than do it ourselves. I am all about DIY, but some things are going to be beyond my skill level or just too much work for me to tackle during this season of life with young children and homeschooling. For those projects, I am more than happy to hire out, and I love getting a deal by hiring off of Facebook Marketplace.
All in all this project cost us altogether just about $4,000, which is a steal for concrete work!


Hey! Where do you live?! I would like the information on the concrete guy!!
I just sent you an email with the info!
Hi. Would you mind sending me the concrete persons info. He did an amazing job!
Email sent!