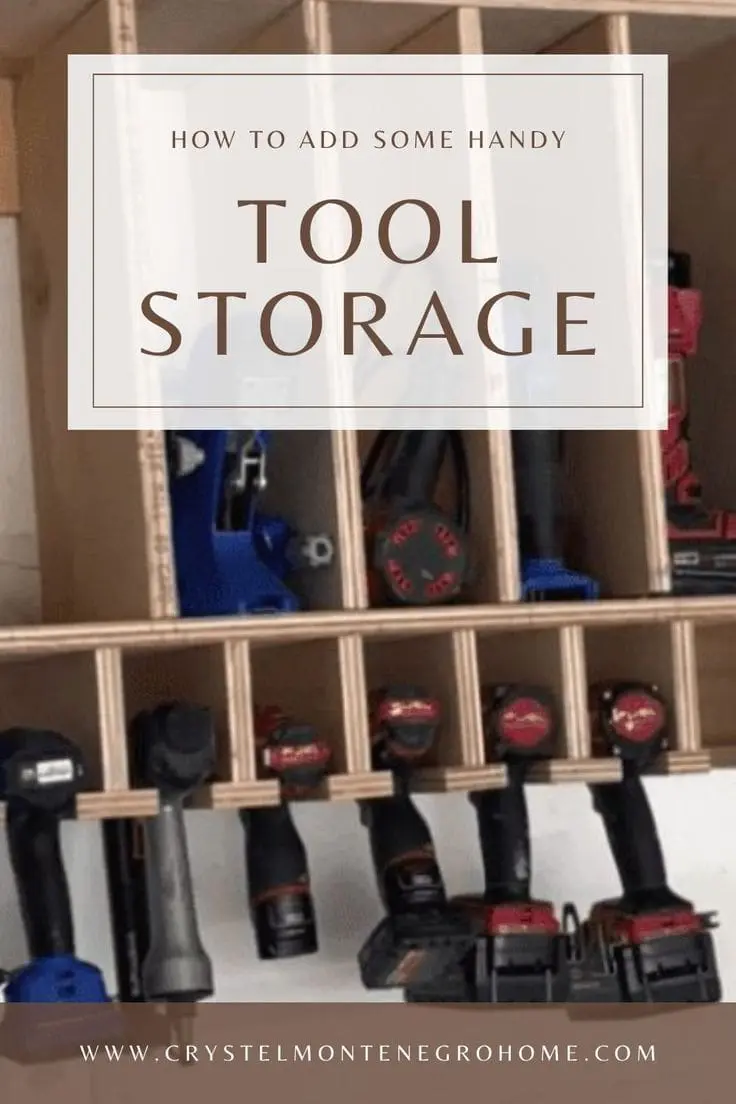
How to Build a Custom Tool Organizer
Updated July 18, 2025
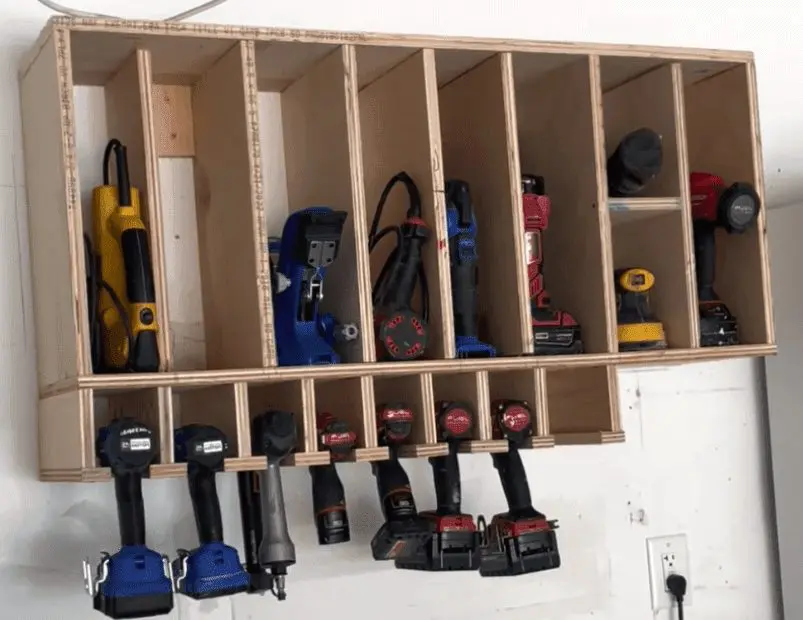
I’ve built a lot of beautiful things in the past, and this one is probably the most beautiful build I’ve ever created, as long as beauty and function are synonymous. I’ve been looking forward to building this customizable tool organizer for awhile, since I’ve accumulated a lot of power tools. It’s tiring seeing them all over the floor. What’s great about this organizer is that it’s customizable because maybe you don’t own five different types of drills like I do. If you’re lucky, you own six.
This post includes affiliate links. If you purchase from these links, I may get a small commission from the seller. But the great thing is, this doesn’t cost you any extra money!
SUPPLIES
- (1) 3/4 x 48 x 96 inch Sande Plywood – (# of boards to purchase is dependent on the overall size of your tool organizer)
- Scrap pieces of wood
- Wood Glue
- 1 1/4 inch Brad Nails
- 1 1/4 inch Kreg Pocket Hole Screws
TOOLS
HOW TO BUILD THE INITIAL BOX
The first thing I did was make some cuts. I started this project with a faint idea of the look I wanted and had originally hoped to hang everything, but my idea evolved and changed into using both cubbies and hangers.
I used my table saw to cut plywood into the wall inserts, and the sides, top, and bottom of the box. I made the following cuts:
- (8) 3/4 x 12 x 19 inch
- (2) 3/4 x 12 x 44 inches
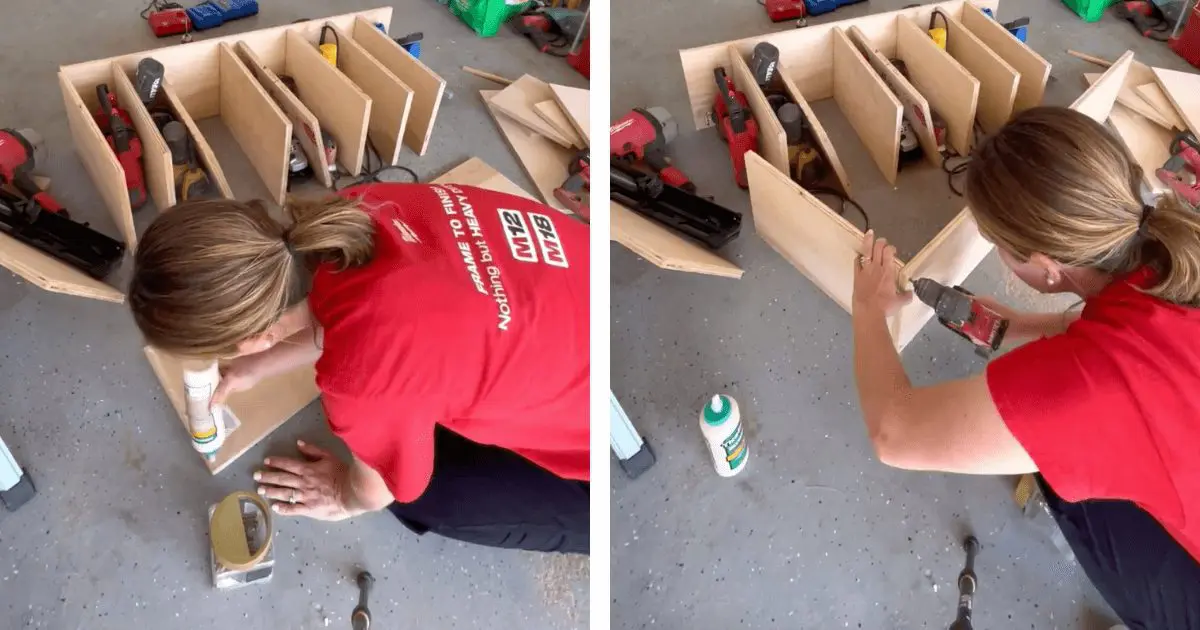
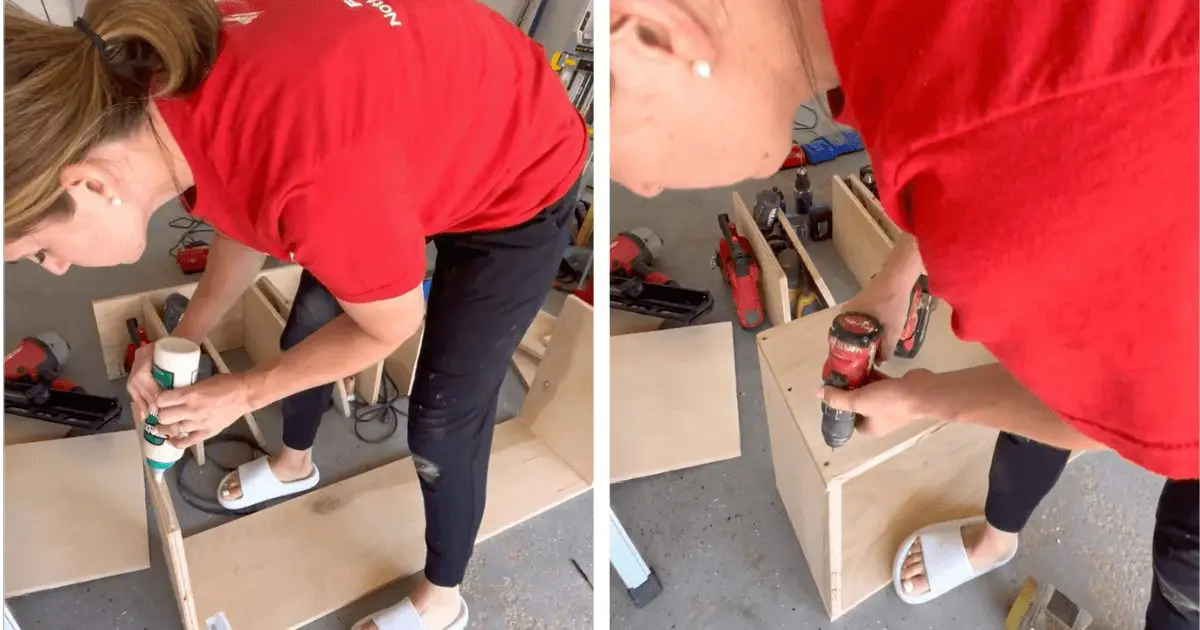
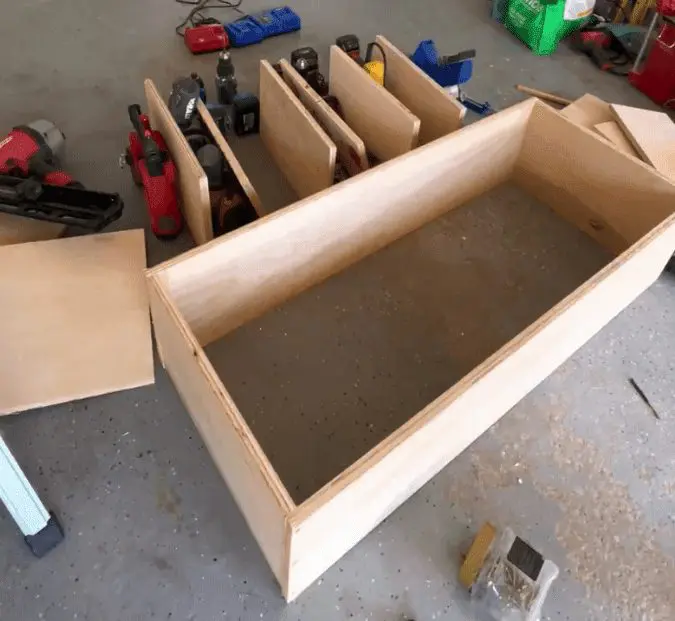
After I made my cuts, I built a rectangular box using both 44 inch pieces and (2) of the 19 inch pieces. I first added wood glue to the edge of a longer piece, and secured it to a shorter piece using 3 screws. Then I did the same to the other longer and shorter piece, and when it was all together, I made sure it wasn’t wobbly and as perfectly square as I could get it without having to break out all my special fancy clamps.
HOW TO SPACE THE TOOL ORGANIZER WALLS
Next up, I gathered all my power tools, batteries, cords, etc. and laid them out on the floor. I knew my drills would end up hanging from the bottom, so I laid all my other tools vertically inside the box, along with the inserts, and moved things around quite a bit until I settled on the placement I liked. The vertical placement is a better use of space than if they were horizontal.
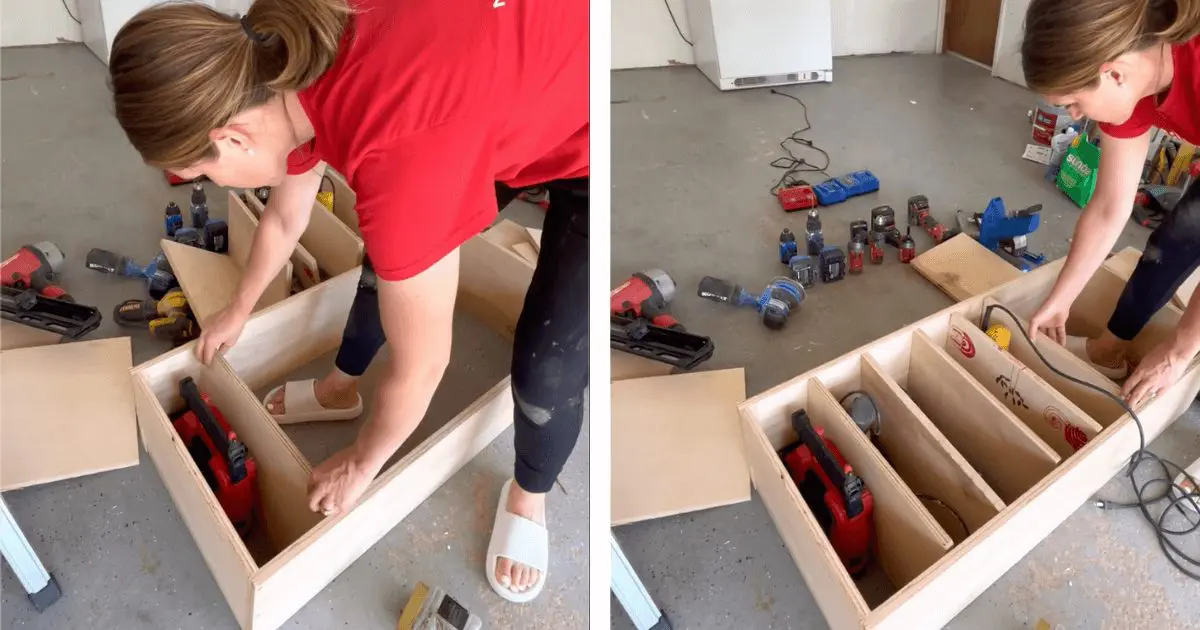
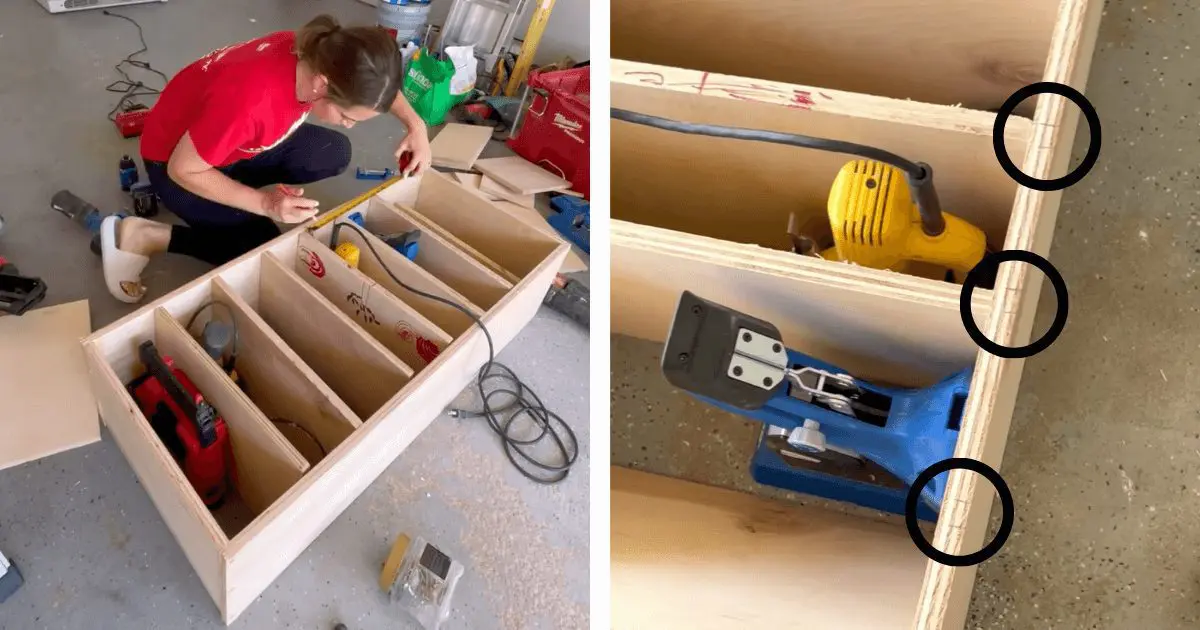
I made pencil marks on the box where each insert would need to be attached, but before I could attach them, I needed to figure out where the drills would hang. An important thing to keep in mind is that this tool organizer will probably look very industrial and boring, so hand your kids a red and black marker and tell them to go to town.
HOW TO BUILD DIVIDERS TO STORE DRILLS
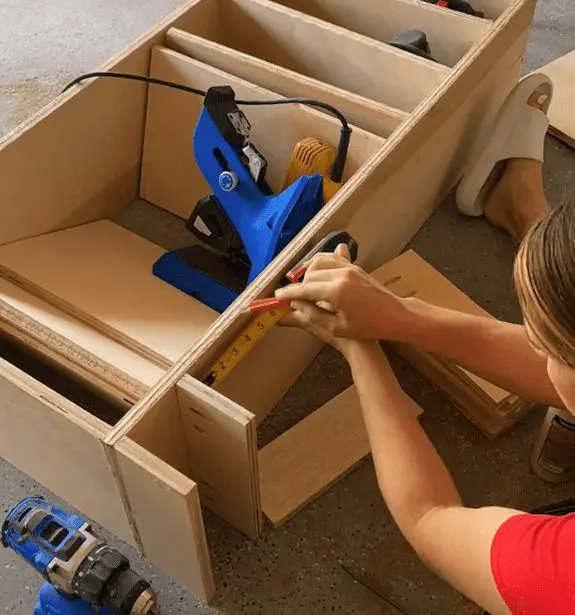
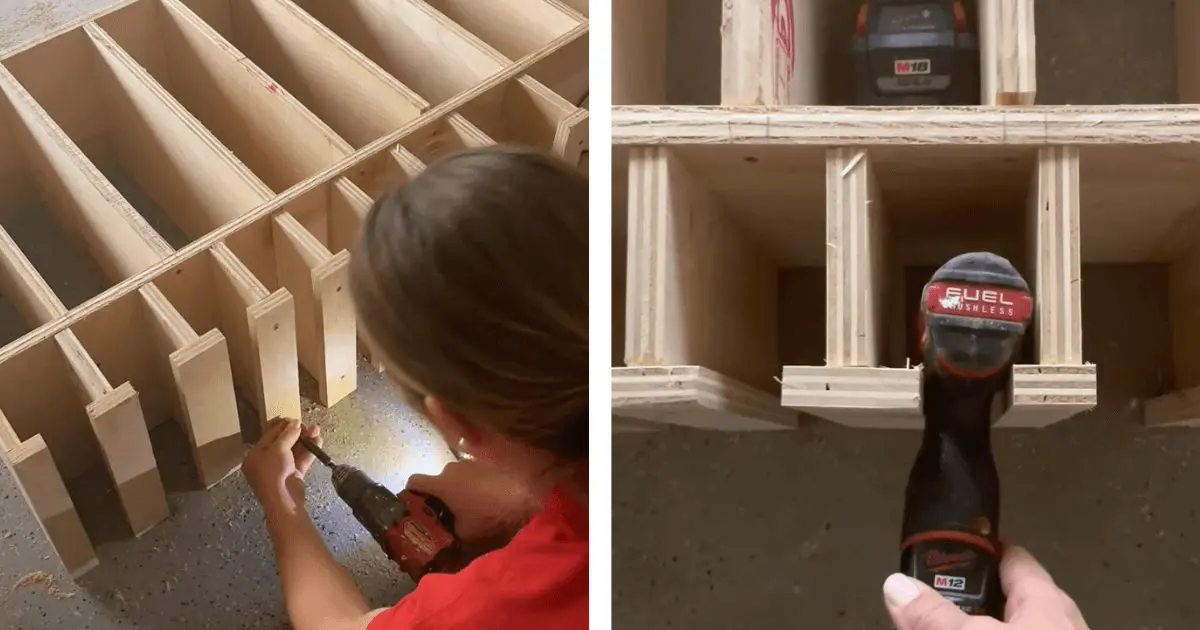
I knew the walls of the drill hangers would need to hang down 4 inches, which was plenty of room for even my largest drill, and allowed me room to store all the taller, future drills I plan to add to my collection. I cut (9) 3/4 x 4 x 12 inch plywood pieces and used my Kreg Pocket Hole Jig to add 2 sets of pocket holes into the side of each wall.
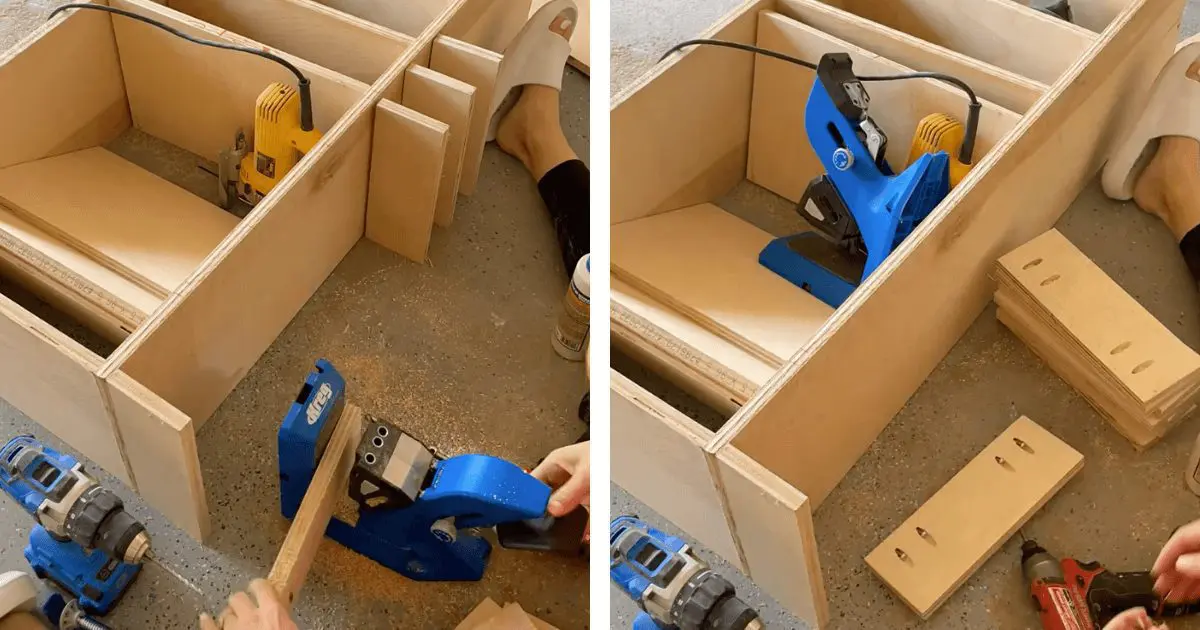
The spacing of the hanger walls was dependent of the width of my drills. I had 2 drills that needed a 3 1/2 inch spacing, and the rest of the drills could be spaced out every 3 inches. After I had that figured out, I measured and marked where the hanger walls would be attached.
HOW TO ATTACH THE WALLS TO THE BOX
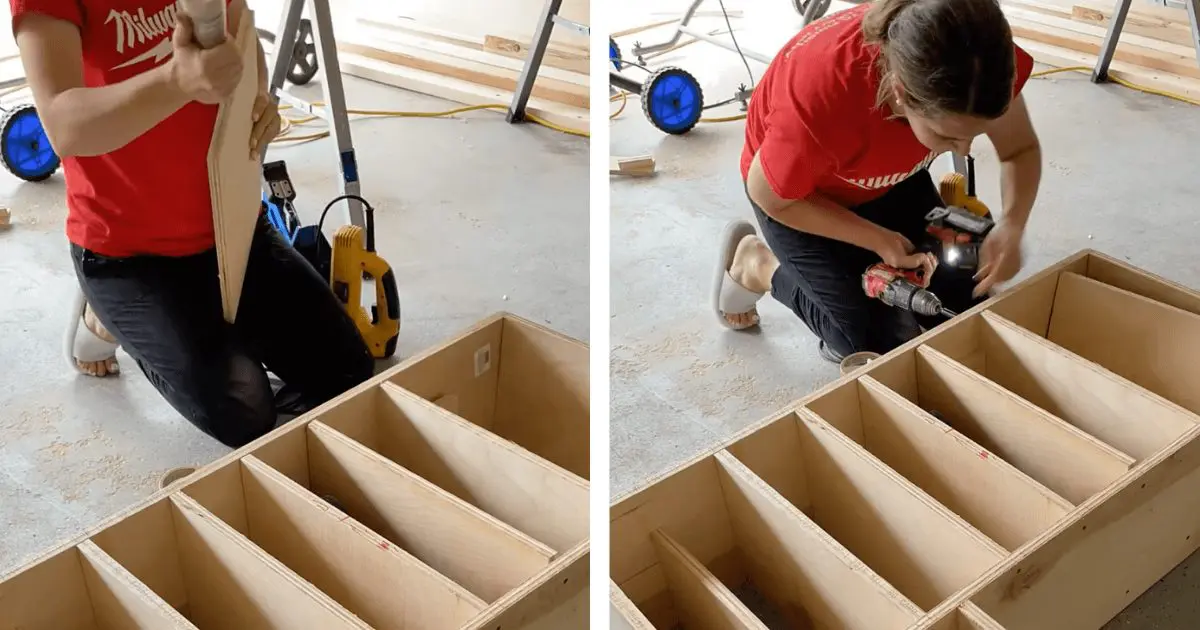
The cubby walls needed to be attached before the I attached the hanger walls. I applied wood glue to each end, lined the board up with the marks I had previously made, and drilled 3 screws through the top of the box into the cubby wall. Then I did the same on the bottom.
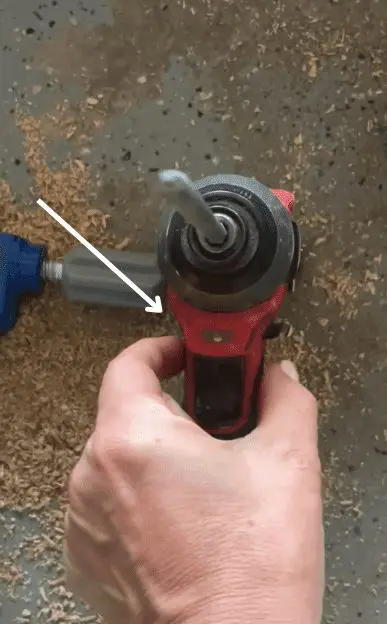
A great way to make sure the board is level and straight is to cut out a square spacer the width of the spacing you chose. After each of the walls was attached, I screwed the drill hanger walls into the box through the pocket holes using pocket screws, making sure they were lined up with the spacing marks I had just made.
HOW TO FIGURE OUT ADDITIONAL SPACING
I had to attach these additional pieces to keep my drills from falling on the floor, because since the plan was to hang all of my drills, they need to hang on something, right? But do you notice how the spacing is a bit different?
This is because the size of every drill is a bit different, and I had to make sure I allowed enough space to insert the drill, but also not too much space since again, my goal was to keep the drills off the floor. It took me a few minutes to come up with a way to figure out this spacing issue.
First I measured the neck of my drills. Almost every drill was 1 1/4 inches, which meant I could do a 1 1/2 inch space, allowing me to get the drill in and out comfortably.
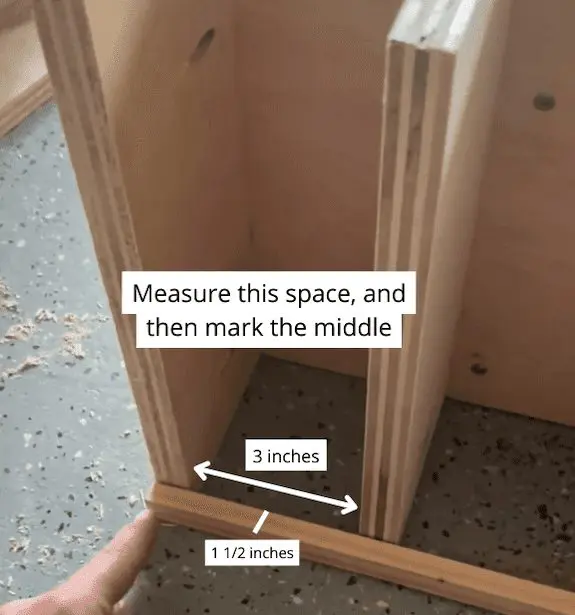
Then I found a few scrap pieces of wood and cut one piece to match the width of the box (44 inches), and another piece to 1 1/2 inches, which would act as my spacer. I lined the longer piece up with the end of the cabinet, measured the space between each of the hanger walls, and then marked on the scrap wood the exact middle.
For instance, if the open space from hanger wall to hanger wall measured 3 inches (which most of them did), then I would make a tick mark on the wood at 1 1/2 inches. I measured each open space separately because they’re not all exactly 3 inches.
After I had marked the length of that scrap wood, I took the other 1 1/2 inch piece of scrap wood and made a tick mark right in the middle.
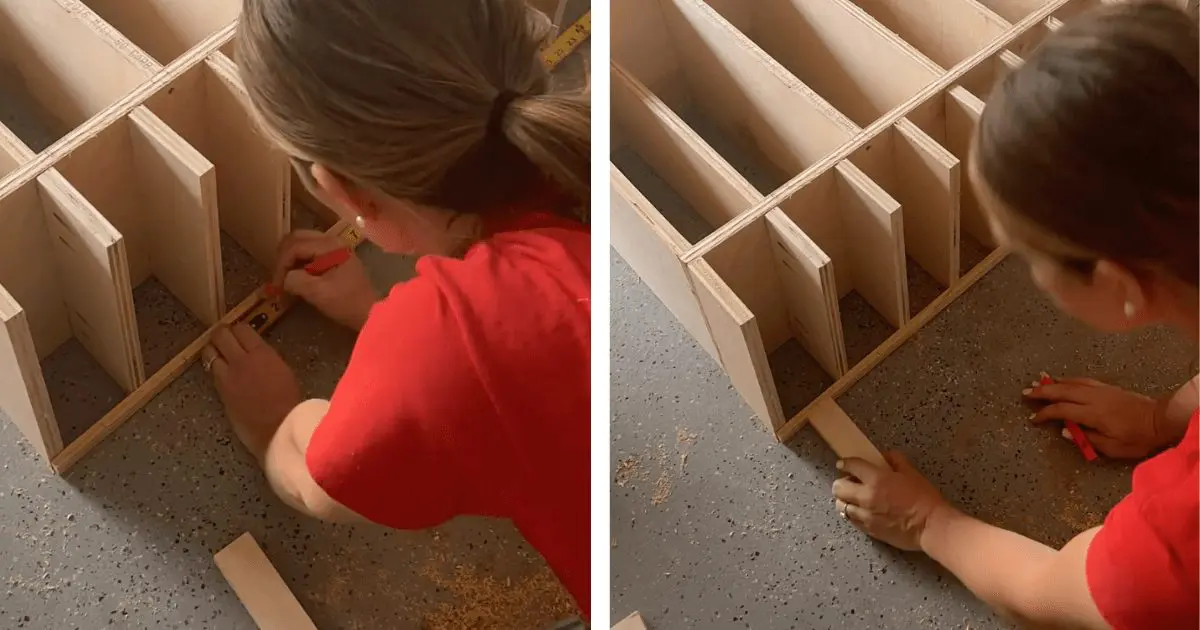
Then I lined up that tick mark to the other tick marks I had made, and shaded in the 1 1/2 inch area to show me exactly where spaces would be. That’s a lot of tick marks.
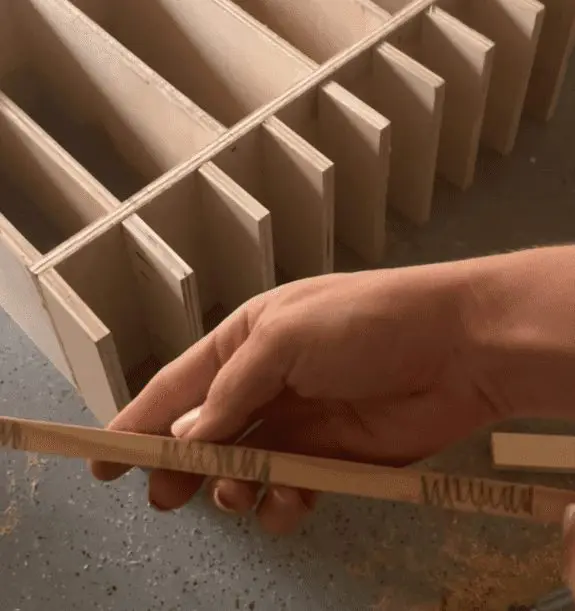
If you have drill necks that are varying sizes, rather than cut a bunch of different sized spacers, just use a measuring tape. I had 2 drills that needed different spacing because their necks were fatter, and I just used my measuring tape.
HOW TO ATTACH THE ADDITIONAL WOOD PIECES
The next step was to measure the non-shaded space of the longer piece of wood, because that is the exact size I would need to cut my wood. From left to right, I measured the space, cut the plywood, and attached each piece separately because I didn’t want to get the pieces mixed up. I just used wood glue and brad nails to secure the pieces in place. Then I went back in and added 2 screws for added strength.
HOW TO ATTACH THE TOOL ORGANIZER TO THE WALL
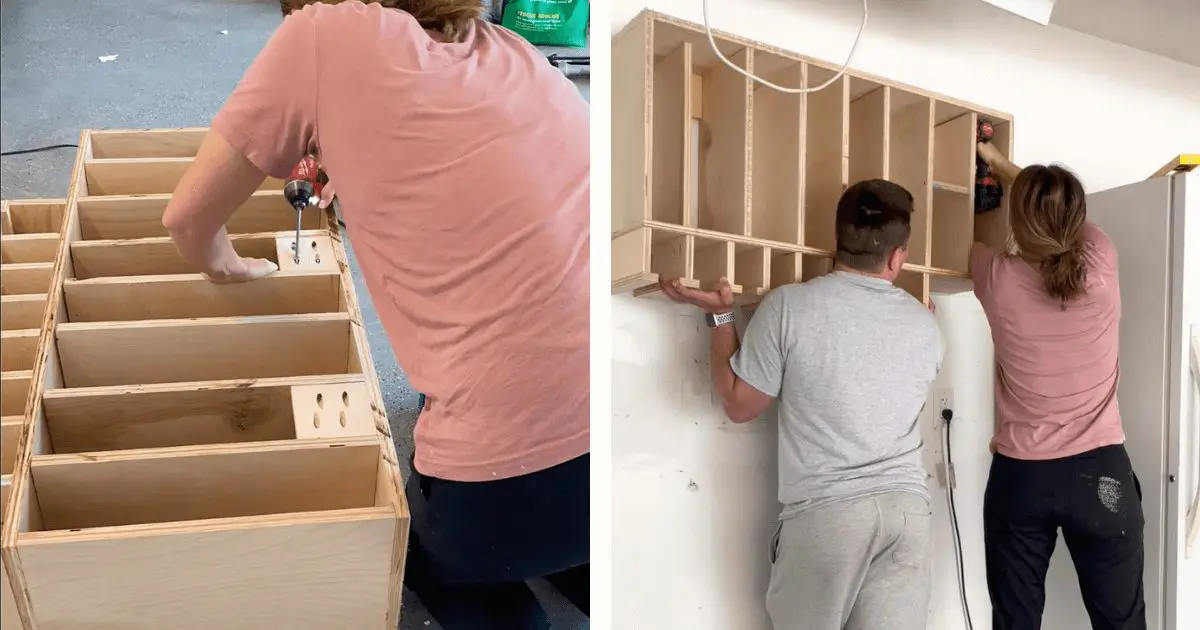
This is a pretty heavy piece and needed to be secured to the studs in the wall through braces I had to add to the back. First I figured out where I wanted it to hang, located the studs, and matched that location up to the the back of the organizer. T
Then I measured the space between the cubby walls where I would need to add a brace, and cut a square piece of plywood to match. I added pocket holes to each side of the square, and secured it to the cubby walls using pocket screws.
Last thing was to hang the tool organizer on the wall. I used and drilled them through the brace, sheetrock, and into the stud.
Final step was to decorate! I added an additional shelf because I had 2 sanders I wanted to stack on top of each other. I kept the chargers and cords underneath on a table.

Feel free to leave a comment if you liked this post or have any questions. And subscribe to my newsletter!
If you’re a visual learner, all of my stories for this project can be found in my highlights on my Instagram Account.

