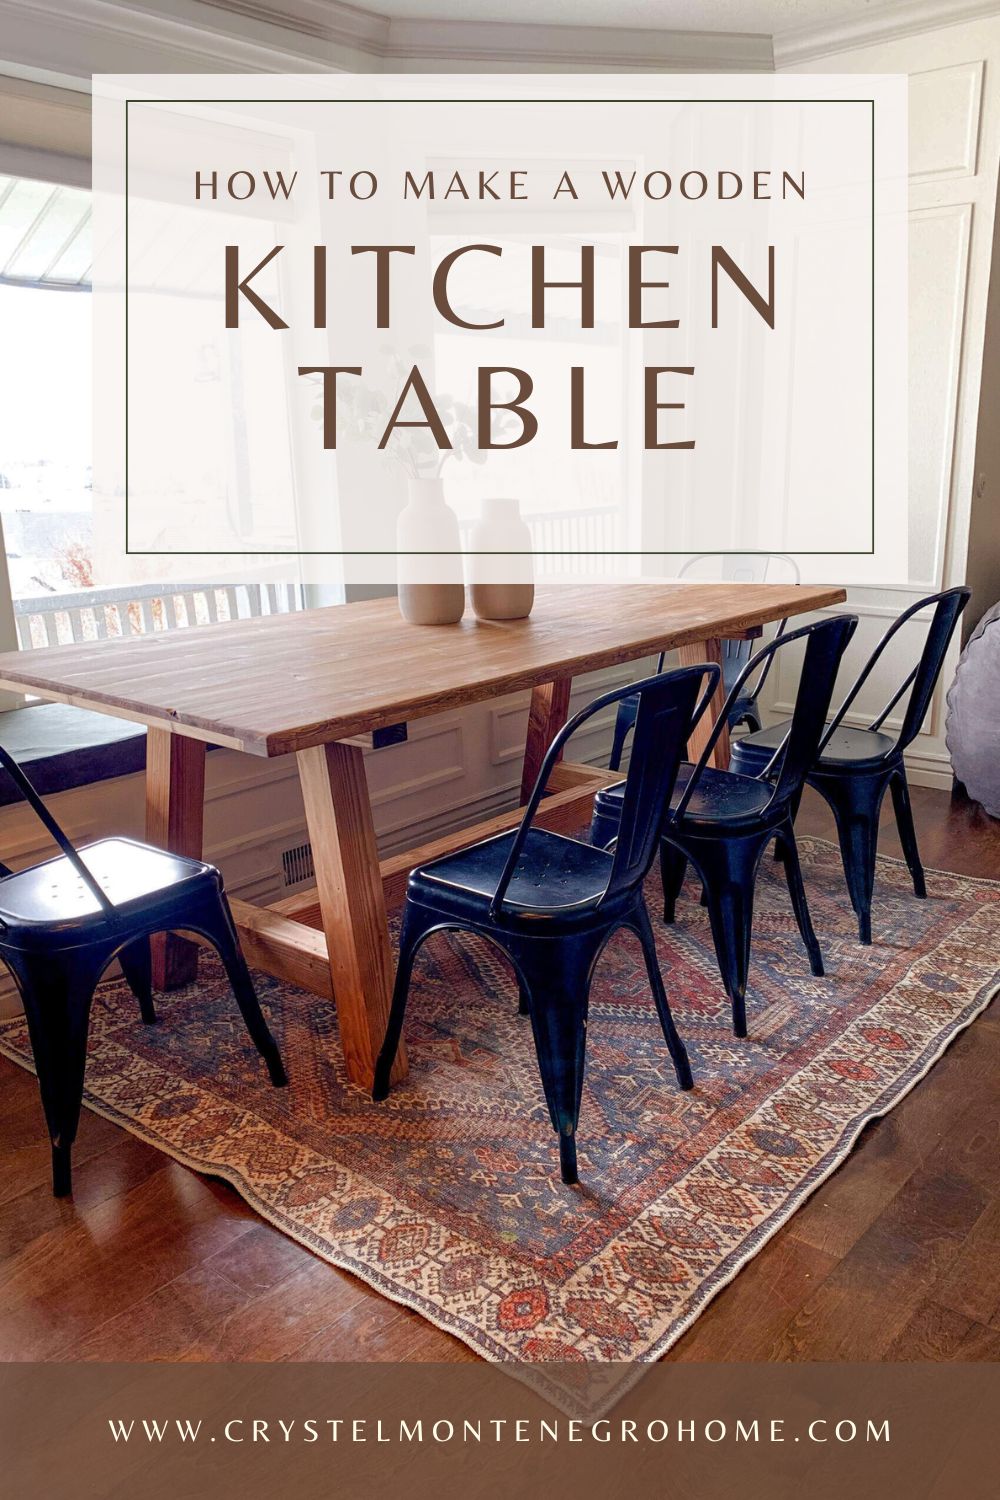
Updated March 4, 2025
Building a DIY table is easier than you might think! And the best part? You get to choose everything—size, shape, color, style—you name it! You can create a table that’s a perfect fit for your room and style.
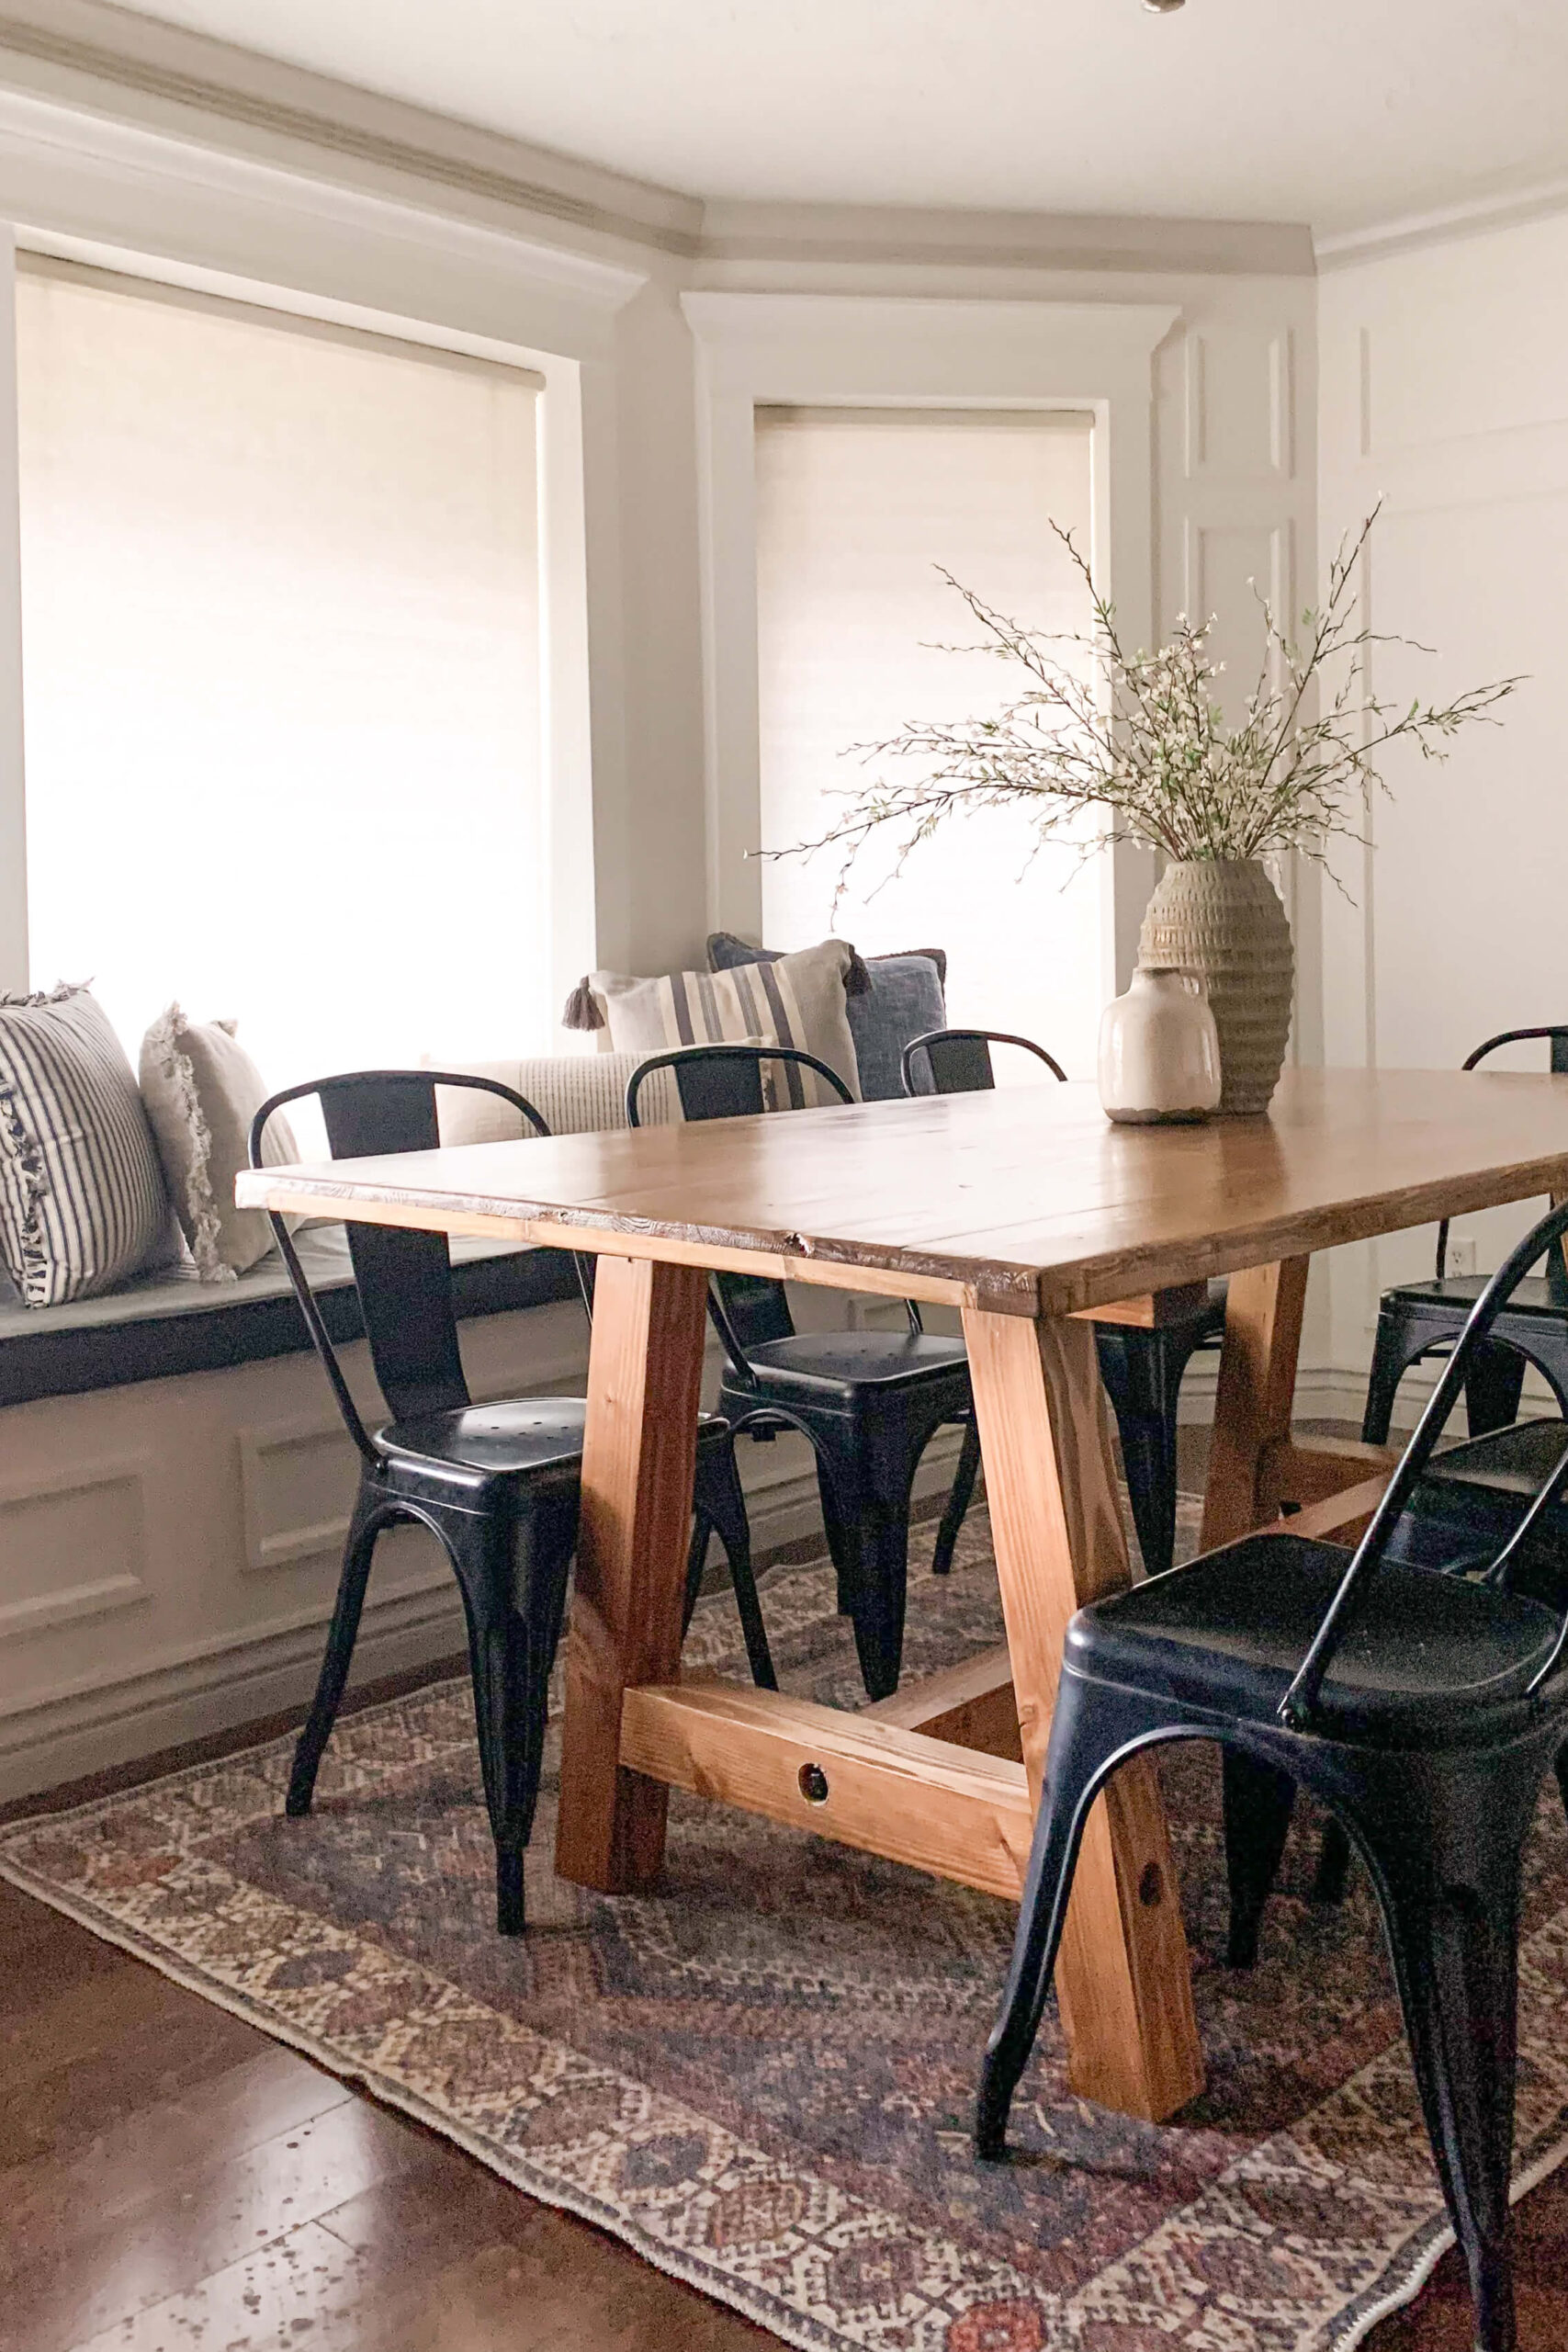
Back when we lived in Utah, we had this gorgeous, bright dining nook right off the kitchen. I upgraded the bay window with new trim and added picture frame molding. The only thing missing? The perfect table to complete the look!
With a little wood, a few tools, and some supplies, you have everything you need to build the DIY table of your dreams.
Tools
Materials
- 2 – Pine Common Boards (I used 3/4″x20″x8′)
- 4 – 4x4x8’s
- Wood glue
- Foam brush
- Wood filler
- Wood conditioner
- Stain
- Polycrylic
- Lint-free rags
- Wood screws
- Lag screws with washers
- Black spray paint
- Angle brackets
Building a Table Top
For the tabletop of my DIY table, I’m using pine common boards. They’re solid wood, and since table tops see a lot of action, durability is key! Pine common boards are a much better choice than a softer, cheaper option like plywood. These boards stain or paint up really nicely, so they’re a great choice no matter which direction you want to go with your DIY table.
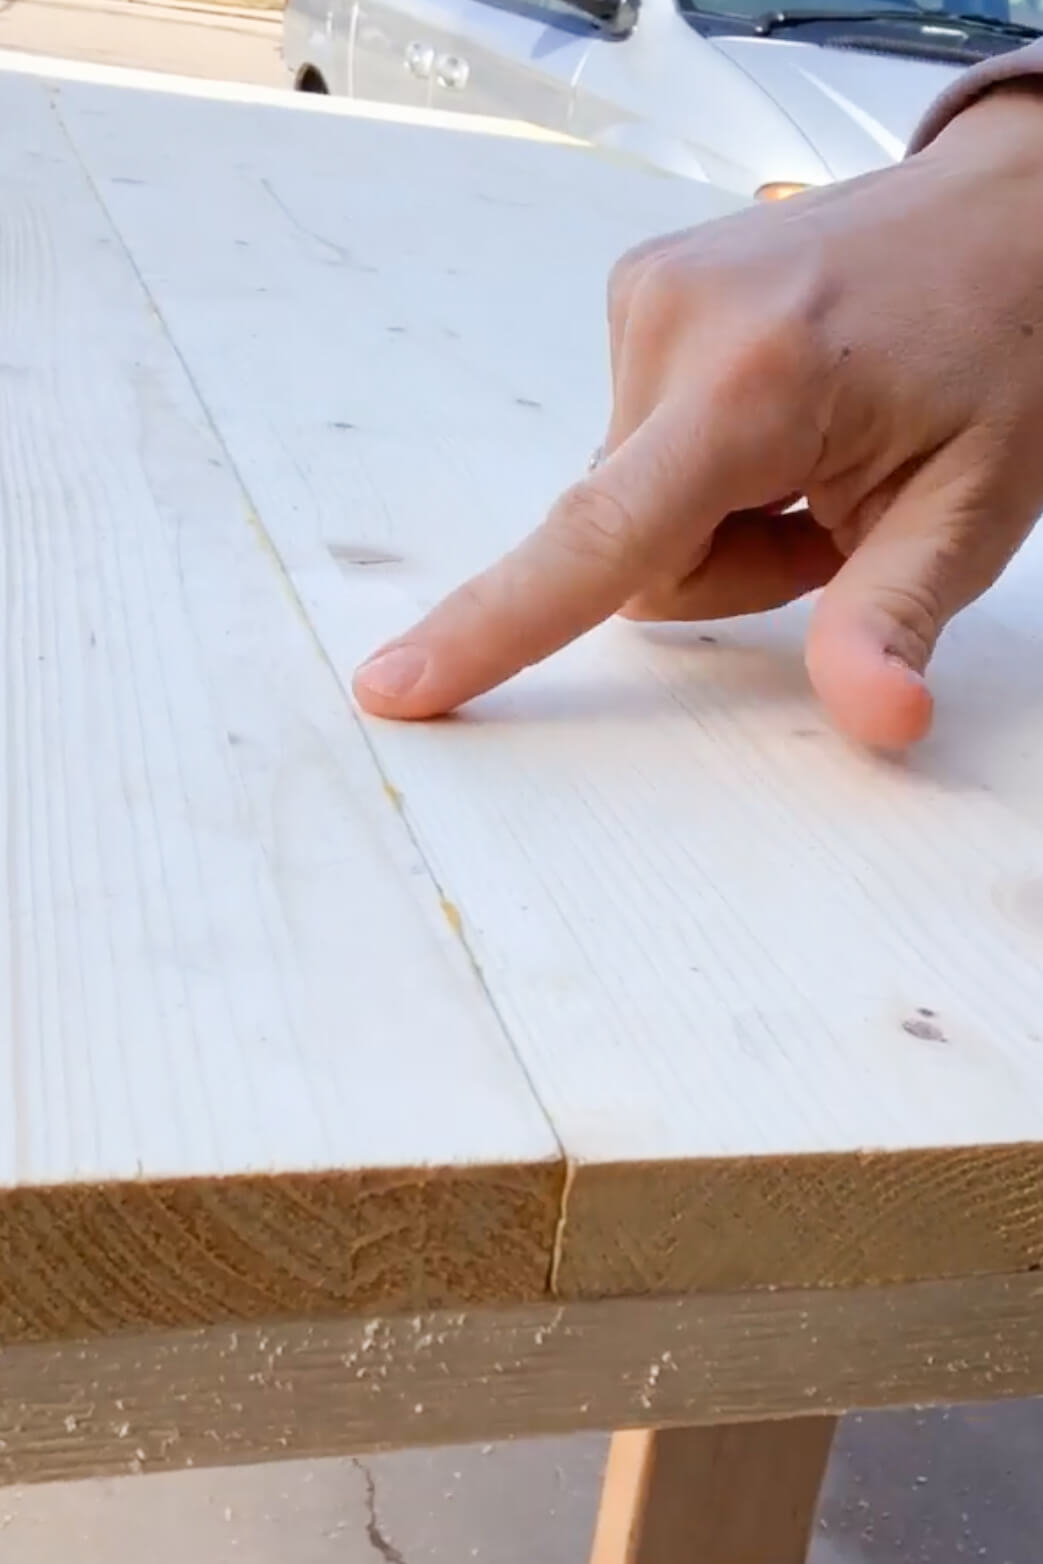
Dining tables usually fall between 36-40 inches wide, but pine common boards don’t come that wide. No worries, though! I grabbed two 20-inch boards and joined them together to create my perfect tabletop.
The first step is to make pocket holes down the length of one of the boards. Using my pocket hole jig, I drilled holes every 6-8 inches or so.

Next, I roughed up the edges of both boards with 80-grit sandpaper and then applied wood glue with a small foam brush.


After clamping the boards together at the seam, I attached them more permanently by screwing through the pocket holes.

The 8-foot boards I got are a bit longer than I want for my DIY table, so I need to trim them down to size. When you’re working solo on a project like this, maneuvering a big board through a table saw can be difficult. So, I’m keeping it simple and grabbing my trusty circular saw instead.
I measured out the exact length I want for my DIY table and marked it. Then, I set a straight edge 1 1/2 inches over to account for the space between the blade and the edge of the circular saw’s base plate. Even a scrap 2×4 could work as a straight edge here.


The straight edge works as a guide for the circular saw to follow, making it easy to get a nice, even cut.

I love the look of a thicker table, but I don’t want the extra weight or cost that would come with doubling up on the pine boards. Instead, I’m using some 1x3s to beef up the edge of my tabletop. I spread a bit of wood glue, lined them up flush with the edge, clamped them down, and used a brad nailer to attach them to the underside. It’s a simple and cost-effective way to get that thicker look.


Using a Planer
A planer was a new tool for me at the time, so I was eager to try it out on my DIY table project. I noticed some glue had seeped through the seam, and now that it’s dry, it’s rock solid. The boards were also slightly uneven where they meet in the middle, and I wanted the tabletop to look like one solid piece. Running the planer across the surface of my DIY table removed a thin layer, getting rid of the excess glue and making everything flush and smooth.
I also ran the planer around the edges of my tabletop just to clean everything up.

Check out how great it looks when it’s all done. The planer did knock out a little knot on the edge, but I’m not too concerned. I’m going for a slightly rustic vibe with this table anyway.
Pro Tip: I noticed the planer was roughing up the ends of my tabletop as I reached the end of an edge. I tried using painter’s tape to combat the problem, which helped, but I think duct tape would’ve worked better, or even clamping some scrap wood to the edge. Then the scrap wood could take the damage instead of the tabletop.

I added wood filler to the seam along the edge between my pine boards and the 1x3s, as well as to any knots or grooves in the tabletop. I didn’t want food or crumbs getting stuck, so it was important to me to fill in all those imperfections. After the wood filler dried, I sanded the whole thing down with my orbital sander using 60-grit sandpaper. Now this DIY table is ready for some stain.

Staining My Table Top
Before staining, I applied pre-stain wood conditioner to the tabletop.

Then I stained it using my favorite Minwax stain in the color Early American. This is the same color I used for my board and batten bathroom wall in our Utah home, as well as the floating shelves I built in our current home in Nebraska. No matter what you’re staining, the process is pretty simple: apply the stain with a brush, then wipe with a lint-free rag. Continue until your entire DIY tabletop is done.

Making Table Legs
I’m using simple 4x4s for the table legs. If you’ve ever picked up 4x4s at the lumber yard, you’ve probably noticed the slightly rounded corners and a few dings here and there. To clean them up and square off the corners, I’m running my planer over them.

Next, I used my miter saw to cut the 4x4s down to the right lengths. Since I want the table legs to sit at an angle, not just straight up and down, I set my miter saw to a 10° angle and trimmed the ends with a slight slant.

Once I had all my pieces cut, I sanded and stained them just like I did with the tabletop. It’s so much easier to stain everything before assembling the legs! I’m building two sets of legs for each end of the table, with each set made up of four pieces.
The top piece, where the tabletop will attach, is 32 inches long so it can fit snugly inside the lip I created around the underside of the tabletop. The ends of this piece are cut straight, with no angle.
The two legs on each side have that slight 10° angle and are 26 1/2 inches long. Combined with the top piece, this will give me a leg height of 30 inches.
Lastly, there’s a center brace that I attached about 6 inches up from the bottom of the legs.
I predrilled the holes into each piece using the drill bit that came with my pocket hole jig, then screwed everything together.


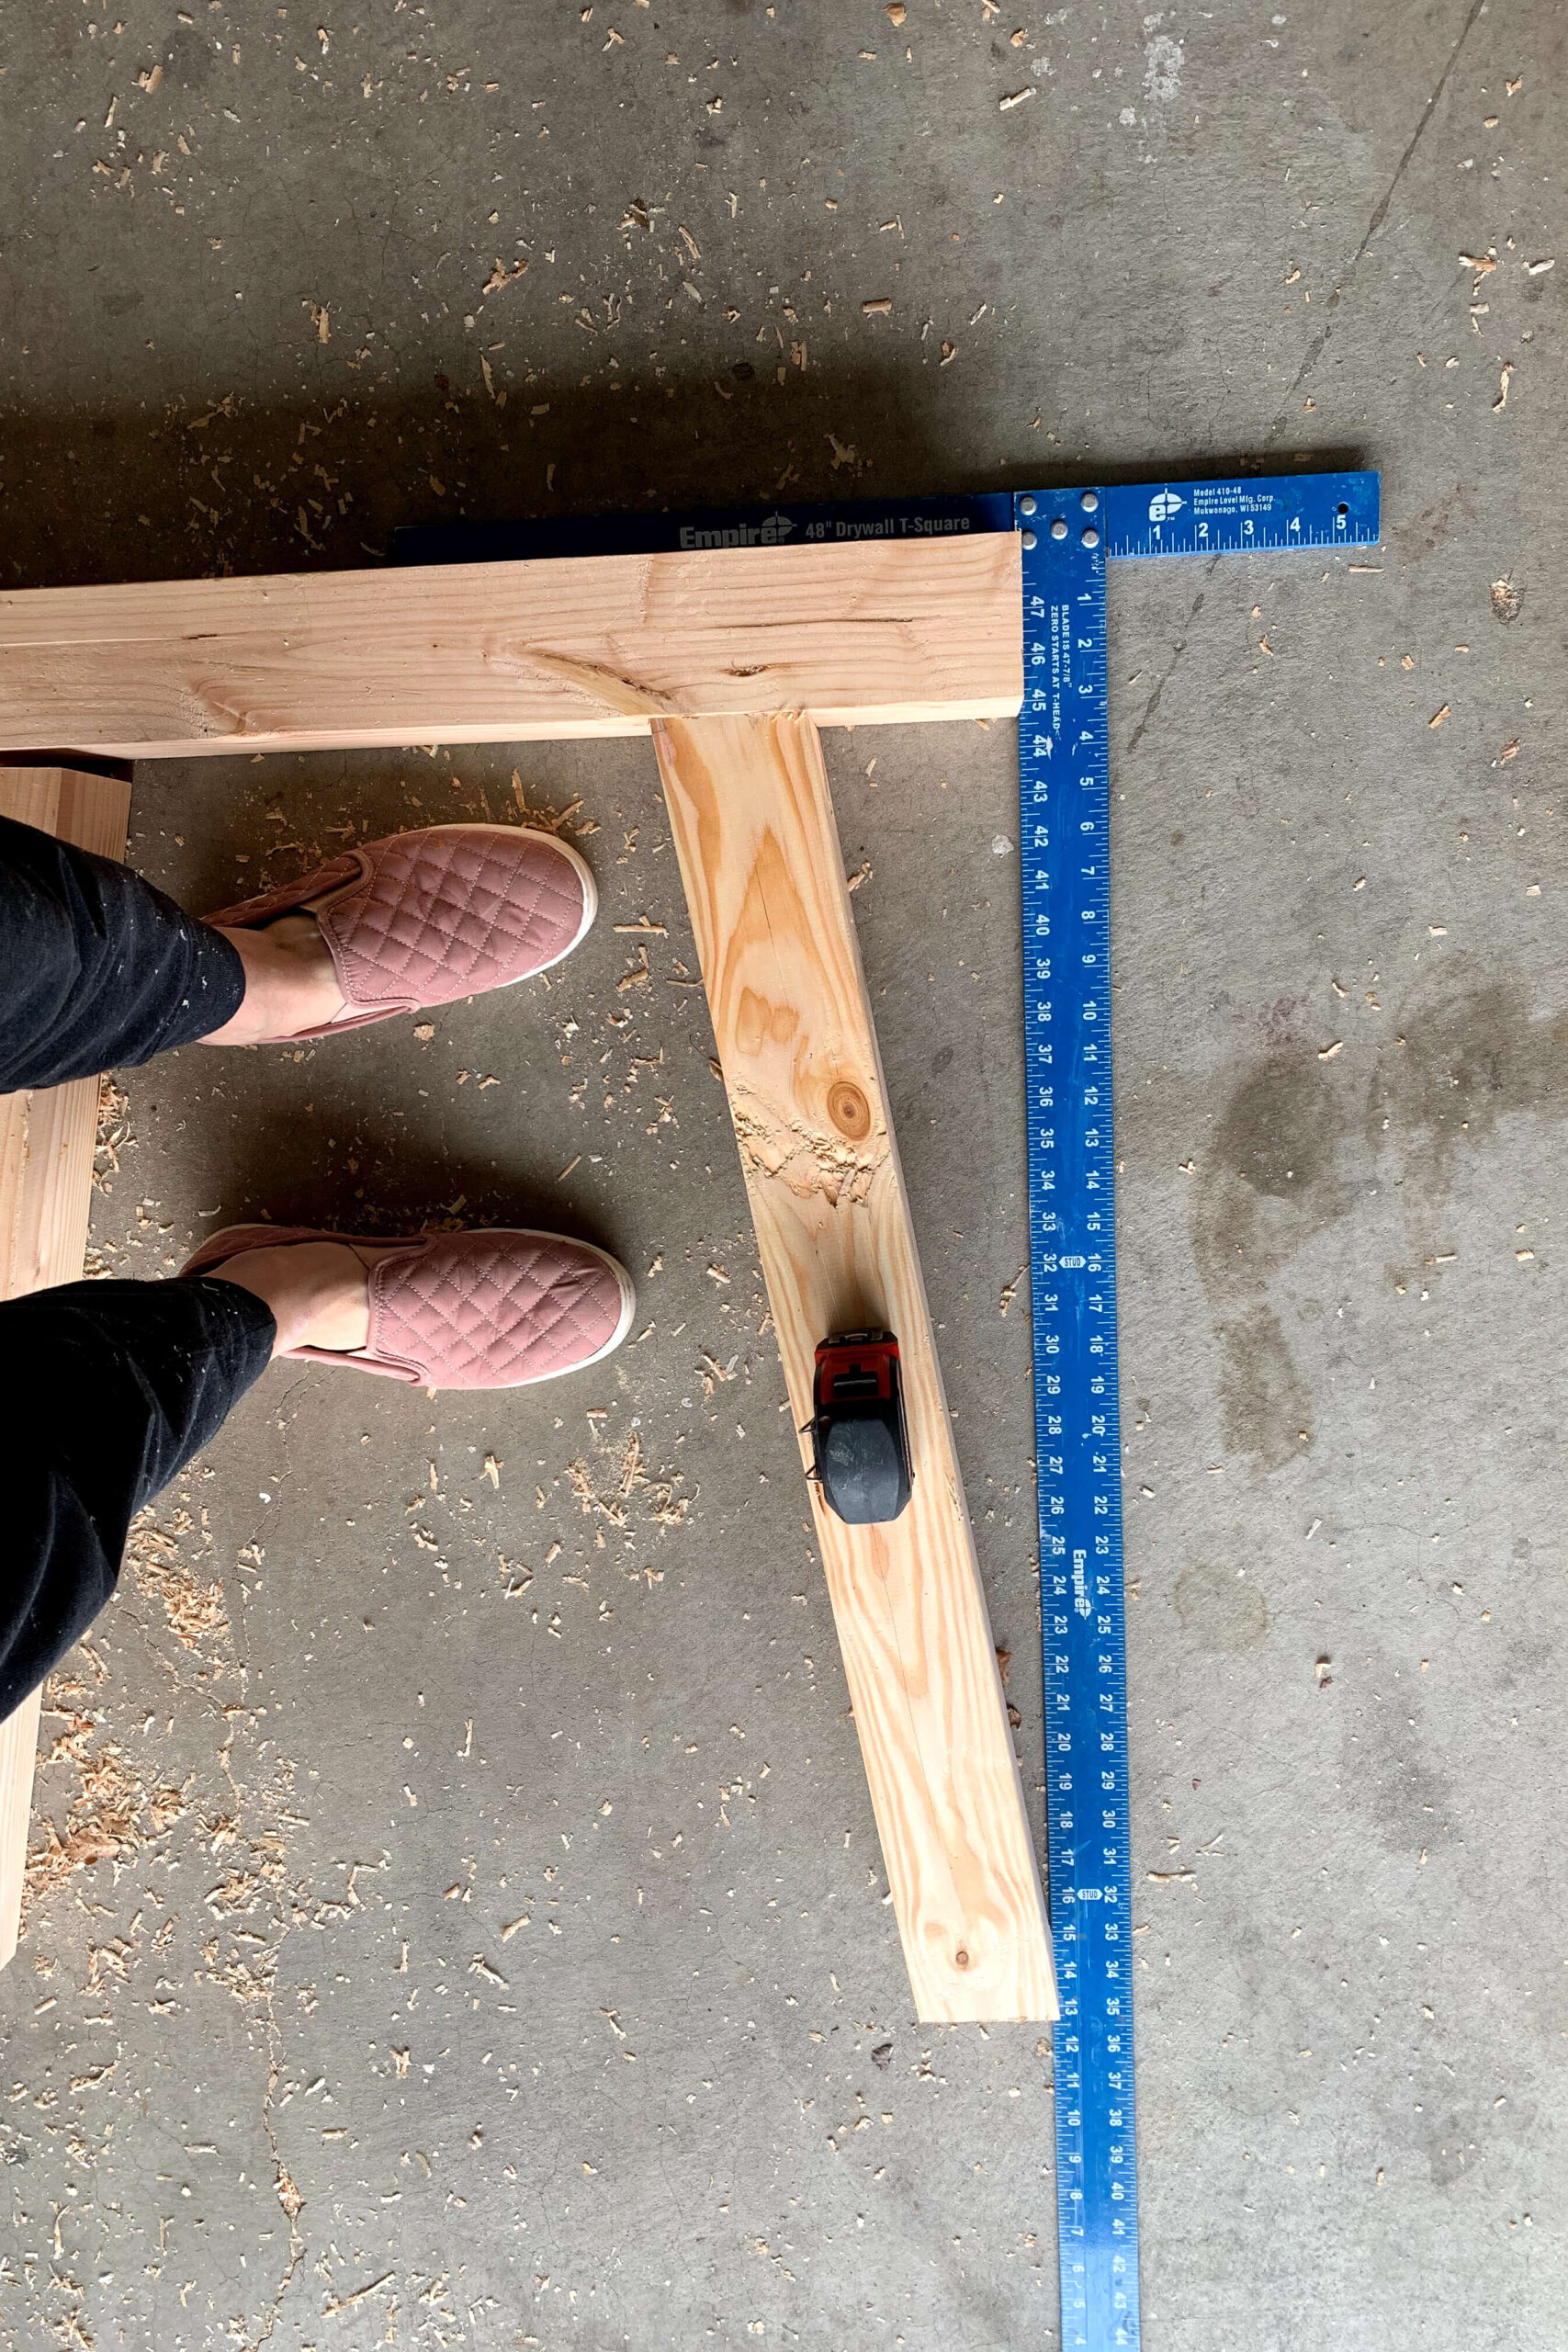
Pro Tip: I can’t even tell you how often I use my Drywall T-Square for projects other than drywall. It’s so handy! It was perfect for helping me keep everything square and straight when working on these table legs.
Assembling the DIY Table
Now that my tabletop was done and the two legs were built, I brought everything inside to finish assembling my DIY table right in my dining nook.

I flipped the leg pieces upside down and added the center beam by pre-drilling the holes and screwing everything together. Then I repeated the process with the second support beam, using clamps to hold it in place while I drilled the holes and screwed it together.

Tada! This DIY table is looking good!

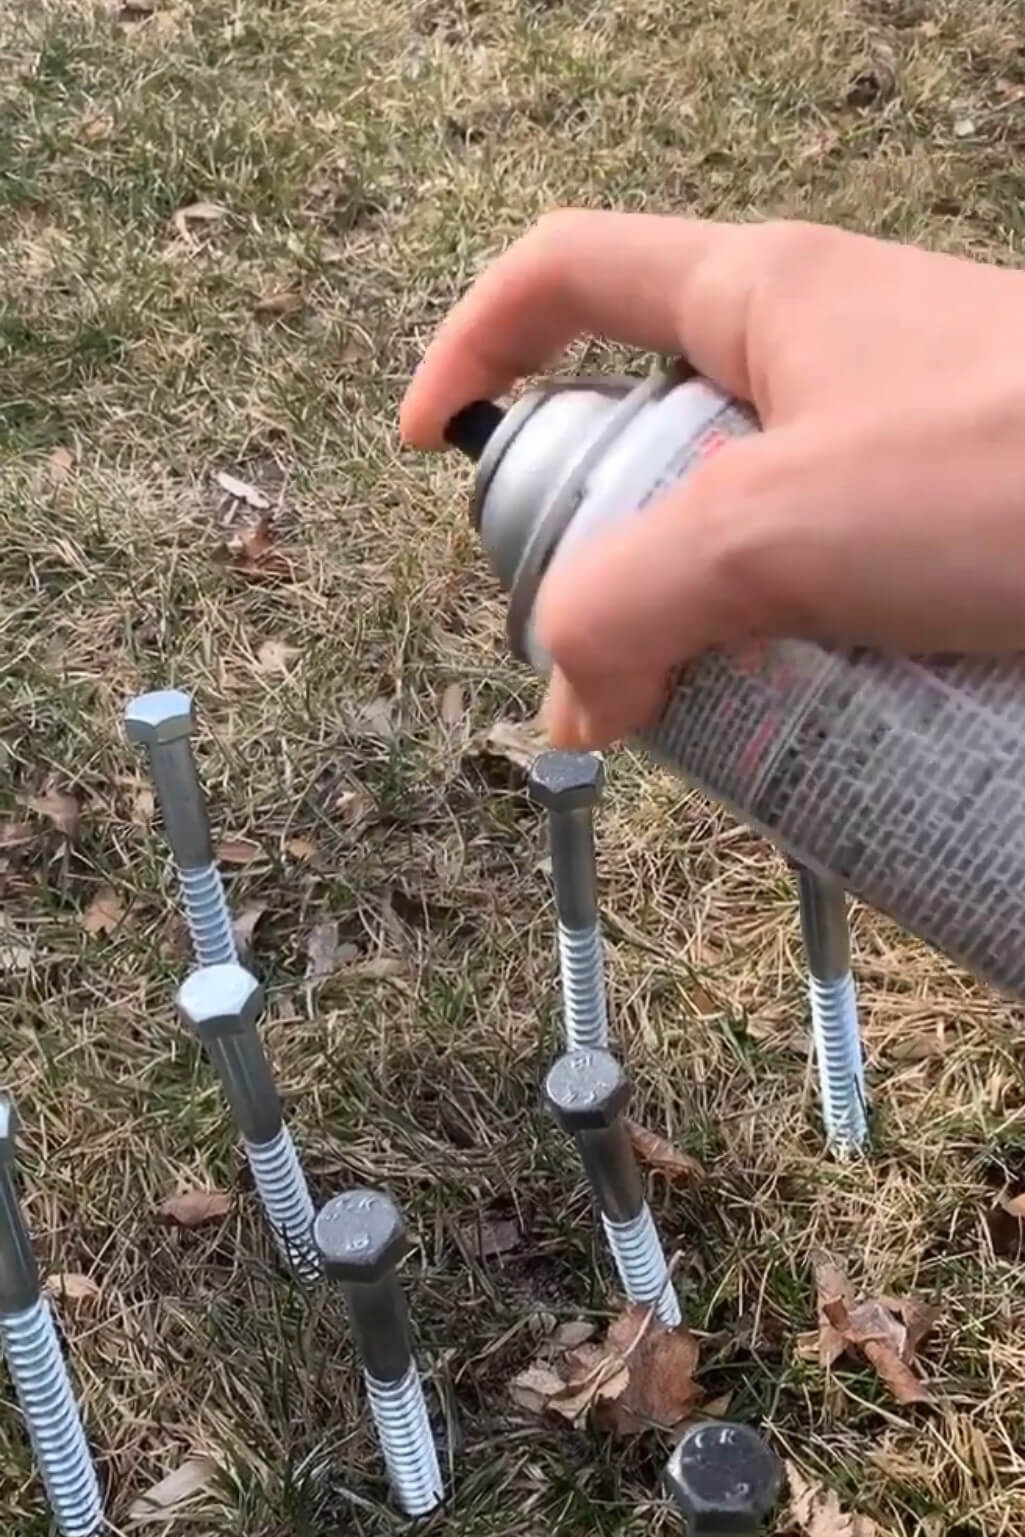
The screws left my DIY table with too much wobble—not ideal for a kitchen table. So, I switched to lag screws. To make them match the table, I spray-painted the screws and washers black, then secured them to each end of both the top and bottom support beams.

This photo was taken when I was painting the cabinets in my kitchen a few months later, but you can see that I also added the lag screws to the sides of each leg section. Switching to the lag screws completely solved the wobble problem. Basic wood screws alone just weren’t sturdy enough.
I didn’t take pictures making the holes for these lag screws while doing this DIY table project, but if you need better instructions for how to do that, I walk through step-by-step instructions during my stair railing installation and on the mantle of this fireplace redo.

To attach the tabletop to my table base, I used a handful of these little angle brackets. They worked great!

Table’s done, and I couldn’t love it more. It’s a gorgeous, solid table perfect for our family meals. Making a DIY table was much cheaper than buying one, and I love that I was able to customize it to fit my dining nook perfectly.
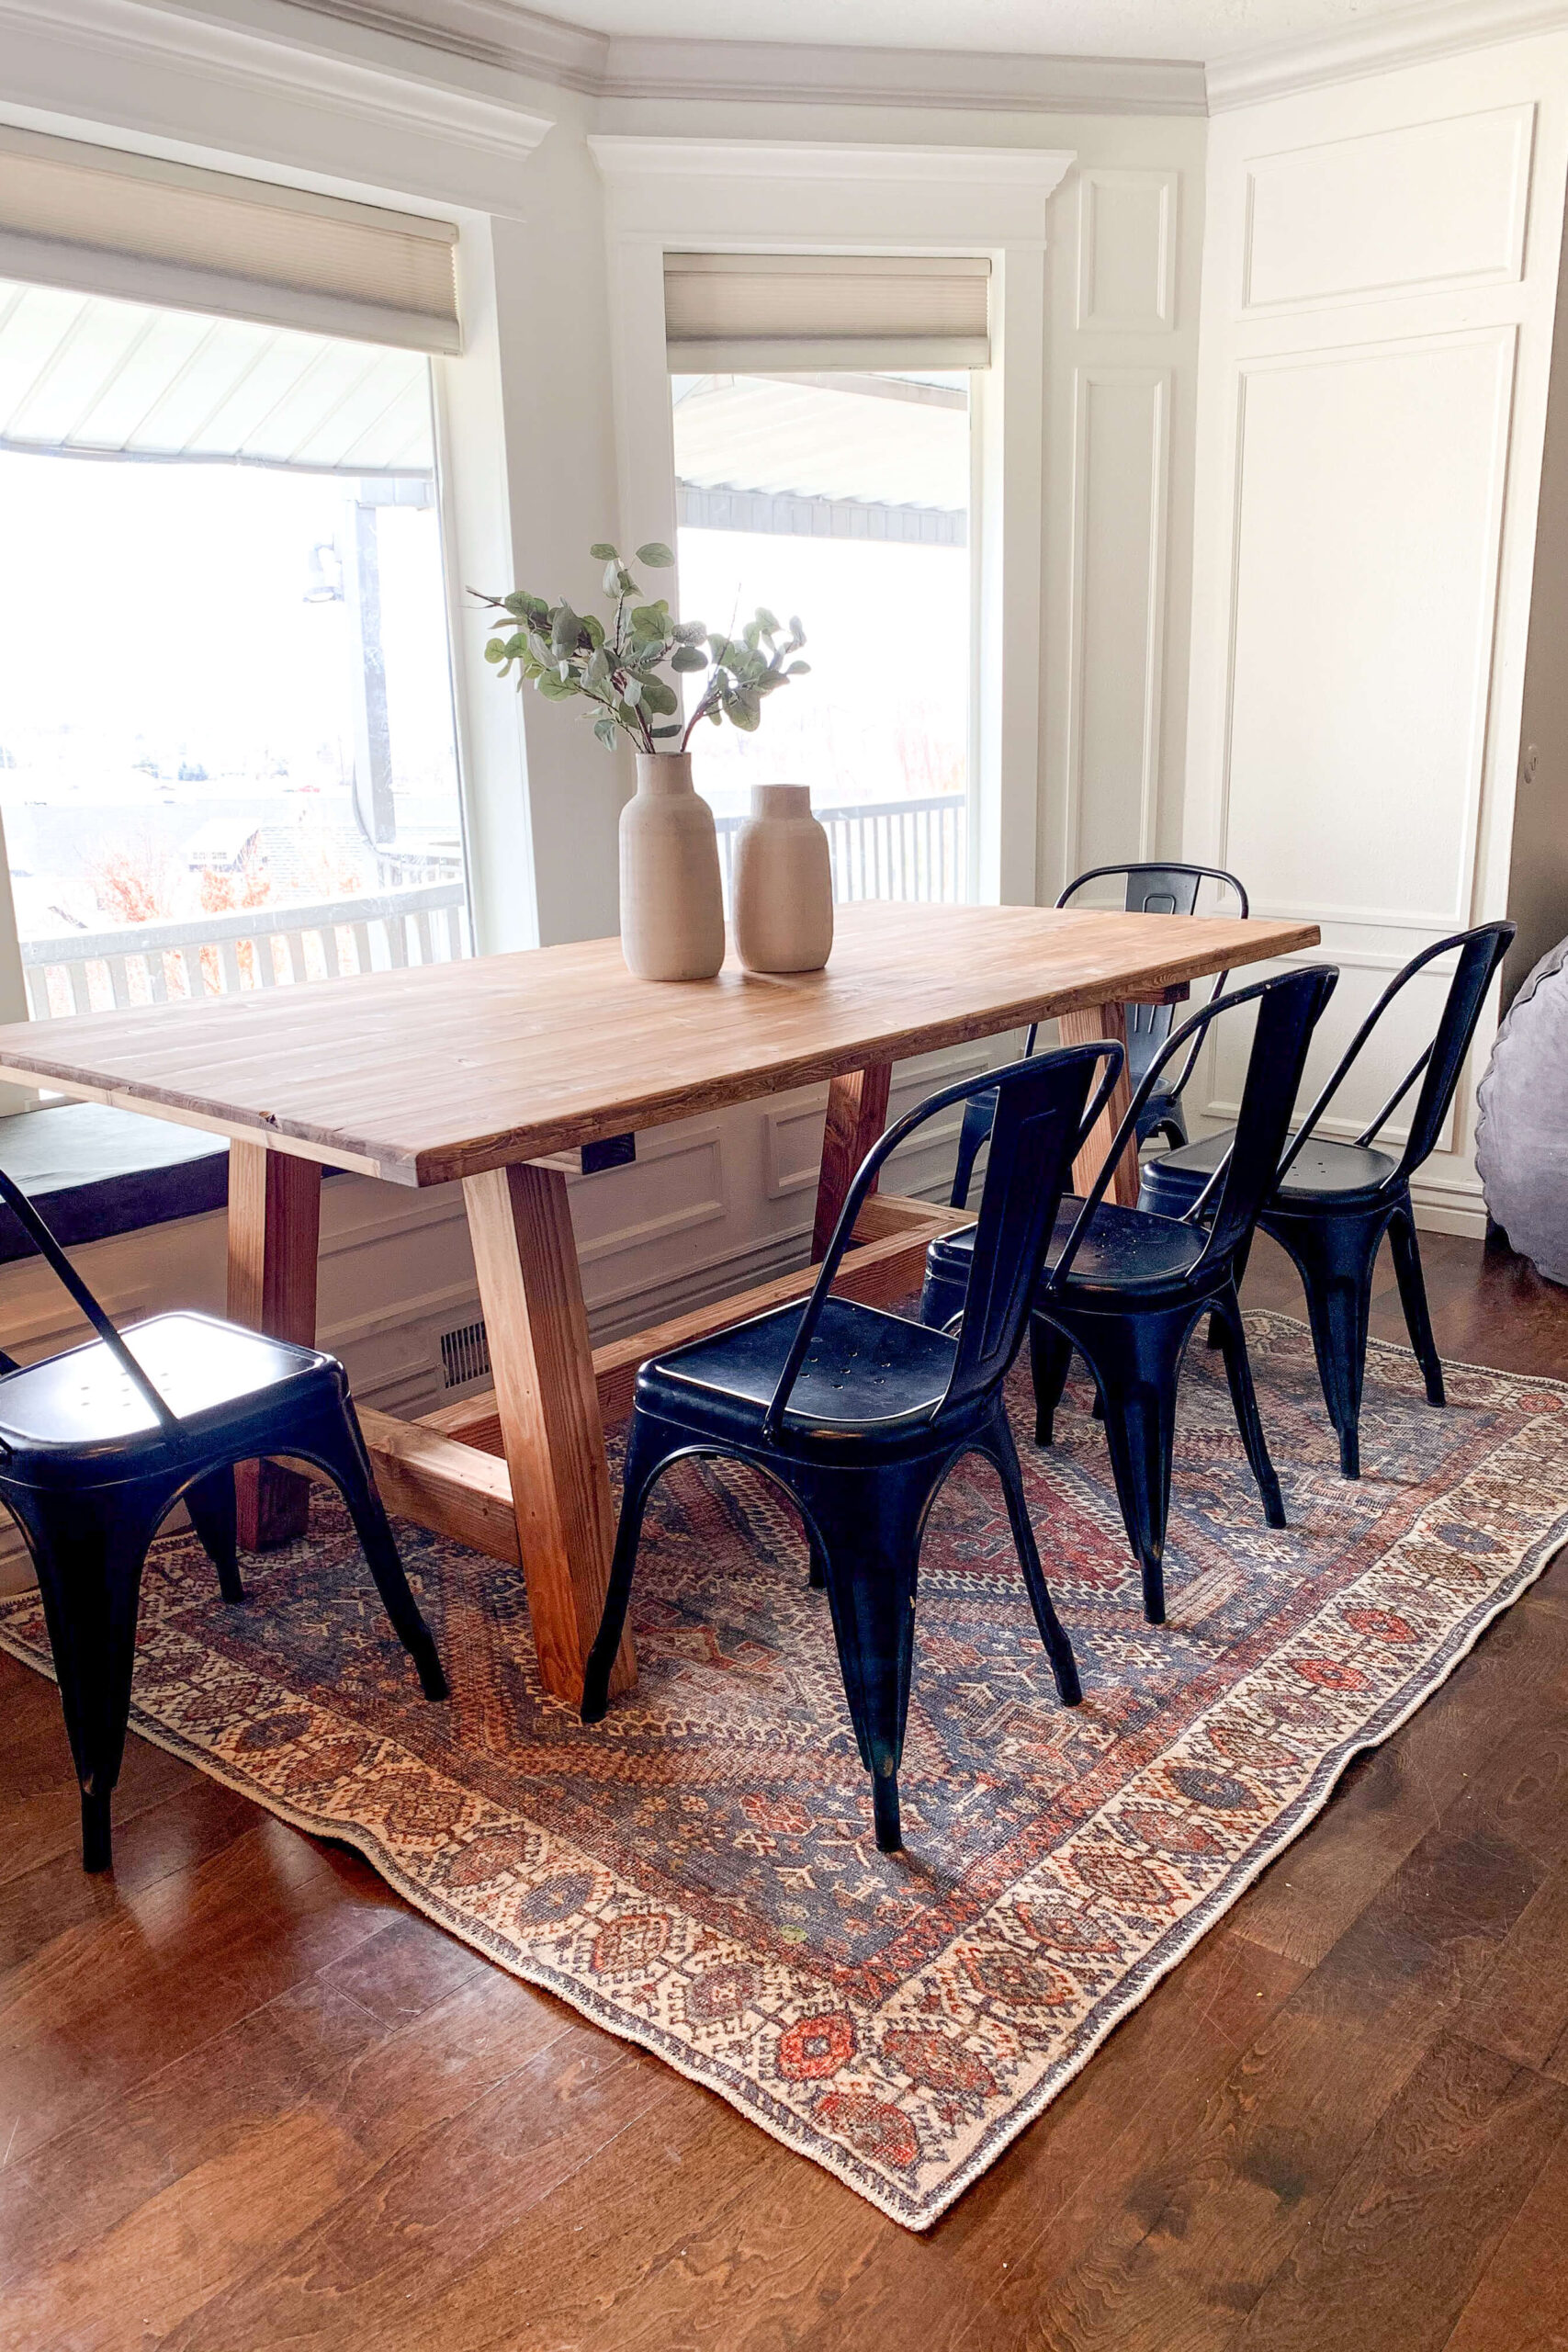
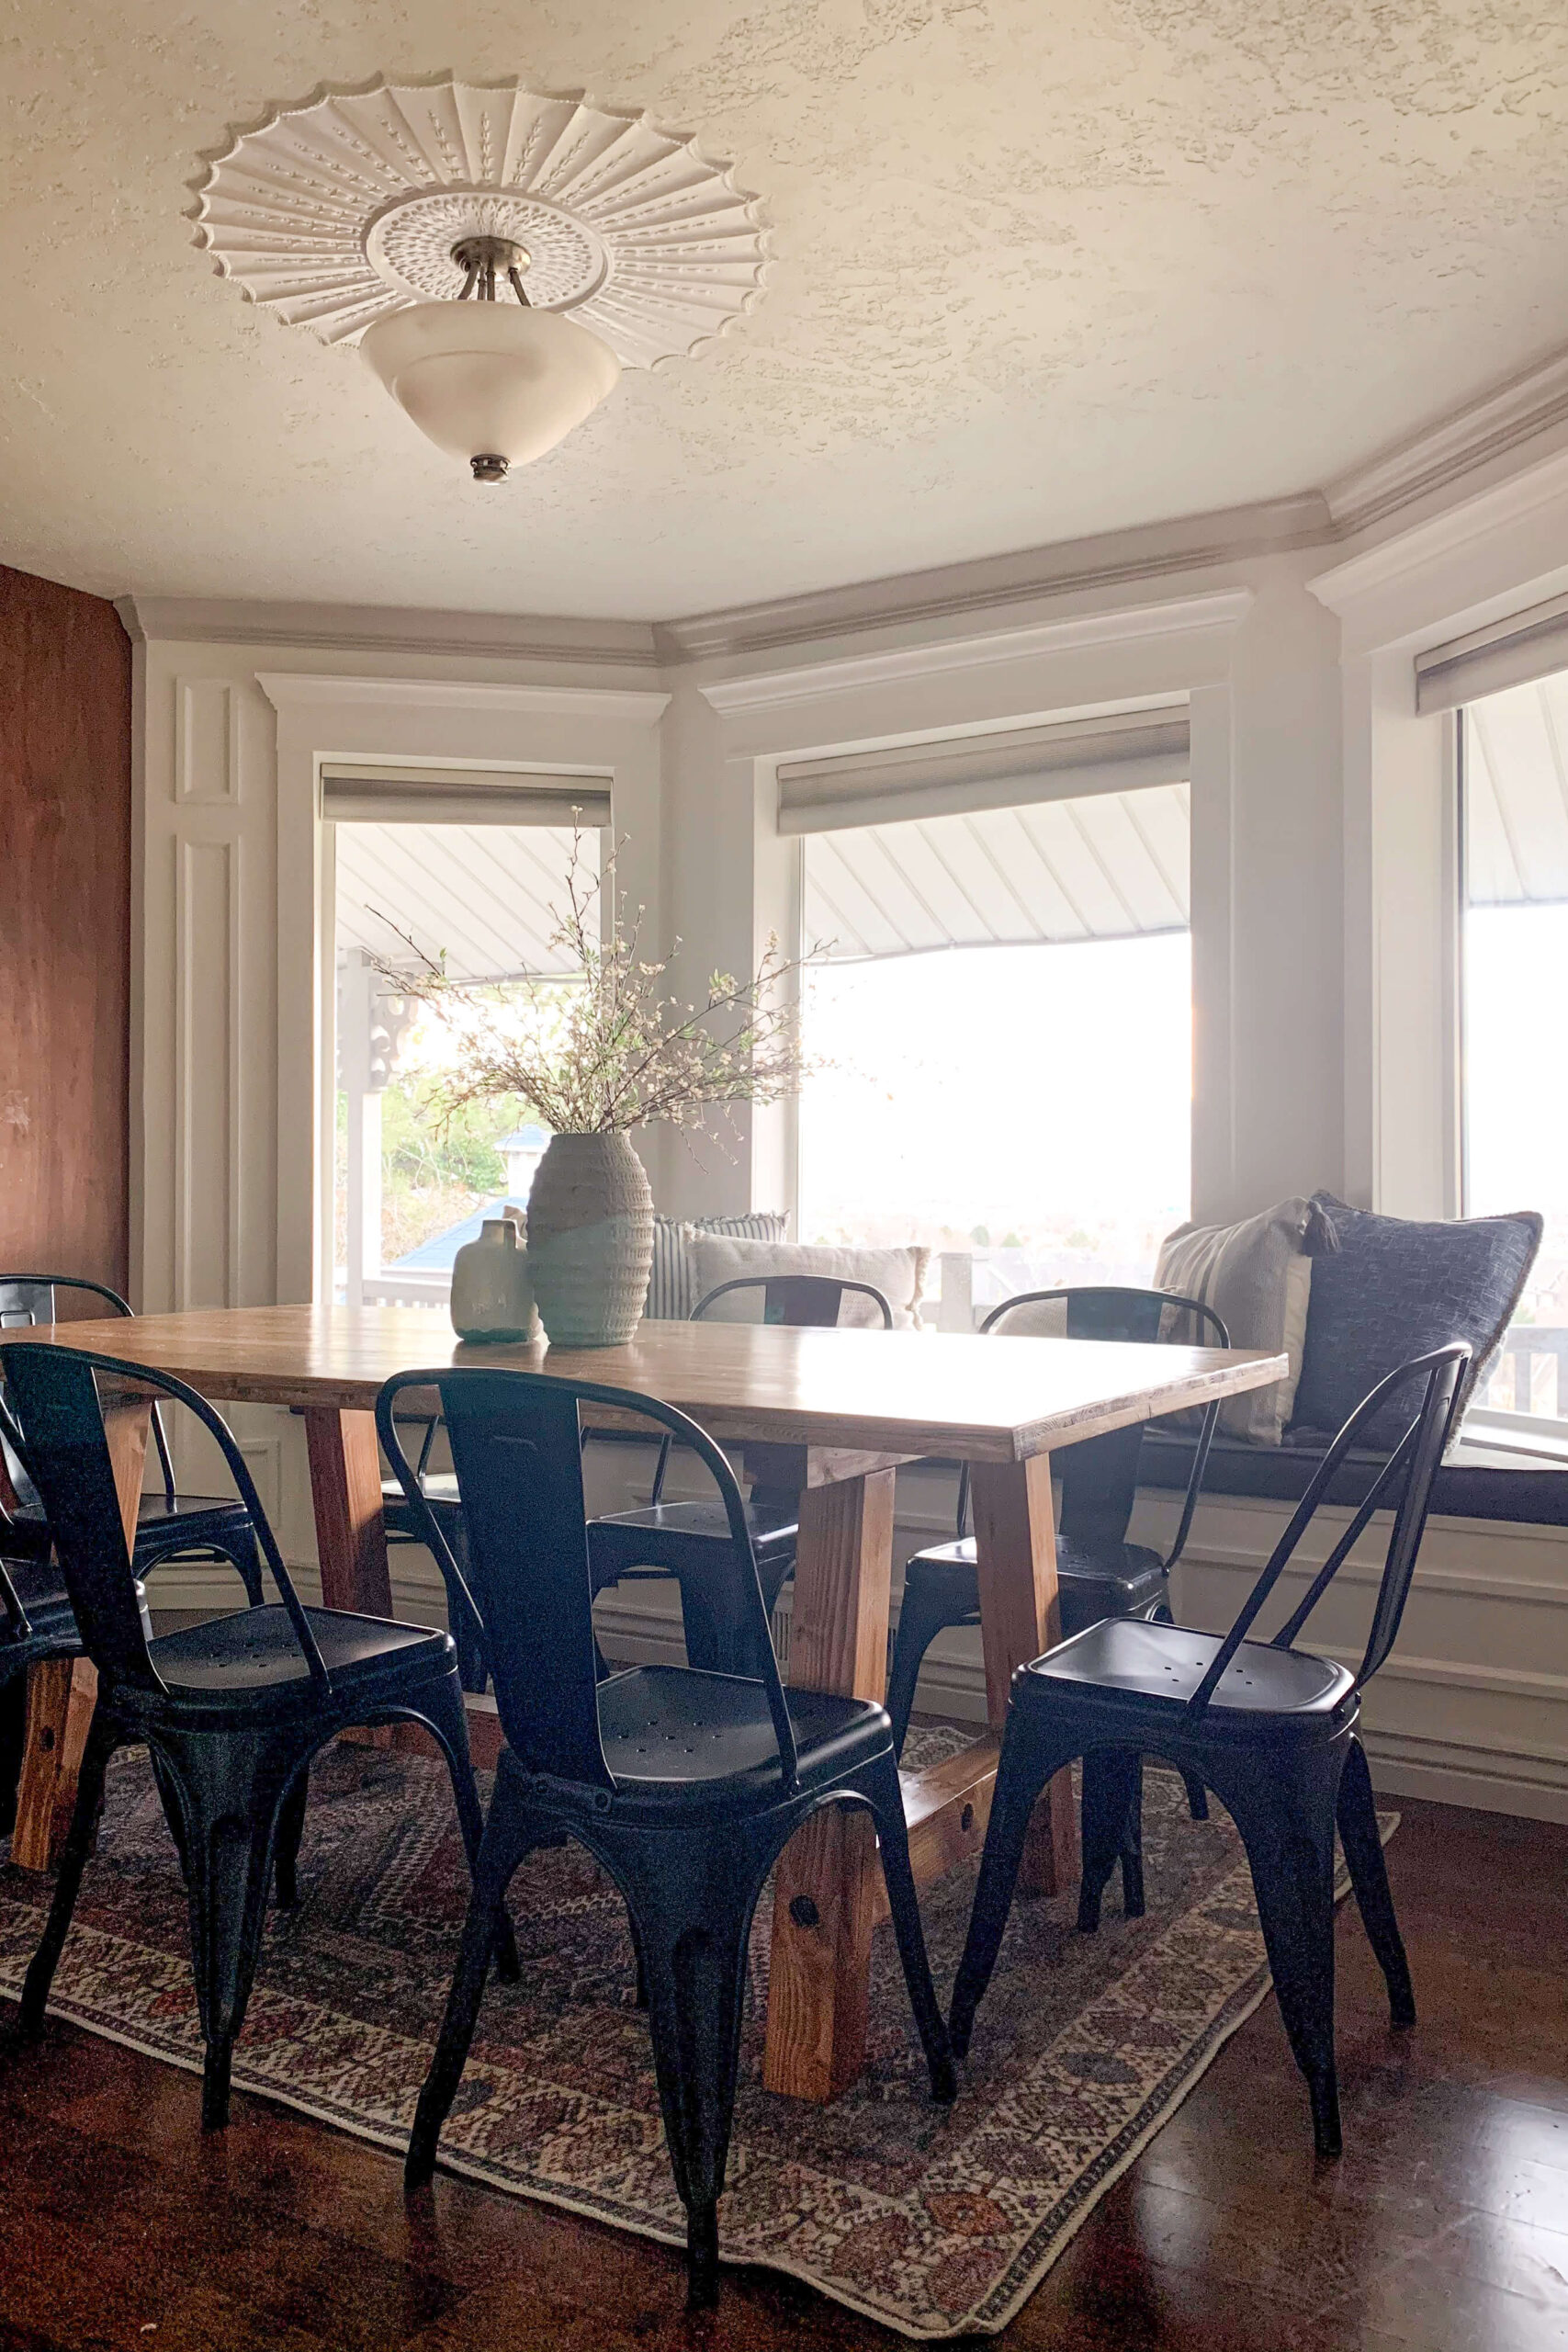
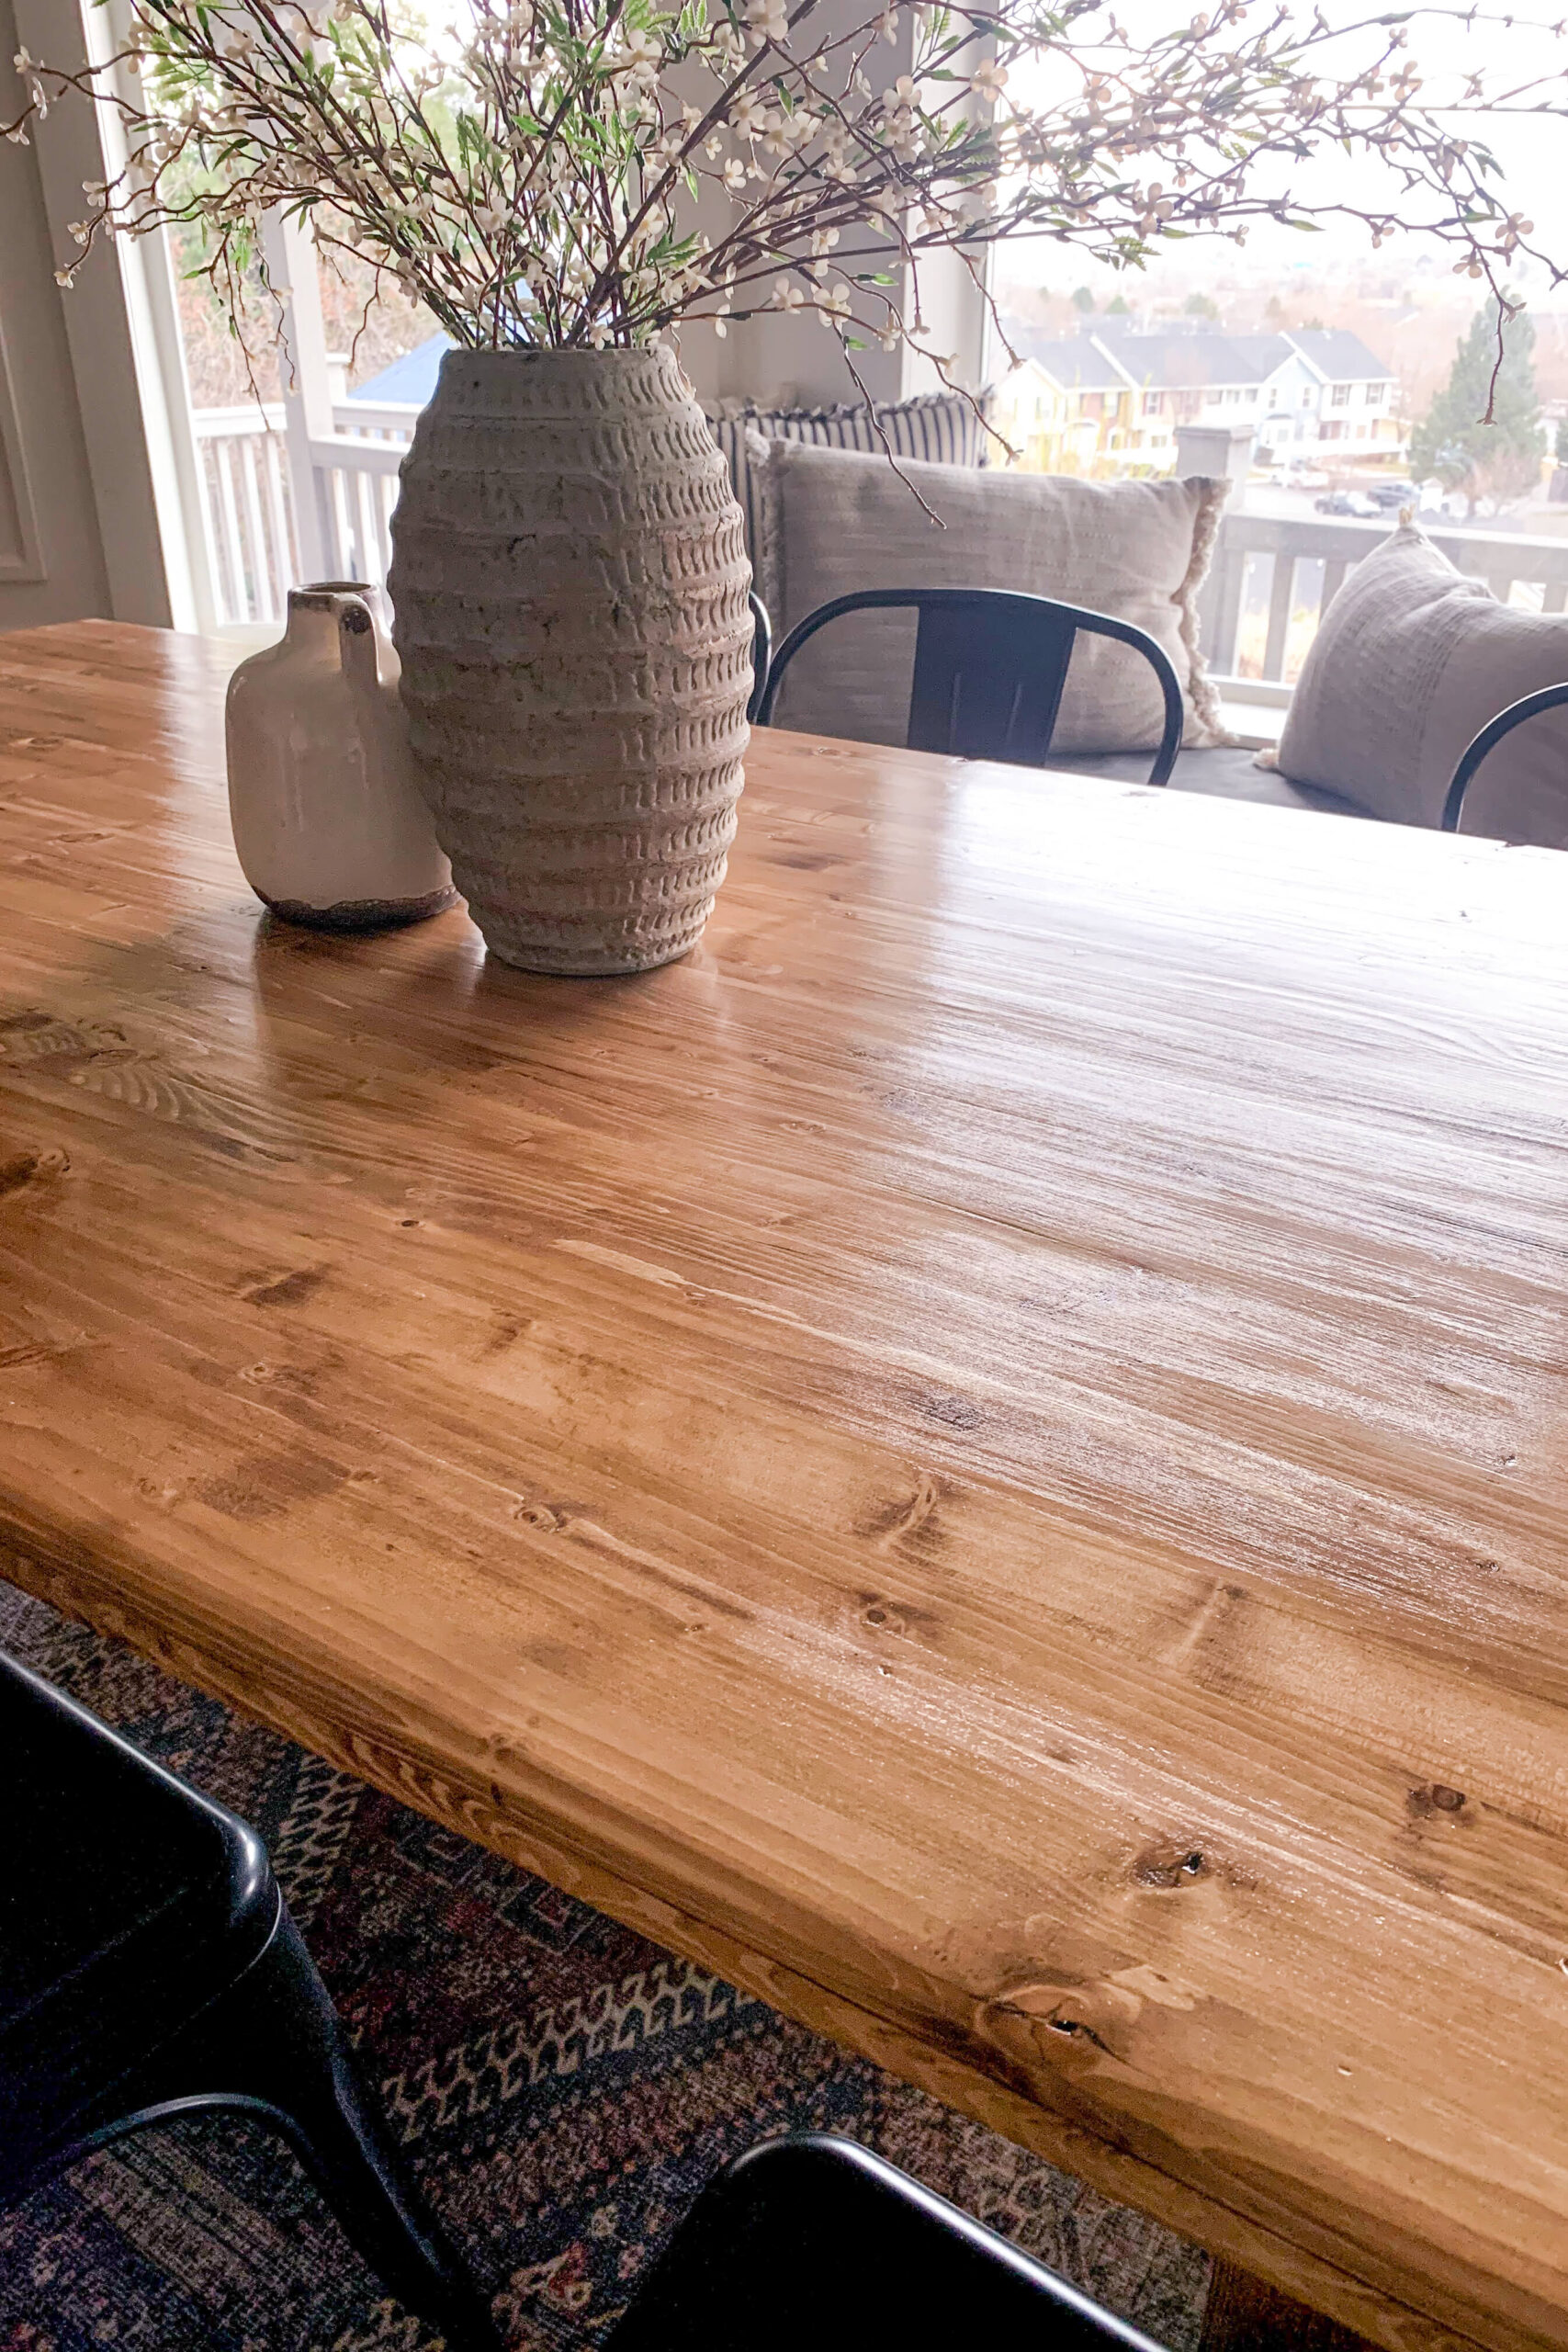
I ended up clear-coating the tabletop with polycrylic for extra durability and protection. It looks so good. I’m in love with the stain color in this room, and I’m so pleased with how you can’t even tell I joined those boards together.
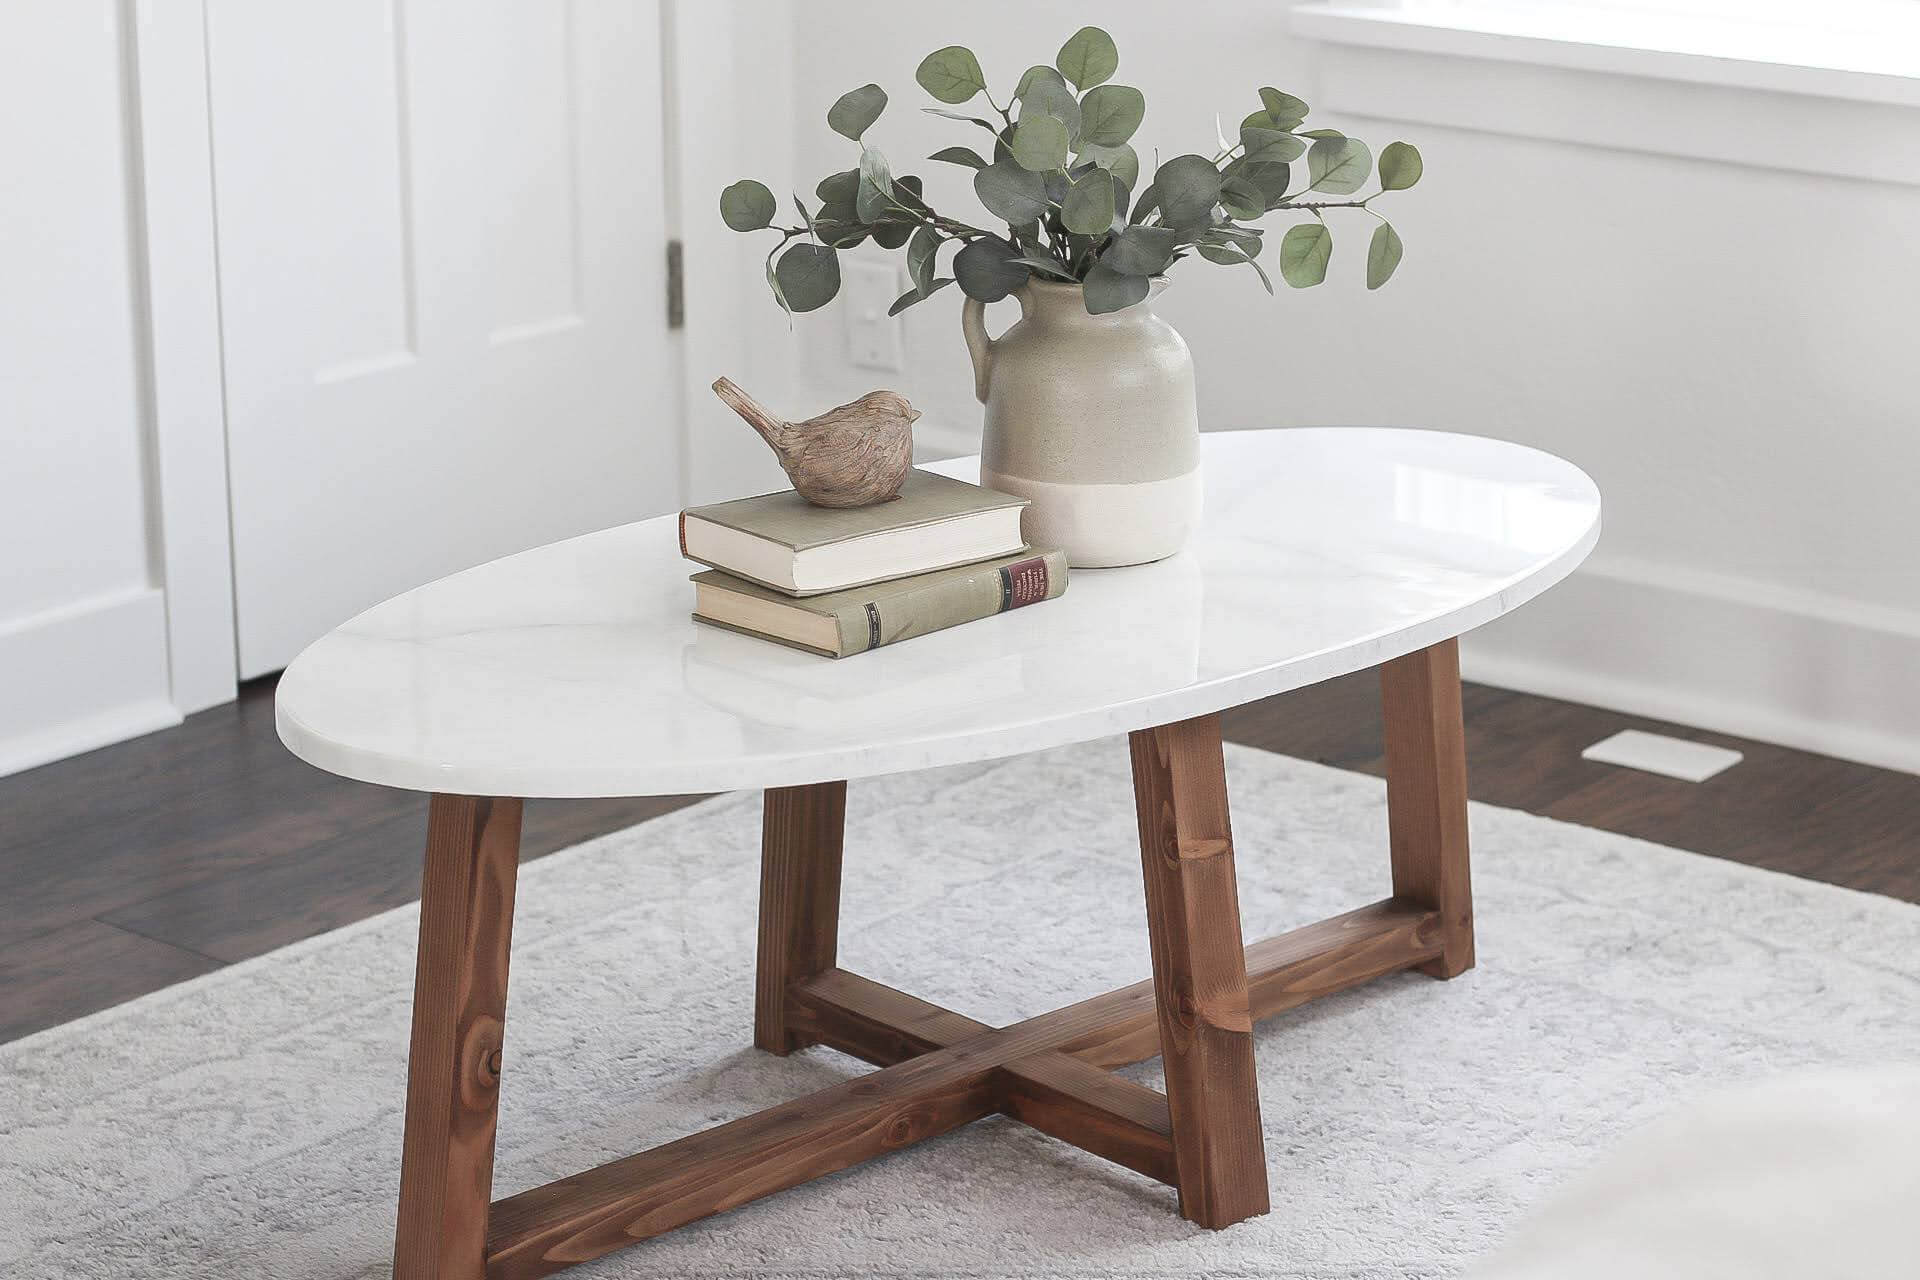
The process for making a DIY table, whether it’s for your kitchen, dining room, or even an office, is pretty simple. Looking for more table-building how-to’s? Check out my post on how I built my faux marble-topped coffee table using the same technique as my faux marble epoxy countertops. It turned out gorgeous!