Updated March 4, 2025
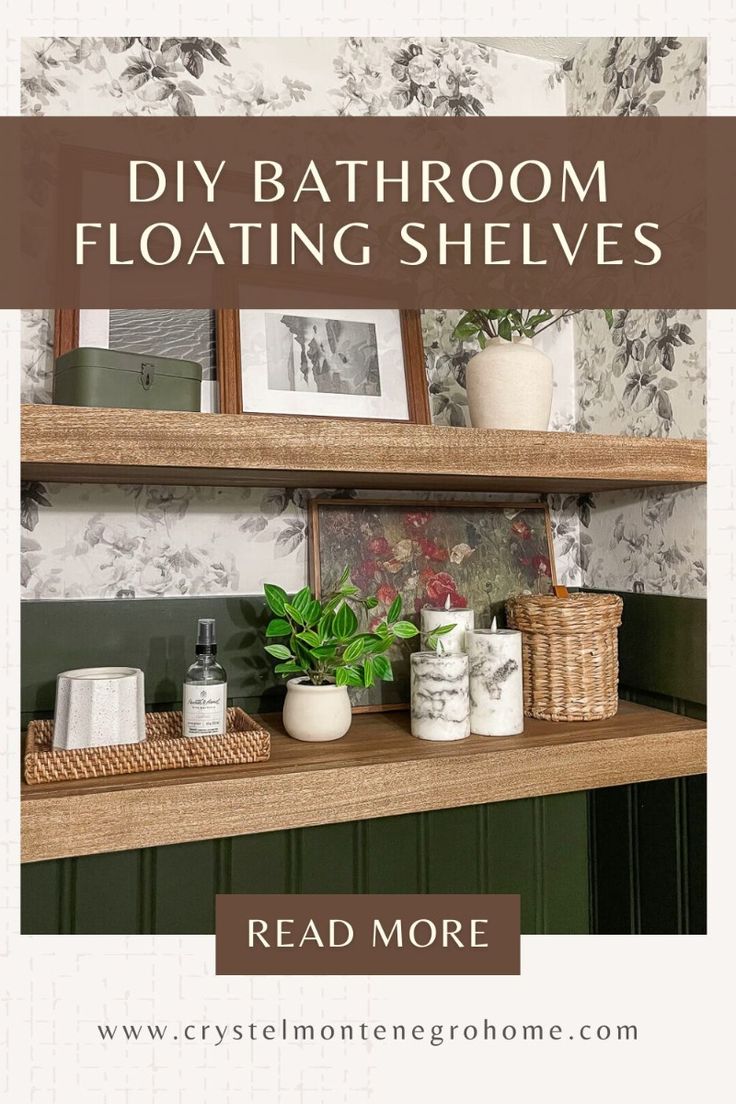
Building a DIY floating bathroom shelf is so easy, you’ll wonder why you didn’t do it sooner. Whether you need extra storage in a tiny bathroom or want to add some seasonal decor, a floating bathroom shelf is the perfect solution. Best of all, my super simple method doesn’t even require buying brackets!
This project is quick and can be done in just one afternoon without needing a lot of tools or materials. And while these steps are for a floating bathroom shelf, they work for shelves in any room!
Tools
Materials
- 1×12
- Plywood
- Sanding discs
- Wood conditioner
- Stain
- Lint-free rags or paper towels
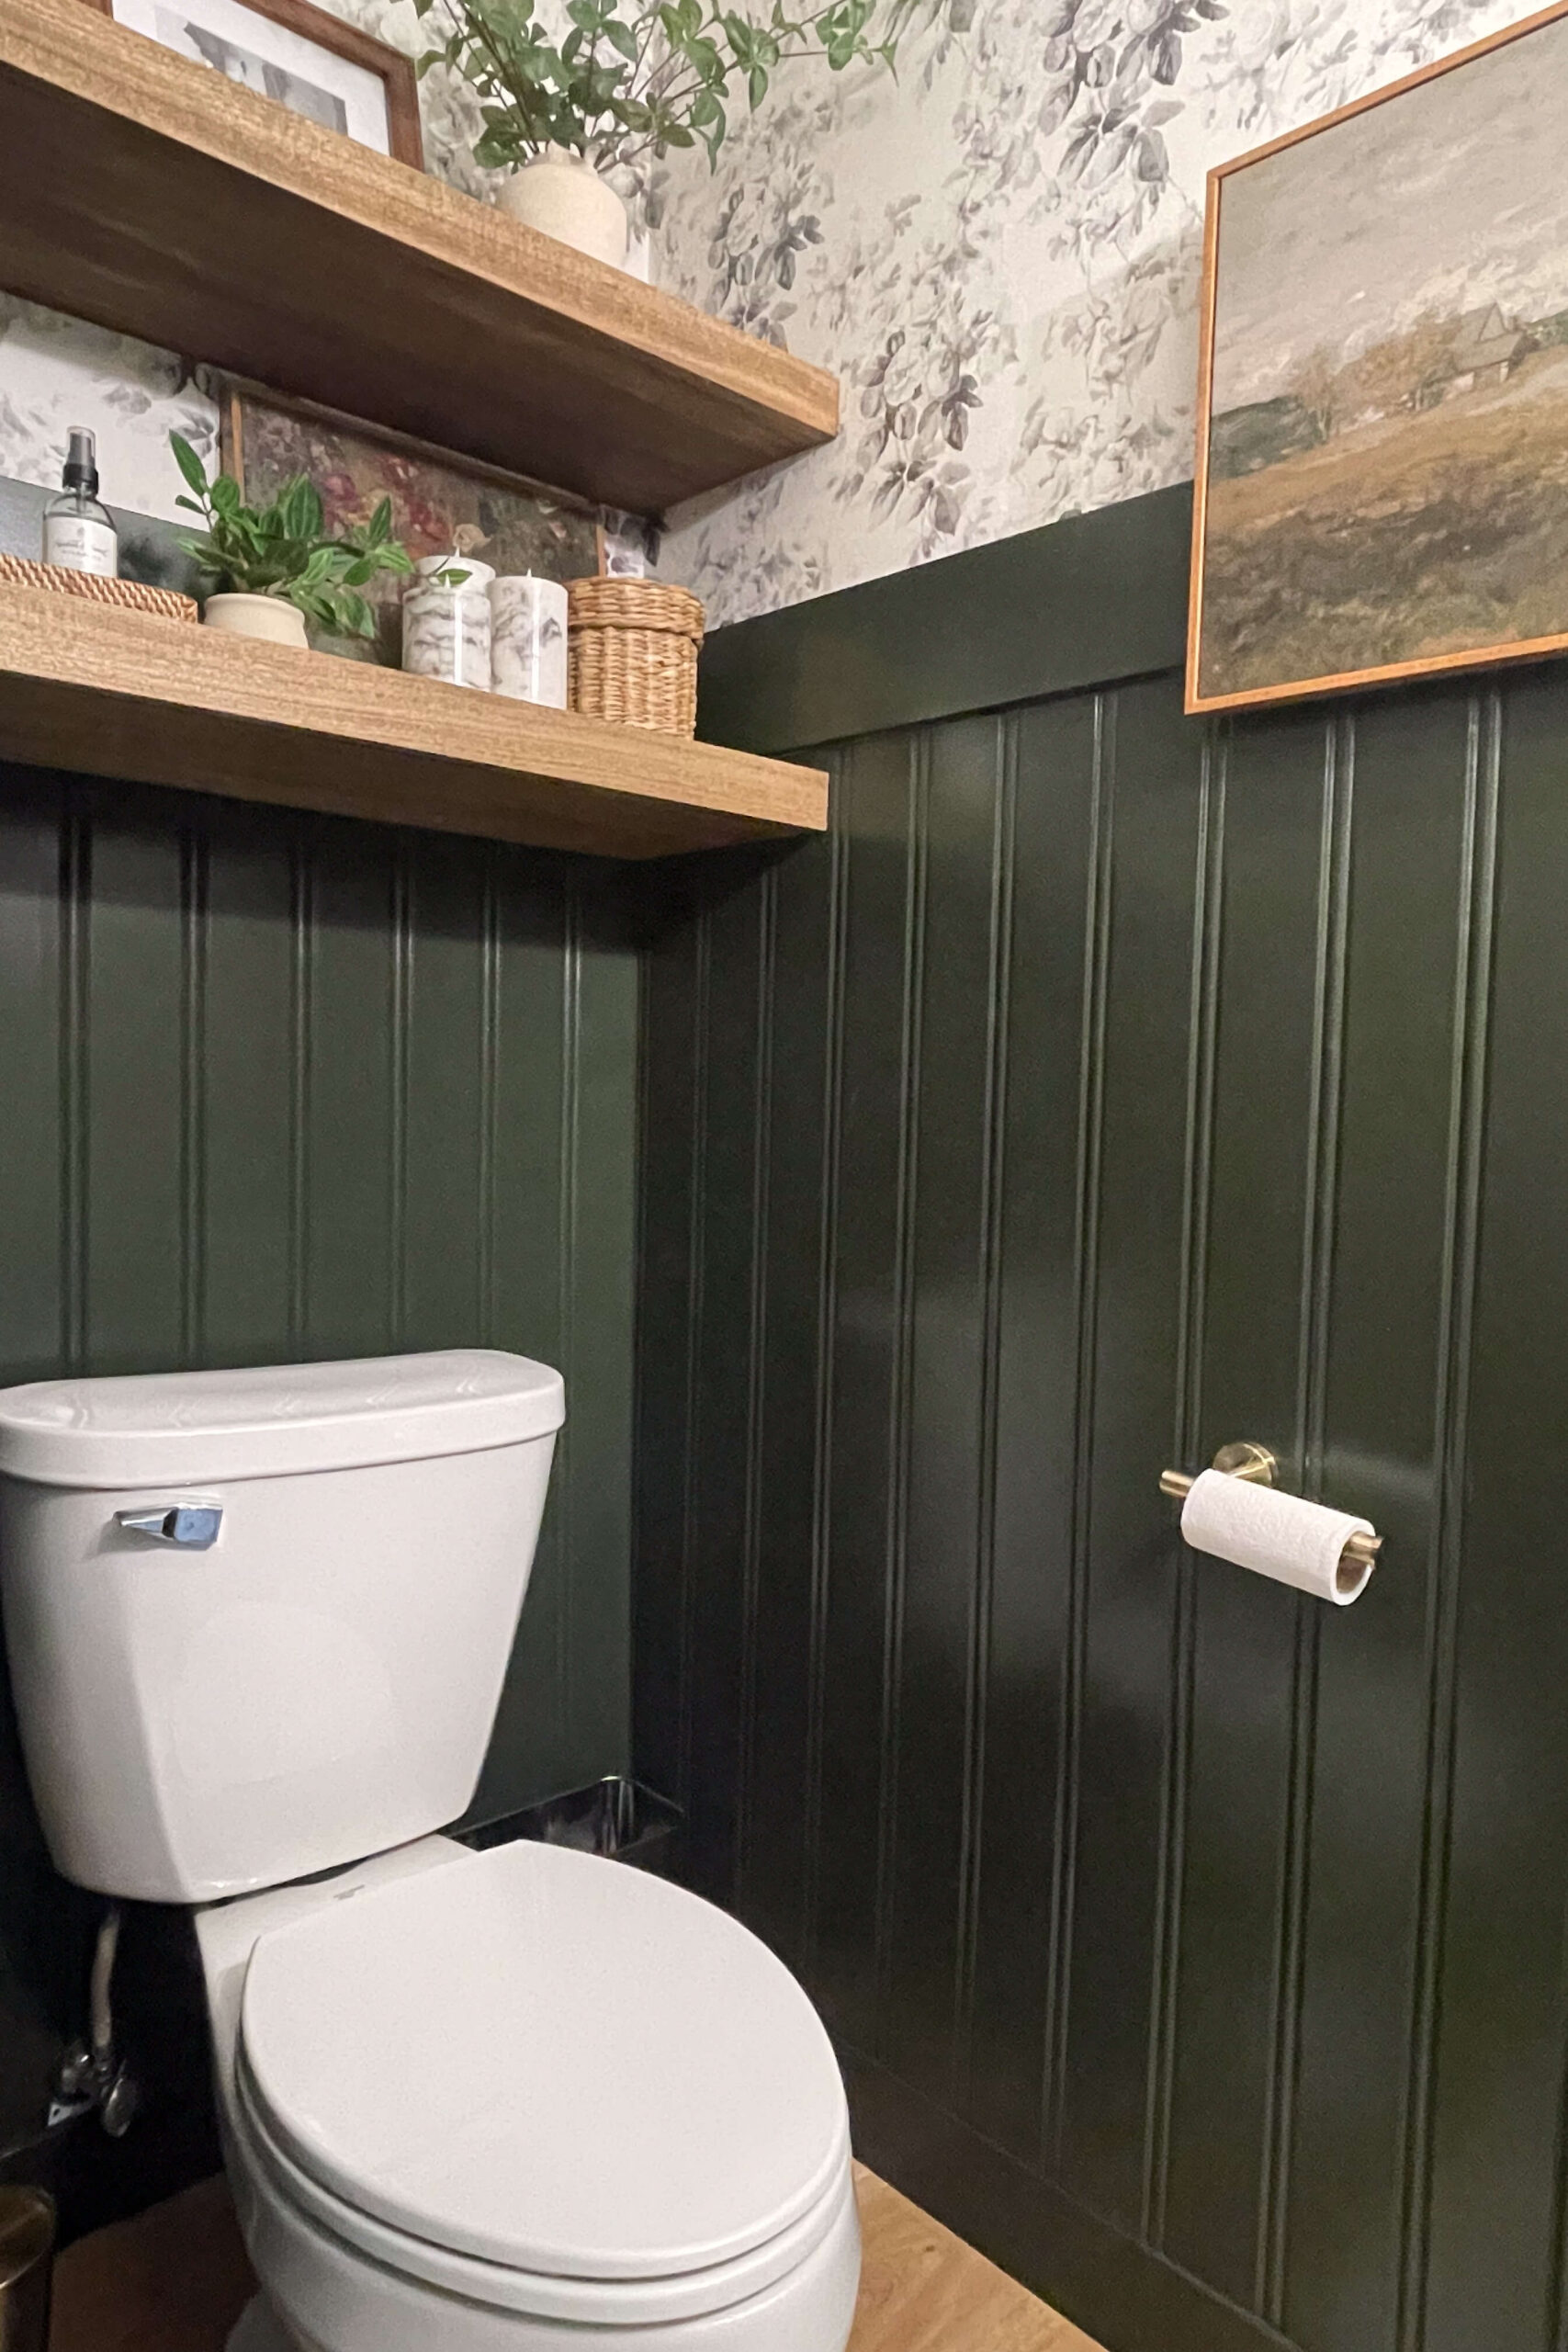
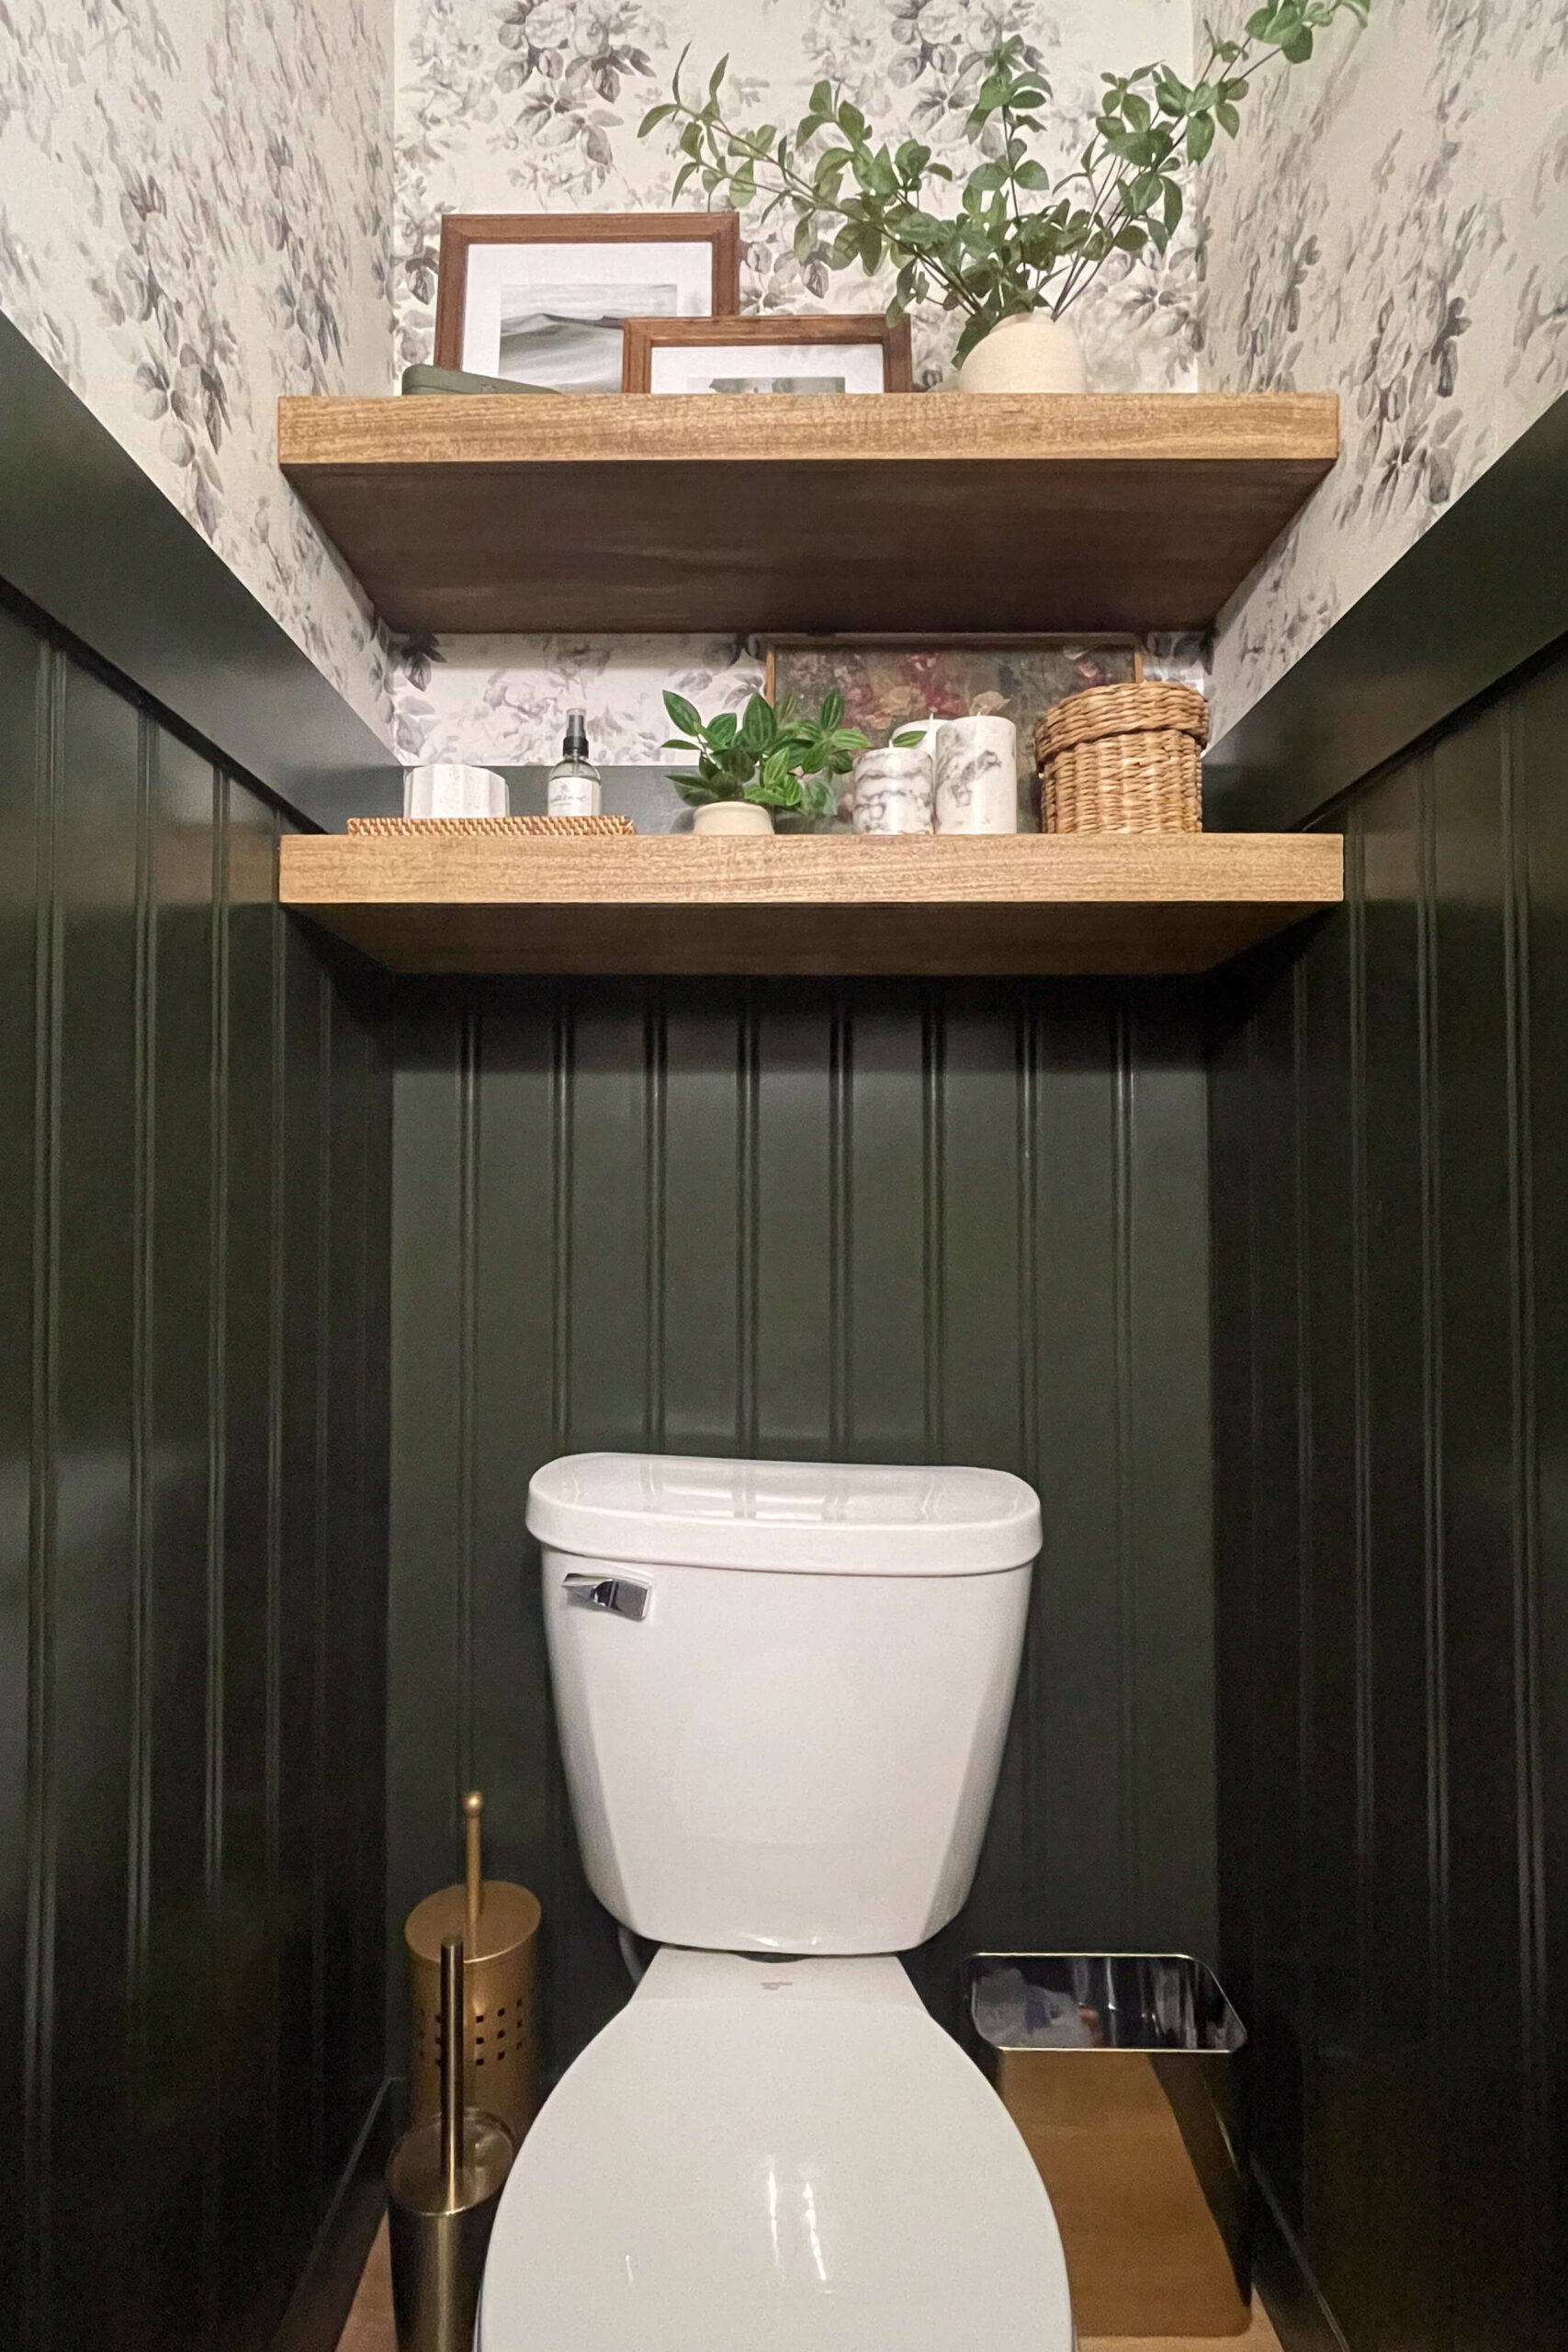
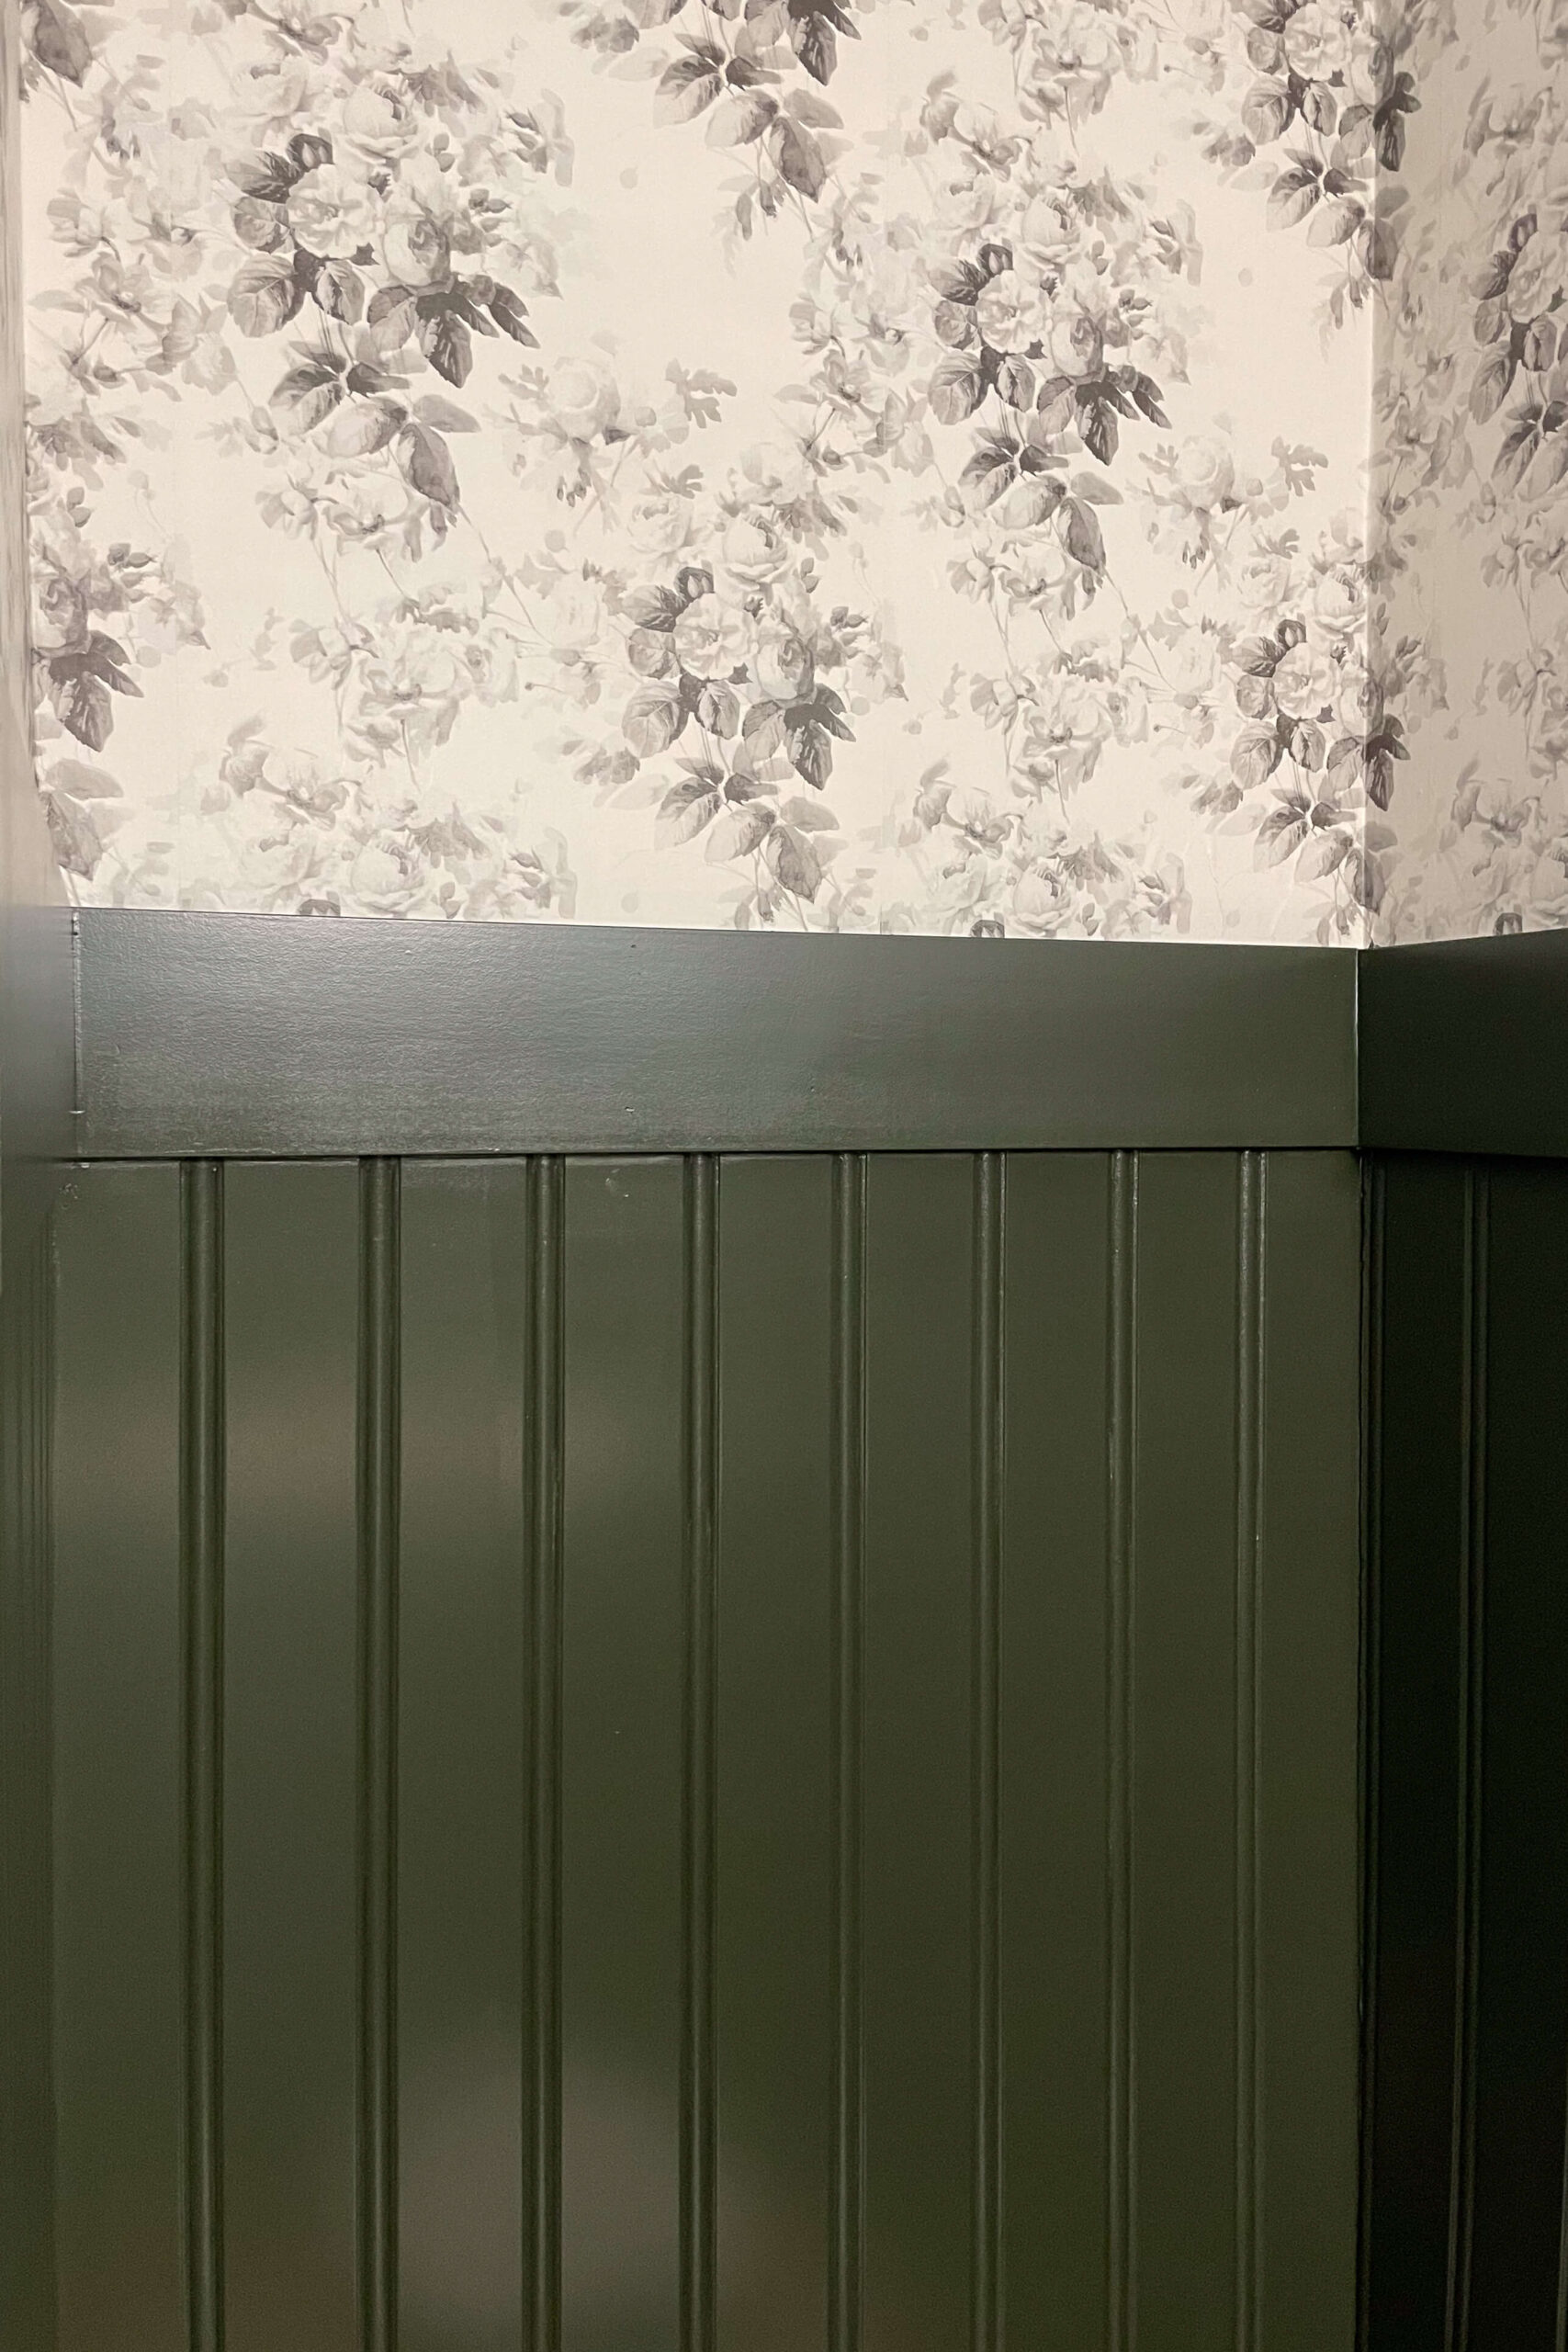
I tackled this project as part of a complete bathroom makeover. On the left, you can see what the toilet area looked like before I started. On the right is after installing and painting some beadboard and adding gorgeous floral wallpaper.
That little nook above the toilet was just begging for a floating bathroom shelf or two!

Step One: Cutting Wood for a Floating Bathroom Shelf
The key to building a floating bathroom shelf without brackets is using cleats instead. I made small (3/4 inch thick) cleats by ripping down some scrap plywood on my table saw.
I adjusted the fence on my table saw so that it would guide the wood, then pushed the plywood through.
Pro Tip: Don’t skip on safety gear! Ear protection, safety glasses, and a woodworking push stick will keep your fingers safe and sound.


Using my miter saw, I cut the cleats to the lengths I needed. For each floating bathroom shelf, you’ll need two side pieces (the depth of your shelf minus 3/4 inch) and one back piece that spans the length between the walls.

I also used the miter saw to cut down the boards for the shelves. If you’re thinking about investing in a miter saw, I highly recommend one with a sliding feature—it makes cutting thicker pieces of wood so much easier!
For each floating bathroom shelf, I cut two shelf boards and two front pieces (2 1/4 inches tall, the thickness of the two boards plus the cleat).

Step Two: Staining the Wood
To match my bathroom’s look, I decided to stain the floating bathroom shelves with a darker color. Before staining, I sanded everything down with a handheld sander to ensure the wood would accept the stain evenly.

After sanding, I applied a wood conditioner with a paper towel, followed by the stain using a paintbrush. I only needed to stain one side of each board. For the front pieces, I stained the front, top, and bottom.

Pro Tip: After brushing on the stain, wipe it off with a paper towel or lint-free rag. If the stain is lighter than you want, wait for it to dry and apply a second coat. I was happy with the color of my floating bathroom shelf after just one coat.
Want to know the stain color I used? You can find it here. I’ve used this color for a few other projects in my home, like my stair railing.

Step Three: Installing Cleats
The first step in hanging a floating bathroom shelf is installing the cleats as supports. I used my trusty magnetic stud finder to locate a stud in the bathroom wall, then screwed the long back cleat to the wall stud.
Pro Tip: Drill a small pilot hole before adding a screw to prevent the wood from splitting.

With just one screw in, you can pivot the cleat to ensure it’s level. My stud finder also doubles as a tiny level, which made this step super easy. Once everything was straight, I drilled another pilot hole and screwed the cleat into the studs in each corner.

I repeated the process for the side cleats. These need to be the depth of your shelf minus 3/4 inch because they sit in front of the back cleat.

Step Four: Attaching the Shelf
With the cleats securely attached, it’s time to add the shelf boards. Place one board on top of the cleats, stain side up, and another board underneath, stain side down. This sandwiches the cleats, making them invisible and giving you a true floating bathroom shelf.


I used a brad nailer to attach both shelf boards to the cleats, going all the way around both the top and bottom boards.

Lastly, I attached the front piece to finish the look of my floating bathroom shelf. Don’t worry about the brad nails—they’re tiny and practically invisible against the stained wood.

One floating bathroom shelf down, one more to go! I repeated the steps, sandwiching the stained boards around the cleats and attaching them.

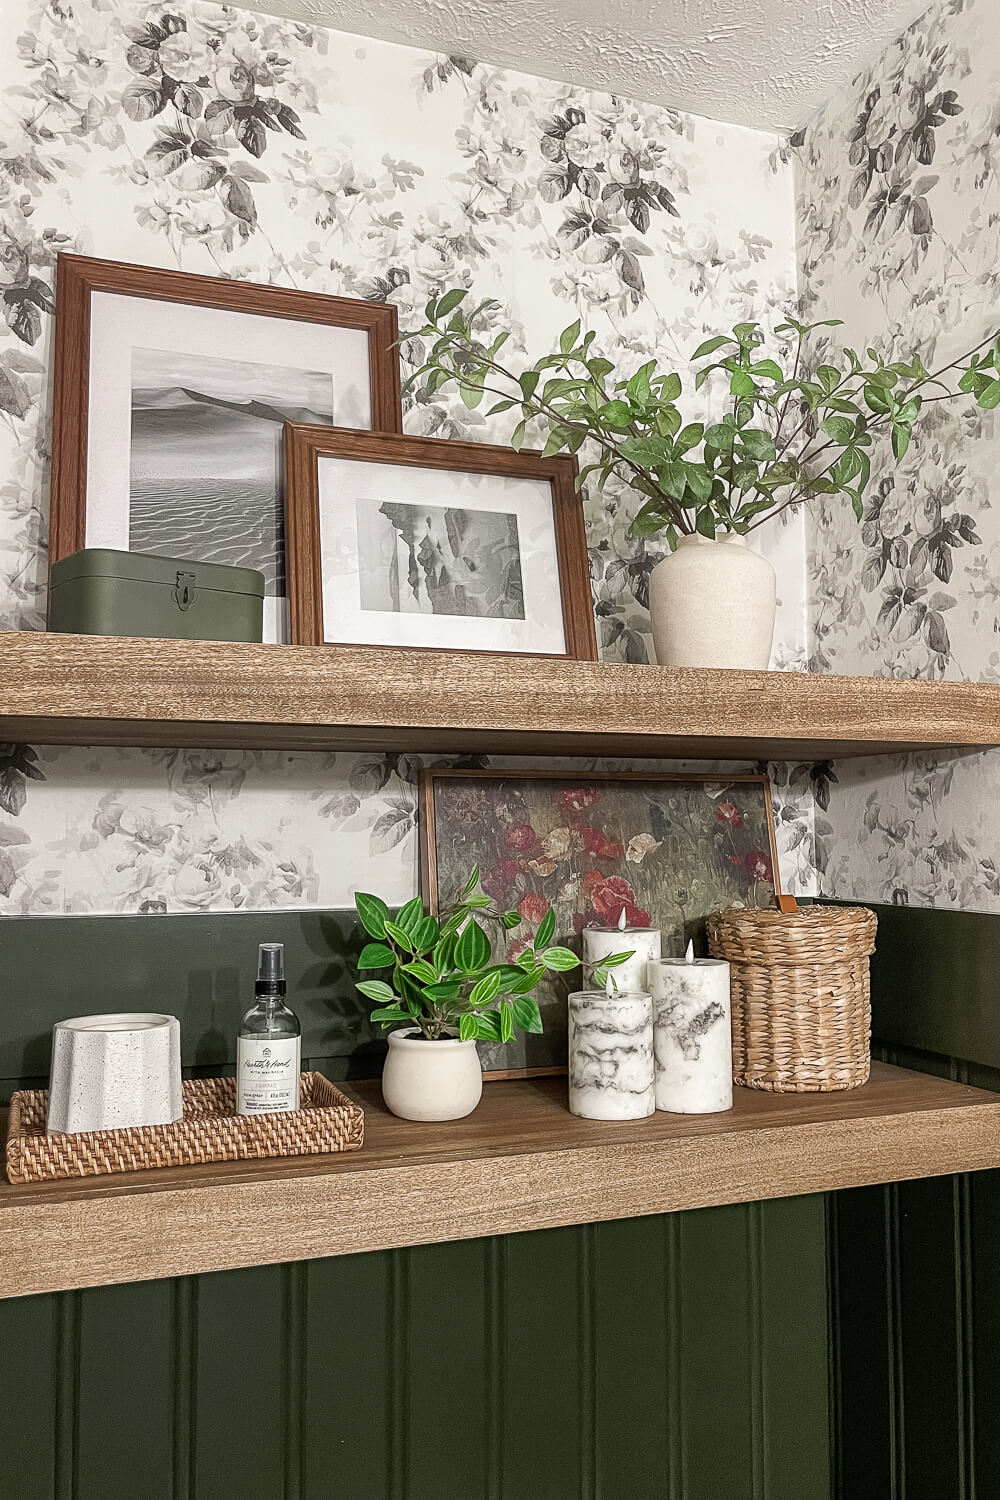
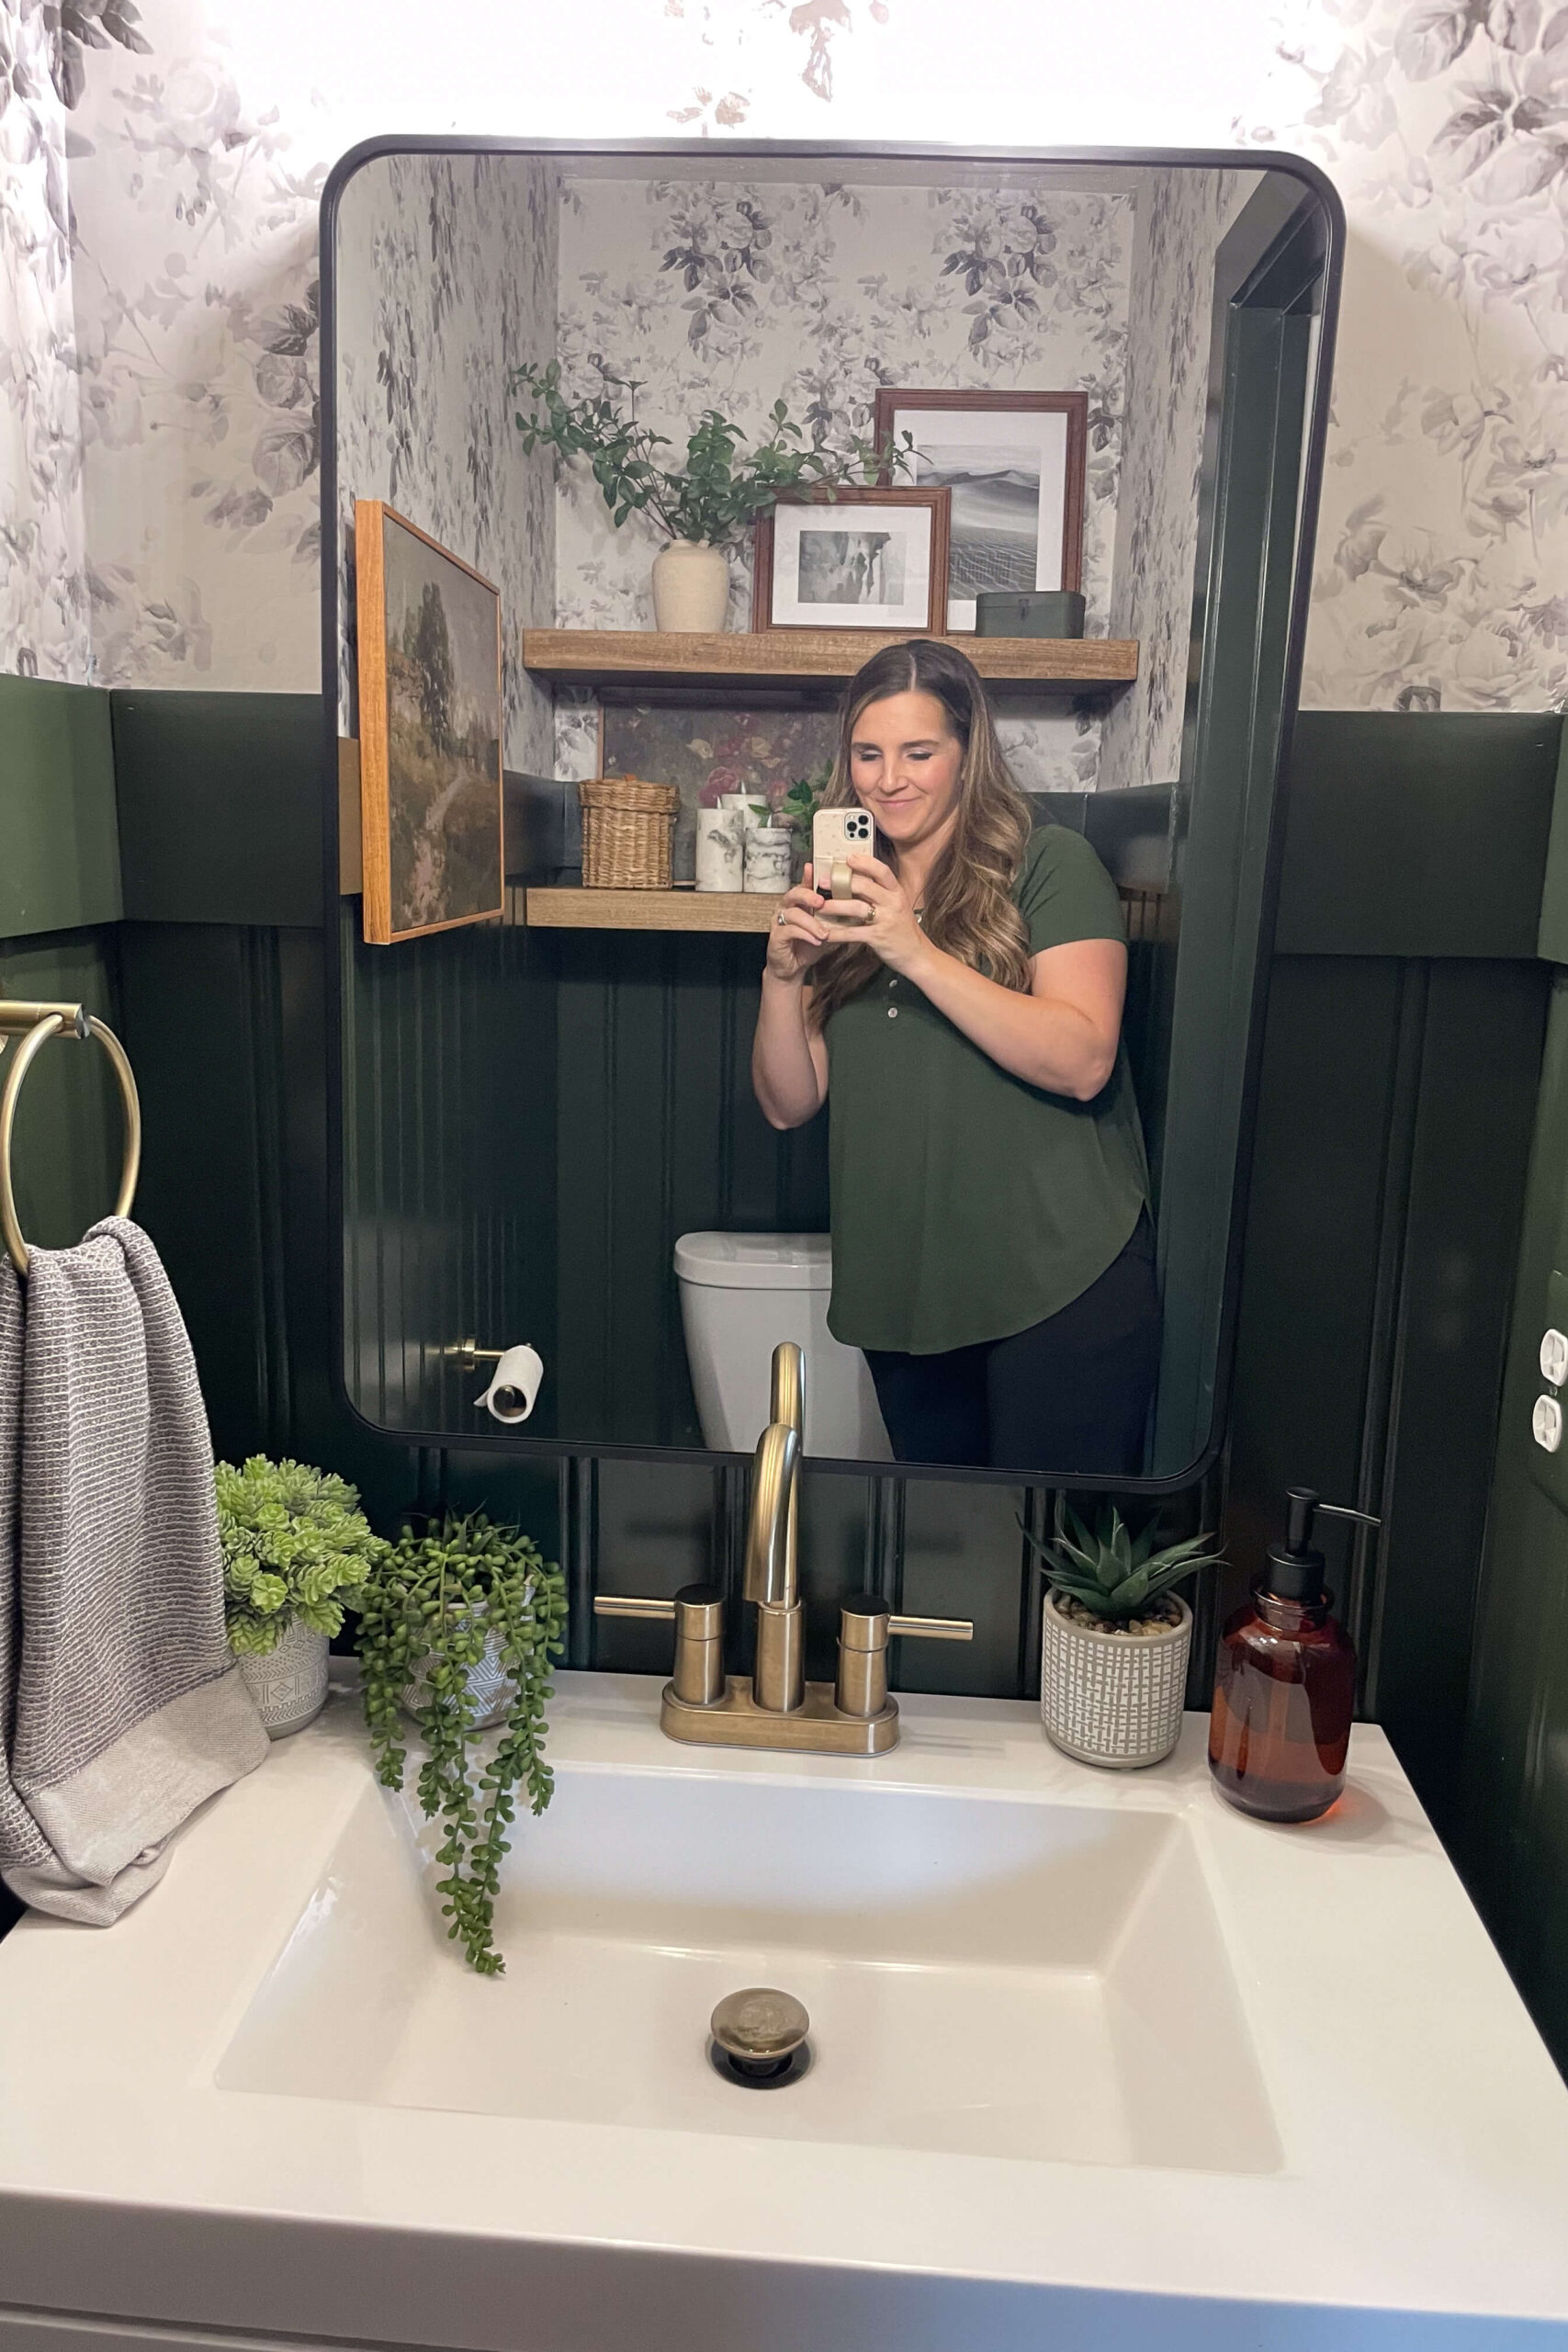
Decorating Your Floating Bathroom Shelf
Now for the fun part—decorating! I have a blog post with all my tips for decorating a small bathroom, I also have links to everything I used, listed here.
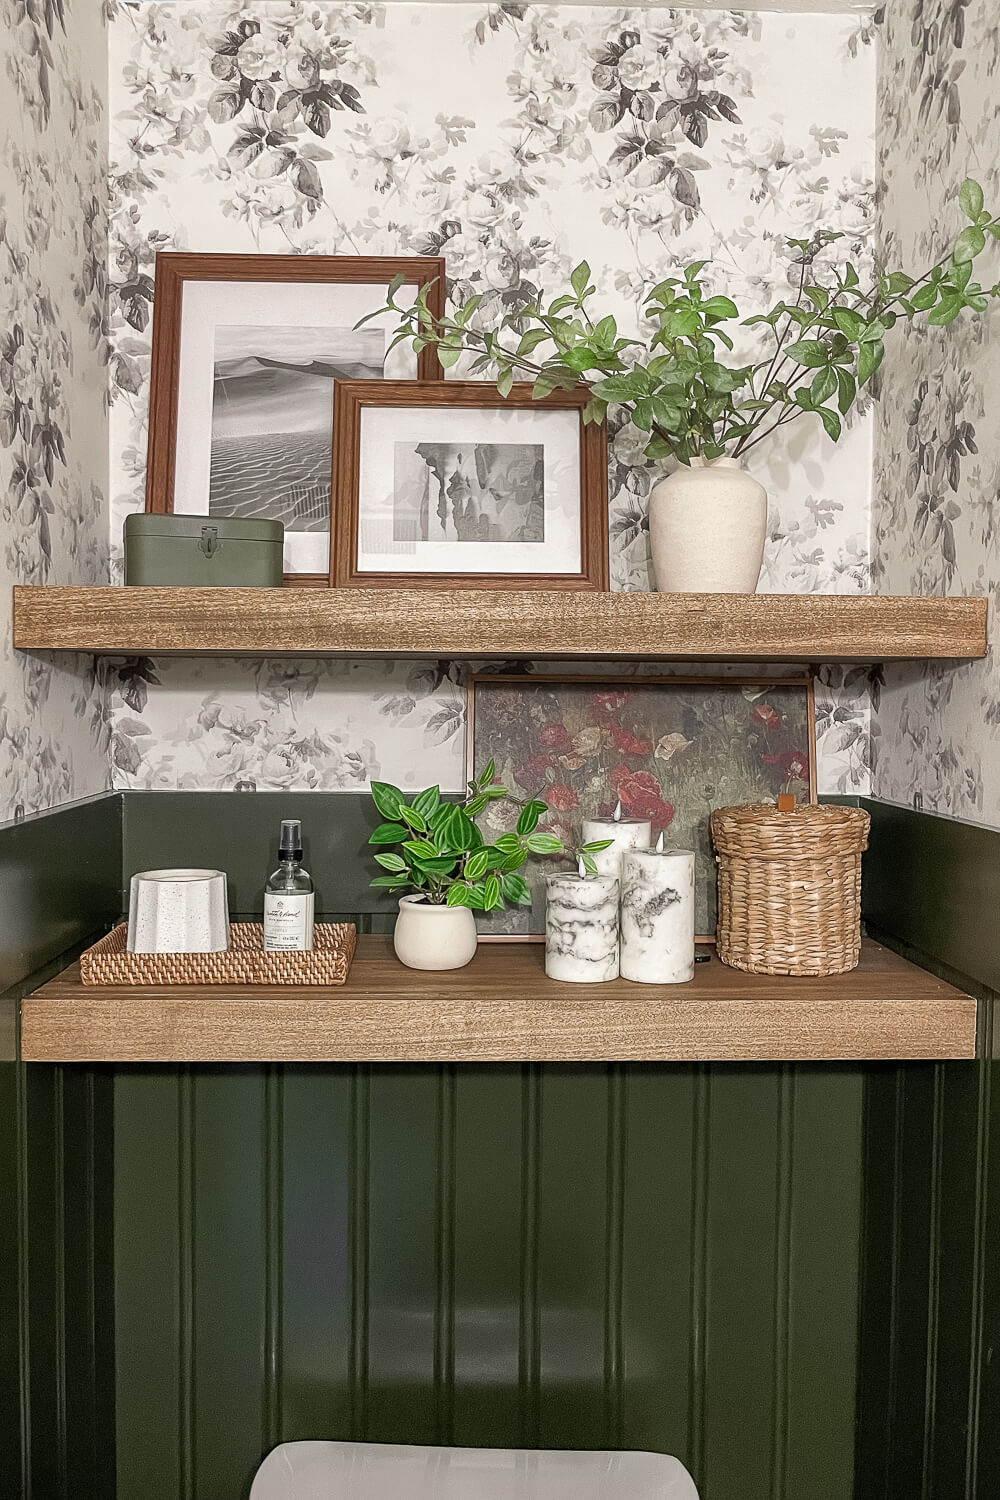
I can hardly believe the transformation! The beadboard and wallpaper gave this bathroom a classic, updated look, and the DIY floating shelves are the cherry on top!
I’m thrilled with how this bathroom makeover turned out. If you want to see videos of the work being done, check out my Powder Bath Story Highlight on Instagram. And if you have any questions, feel free to ask in the comments.
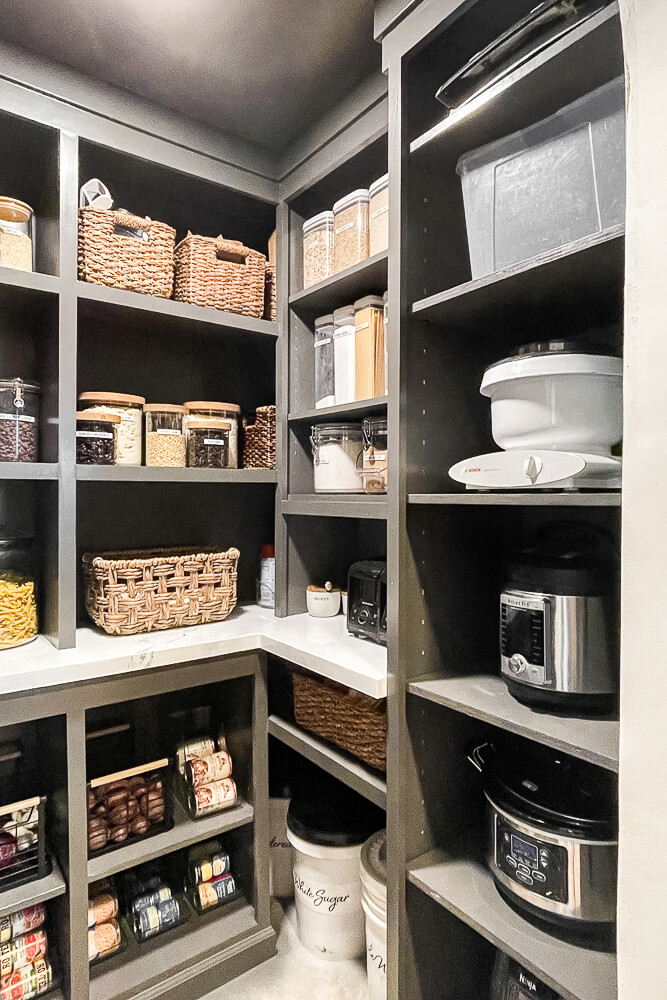
This wasn’t my first rodeo when it came to building shelves. In my pantry I custom-built shelves that are beautiful, while maximizing my storage space with sturdy and adjustable shelving. I have a full tutorial on that pantry build posted here.
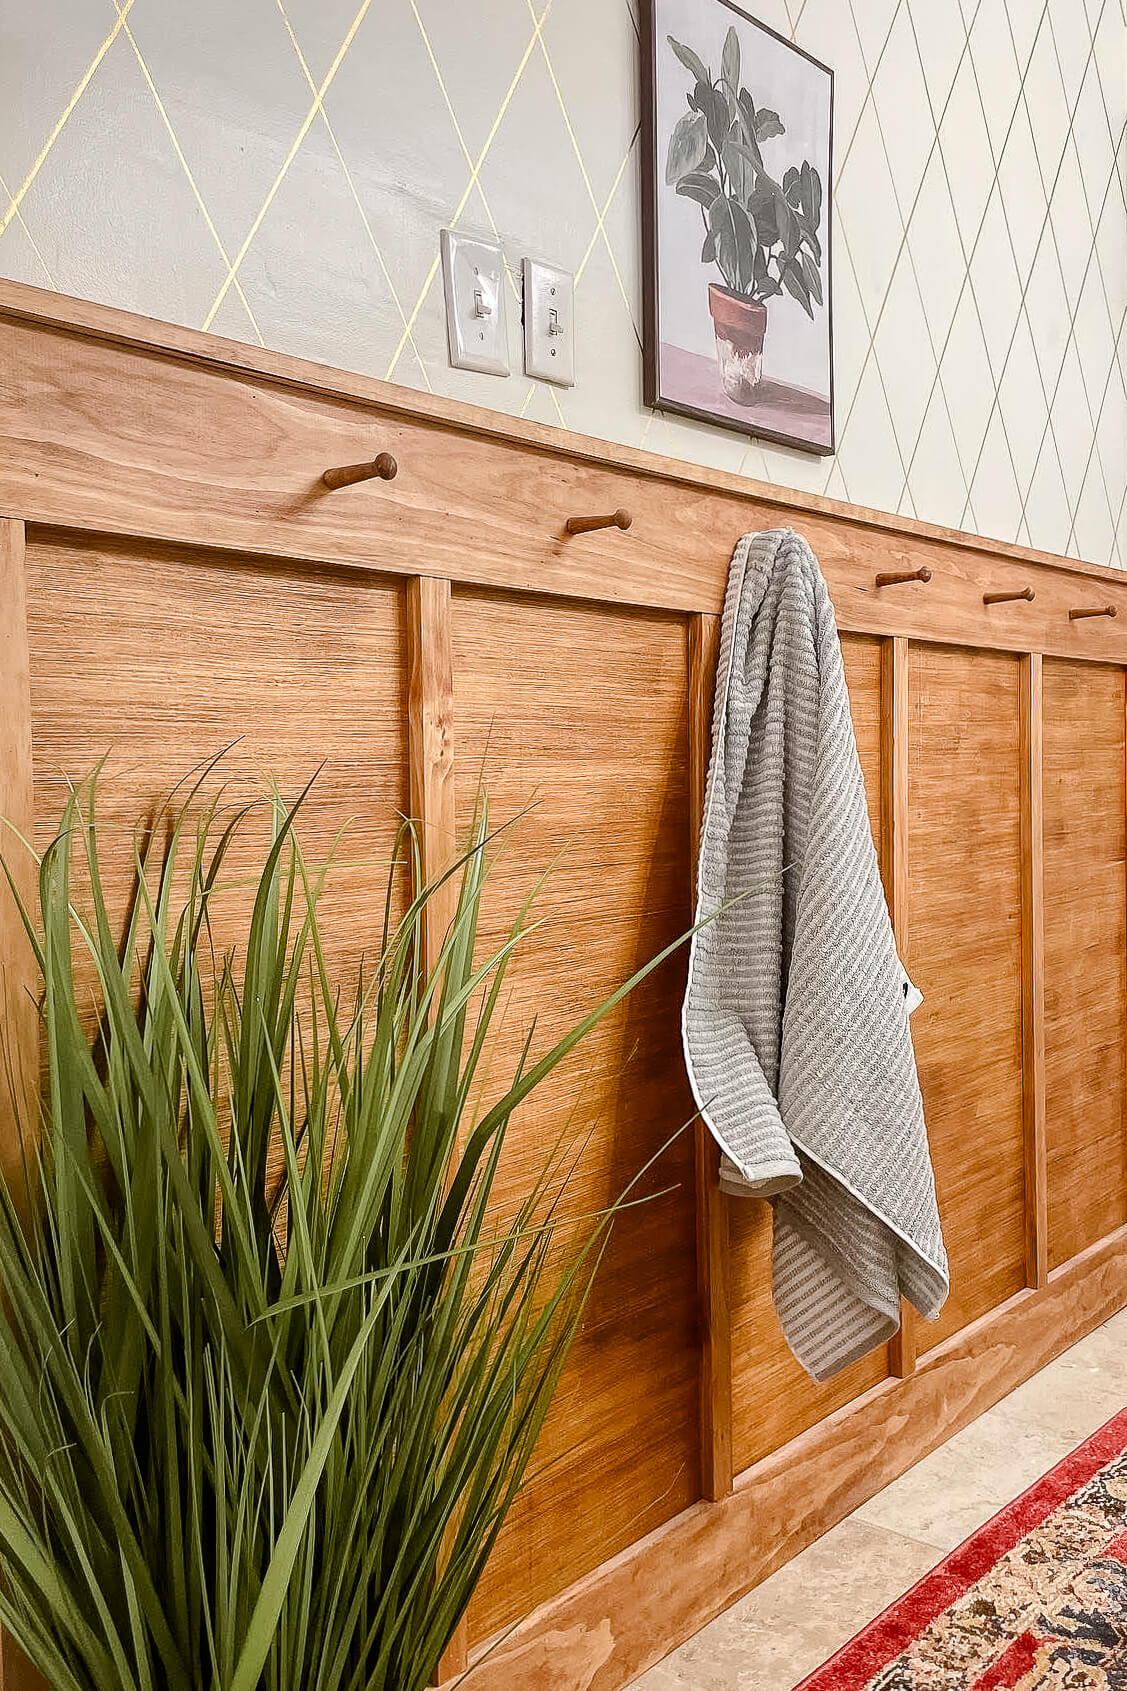
If you are looking for another budget, bathroom project, take a look at this board and batten wall I did in the bathroom of our last home. This project was a show-stopper and cost less than $100!