DIY Dry Pour Concrete Pad


Updated April 21, 2025
Dry pour concrete is not always the best method, but it can be a huge timesaver for small pads that won’t bear a lot of weight. I needed a small concrete pad behind my shed to keep our firewood stacked and off the ground. A dry pour concrete pad was the perfect DIY solution.
We love having a backyard fire in our awesome, smokeless fire pit. But, I needed a better place to store all that firewood. No more “random log sculpture” in the backyard!

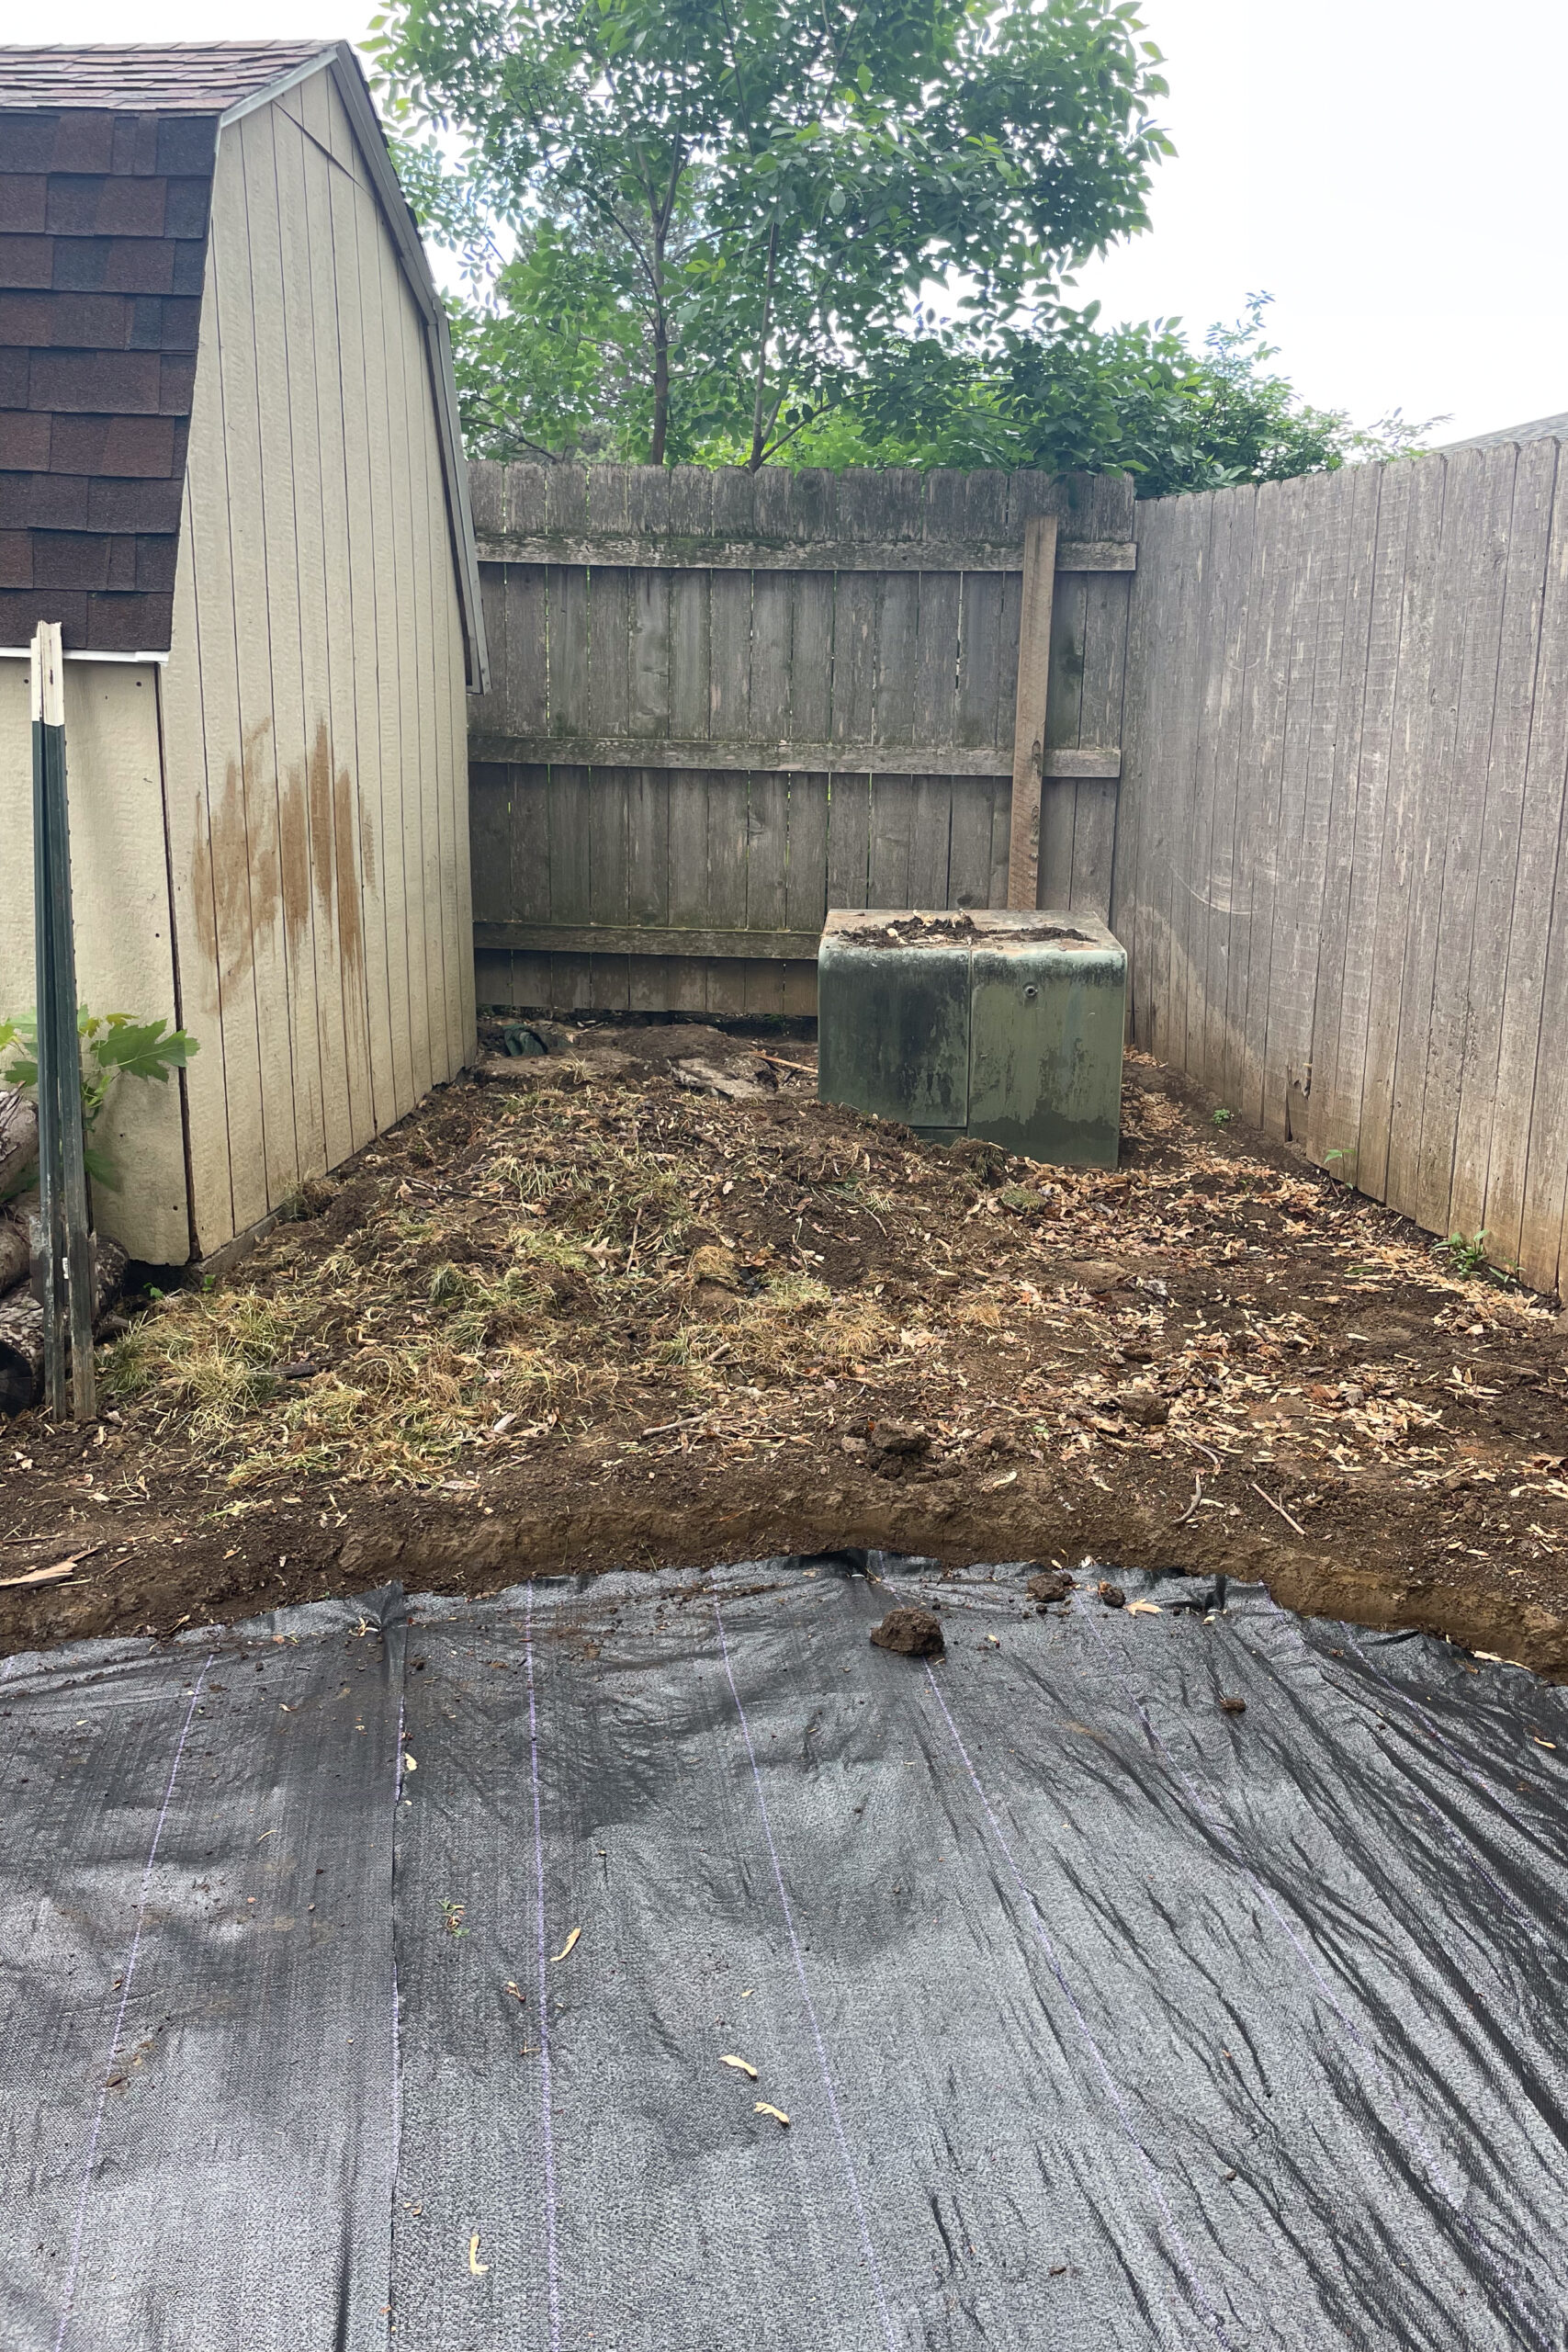
Behind our shed, there was an unused area of our yard that would be perfect for a woodpile. I wanted the wood to be off the ground, so I decided to pour a small concrete pad. On projects like my DIY concrete curbs, I’ve done the traditional concrete pouring method, but for this small pad, I decided to try the dry pour concrete method.
Tools and Materials
Prepping for My Dry Pour Concrete Pad
First, I didn’t want the concrete up against the shed siding, and I wanted the pad flush with the ground, so we had to dig out a spot for it.
Using a couple of 2×4’s, I made a basic form with two sides and a front piece. Then we set that form in place.


To set the form, we drove stakes into the ground and attached them to the form from the outside with screws. Across the front edge, we wanted it level, but on the side pieces, we wanted it to slope down away from the shed to keep water from pooling on the back of the concrete slab. Because nothing says “fun” like a waterlogged woodpile.


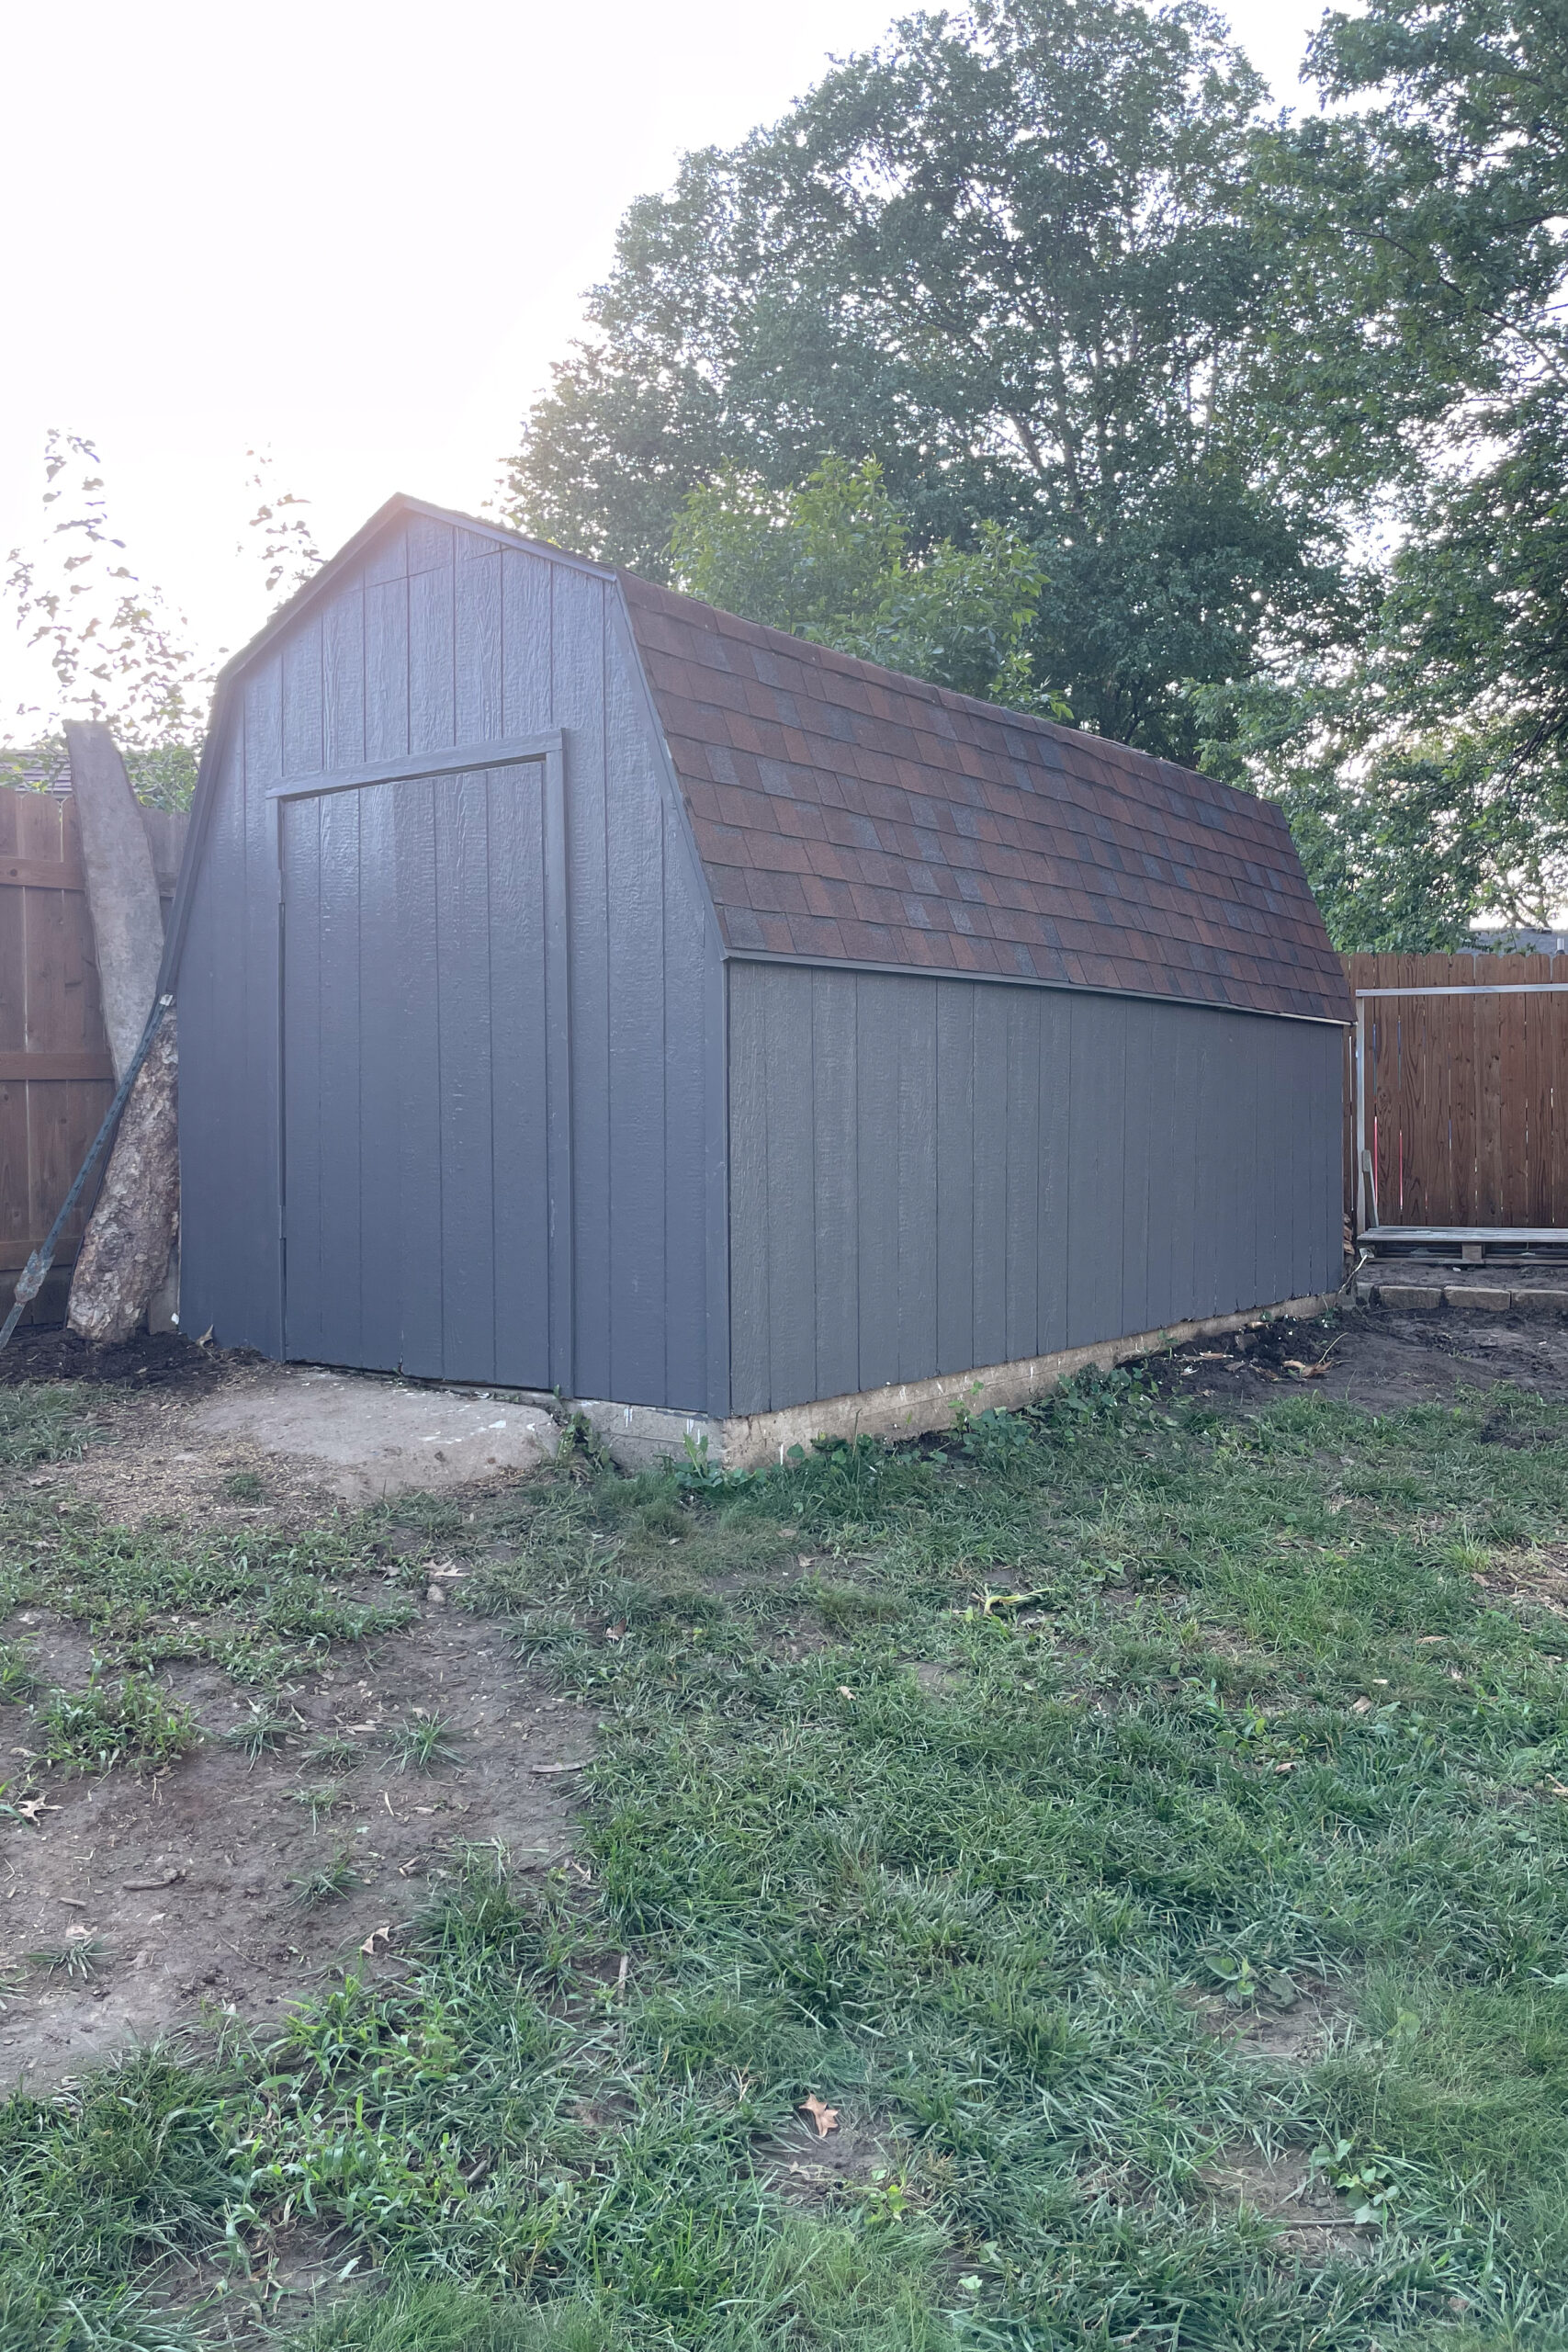
Side note: You aren’t seeing things. The shed did go from white to gray. In the middle of this project, I decided to test this dark gray color on the back side of my shed to see how I like it, since it has the same brown color roofing as my house.
Once the form was set in place, we backfilled along the edges with dirt to keep concrete from running out the bottom.

This dry pour concrete pad is small and won’t be holding much weight, so I don’t need any rebar. A small section of wire is plenty of reinforcement here.

Pouring the Concrete
Now it’s time to add the concrete. Slice and pour the dry bags of concrete until your form is full. When purchasing concrete, I didn’t pay much attention to which bags I was grabbing. I would have had a smoother, prettier finished concrete slab if I had chosen one with less gravel.

Using this 2×4 as a screed, we pulled from the back of the slab towards the front, just like I would’ve for a slab made with premixed concrete. I’ve since learned that for a dry pour concrete pad, we should have done it a little differently.
Instead of a smooth motion from back to front, we should have done a see-saw motion. As the 2×4 moved from the shed towards the front of the form, we should have zig-zagged it back and forth between us across the top of the concrete. This would have given me a smoother, less rocky finish on top.

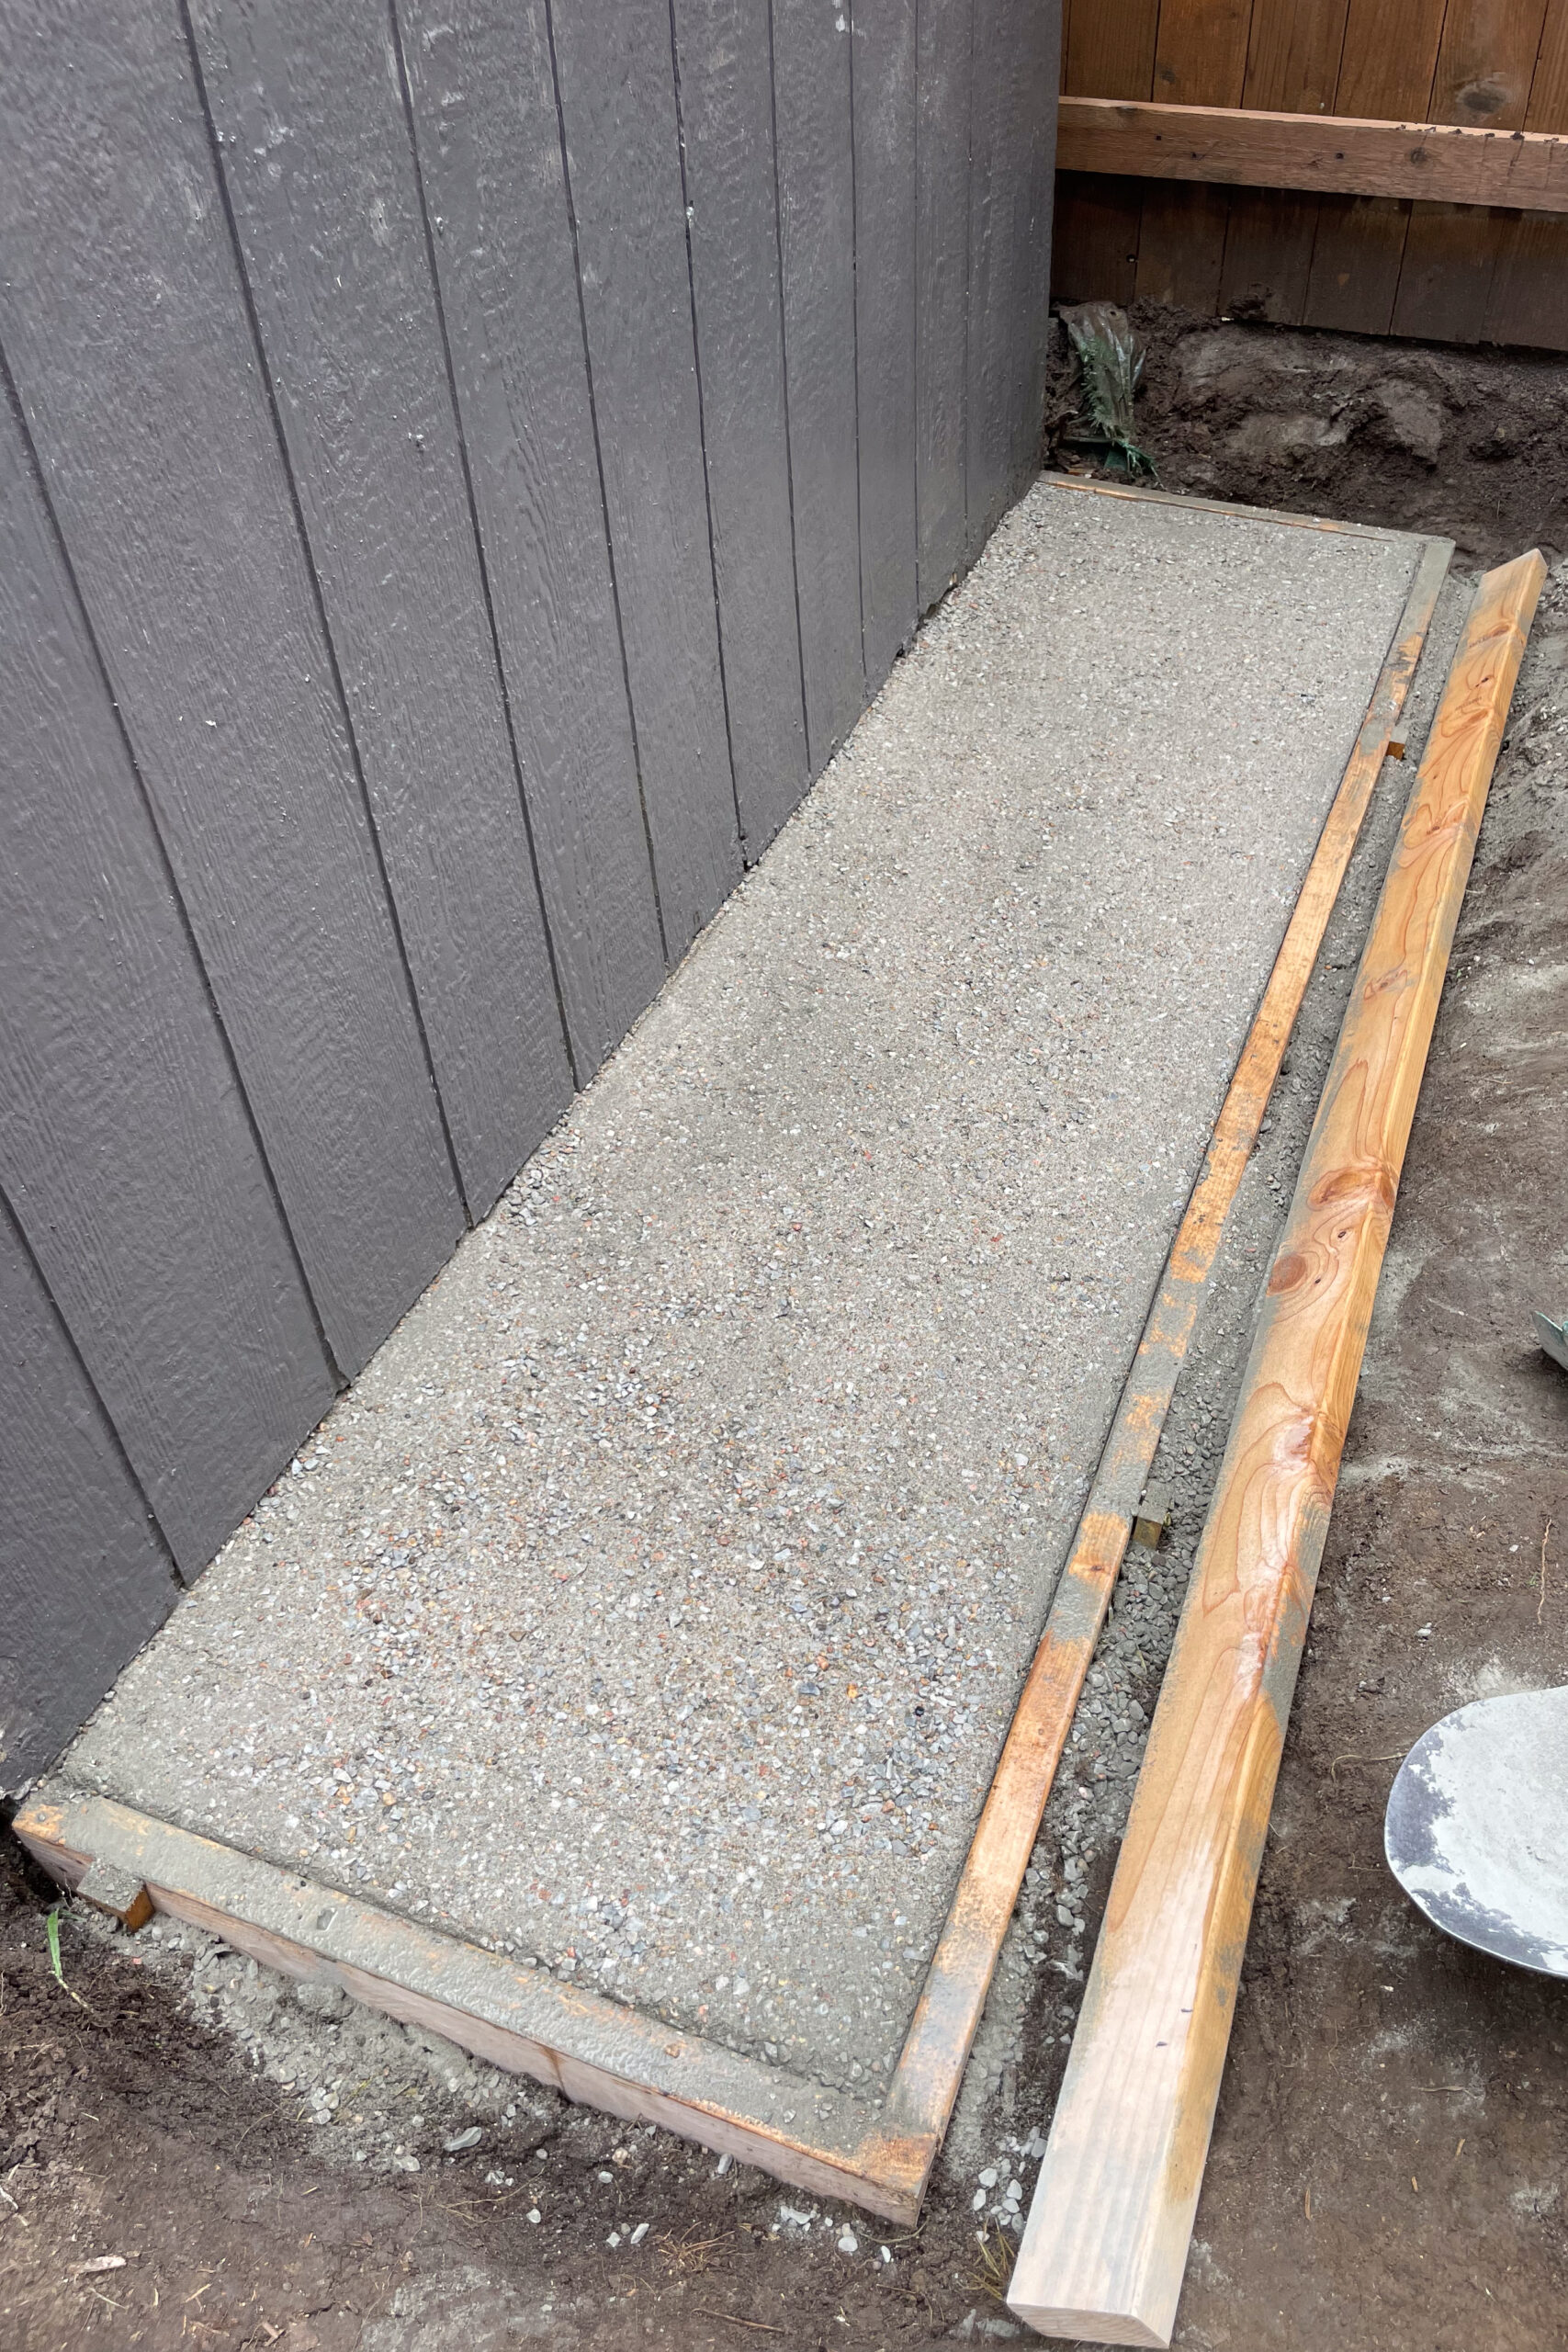
The last thing I did before wetting my concrete was to use my concrete edger tool. Going around all three of the outside edges cleans them up, rounds them a bit, and makes the whole dry pour concrete slab look way better. It’s all about those finishing touches.

Wetting the Dry Pour Concrete Pad
Now it’s time to wet the concrete with a light misting. You can’t use too strong of a blast from your hose or just dump water on your dry pour concrete slab. If you do, you’ll displace all that dry, powdered concrete mix. It’s like giving a newborn a bath – gentle is key!

I set my Giraffe hose reel to mist and lightly wet the whole slab. After this first pass dries, the concrete will have a bit of a crust on top and won’t be so delicate. I set my alarm and came out once an hour for the next six hours to spray down the entire pad completely. The concrete is porous, so it absorbs all that water and slowly hardens.

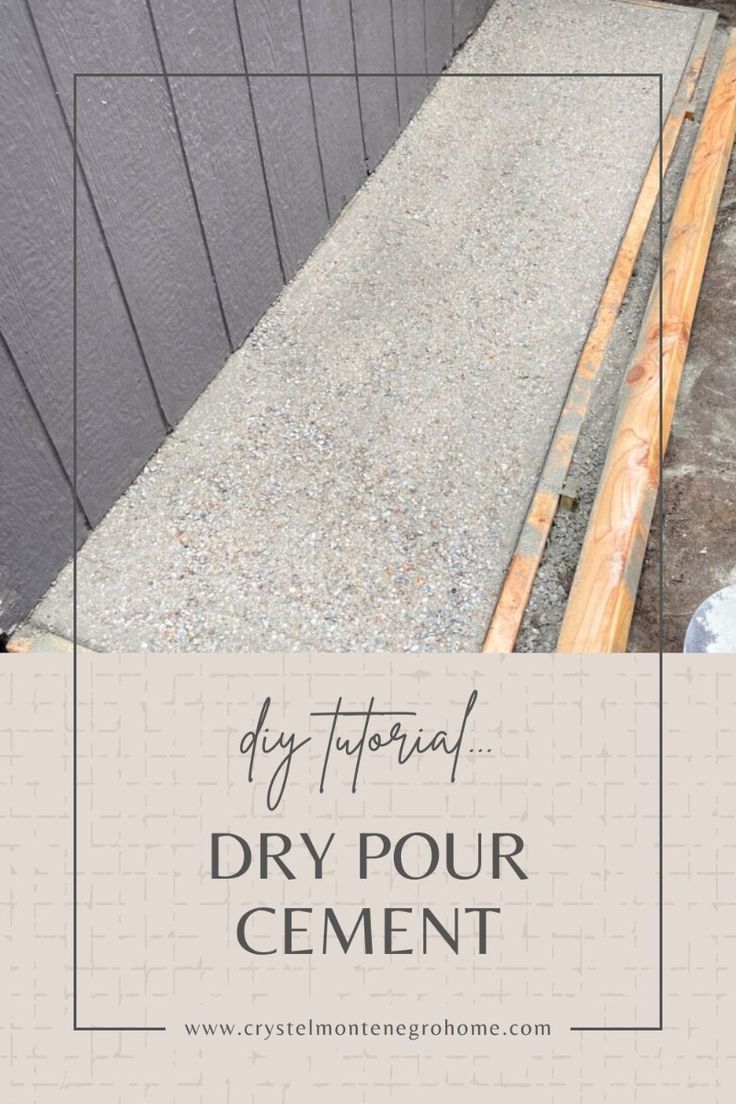
Here’s an up-close look after the concrete was dry and set. You can see what I mean by the top being bumpy and not smooth. If I were doing this project again, I’d choose different concrete and do the see-saw motion while screeding to have better results.

Regardless of the bumpy finish, it was done. This dry pour concrete pad was a quick and easy project. It’s the perfect size for storing our wood out back in a neat and clean way.

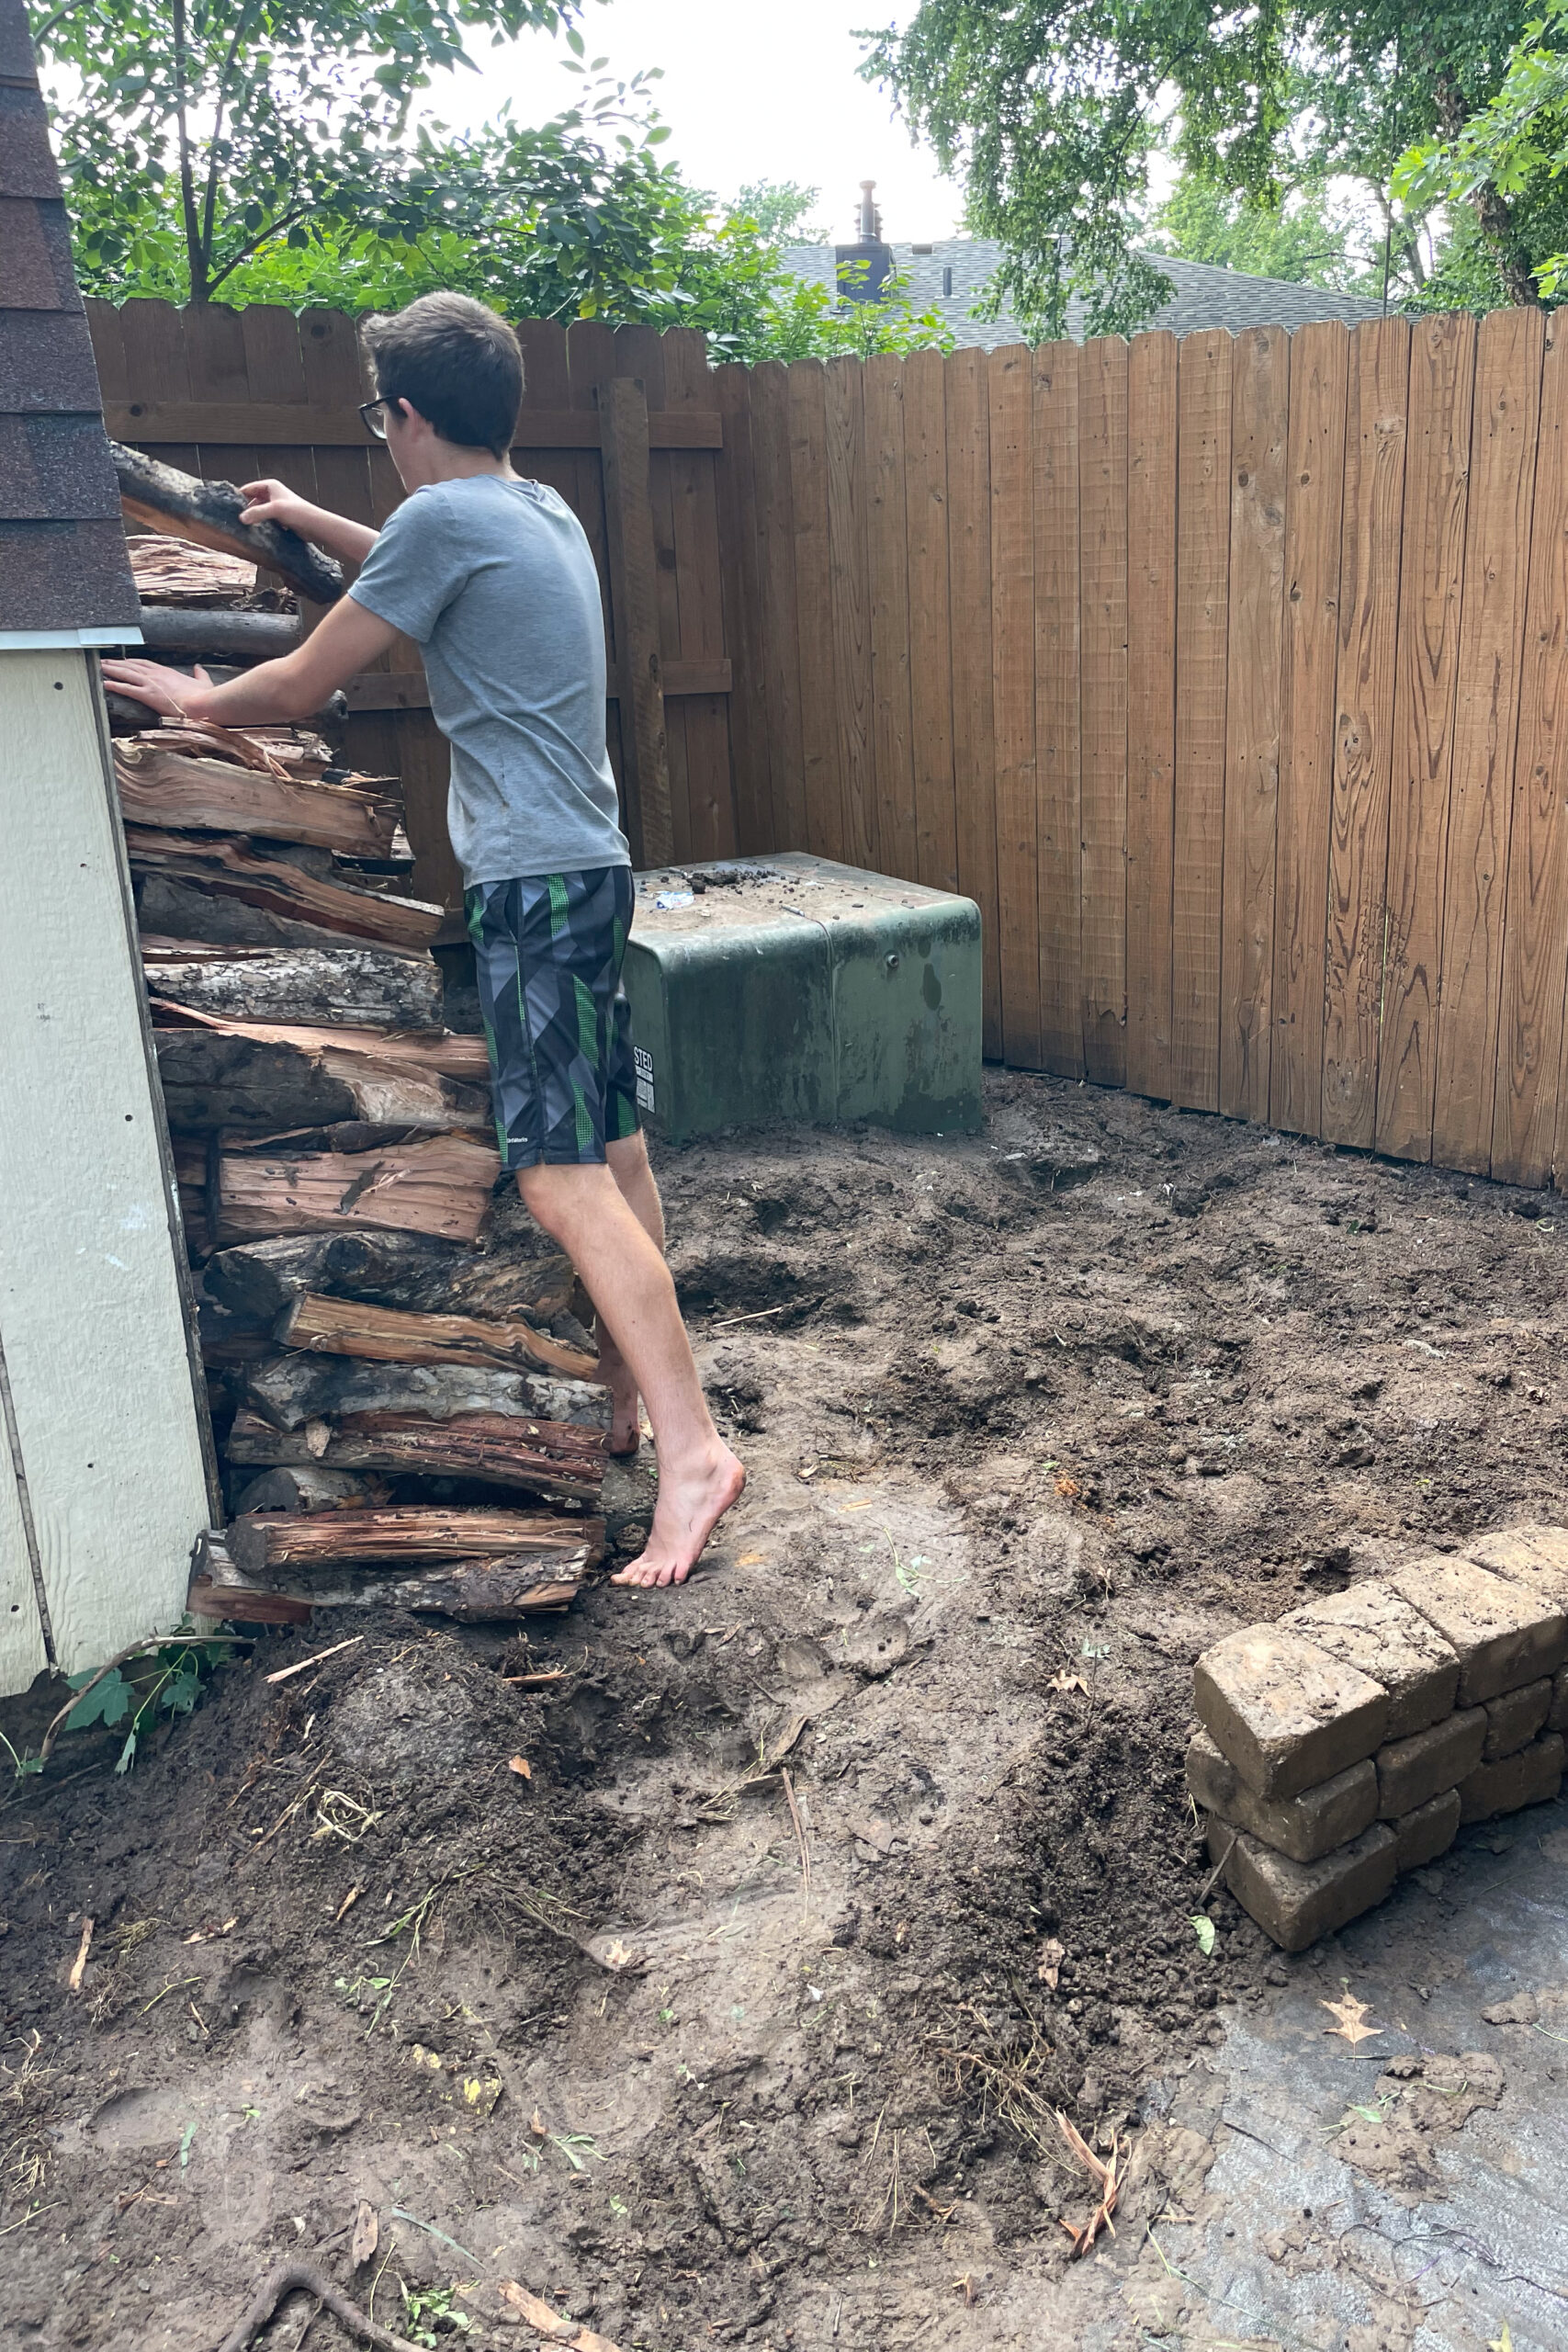
I love how the wood is off the ground now, and it is discreetly hidden behind the shed. Now my logs have a proper home, and my backyard looks less like a woodshop exploded.

In case you were wondering, we did go ahead and paint the whole shed. I just don’t know if I love this color with the brown roof, though. What do you think?
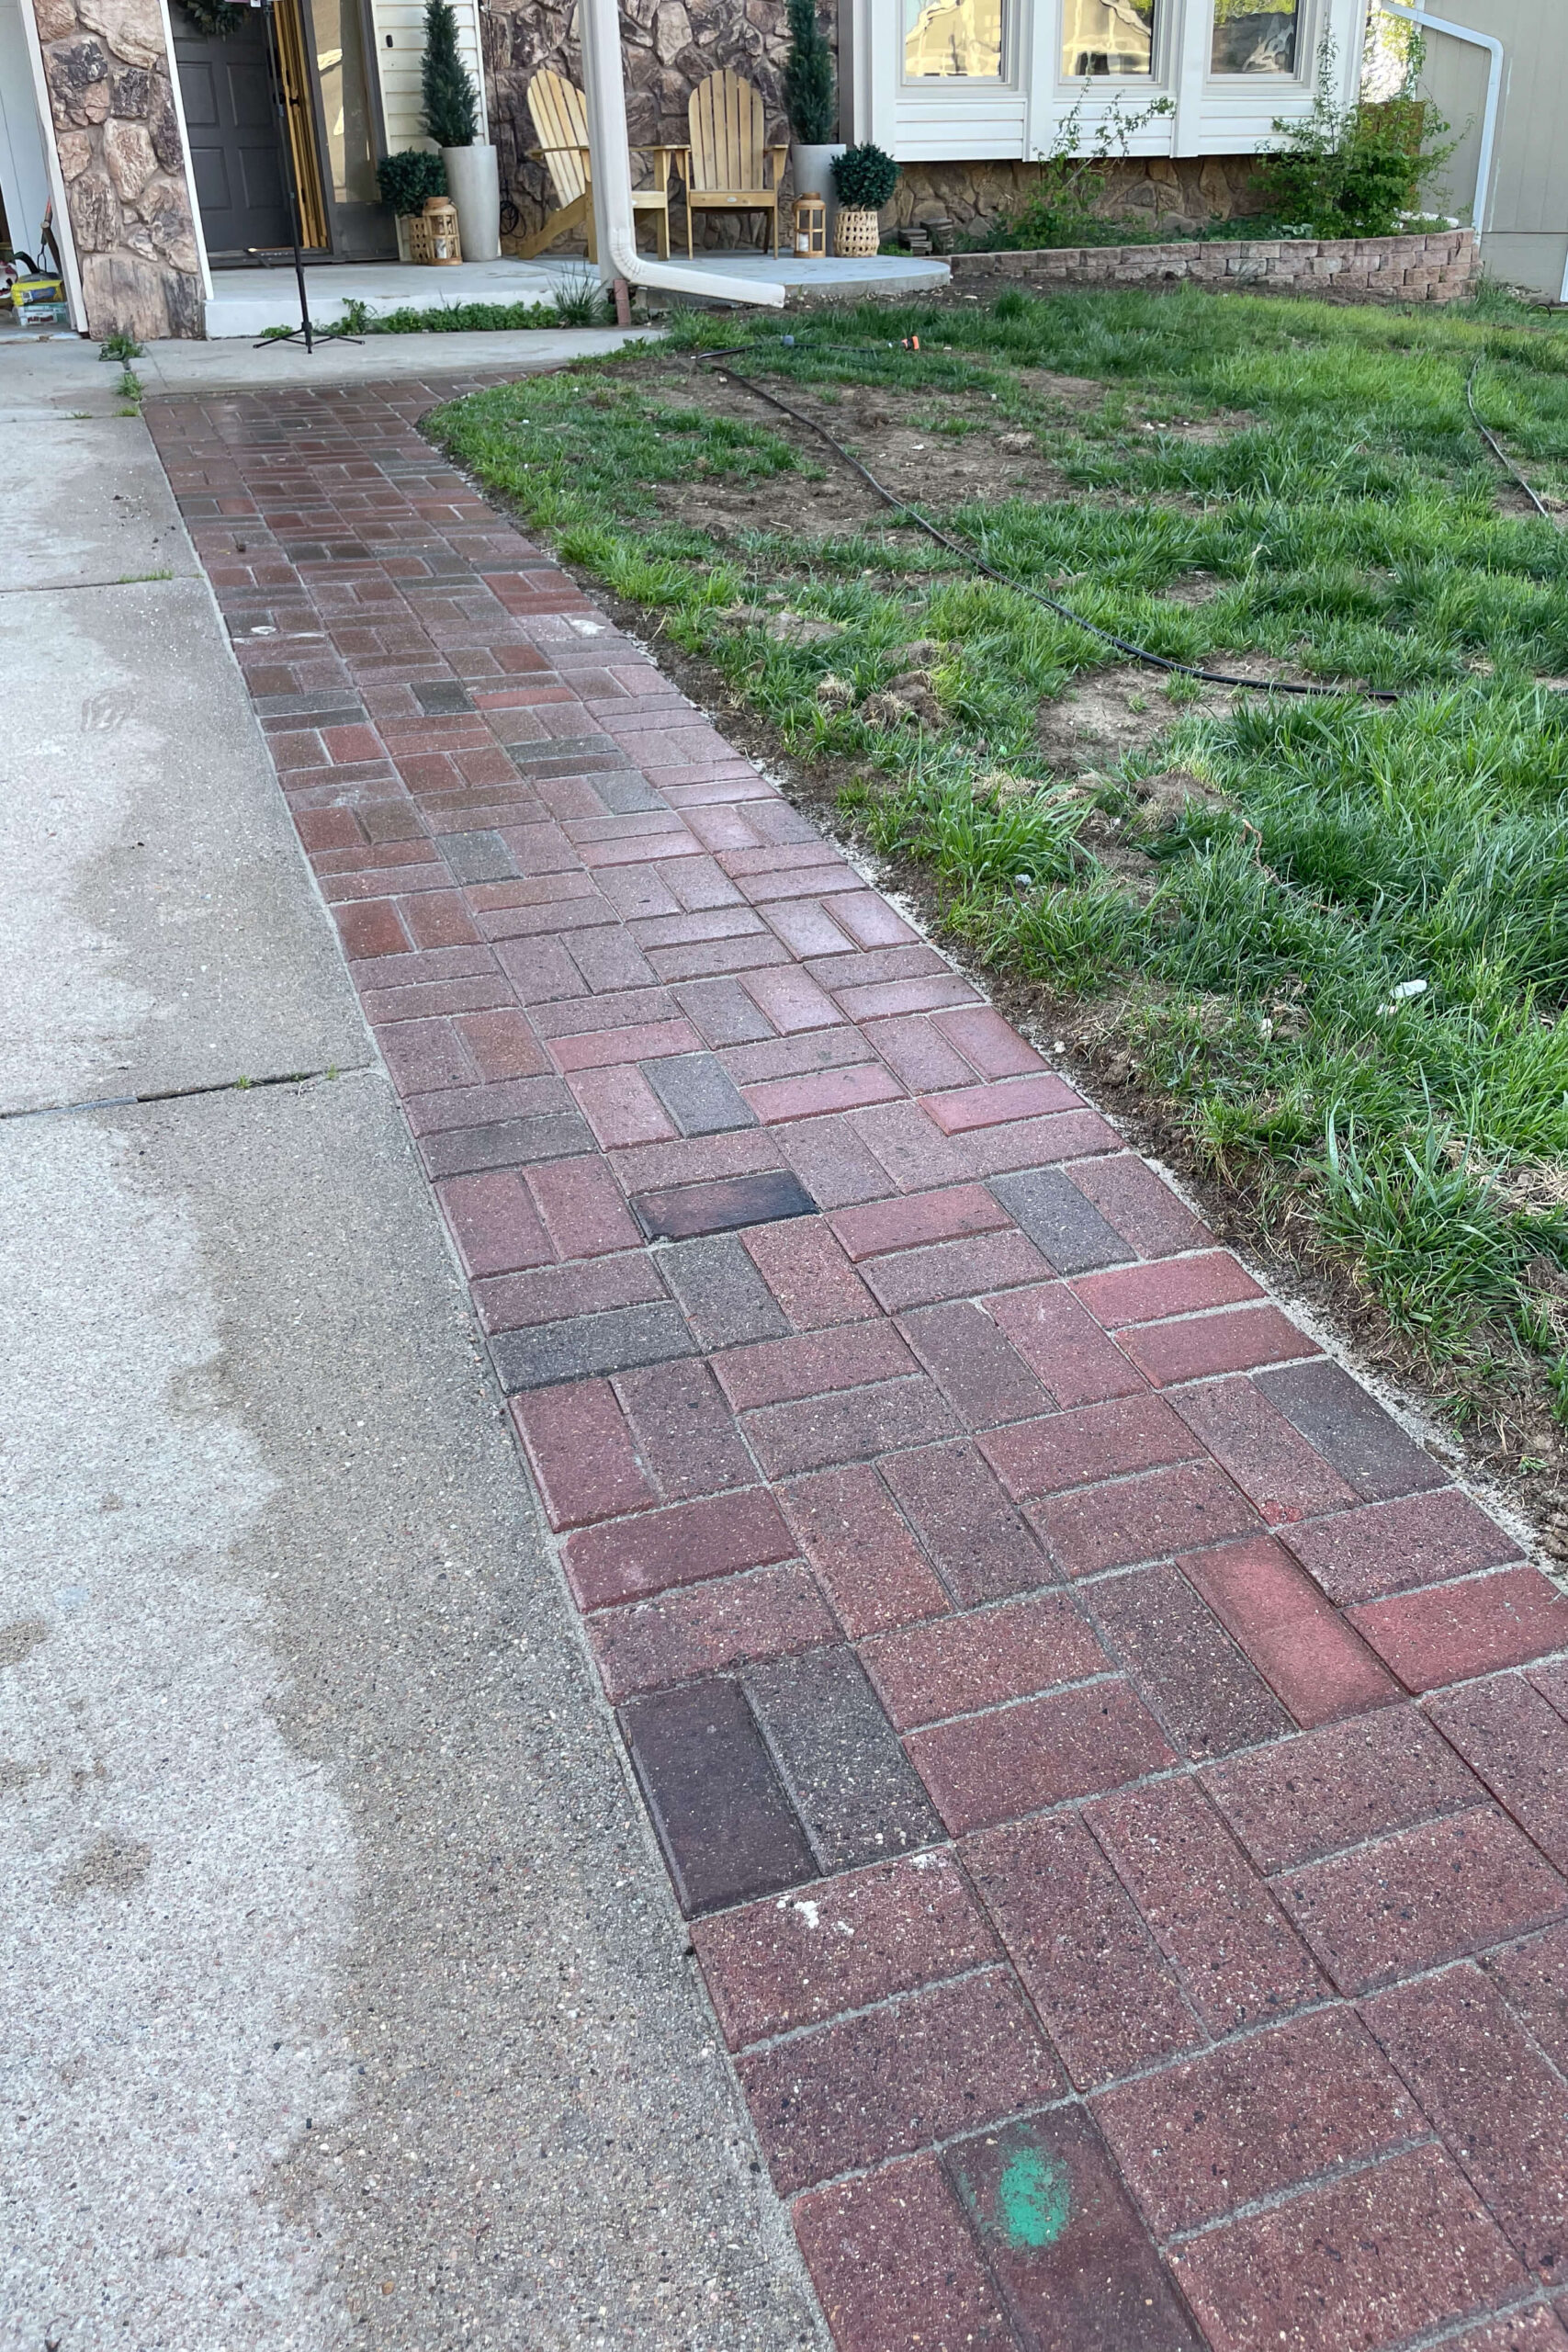
Not sure if a dry pour concrete slab is the way to go for you? What about pavers instead? I have a full tutorial for how I widened my driver with pavers, but the concept could easily be applied to laying a small paver patio rather than pouring a small slab from concrete.
I’ve also hired workers to pour concrete on projects that were just too big for me. Here’s the post with all my insights for hiring off of Facebook Marketplace.


This article offers a helpful overview of dry-pour concrete pads! I wasn’t aware that they could be a good option for small projects. It sounds like a great timesaver for DIY projects around the house.
Have you ever used a dry-pour concrete pad for a project that required some weight-bearing capabilities? For instance, would a dry-pour pad be suitable for a small shed or a patio with furniture?
I’d be okay with it being furniture but it’s not strong enough for a structure.