DIY In-Ground Trampoline (Step-by-Step Guide)


Published April 1, 2026
We bought this house mostly for the backyard. It had so much potential, and I’ve had a running list in my head from day one of all the things I wanted to do out here. One of the very first projects on that list? An in-ground trampoline for the kids.
Not only does it look so much better than a big above-ground trampoline sitting in the yard, but it’s also way easier for the kids to get on and off. And let’s be honest… if someone goes flying off the side, it’s a much shorter fall.
Win win.
If you’ve been thinking about installing an in-ground trampoline, I’m walking you through exactly how we did it, what we used, and what I would do again.
Table of Contents
- Why We Chose an In-Ground Trampoline
- Tools and Equipment for Installing an In-Ground Trampoline
- Step 1: Choose the Best Location for Your In-Ground Trampoline
- Step 2: Mark the Trampoline Pit Size
- Step 3: Dig the Hole for the In-Ground Trampoline
- Step 4: Haul Away the Dirt (Don’t Skip This)
- Step 5: Fine Tune the Trampoline Pit Shape
- Step 6: Think About Drainage
- Step 7: Set the Trampoline Into the Ground
- What I’d Do Again (and What I’d Think Through More)
- Is an In-Ground Trampoline Worth It?
- More Backyard DIY Projects
- 📌 Save This DIY In-Ground Trampoline for Later
- FAQ About In-Ground Trampolines
Why We Chose an In-Ground Trampoline
Before we jump into the step-by-step, here’s why we decided to go this route instead of leaving it above ground:
- Safer for kids – lower fall height if they bounce off
- Easier access – no ladder needed
- Cleaner look – blends into the yard instead of sticking out
- Less wind risk – no worrying about it blowing across your yard
- More backyard-friendly – doesn’t block views or feel bulky
It just made sense for how we want our backyard to function long term.
Tools and Equipment for Installing an In-Ground Trampoline
We kept this pretty simple, but having the right equipment made a huge difference.
- Excavator (we rented one)
- Dump trailer (HIGHLY recommend for hauling dirt)
- Shovel for fine-tuning
- Landscape fabric and landscape staples
- Tape measure
- Marking paint and landscape flags for marking the circle
- Trampoline (meant to be in-ground)
Step 1: Choose the Best Location for Your In-Ground Trampoline
Before digging anything, we picked the exact spot in the yard.
Things we considered:
- Distance from fences and structures
- Flat or slightly sloped ground
- Drainage (you don’t want water collecting in the hole)
- Space for kids to safely bounce
Step 2: Mark the Trampoline Pit Size
Once we landed on the spot, we marked out the size of the trampoline.
How to Mark the Trampoline Circle
- Place a marking flag in the center of where your trampoline will go.
- Hook your tape measure onto the flag to hold it in place.
- Measure out half the diameter of your trampoline (for a 10 ft trampoline, measure 5 ft).
- Holding the tape measure at that length, use marking paint to mark the ground as you walk in a circle.
- Keep the tape measure tight and pivot around the center flag to create an even circle.
This gives you a perfect outline for digging your in-ground trampoline pit.

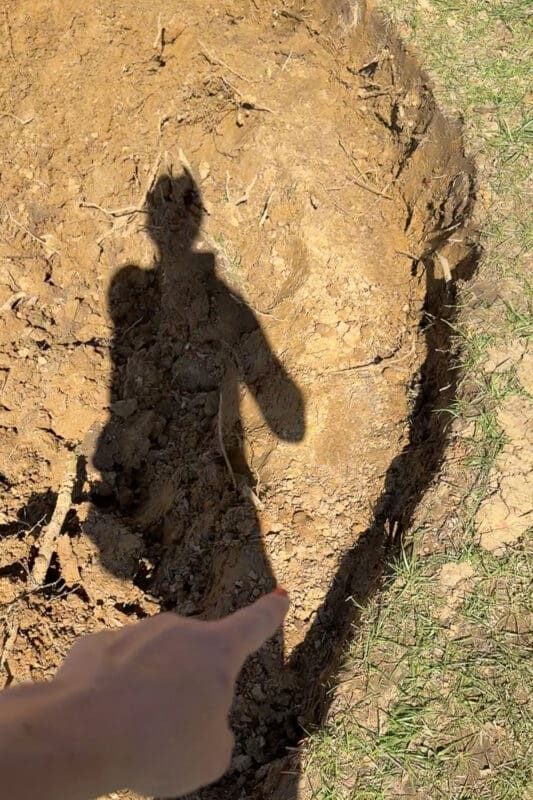
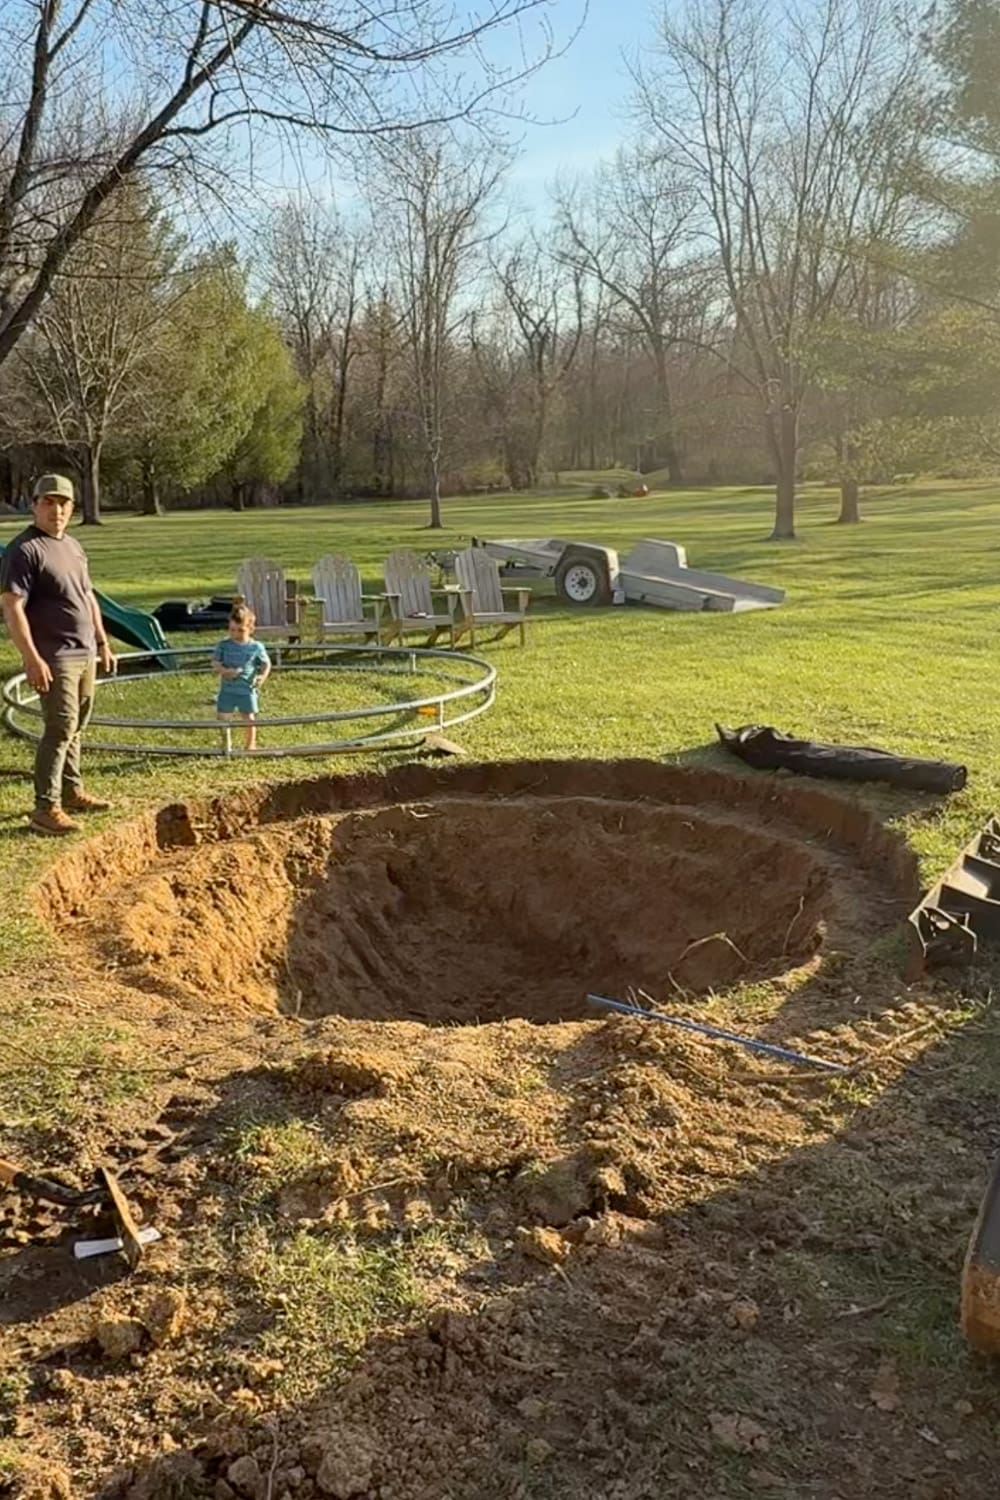
Step 3: Dig the Hole for the In-Ground Trampoline
We started by digging out the edge of the circle with a shovel, following the outline we had marked with spray paint. This helped us establish a clean perimeter around the edge. We also realized real quick that it would take forever to dig this all by hand.
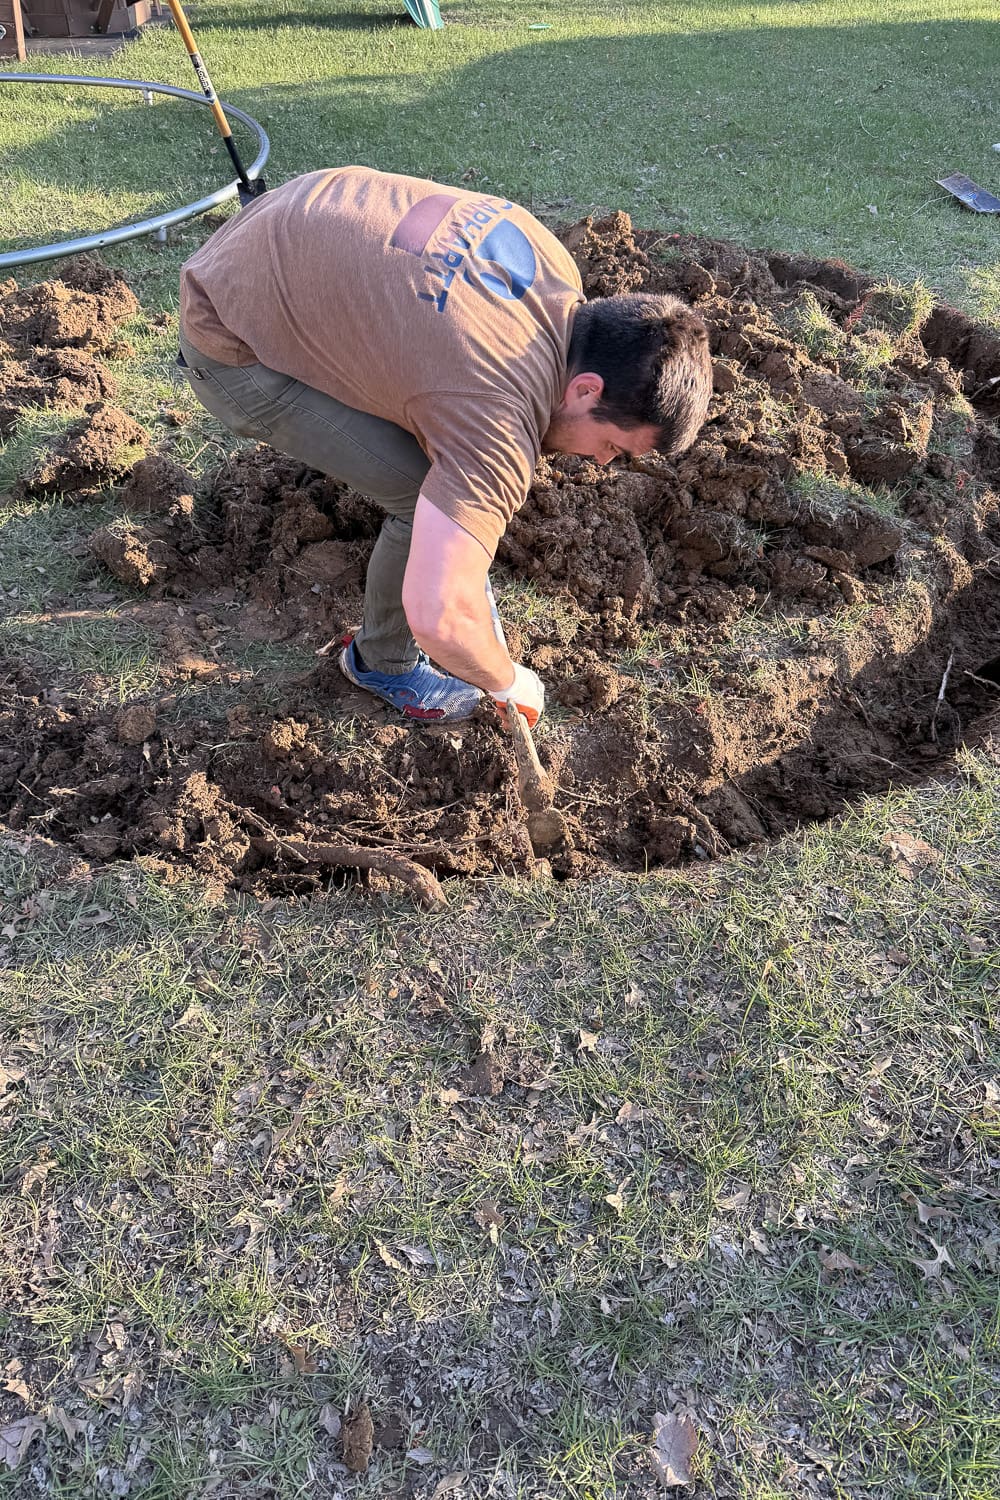
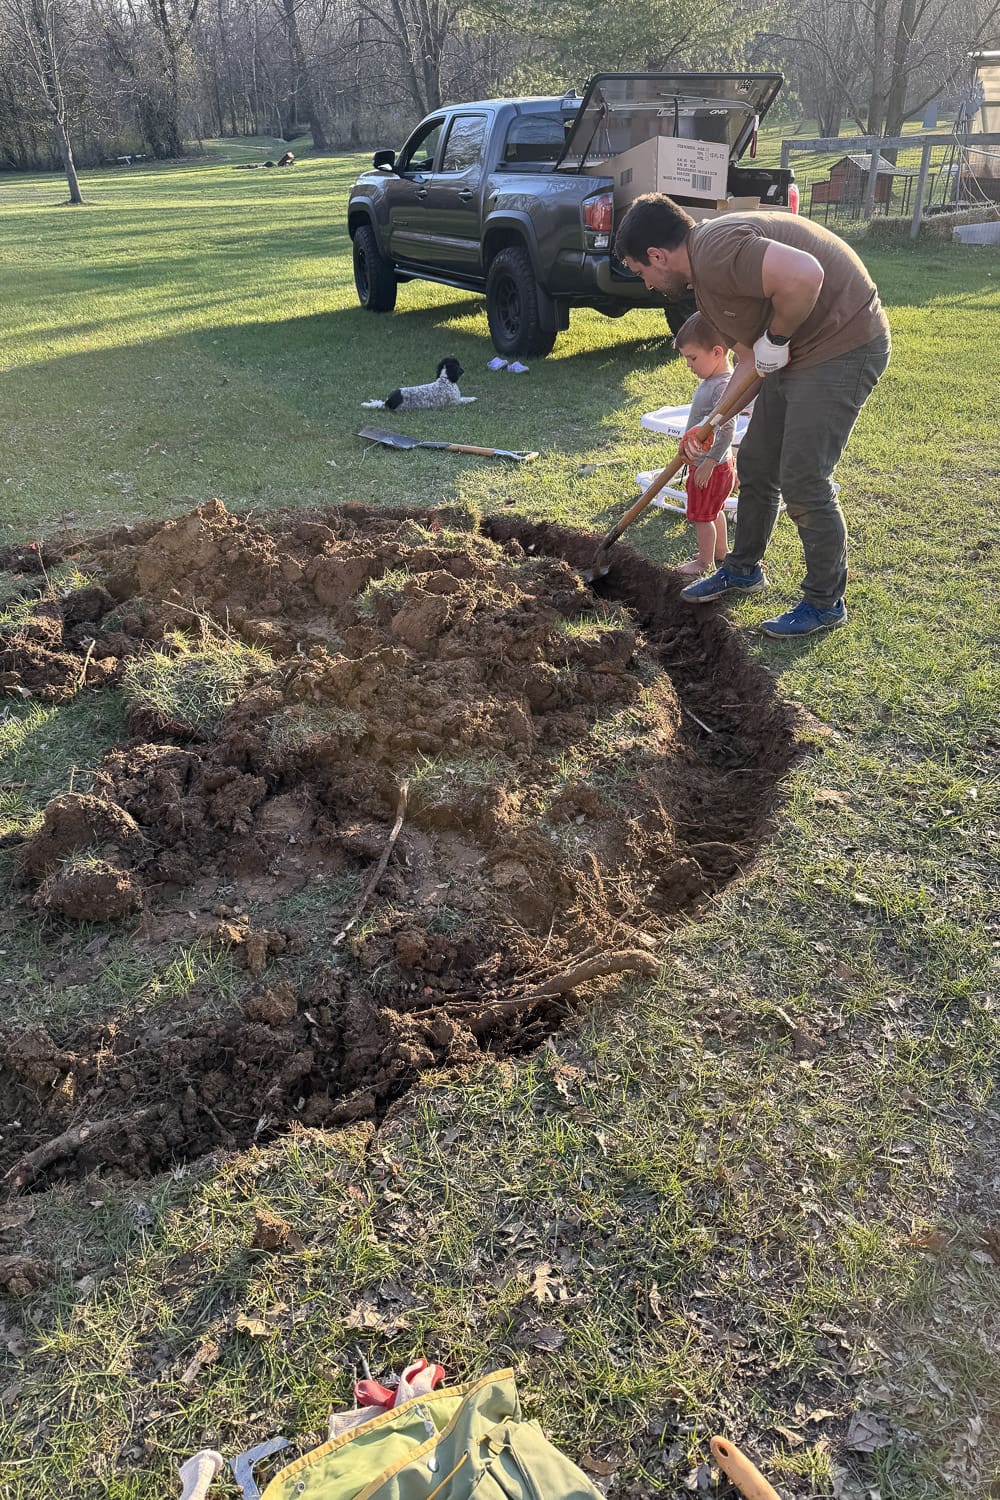
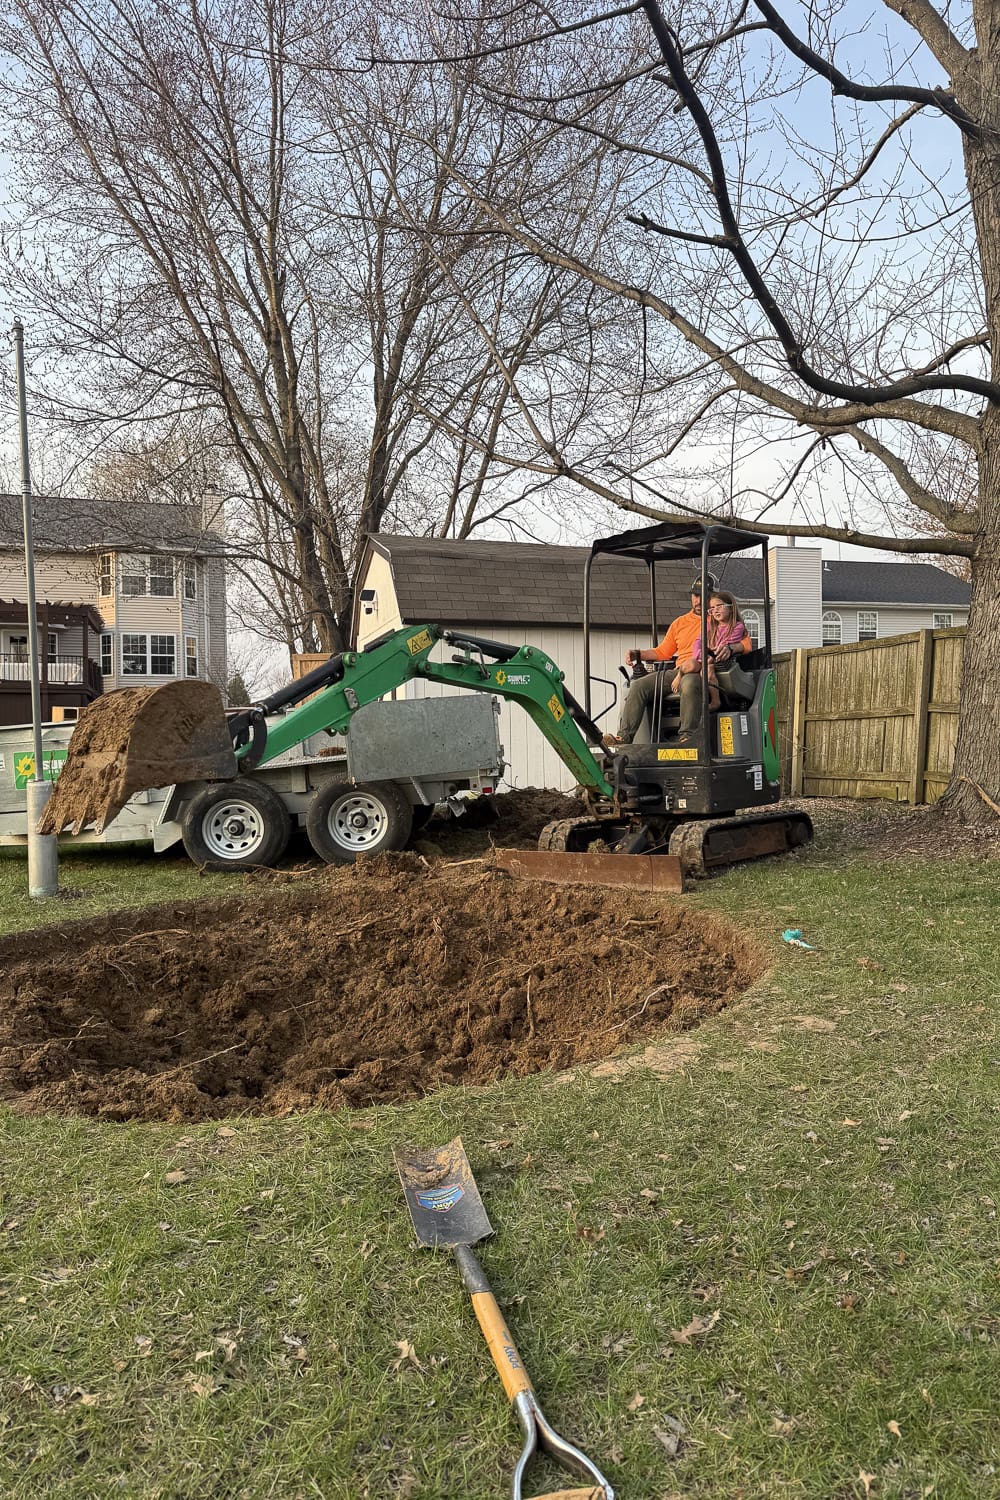
A shovel worked great for cleaning up the edge, but for the bulk of the digging, the excavator was a must. Our soil turns into rock-hard clay just a few inches down, and there were plenty of roots to work through. Using the excavator made this part so much faster and saved us a ton of effort.
As we dug:
- We created a deeper center section
- Kept the sides gradually sloped (you’re going for a bowl-shaped hole, not a cylinder)
- Checked depth as we went
The goal is to give the trampoline enough space underneath for proper bounce and airflow.
Step 4: Haul Away the Dirt (Don’t Skip This)
Let me just say… there is SO MUCH dirt.
We rented a dump trailer, and I’m very glad we did. It made hauling everything away so much easier and faster. Our next project is a garden, and the area we’ve picked is pretty uneven, so we’re planning to use all this extra dirt to help level it out.
Step 5: Fine Tune the Trampoline Pit Shape
Once the bulk of the digging was done, we went back in with shovels to clean everything up.
We:
- Smoothed out the sides
- Adjusted depth where needed
- Made sure the top edge was level
Your final hole should have a smooth, bowl-like shape and be at least 40 inches deep. Deeper is better, since a shallow hole won’t allow enough airflow for a good bounce. You’ll also want to leave a small ledge around the edge, about a foot deep, for the trampoline frame to sit on.
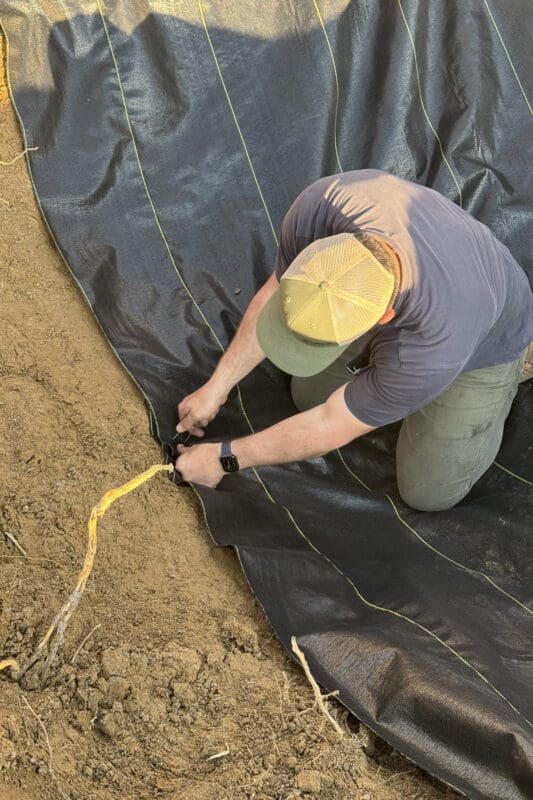
Step 6: Think About Drainage
This is one of the most important parts of installing an in-ground trampoline. You want water to drain properly (so it doesn’t turn into a pond or swamp)
To help with drainage we:
- Lined the hole with landscape fabric using landscape staples to hold it in place
- Dropped rocks and gravel in the bottom

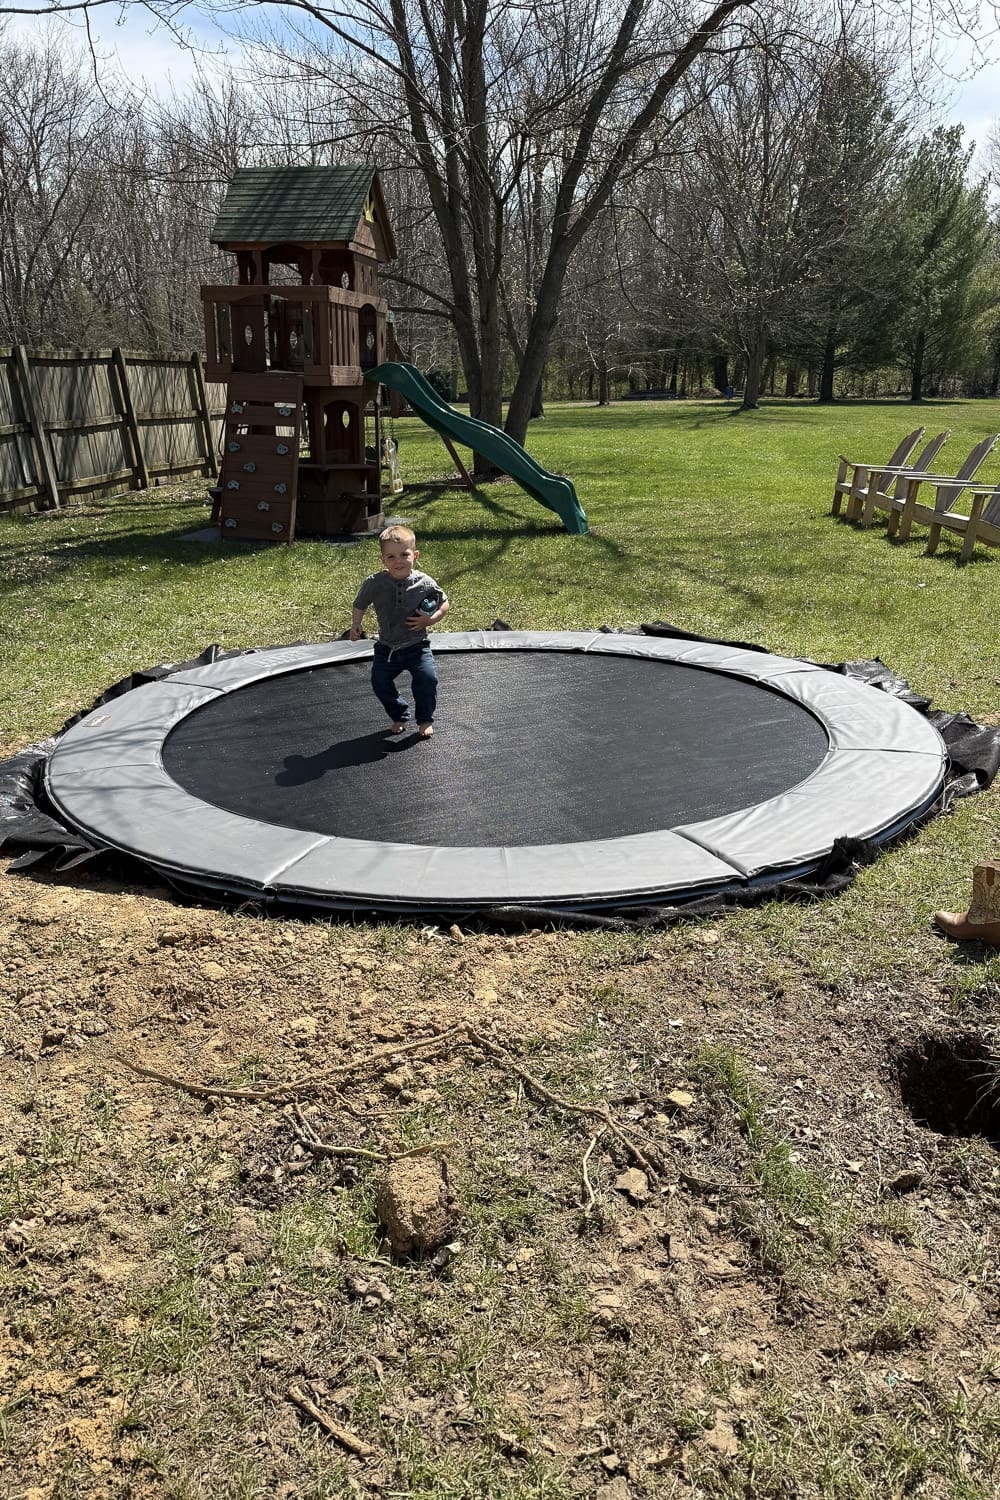
Step 7: Set the Trampoline Into the Ground
Once the hole was ready, we assembled the trampoline and placed it into position. Be sure to purchase a trampoline that is meant to be in-ground.

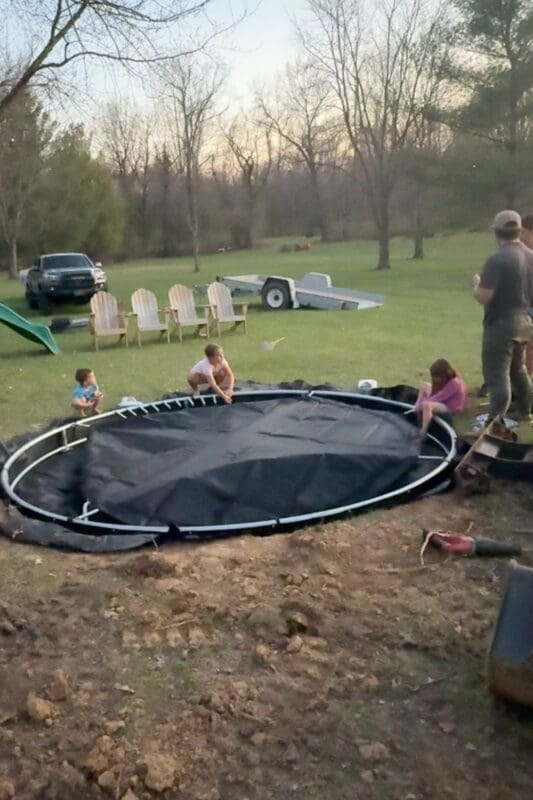
Things to check:
- Frame is sitting level
- Edges are flush with the ground
- No large gaps around the perimeter
Seeing it in place was the moment where it finally all came together.
What I’d Do Again (and What I’d Think Through More)
If you’re planning your own DIY in-ground trampoline, here are a few things I’d keep in mind:
- Renting the excavator was 100% worth it
- The dump trailer saved us so much time
- Take your time shaping the hole… it matters
- Think about drainage early, not after
Is an In-Ground Trampoline Worth It?
For us… absolutely.
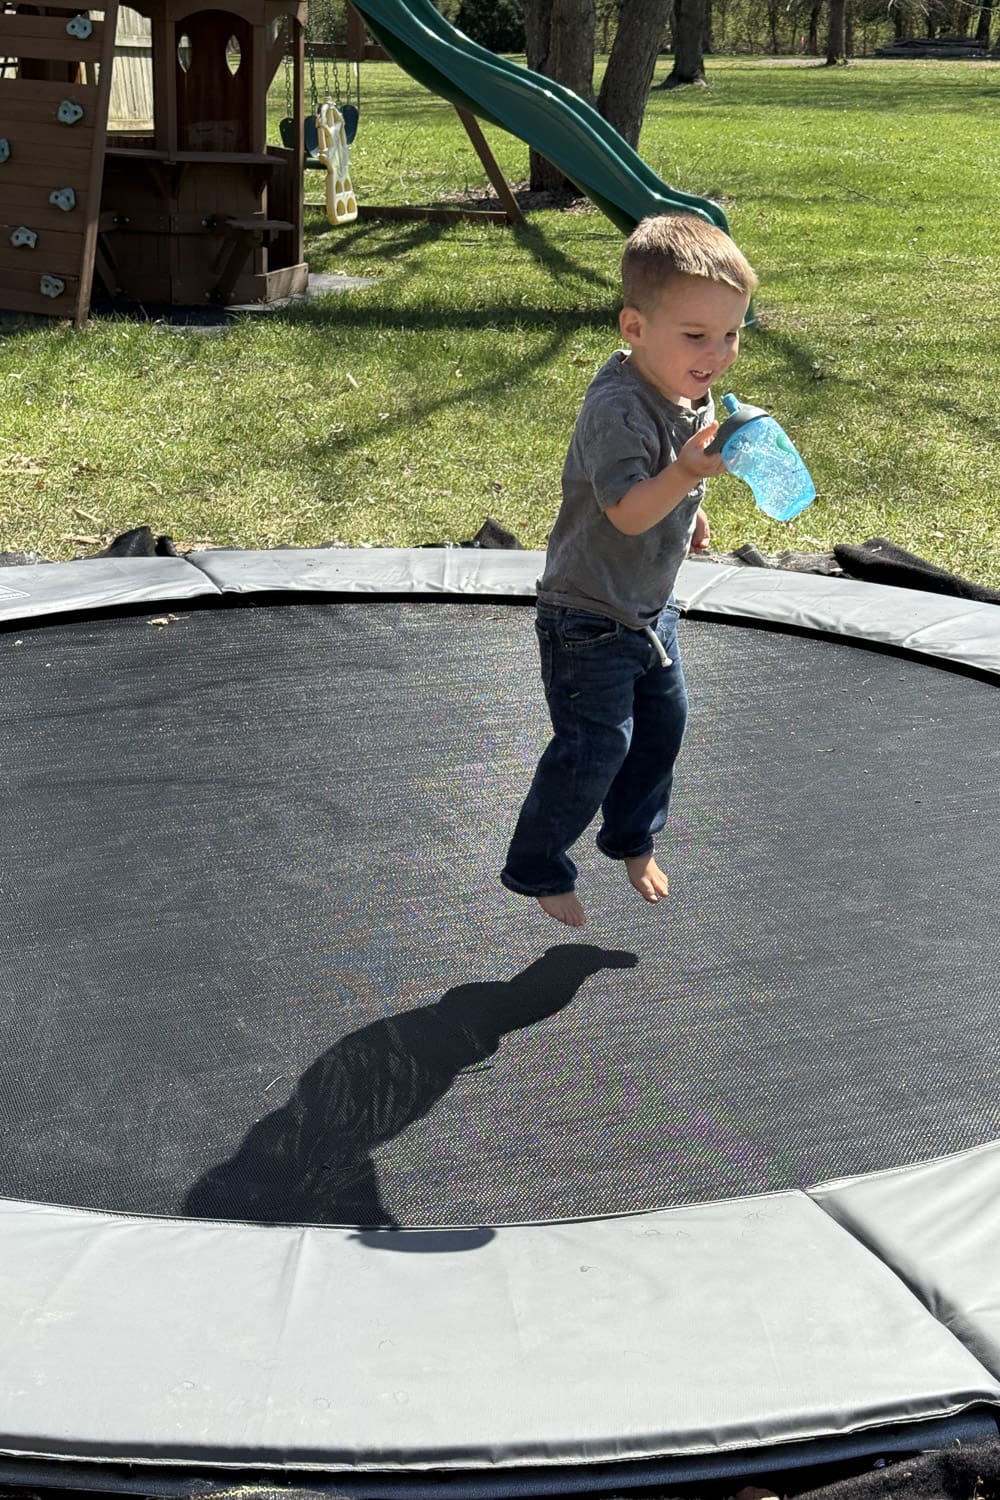
It looks better, functions better, and fits our backyard plans so much more than a traditional trampoline. And now that it’s done, the kids are already out there using it nonstop… which is exactly what we wanted.
More Backyard DIY Projects
If you’re anything like me, once you start one backyard project… it turns into ten. Getting this trampoline in was just the first of many. I’ve got big plans for this yard at our new house, but in the meantime, here are a few of the projects we tackled in our last backyard.
Revive an Old Backyard Wood Fence – If your fence is looking weathered but still structurally sound, you don’t need to replace it. A good cleaning and stain can completely bring it back to life.
👉 Read: Revive Your Old and Weathered Wood Fence
Hang a Backyard Tree Swing – A simple project that makes a huge impact. This is one of those classic backyard additions that kids never get tired of.
👉 Read: How to Install a Tree Swing in Your Backyard
Build a Backyard Hammock Stand – This was one of our favorite backyard additions. It created the perfect little spot to relax, and it’s surprisingly simple to build.
👉 Read: DIY Backyard Hammock Stand
Easy Outdoor Entertaining Ideas – We’re not just building this space for the kids… we want it to be a place we can gather with family and friends too.
👉 Read: Backyard Party Must-Haves for Effortless Outdoor Entertaining
📌 Save This DIY In-Ground Trampoline for Later
If this project is on your backyard wishlist, save it so you can come back when you’re ready to start digging.
FAQ About In-Ground Trampolines
It depends on the trampoline size, but typically, the center of the hole should be a minimum of 40 inches deep with sloped sides to allow for proper bounce and airflow.
Yes. Proper drainage is important to prevent water buildup. Gravel or a drainage pipe can help, depending on your soil.
Yes, this can absolutely be a DIY project, especially if you rent equipment like an excavator to make digging easier.
