

Published November 20, 2025
There is just something about giant nutcrackers that makes a front porch or entry feel like a Christmas movie set. I have loved the look of those high-end, antique bronze nutcrackers for years, but the price tag is no joke. So I, of course, had to DIY my own!
If you have been wanting statement-sized Christmas decor that feels classic and adds some drama to your setup, this project is for you. A little spray paint, a lot of Rub ‘n Buff, and an afternoon is all it takes to turn basic plastic into “are those real metal?” giant nutcrackers.
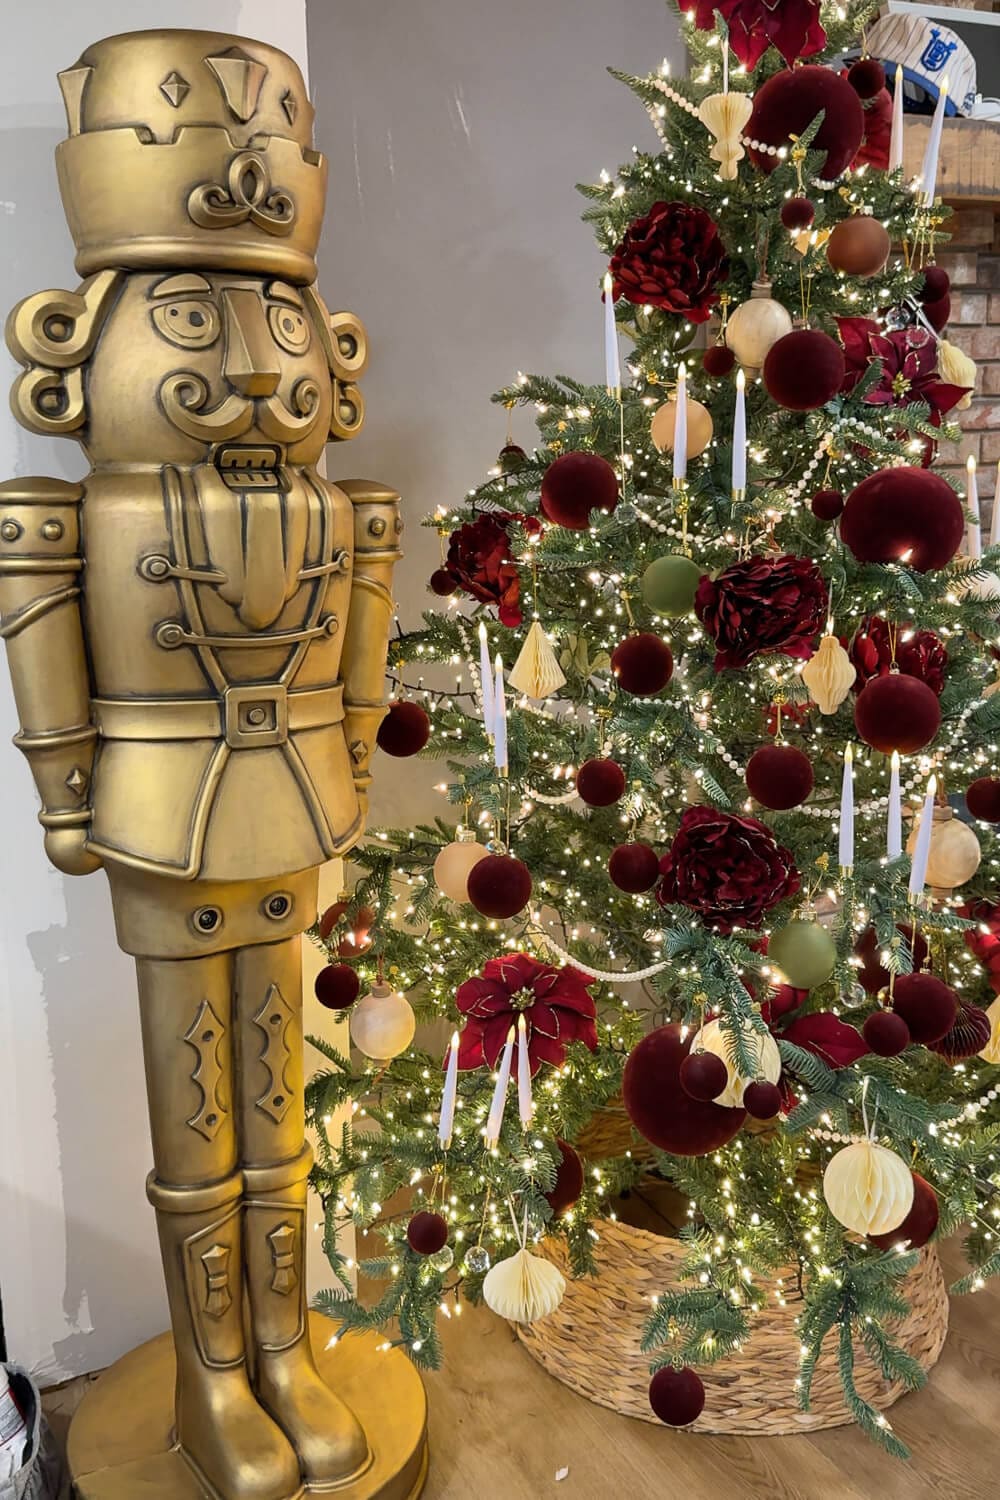
Table of Contents
- Materials For Painting Giant Nutcrackers
- Before: Plain White Giant Nutcrackers Straight Out Of The Box
- Step 1: Spray Paint The Giant Nutcrackers Black
- Step 2: Cover The Nutcrackers With Gold Rub n Buff
- Step 3: Add Black Rub n Buff For Faux Patina
- Finished Giant Nutcrackers With A High End Antique Bronze Look
- More Rub n Buff Christmas Ideas
- 📌 Save These Giant Nutcrackers For Later
- Giant Nutcrackers DIY FAQ
Materials For Painting Giant Nutcrackers
Before you start, you’ll need to gather a few basic craft supplies to transform your giant nutcrackers.
- Giant nutcrackers, 6 ft tall
- Black spray paint that adheres to plastic
- Rub ‘n Buff in Grecian Gold or Antique Gold
- Ebony Rub ‘n Buff for patina details
- Foam brushes
- Small artist paintbrush
- Drop cloth or foam board to protect the ground
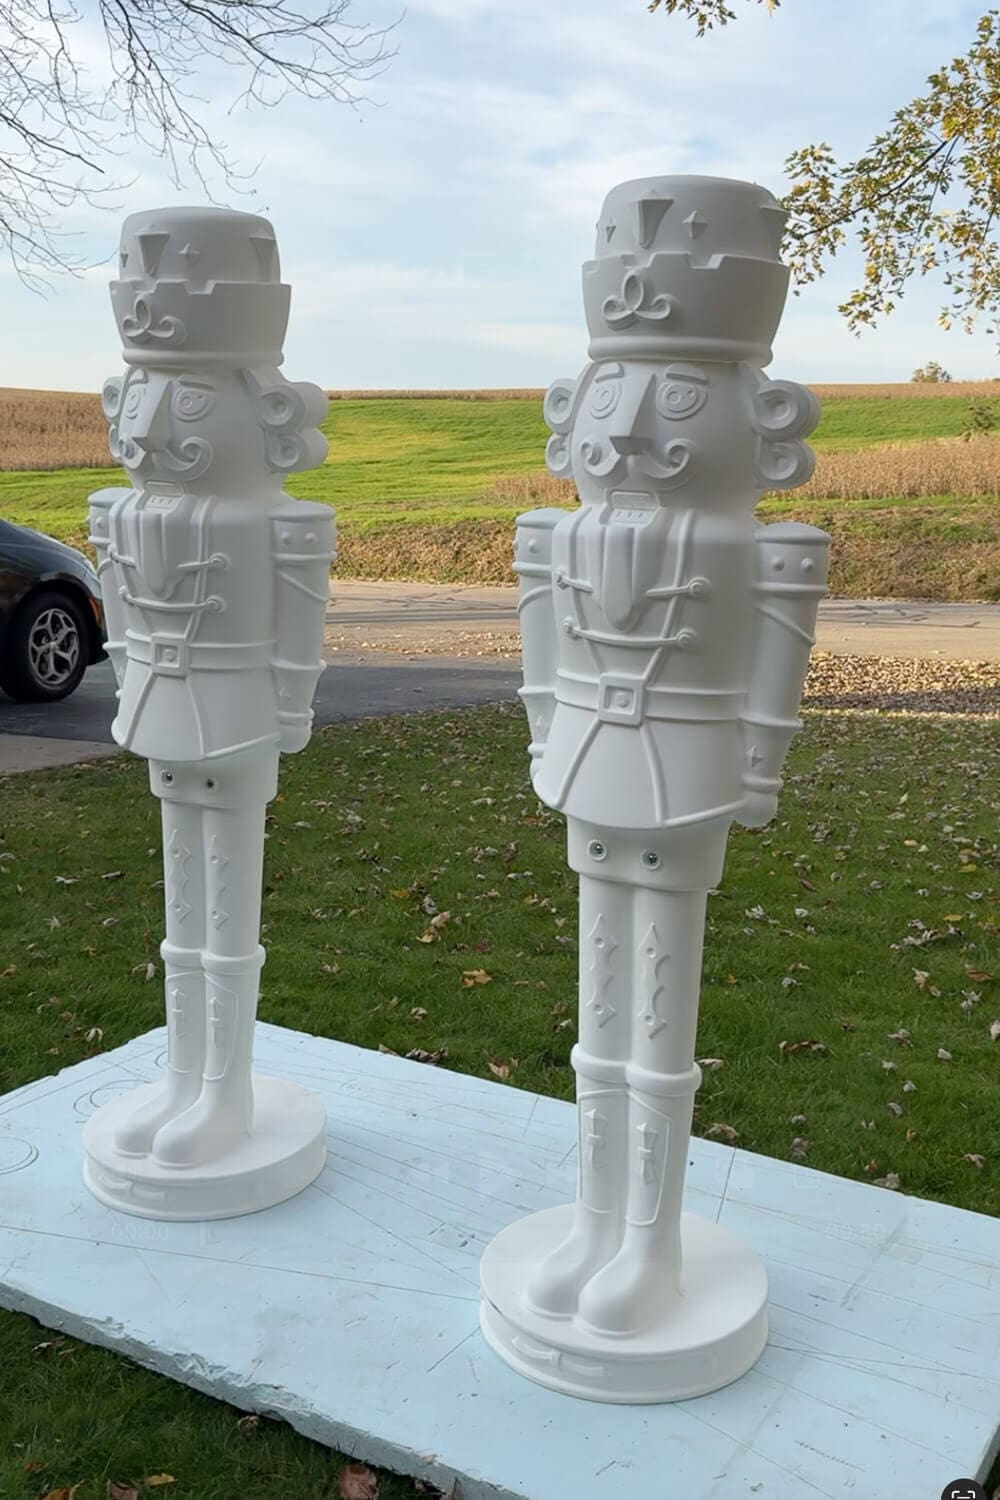
Before: Plain White Giant Nutcrackers Straight Out Of The Box
I started with these bright white giant nutcrackers, fresh out of the box and lined up in the yard. They are six feet tall, making them a fun statement on the porch or by a fireplace. One of my favorite things about these is that you can order them online and have them delivered right to your door, instead of trying to wrestle two six-foot soldiers into a cart at the store.
Because they come plain white, they are basically a blank canvas. You can paint them any color to match your Christmas decor. I went for an antique bronze look, but you could easily do a classic red and green, matte black, neutrals, or even a fun collection of pastel colors.
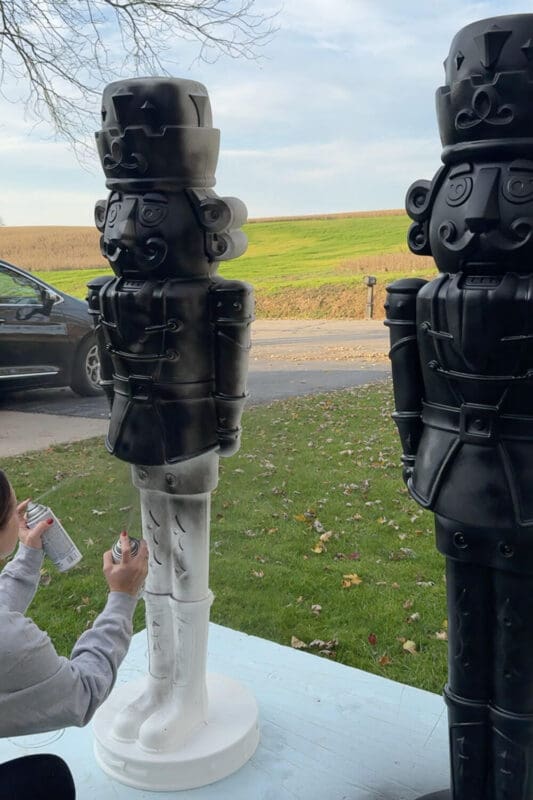
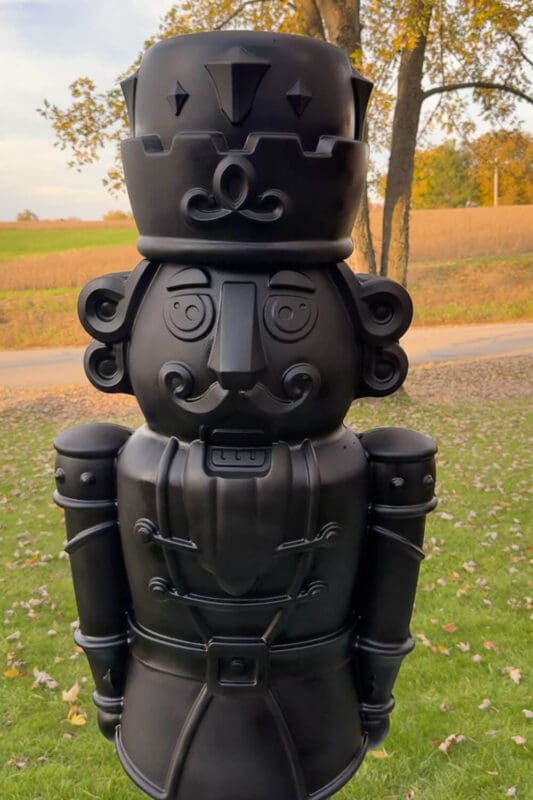
Step 1: Spray Paint The Giant Nutcrackers Black
The first step is to give your giant nutcrackers a solid coat of flat black spray paint. This layer underneath is essential. The black base will show slightly through the gold, adding depth that makes the final “metal” finish feel more believable.
Work outside or in a well-ventilated area. Spray in light, even passes, moving around the nutcracker so you do not miss any angles. Take your time to cover every crease, curve, and groove. You want a smooth, consistent black finish over the entire piece.
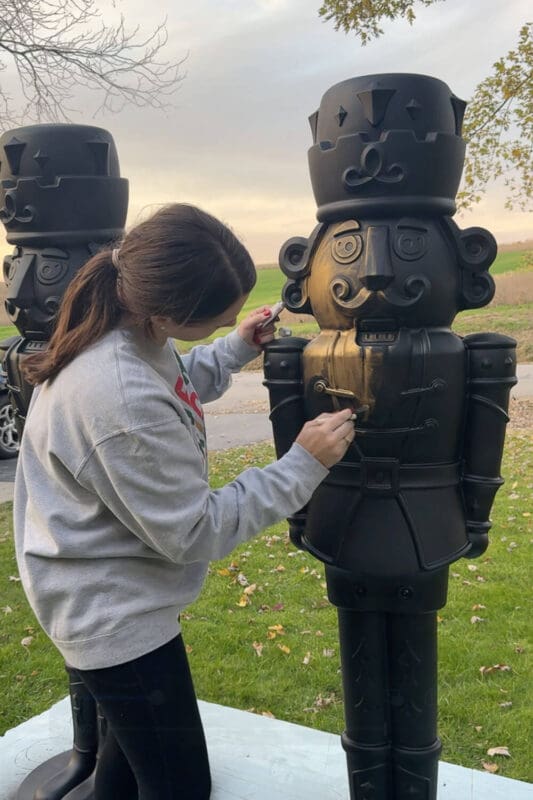
Step 2: Cover The Nutcrackers With Gold Rub n Buff
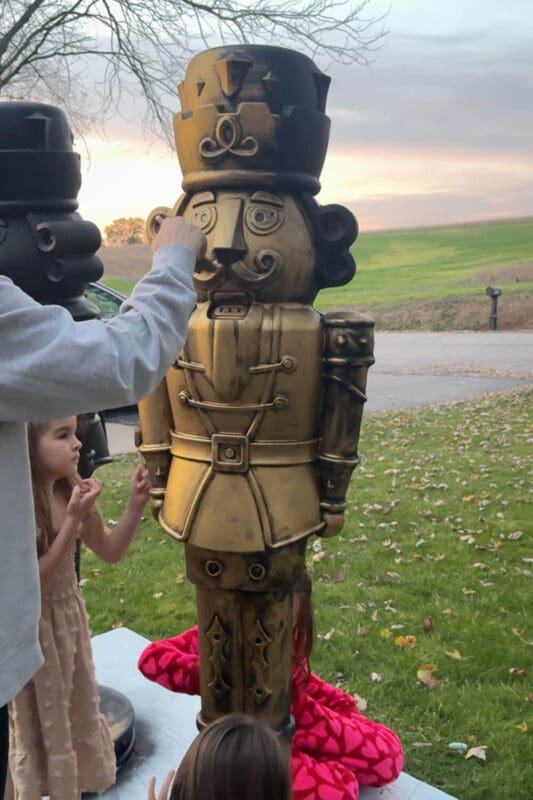
Once the black paint is dry, it is time for the magic. Load a small amount of Rub ‘n Buff on your foam paint brush and start working it over the surface, brushing in the same direction as much as possible. Keep working until the nutcracker is fully coated in gold from head to toe.
Rub ‘n Buff goes a long way on small pieces, but these giant nutcrackers needed a lot. I went through three and a half tubes to finish just one nutcracker, so plan your supply order accordingly.
Antique Gold is my usual go-to color, and if I did this project again, that is the shade I would choose. This time I tried Grecian Gold instead. They still look great, but Antique Gold gives a slightly softer, more classic bronze tone. The Grecian Gold is a bit too yellow in my opinion.
Step 3: Add Black Rub n Buff For Faux Patina
After the gold layer is finished, it is time to add even more depth and detail. This is the step that takes your giant nutcrackers from “basic” to “wow.”
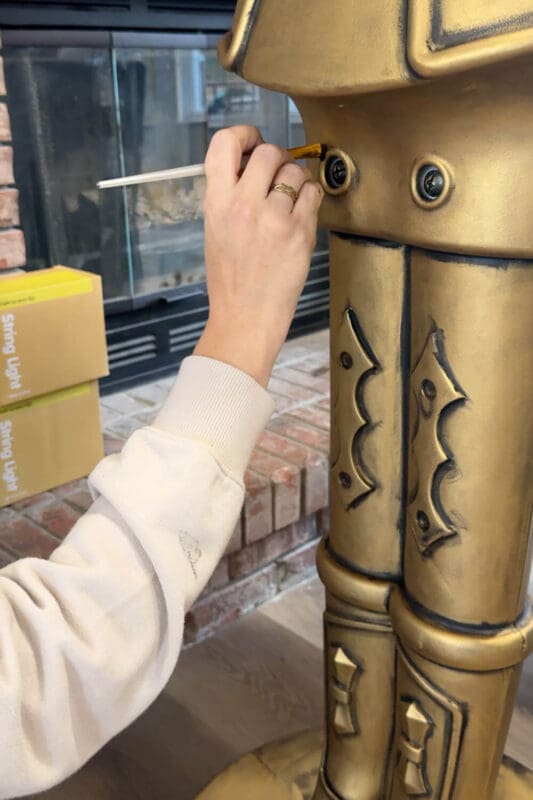
Using a small paintbrush and Ebony Rub ‘n Buff, trace along all the seams, grooves, and carved details. Think around the edges of the coat, belt, buttons, boots, and any raised trim. You are basically faking the patina that would naturally collect in the low spots on real metal.
Work in small sections, brushing black Rub ‘n Buff into the grooves and then softening any harsh lines with a clean brush or your fingertip. When you are done, the nutcrackers will have that aged, old-world bronze look with beautiful contrast.
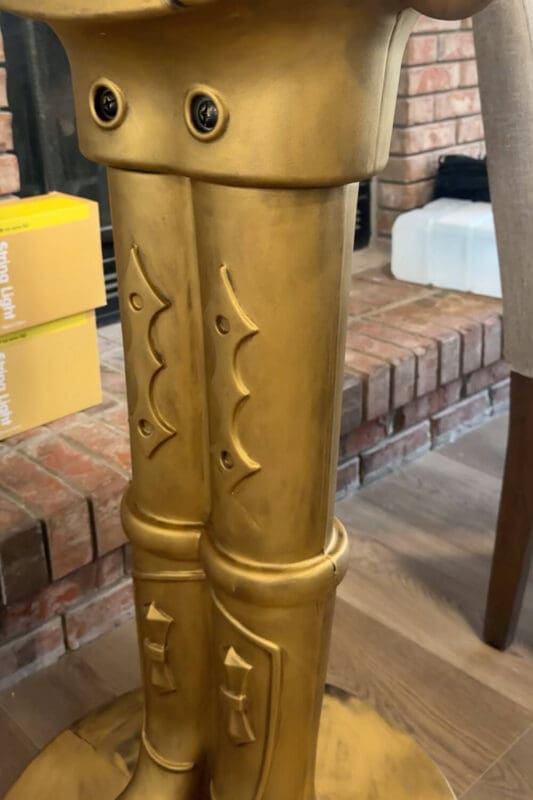
Here’s a close up so you can see the patina detail. If any areas looked too dark, I just brushed a little more gold over the top to soften the black and get the final look I wanted.
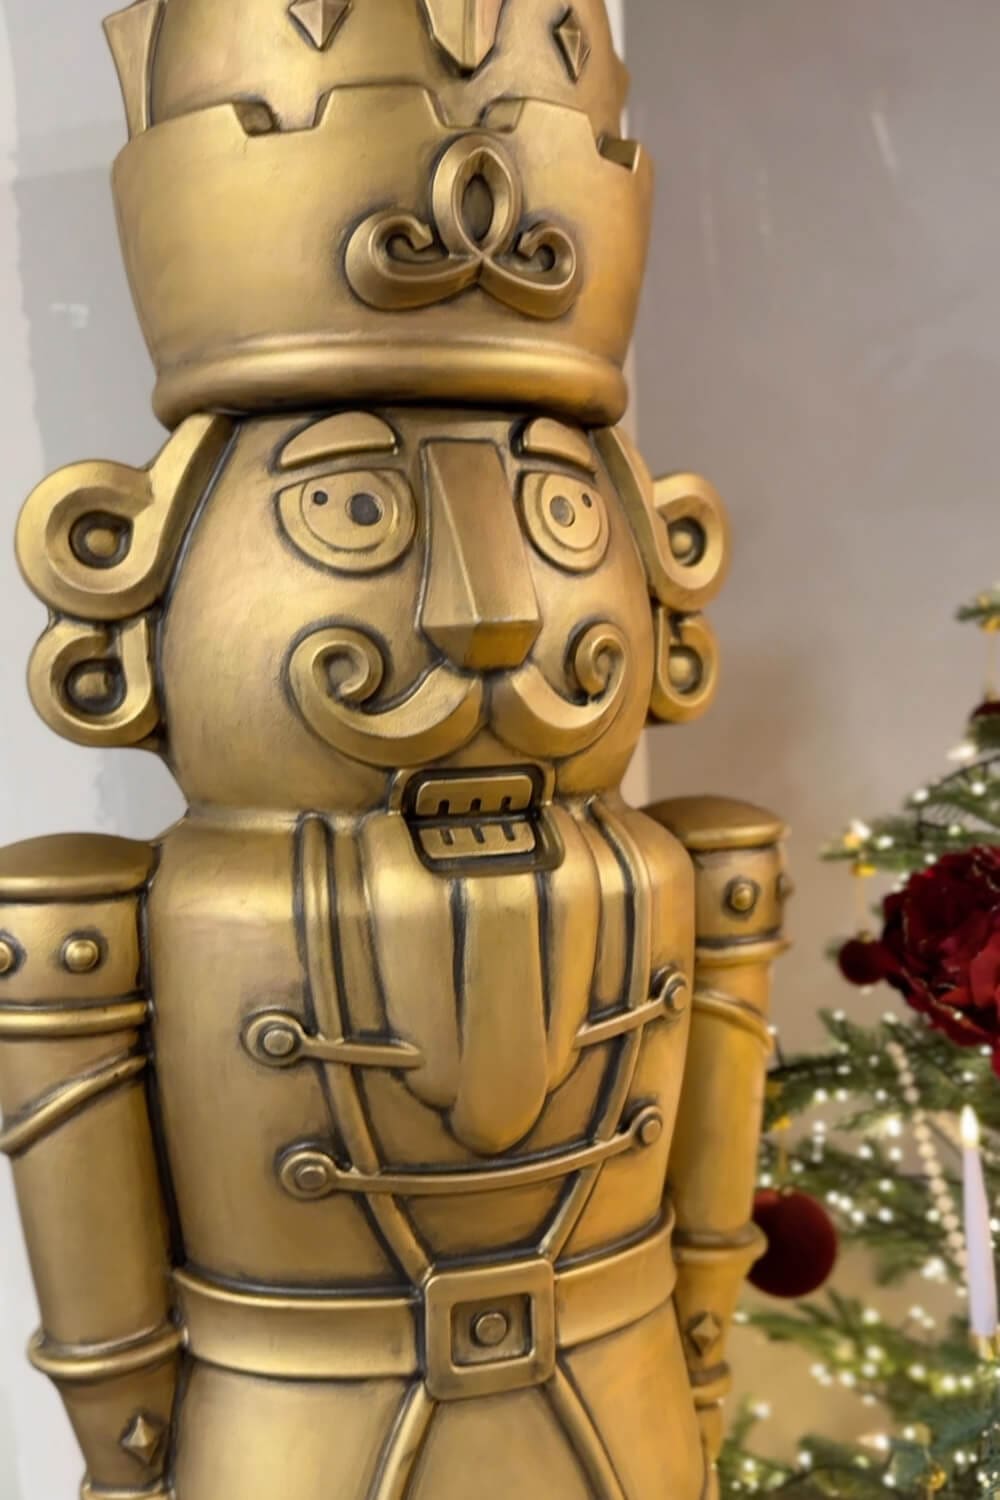
Finished Giant Nutcrackers With A High End Antique Bronze Look
Once everything has had time to cure, your giant nutcrackers are ready to move to your covered porch, entry, or wherever you need a little Christmas drama. I love that they started as simple plastic decor and now look like heavy antique bronze pieces that cost a small fortune.
If your style or color scheme changes in a few years, you can always repaint them again. For now, these giant nutcrackers are one of my favorite holiday projects and such a fun way to welcome guests all season long.
More Rub n Buff Christmas Ideas
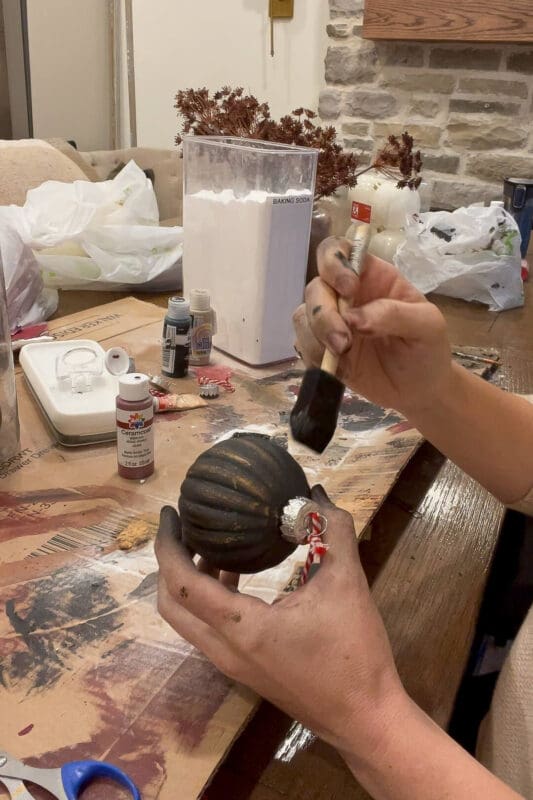
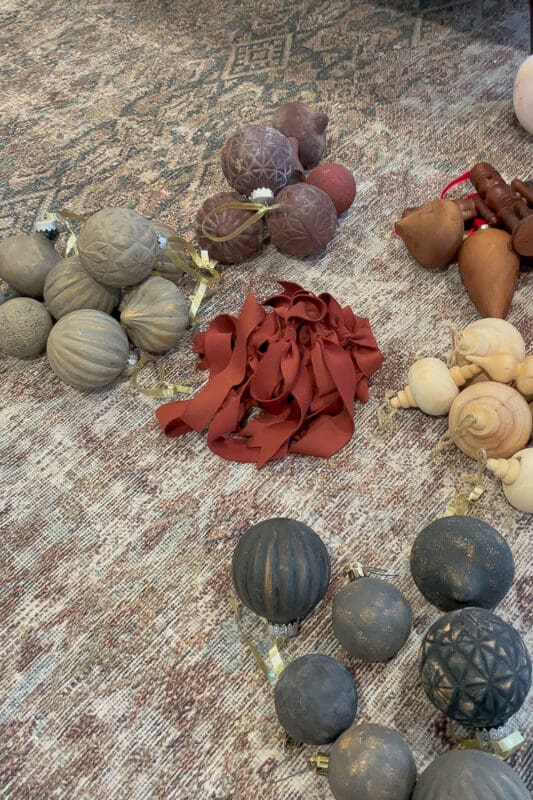
If you are hooked on Rub ‘n Buff after this project, I have another easy holiday DIY you will love. I used acrylic paint, baking soda, and the magic of Run ‘n Buff to transform simple ornaments and give them a warm metallic finish that ties in perfectly with these giant nutcrackers. You can read all about how I made those ornaments in this post Making DIY Flocked Ornaments.
📌 Save These Giant Nutcrackers For Later
If you want to try this project but you are not quite ready to pull out the spray paint, make sure you save it for later. Pin these DIY giant nutcrackers to your Christmas decor board so you can find the tutorial quickly when you are ready to give your own nutcrackers an antique bronze makeover.
Giant Nutcrackers DIY FAQ
I ordered my giant nutcrackers online and had them shipped right to my front door, which made this project so easy. The exact six-foot giant nutcrackers I used are linked here, and they come plain white so you can customize them with paint or Rub ‘n Buff finish to match your Christmas decor.
Use a spray paint that is labeled for plastic or “bonding” so it adheres well and does not chip easily. A flat or matte finish works best as the base coat because it gives the Rub ‘N Buff something to grip and keeps the final antique bronze finish from looking too shiny.
These guys are big. I used almost four tubes of Rub ‘N Buff to fully cover one six-foot giant nutcracker. If you are doing a pair, plan to buy quite a few tubes so you do not run out halfway through.
Yes, I could put mine on my covered porch for the holiday season, even though right now they are gracing my interior. If your porch is very exposed, you can add a clear topcoat, but they will do best either kept inside or outside in an area protected from constant sun, rain, and snow.
