

Updated August 8, 2025
If you’ve ever priced out custom shelving-or even the pre-made kind-you know it can get real expensive, real fast. But these DIY floating shelves for the kitchen? Built from scratch with no visible brackets, basic tools, and affordable materials. I made them for under $20 per shelf, and they completely transformed this little kitchen corner.
Let me walk you through the full process-from building the hidden cleats to wrapping the plywood for that thick, custom look. Whether you want open shelving in the kitchen, bathroom, or laundry room, this DIY is totally doable.
Table of Contents
- Tools I Used to Build DIY Floating Shelves
- Materials for DIY Kitchen Shelves
- My Kitchen Before Adding DIY Floating Shelves
- Step 1: Build the Internal Frame
- Step 2: Mount the Cleats to the Wall
- Step 3: Cut and Stain the Shelf Panels
- Step 4: Attach the Top and Bottom Panels
- Step 5: Add the Face Pieces for a Finished Look
- Finished Look: Modern, Budget-Friendly Open Kitchen Shelves
- Want to See More DIY Projects Like This?
- 📌 Save This Project for Later
- FAQ: DIY Floating Shelves for the Kitchen
Tools I Used to Build DIY Floating Shelves
Materials for DIY Kitchen Shelves
- 1×2 furring strips (for internal cleats)
- Wood screws
- 1/4-inch plywood (for shelf tops, bottoms, and sides)
- Brad nails
- Wood glue
- Wood stain
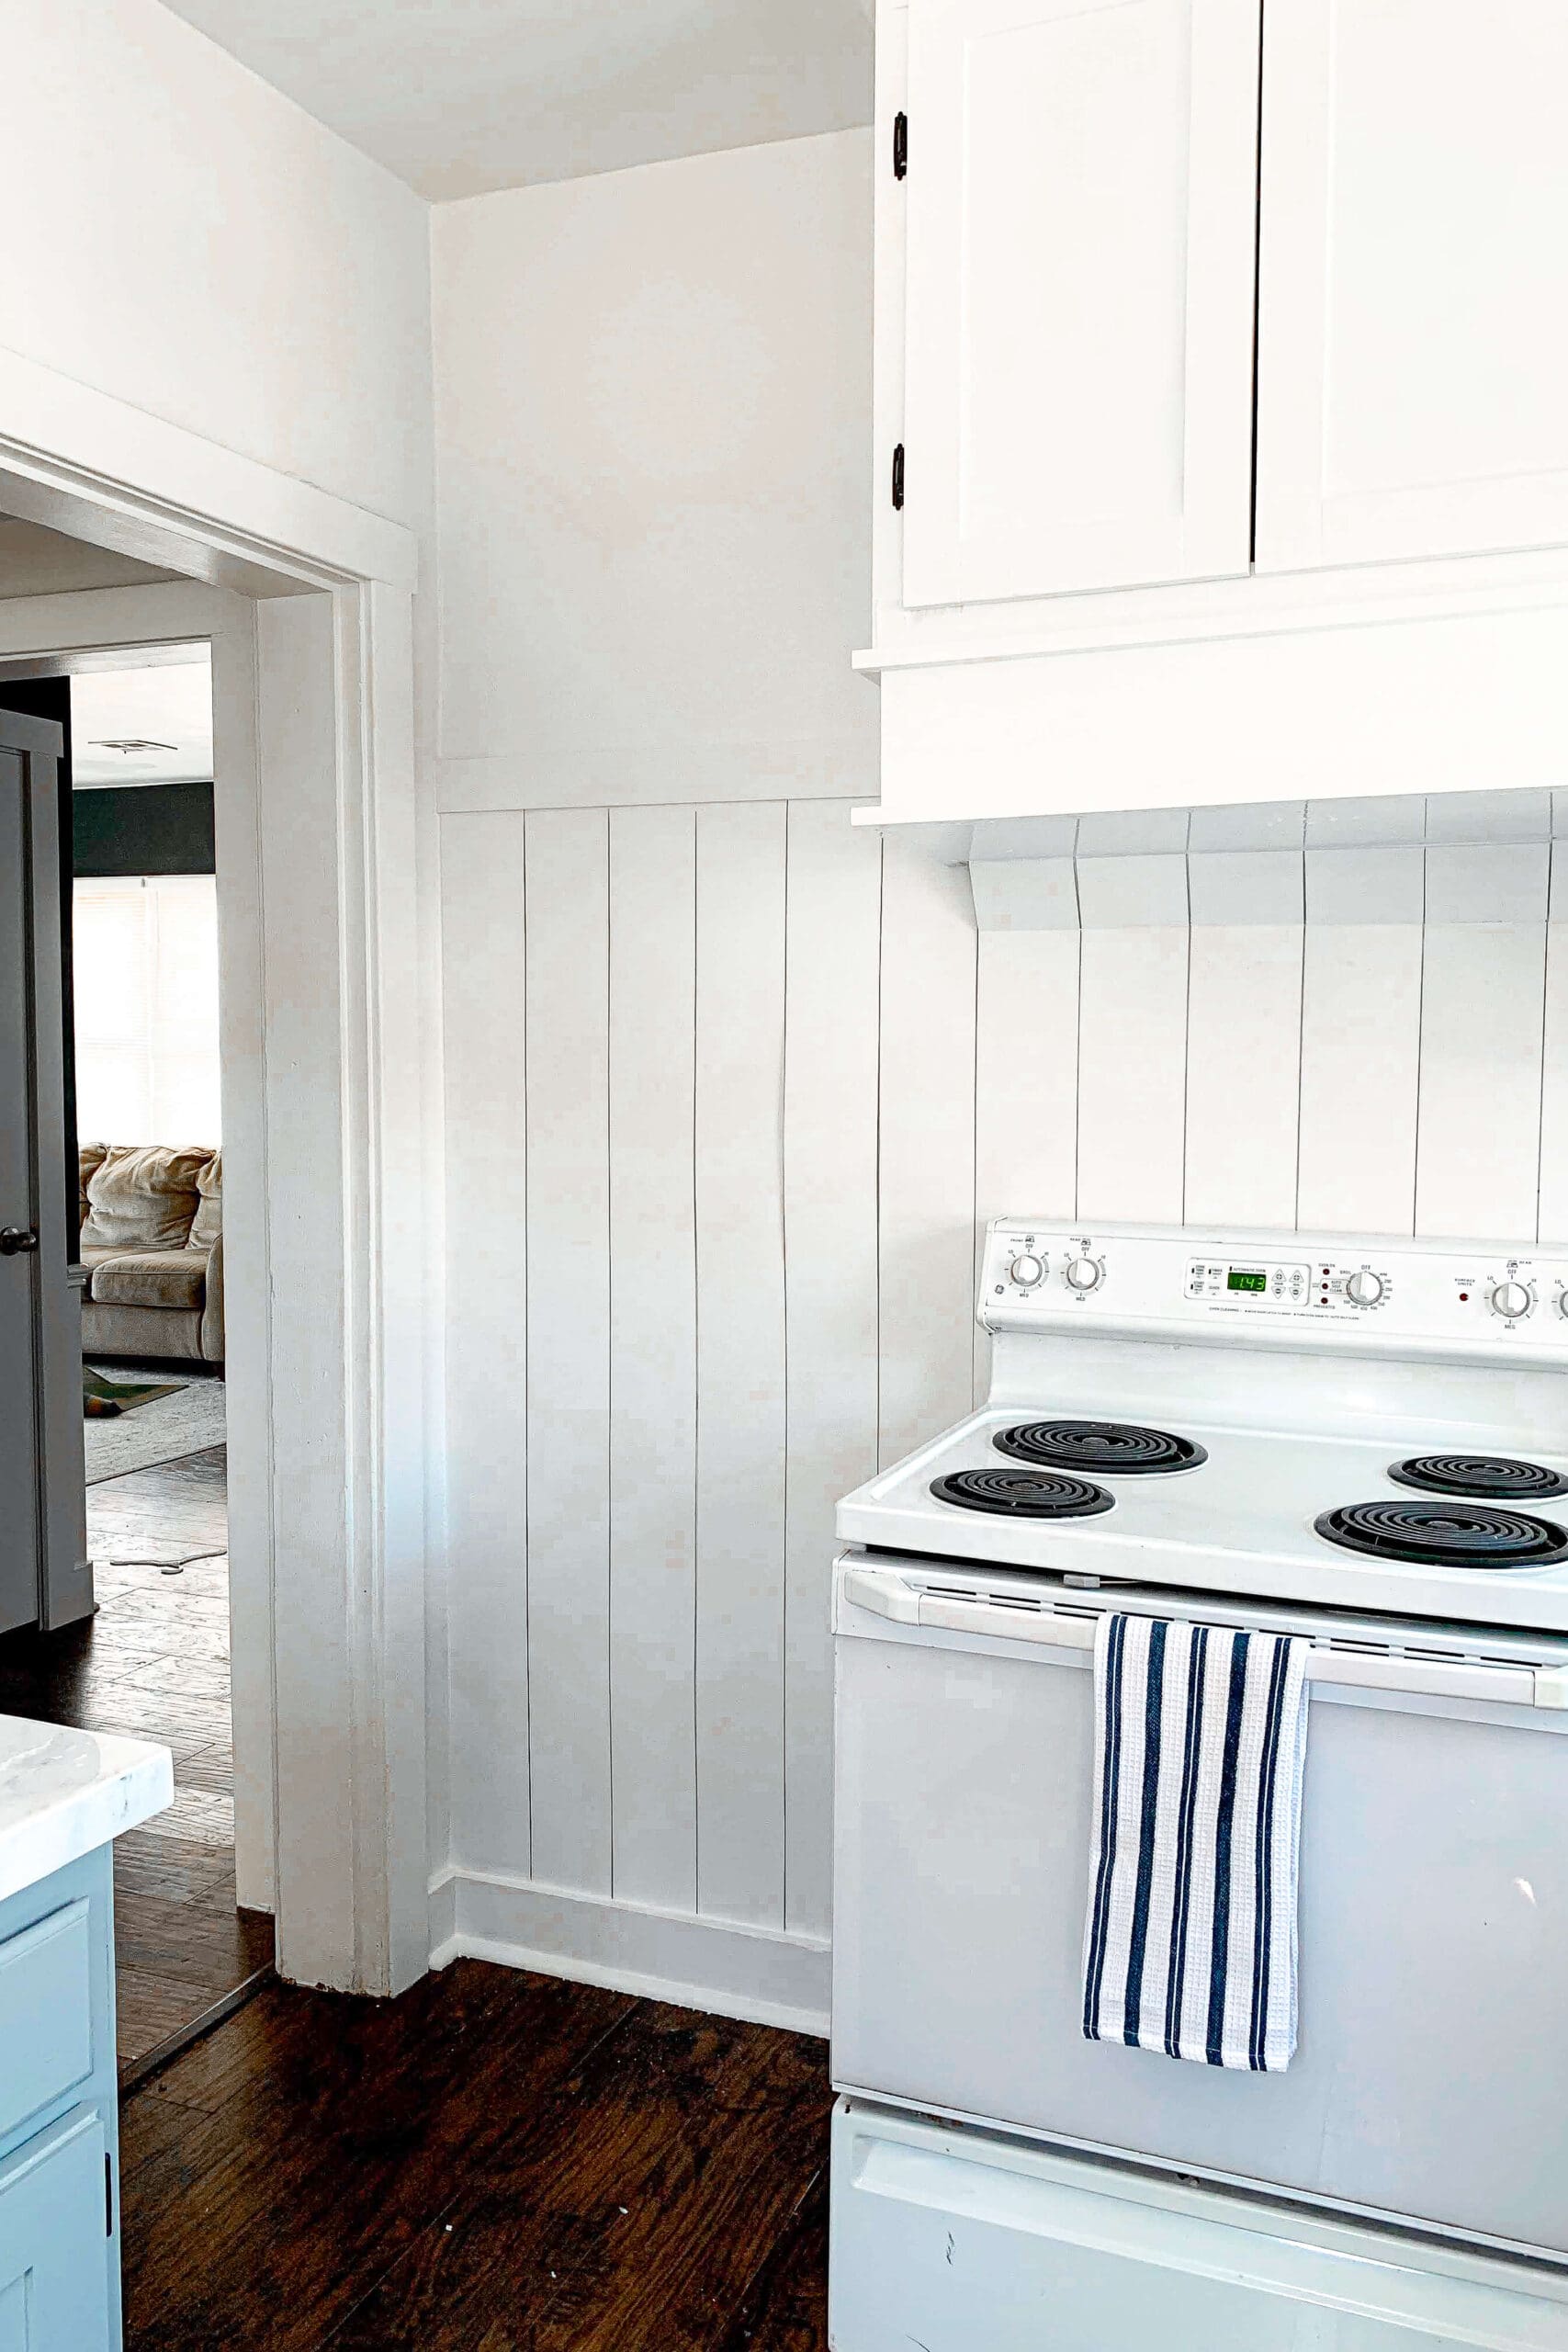
My Kitchen Before Adding DIY Floating Shelves
This little corner in our small kitchen already had freshly painted cabinets and a new shiplap backsplash, but it was missing something. Adding shelves was the perfect way to bring in some warmth, storage, and style, without spending a lot or taking up too much space.
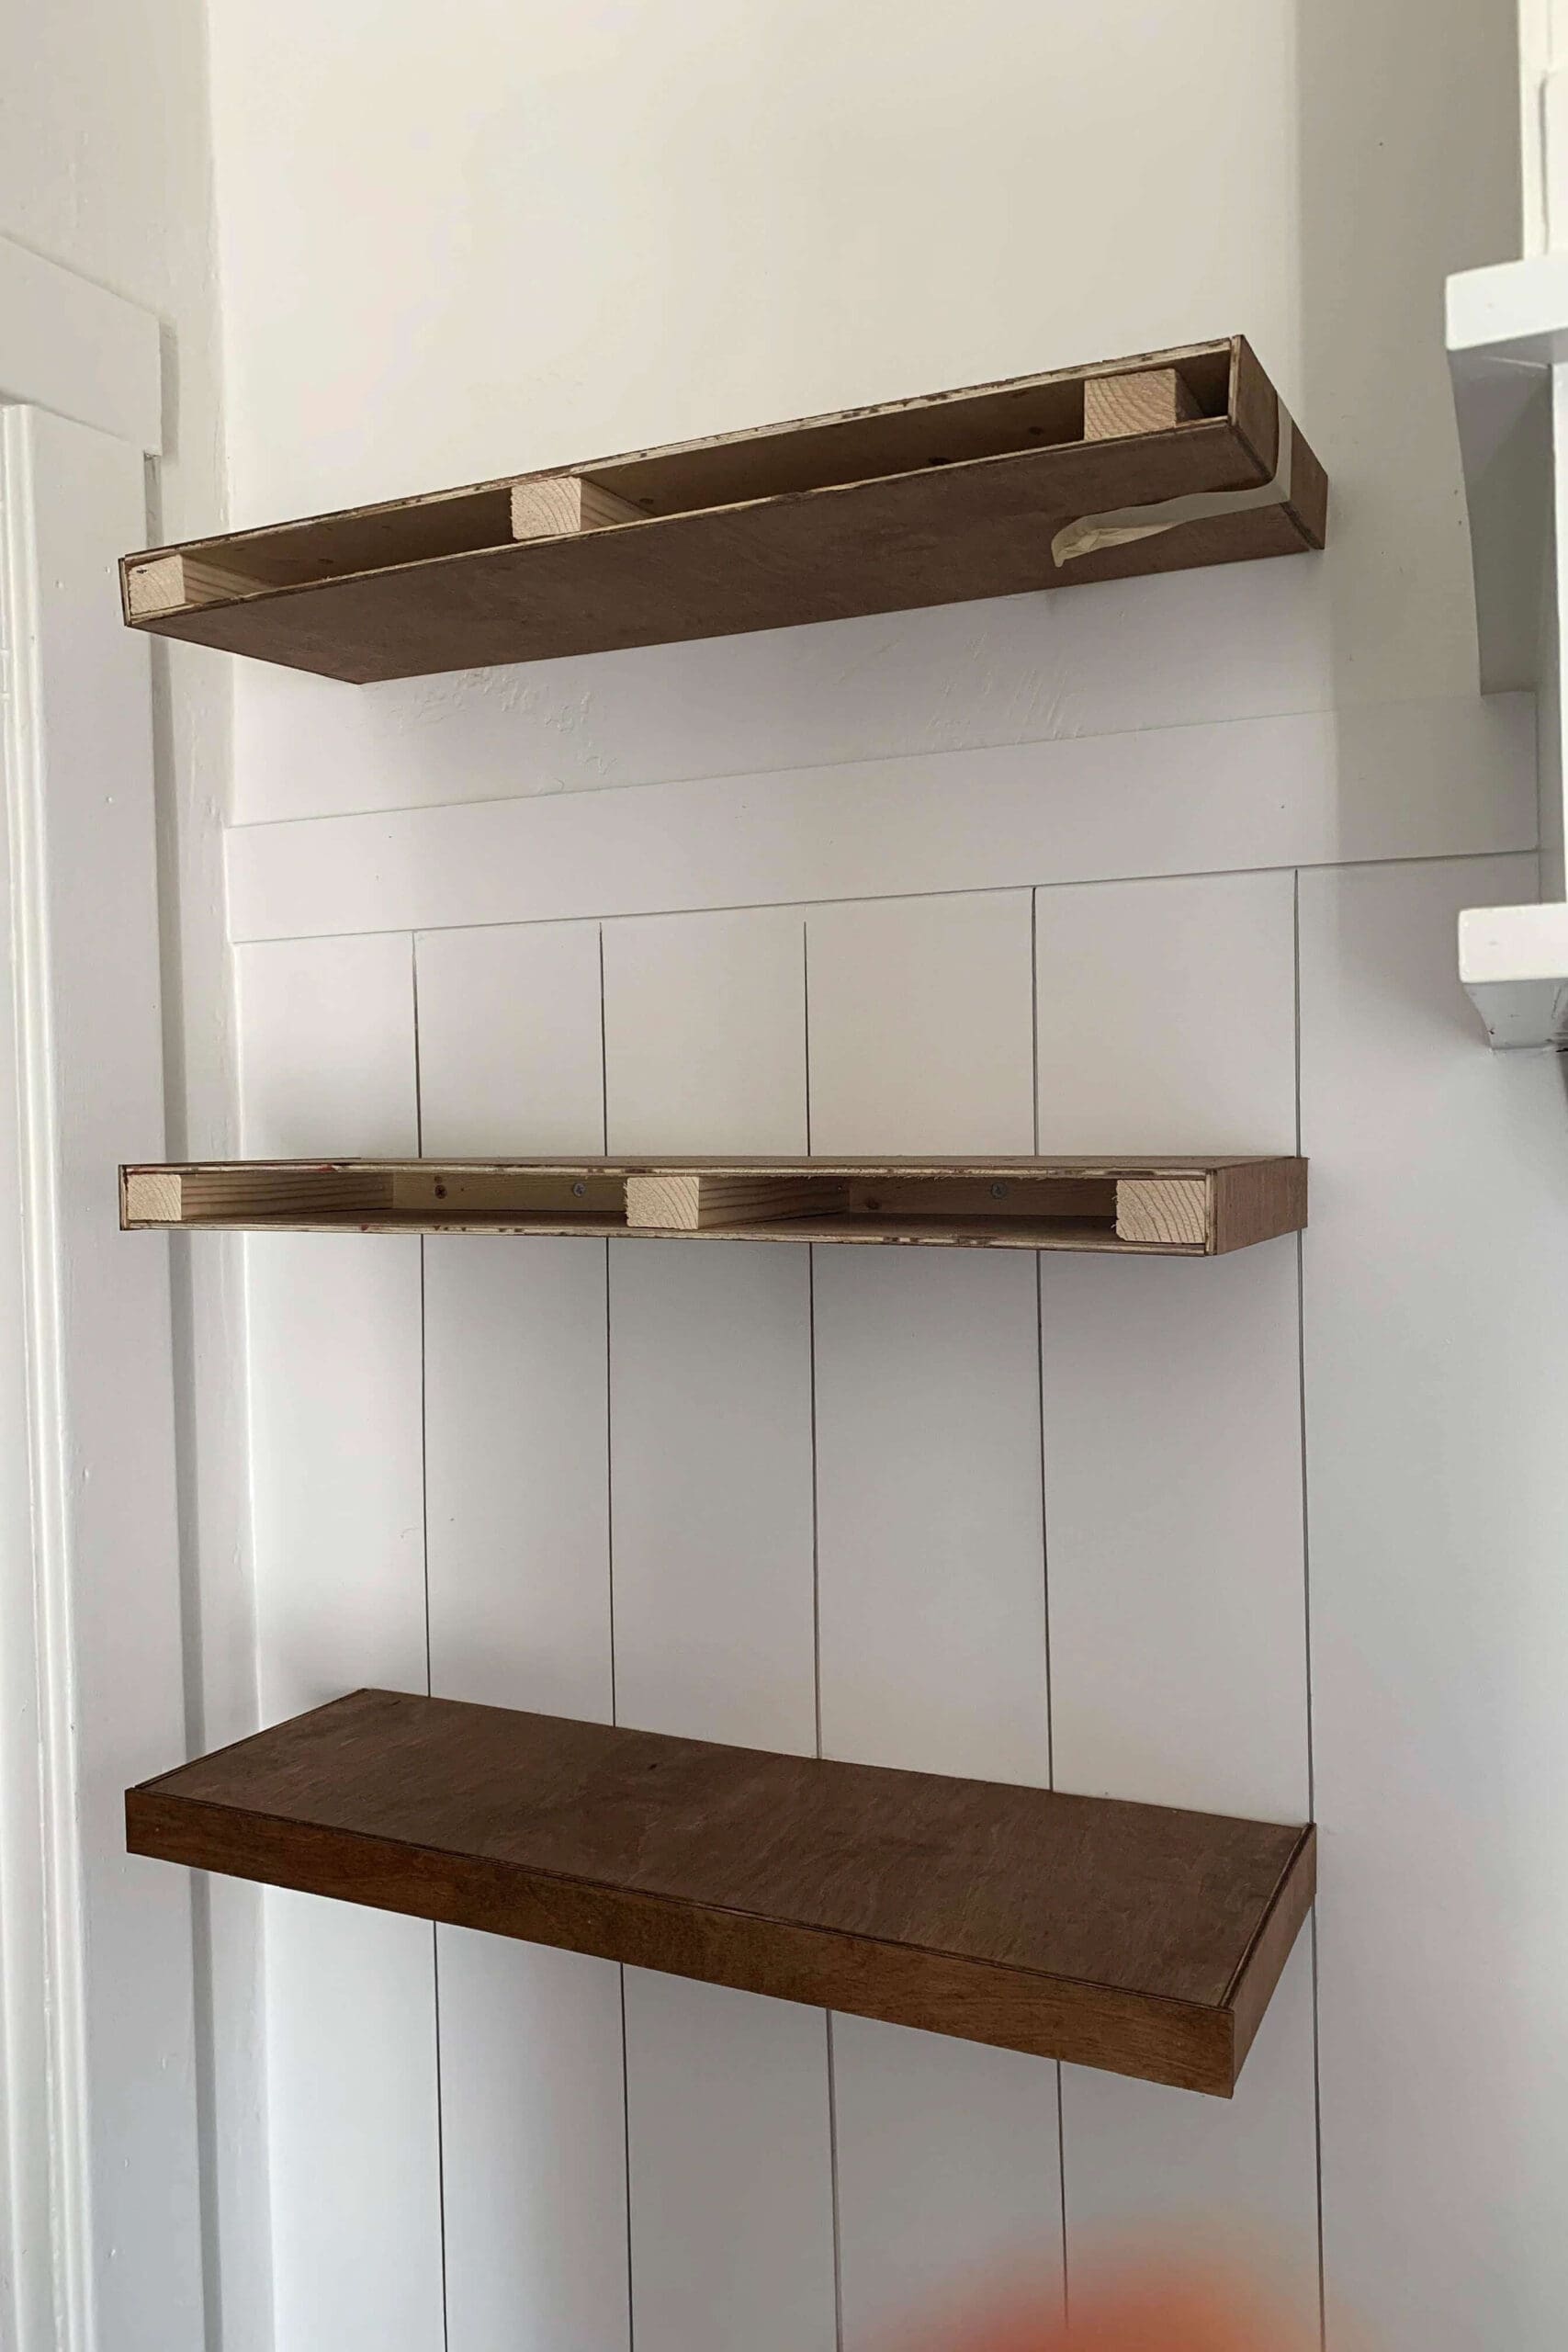
Step 1: Build the Internal Frame
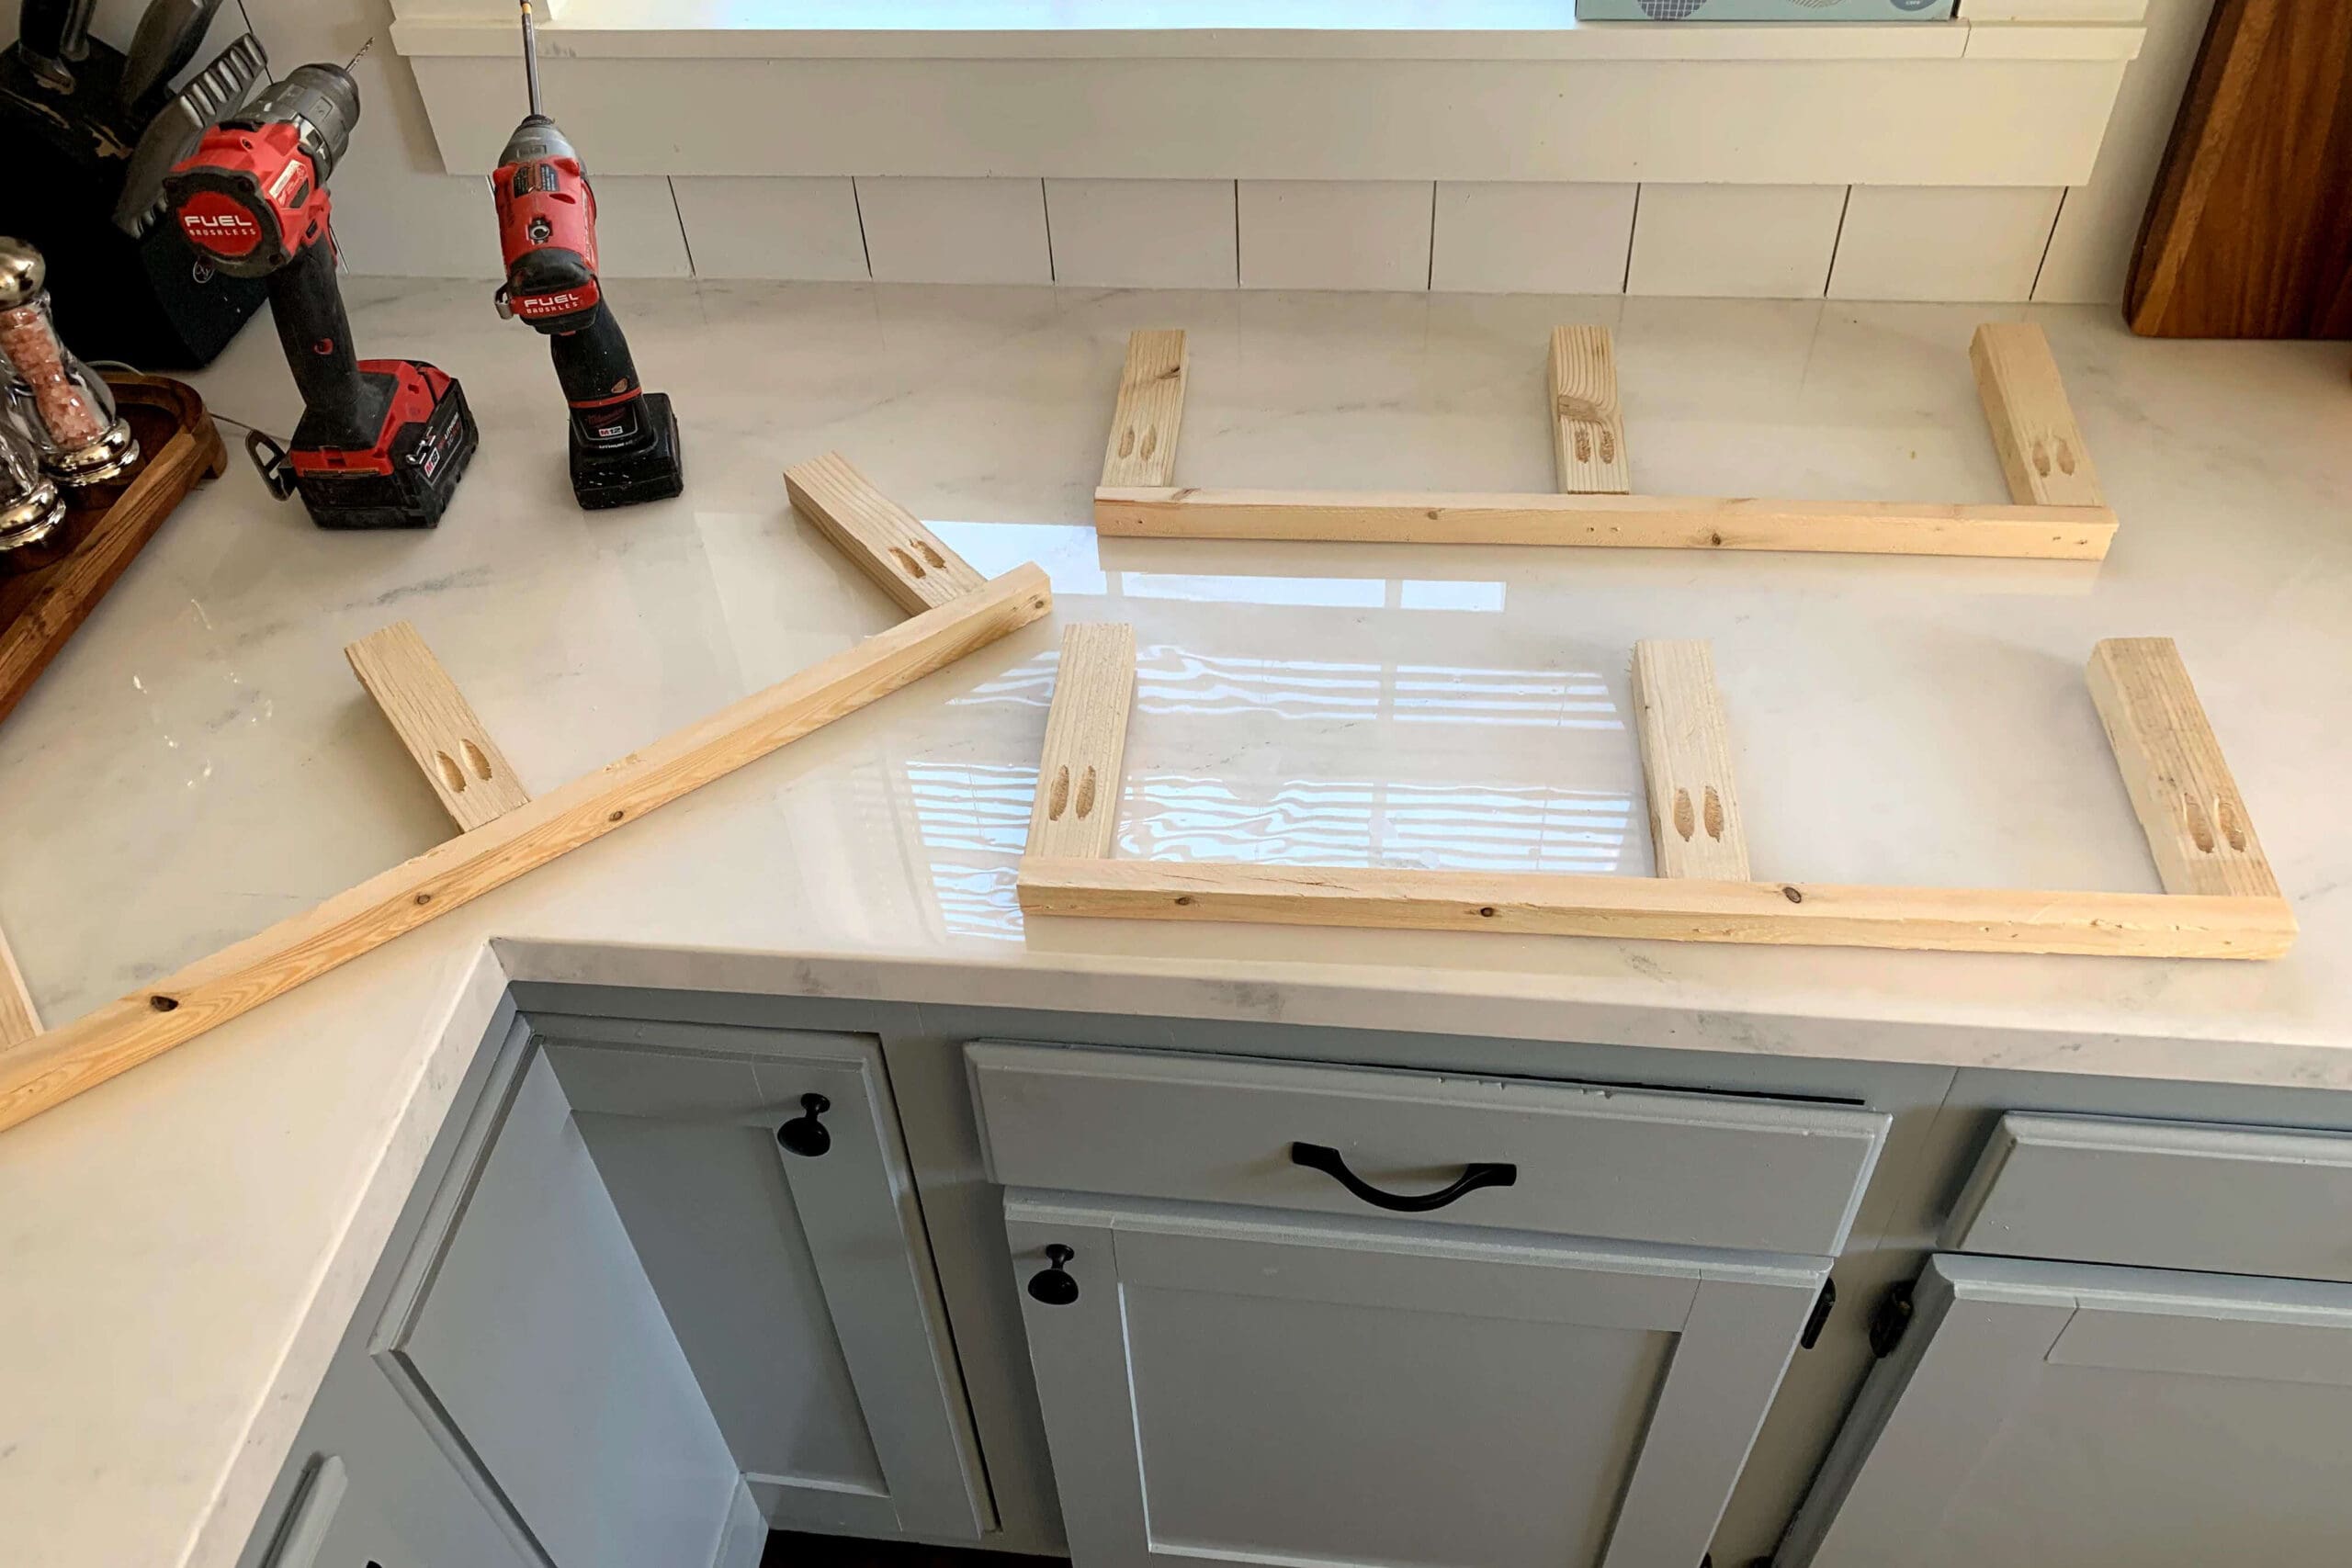
I started by cutting my 1×2 furring strips down to size for the internal frame of each shelf. These pieces get pocket holes on the ends so they can be attached securely and form the hidden structure that supports the shelf.
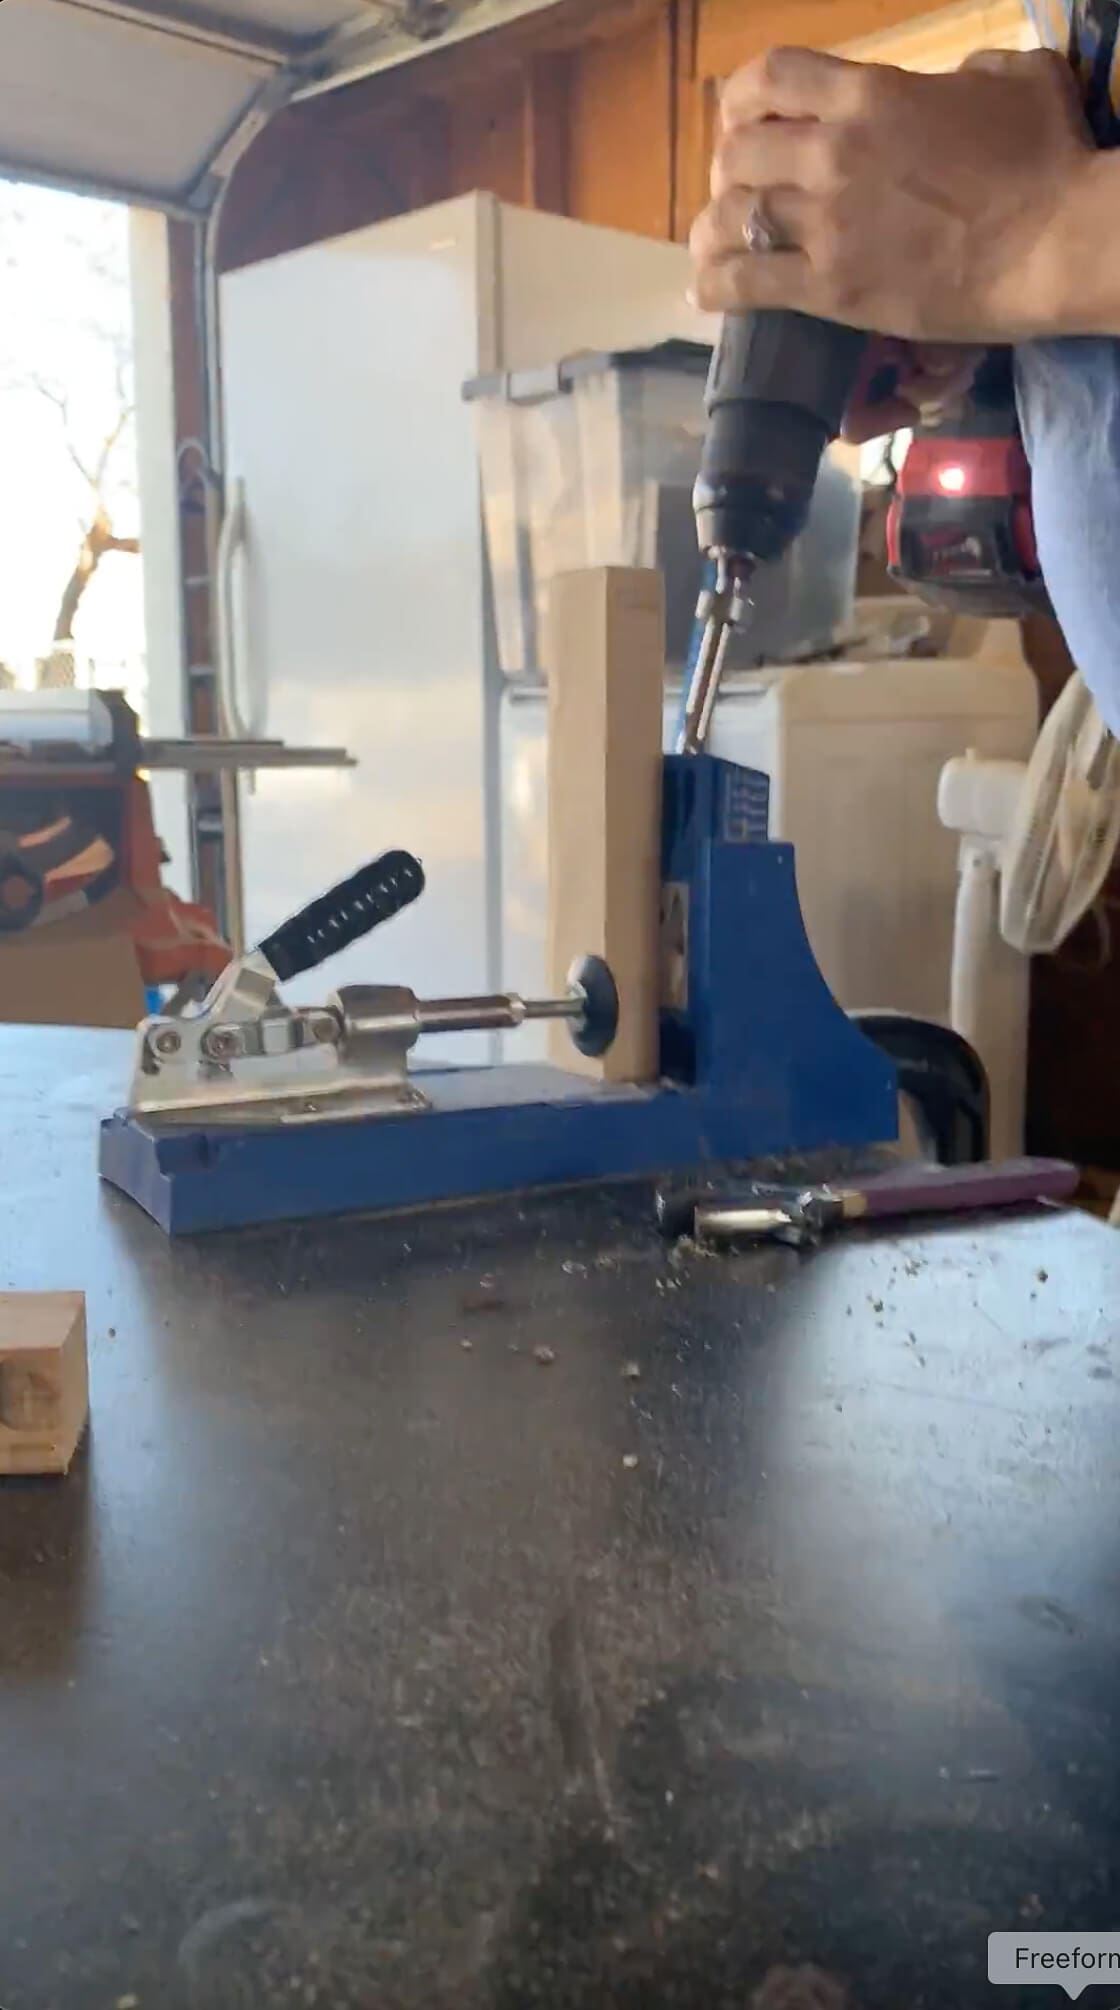
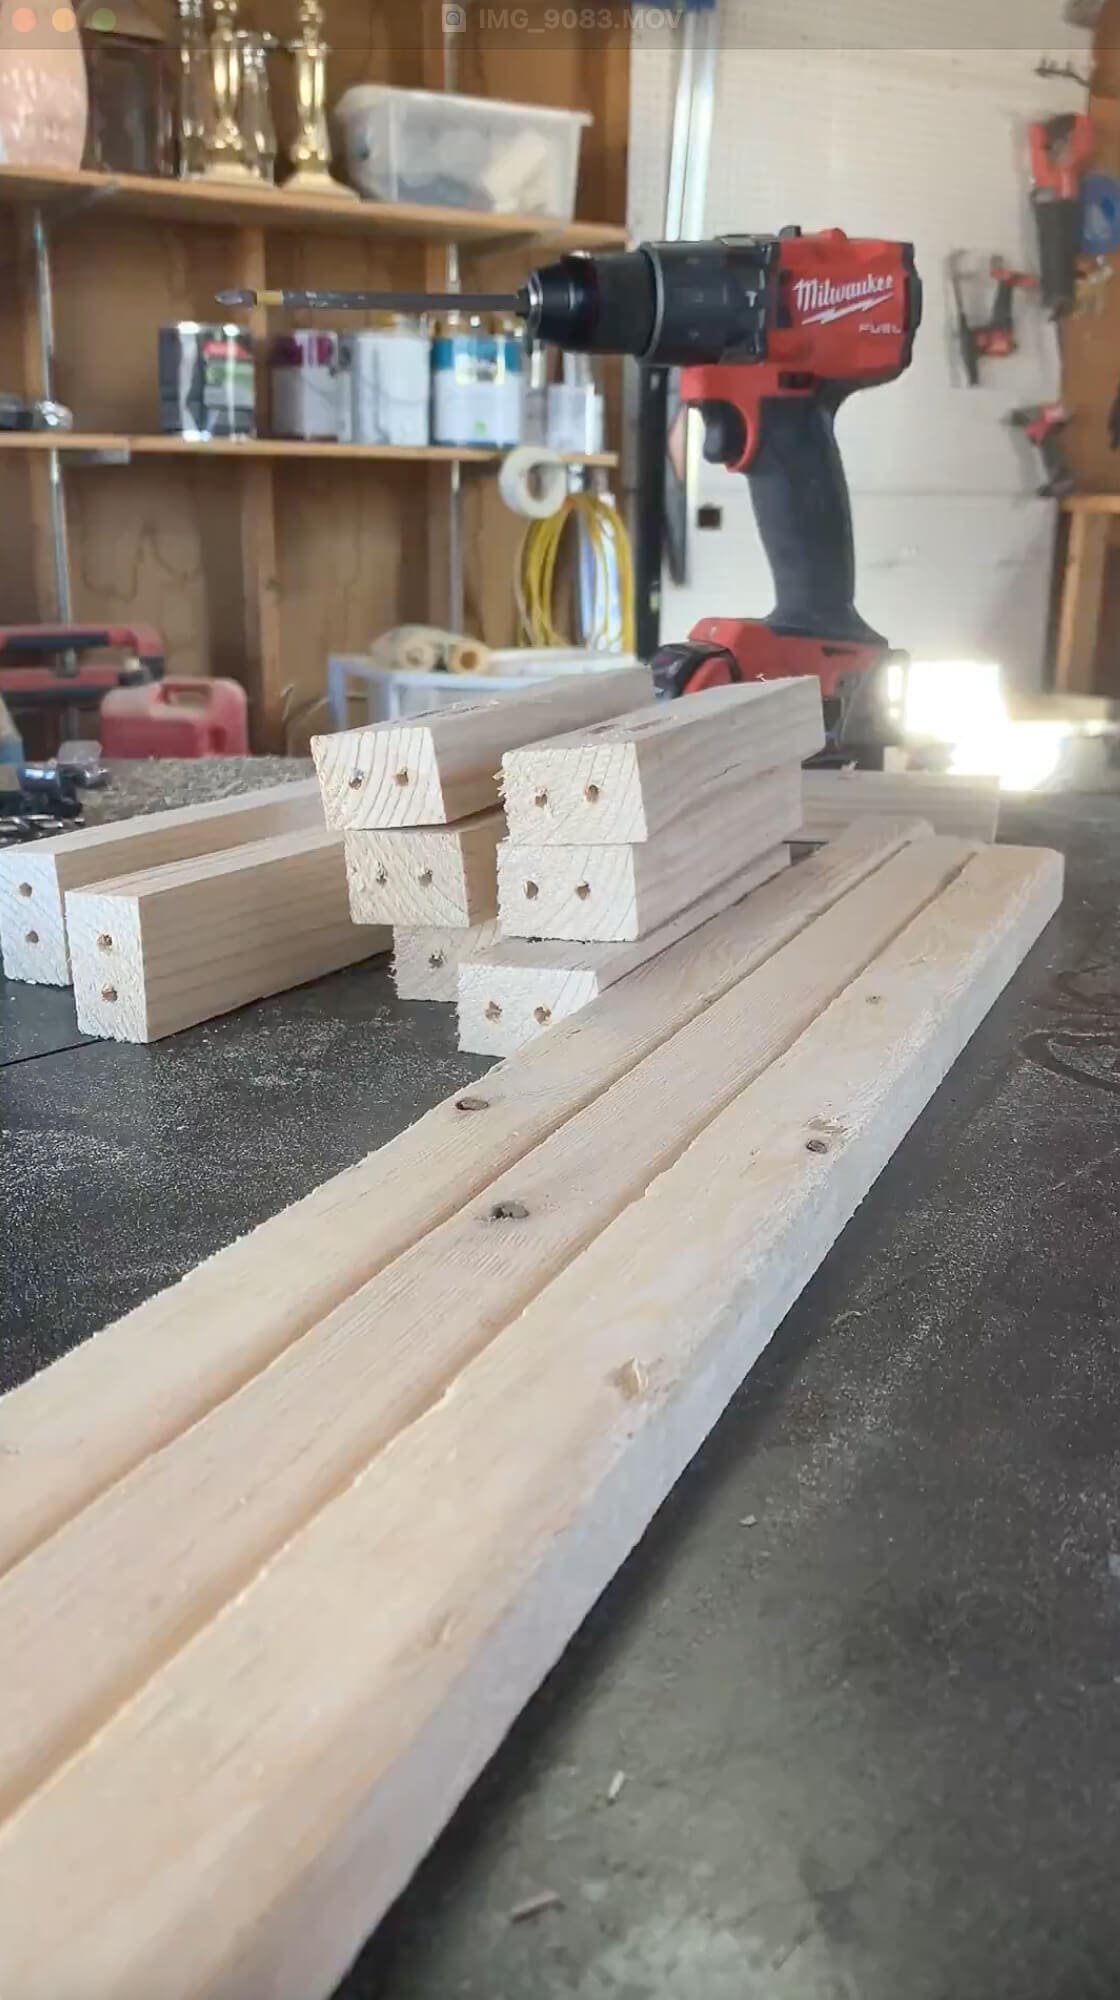
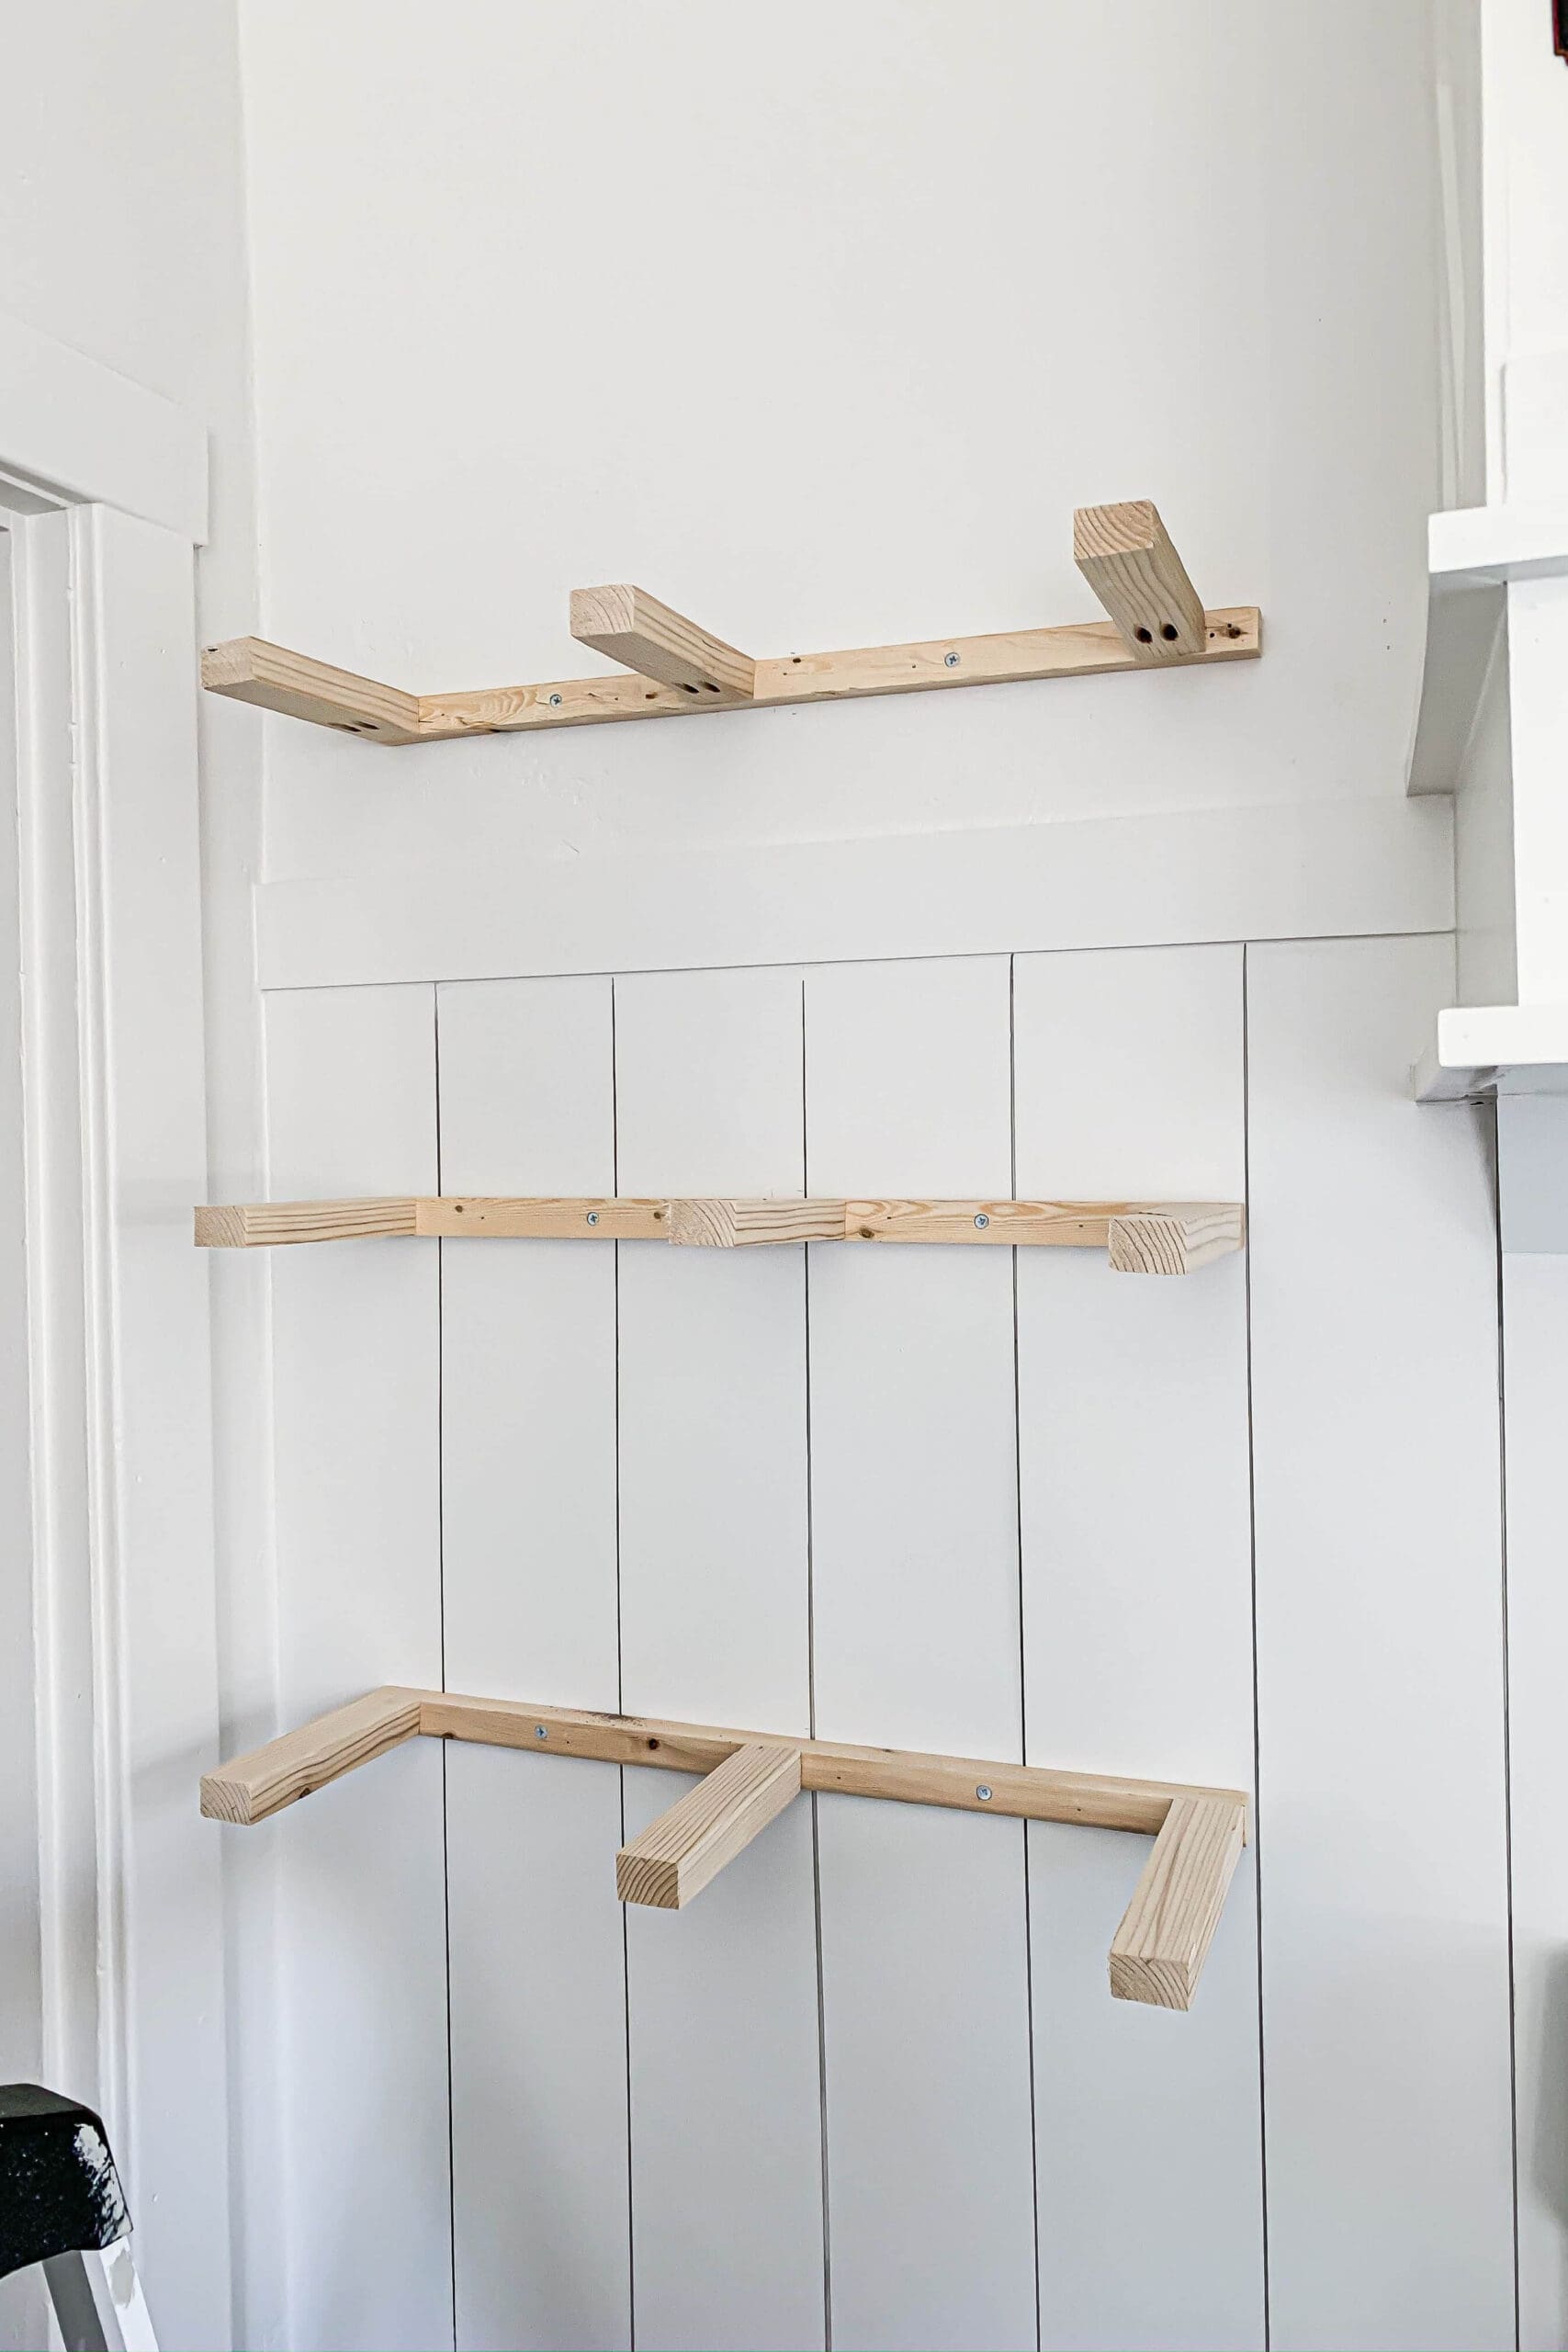
Once everything was cut and pocket holes drilled, I attached the pieces together using wood glue and screws to form cleats that look like giant letter “E”s.
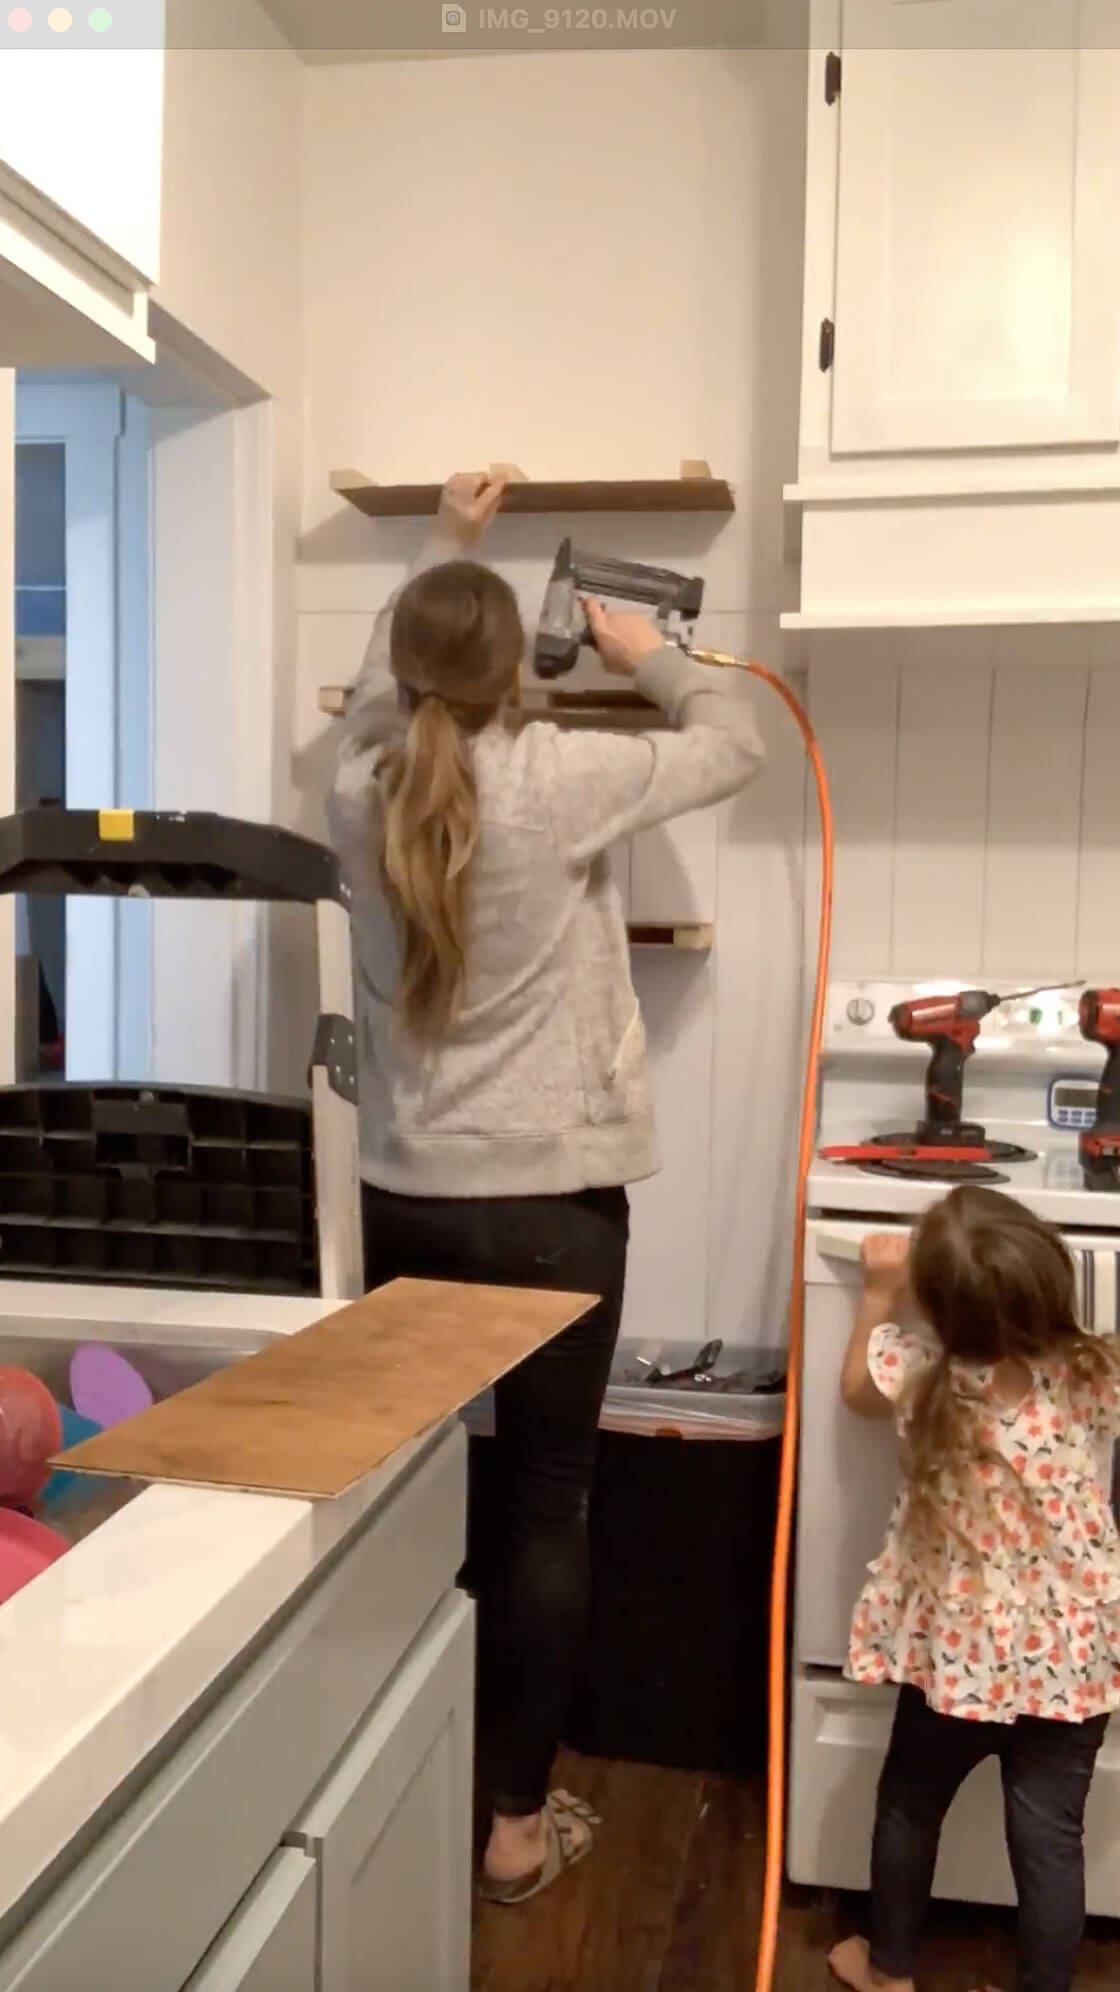
Step 2: Mount the Cleats to the Wall
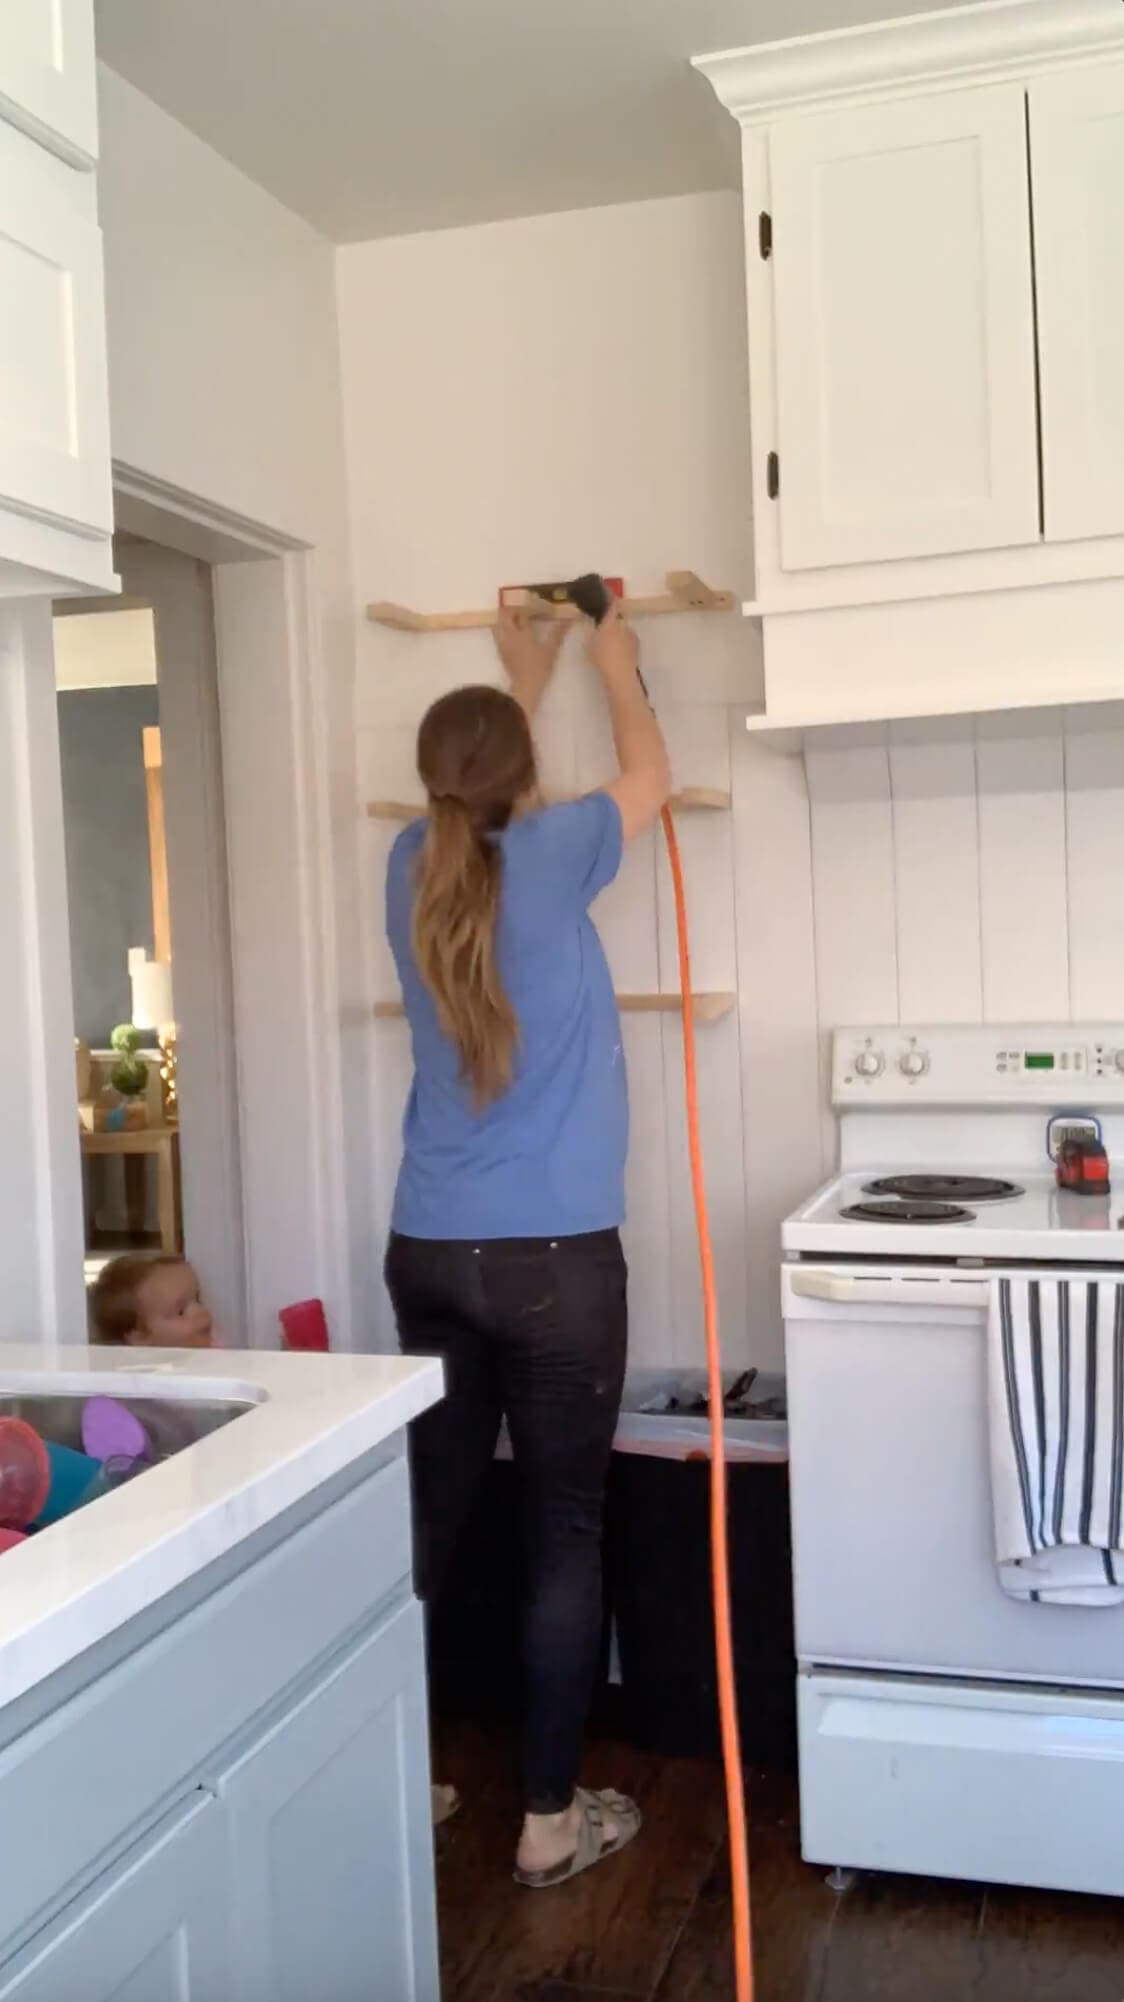
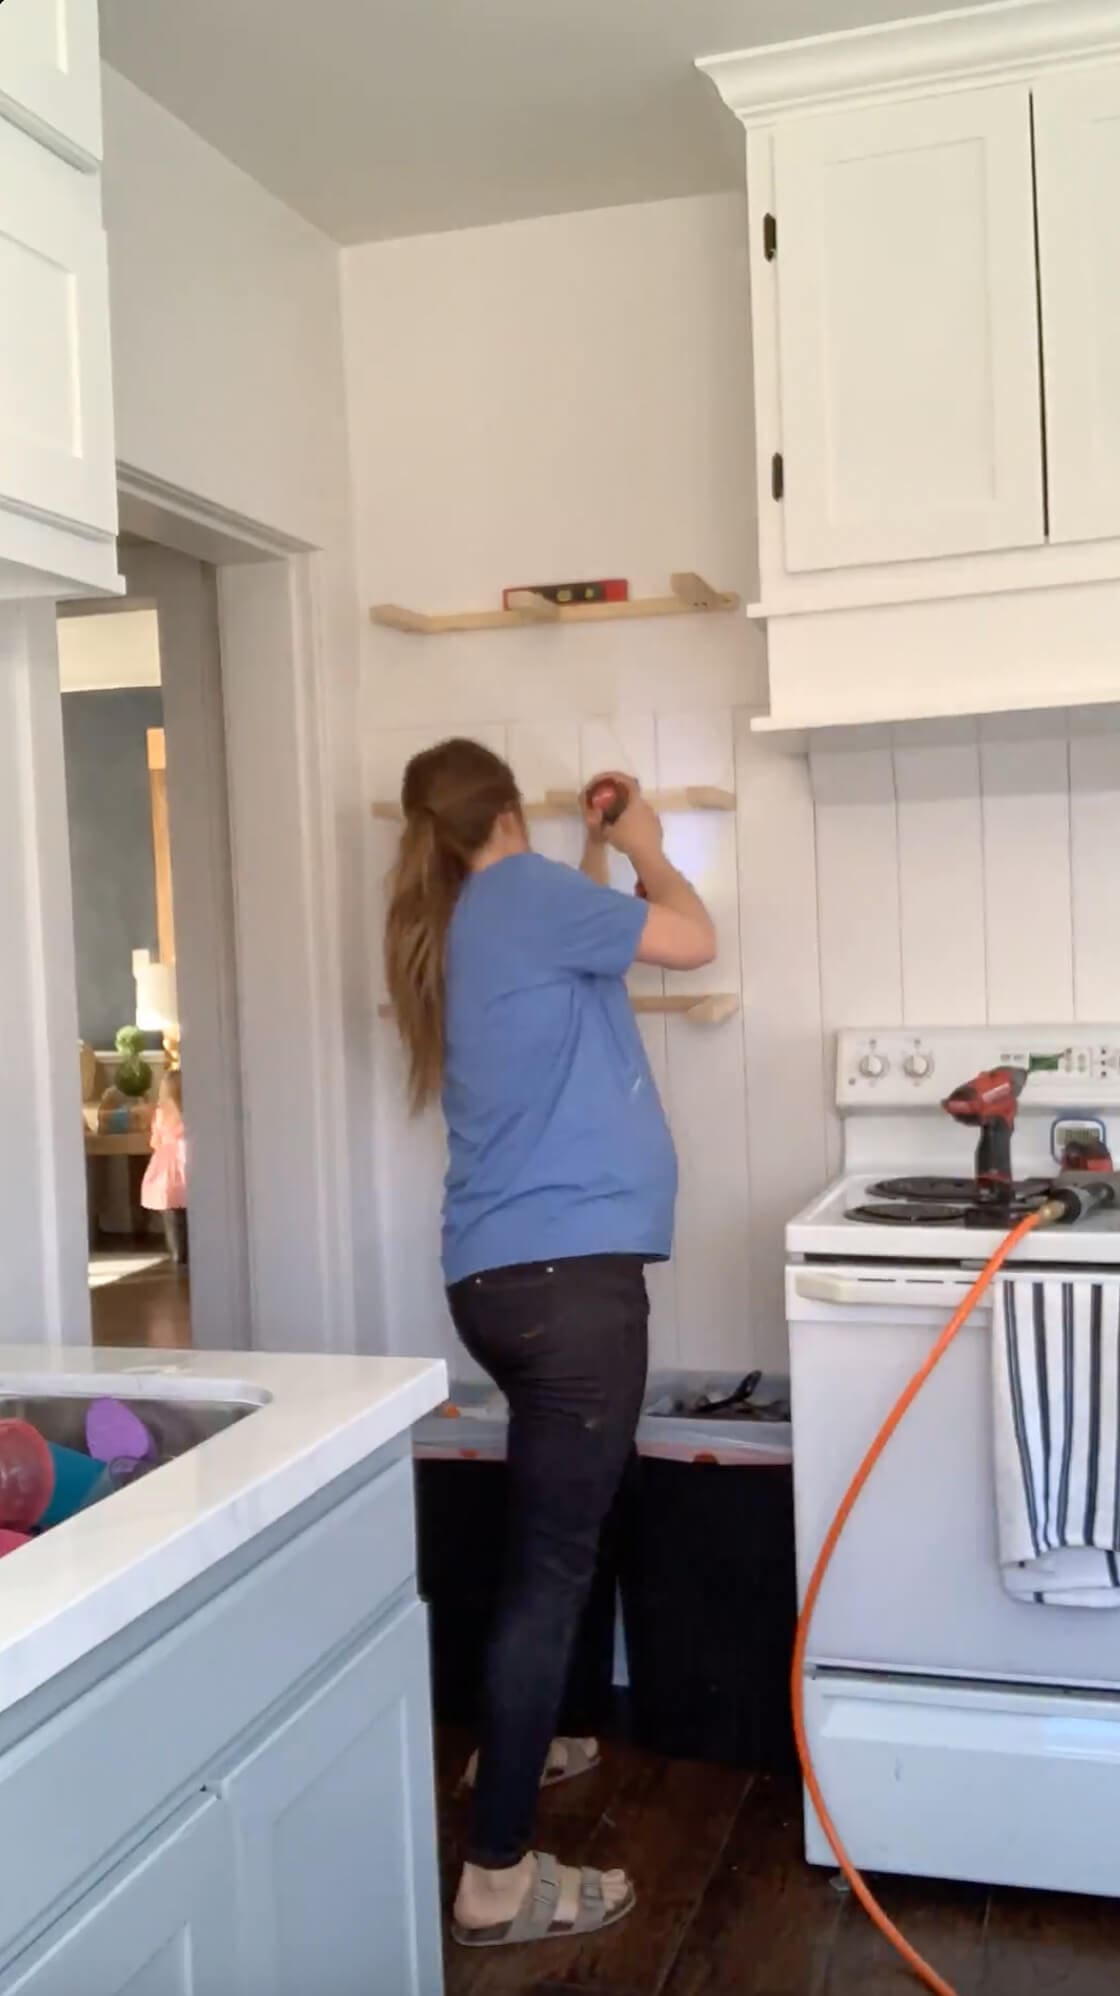
Next, I installed the cleats directly into the studs on my kitchen wall. Here’s the process I used:
- Used a level to make sure each cleat was perfectly straight.
- Tacked them in place with my brad nailer– this makes it easier to hold everything one-handed when working alone.
- Secured the cleats with screws using my drill to make sure they were solidly attached to the wall and could hold the weight of heavy items.
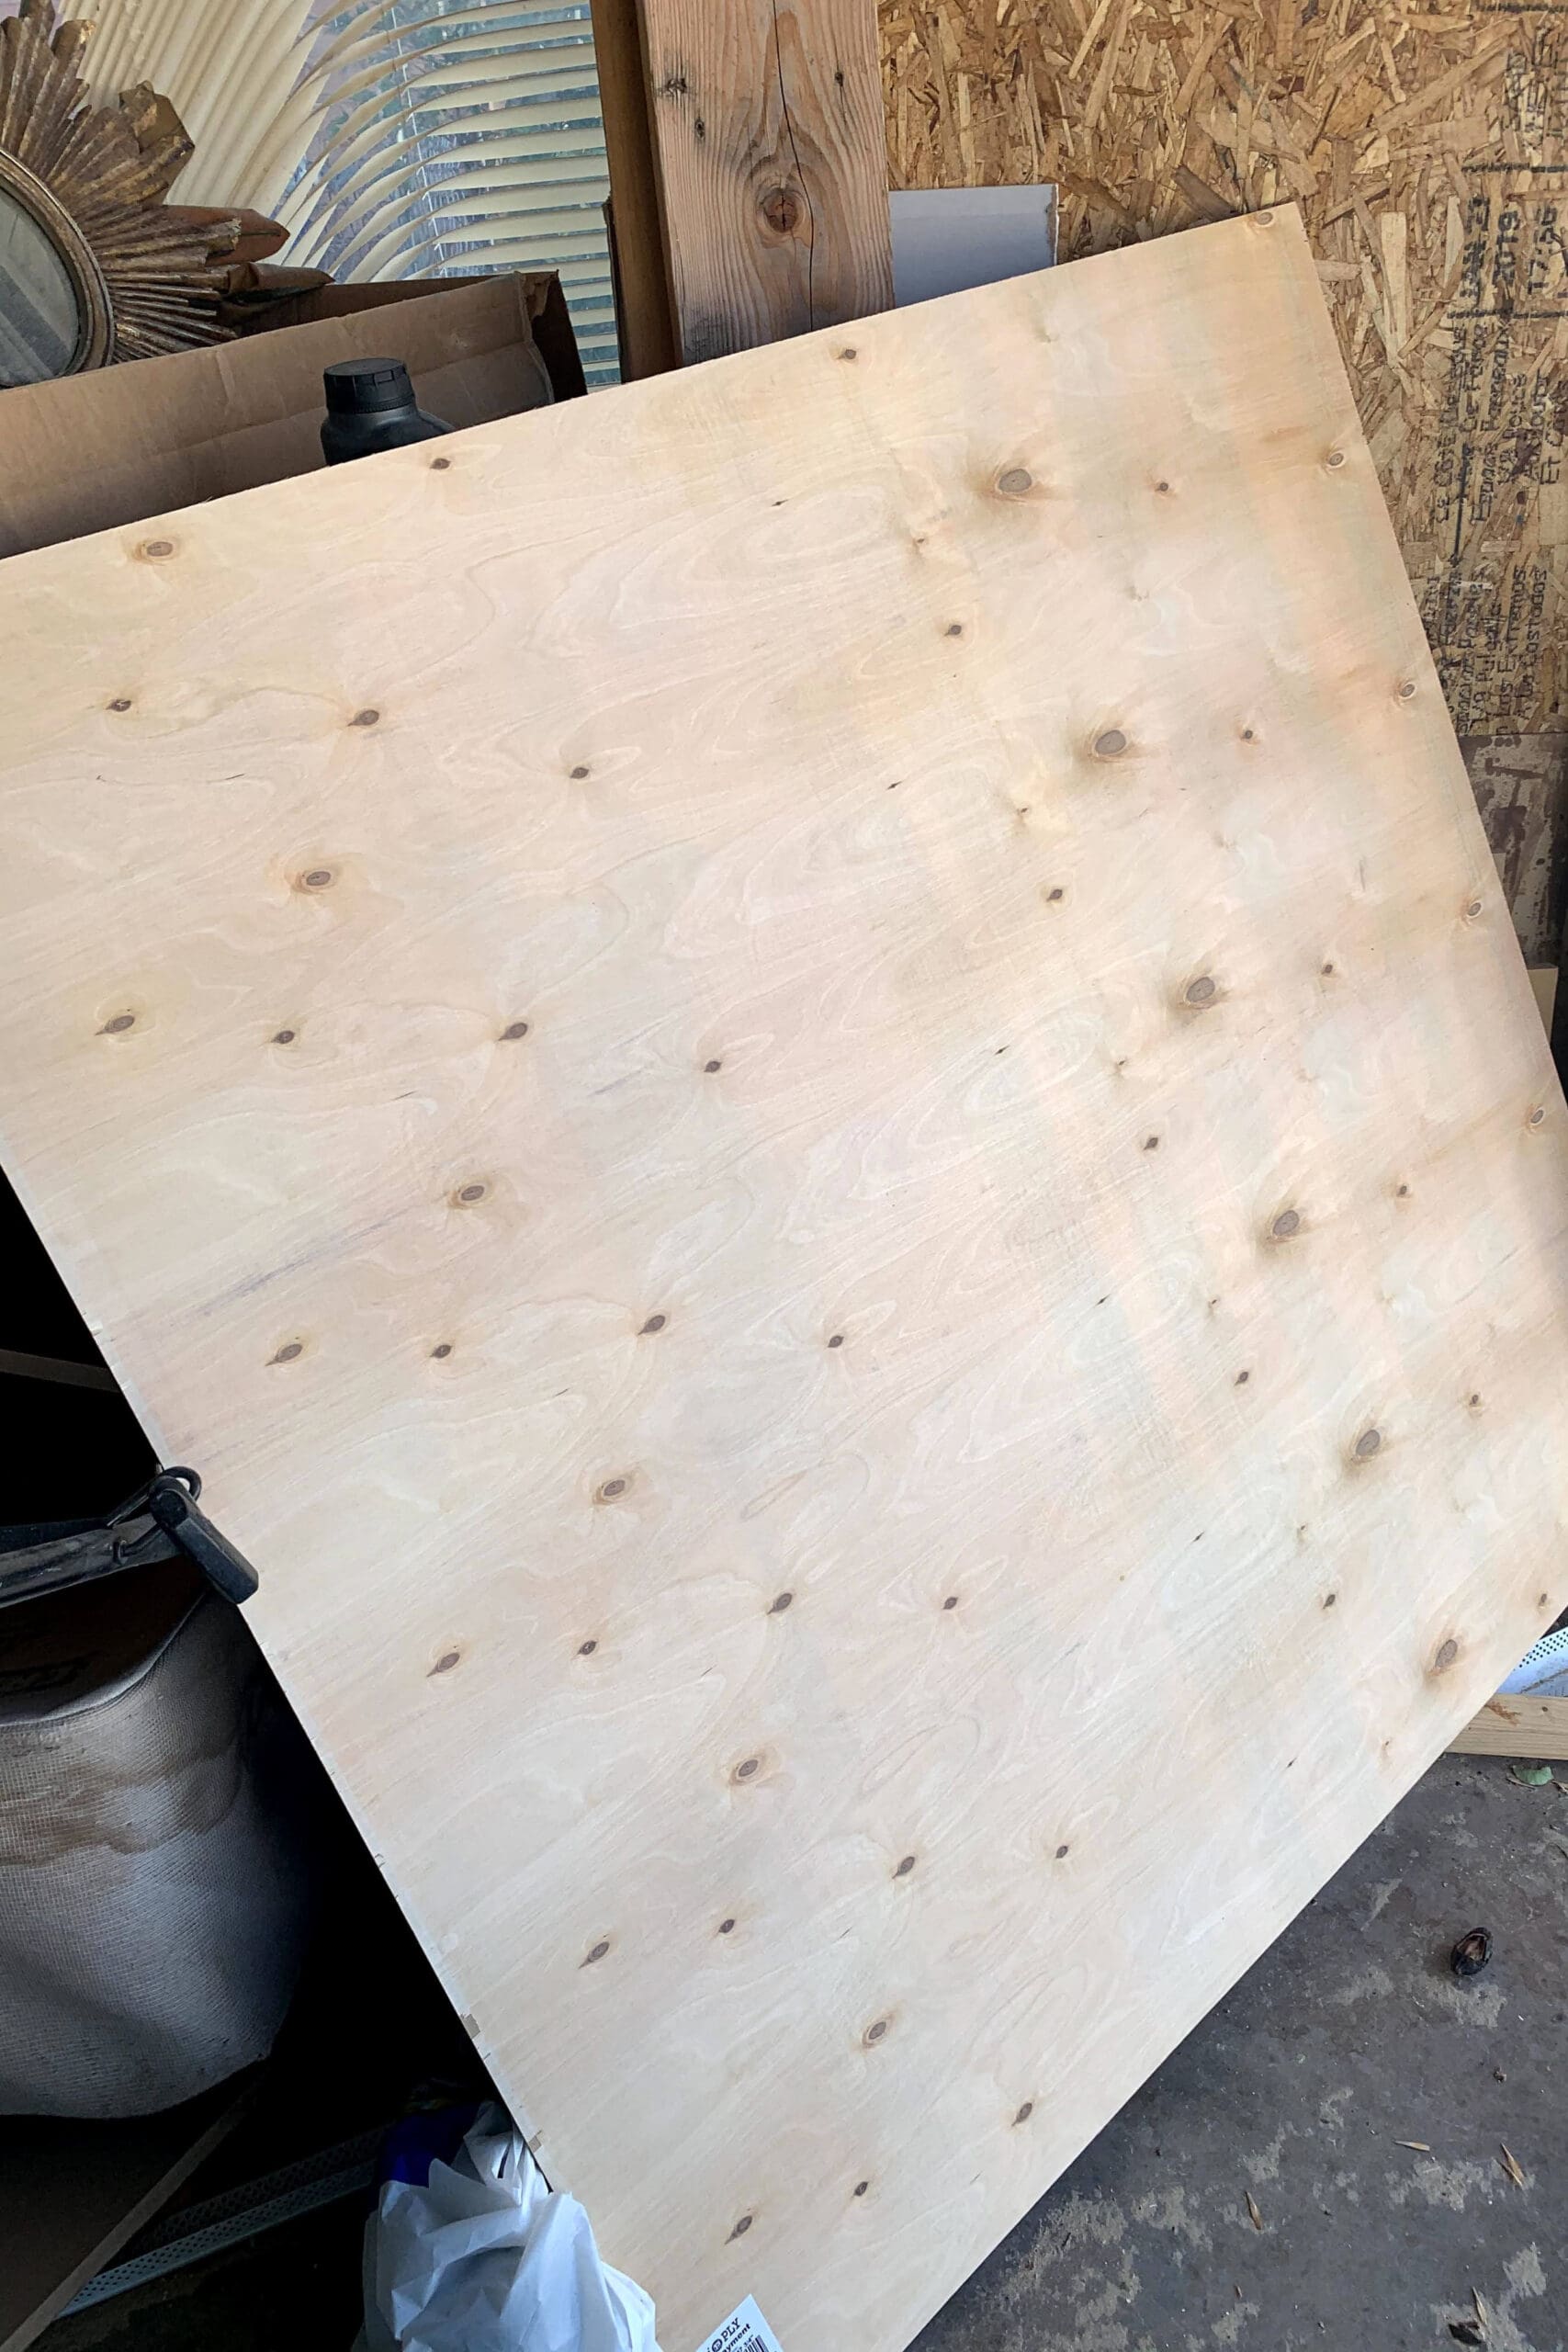
Step 3: Cut and Stain the Shelf Panels
For these DIY floating shelves, I used a full sheet of 1/4″ plywood. I made the long cuts on my table saw and used my miter saw for the shorter ones. For each shelf, I needed two pieces for the top and bottom, plus three narrow face pieces that wrap around the front and both sides to hide the cleats and create that chunky, solid look.
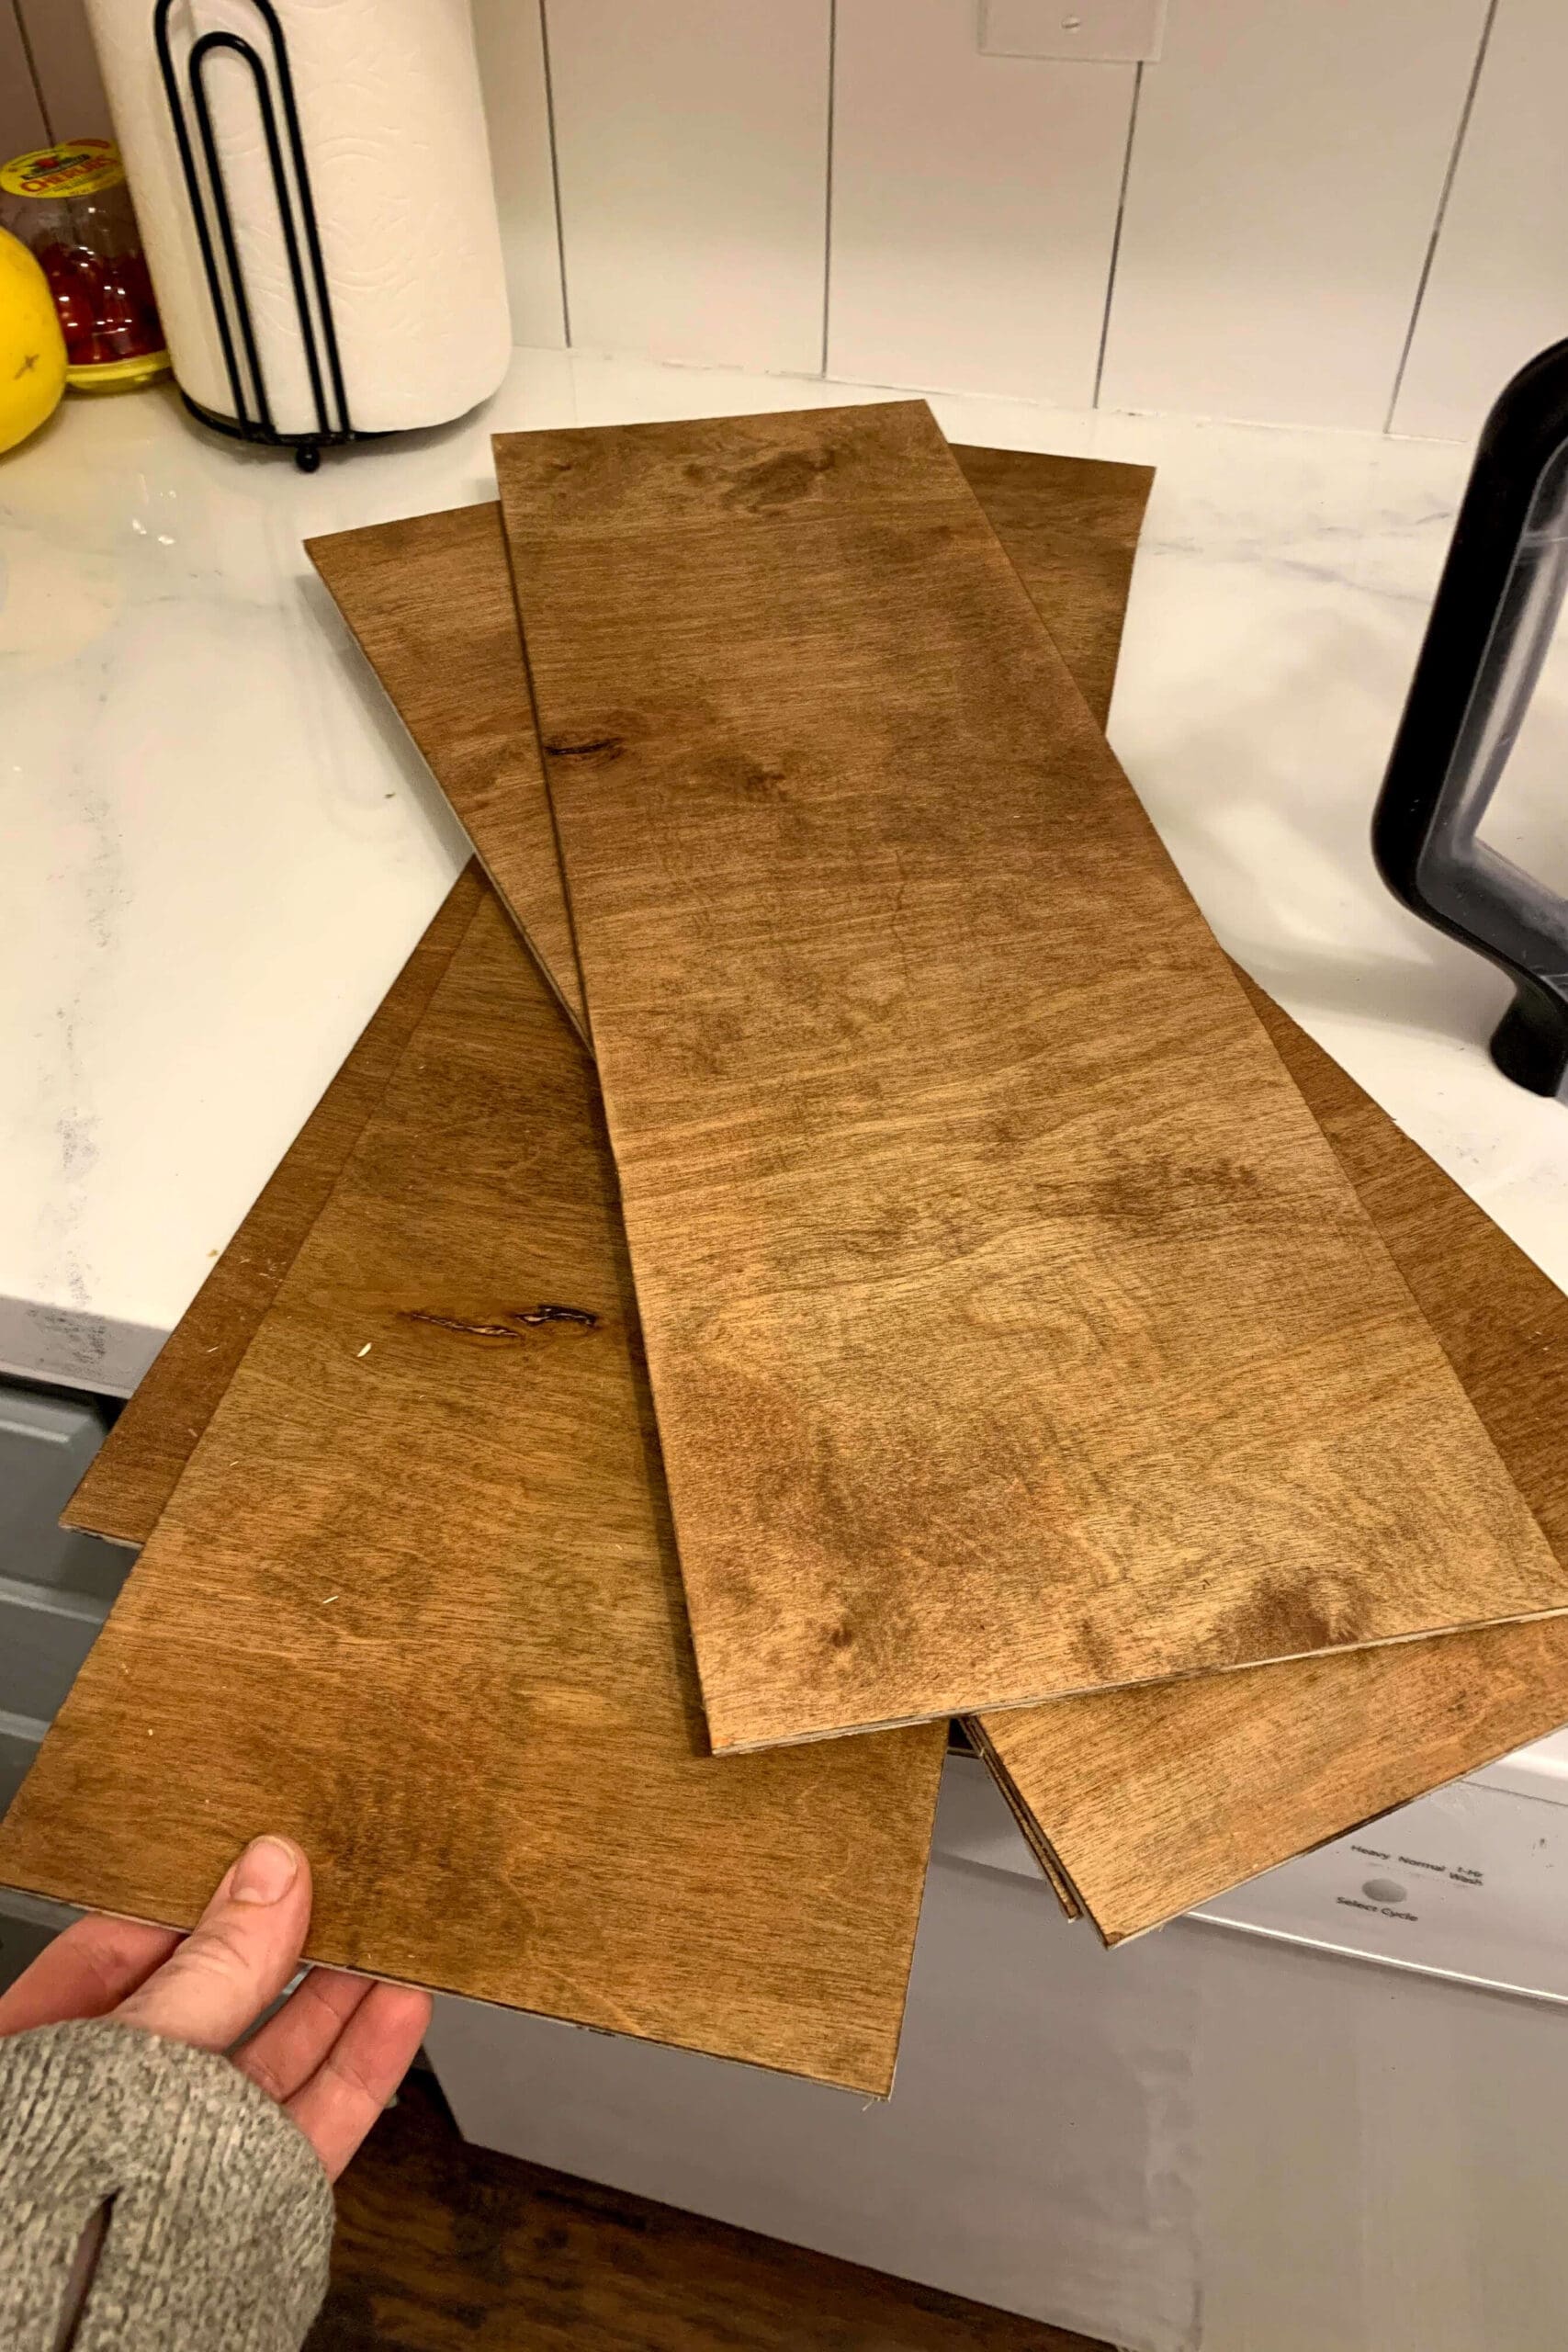
Once everything was cut, I stained all the pieces and let them dry completely before moving on to assembly.
Step 4: Attach the Top and Bottom Panels
With the cleats up and the plywood pieces prepped, I started by attaching the top and bottom panels to each shelf using wood glue and a brad nailer. Just make sure the plywood lines up flush with the cleat so the shelf stays level and looks clean.
Step 5: Add the Face Pieces for a Finished Look
The last step is attaching the face pieces to the front and both sides of each shelf. This step is super satisfying. Once these are on, the shelves look like one solid piece of chunky wood, even though they’re really just a clever wrap.
I used wood glue and a brad nailer again for this part and double-checked that all the seams were tight.

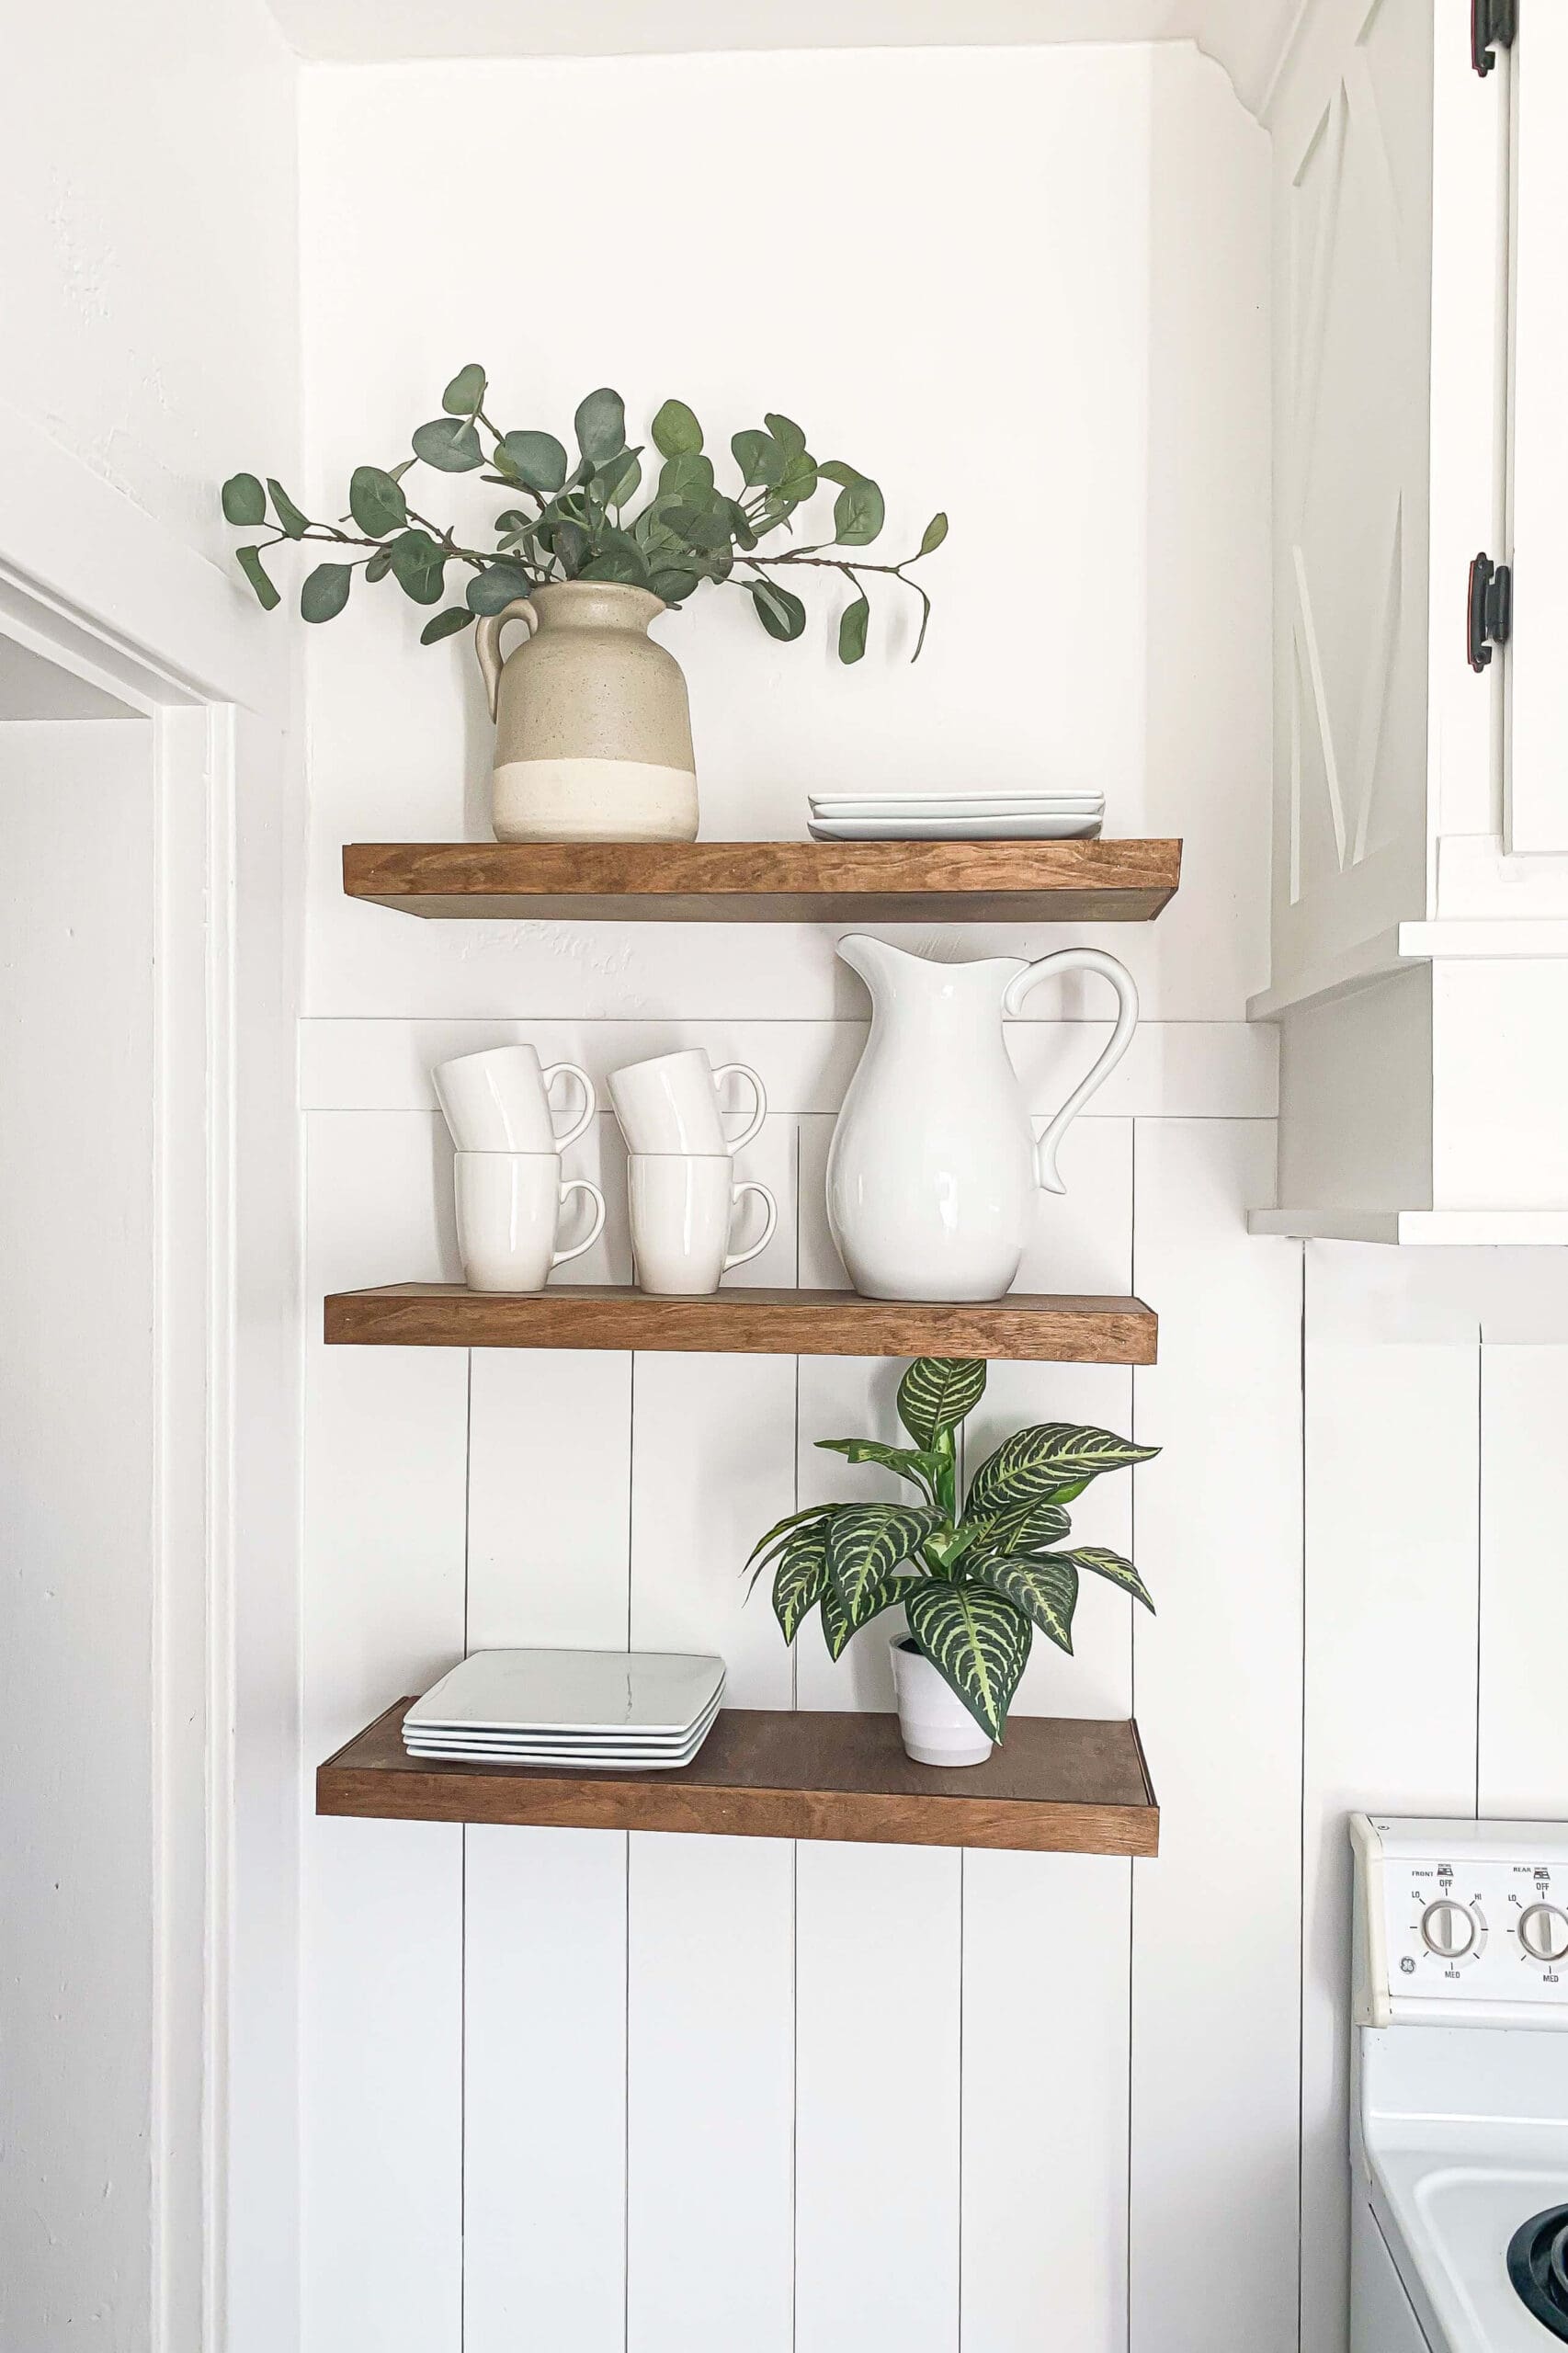
Finished Look: Modern, Budget-Friendly Open Kitchen Shelves
I love how these DIY floating shelves for the kitchen turned out. They look high-end, but they cost a fraction of what you’d spend buying them pre-made. Plus, they were totally doable with simple tools and basic, affordable plywood.

These kitchen shelves have added so much charm and practicality to this space. I use them to store dishes, display pretty glassware, and sneak in a little greenery, of course.
Want to See More DIY Projects Like This?
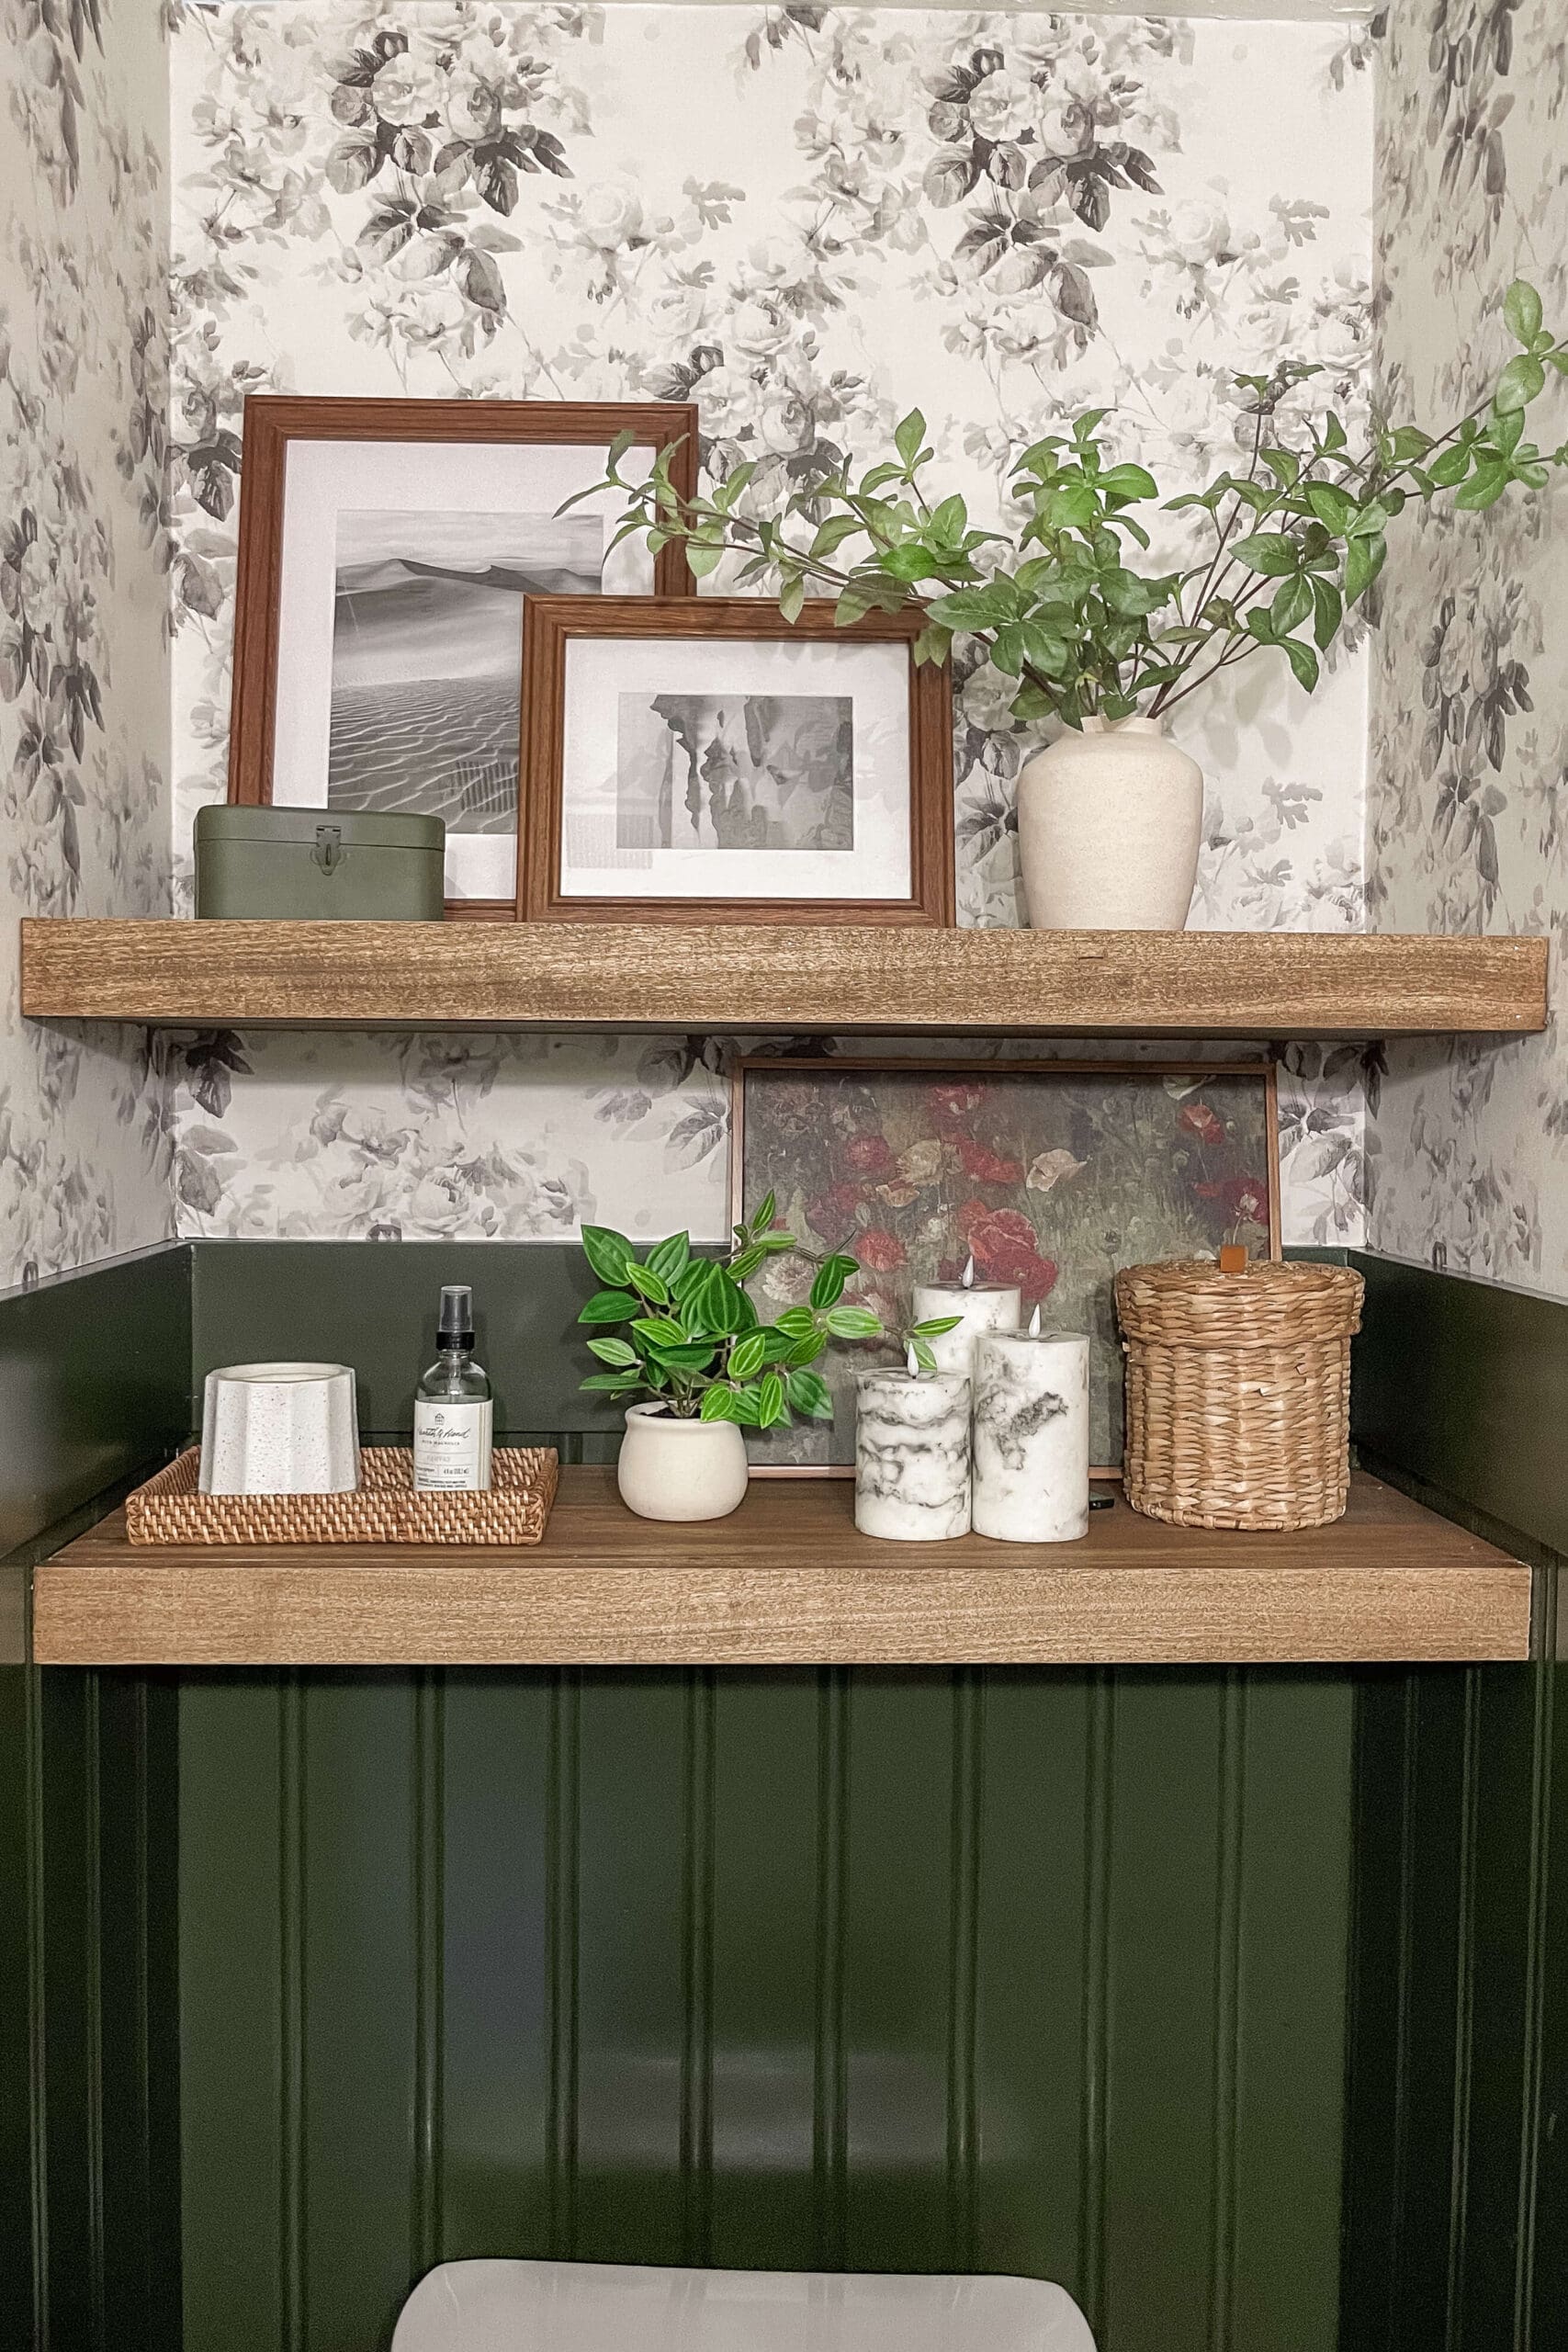
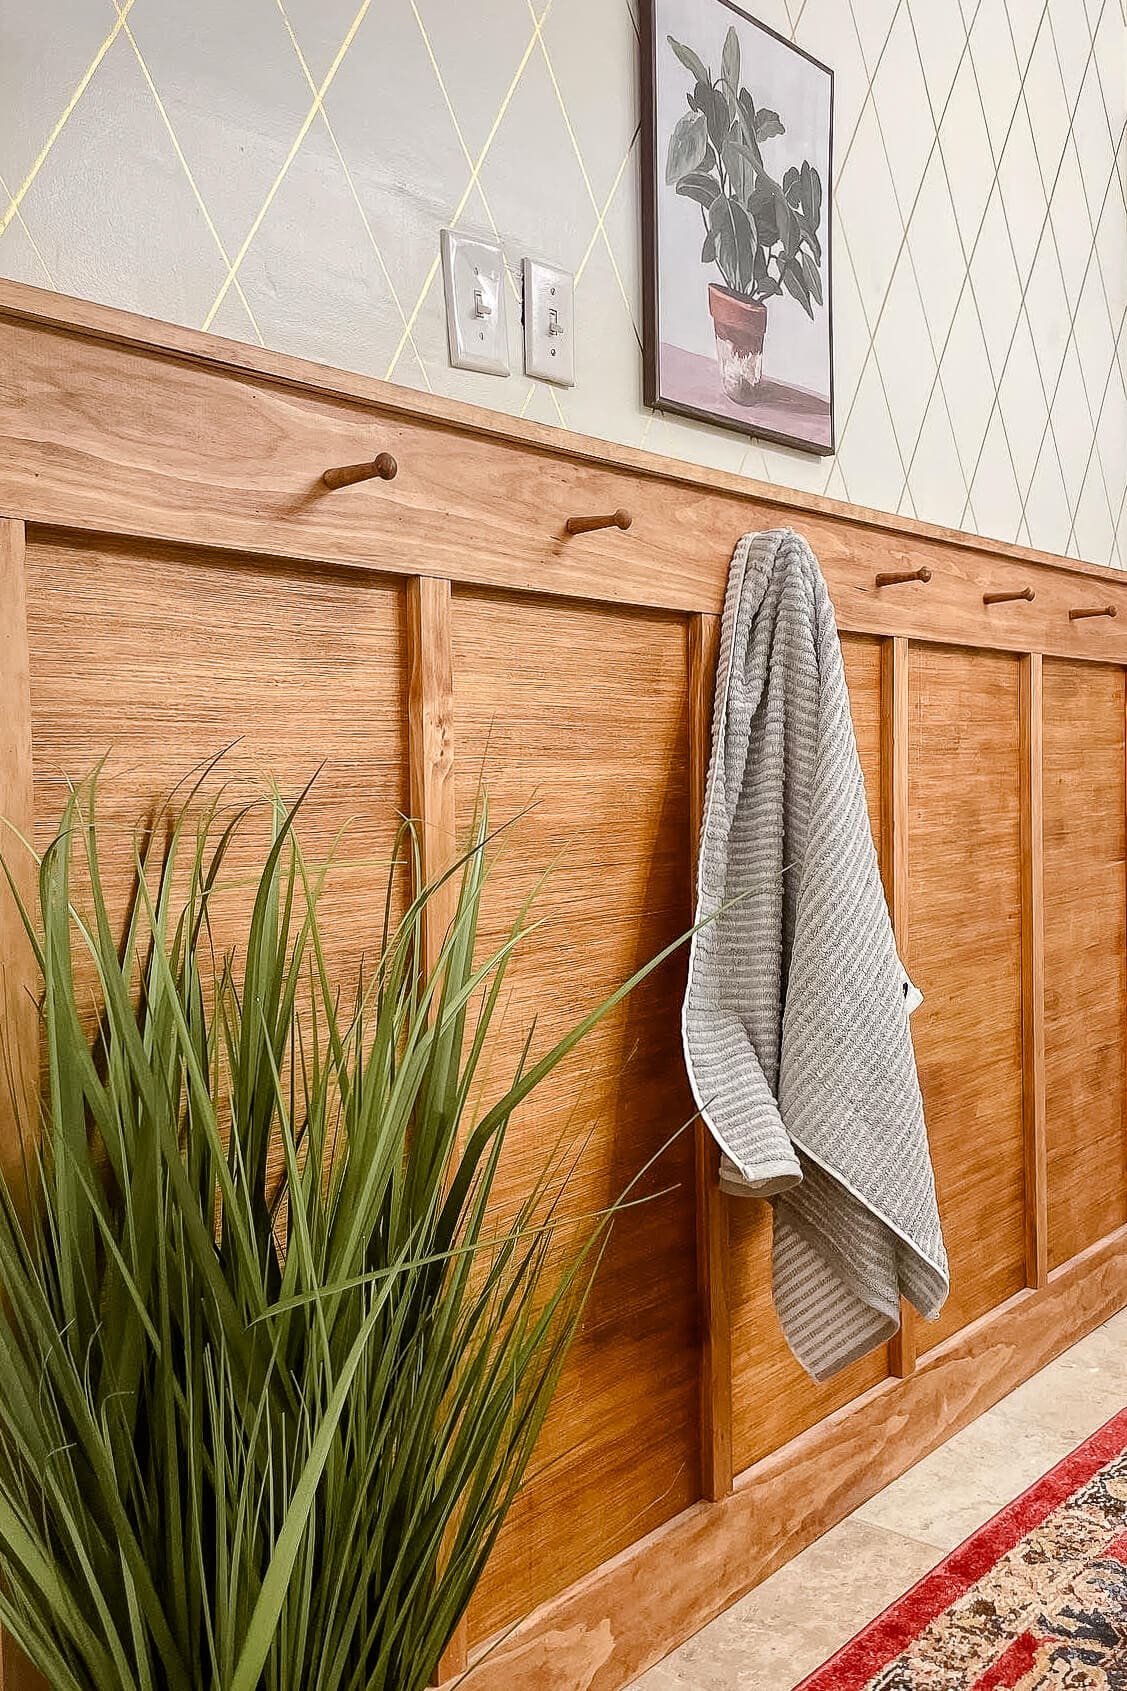
If you love using plywood in budget-friendly ways, check out two of my favorite projects: the DIY floating shelves I built in our bathroom nook and the stained plywood board and batten wall I added to another bathroom.
📌 Save This Project for Later
FAQ: DIY Floating Shelves for the Kitchen
It depends on your cleat construction and whether you anchor into wall studs. These shelves are secured with screws directly into studs and easily hold everyday dishes and decor.
I used 1×2 furring strips for the internal frame and 1/4″ plywood for the wrap. You could swap in hardwood or thicker plywood if you want extra durability or a different look.
Absolutely! Prime and paint instead of staining, and you’ve got sleek white shelves, moody black, or whatever color fits your kitchen.
Technically yes, but I highly recommend using a stud finder. Floating shelves hold a lot of weight and need solid anchoring for safety.
