


DIY Floating Fireplace Mantel | How to Build a Faux Beam Mantel


Updated May 9, 2026
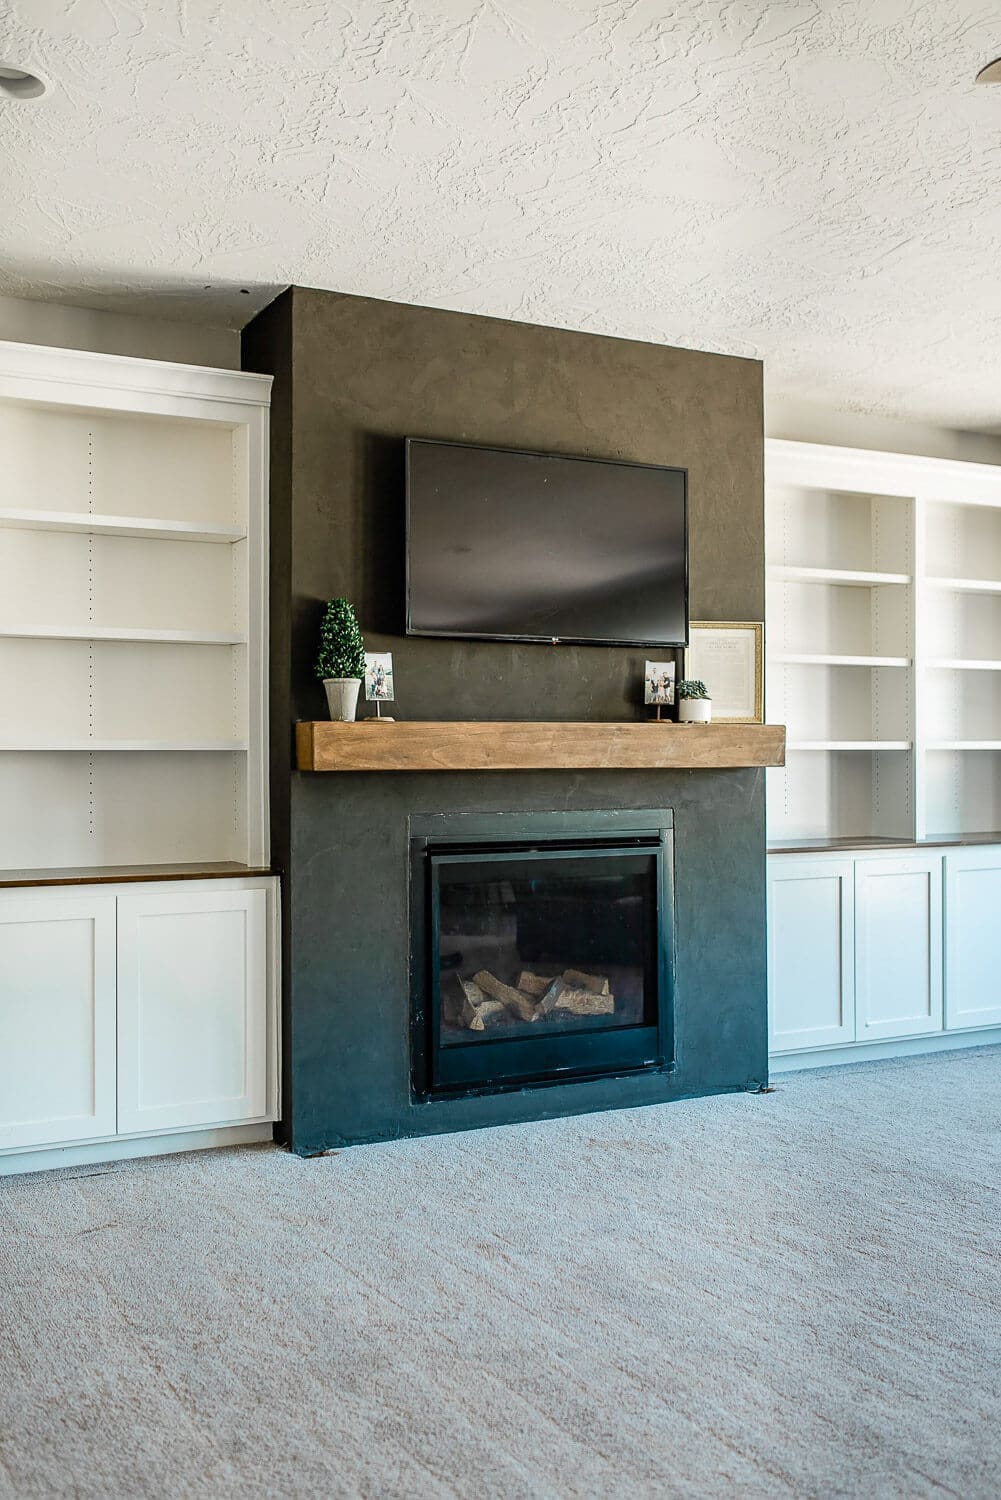
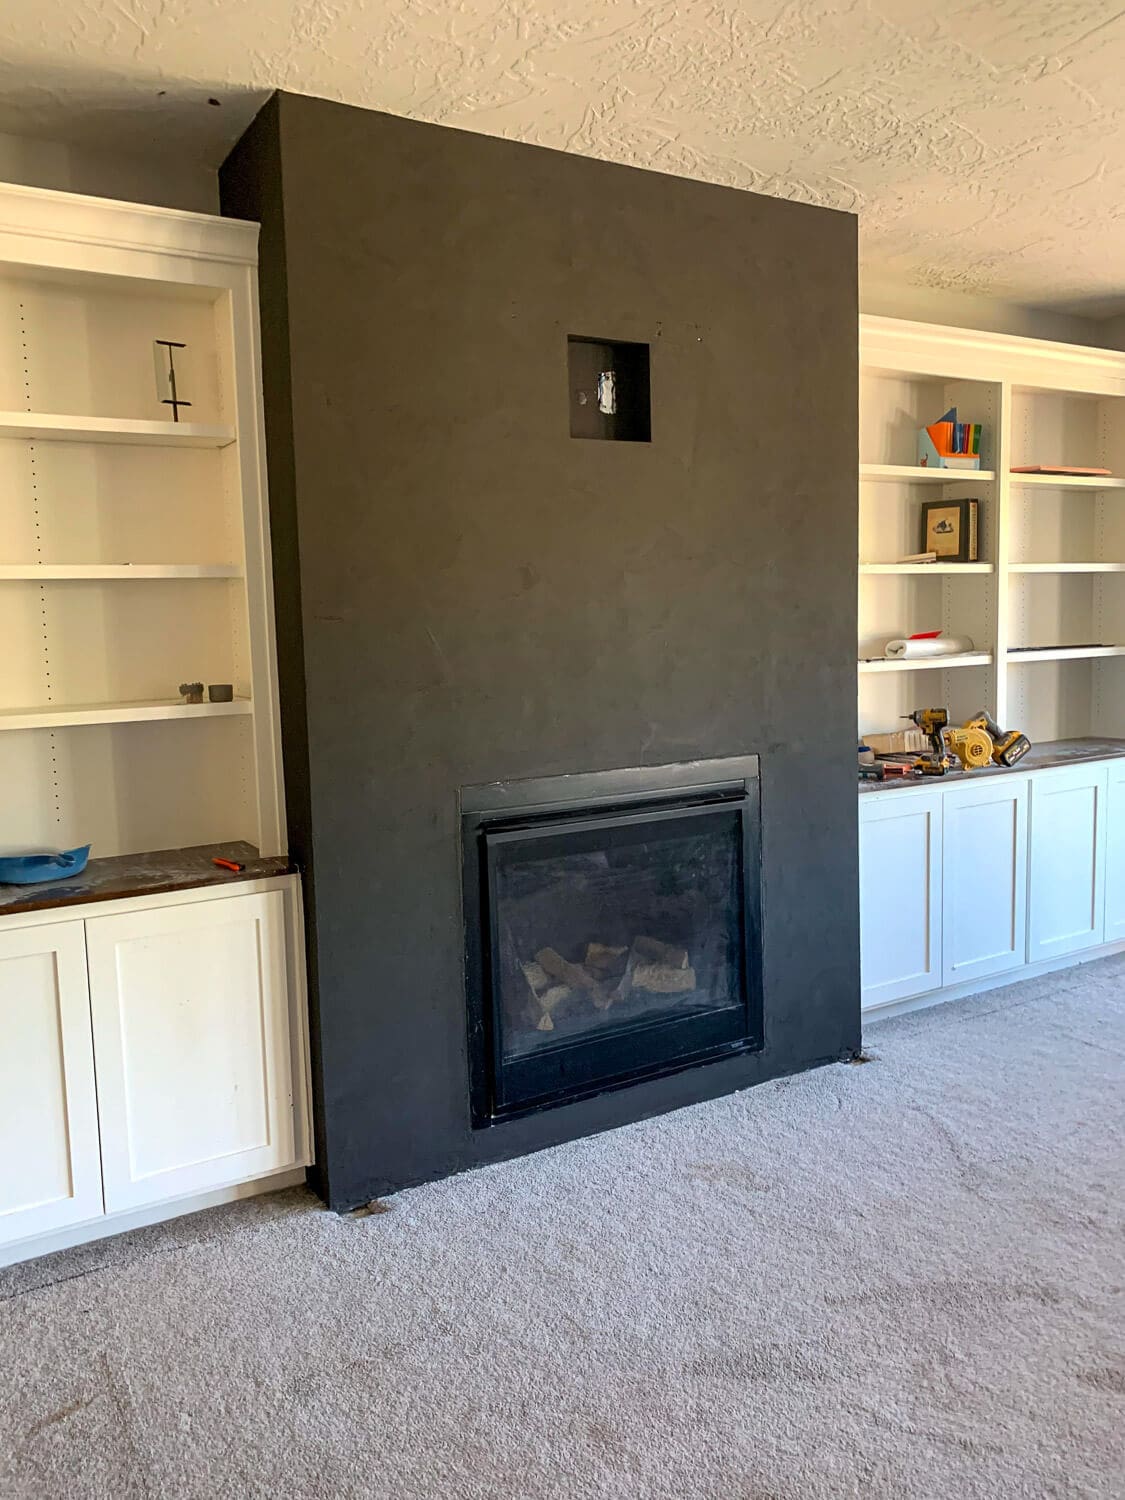
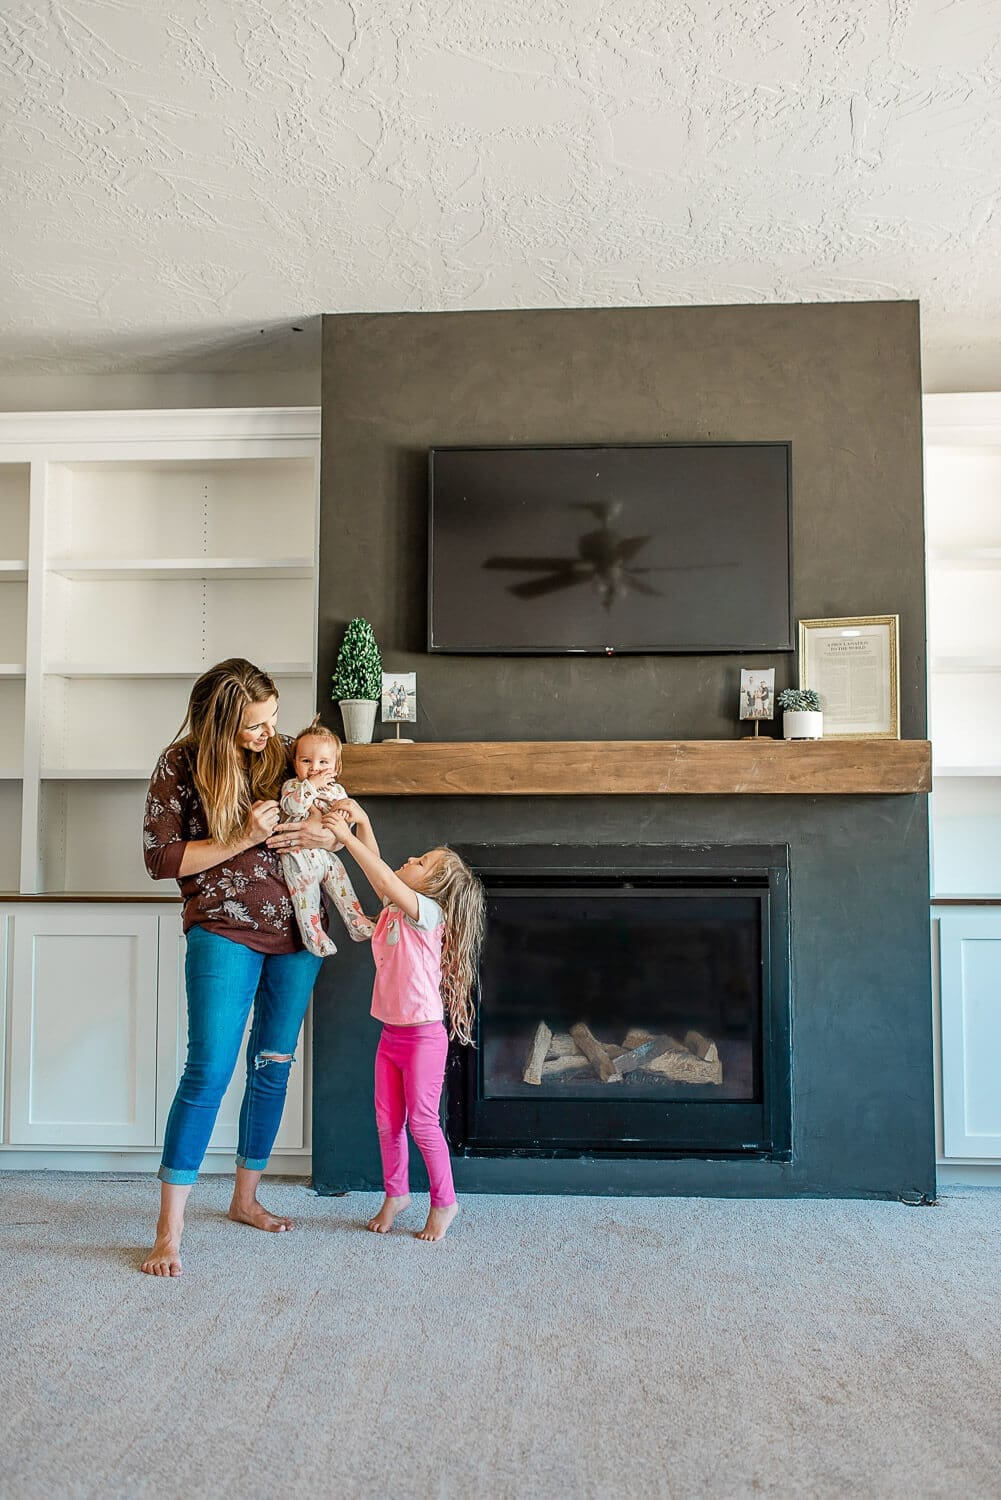
When my brother’s black Roman Clay fireplace makeover was done, it needed one final touch – a mantel. A real solid wood beam mantel would’ve been gorgeous, but also heavy, expensive ($300-$500+), and honestly a nightmare to hang. So instead, I built him a hollow faux beam mantel that looks exactly like solid wood for under $75 and took about one weekend to finish. If you want an oak version with a built-in electrical outlet, check out my DIY Fireplace Mantel With Hidden Outlet tutorial.
Here’s exactly how I built this DIY floating fireplace mantel.
Table of Contents
- Why Build a Faux Beam Mantel Instead of a Using a Solid Wood Beam?
- Tools & Supplies for Your DIY Floating Fireplace Mantel
- Watch the Full DIY Floating Mantel Build
- Step 1: Cut Your Pine Boards for the Mantel Box
- Step 2: Miter the Edges for a Seamless Faux Beam Look
- Step 3: Assemble the DIY Mantel Box
- Step 4: Fill and Sand Your DIY Mantel
- Step 5: Make and Attach the French Cleat
- Step 6: Stain Your Pine Fireplace Mantel
- Step 7: Install the French Cleat on Your Fireplace
- Step 8: Hang Your DIY Floating Fireplace Mantel
- Finished DIY Floating Fireplace Mantel
- 📌 Save This Project for Later
- Floating Fireplace Mantel FAQs
- More Fireplace Projects
- More DIY Fireplace Videos
Why Build a Faux Beam Mantel Instead of a Using a Solid Wood Beam?
- Way cheaper: Under $75 vs. $300-$500+ for a pre-made solid beam mantel
- So much lighter: Easier to build, easier to hang, less stress on the wall
- Looks identical: No one can tell it’s not a solid piece of wood
- Beginner-friendly: You don’t need advanced woodworking skills to pull this off
Tools & Supplies for Your DIY Floating Fireplace Mantel
Lumber:
- 1×4 Common Board (for the French cleat)
- Two 1x6x6-ft Select Pine Boards
- One 1x6x8-ft Select Pine Boards
Tools:
- Miter Saw (for crosscuts and cutting end cap squares)
- Table Saw (for ripping 45-degree bevels along board edges)
- Measuring tape
- Drill
- Brad nailer + Brad nails
- Handheld sander and sanding discs
- Laser Level
- Stud Finder
Supplies:
- 3″ Power Pro Screws
- Rags for stain
- Wood filler
- Wood glue
- Wood conditioner (optional but recommended for pine)
- Your Choice of Stain – I used Minwax Special Walnut
- Polycrylic topcoat (for a smooth, protective finish)
Watch the Full DIY Floating Mantel Build
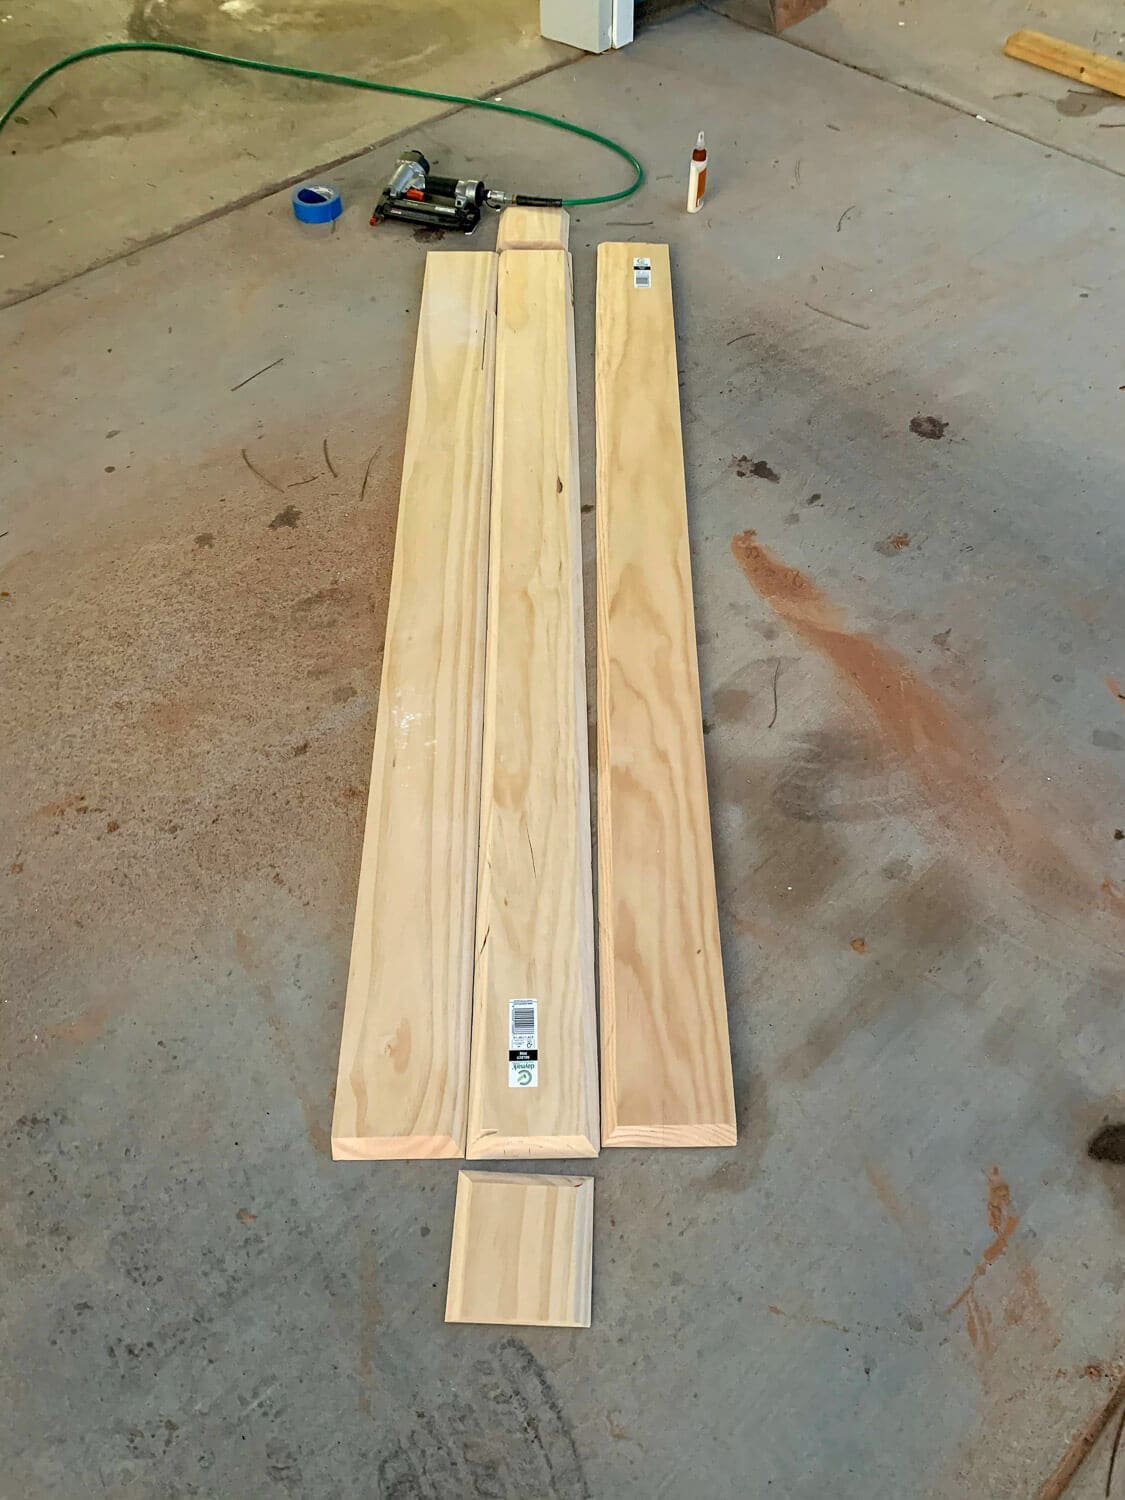
Step 1: Cut Your Pine Boards for the Mantel Box
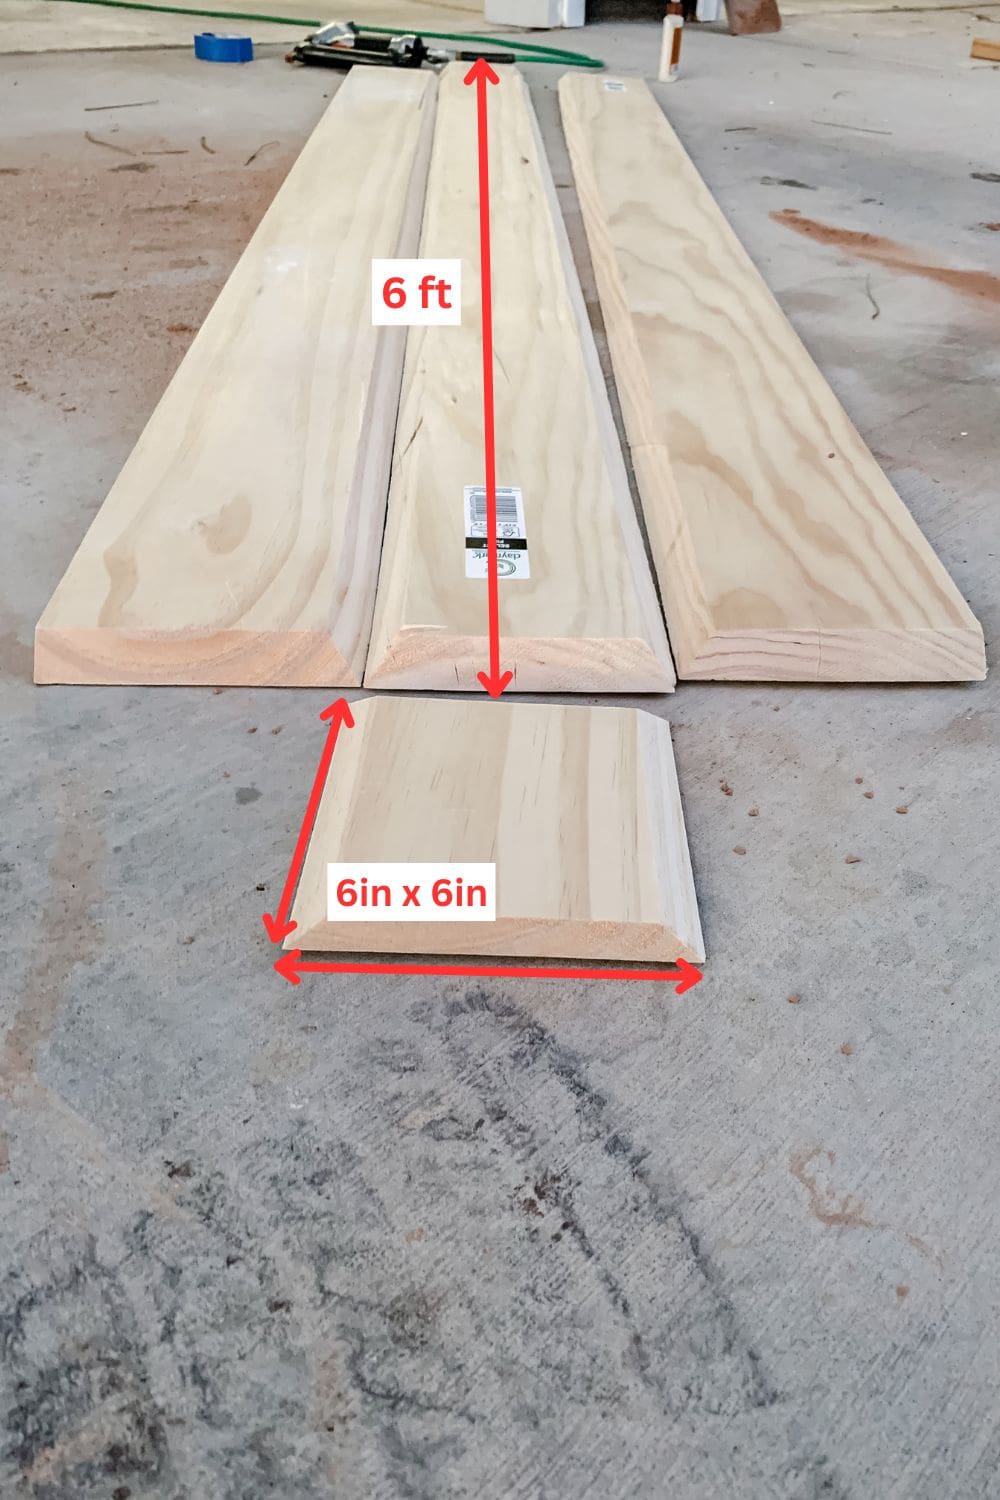
First, figure out how long you want your floating mantel. My brother’s fireplace is pretty wide, so 6 feet felt right.
I grabbed two 1x6x6-ft Select Pine Boards and one 1x6x8-ft Select Pine Board and cut all three boards to the exact same length – mine ended up being about 6 feet. The extra from the 8-footer is perfect for the end caps, which we’ll cut later.
Pro tip: Pick through the boards at the store and find the straightest ones you can. Warped wood makes this project way harder than it needs to be, and your seams won’t look as clean. Also, choose your prettiest board (nicest grain pattern) for the front face – that’s what everyone’s going to see
Now you’ve got:
- One for the top
- One for the bottom
- One for the front face
Step 2: Miter the Edges for a Seamless Faux Beam Look
Here’s where the magic happens. To make this hollow box look like one solid wood beam, you need to miter the edges at 45 degrees so they fit together seamlessly. If you’ve never mitered before, don’t stress – it’s just cutting the edge at an angle instead of straight.

Set your table saw blade to 45 degrees. You’ll use the table saw for all of these long bevel cuts – a miter saw won’t work for ripping along the length of a board.
Here’s what you’re cutting:
Front board:
- Miter ALL FOUR edges. This is the face everyone sees, and it doesn’t touch the wall.
Top board:
- Miter both short ends
- Miter ONE long edge (the front edge that connects to the front board)
- Leave the back edge straight – that’s the side that sits flush against the fireplace
Bottom board:
- Same as the top. Miter both short ends and the front long edge. Leave the back edge straight.
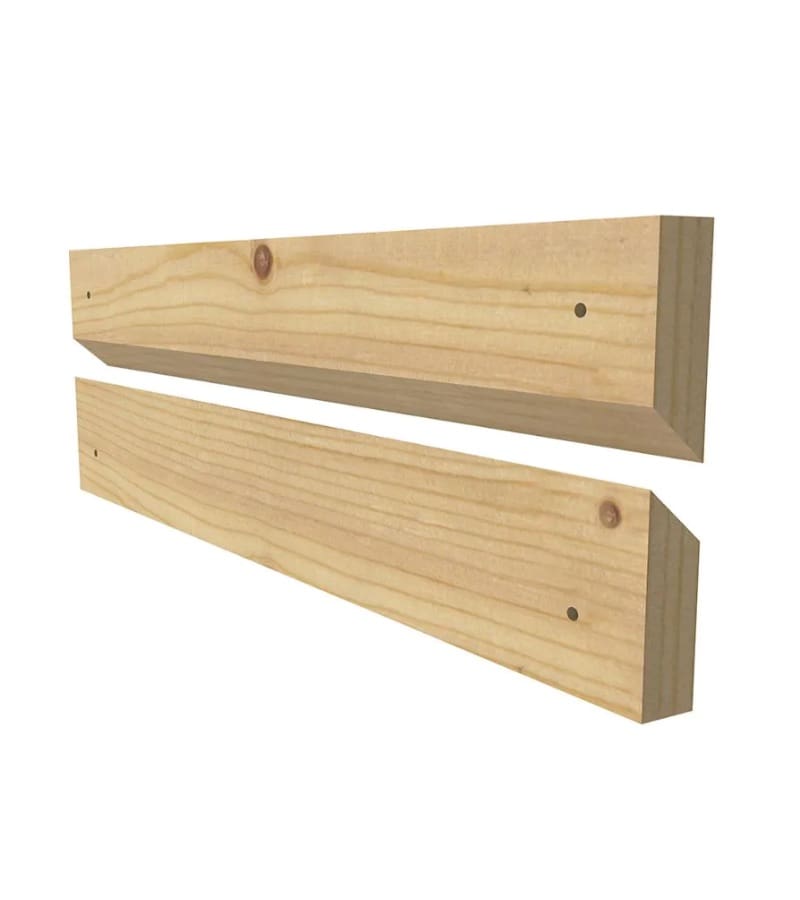
End caps:
- Using your miter saw, cut two 6″ x 6″ squares from your leftover 8-footer
- Back on the table saw, miter three edges on each square – top, bottom, and one side
- Leave the back edge straight since it sits against the fireplace
The idea is simple: every edge you see from the front gets mitered. The edges that sit against the wall stay straight.
Once you’re done, line them up and make sure the angles fit together nicely. The mitered edges should meet in a clean corner.
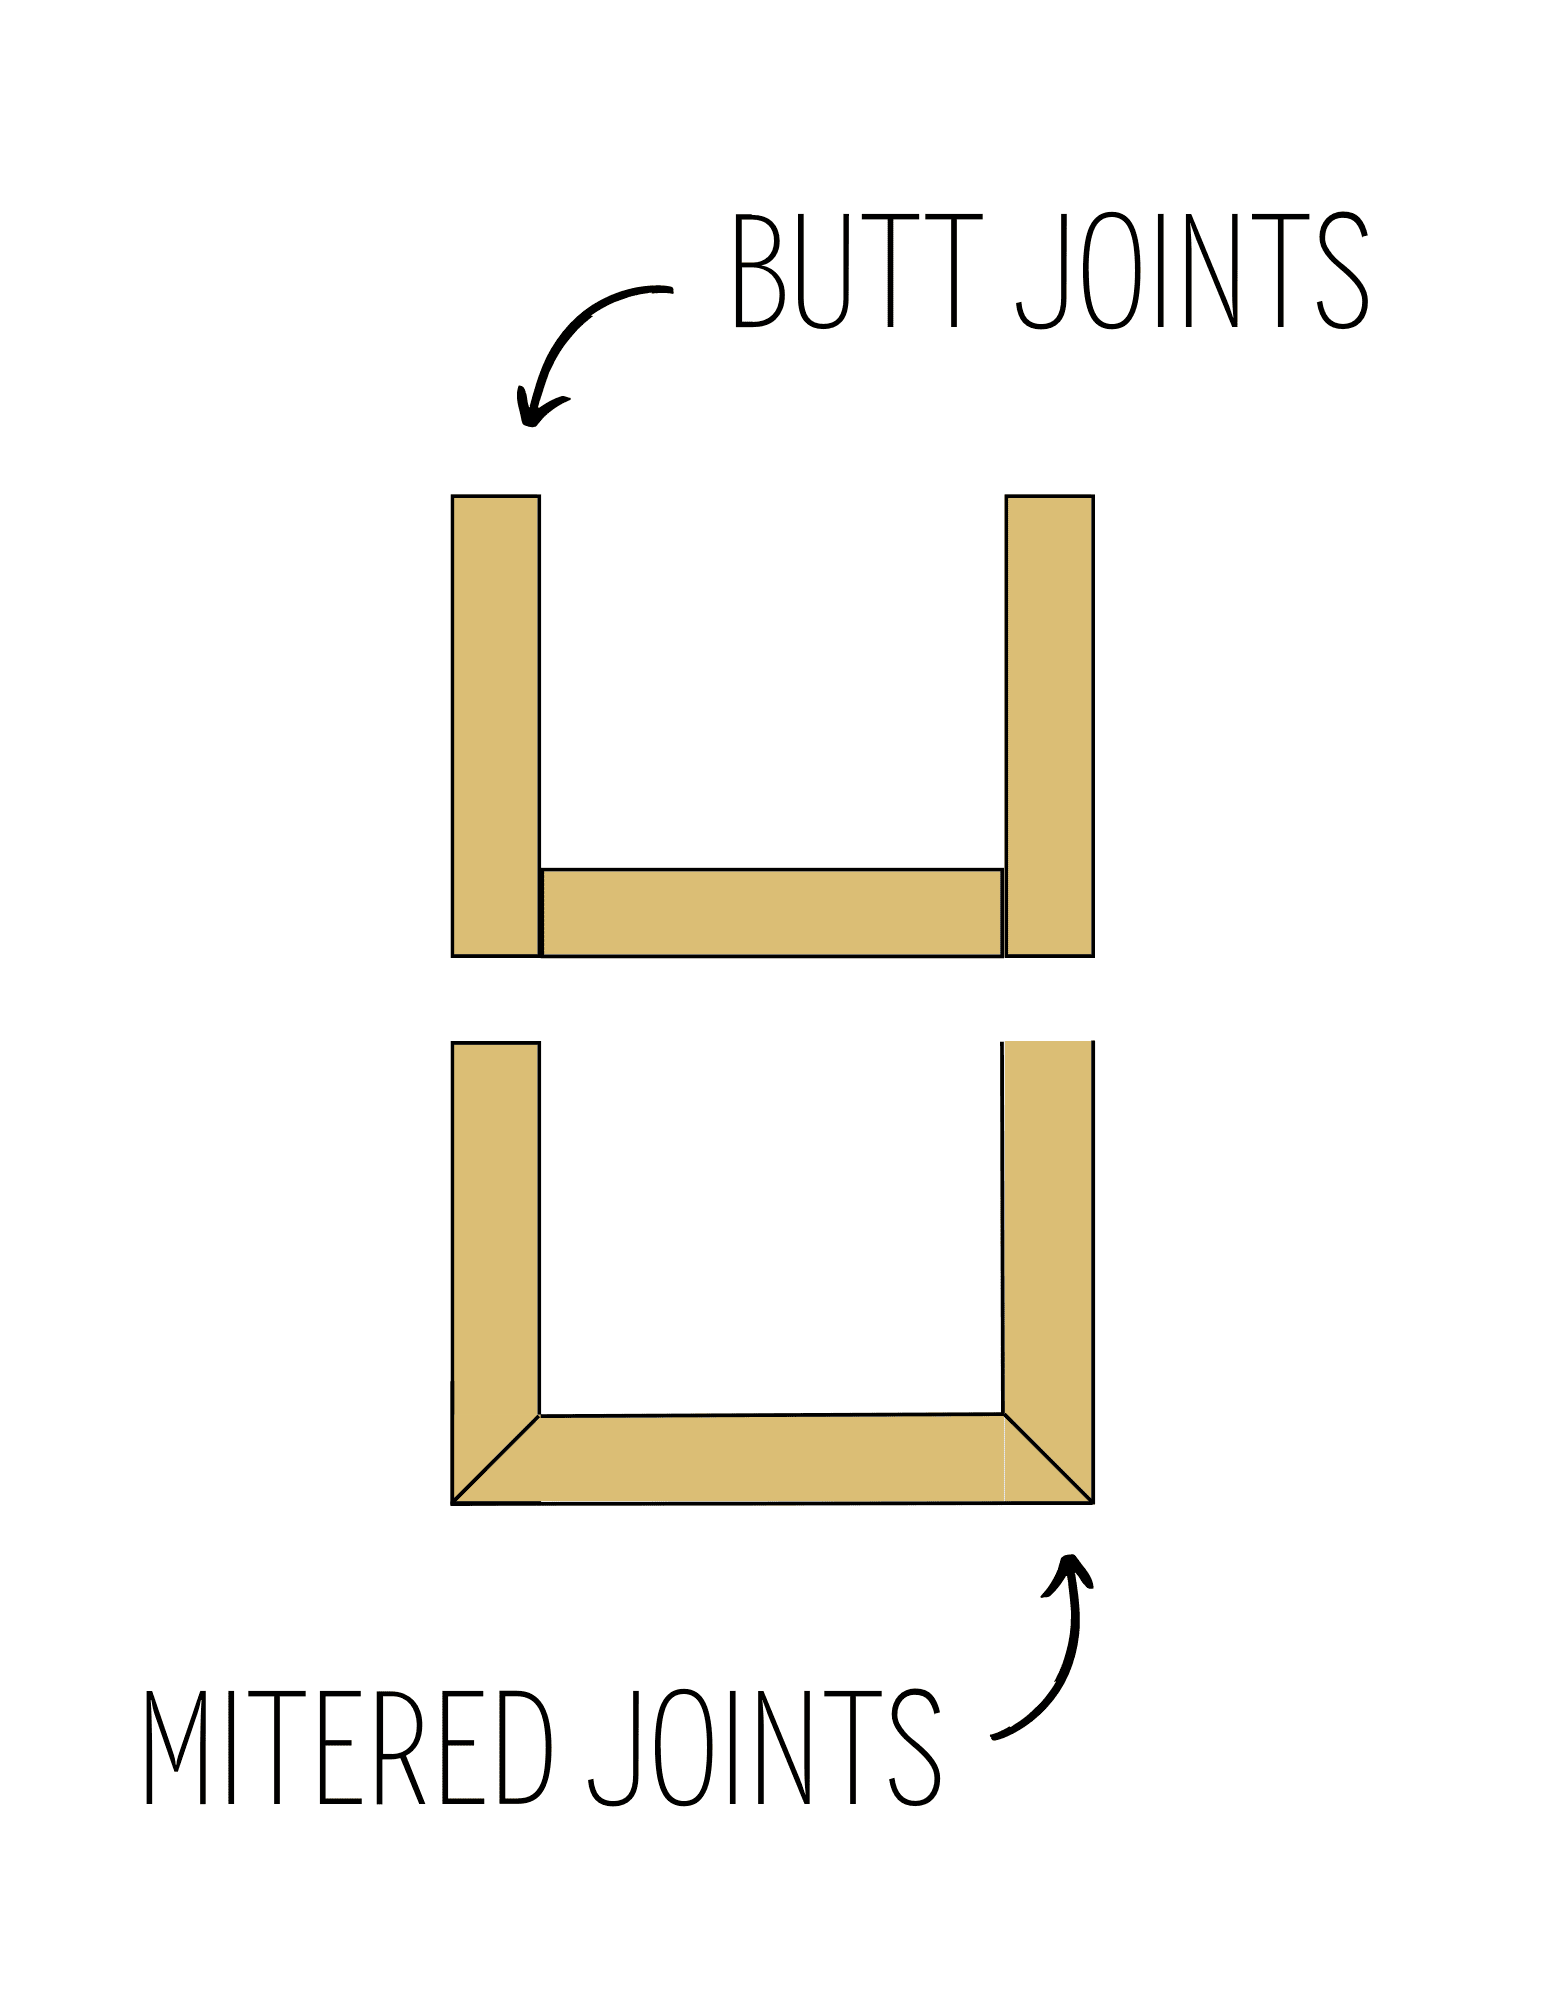
Miter Joints vs Butt Joints for a Fireplace Mantel
Had I chosen butt joints, the seams would be more difficult to hide. However, if you don’t have a table saw, butt joints are your best option – the mantel will still look great, just with visible seams.
Step 3: Assemble the DIY Mantel Box
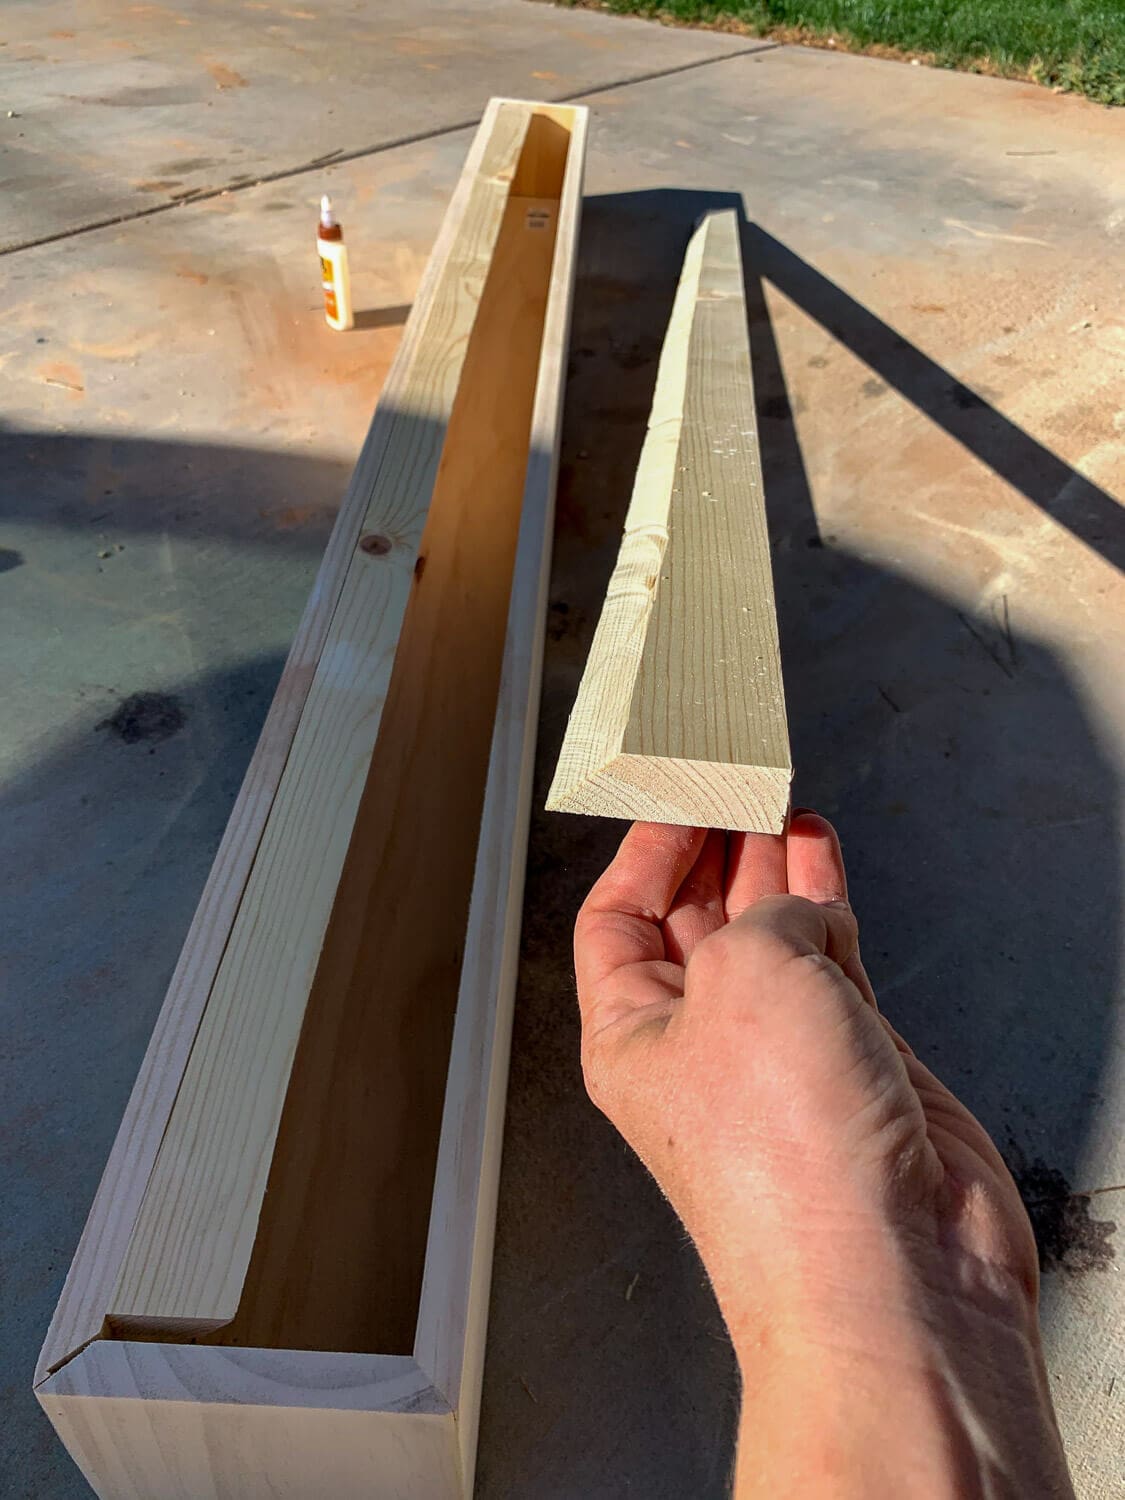
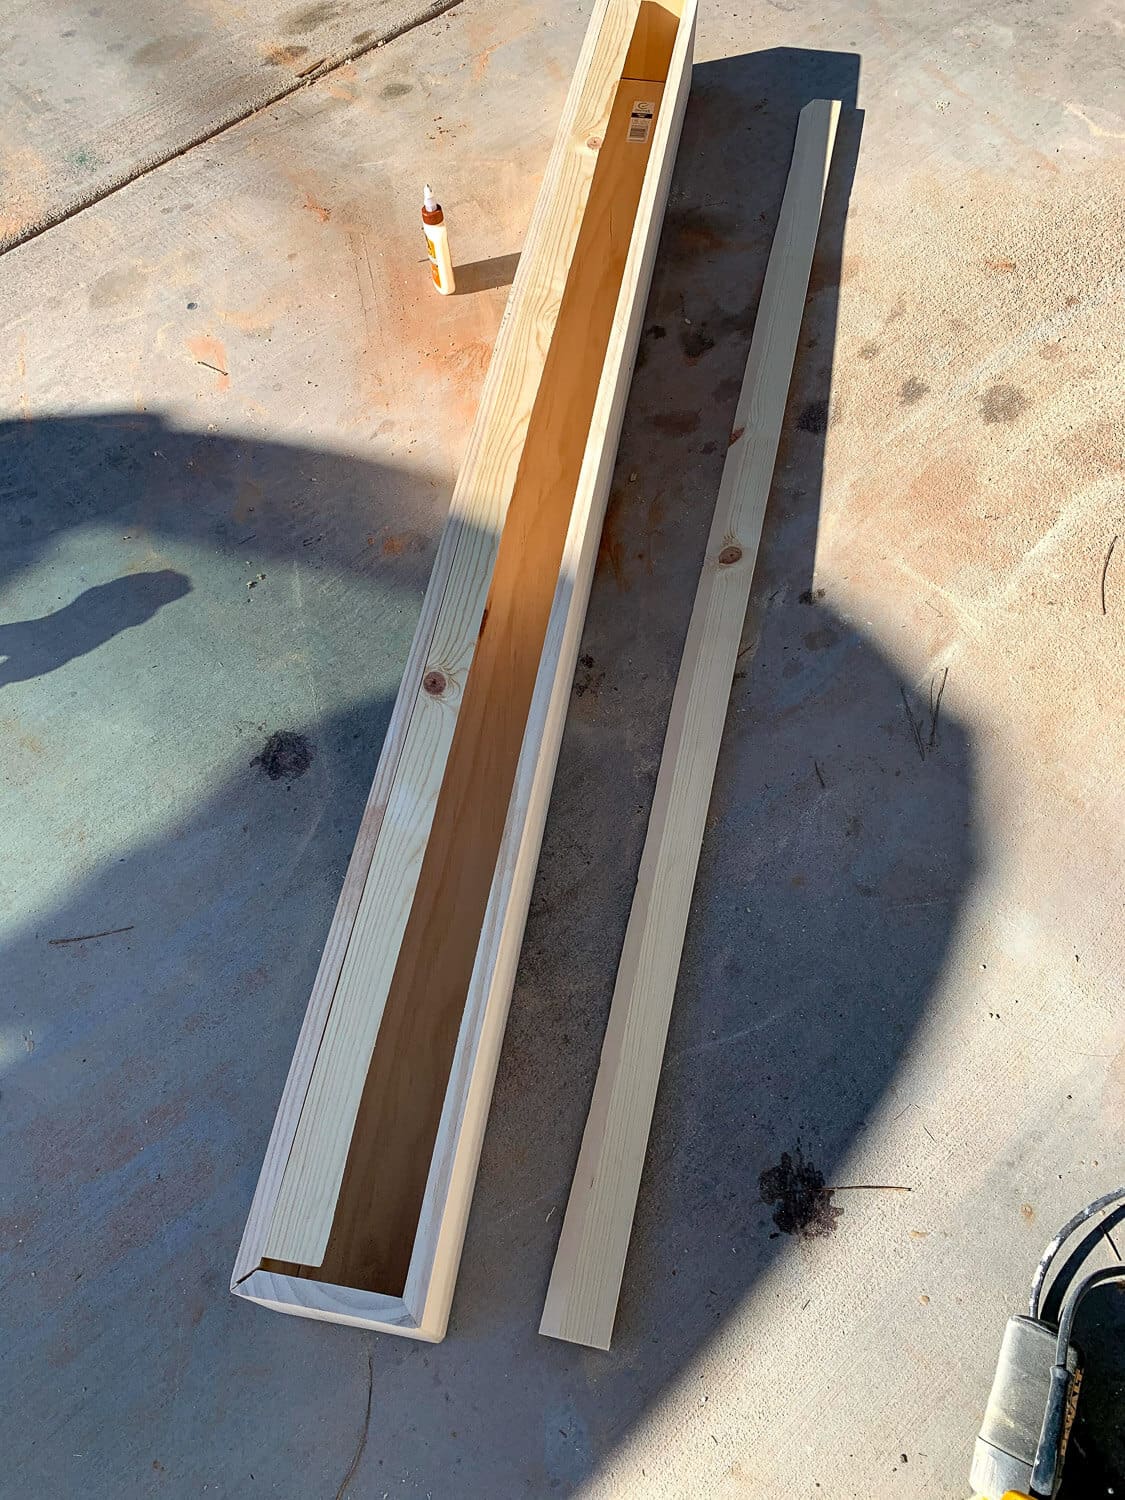
Now we’re putting it all together using a technique called a miter fold. Lay your three boards out flat with the mitered edges facing up, all lined up next to each other.
Run a thin line of wood glue down each mitered edge where they’ll connect. You just need enough to create a bond.
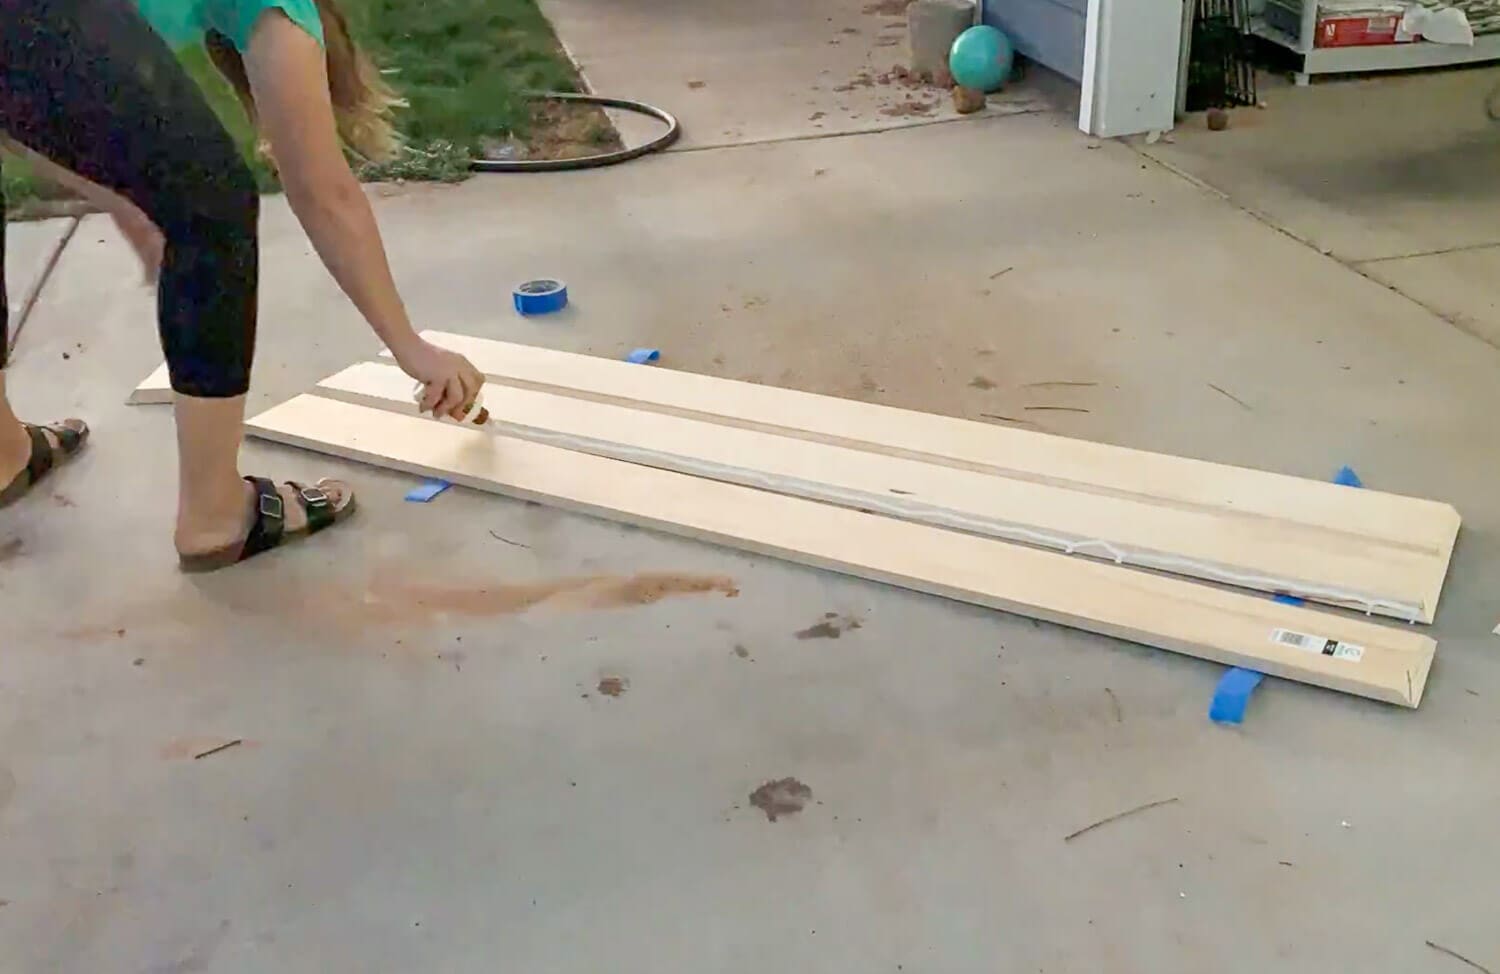
Now fold the boards up into a box shape. As you fold them, the mitered edges should meet at perfect 45-degree corners. Use long strips of painter’s tape across the seams to hold everything in place while the glue sets.
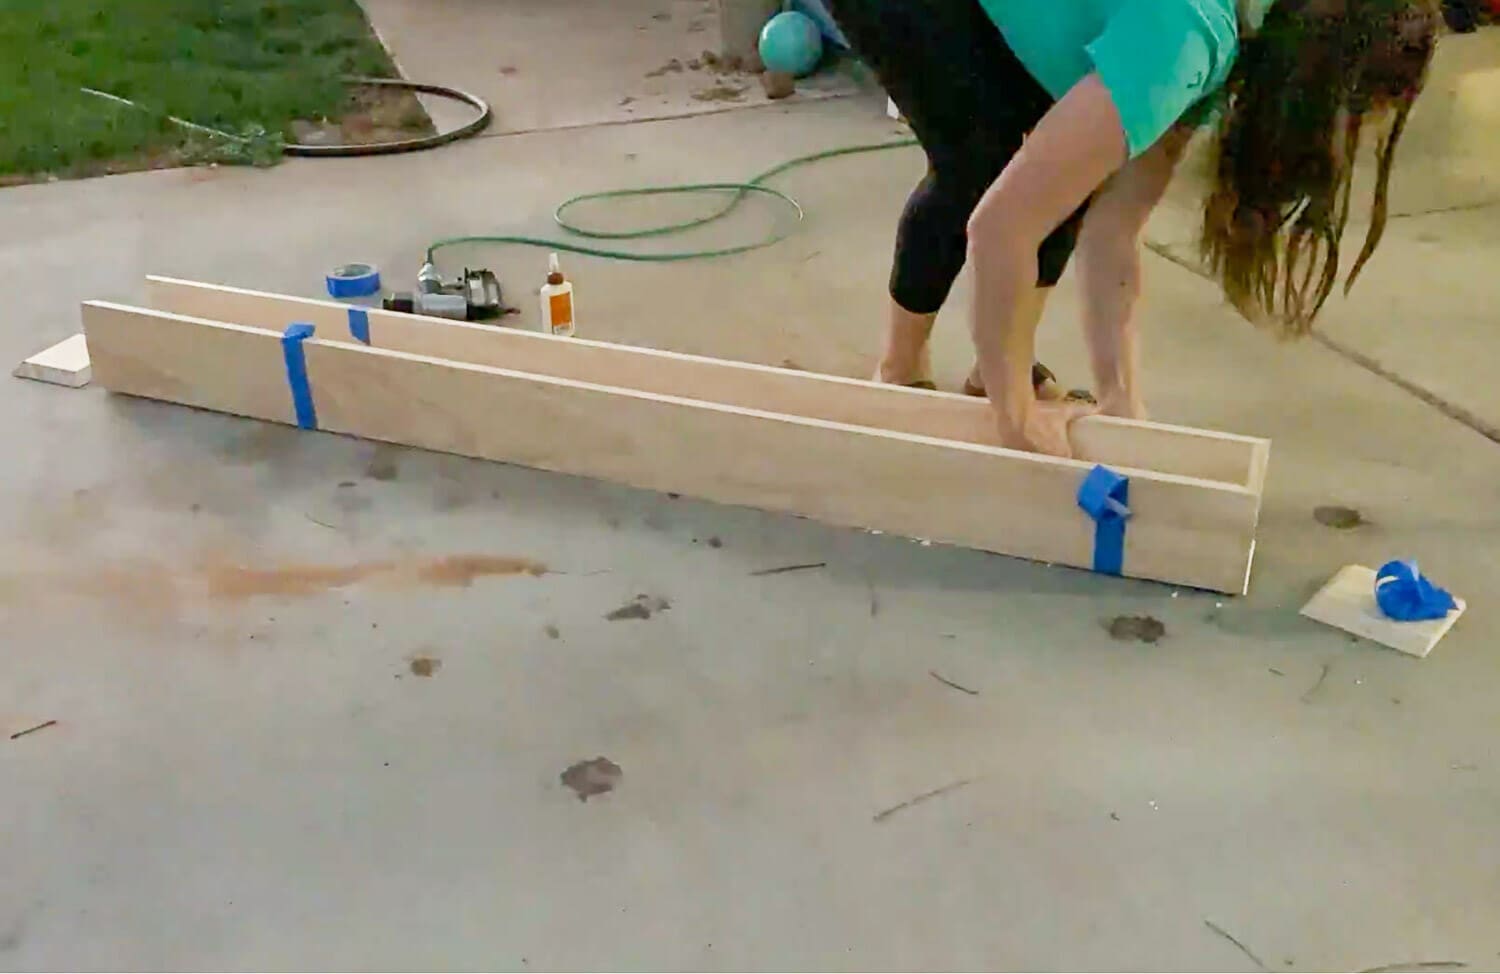
Grab your brad nailer and shoot nails through the corners to secure them. Be careful with your angle here – if you shoot too steeply, the nails will poke through the front. Ask me how I know.
Important: If any wood glue squeezes out at the seams, wipe it off immediately with a damp rag. Dried glue won’t absorb stain, and you’ll end up with light splotchy spots on your finished mantel.
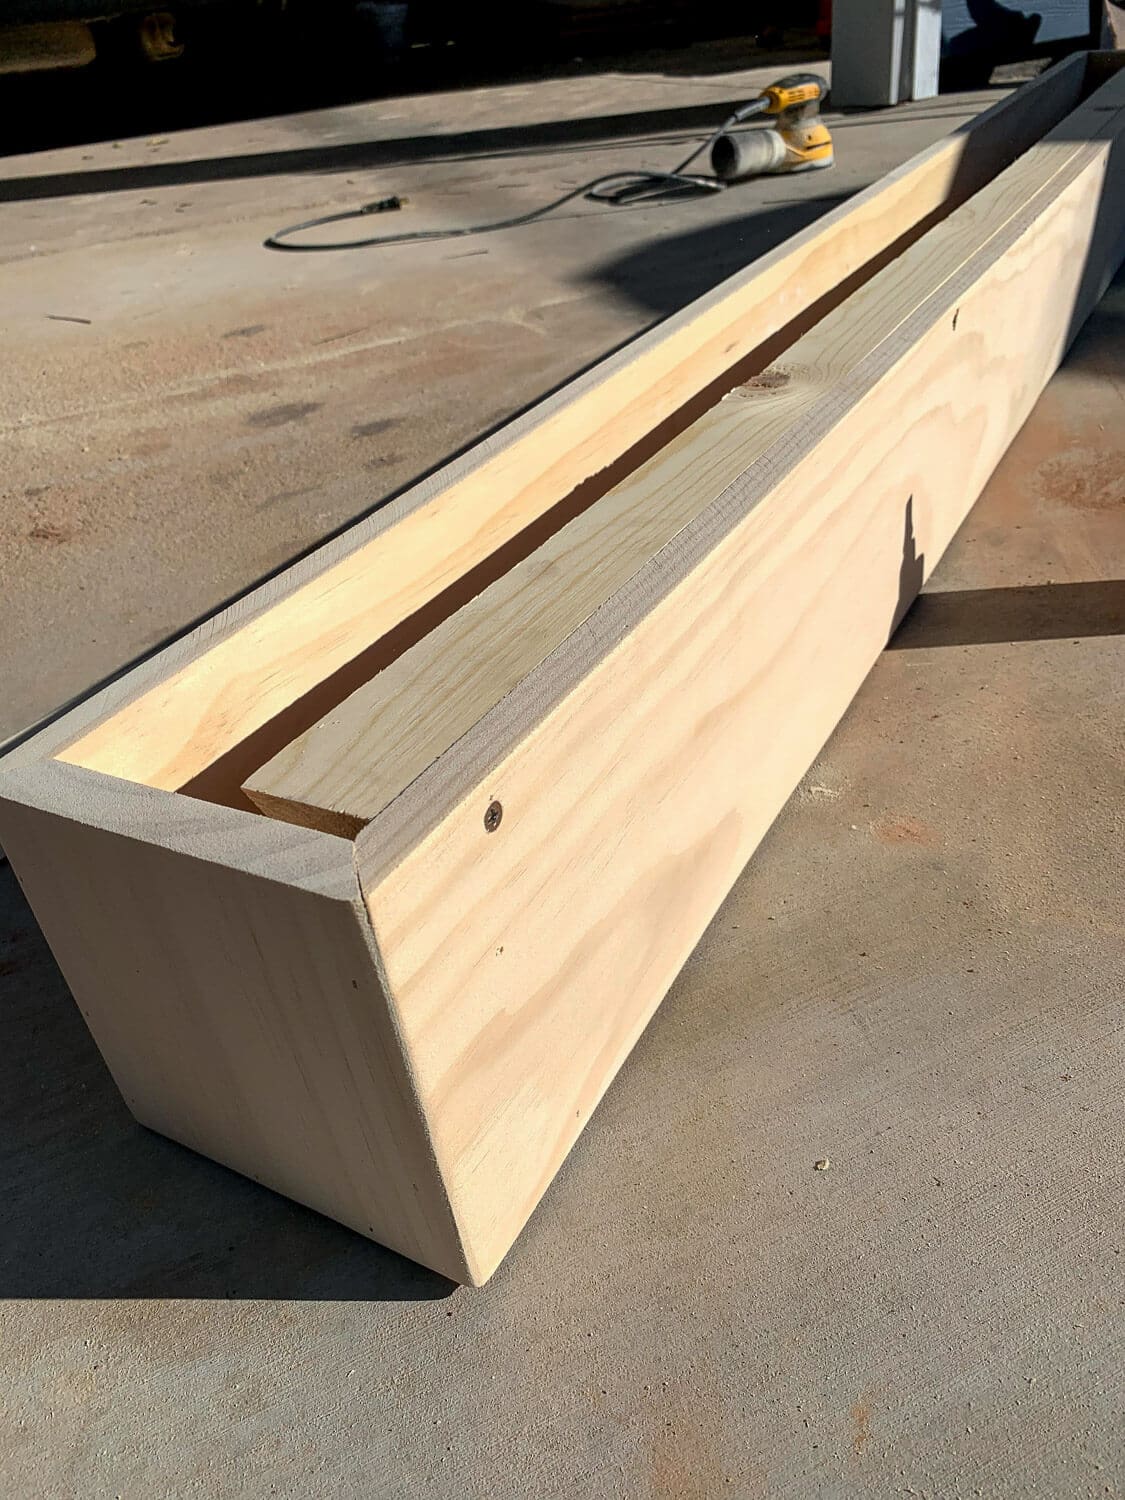
Now attach the end caps. Glue and nail them into place on each end of the mantel box. Let the wood glue dry for at least 24 hours.
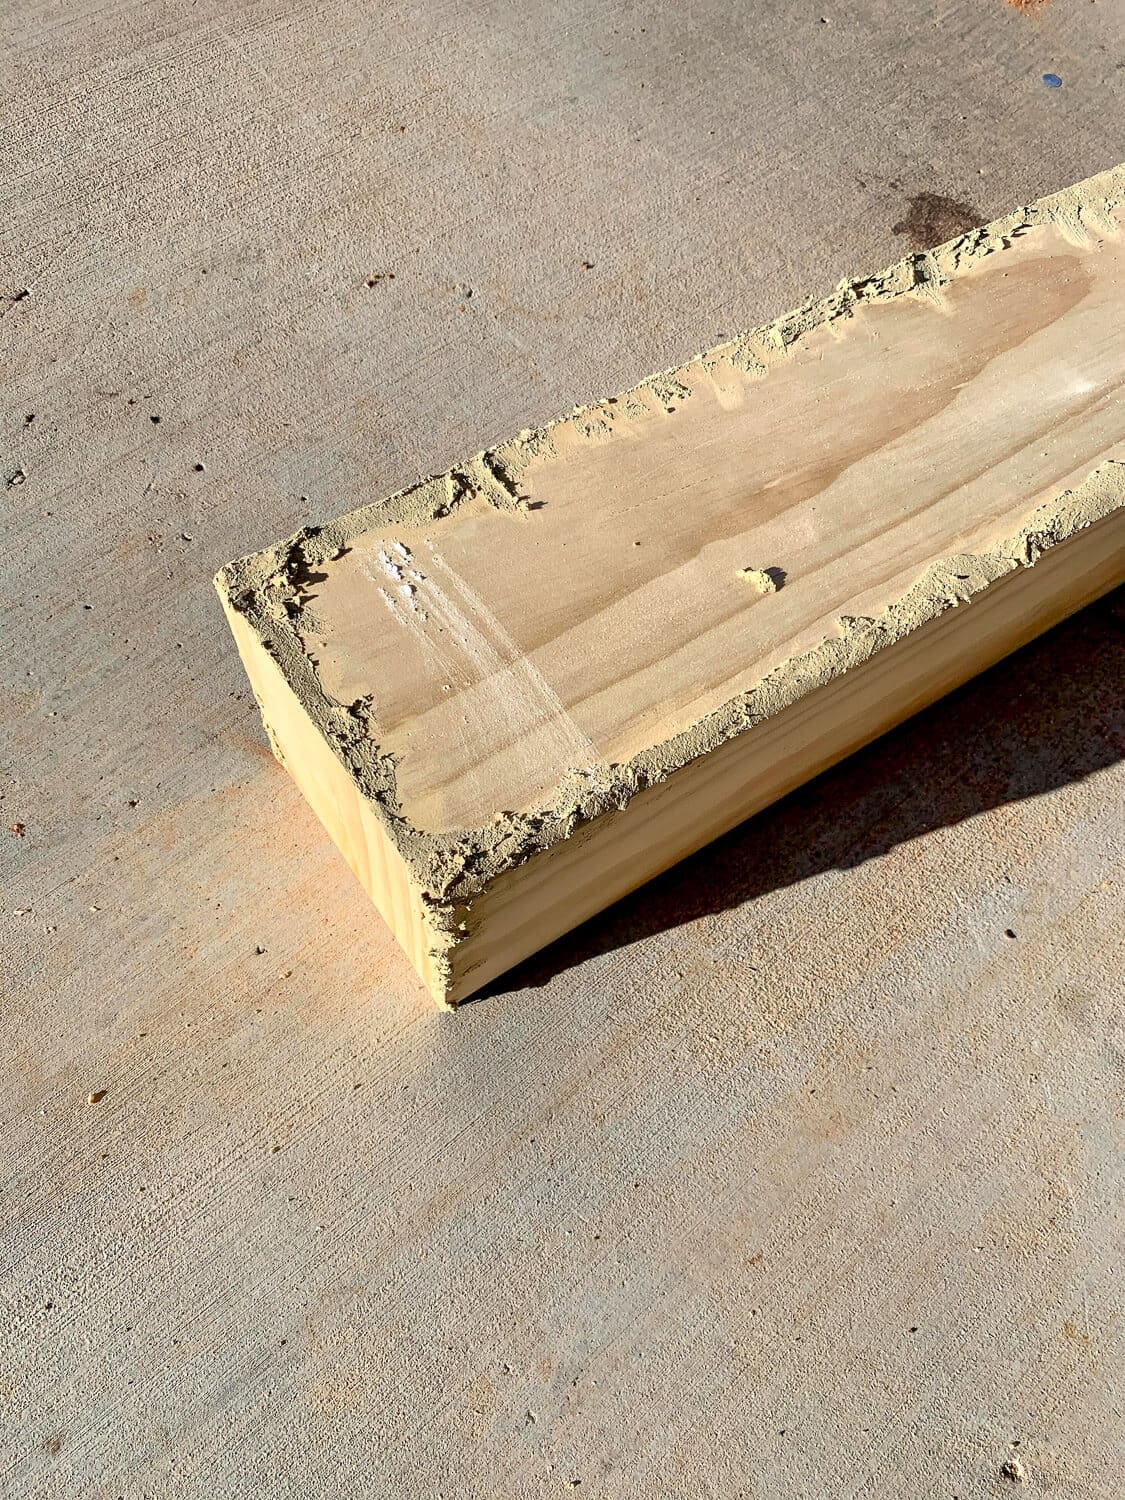
Step 4: Fill and Sand Your DIY Mantel
Next I filled any gaps in the mitered seams and nail holes with stainable wood filler.
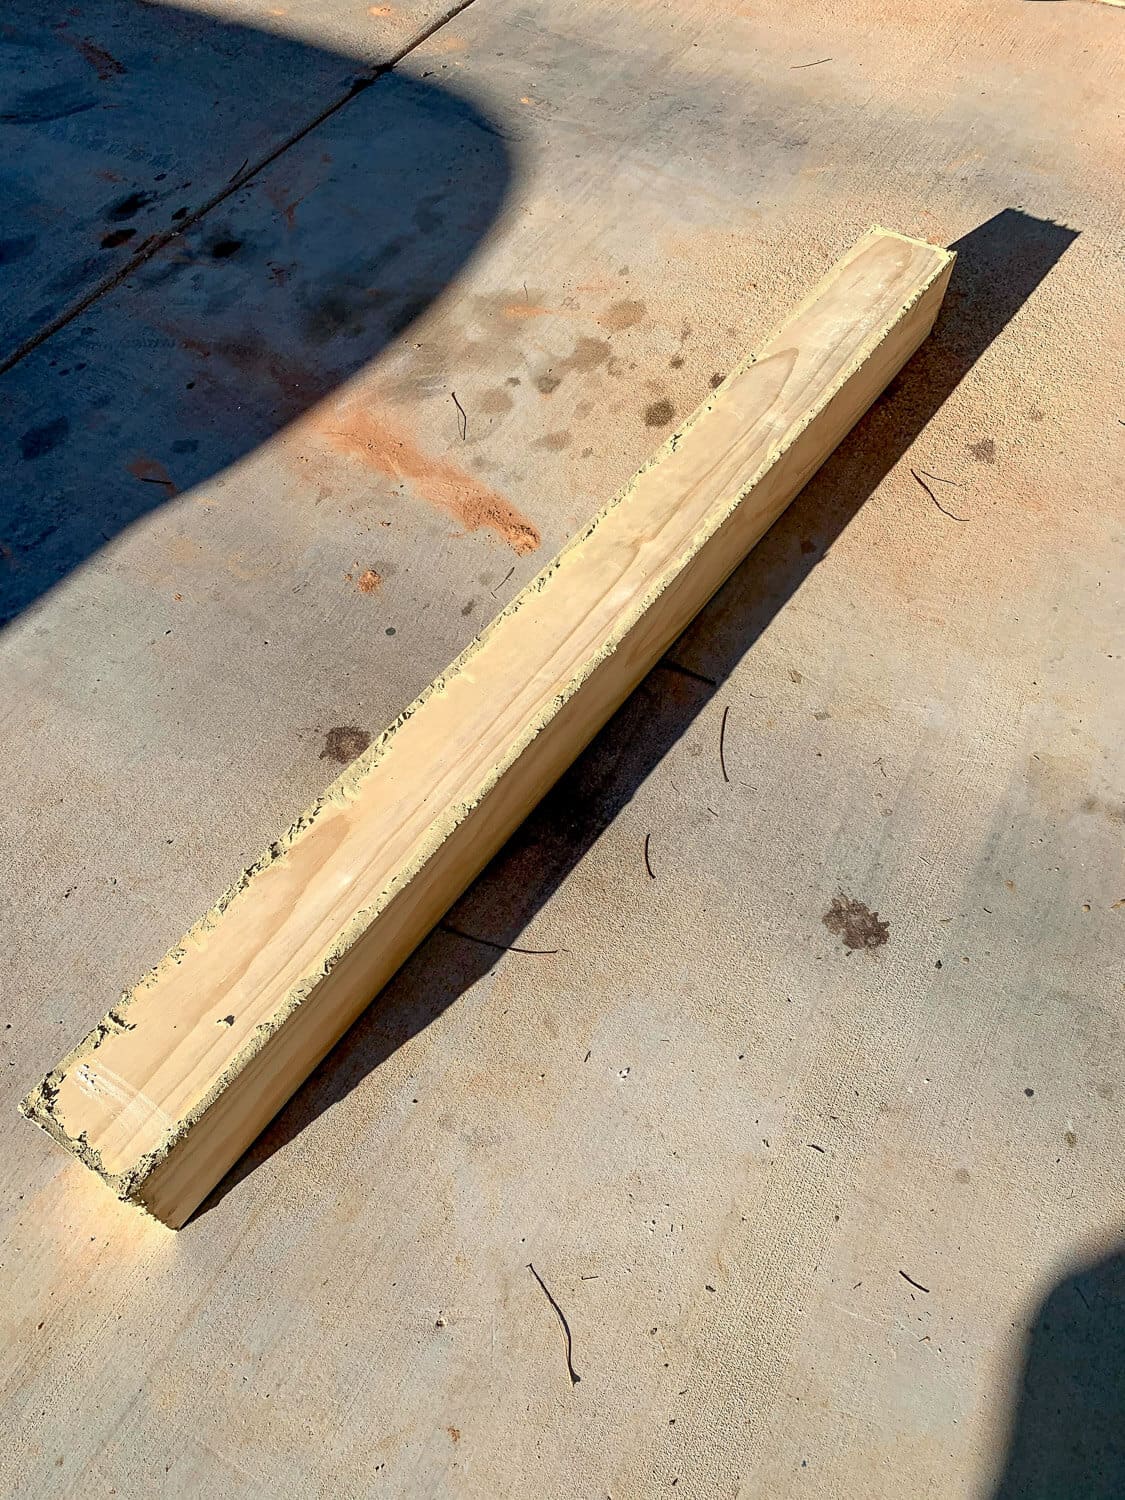
My boards were a little (okay, a lot) warped, so I needed more filler than I expected to get those seams looking tight. Don’t be shy with it – stainable wood filler is your best friend here.
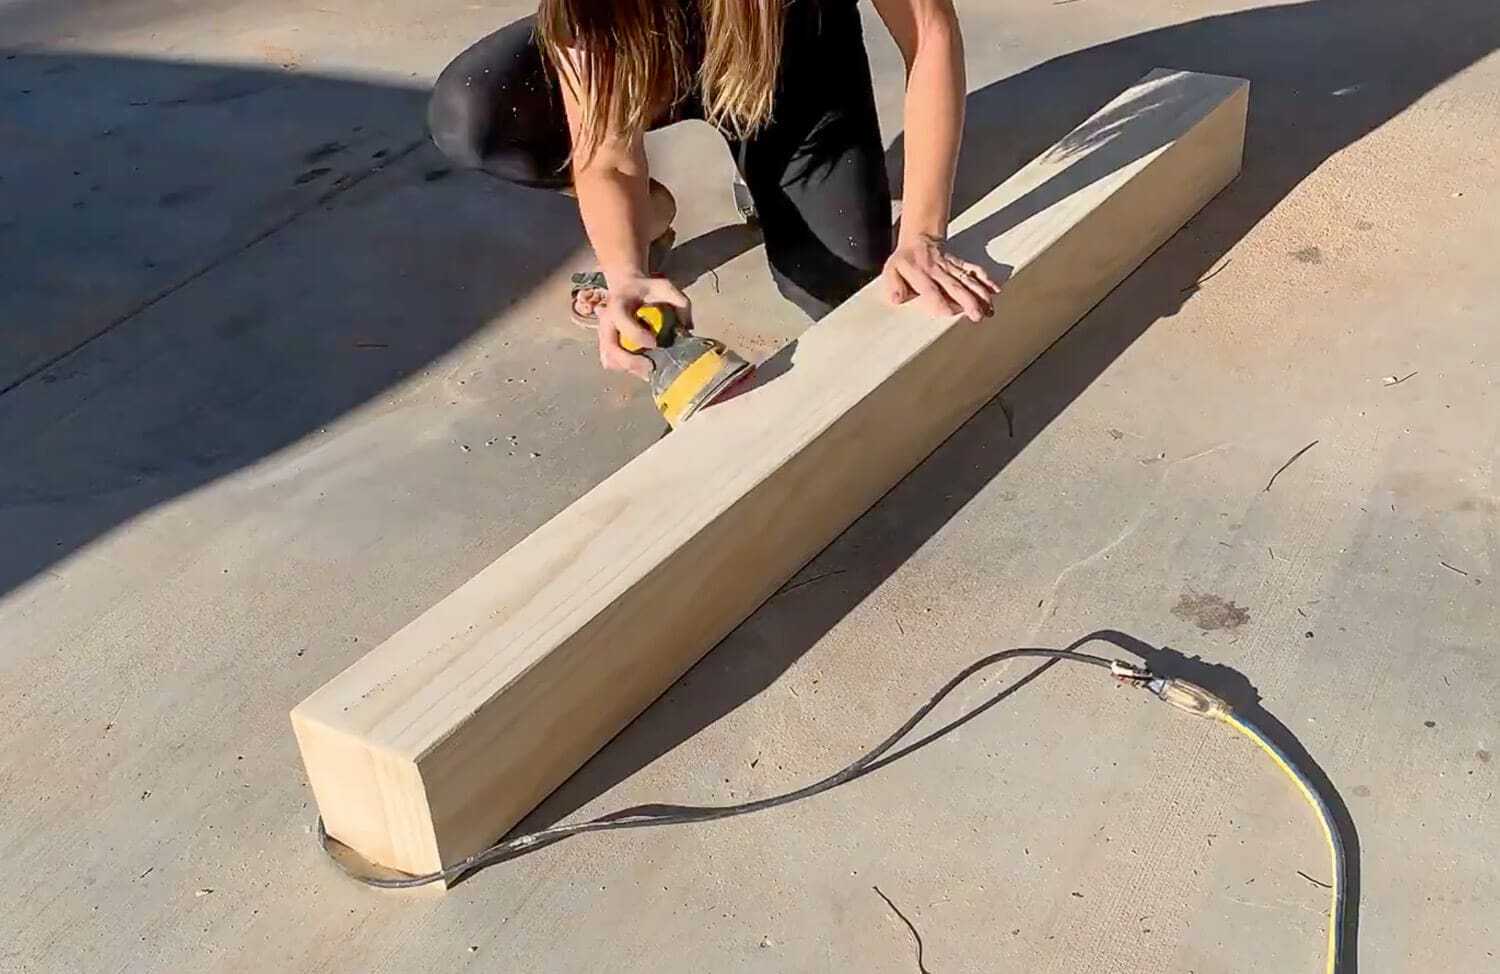
Once the filler is dry, sand everything down:
- Start with 60 grit to smooth out rough spots and filler
- Move to 120 grit for general smoothing
- Finish with 150 grit for a surface ready for stain
I also rounded the corners just a touch with the sander – it helps the seams blend even better and gives it that solid beam look.
Step 5: Make and Attach the French Cleat
This is how we’re going to hang this floating fireplace mantel. A French cleat is just two pieces of wood cut at matching 45-degree angles that hook together. One piece goes on the wall, the other goes inside the mantel. When you slide the mantel onto the wall piece, they lock together and hold the weight.
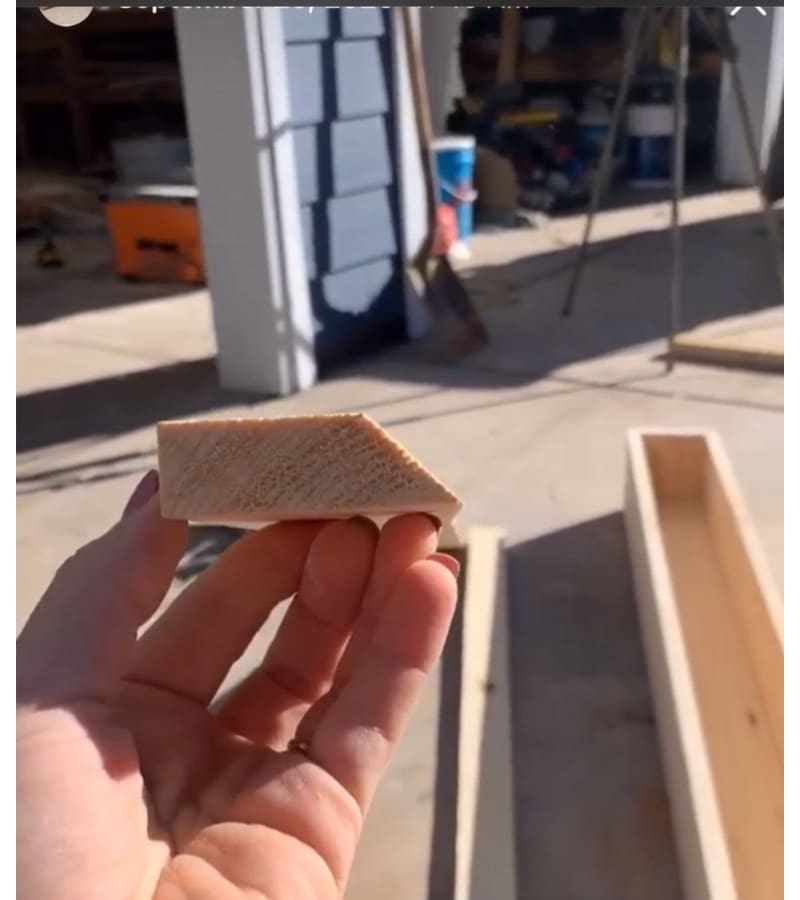
Keep your table saw at 45 degrees. Take your 1×4 common board and rip it straight down the middle lengthwise. You’ll end up with two long pieces, each with a 45-degree angle running the full length. That’s your French cleat.
Trim the cleat so it fits inside your mantel with a couple inches of clearance on each side. Mine ended up being about 5.5 feet long for a 6-foot mantel.
Now attach one piece inside the mantel using wood screws. Make sure the angle is facing the right way – the top of the angle should point toward the back of the mantel so it hooks onto the wall piece when you hang it.
I use this same French cleat technique for my DIY floating bathroom shelves – it’s incredibly versatile for hanging anything heavy.
Step 6: Stain Your Pine Fireplace Mantel
Now that the cleat is attached inside the mantel box, it’s time to stain.
Wipe everything clean with a damp rag to remove sanding dust.
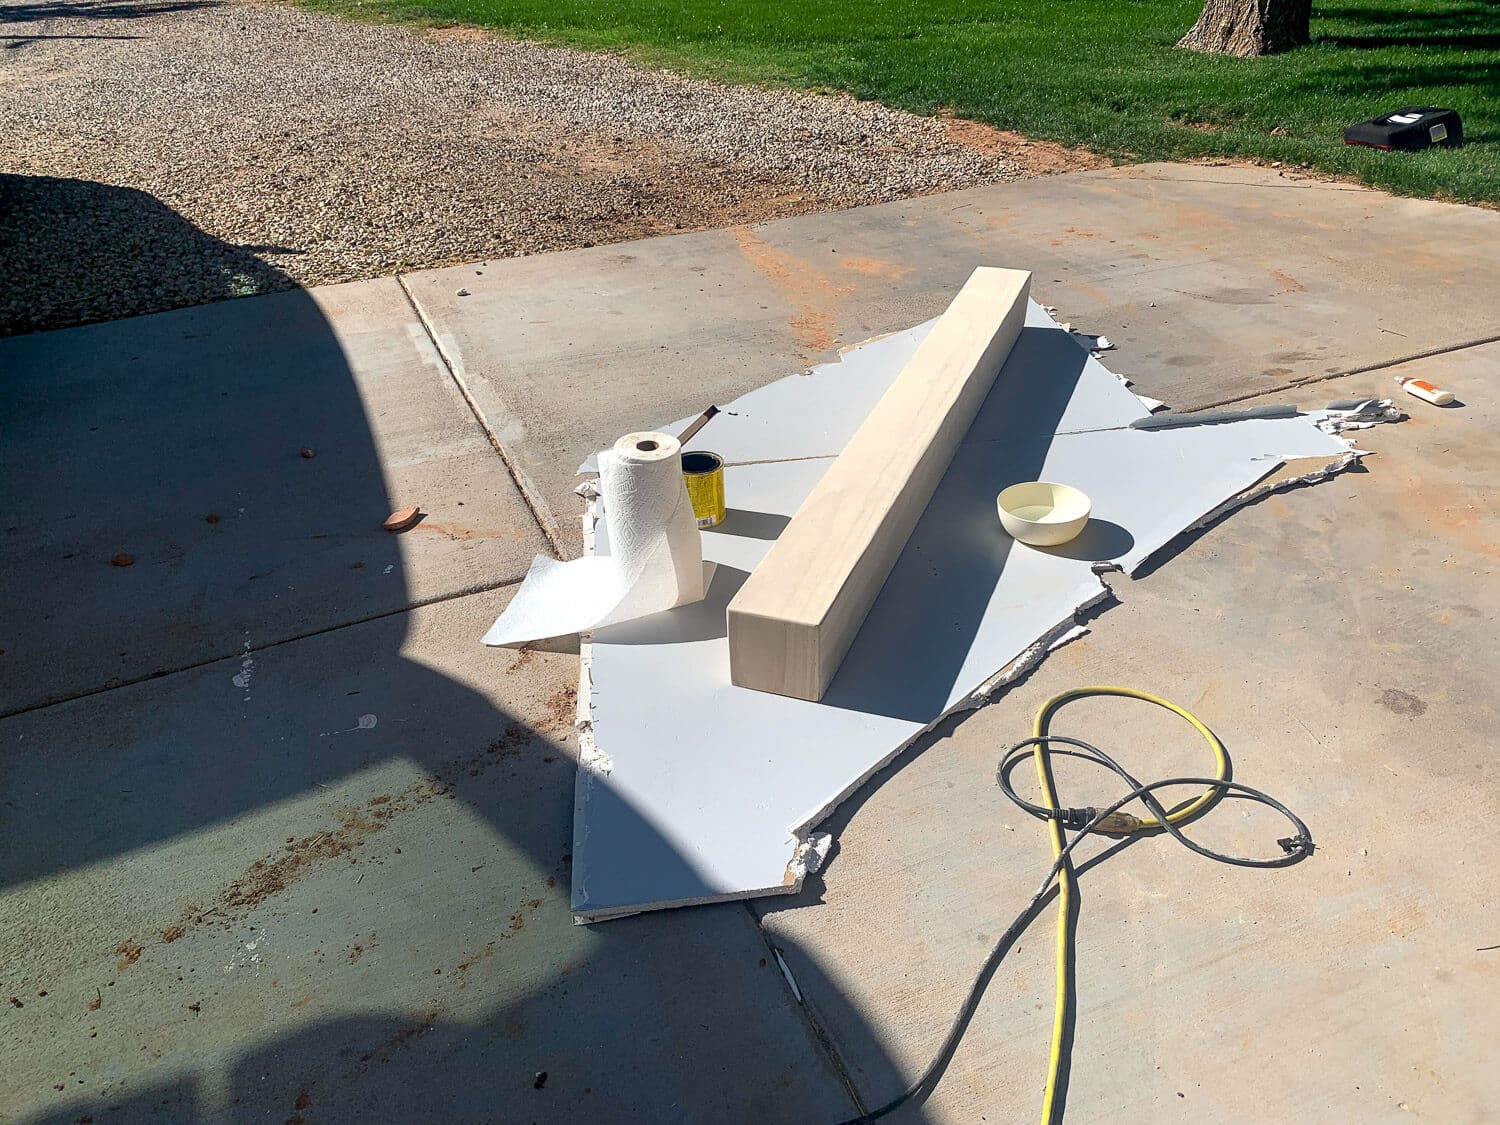
Here’s a pine-specific tip: Pine is super absorbent, so if you slap stain directly on it, it soaks in unevenly and looks blotchy. To avoid that, brush water over the wood first, then immediately apply your stain while it’s still damp. Way more even coverage.
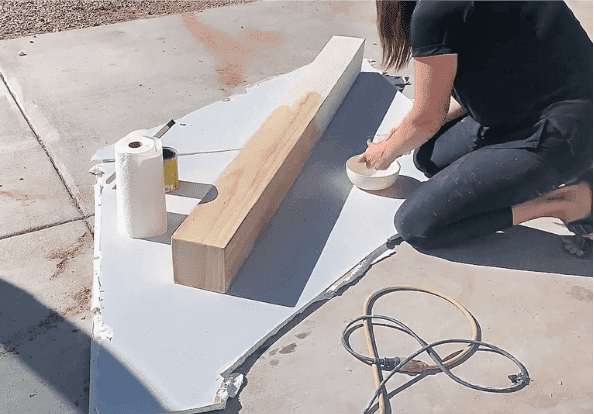
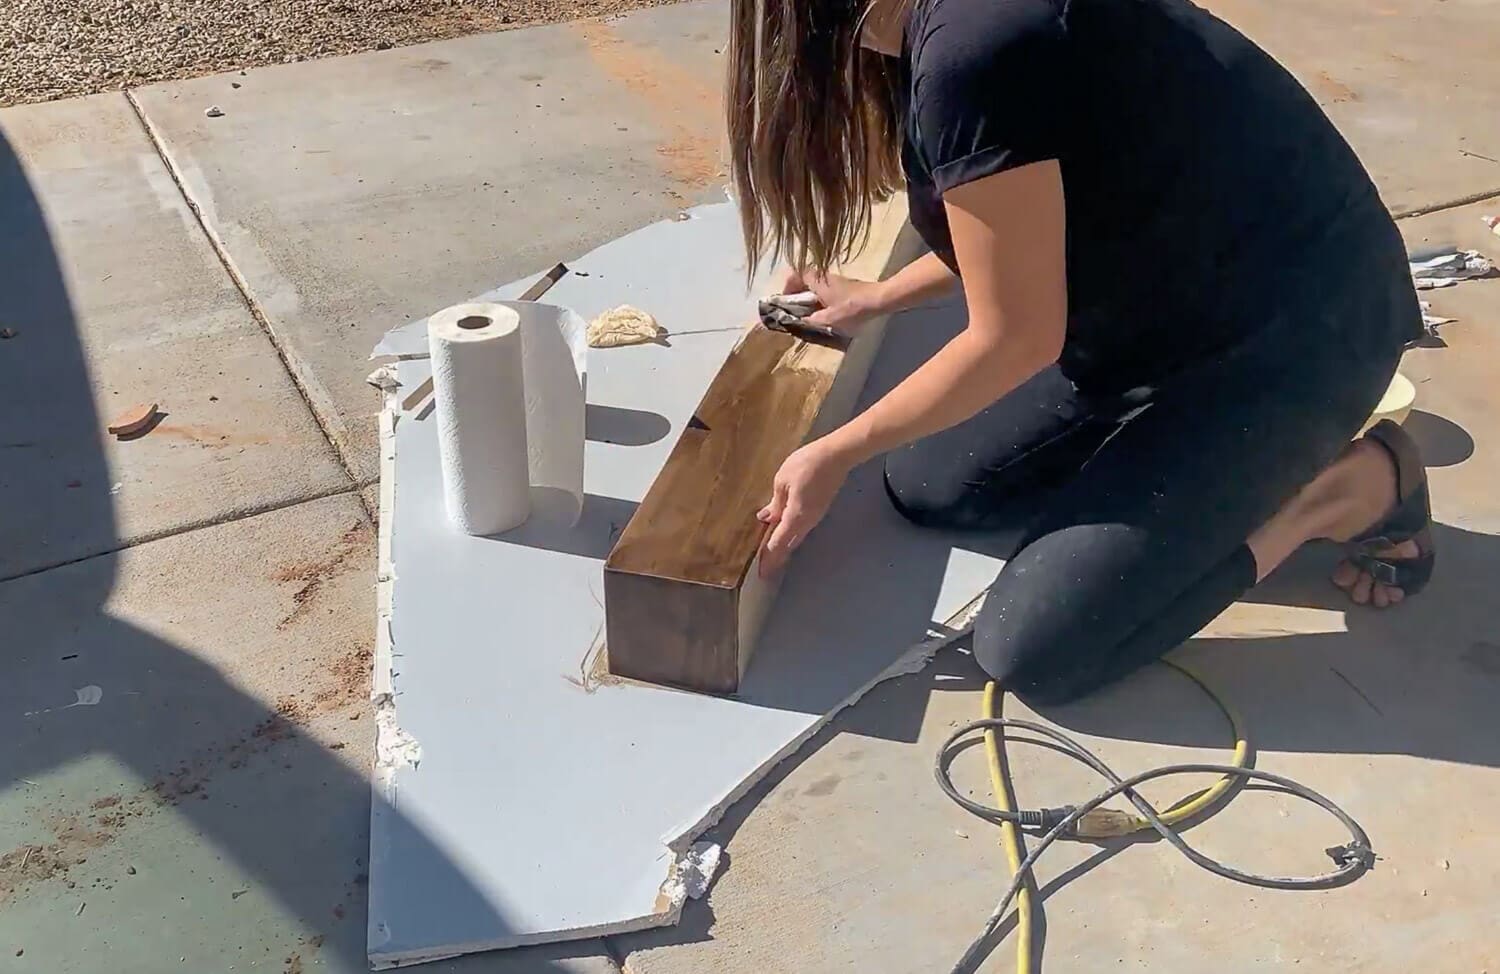
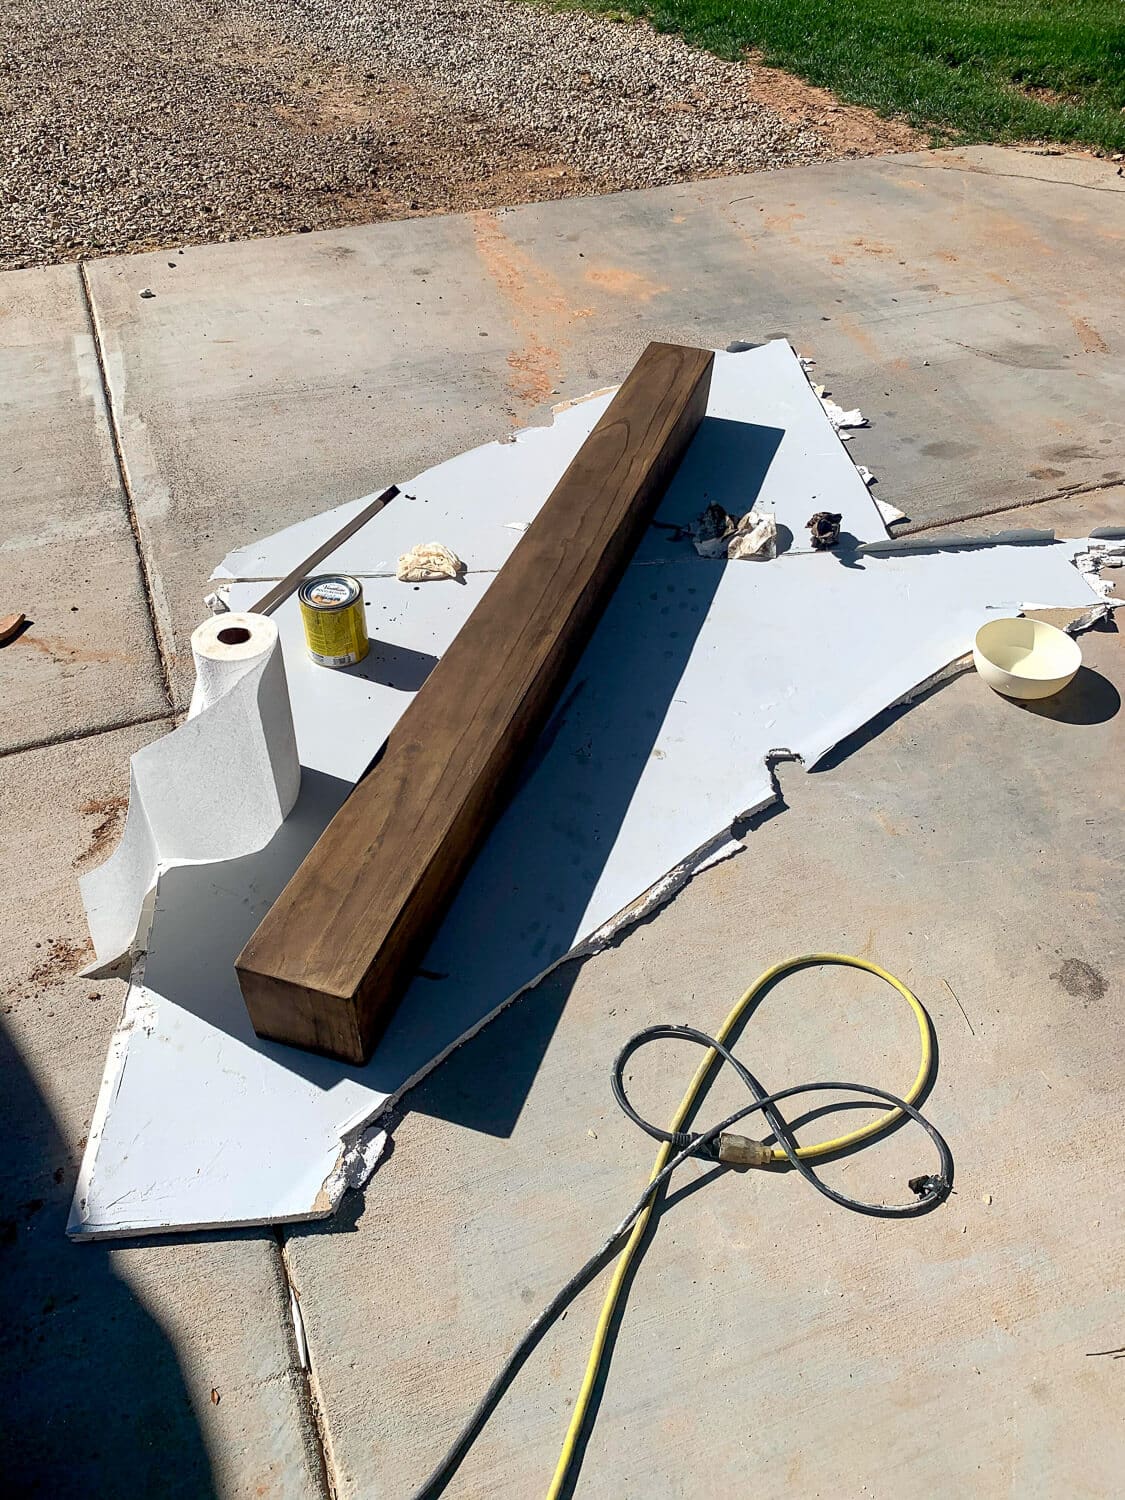
I used Minwax Special Walnut for this mantel – it’s a warm medium-brown that looks great against the black Roman Clay.
Once the stain dries, seal it with a few coats of polycrylic. This protects the wood from moisture and everyday wear. Let each coat dry fully before adding the next (usually 2-3 hours between coats).
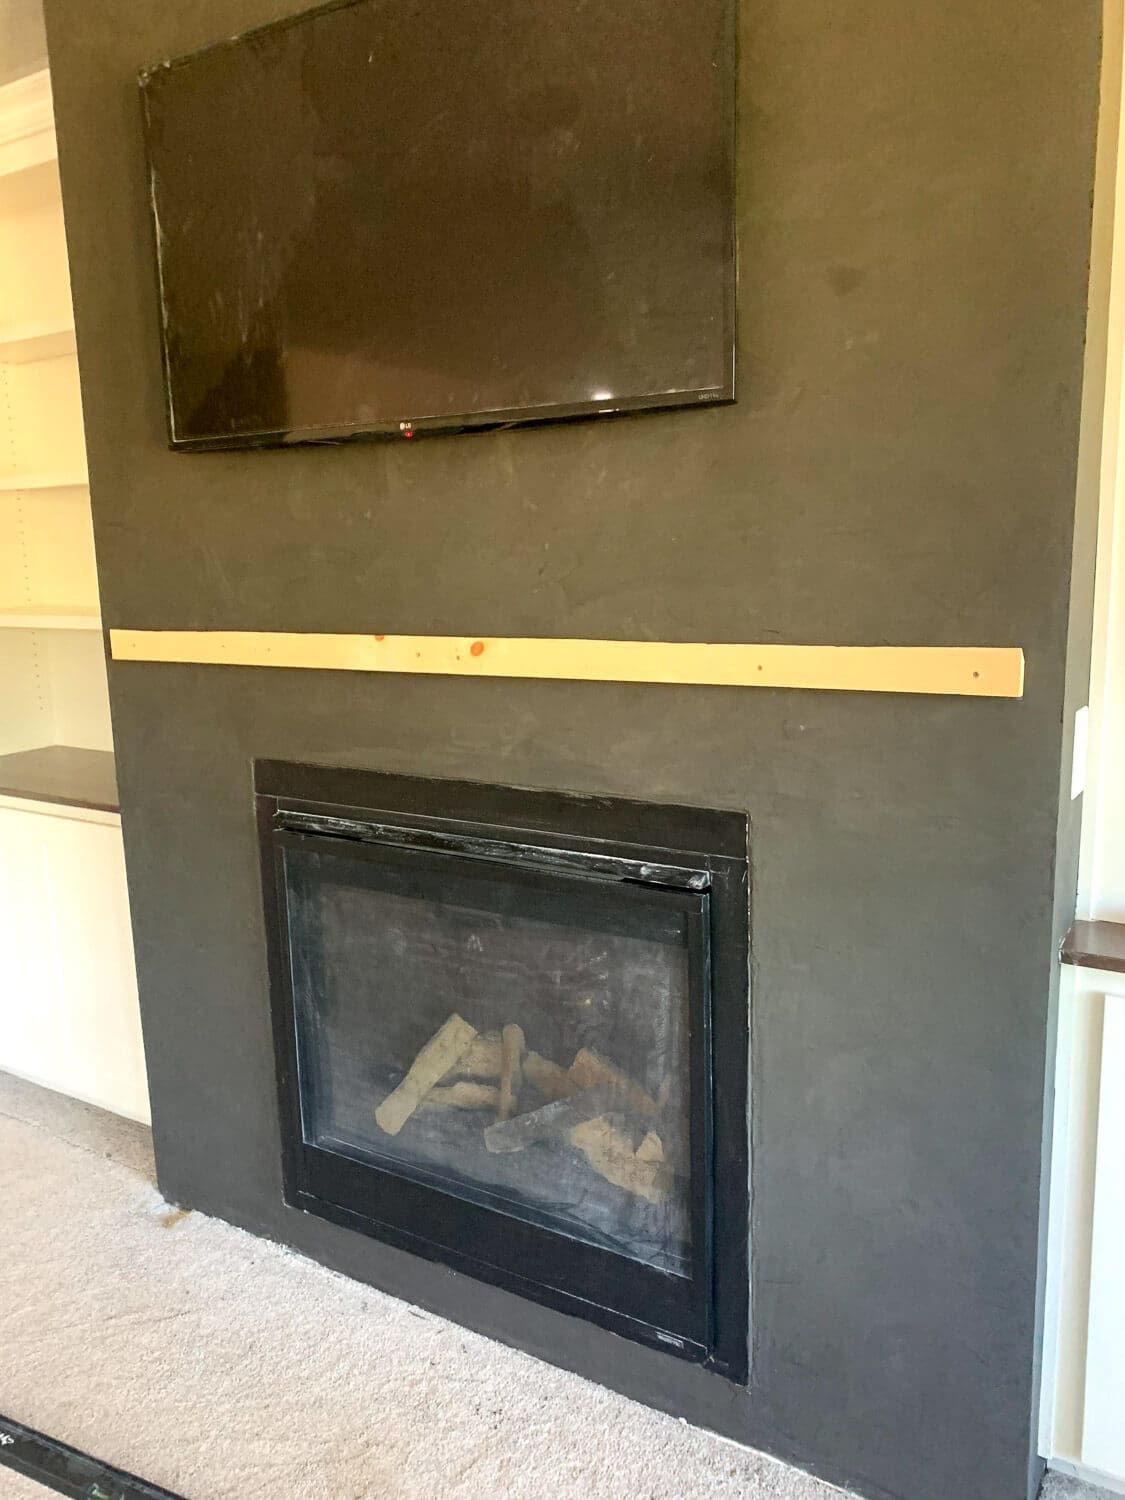
Step 7: Install the French Cleat on Your Fireplace
Now we’re installing the floating fireplace mantel. Grab your level and stud finder – you’ll need both.
⚠️ Important: Building codes require a minimum of 12 inches between a combustible wood mantel and the top of the fireplace opening. Always check your specific fireplace manufacturer’s guidelines.
Mark where the studs are. Then use your level to draw a long horizontal line on the fireplace where the bottom edge of the cleat will sit. Trust me, this makes installation way easier than trying to hold the cleat level while also screwing it in.
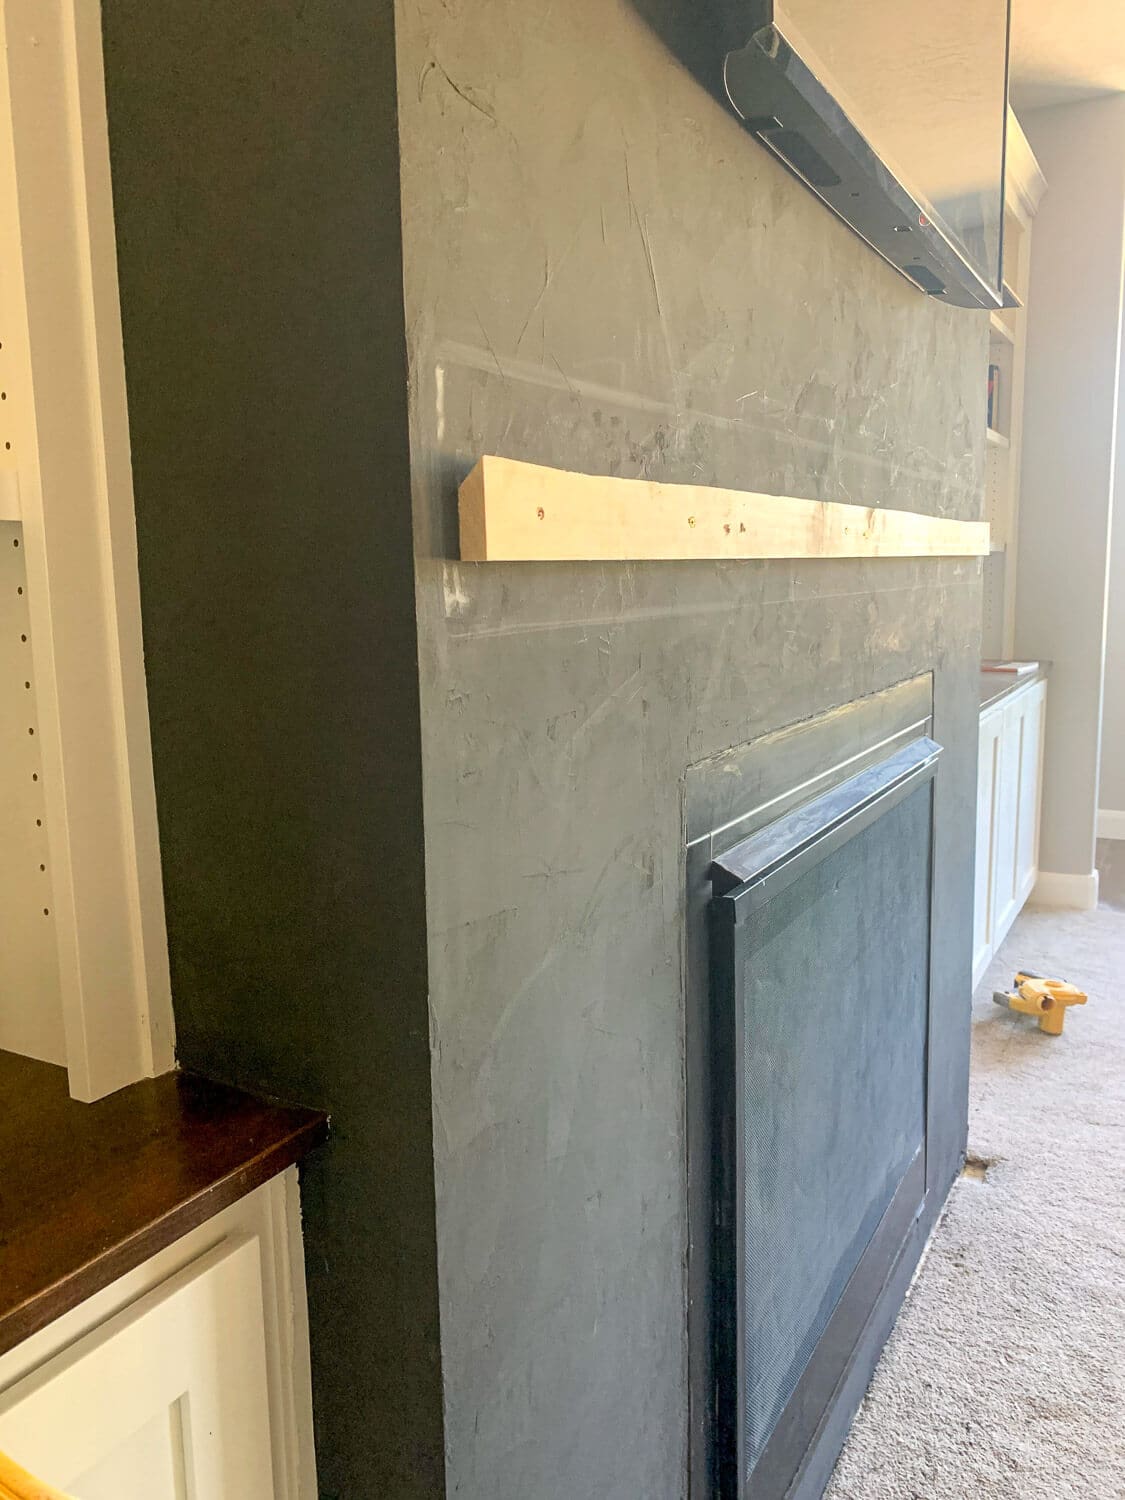
Line up your second French cleat piece to that pencil line. Make sure the angle is facing the right direction – it should angle downward toward the wall so the mantel piece can hook over it. Use 3-inch Power Pro Screws to attach it into each stud.
Step 8: Hang Your DIY Floating Fireplace Mantel
This is the easy part. Just hook the mantel cleat over the wall cleat. The 45-degree angles lock together and hold the weight.
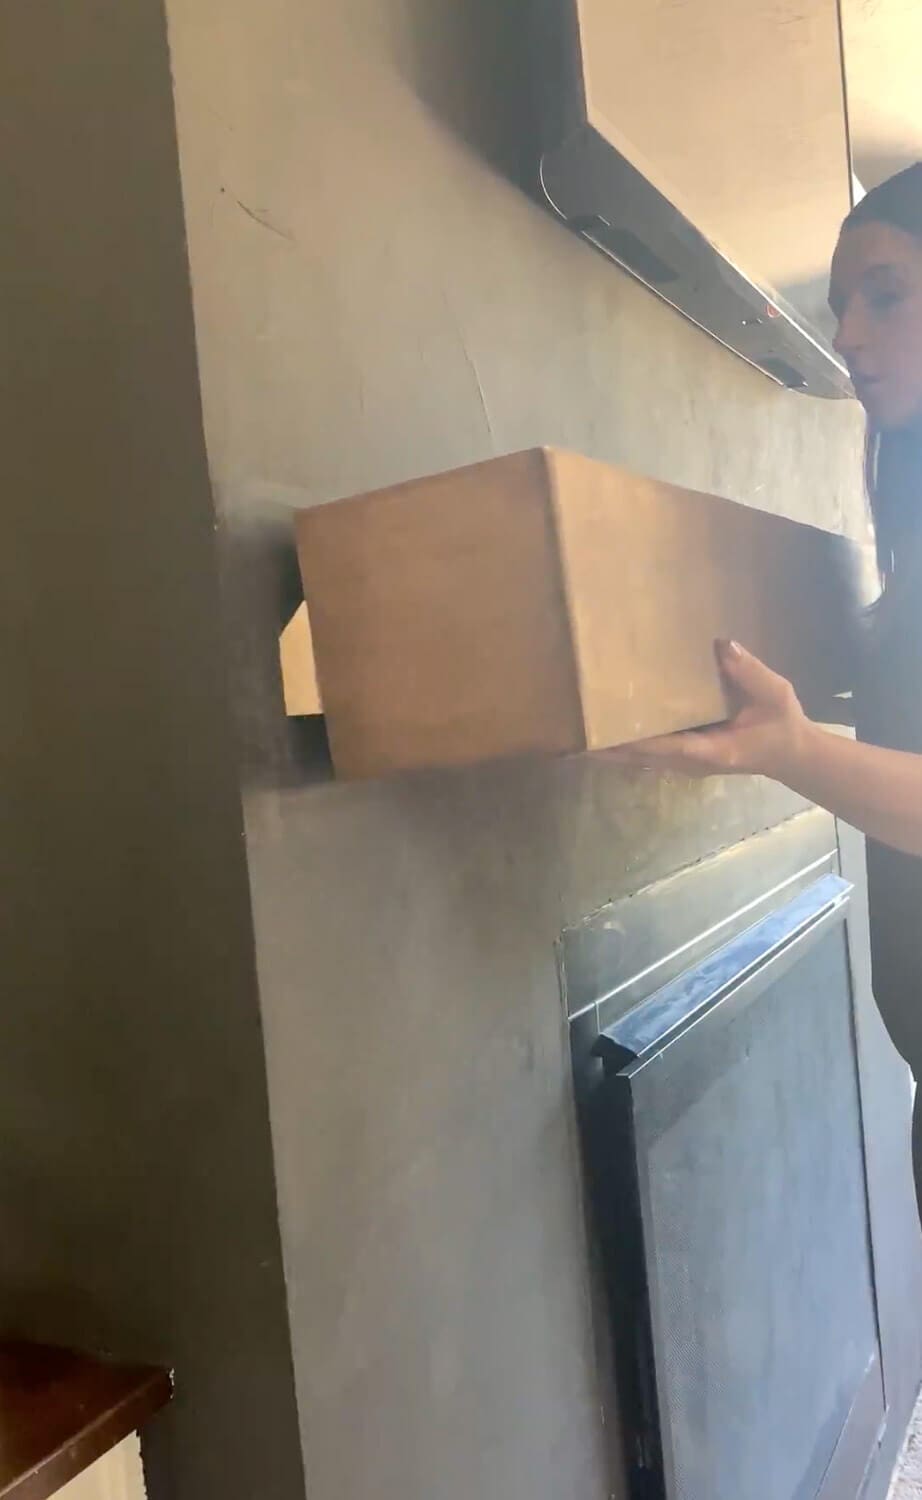
If you’ve got kids who might decide to test the weight limit by hanging off it (no judgment), you can add extra security:
- Screw through each side of the mantel into the cleat
- Shoot brad nails at an angle from inside the mantel into the cleat
- Drill 3-inch screws down through the top of the mantel into the wall cleat
Otherwise, the French cleat alone holds it just fine.
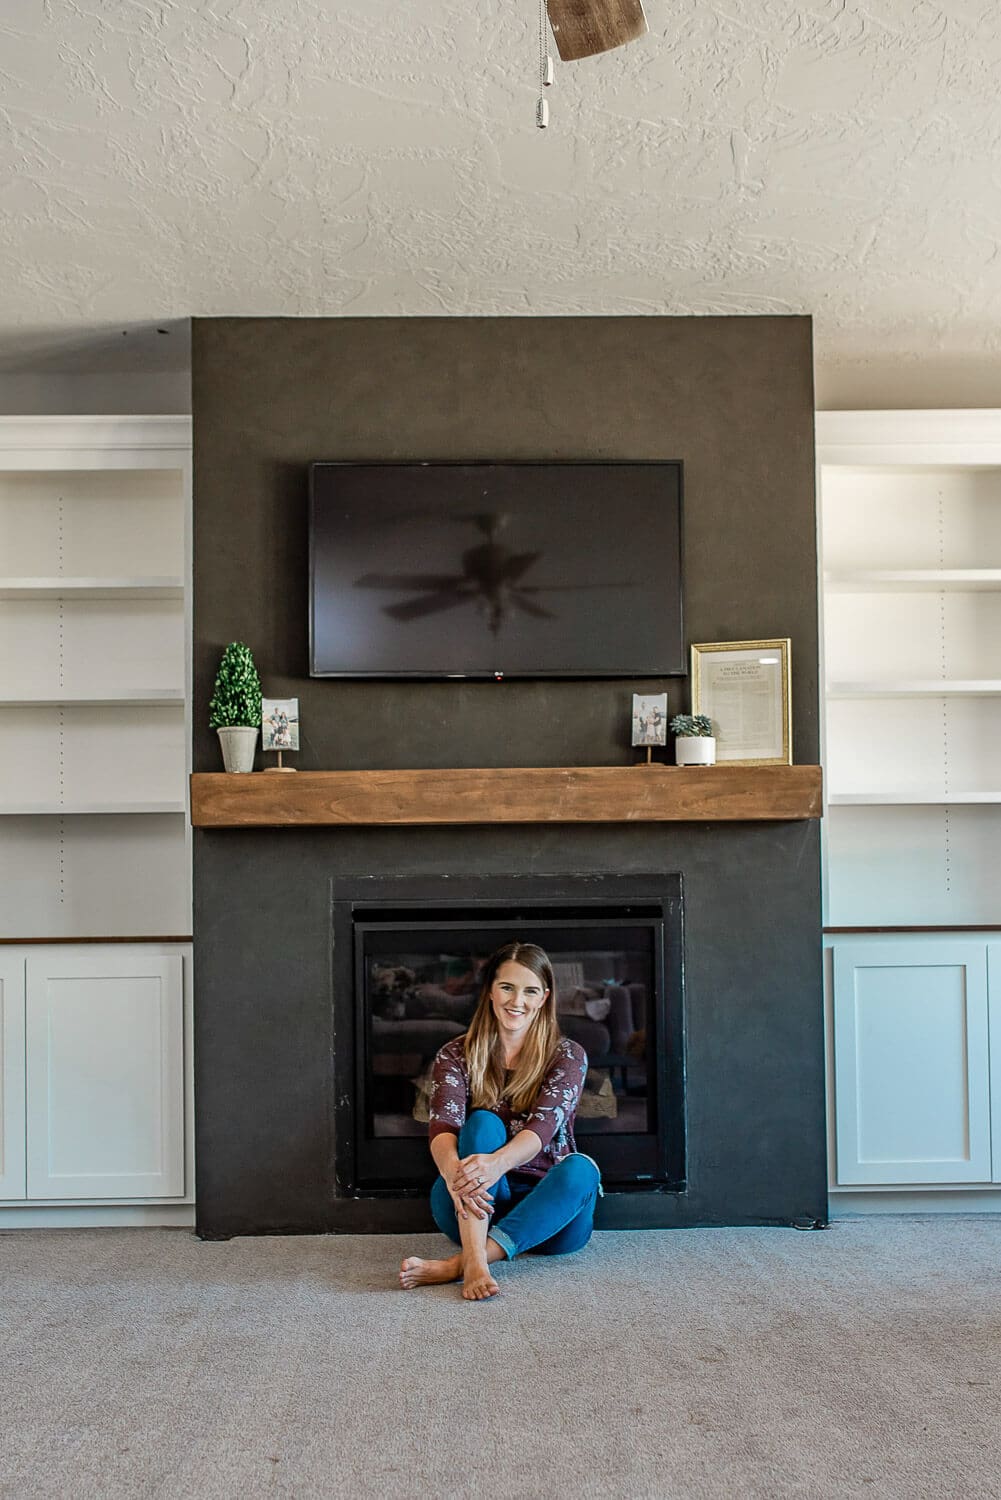
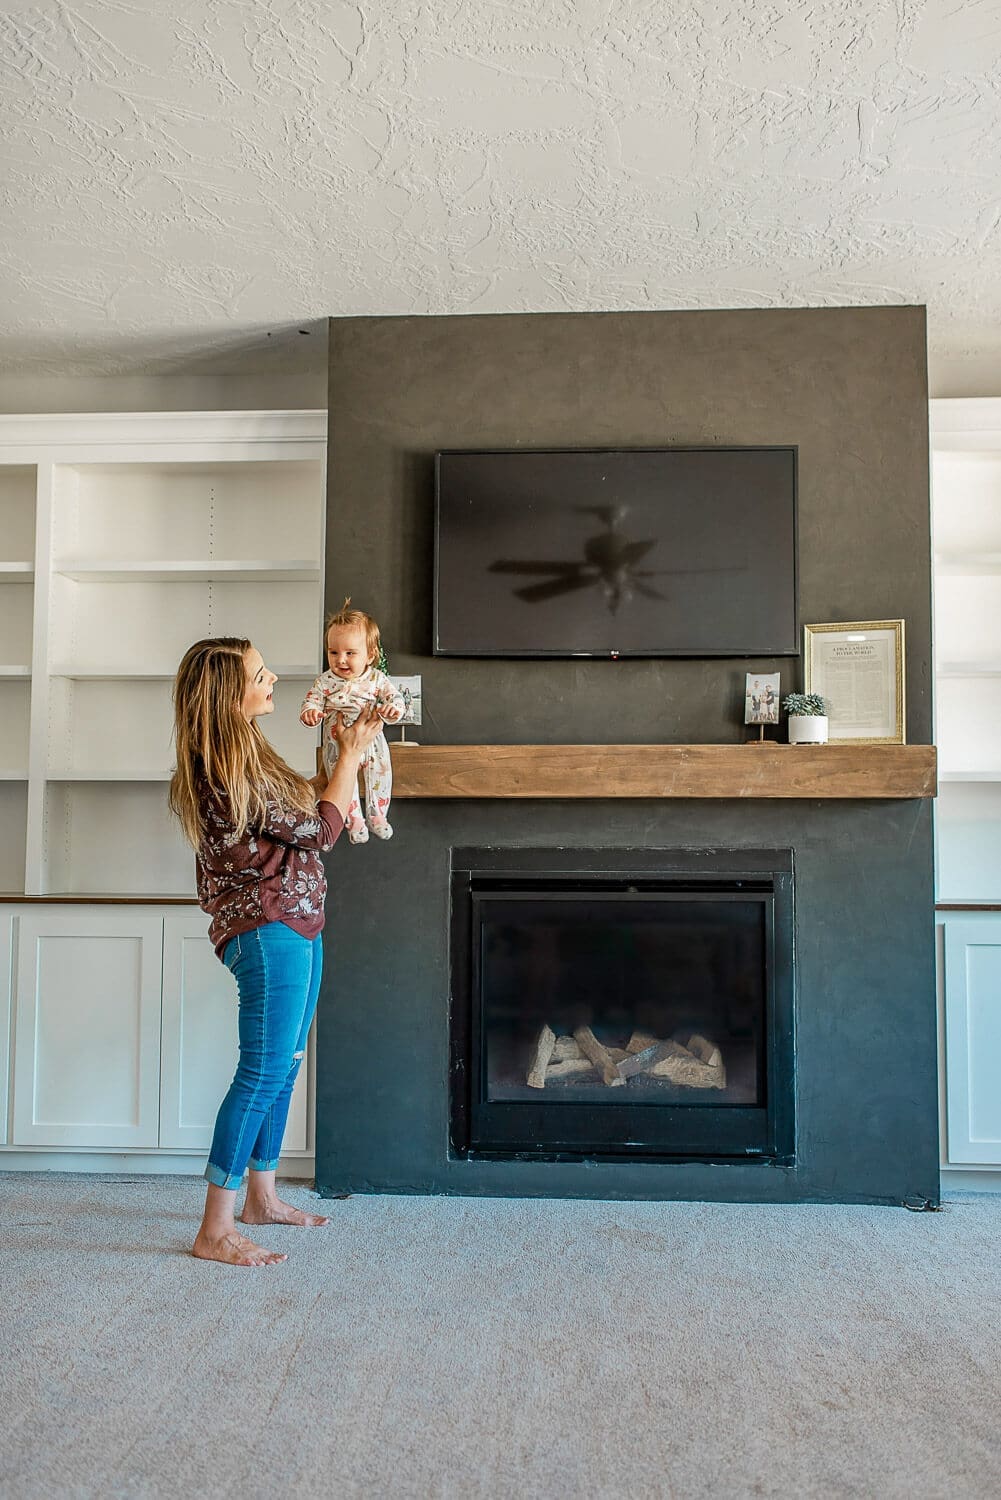
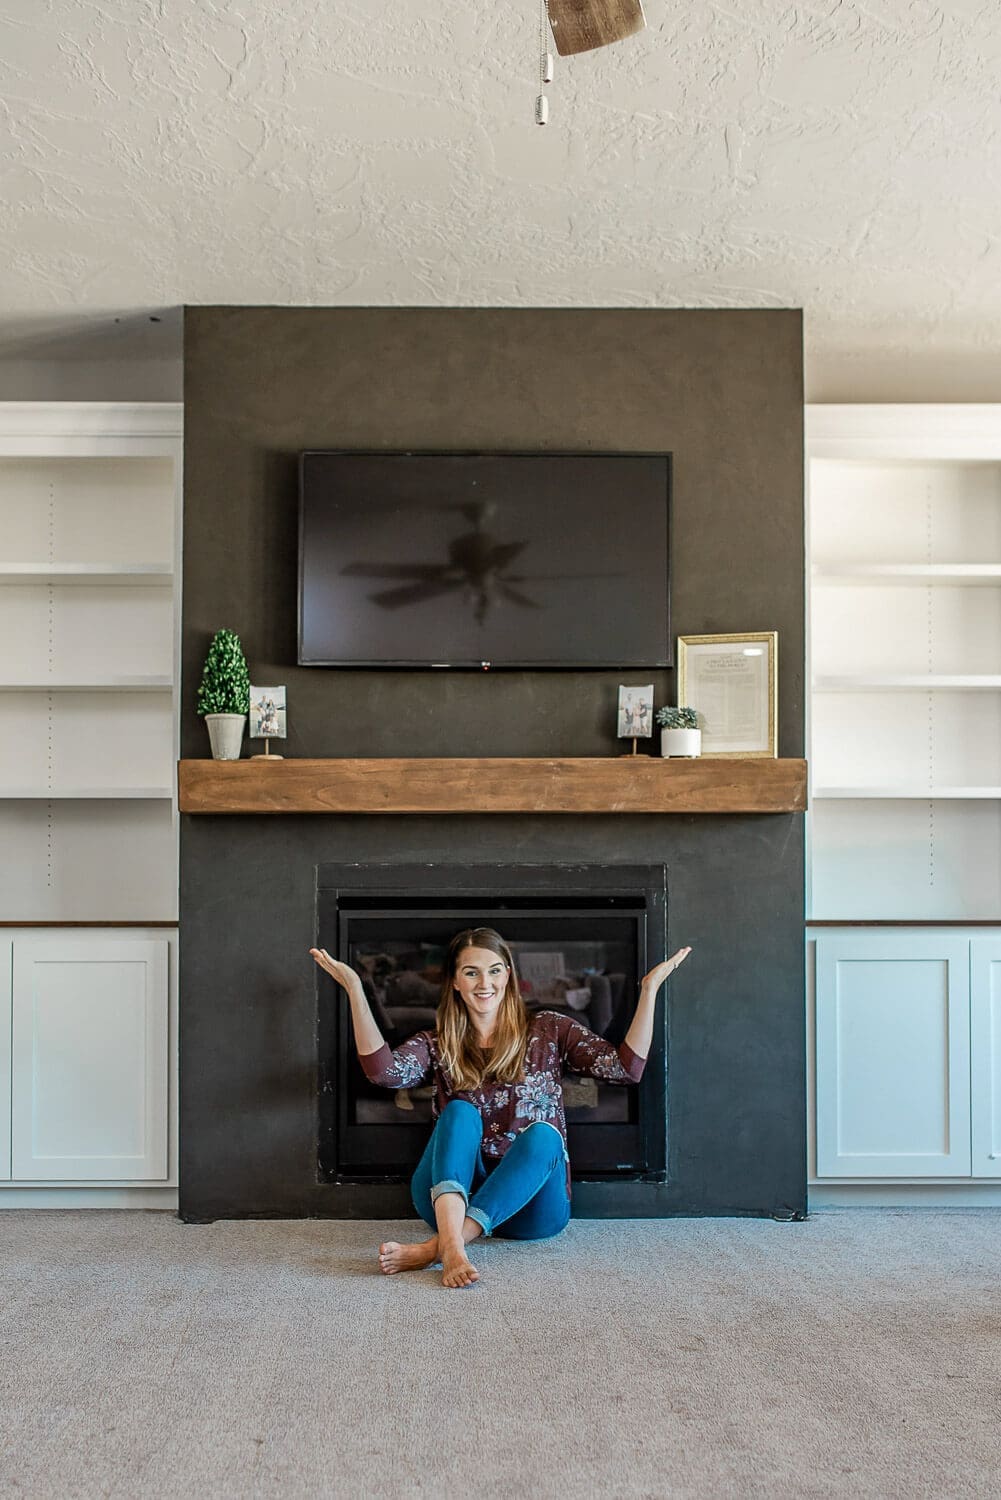
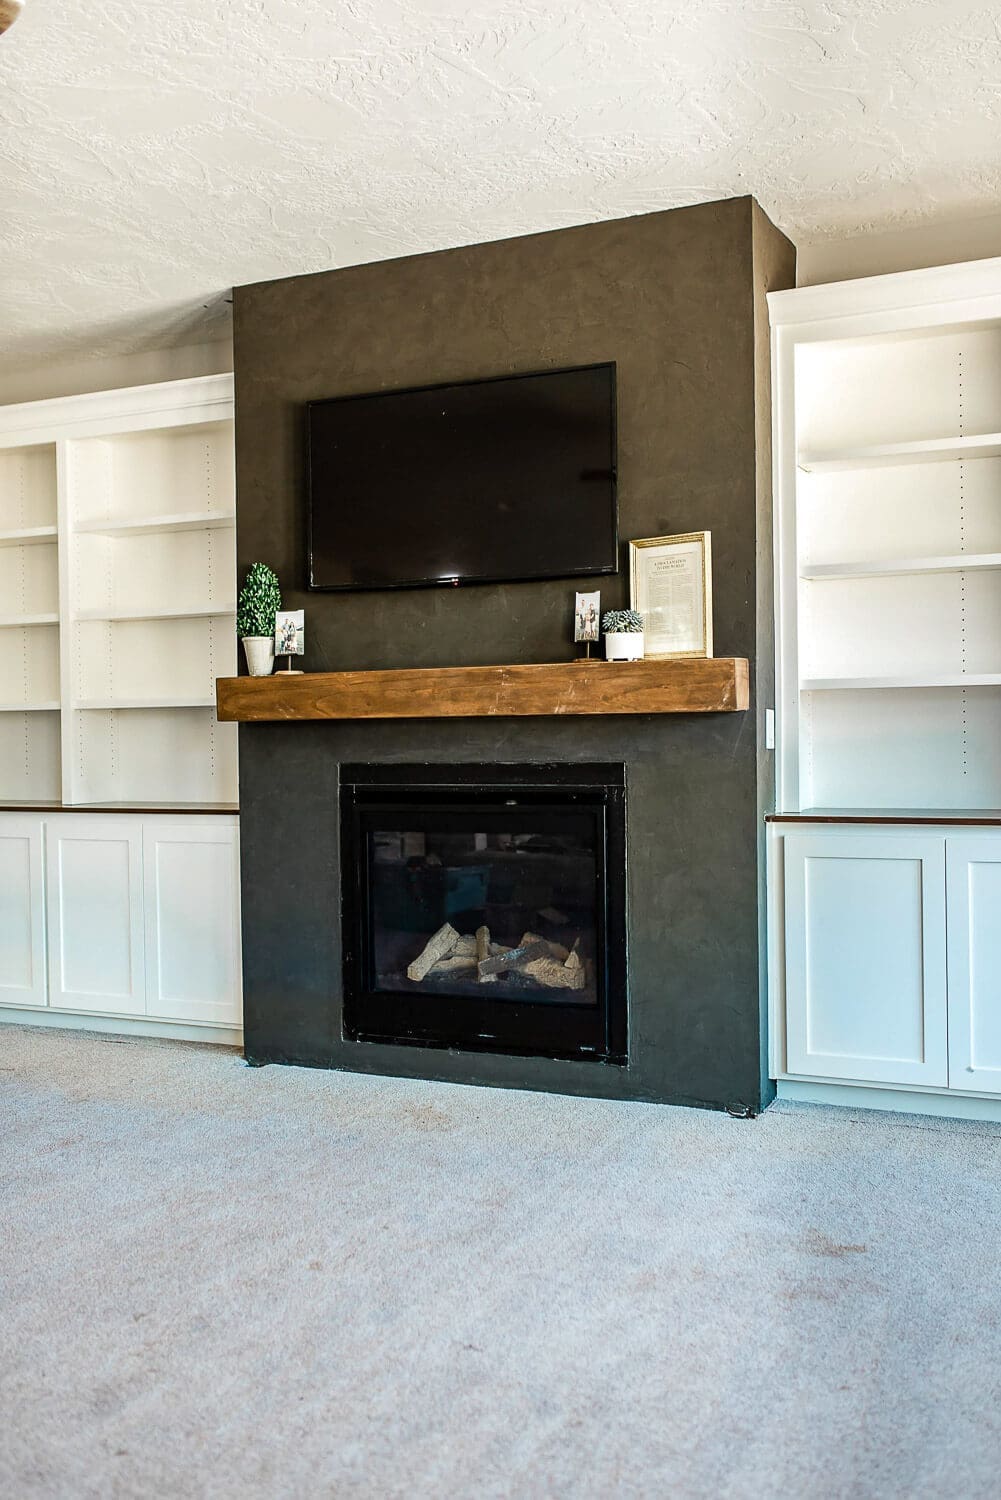
Finished DIY Floating Fireplace Mantel
I was worried the Minwax Special Walnut stain might be too dark at first, but against the black Roman Clay fireplace it’s perfect. The contrast really makes the wood beam mantel stand out.
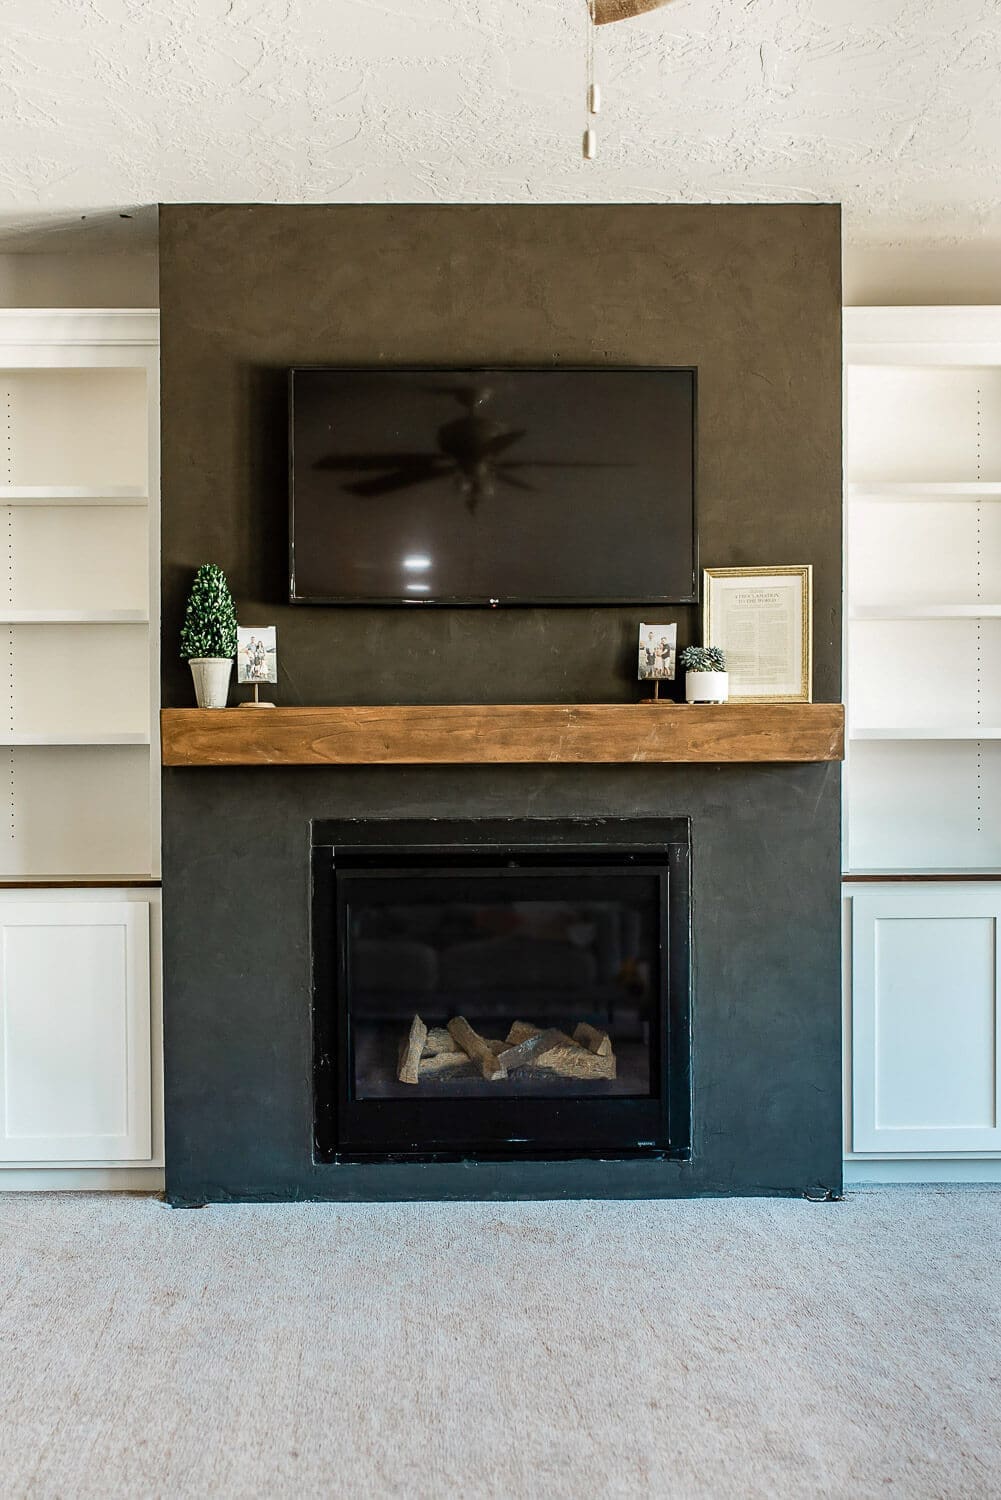
If you love this look, check out my Black Roman Clay Fireplace tutorial – it’s one of my favorite projects and way more forgiving to work with than paint.
I’ve used this same mantel-building technique on other fireplaces too, like my ugly rock fireplace makeover. Want to build the matching built-in shelves you see on either side of the fireplace? I’ve got a full tutorial on DIY custom built-ins.
Once your mantel is up, the real fun begins – here’s how I style my fireplace mantel for Christmas.
Thanks for reading! Drop a comment below if you have any questions – I’m happy to help.
📌 Save This Project for Later
Pin now and come back anytime you’re ready to tackle your own fireplace mantel!

Floating Fireplace Mantel FAQs
Build a hollow box from pine boards using mitered joints, attach a French cleat inside, then hang it on a matching cleat screwed into the fireplace studs. The whole process takes about one weekend and doesn’t require advanced woodworking skills.
Mine cost under $75 using pine boards from Home Depot. A pre-made solid wood beam mantel runs $300–$500+, so building your own saves a ton.
Pine is affordable and beginner-friendly. It’s soft enough to sand and cut easily, and it takes stain beautifully. Just make sure to dampen it with water before staining to avoid blotchiness.
A French cleat is two pieces of wood cut at matching 45-degree angles. One piece screws into the wall studs, the other attaches inside the mantel. The mantel hooks over the wall piece and locks in place – super secure and way easier than other hanging methods.
Building codes require at least 12 inches between a combustible wood mantel and the top of the fireplace opening. Always check your specific fireplace manufacturer’s guidelines to be safe.
Yes, but the seams will be more visible. Mitered joints create that seamless solid-beam look, which is the whole point of this project. If you don’t have a table saw, you could use butt joints and just accept that it’ll look more like a hollow box.
Yes – polyacrylic protects the wood from moisture, everyday wear, and keeps the stain from fading. A few coats will give you a nice subtle sheen and make the mantel last way longer.
More Fireplace Projects
If you loved this DIY floating fireplace mantel tutorial, here are more fireplace makeovers I’ve done:
- DIY Black Roman Clay Fireplace – The companion project to this mantel
- DIY Fireplace Mantel With Hidden Outlet – Same technique, but with oak and a built-in outlet
- Updating An Ugly Rock Fireplace – From 1970s eyesore to modern focal point
- Painted Brick Fireplace Makeover – Quick refresh for dated brick
- Building a DIY Stone Fireplace – Floor-to-ceiling stone from scratch

What is your stain color?
I think it’s Early American by Minwax
[…] DIY Floating Beam Mantel from Crystal Montenegro Home […]