


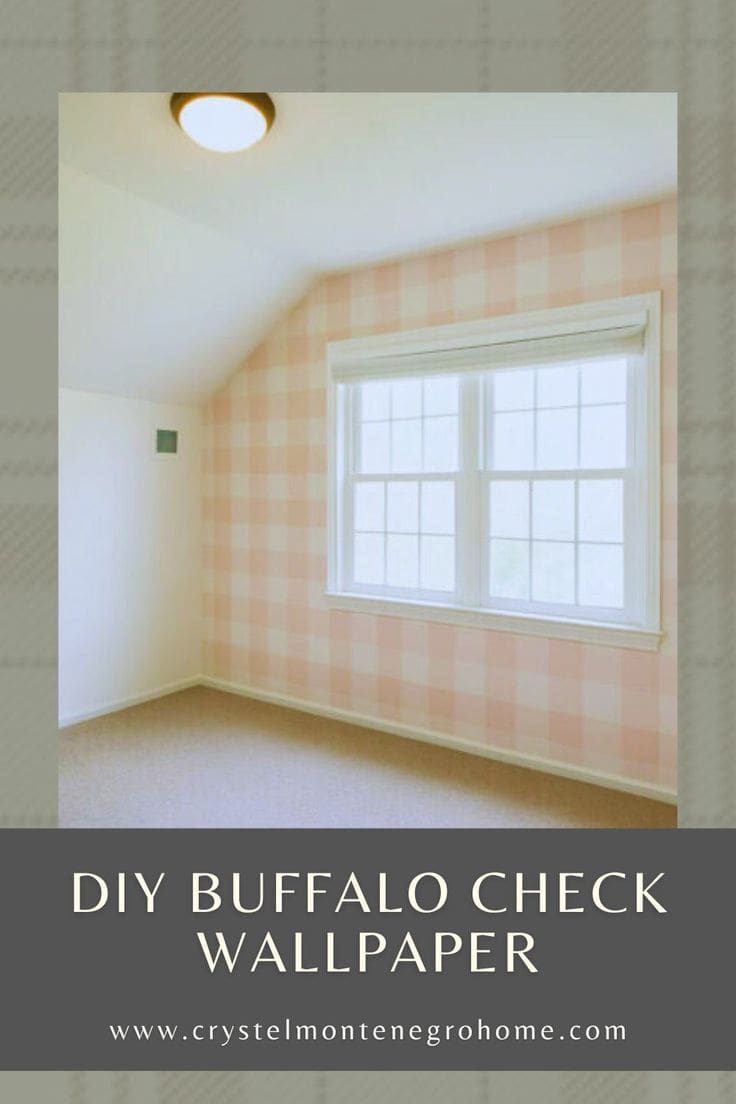
DIY Buffalo Plaid Accent Wall: Step-by-Step Painting Guide


Updated July 13, 2026
This DIY buffalo plaid accent wall is one of my favorite girl’s room projects yet. It’s classic, playful, and surprisingly easy to pull off – even better when painted in soft pink tones for a dreamy bedroom upgrade.
Here’s exactly how I created this blush buffalo plaid wall in my daughter’s room. The best part? This whole project cost me just $8! (Yes, really!)
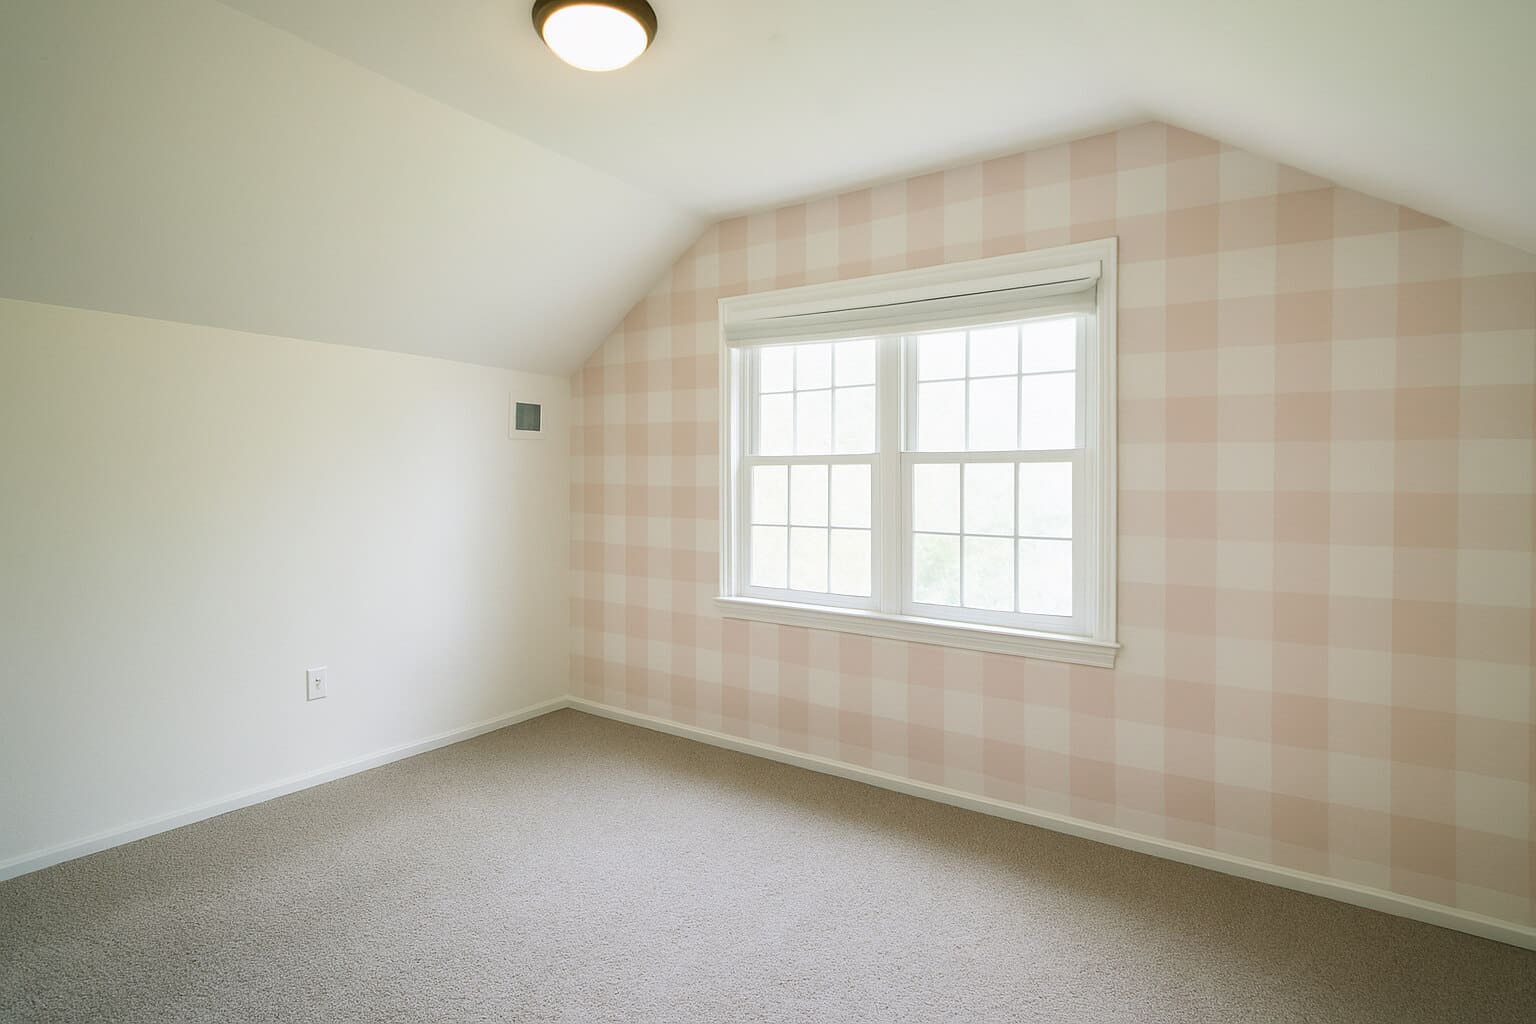
Table of Contents
- What You’ll Need to Paint a Buffalo Plaid Accent Wall
- Watch the DIY Buffalo Plaid Accent Wall Come to Life (Step-by-Step Video)
- Step-By-Step Instructions For Painting a Plaid Accent Wall
- Why I Love the Look of Buffalo Plaid:
- 📌 Save this Project for Later
- Frequently Asked Questions About Painting a Buffalo Plaid Wall
What You’ll Need to Paint a Buffalo Plaid Accent Wall
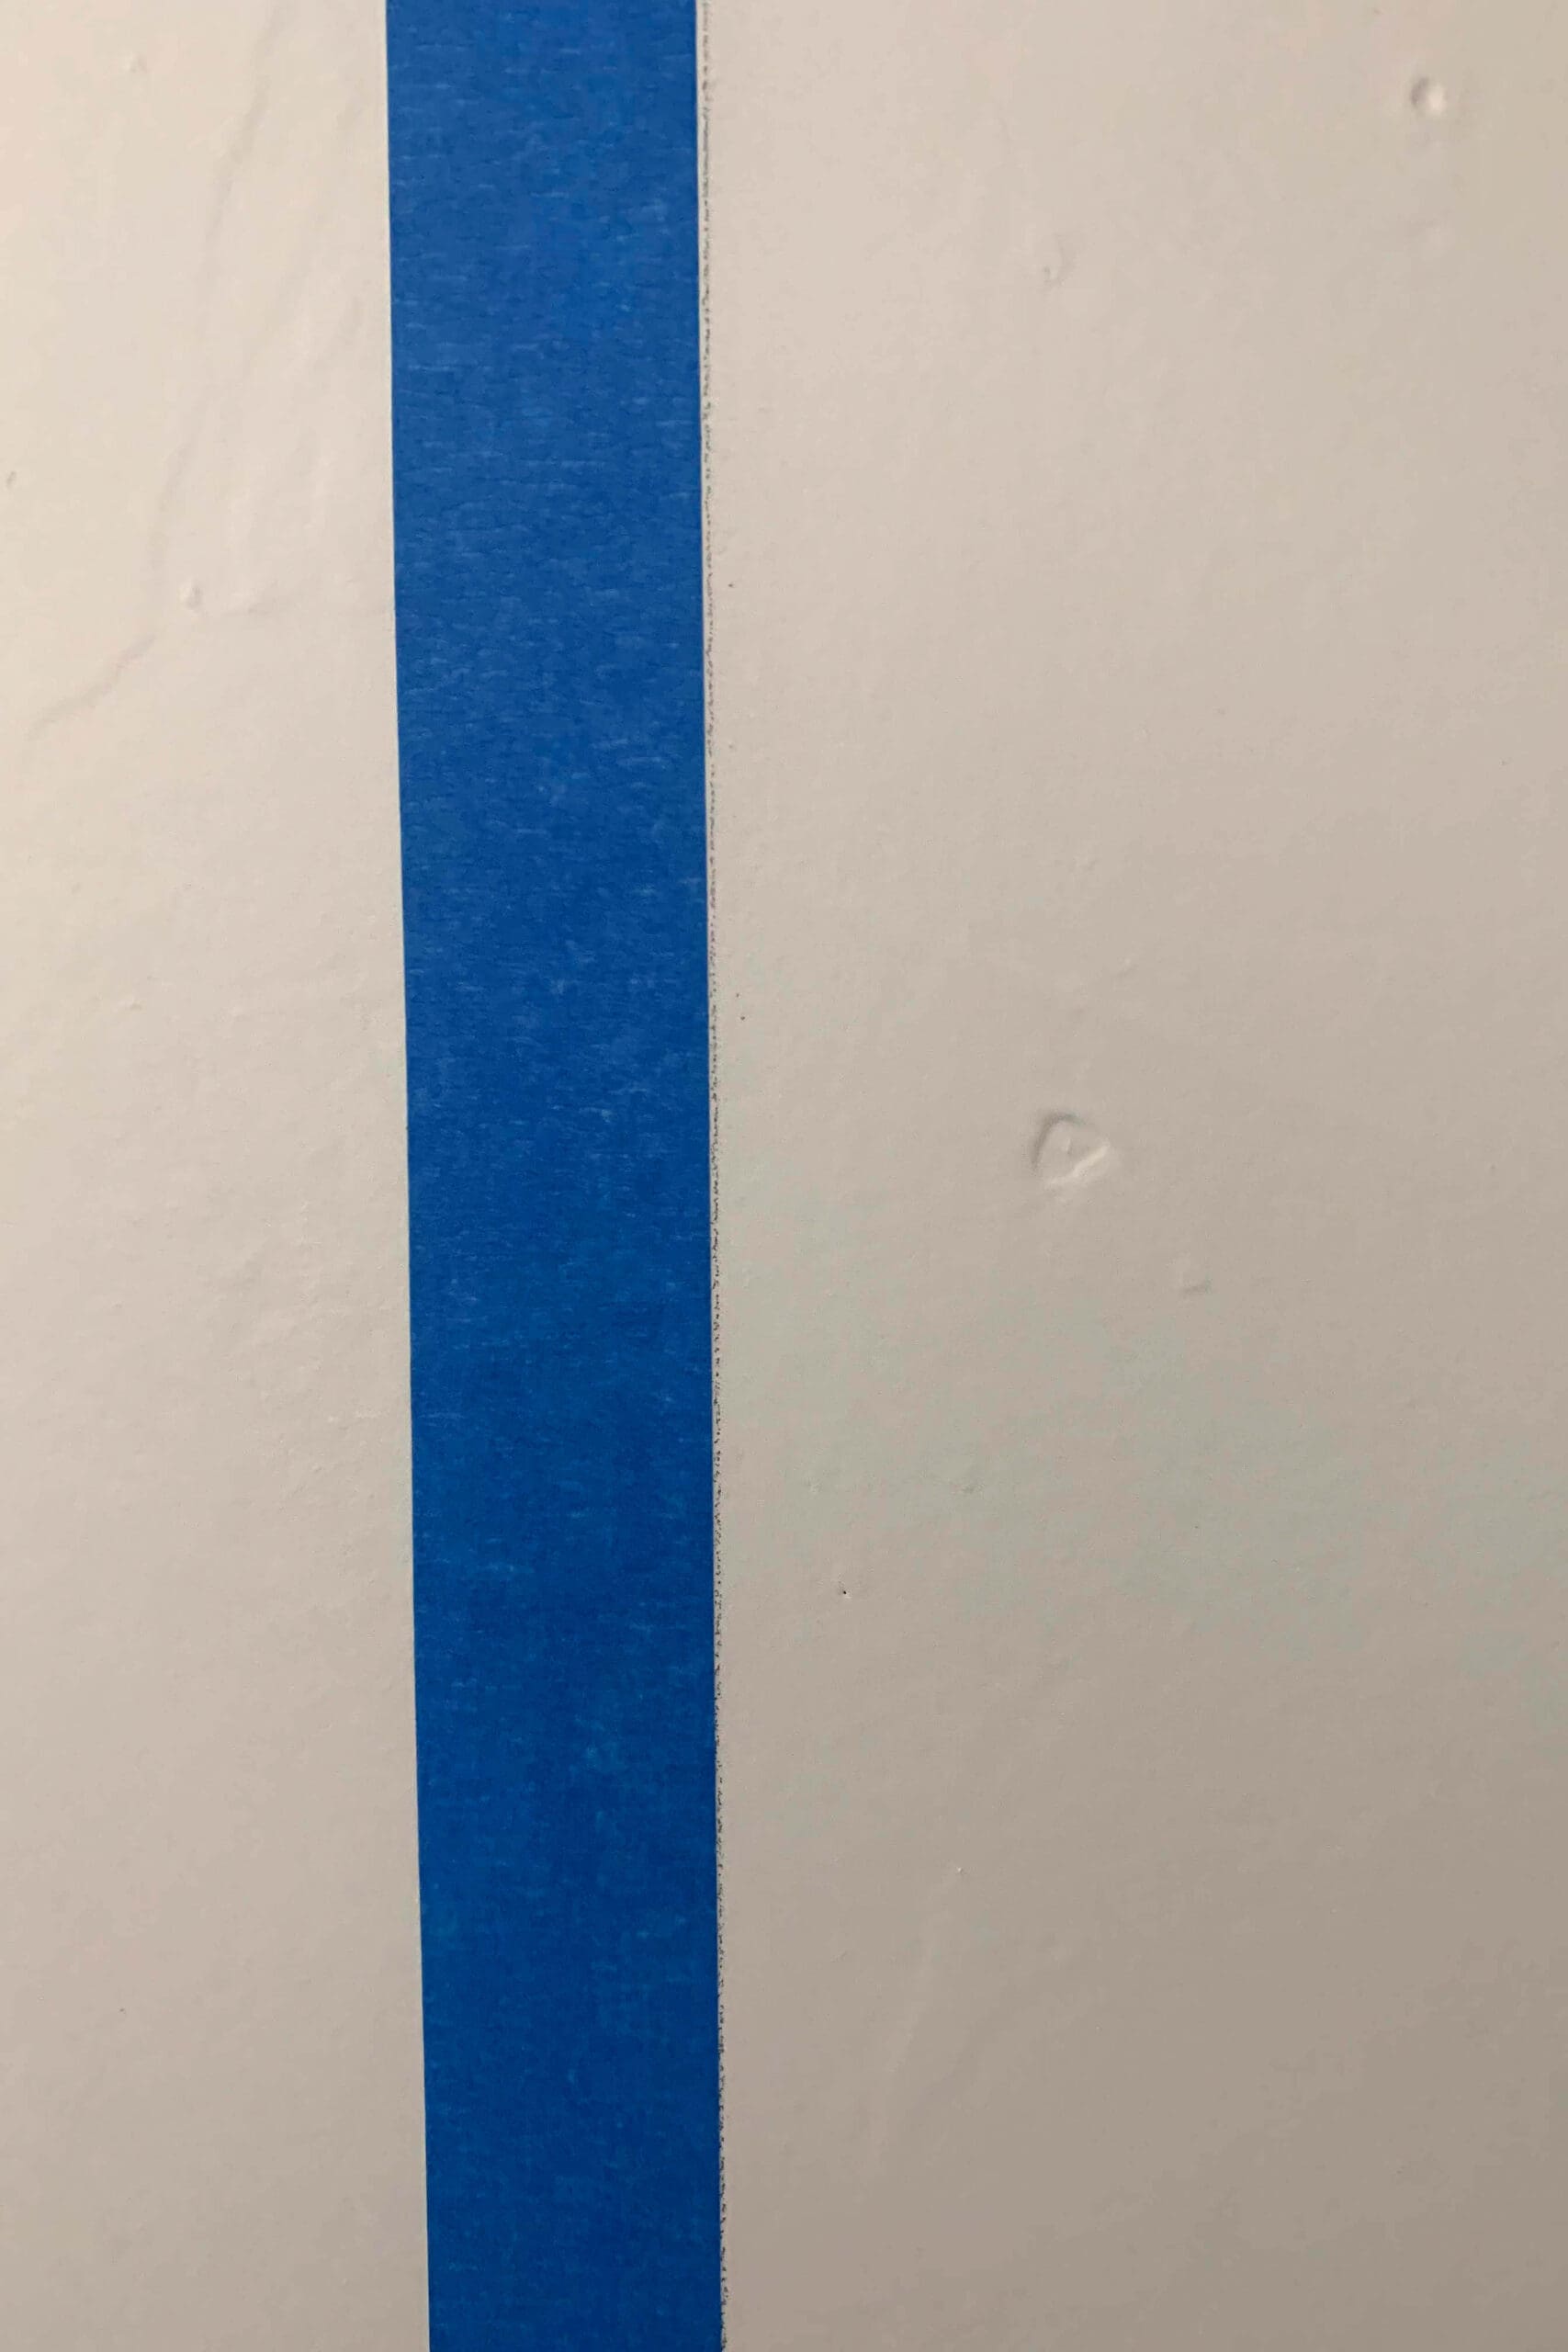
- Painter’s tape
- Laser level (or a regular level)
- Pencil
- 3 paint colors:
- Base color (I used the current white wall color)
- Medium color
- Darker shade
- Foam paint roller
- Paintbrush
- Drop cloth
Watch the DIY Buffalo Plaid Accent Wall Come to Life (Step-by-Step Video)
Want to see how this blush buffalo plaid wall came together? This quick video walks you through each step of the process – from taping your grid to painting the overlapping squares. If you’re more of a visual learner, hit play and follow along!
Step-By-Step Instructions For Painting a Plaid Accent Wall
Step 1: Prep Your Wall for Buffalo Plaid
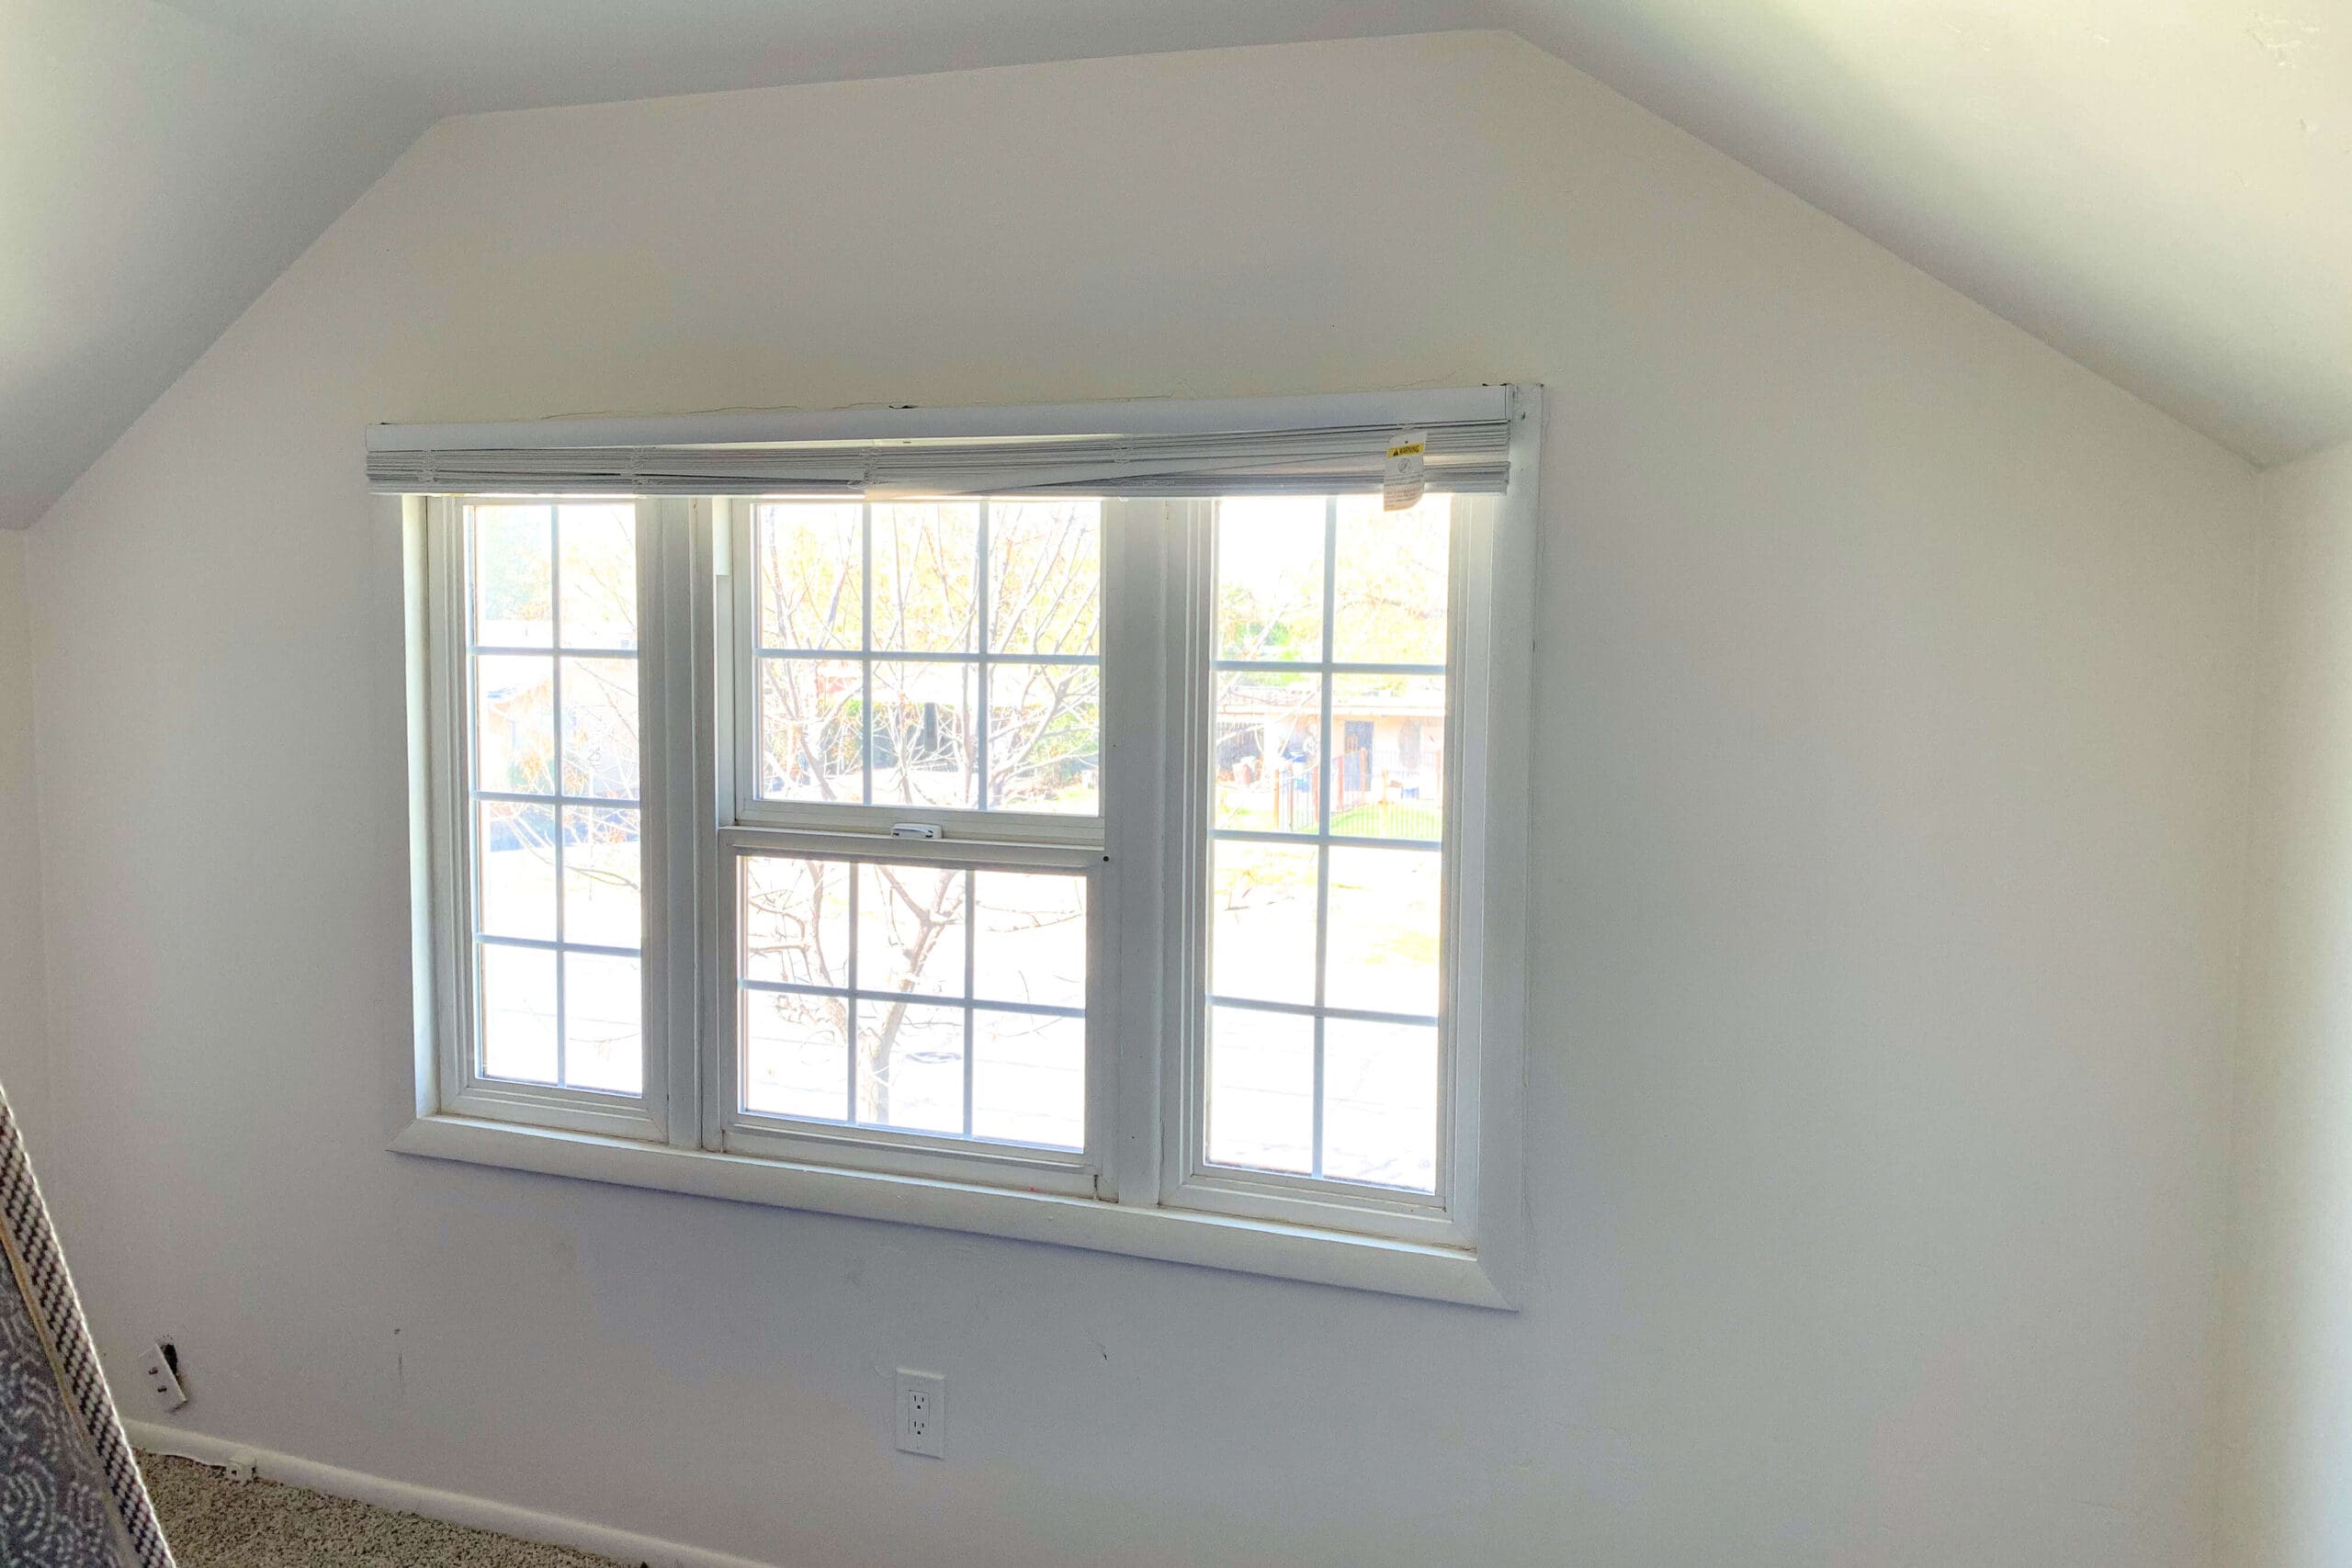
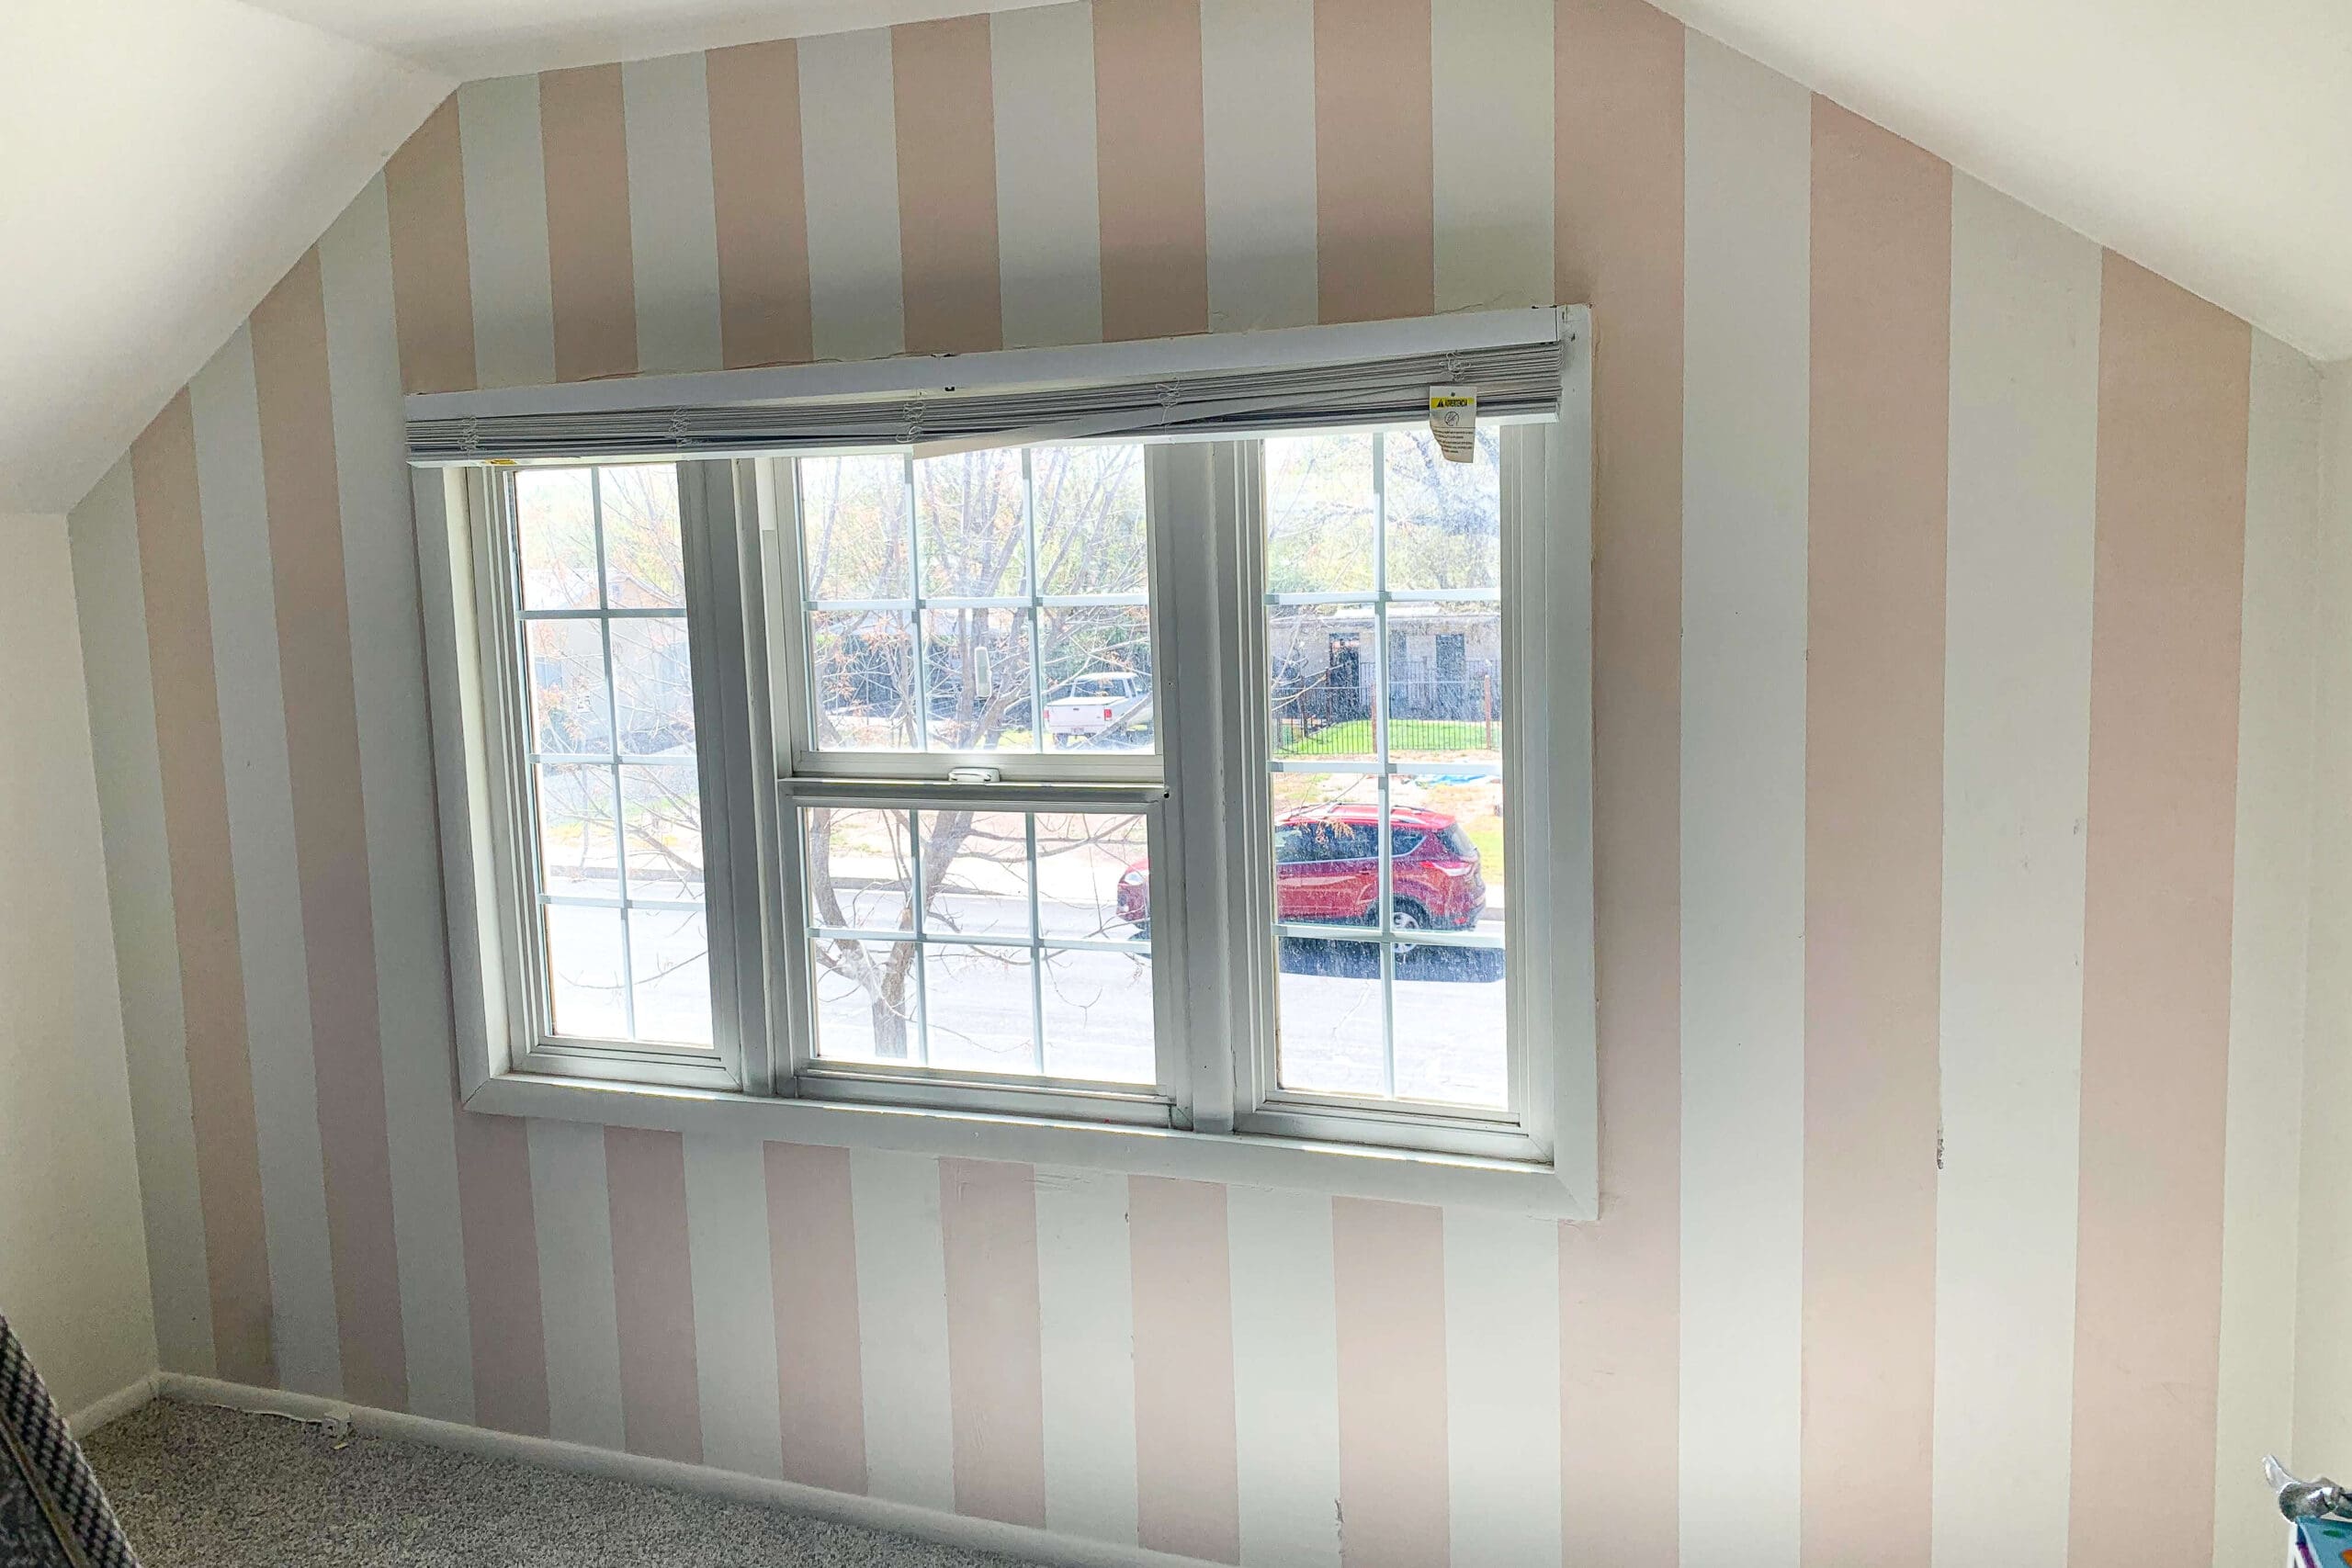
Start with a clean, dry wall. Fill in any nail holes or imperfections (those little flaws will not be hidden under buffalo plaid). I used the existing white wall color as my base. If your wall isn’t already light-colored, start by painting it with your chosen base shade and let it fully dry.
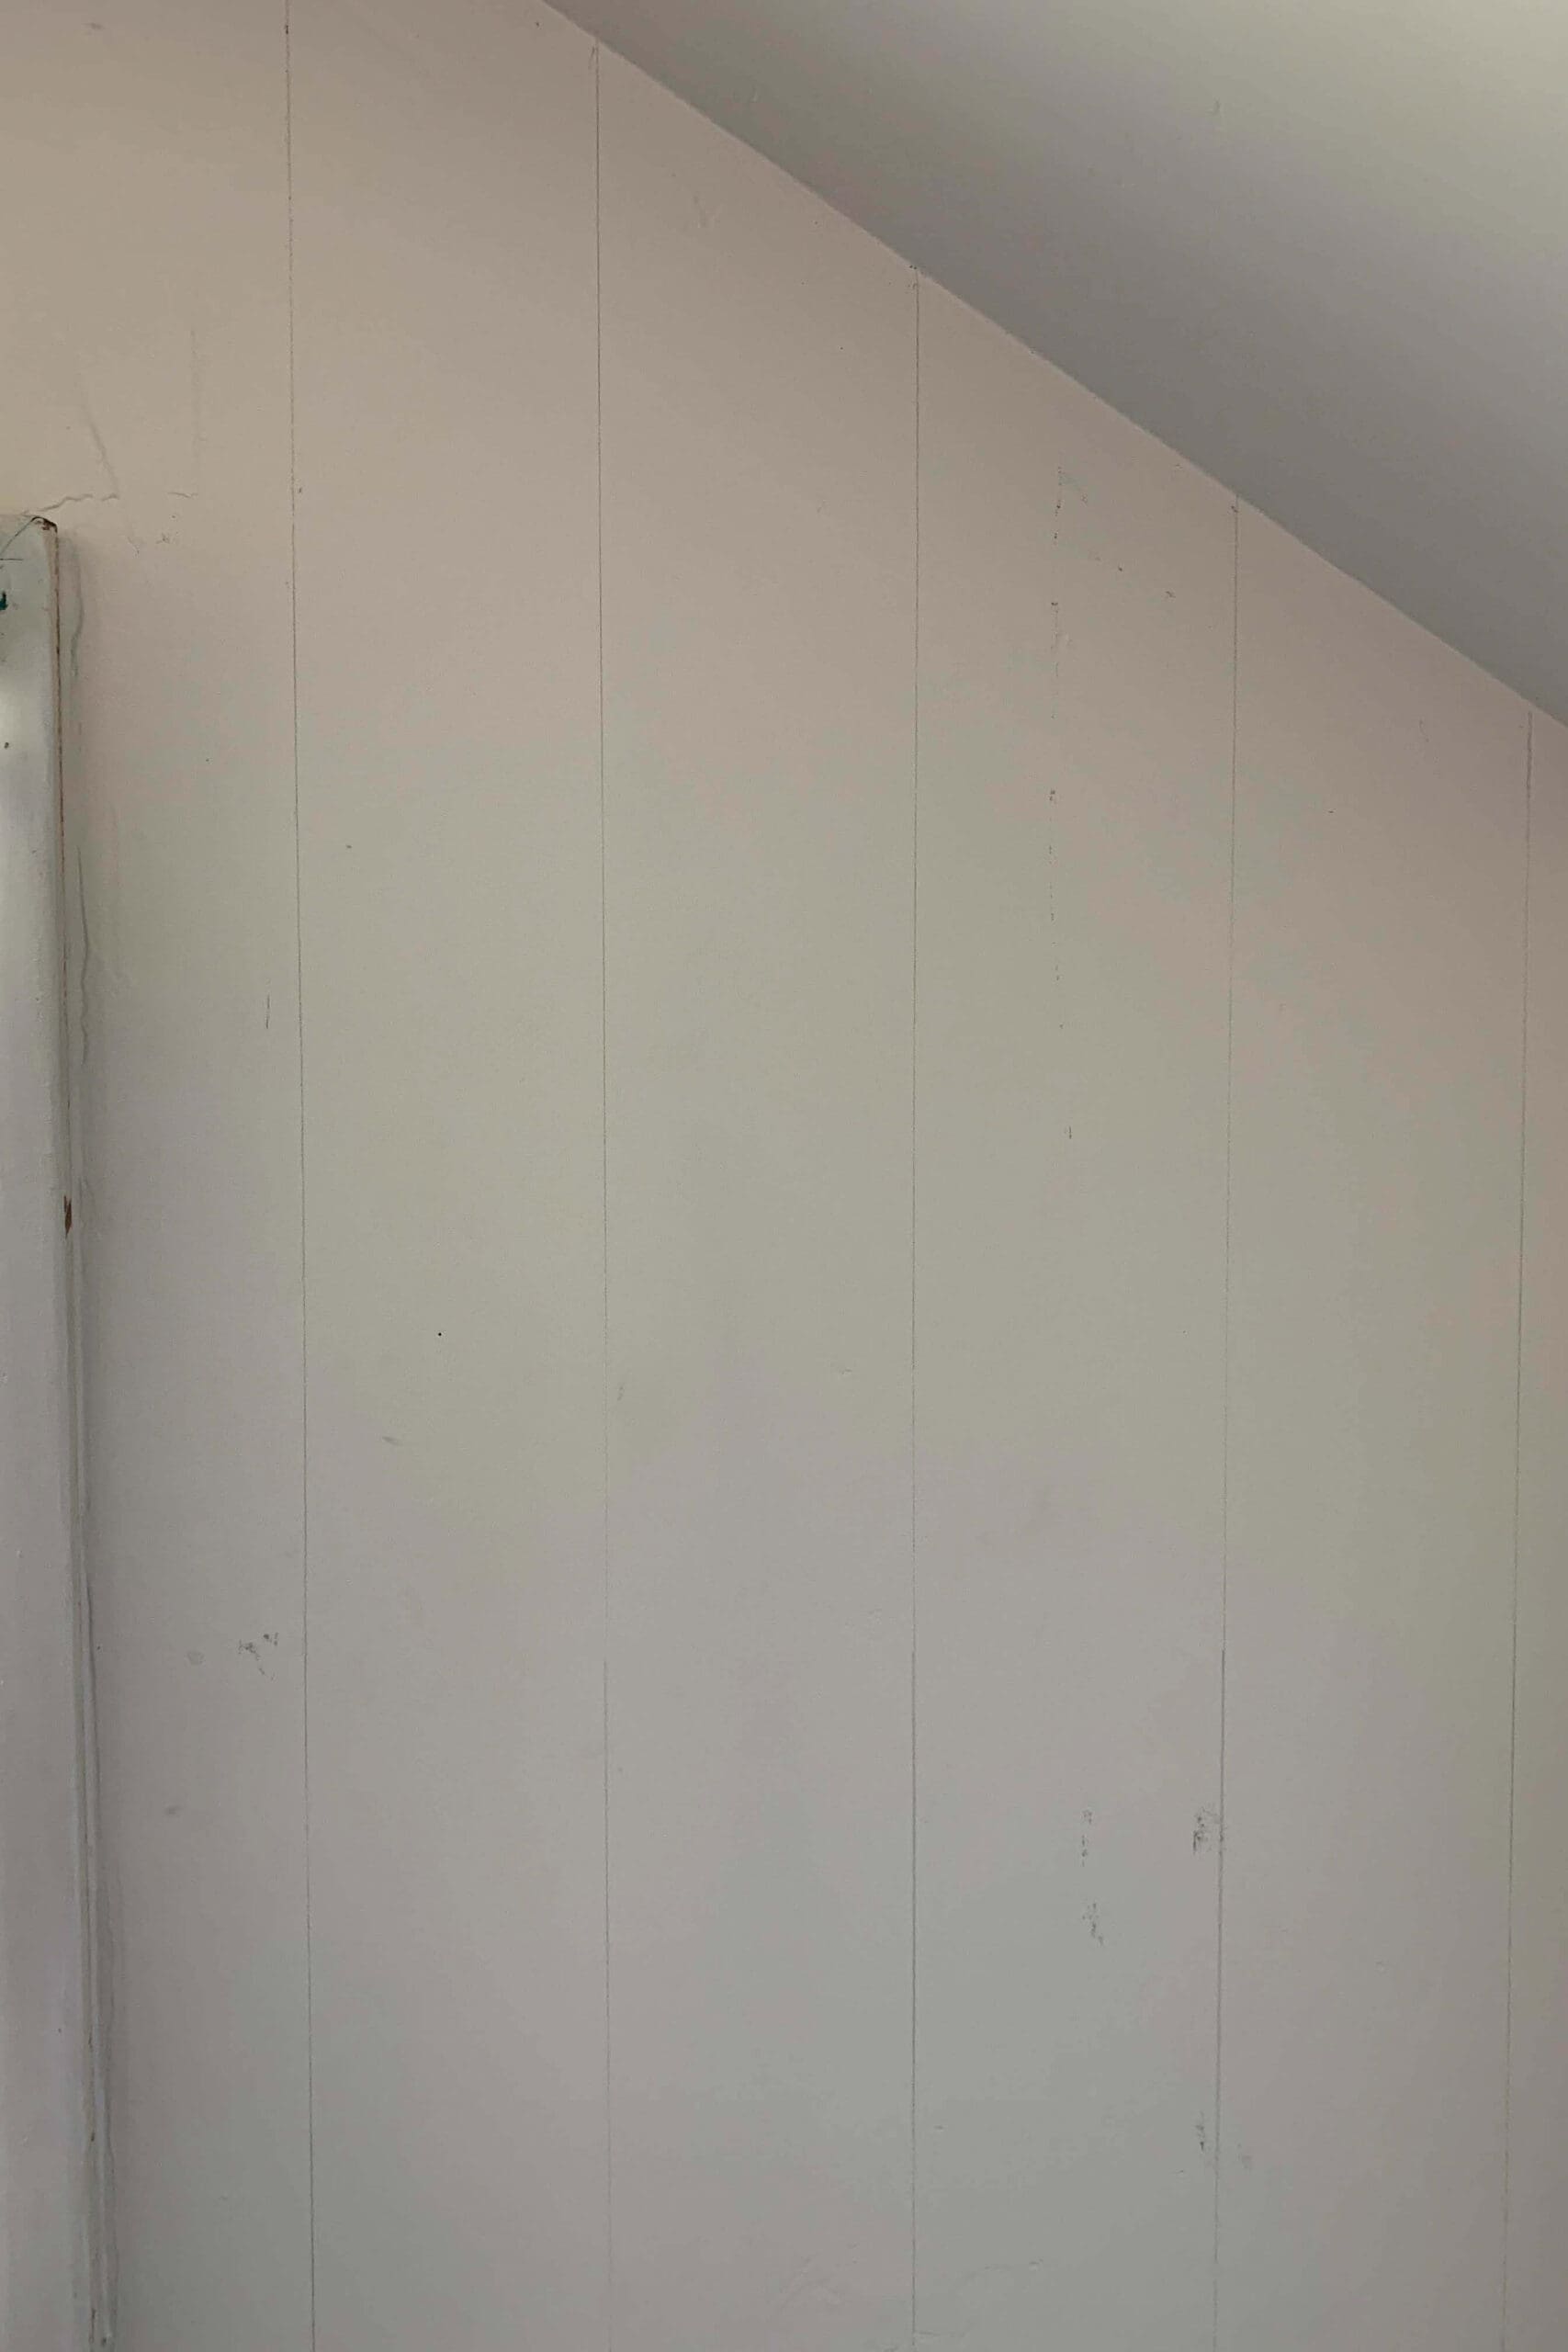
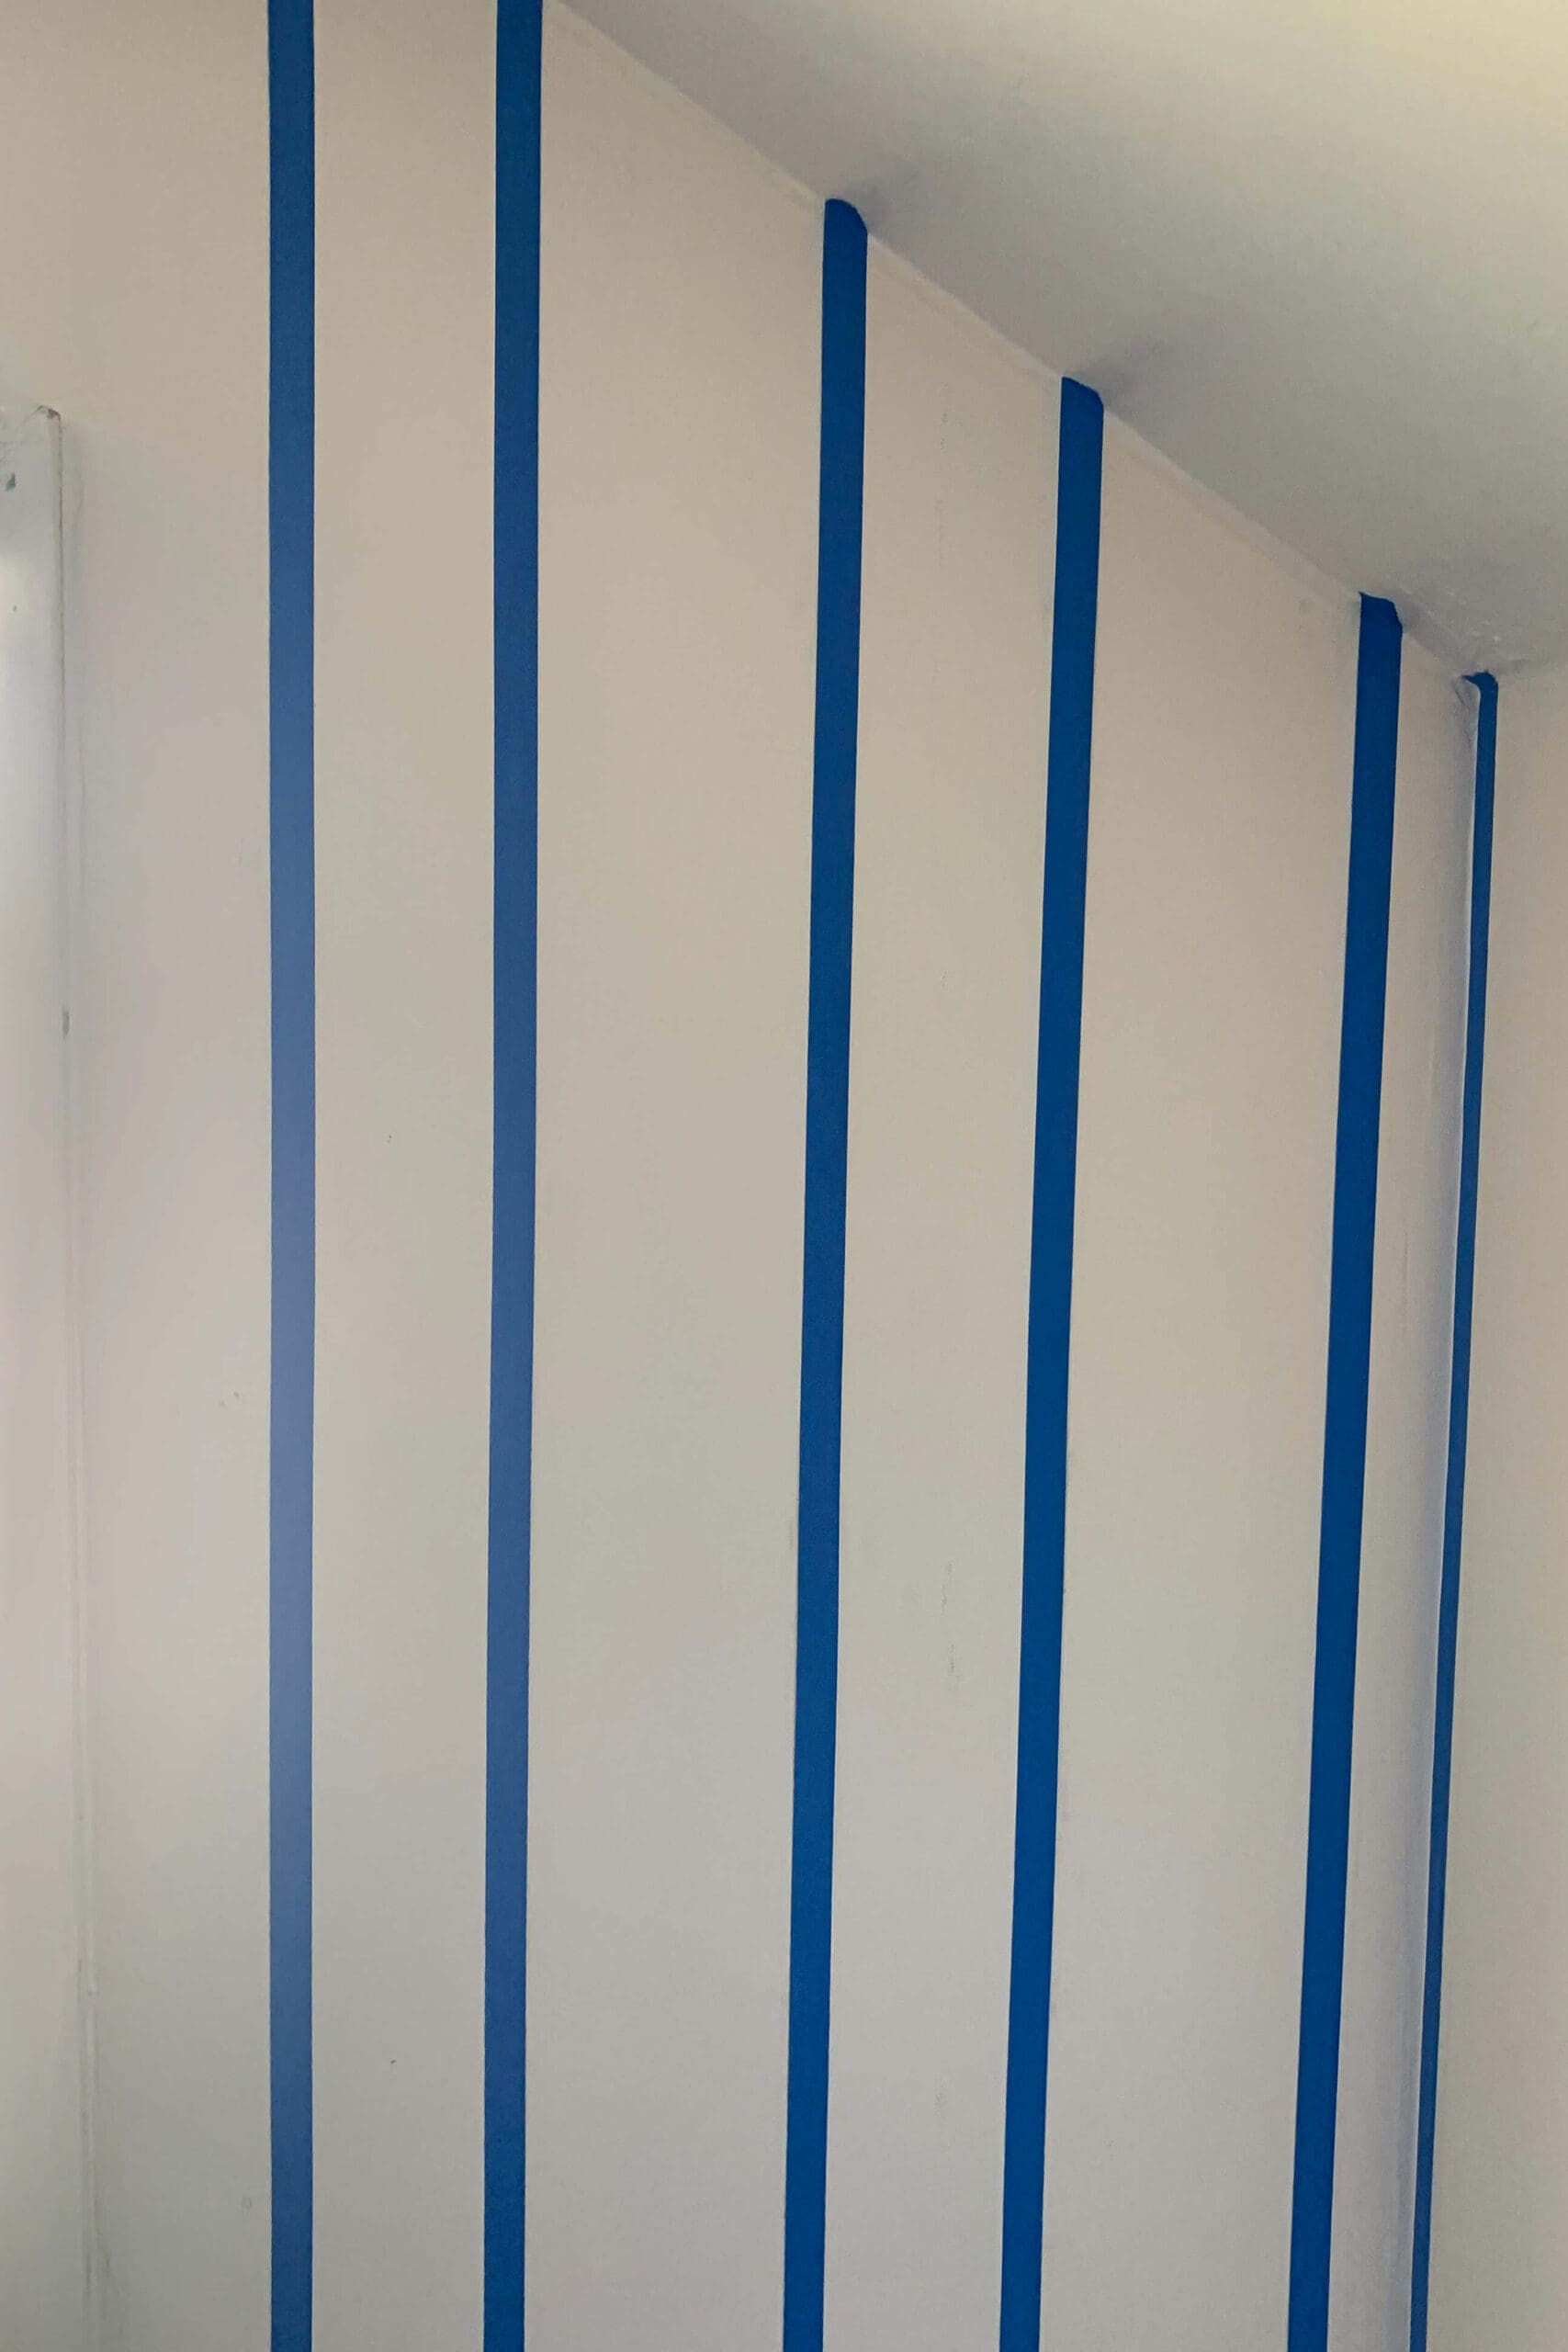
Step 2: Mark and Tape Vertical Lines
I measured the wall and decided to center the buffalo plaid pattern in the middle of the room. Using a level, I marked vertical lines 6 inches apart with a pencil.
Since the stripes in my buffalo plaid will alternate pink and white, I taped just outside the lines that would be painted pink – careful not to cover the pencil marks. I don’t want to come back and erase pencil lines, so I want the pencil fully covered in my pink paint.
Step 3: Paint Vertical Stripes
For my buffalo plaid paint colors, I used Benjamin Moore Charmeuse – one sample at full strength and another lightened 50%. I rolled on the lighter pink between the taped lines using a small foam roller and filled in edges with a paintbrush.

At this point, I could’ve stopped. The soft pink stripes already felt so cute and gave the room such a sweet vibe – but I knew the buffalo check pattern would take it next level.
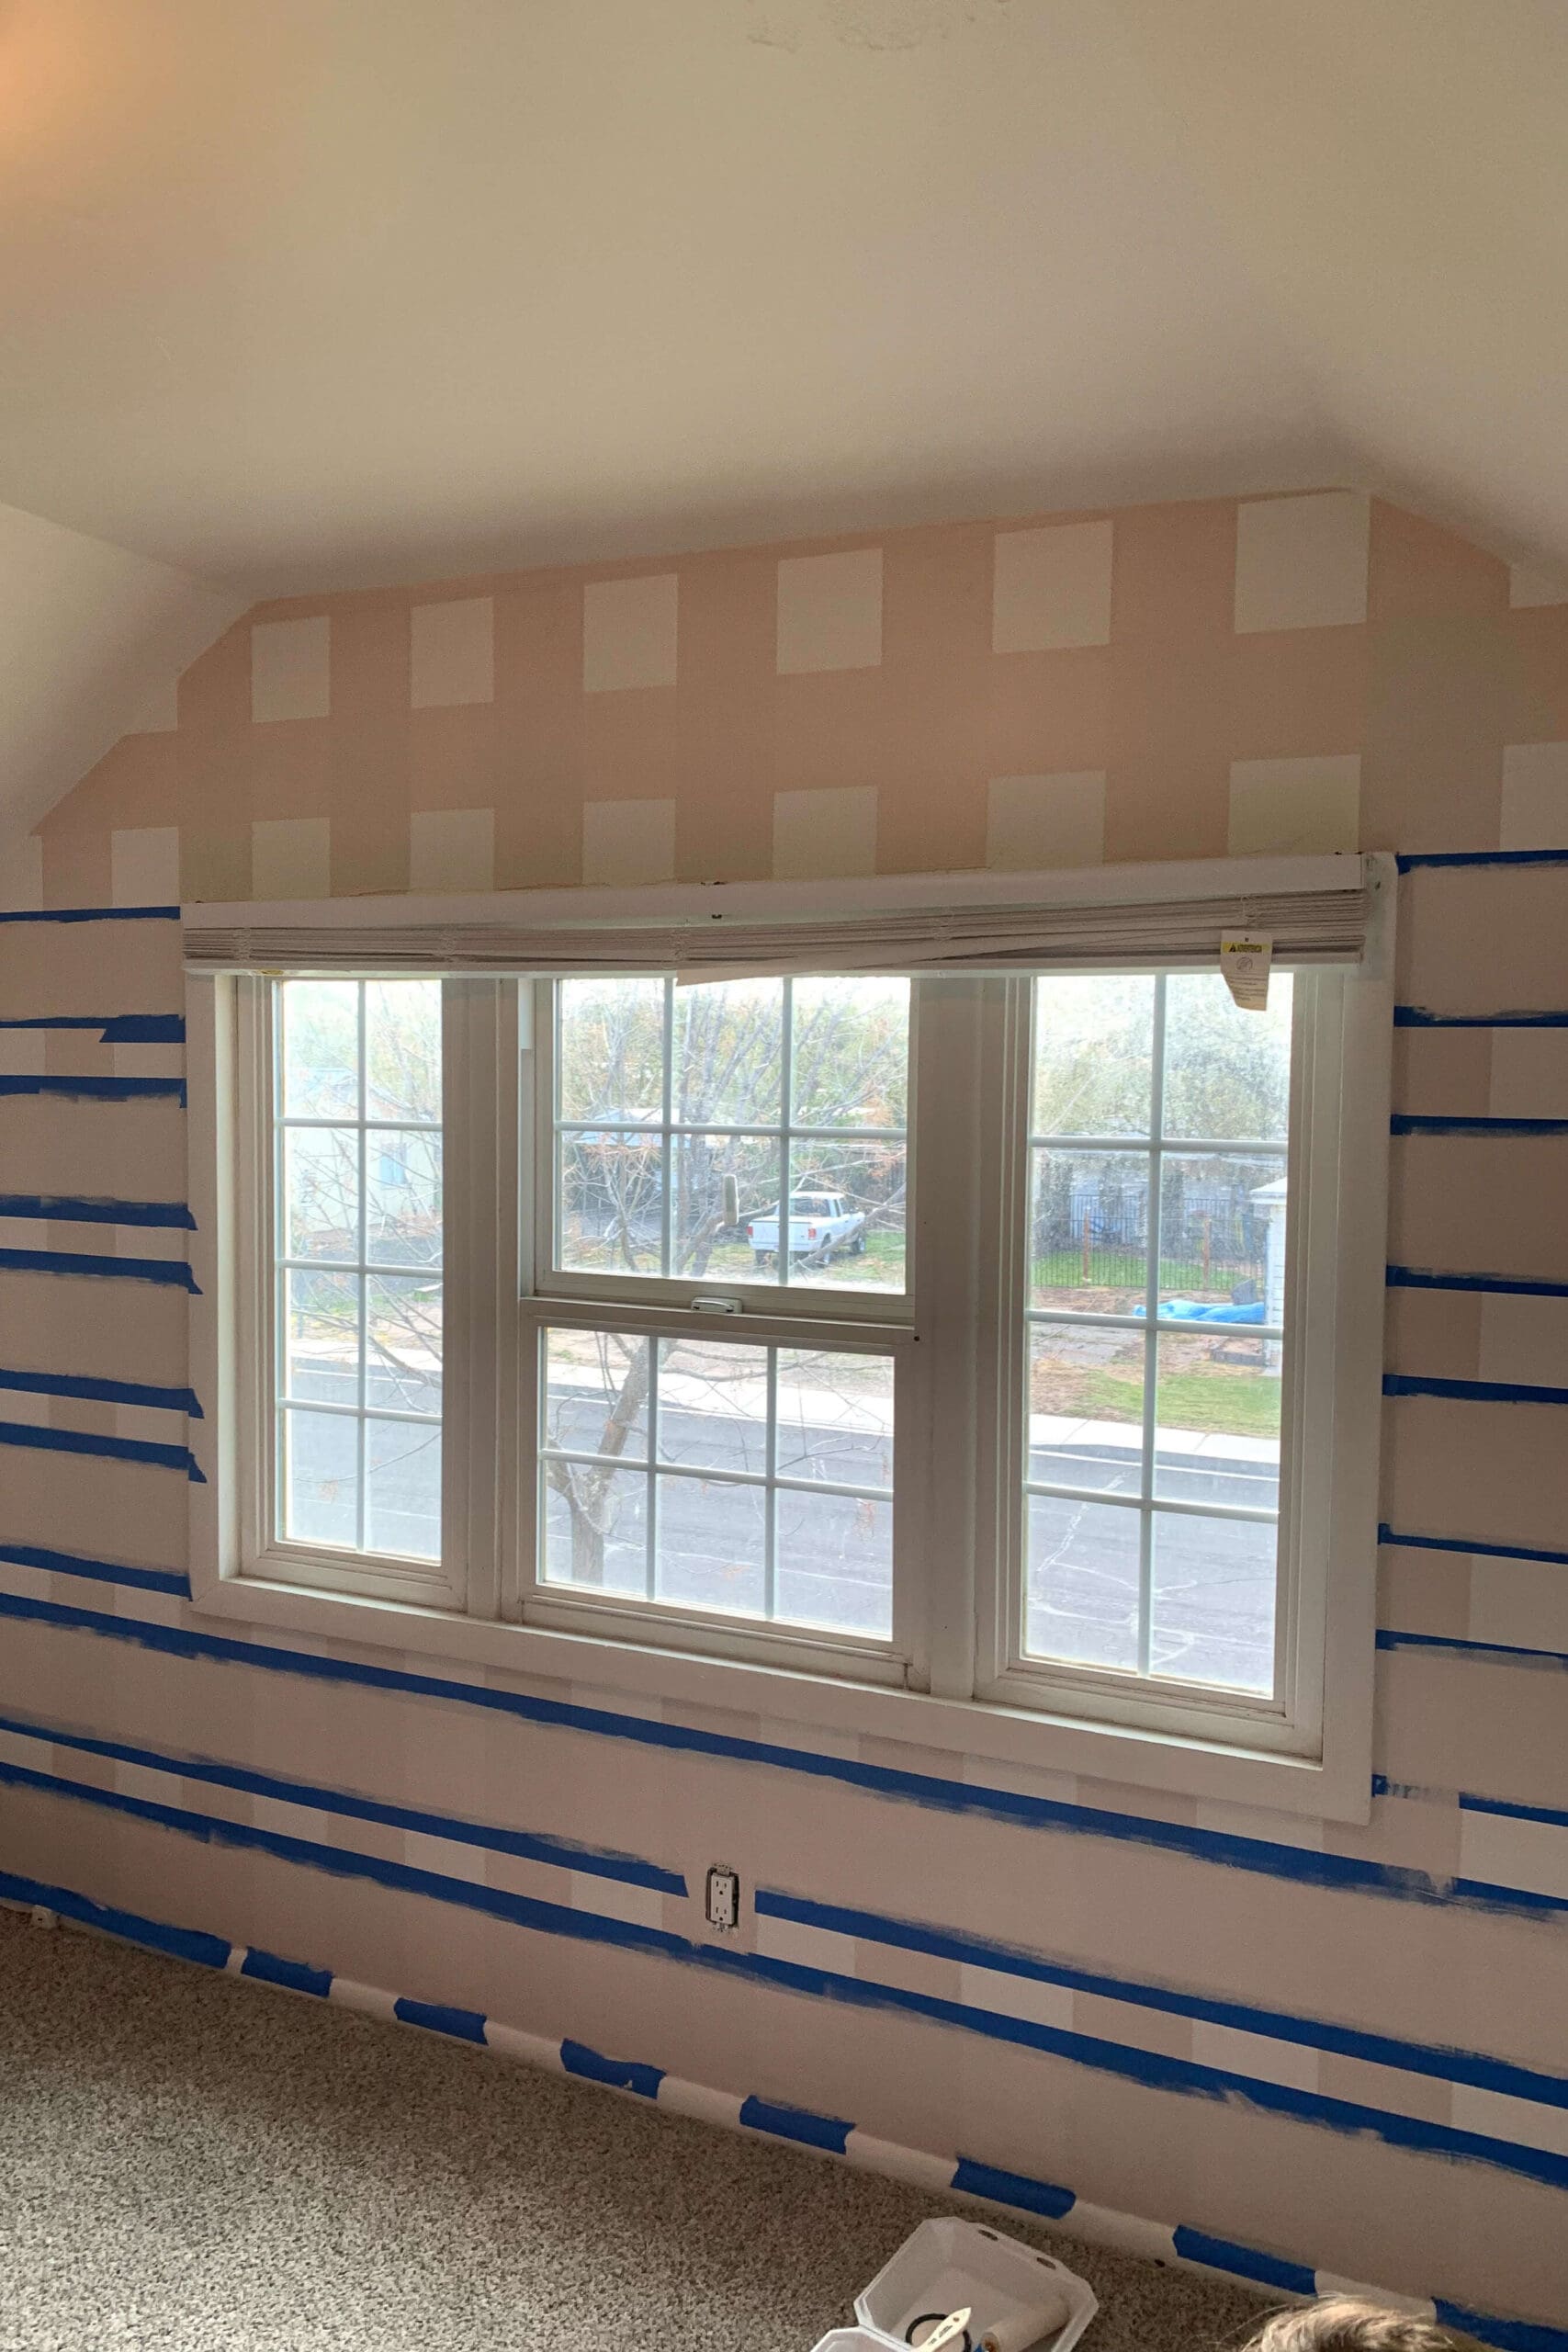
Step 4: Mark & Tape Horizontal Lines
Once the vertical stripes dried completely, I grabbed my level again and marked horizontal lines 6 inches apart. A laser level would’ve made this even easier (highly recommend if you have one!). I taped along the pencil lines, just like I did for the verticals.


Step 5: Paint Horizontal Stripes
Next, I painted the horizontal stripes in the same light pink color, skipping every other stripe – just like the verticals. After peeling off some of the tape, you can see the pattern starting to come to life.
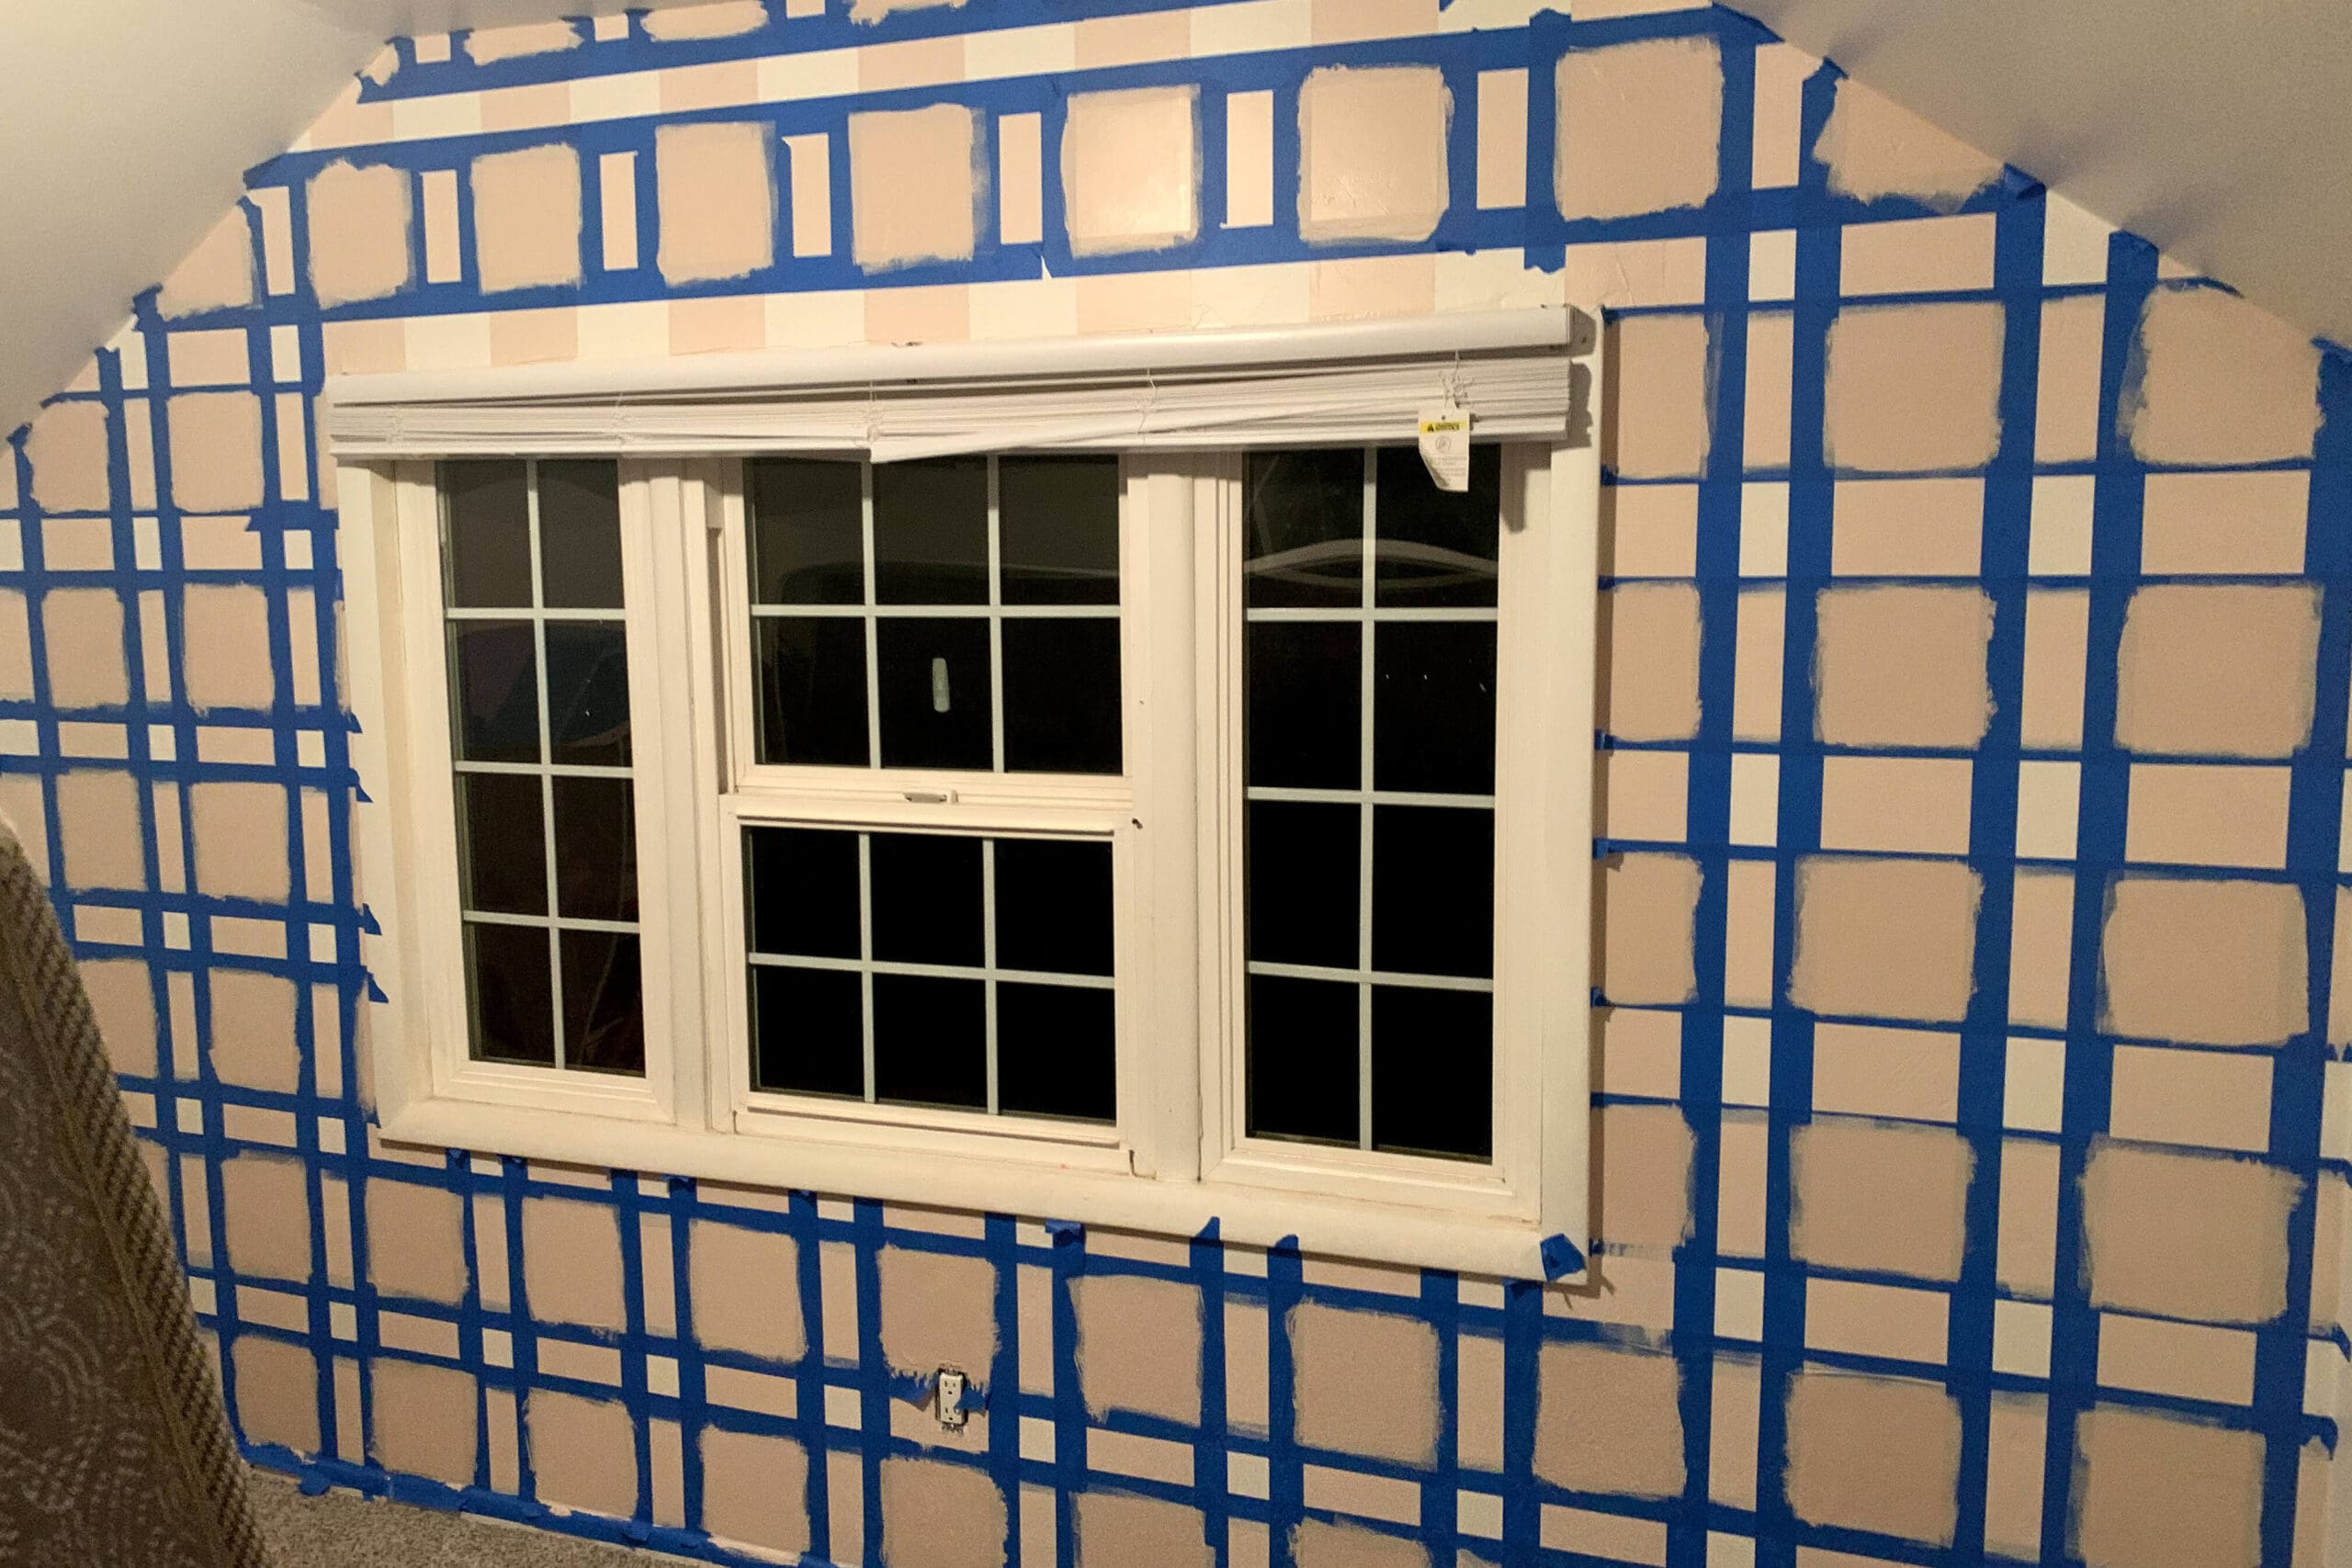
But to really get that buffalo plaid look, the overlapping squares where the vertical and horizontal lines meet needed a darker shade.
Step 6: Paint the Overlapping Squares
To create that layered plaid effect, I masked off the overlapping squares and painted them with the full-strength Charmeuse. This little step is what gives the buffalo plaid its signature depth!
Step 7: Peel the Tape & Touch Up the Buffalo Plaid
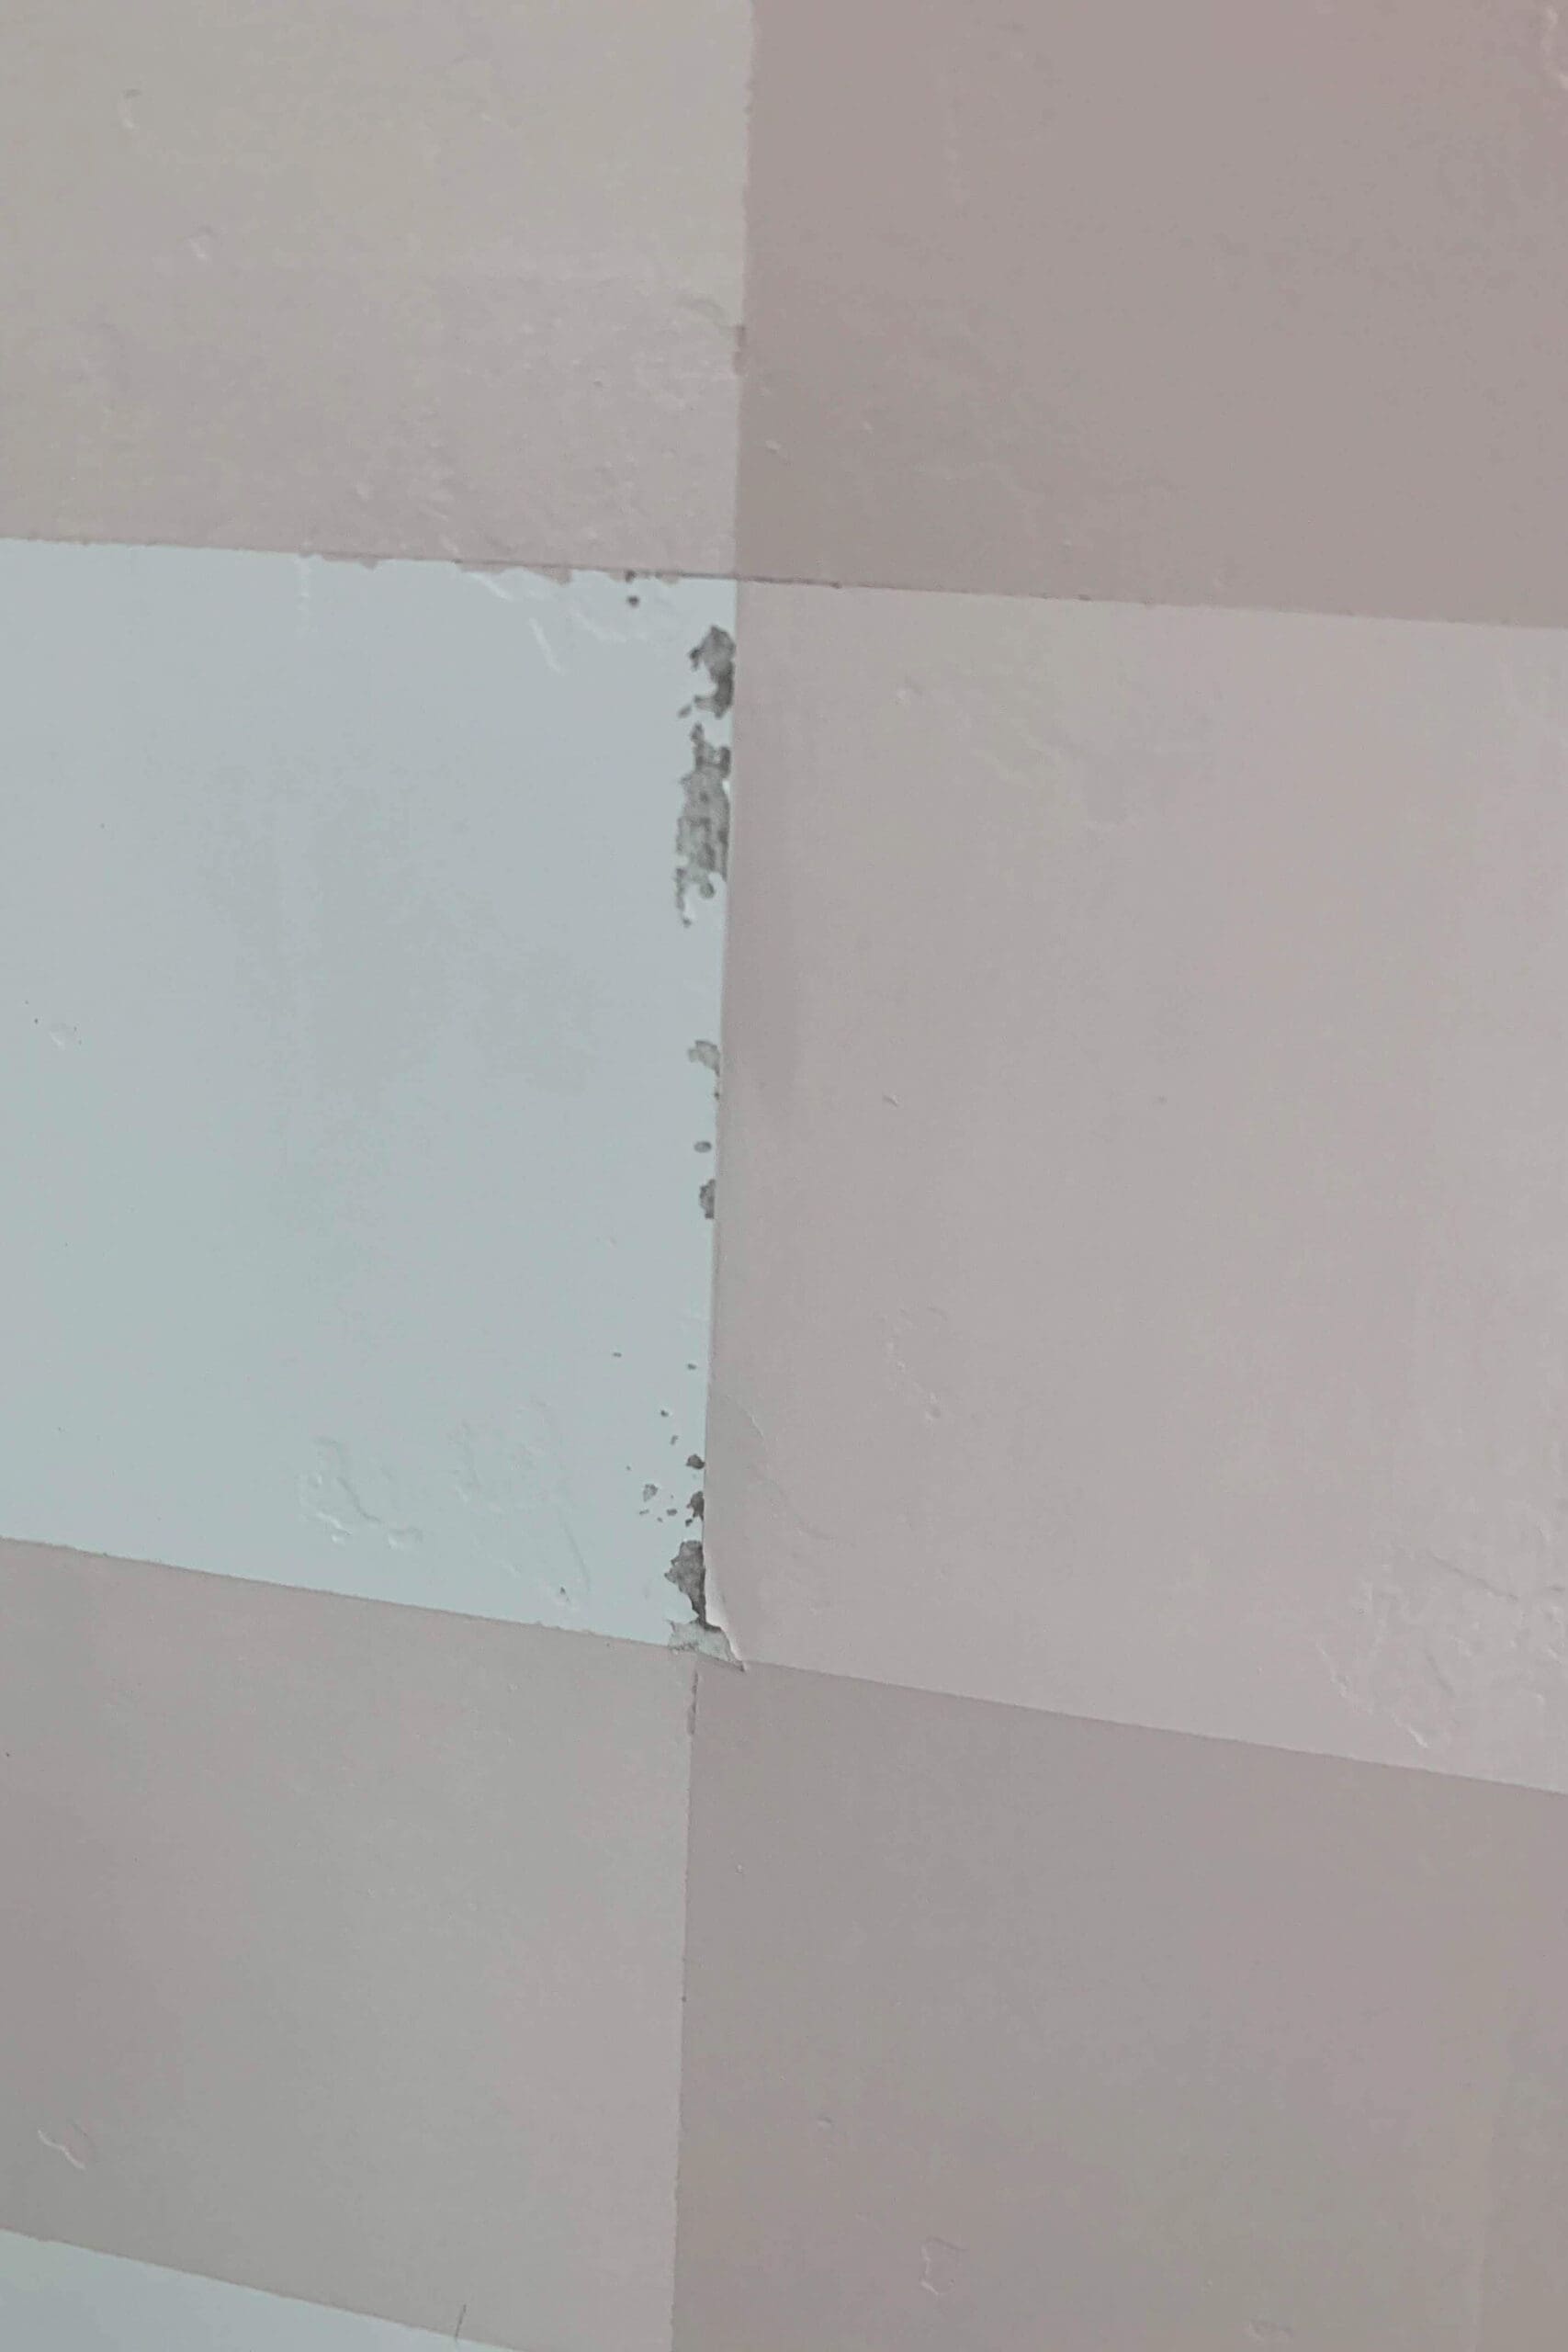
Carefully peel off all the tape while the paint is still slightly wet to avoid any peeling. (Learn from me here – I got distracted by the baby, let the paint dry too long, and pulled up some spots.) A quick touch-up with a small brush smoothed everything out.
In the close-up photo, you can really see how the contrast between the lightened and the full-strength pink makes that buffalo plaid pop.
Why I Love the Look of Buffalo Plaid:
Buffalo plaid is such a cozy, classic pattern, and this soft pink version feels fresh and feminine. It’s perfect for my daughter’s room, but you can easily switch up the colors for a nursery, playroom, or even an office.
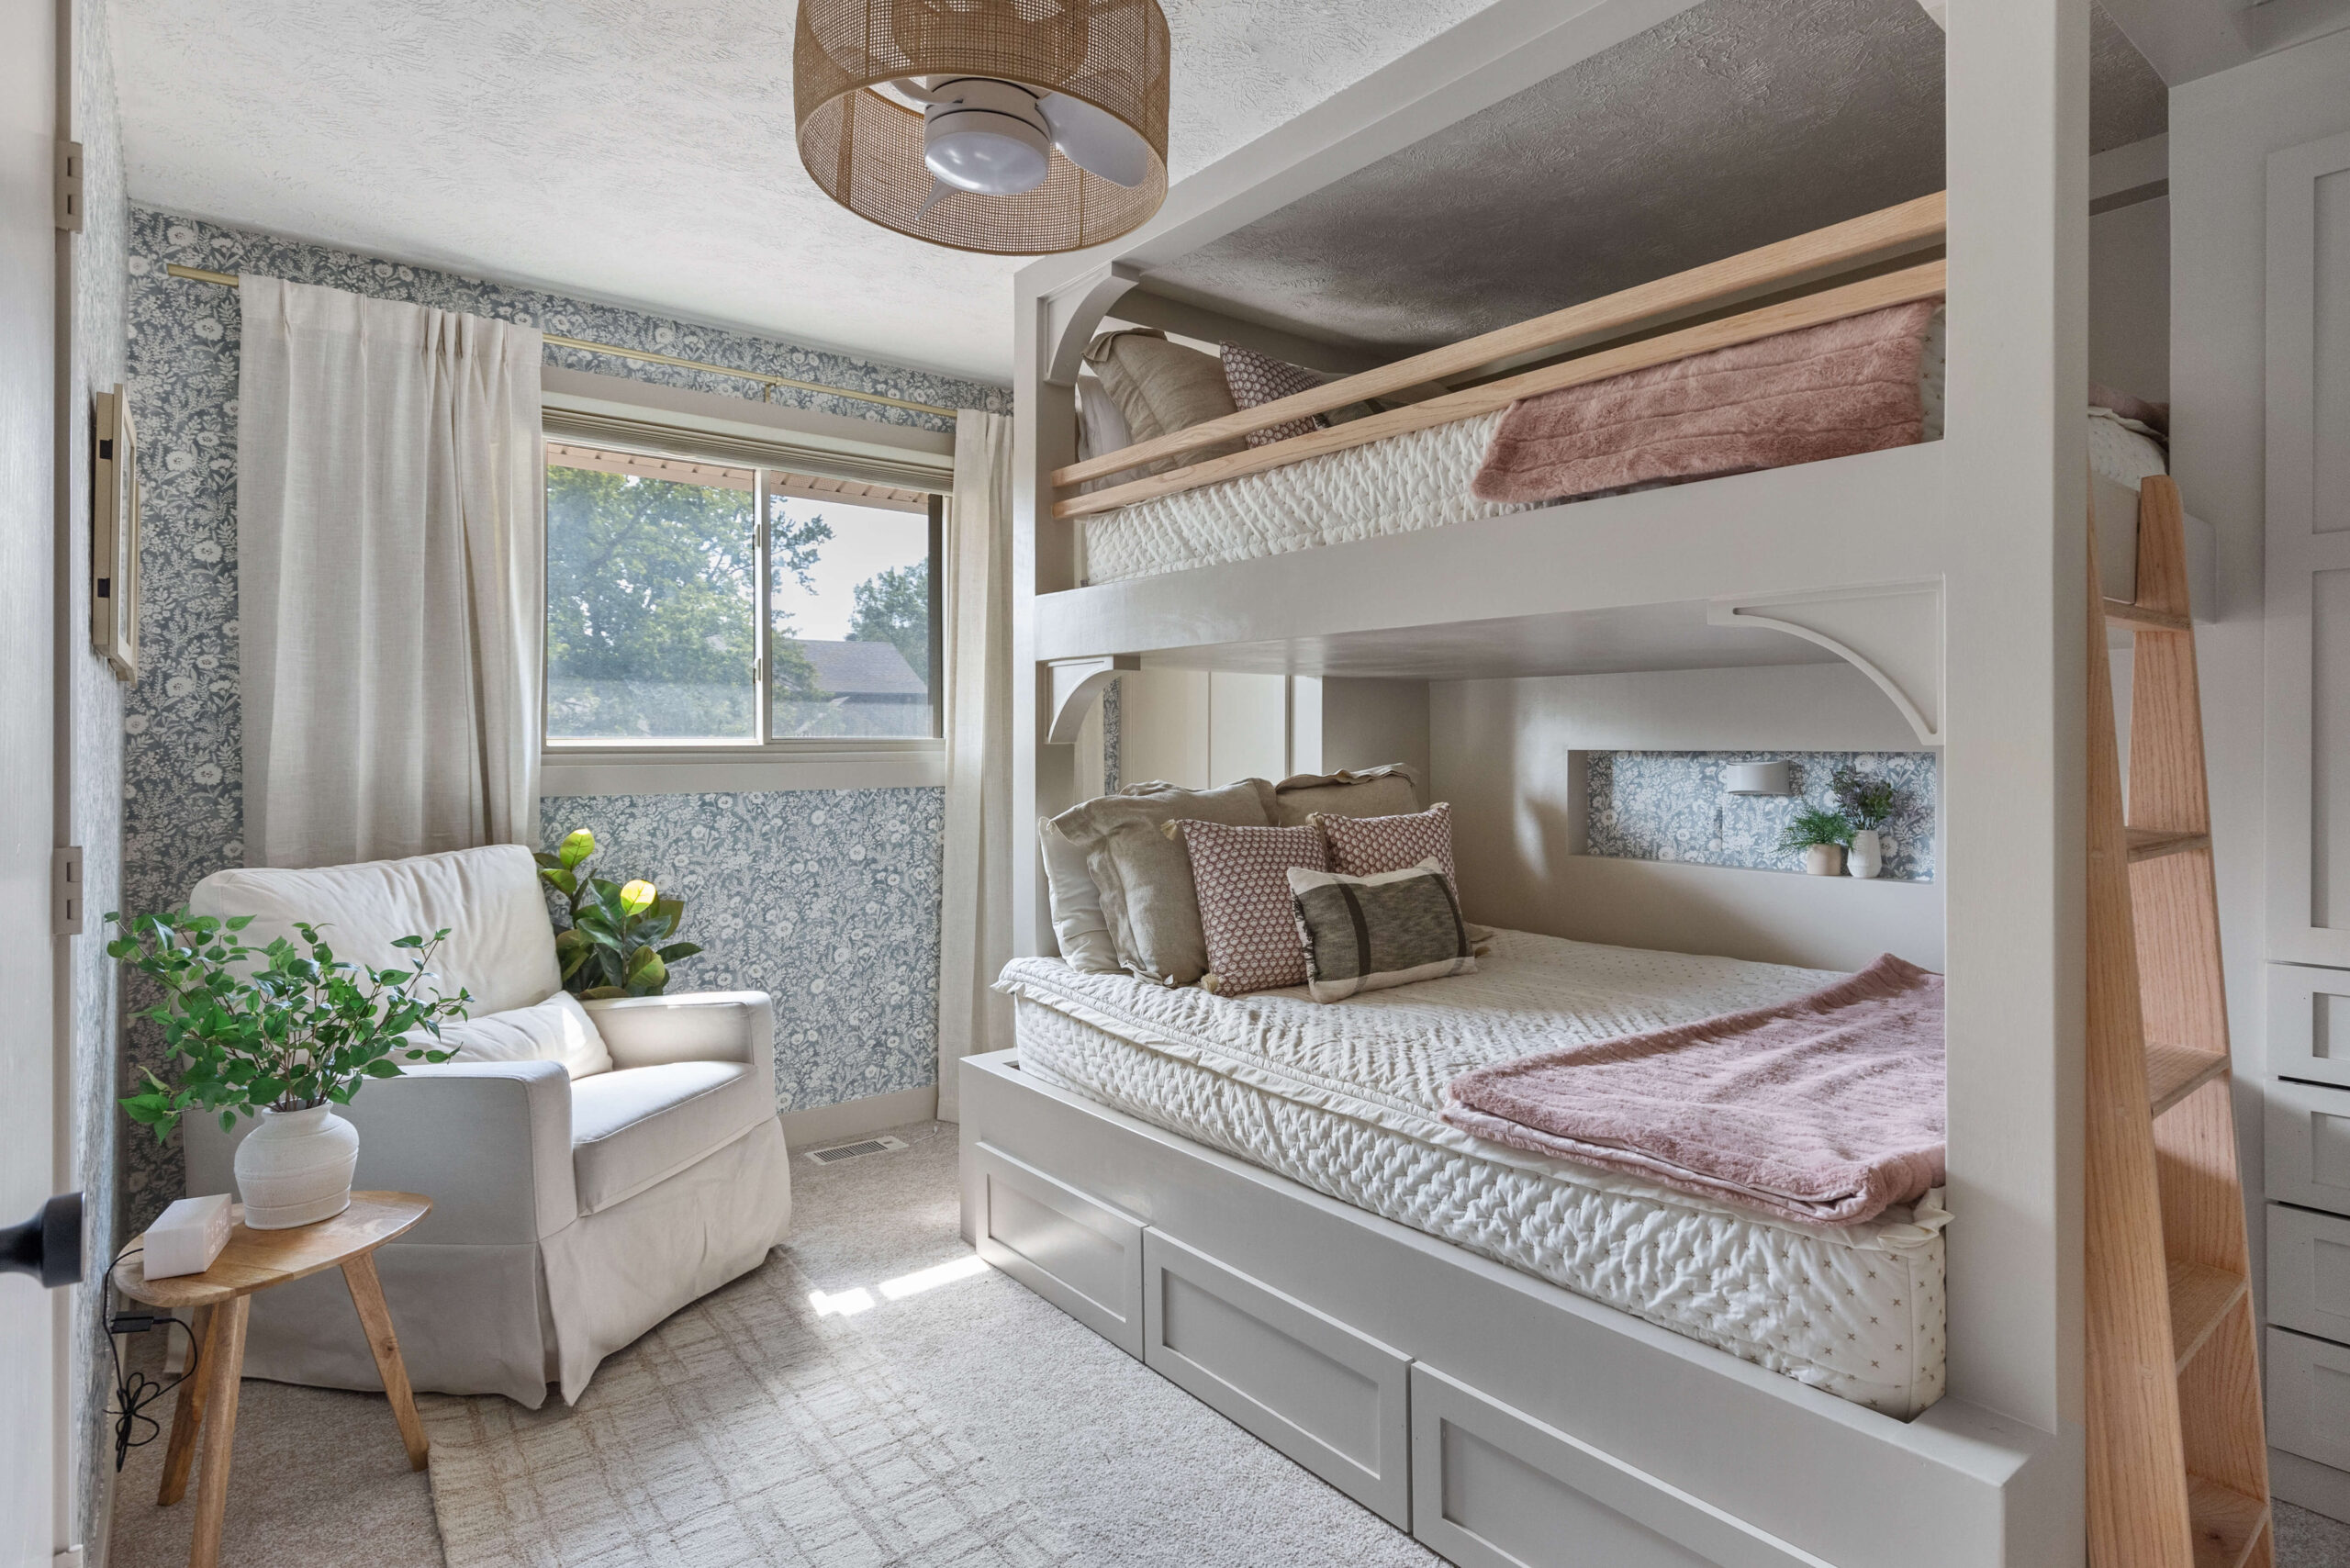
Want more girl’s room inspiration? Check out the full reveal of my daughters’ current room makeover—complete with custom, built-in bunk beds and all the cozy details.
📌 Save this Project for Later
Frequently Asked Questions About Painting a Buffalo Plaid Wall
Absolutely. A regular level and a little patience work just fine. A laser level just makes things faster and more precise.
You’ll need three: a base color (usually the lightest), a medium shade, and a darker tone. I used the same color at full strength and then lightened it by 50% to create contrast.
Yes! A buffalo plaid accent wall works on both smooth and lightly textured walls. Just be sure to press your tape firmly to avoid paint bleed, and touch up edges with a small brush if needed.
This project can be done in one weekend. Most of the time goes into measuring, taping, and waiting for paint to dry between steps.