DIY Black Window Grid Makeover That Totally Transformed My Home


Updated August 7, 2025
Want that high-end, modern look of black window grids – but without the cost of replacing your windows? SAME. This quick project cost me less than $25 and totally transformed the front of our house. DIY Black window grids are having a major moment, and I found a way to get the look without replacing our perfectly functional windows. With a little DIY magic and a few budget-friendly supplies, I gave our porch a serious glow-up – and I’m showing you exactly how to do the same.
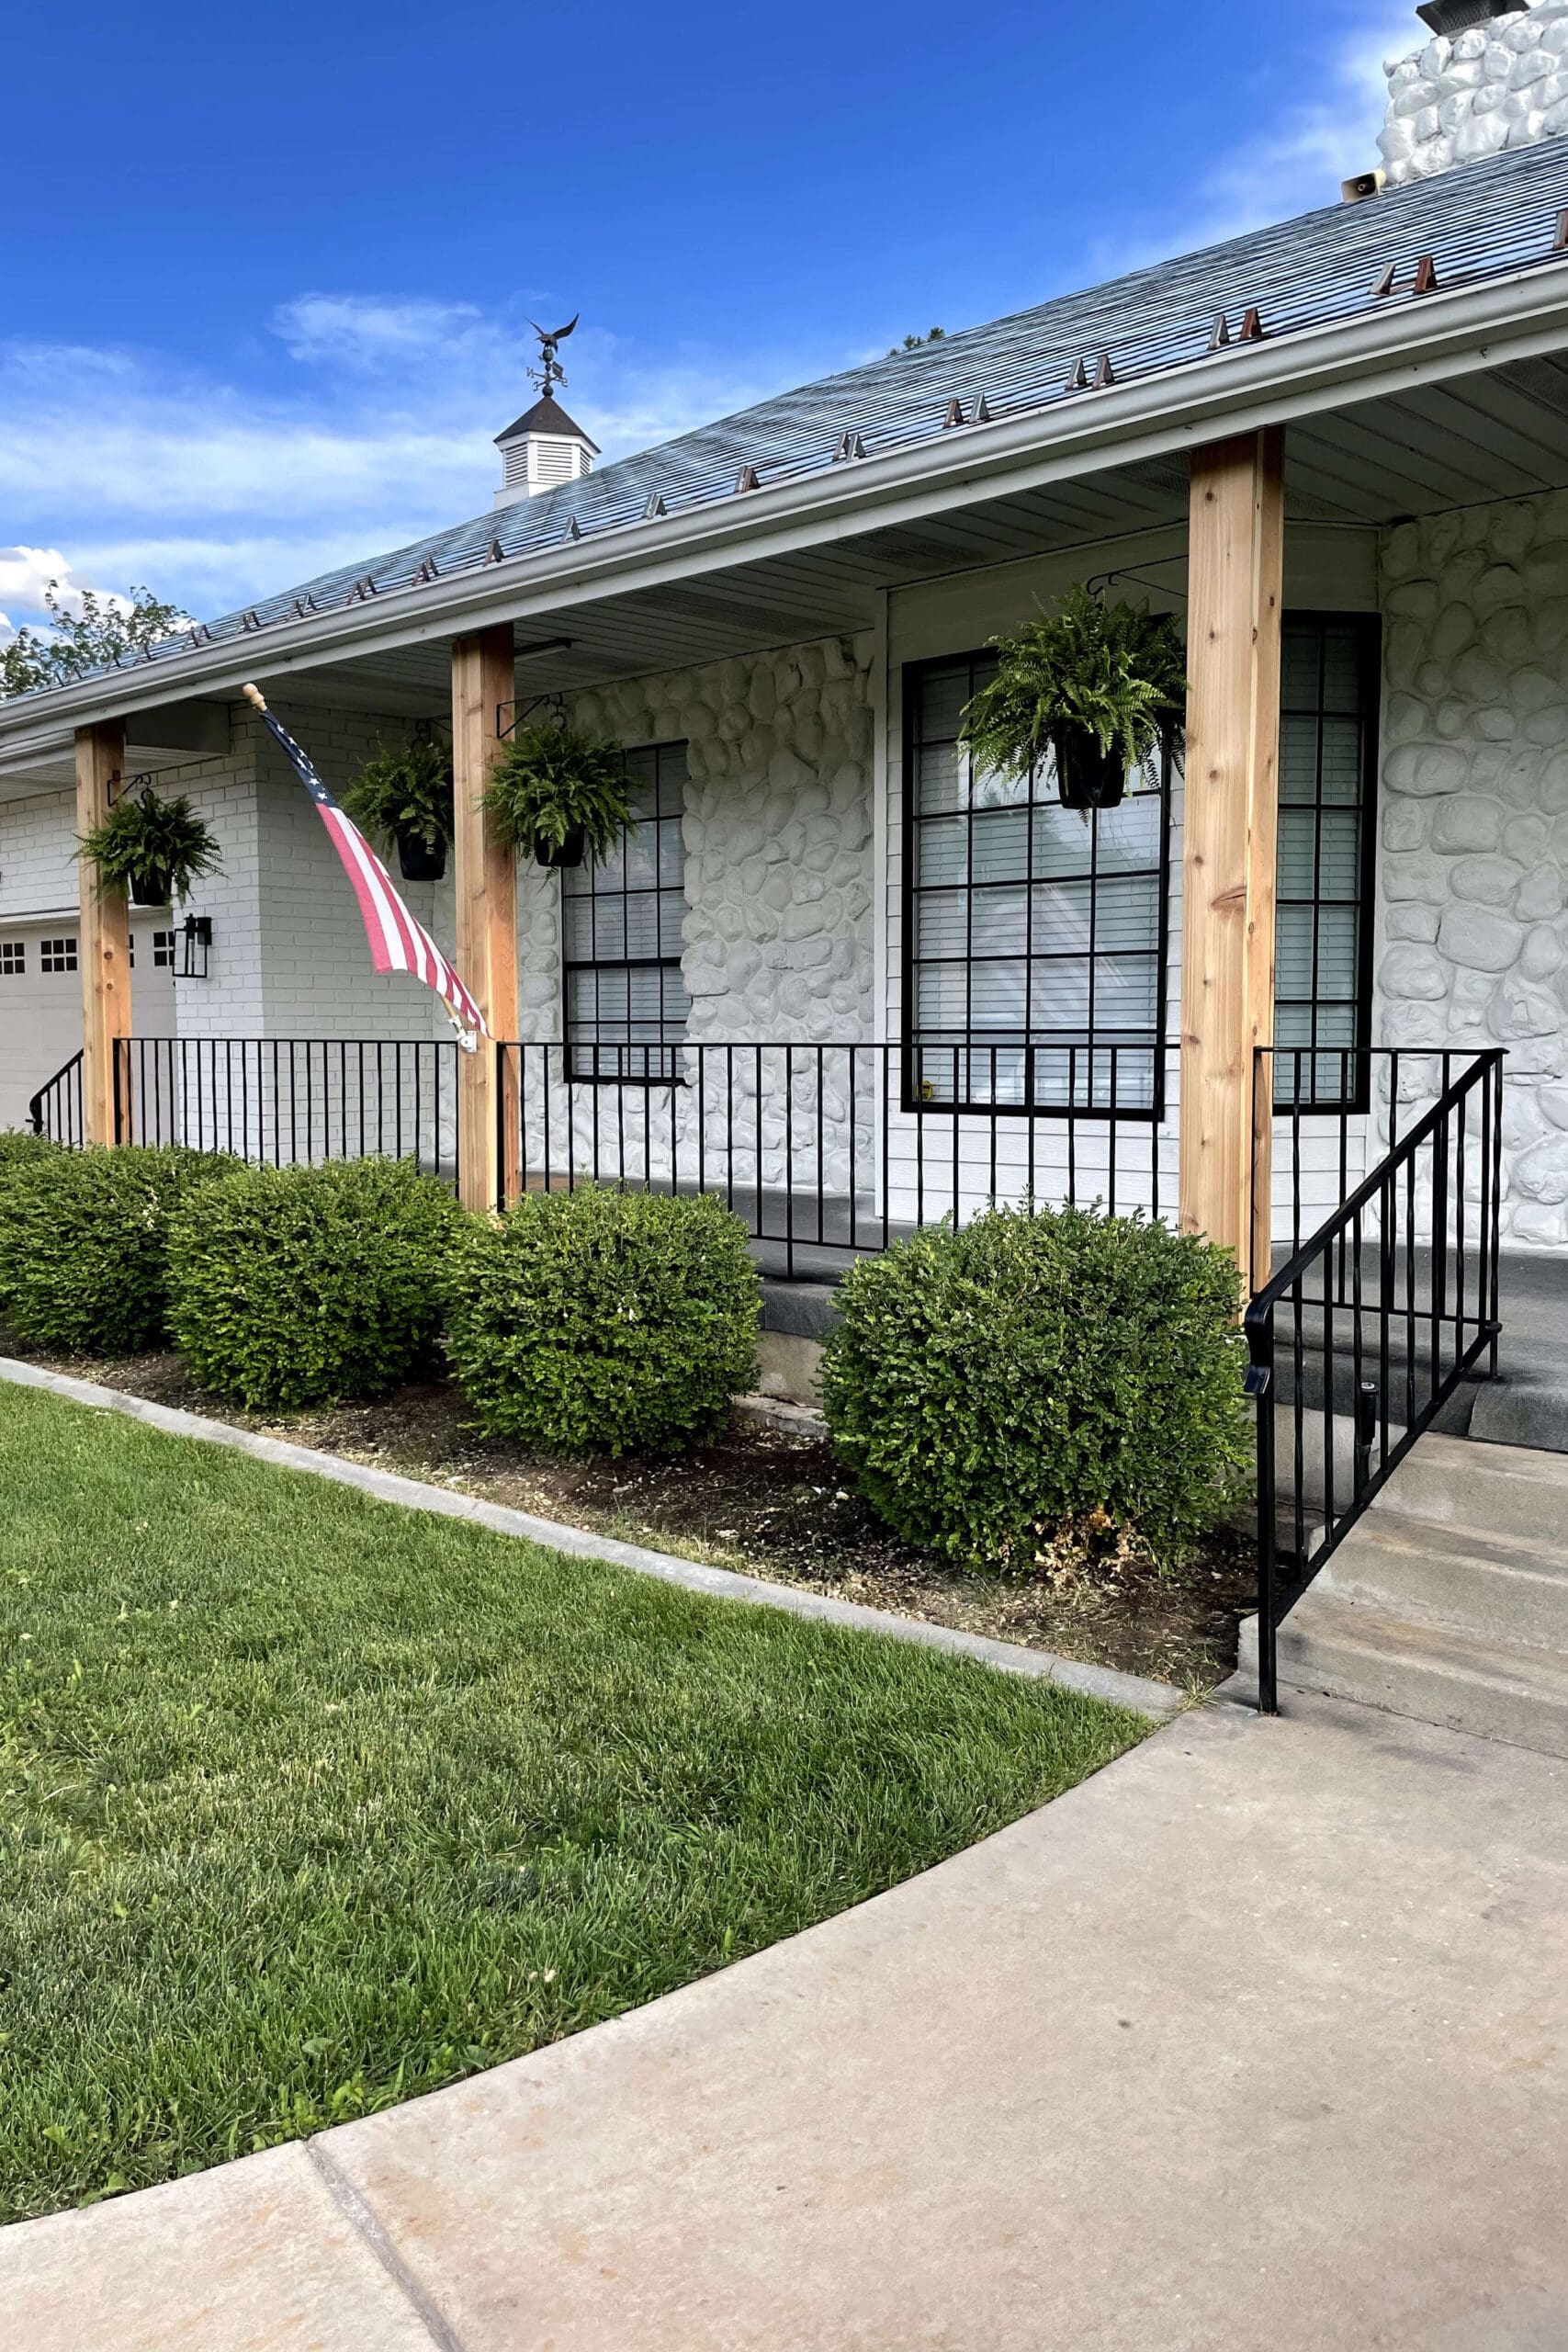
Table of Contents
- What You’ll Need to Create Faux Window Grids
- Why DIY Black Window Grids Are the Ultimate Budget-Friendly Exterior Update
- The “Before” – A Nice, Big Porch Hidden by Dated Details
- How I Prepped Our Windows for a DIY Window Grid Makeover
- Cutting and Applying Vinyl Strips to Create Black Grids for Windows
- How to Apply Vinyl Grids on Windows
- The Transformation: Before and After DIY Window Grids
- Why I’ll Keep Repeating This Budget Window Grid Hack
- 📌 Save This Porch Glow-Up for Later
- Frequently Asked Questions About Faux Window Grids
What You’ll Need to Create Faux Window Grids
Why DIY Black Window Grids Are the Ultimate Budget-Friendly Exterior Update
If your white window grids are making your home feel a little dated, this easy upgrade is a total game changer. The black grid lines give a high-end, designer vibe – no new windows required. Just a little vinyl and a lot of satisfaction.
The “Before” – A Nice, Big Porch Hidden by Dated Details
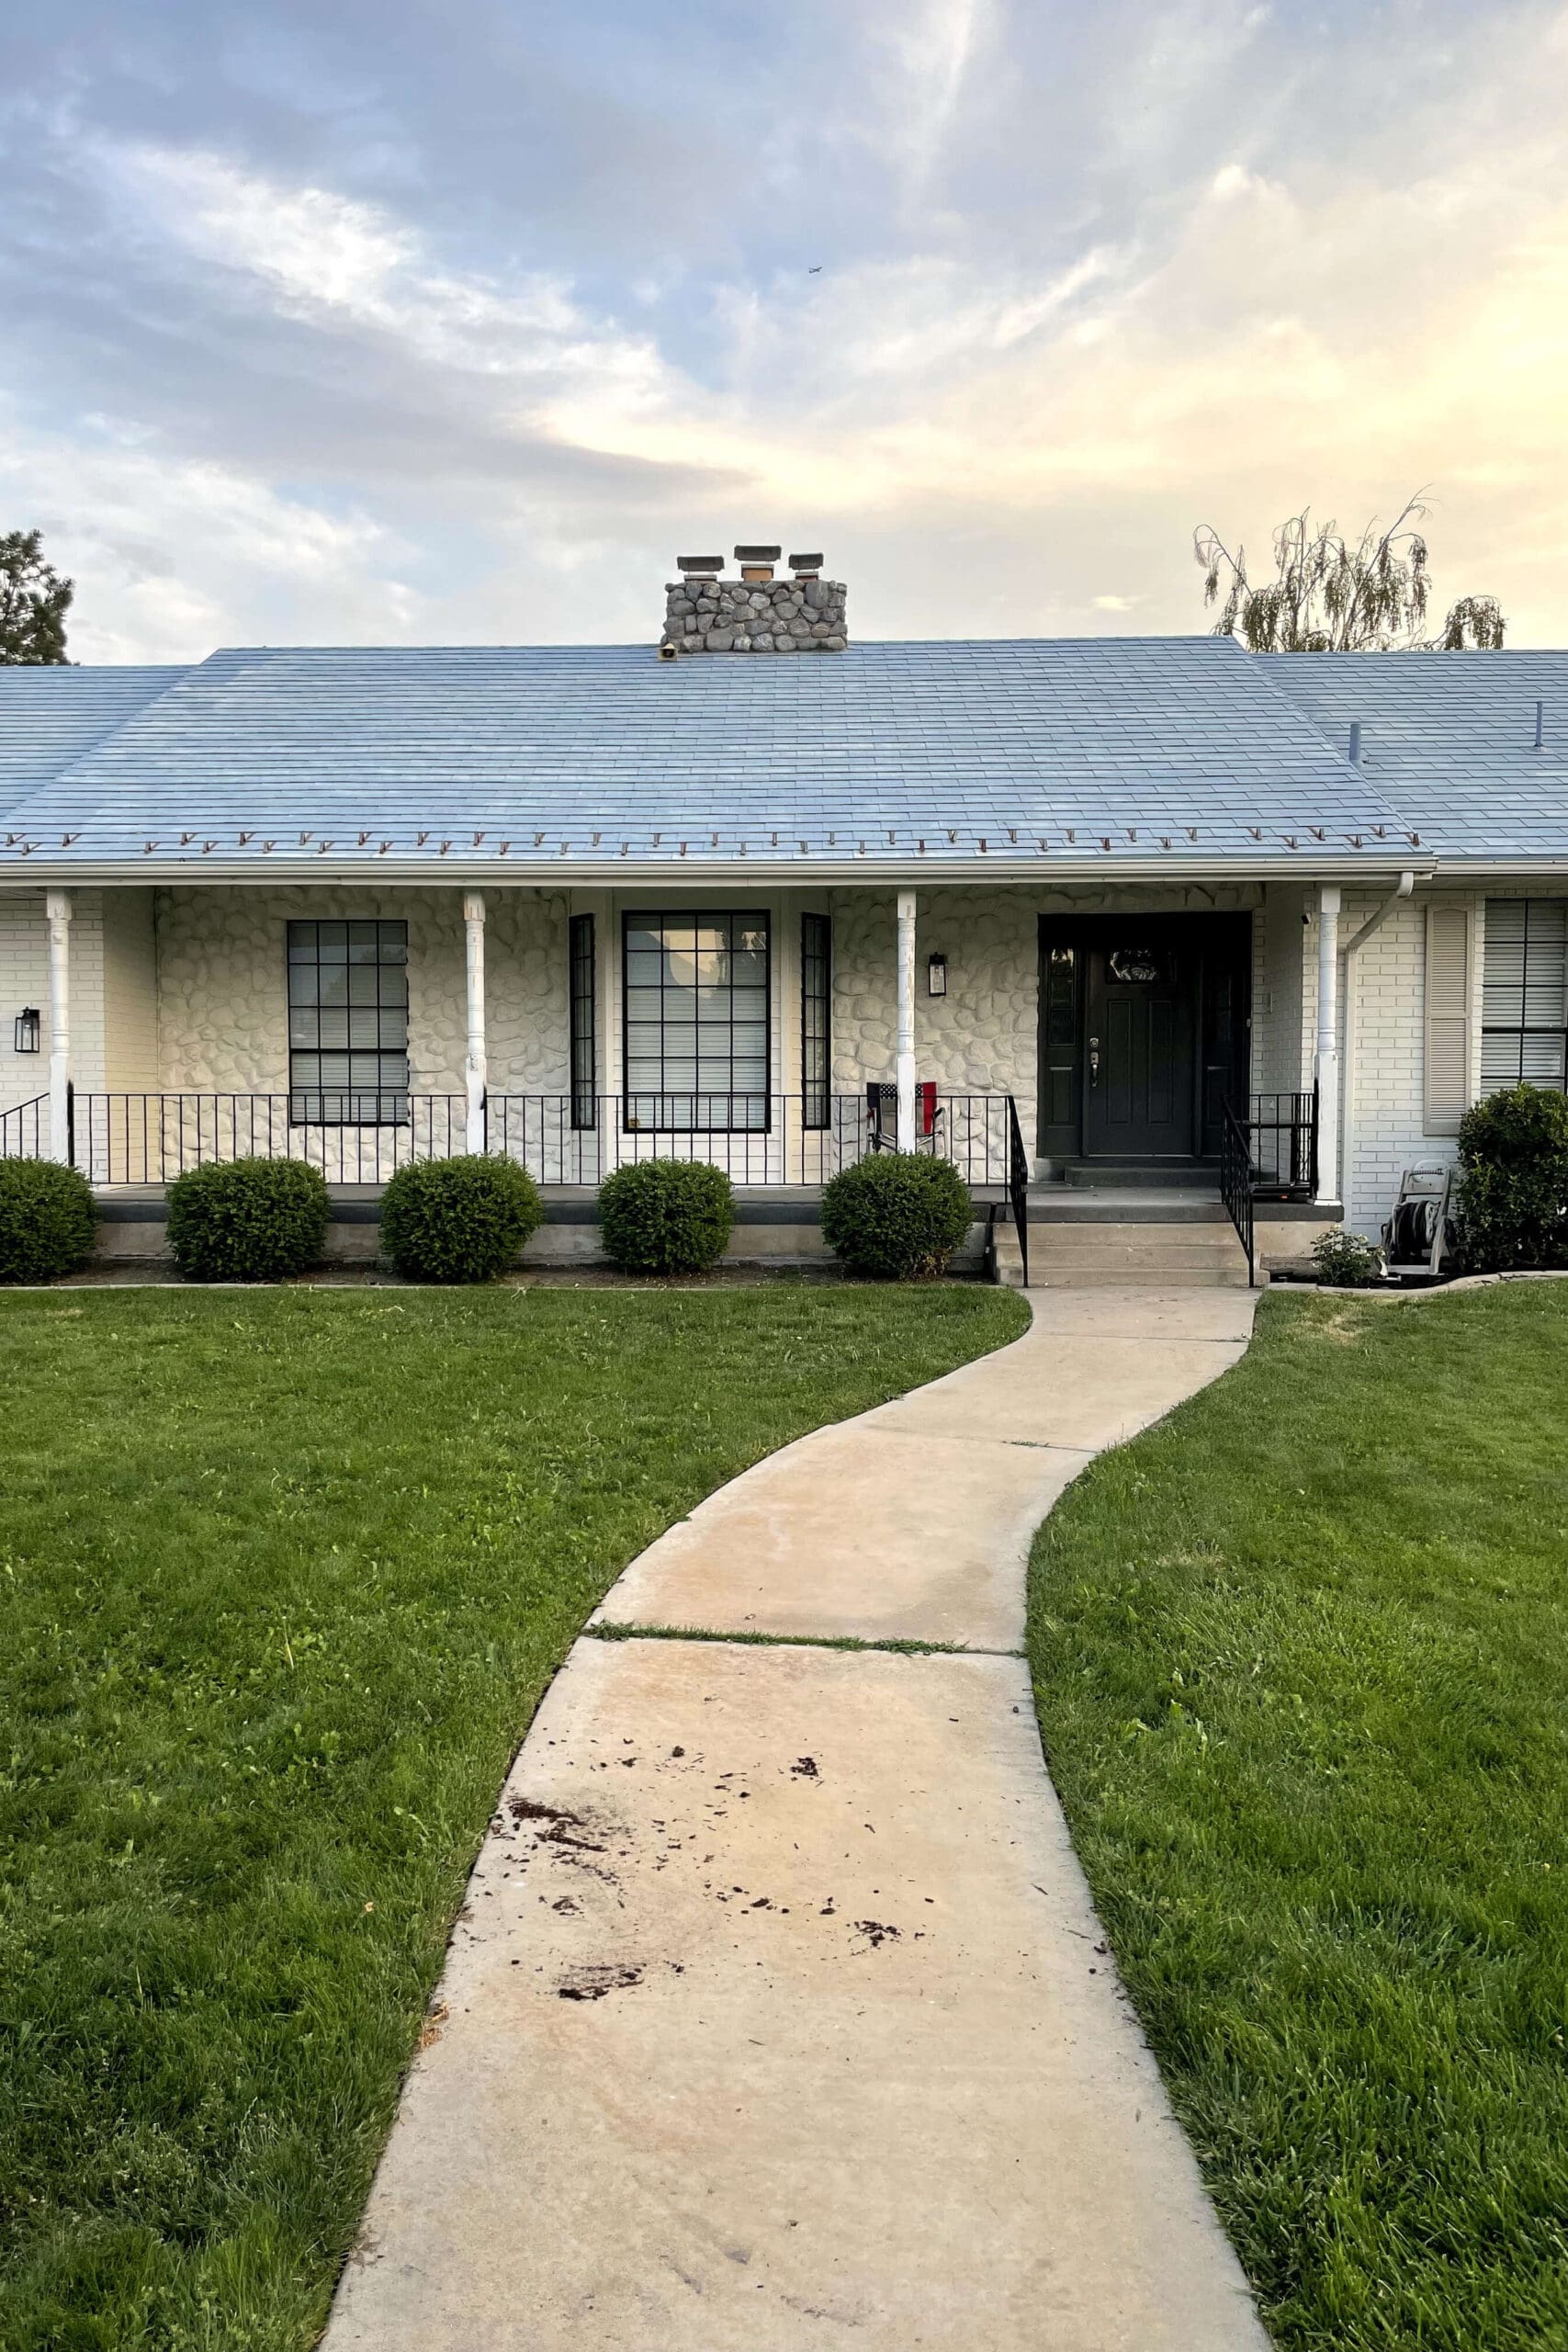
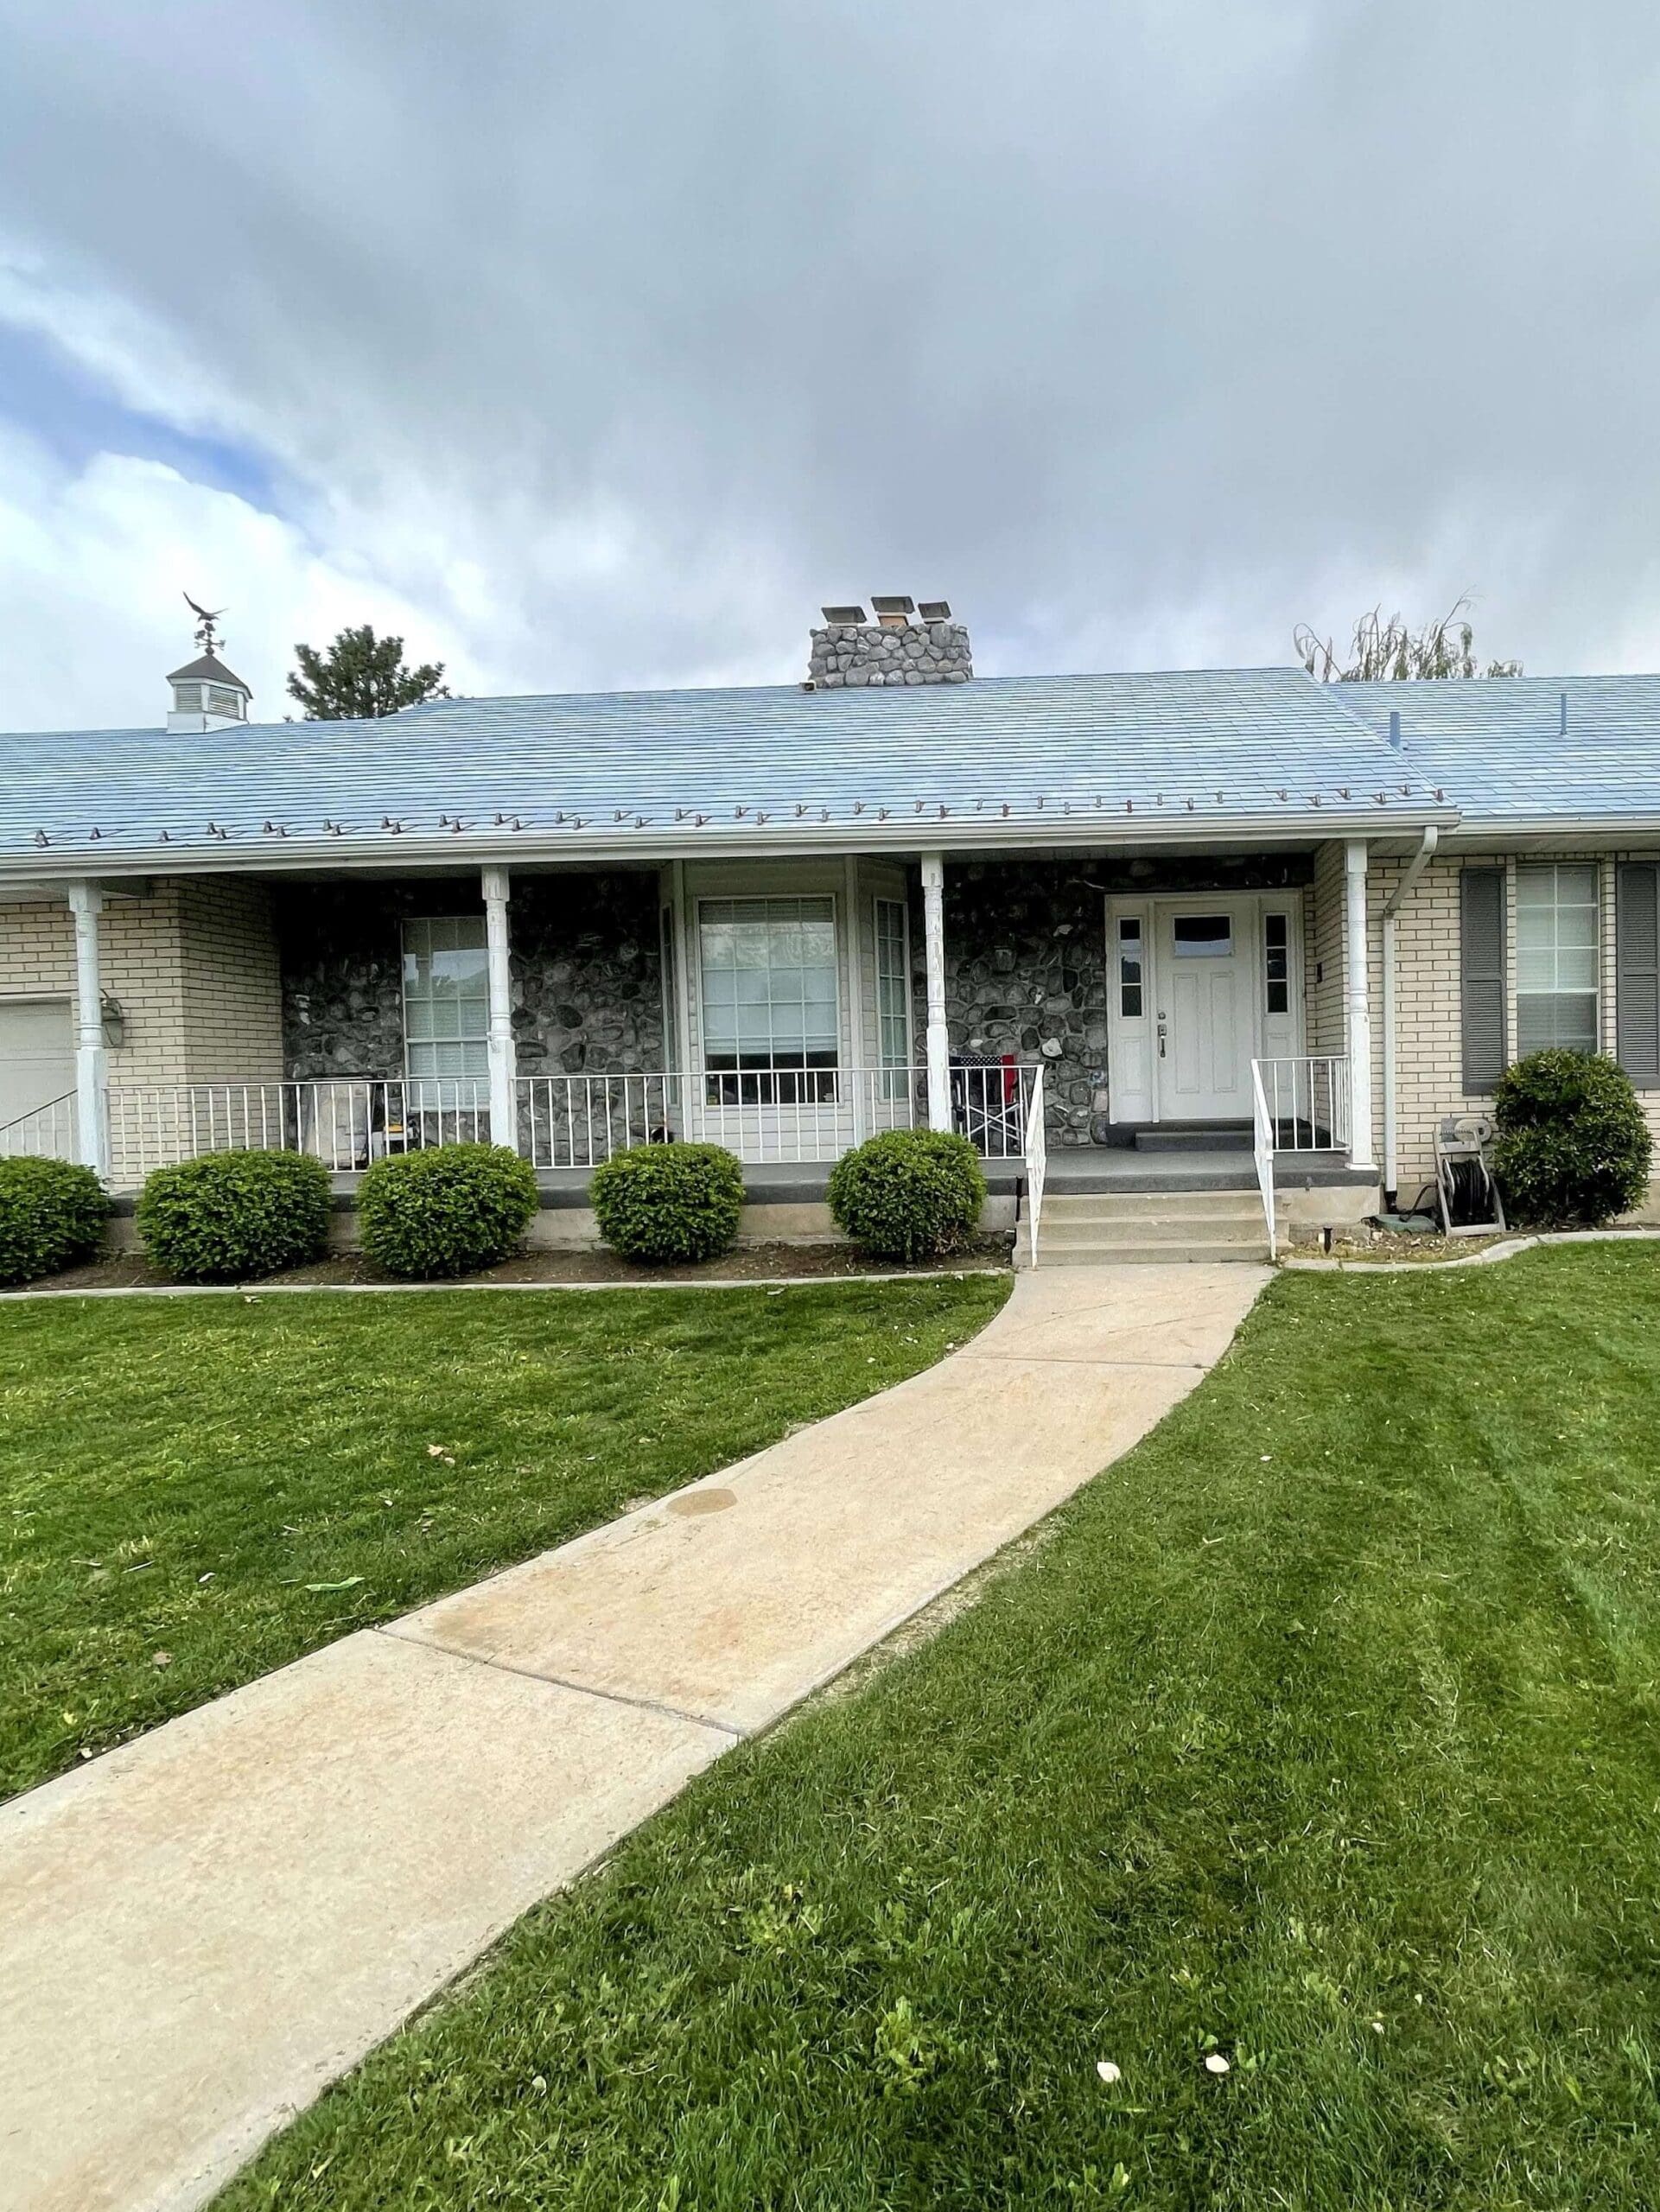
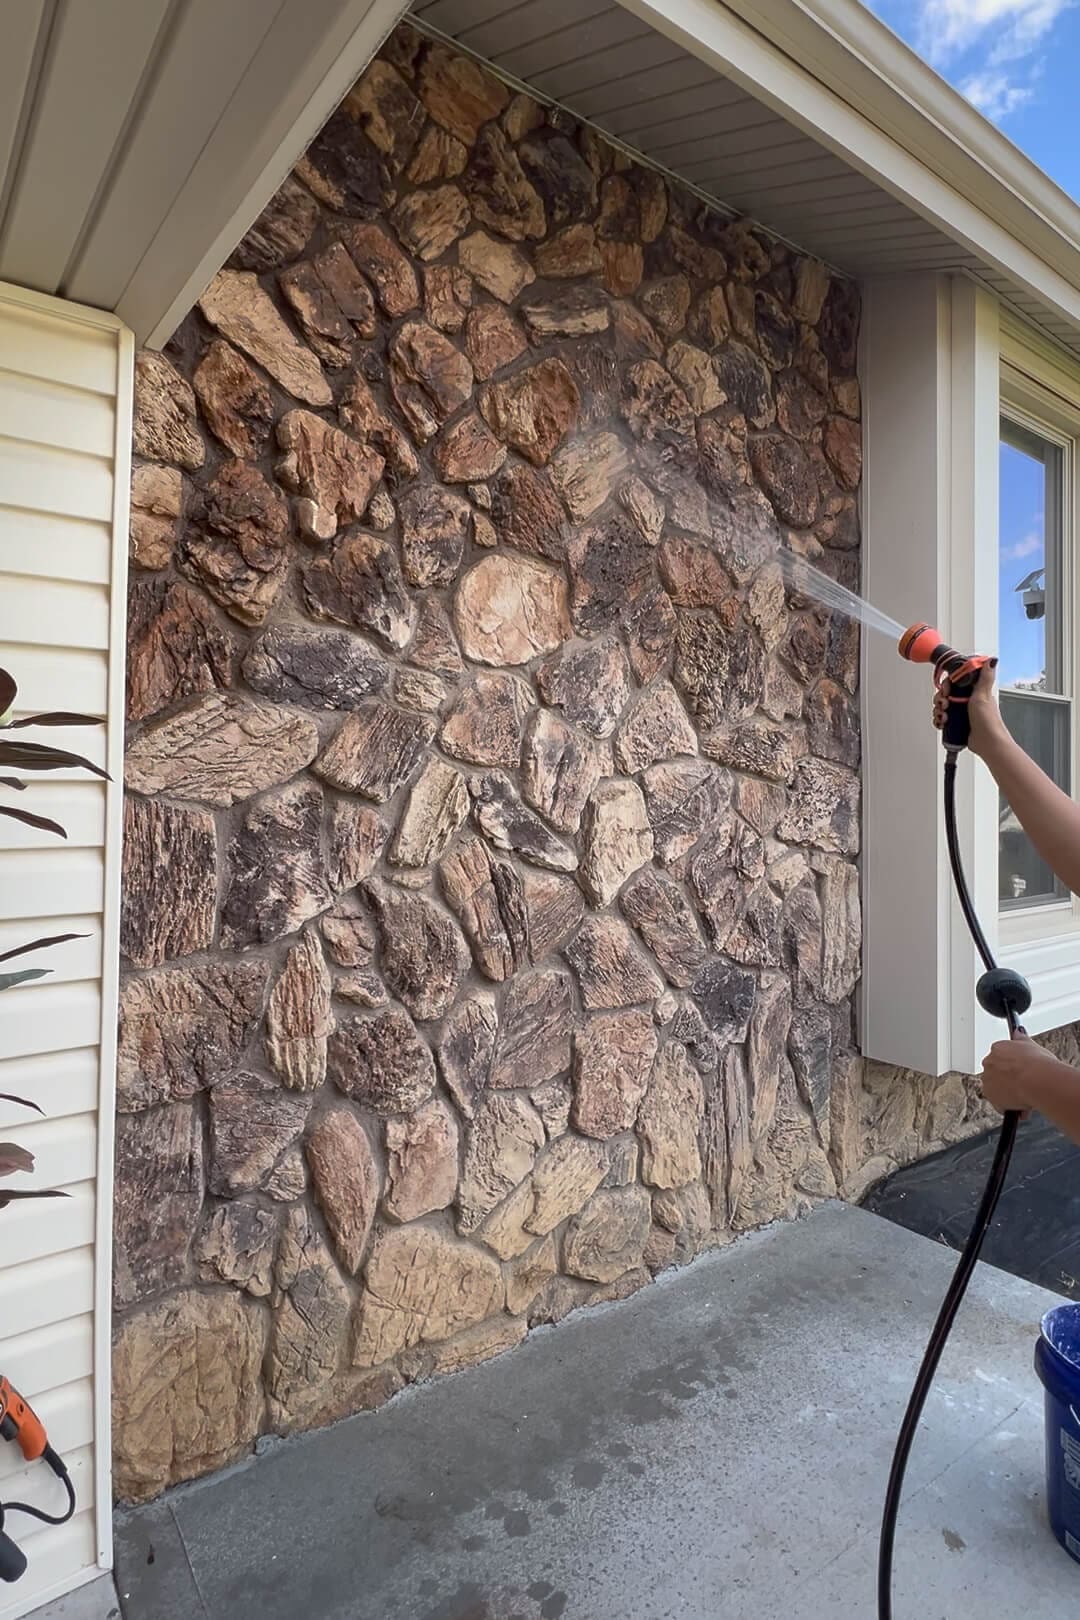
Here’s the true before photo. The bones were there – gorgeous porch, lots of natural light, and solid structure – but that dated stone exterior and the white window grids were seriously dragging the curb appeal down.
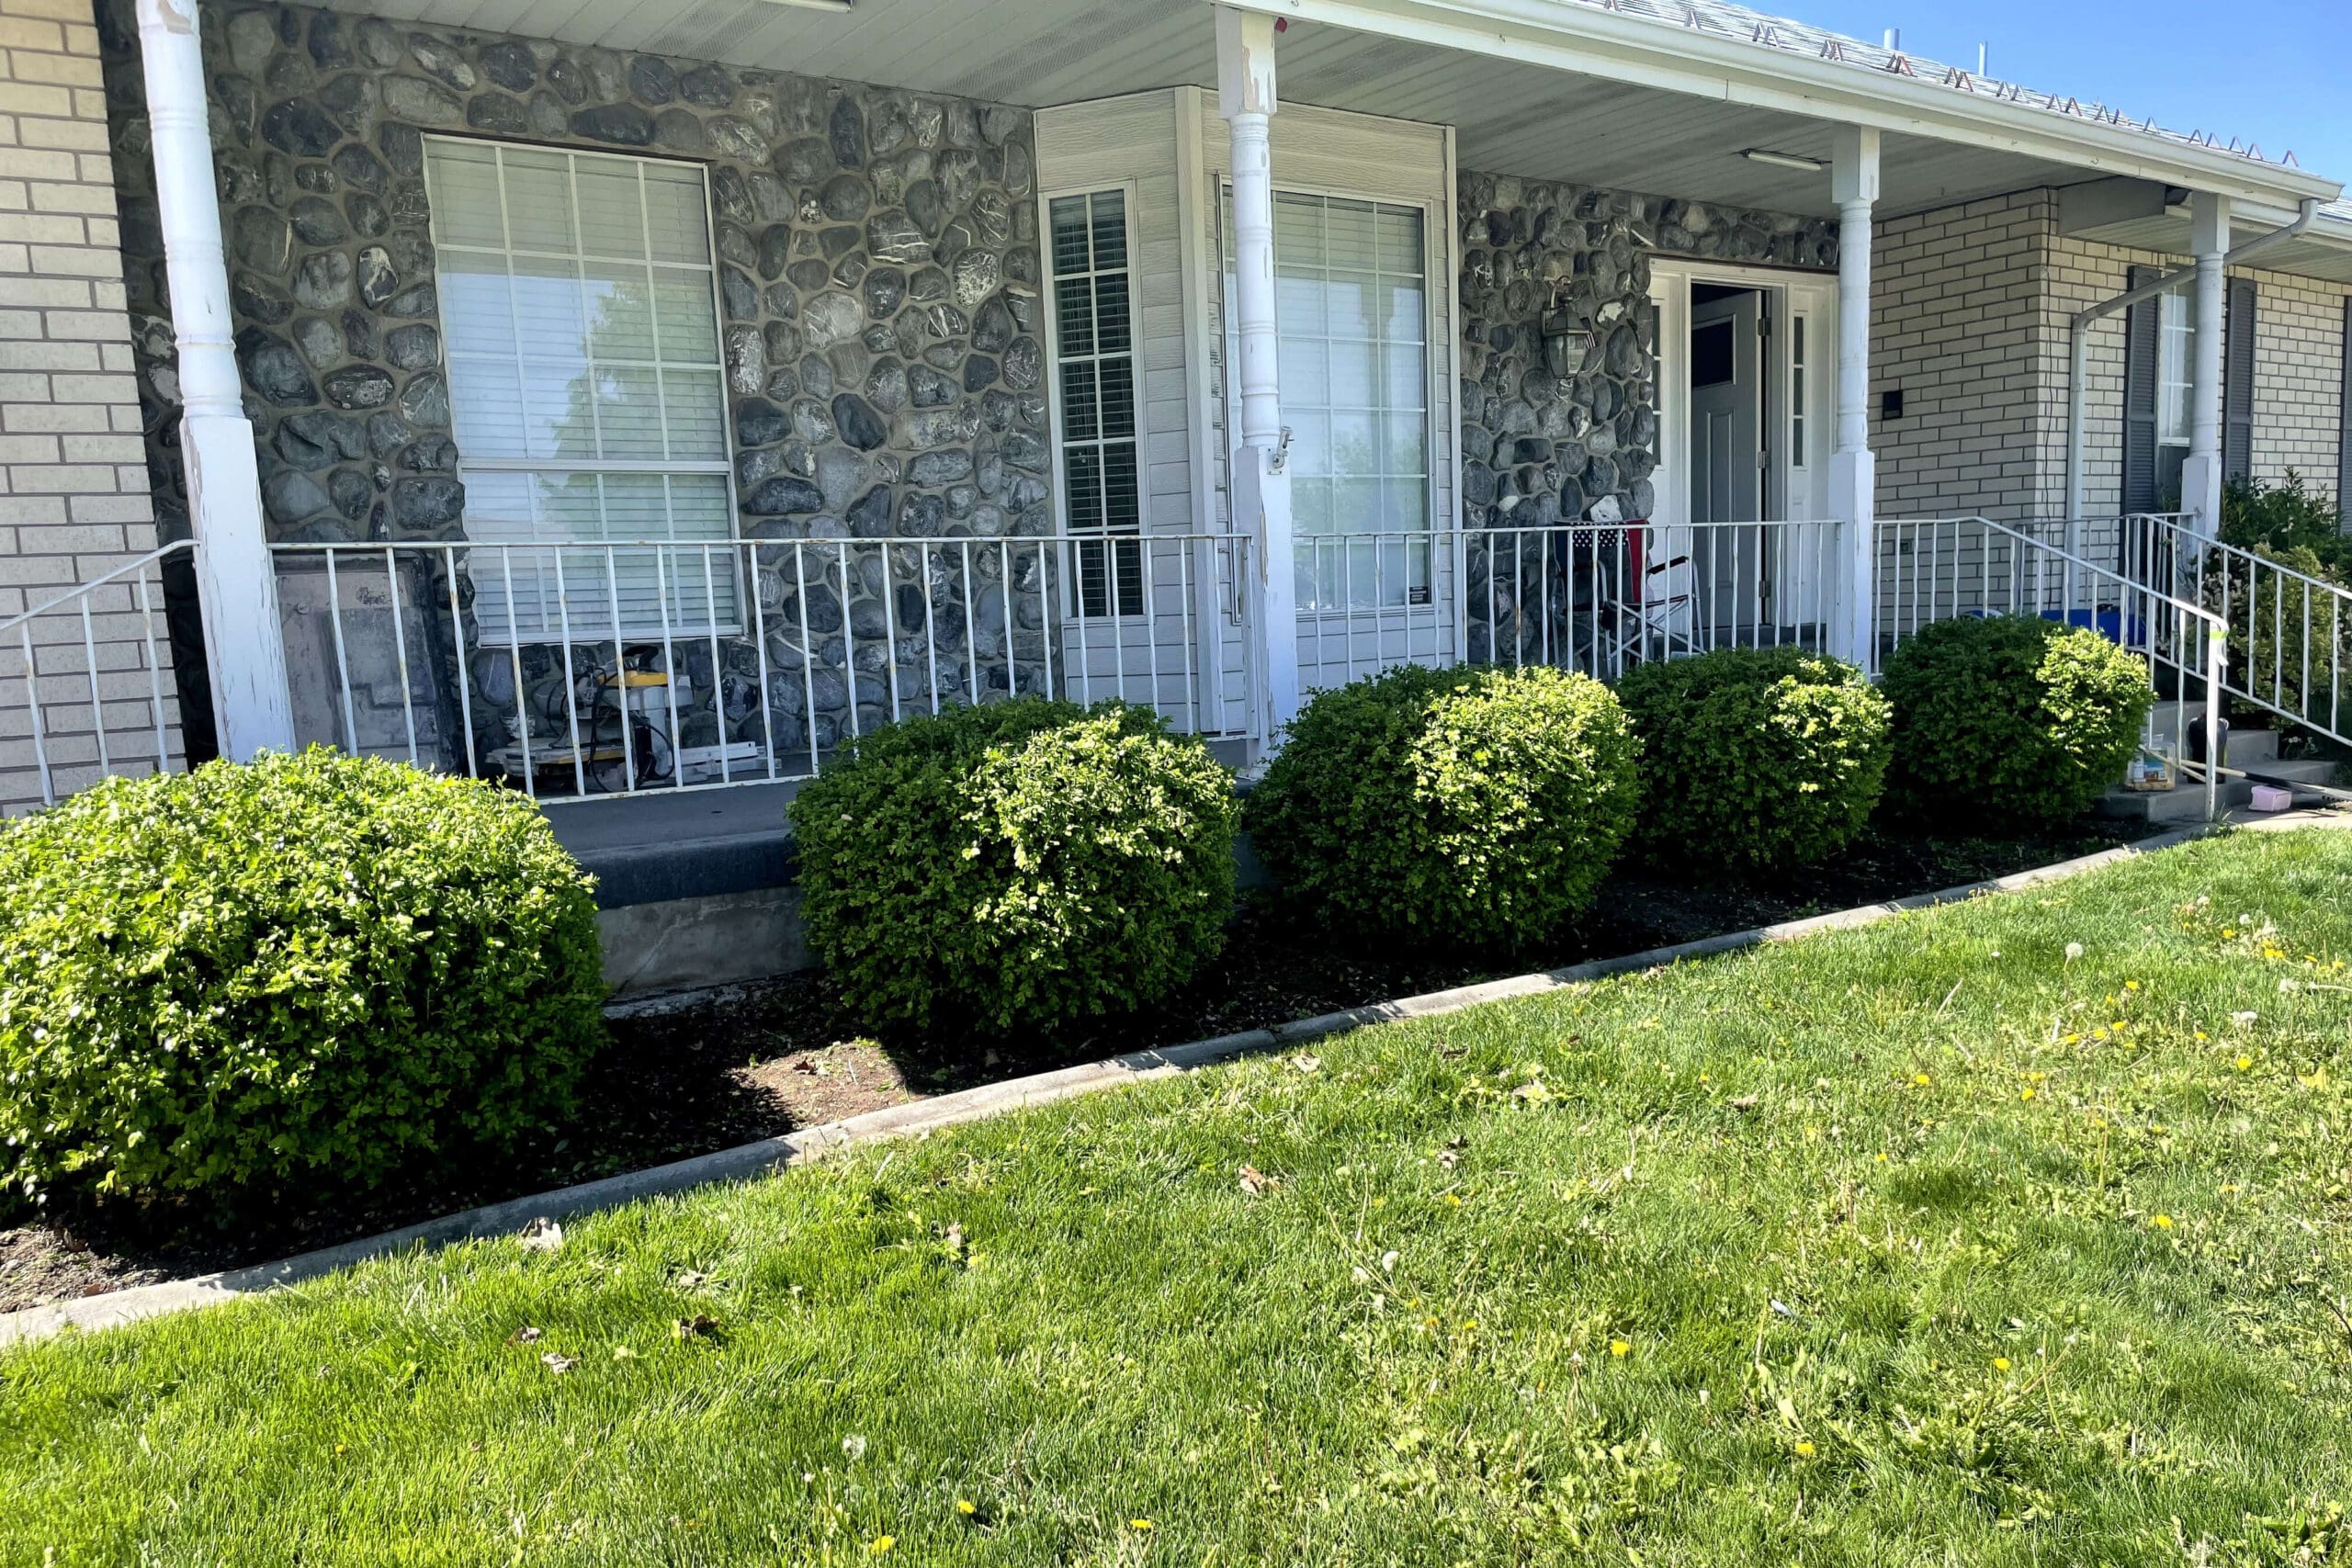
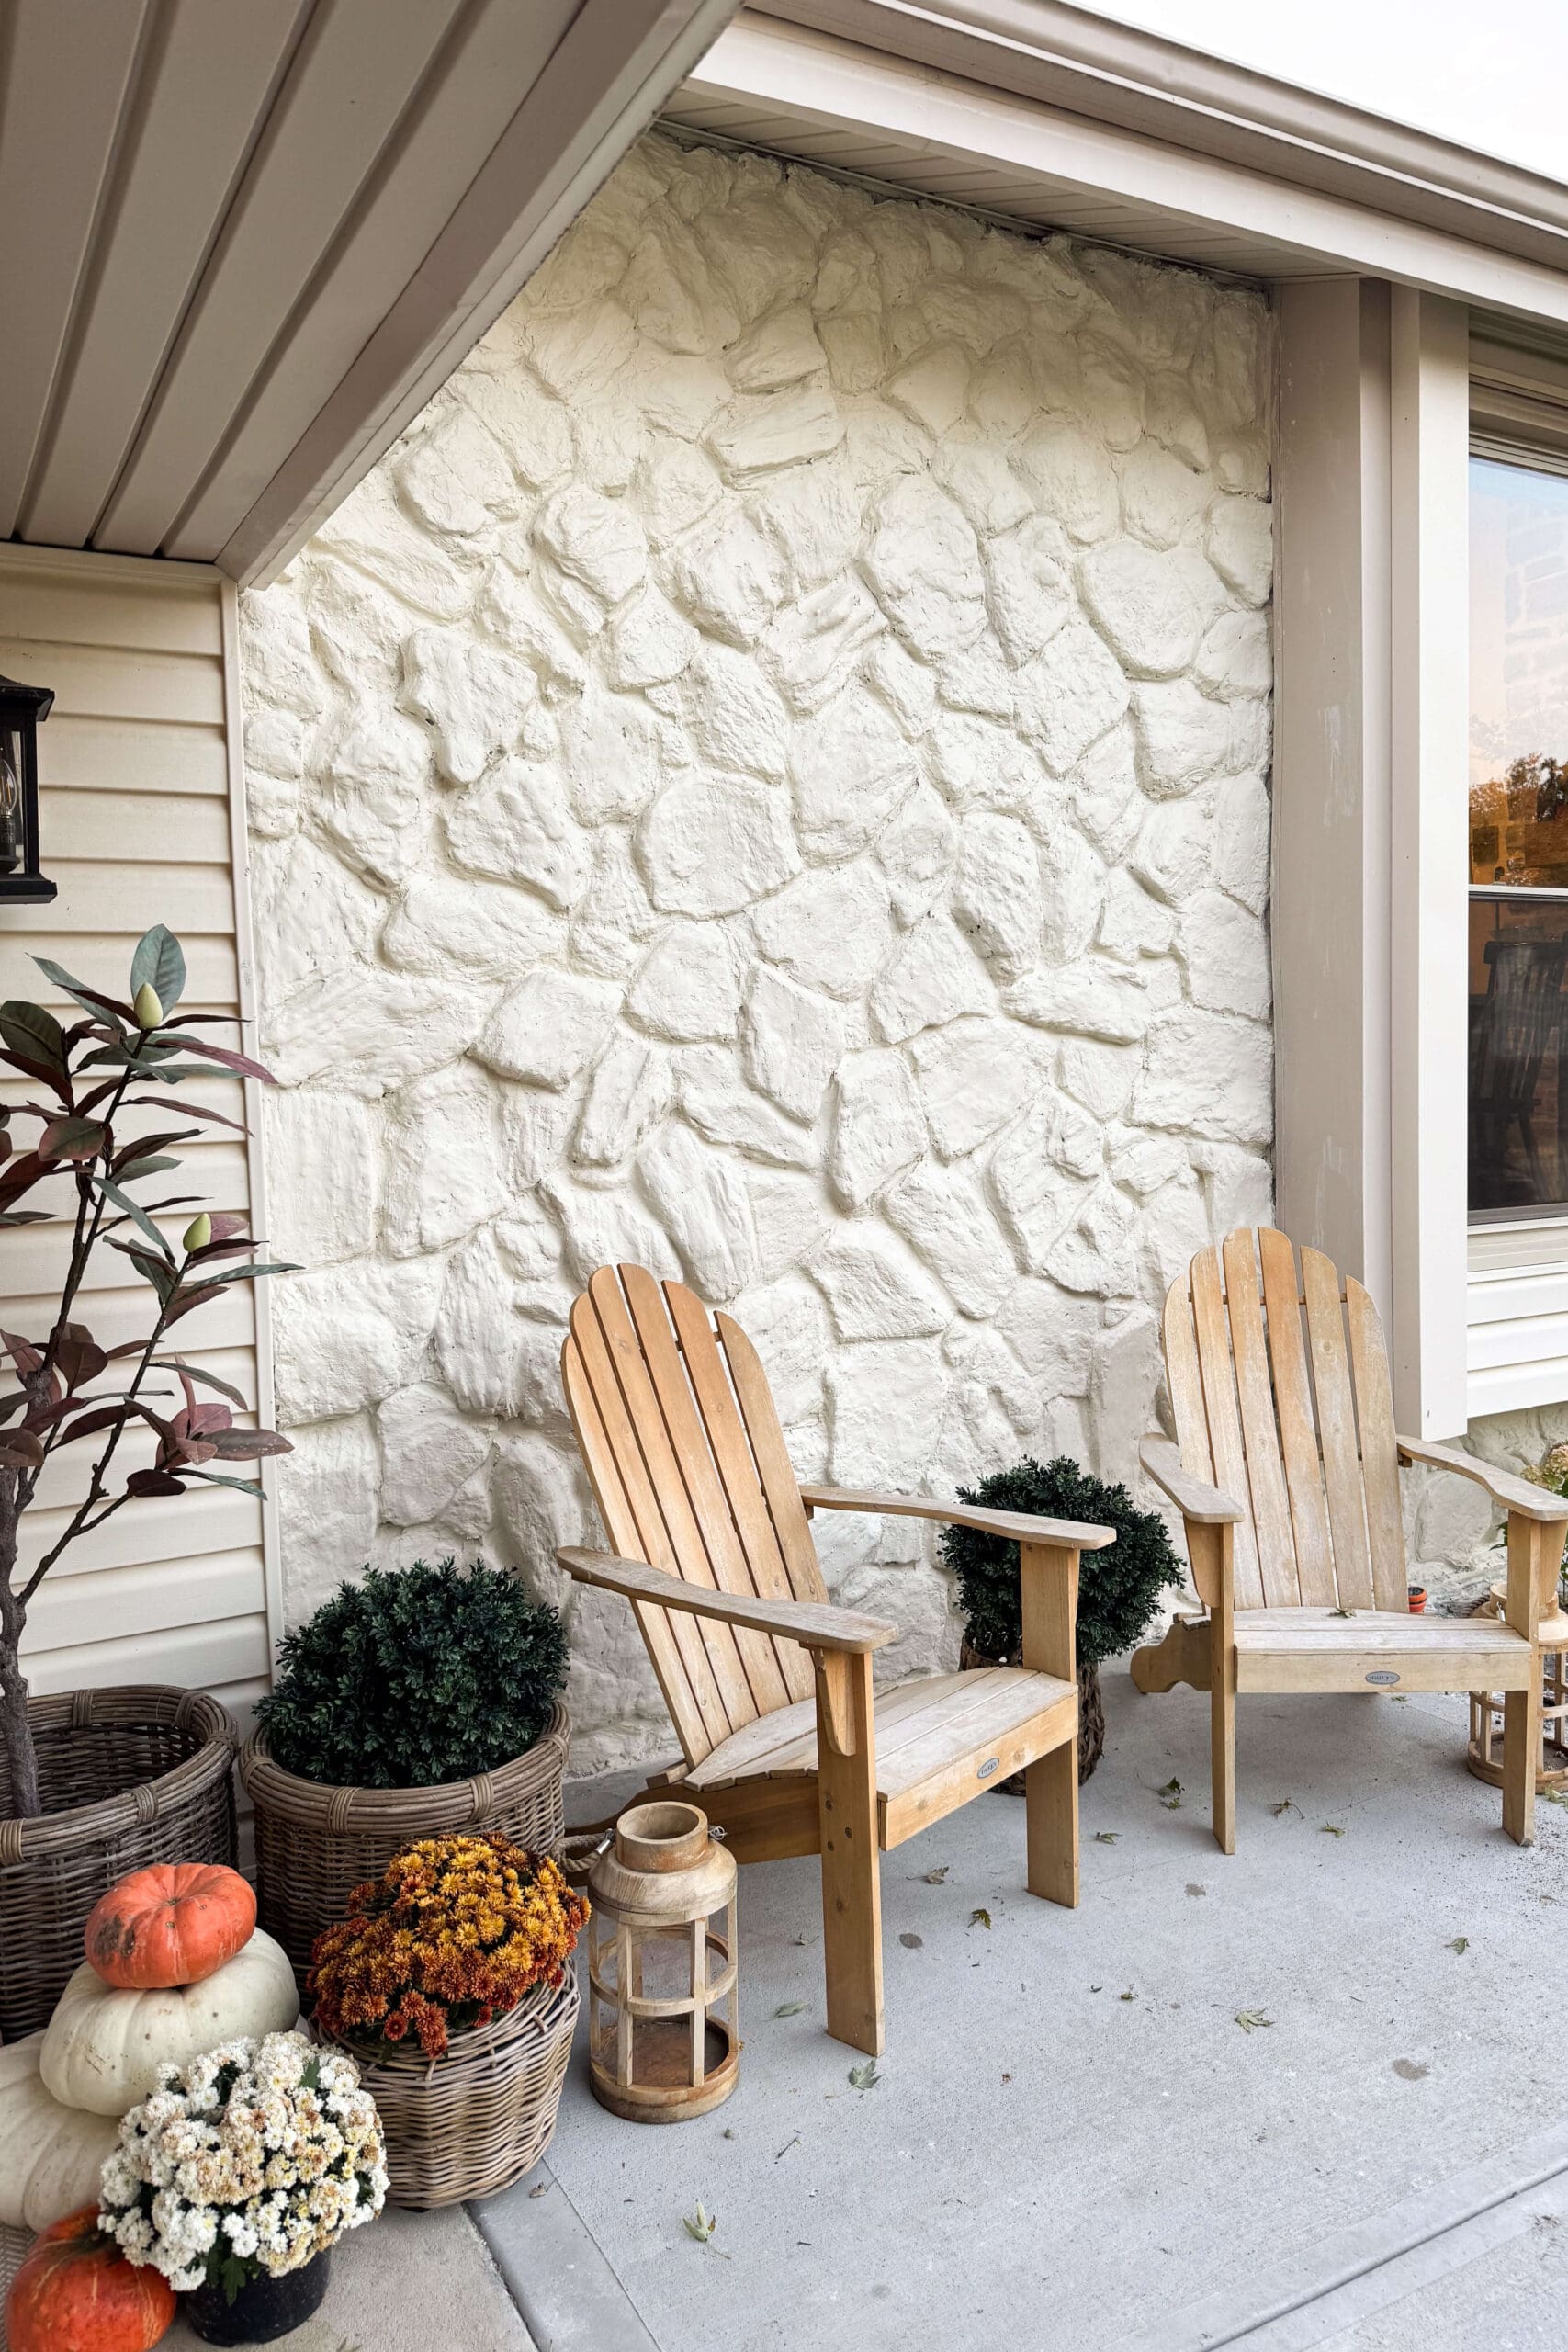
Before I could even think about tackling the vinyl window grids, I needed a clean slate. I painted the front door a moody dark gray, and gave the stone, brick, and siding a crisp coat of white. It instantly brightened the space and set the stage for those bold black window grid lines to really pop.


How I Prepped Our Windows for a DIY Window Grid Makeover
With the exterior freshened up, I moved on to the windows. The first thing I did was paint the window frames black – this simple update makes such a difference and really defines the windows beautifully. (If you’re curious about how I paint window frames, I’ve got my full step-by-step method linked here.)


Then it was time to prep the glass. Before applying the vinyl to create the black window grids, I cleaned the glass really well. I used my favorite glass cleaner and a cloth, then went over the areas where the grid lines sit with a razor blade. You want the surface to be as clean and smooth as possible so that the faux black window grids stick and stay.


Cutting and Applying Vinyl Strips to Create Black Grids for Windows
Now for the fun part: faux black window grids on a budget! I’ve tried electrical tape in the past… don’t do it. It shrinks, cracks, and just doesn’t hold up over time.
Instead, I use peel-and-stick vinyl – the kind that’s rated for outdoor use, like what’s used on car decals. I bought 12×12 sheets and cut them down into strips using a paper cutter. You could also use a Cricut for this if you have one.


How to Apply Vinyl Grids on Windows
Once your vinyl is cut into strips, it’s just a matter of peeling the backing and applying it directly over the existing white grid lines. I lined each strip up carefully and smoothed it into place.
One strip at a time, I watched my black window grids come to life – and let me tell you, it’s SO satisfying. You don’t need any fancy tools or special techniques. Just patience, clean lines, and a steady hand.


The Transformation: Before and After DIY Window Grids
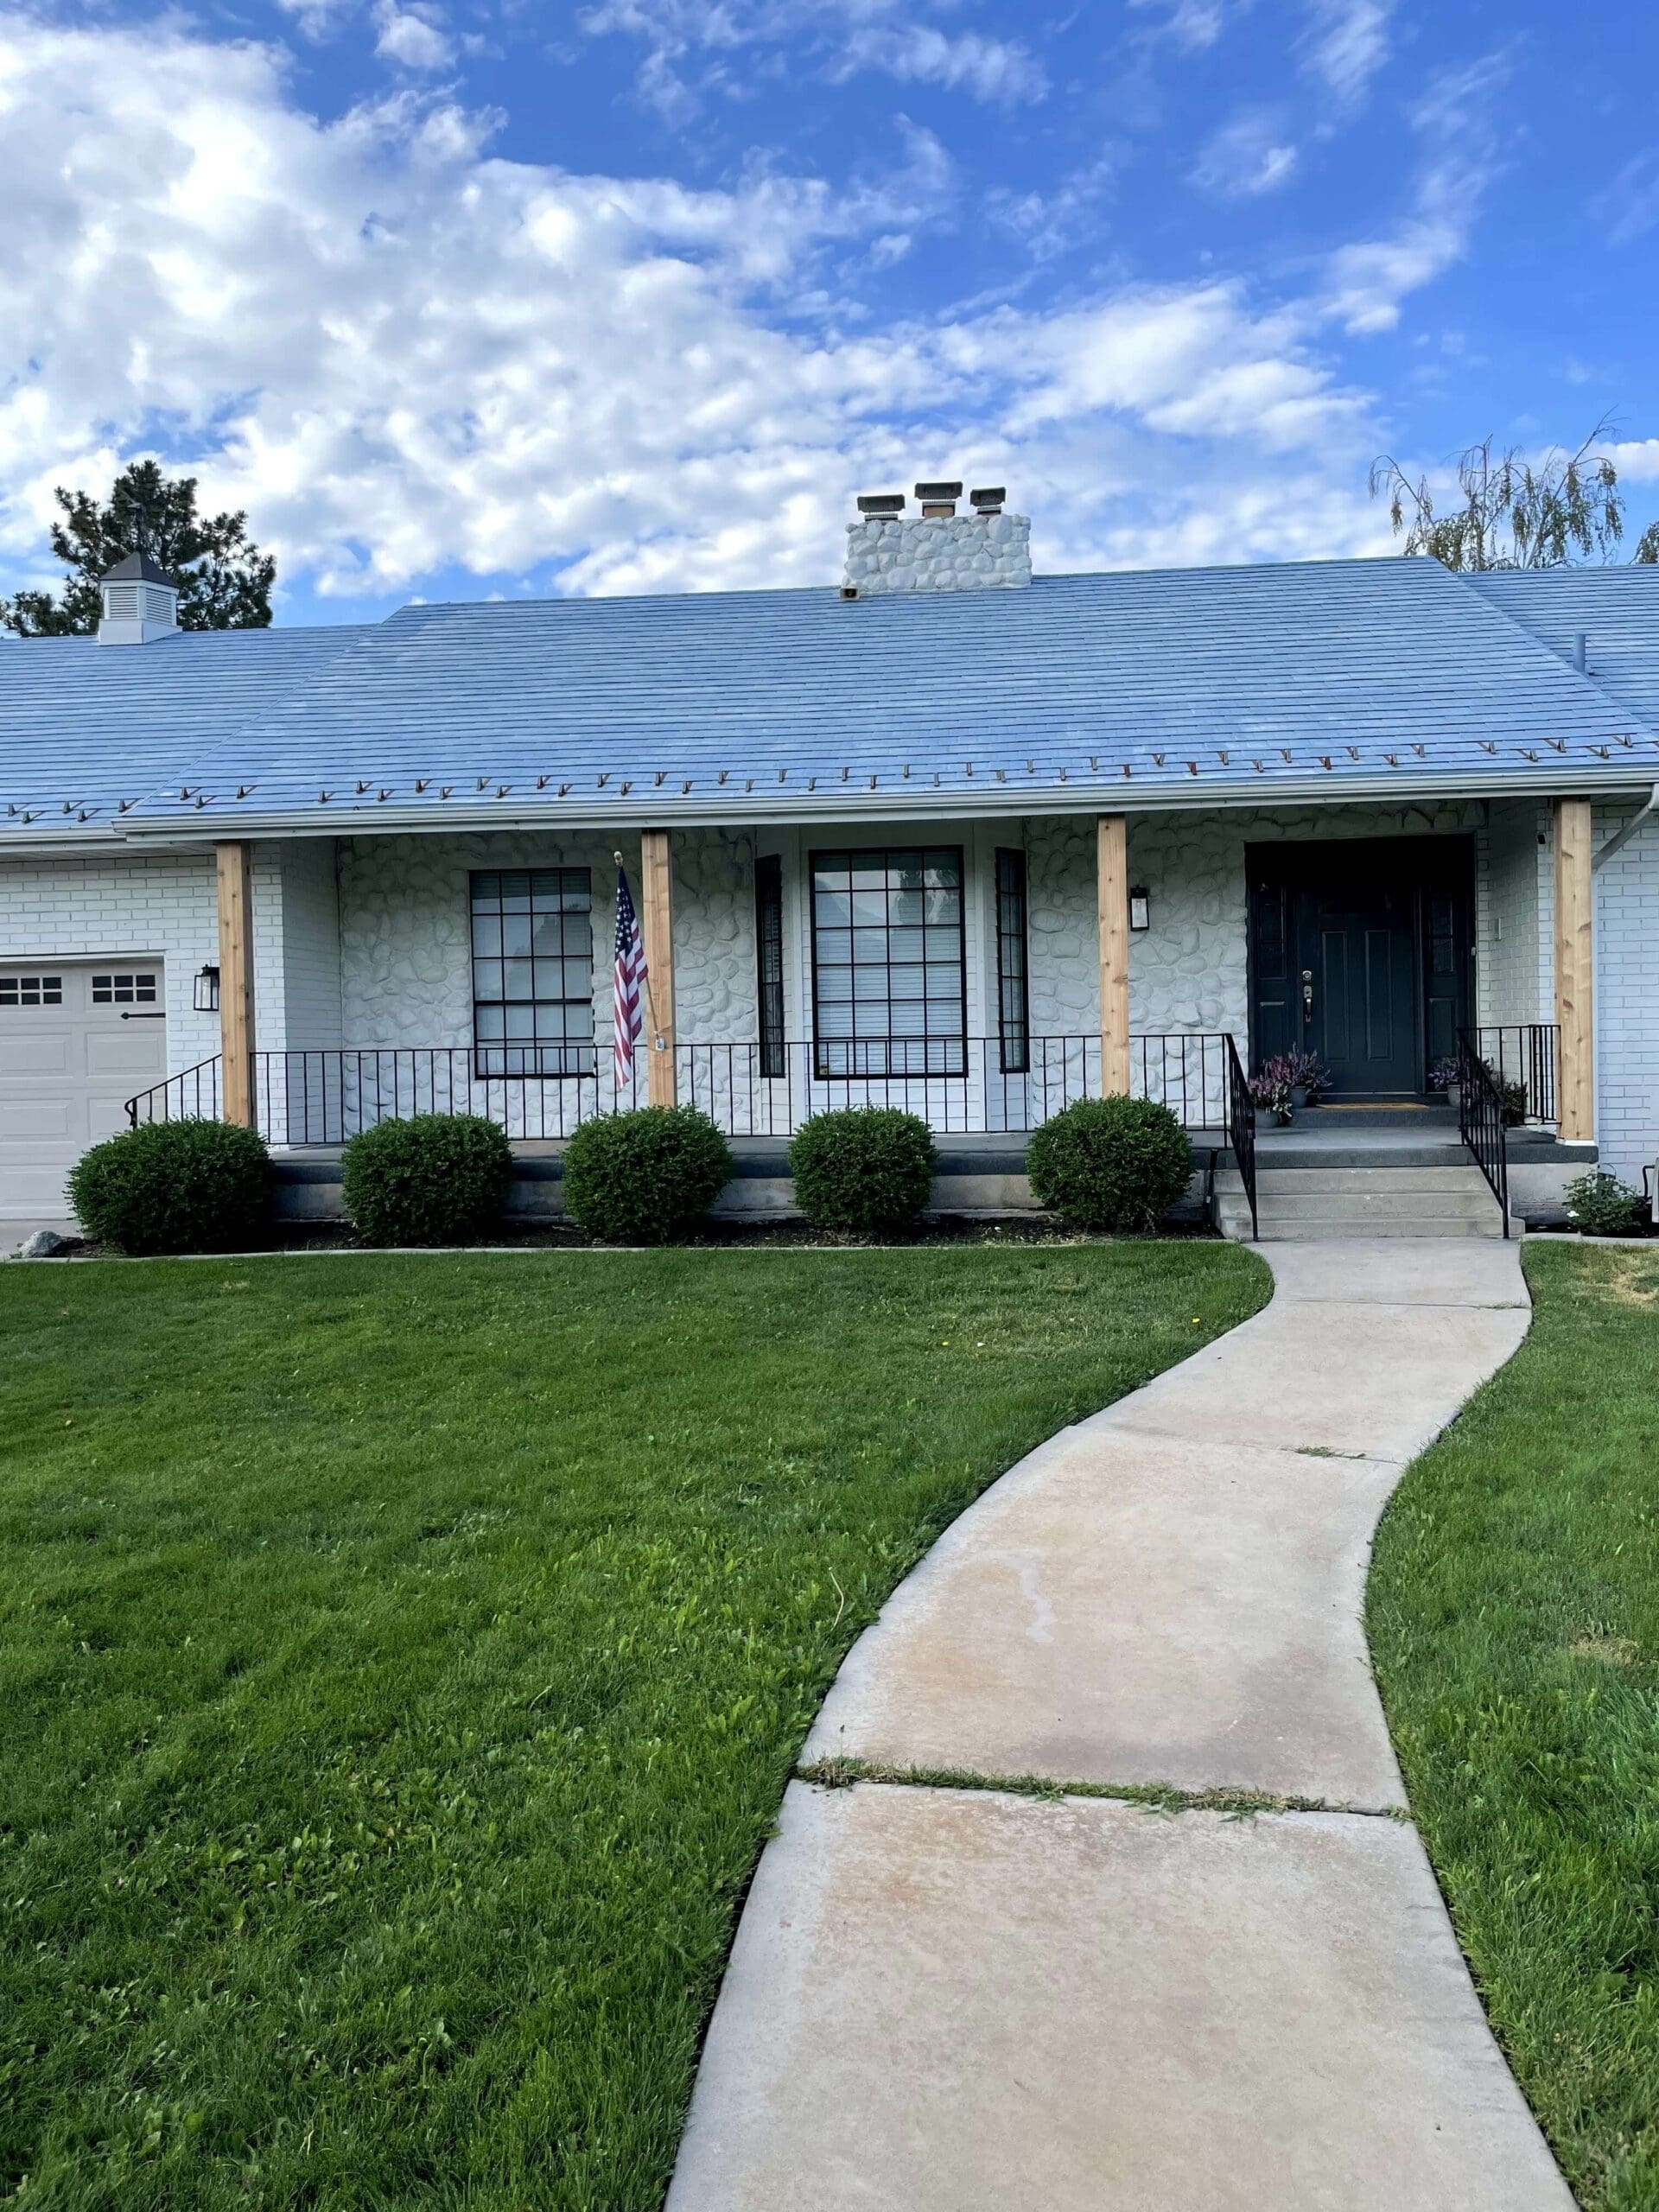
And voilà! Just look at that transformation. The front of the house looks brand new – modern, clean, and elevated. The black window grids make such a bold statement, especially paired with the painted trim and the fresh white exterior.
Here’s a little side-by-side: the original white grid windows vs. the updated black window grid makeover. You can also spot another DIY project – those wood-wrapped porch columns I added later (another easy weekend project with major impact!).
Why I’ll Keep Repeating This Budget Window Grid Hack
I’m so happy with how the black window grids turned out. It gave our whole front porch a custom, designer feel without spending a fortune. Paint, vinyl, and a little wood have completely transformed the front of this home.
This wasn’t the first time I transformed windows with spray paint and vinyl, and it probably won’t be the last either. Here’s a quick video showing you the transformation when I used this same technique on our little starter home.
The most controversial part of this porch upgrade was painting the stone. I know painting stone isn’t everyone’s favorite (I’ve heard it all!), but when we lived in our Omaha fixer-upper, I tackled that dated rock facade a little differently. Instead of just painting it, I first grabbed some mortar and filled in the deep crevices to give it a more updated, natural look. If you’re curious about that technique, you can check out the full tutorial right here.
📌 Save This Porch Glow-Up for Later
Frequently Asked Questions About Faux Window Grids
The simplest method is using peel-and-stick outdoor vinyl strips. This creates the look of black window grids without the cost or hassle of new windows. It’s an easy DIY with high-end results.
Use outdoor-rated adhesive vinyl—similar to what’s used for vehicle decals. It holds up well in weather and won’t crack or peel like electrical tape.
No, high-quality vinyl made for outdoor use won’t leave residue or damage your windows when removed properly. It’s a great temporary or long-term solution.
It’s not recommended. Electrical tape tends to shrink, crack, and fade over time. Vinyl is a better choice for a long-lasting finish.
With proper prep and quality materials, DIY vinyl grids can last several years. Be sure to clean the glass thoroughly and use durable, weather-resistant vinyl.
