

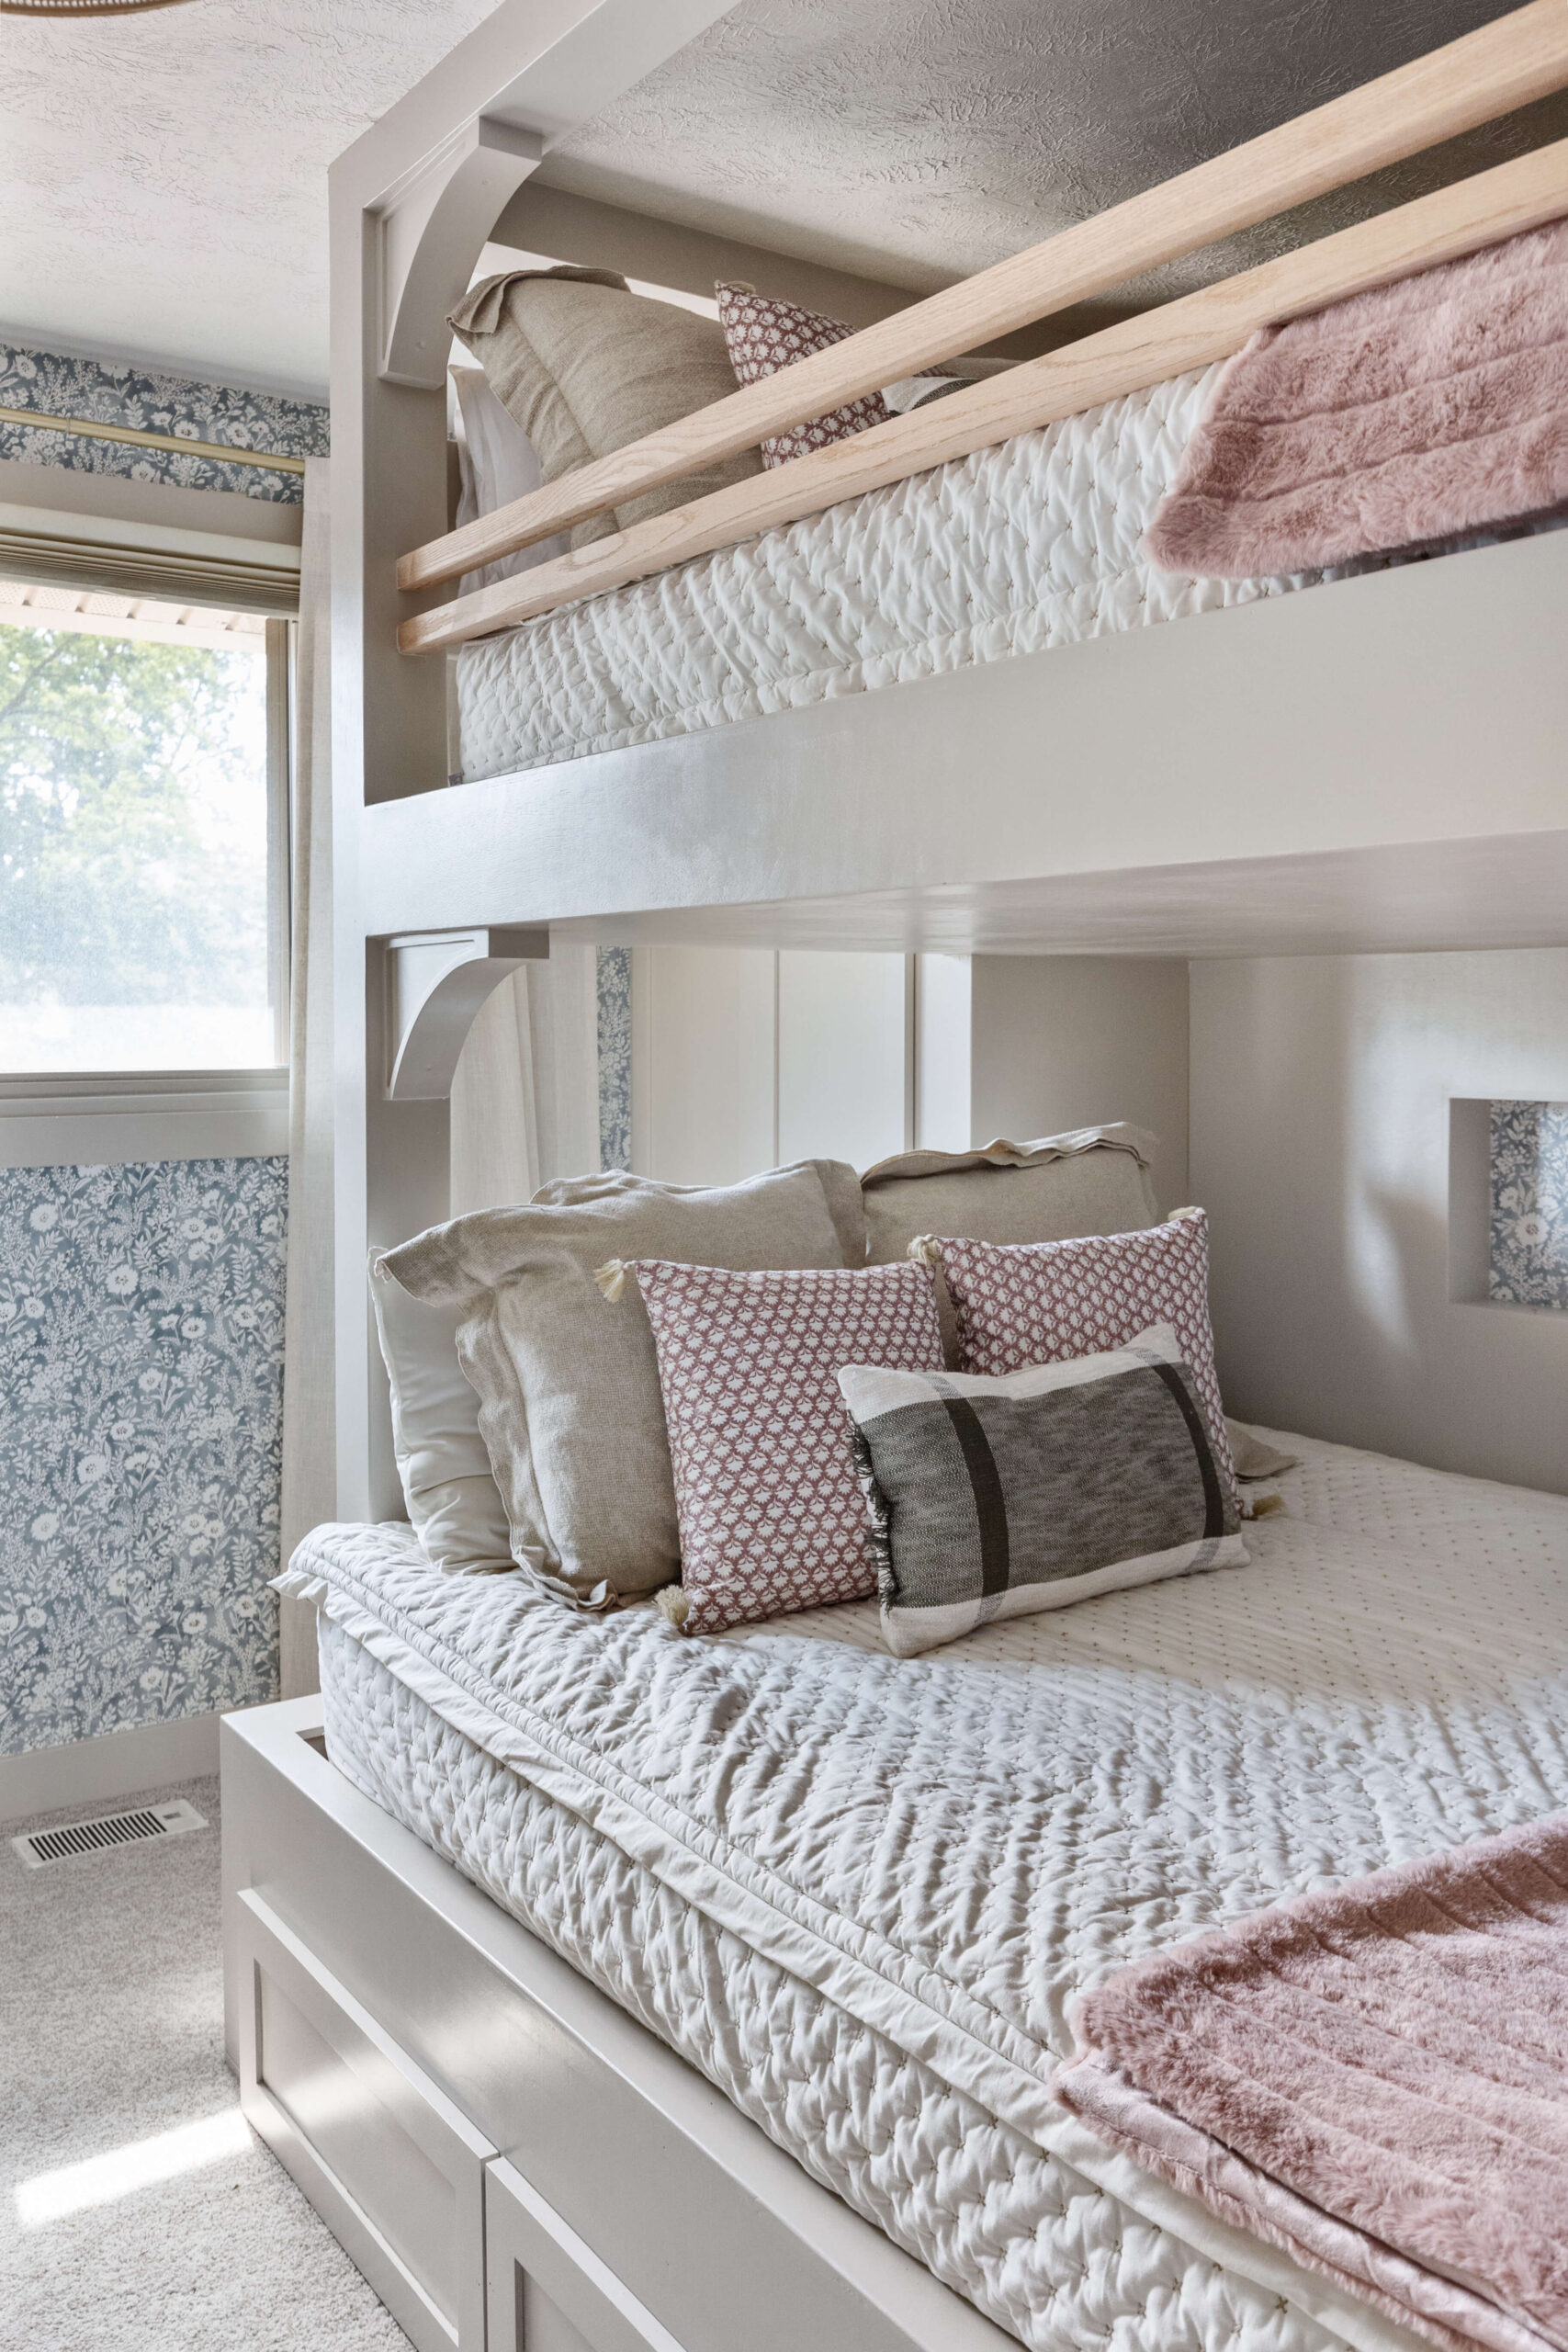
I’m building DIY Bunk Beds as part of a full makeover for my girls’ bedroom, and I’m showing you exactly how I did it. These DIY bunk beds are built right into the wall and have tons of built-in storage. They’re going to be both beautiful and super functional!
For part one of this project, I installed two IKEA Pax units and built the basic framing for the DIY bunk beds. Now it’s time to move on to the next steps.
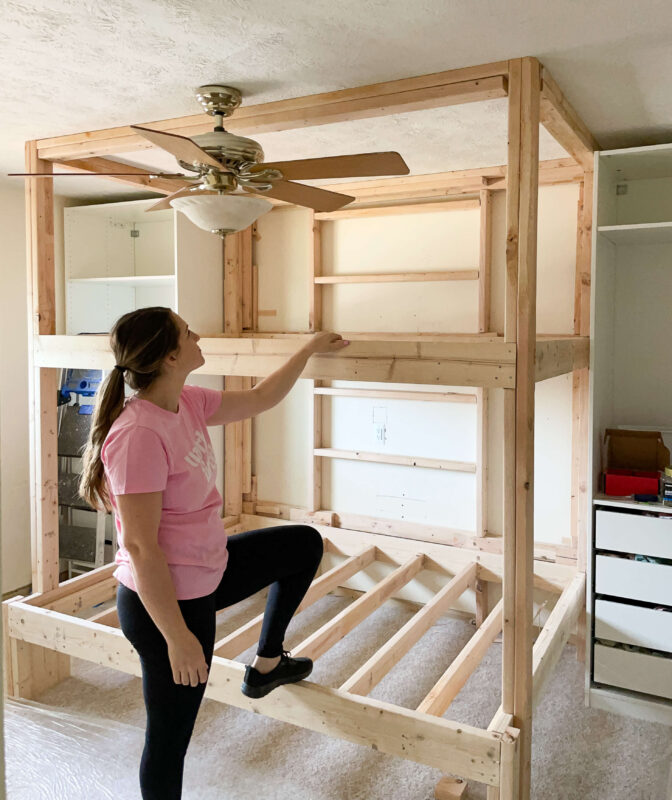
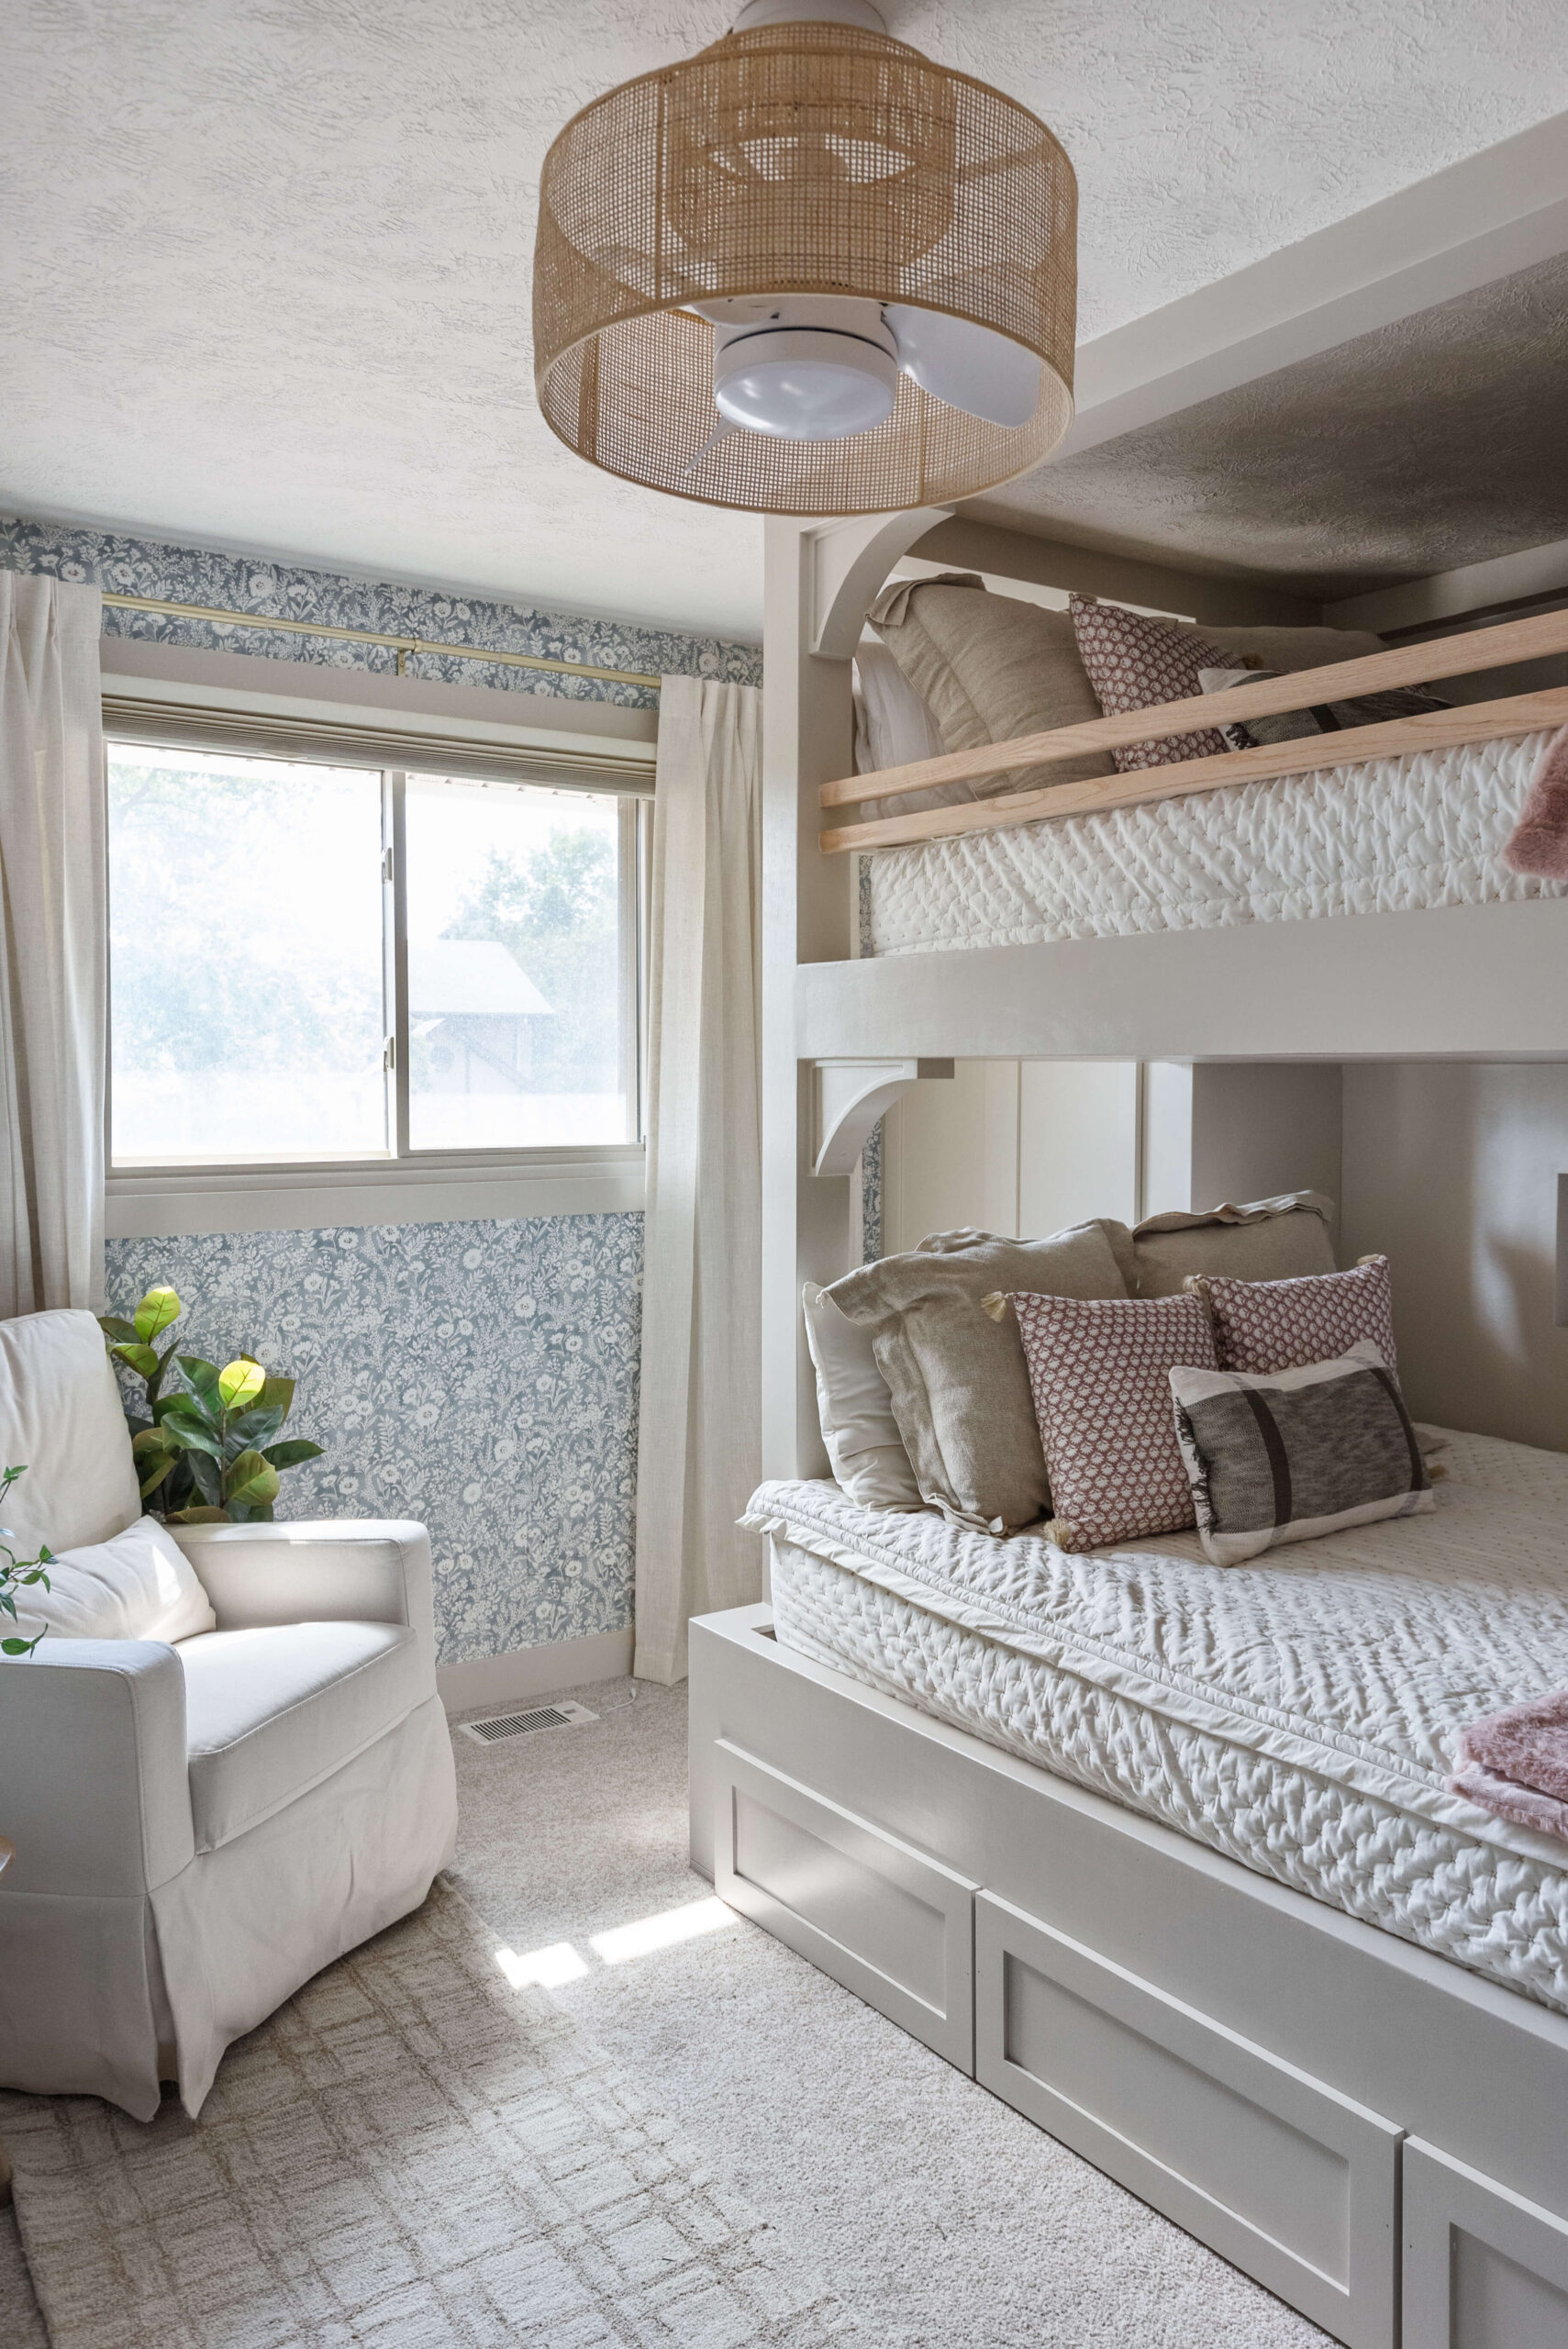
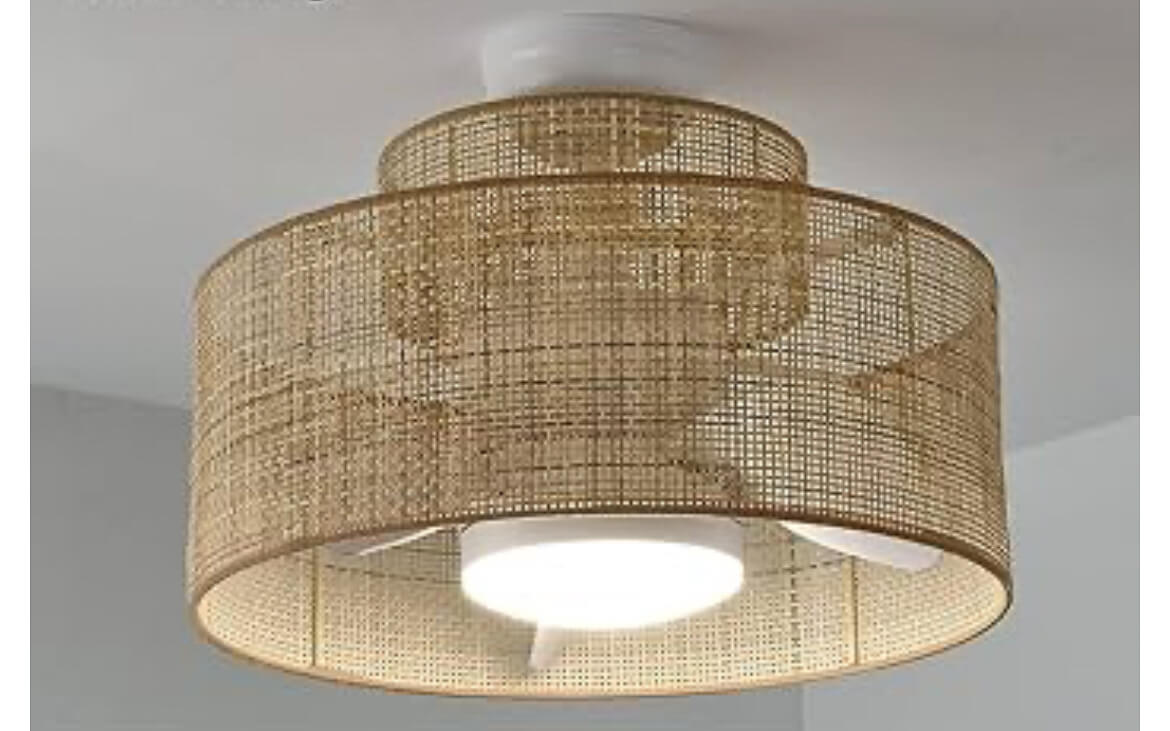
Before doing any more work, we took down the old ceiling fan. It was ugly, in the way, and a hazard for the top bunk. I replaced it with a sleek, rattan fandalier—stylish and practical. Although it’s currently out of stock, I’m linking it in case it returns.
Wrapping the DIY Bunk Beds With Plywood
We framed the DIY bunk beds using 2x4s, 2x6s, and nails. While it might not look like much yet, it’s solid. Next, I wrapped the entire frame in 1/2-inch plywood for a smooth, paintable surface.
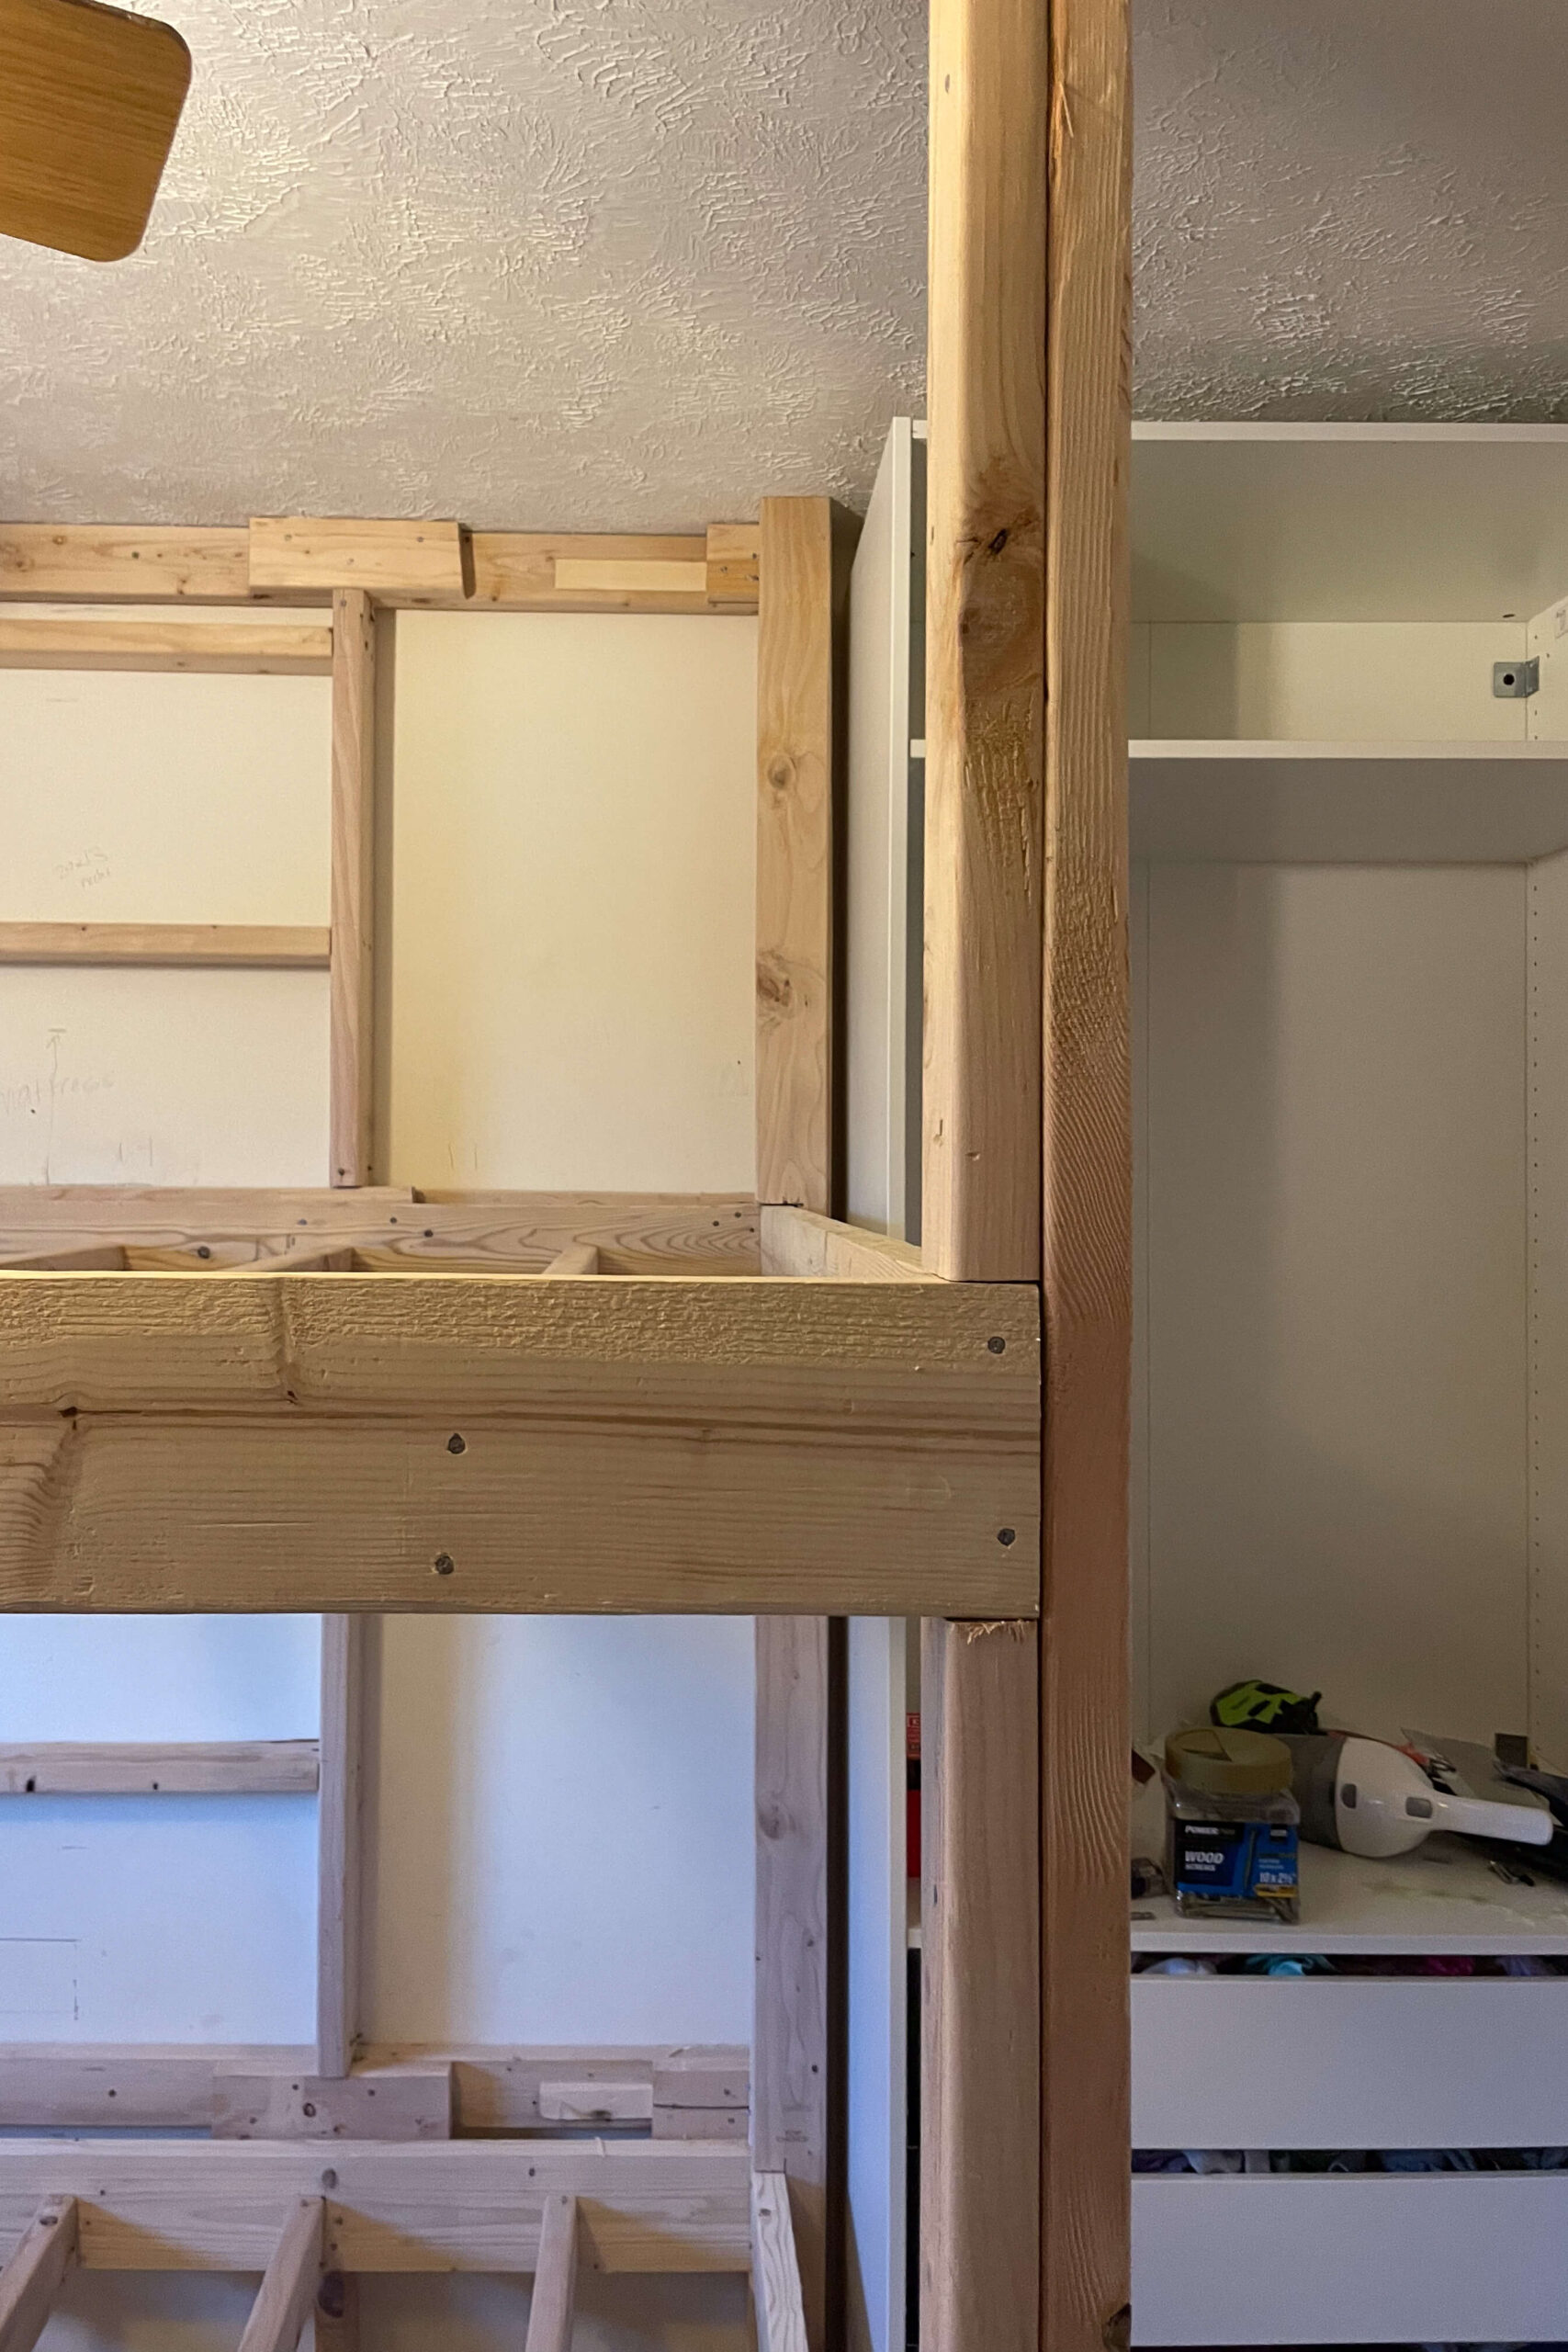
I started by enclosing the backs of the top and bottom bunks with large plywood sheets, using my circular saw and jigsaw to cut spaces for the cubbies. There was a lot of cutting and measuring to ensure everything fit properly. Every exposed part of the frame, including the Pax units, got wrapped in plywood, making sure it all looked cohesive.
There was so much to wrap on these DIY bunk beds. Anywhere you see exposed framing—the bottom, the front, you name it—all got covered with plywood. I took tons of measurements and then cut out a stack of pieces ready to be put on.


I couldn’t overlook the Pax units when covering everything with plywood. Once finished, they’ll seamlessly blend with the bed, but to achieve that, I’ll need to cover every gap and seam with plywood and trim


For the slats under the bottom bunk, I used hardboard instead of plywood—it’s a cheaper option but works great for preventing small items from getting lost under the bed.

Adding Safety Rails
Once everything was wrapped, I moved on to the safety rails. I drilled pocket holes in 1-inch pine boards, secured them in place, and then glued a second board over the first to hide the screws and create a thicker rail. You’ll need a bunch of clamps to hold it in place while the glue dries.


I used the same process for the head rails. For the side rails, I chose oak 1x2s for their natural wood finish.

After checking that the rail was level, I screwed it in place through pocket holes. Then, I glued a second layer over it and clamped it down. Once the glue dried, I added a side rail below the first.

Isn’t it amazing what a difference wrapping with plywood makes? These DIY bunk beds are coming along.

Clean up the Edges
As you can see, the plywood doesn’t always sit perfectly flush where it overlaps. I used my router to clean up these edges, grinding off any excess wood on the DIY bunk beds.


You can see the difference after just one pass!

I ran the router over all the overlapping edges and along the rails to ensure everything was nice and smooth. I also rounded off the sharp corners to make the DIY bunk beds safer for my kids.

Once the routing was done, I gave everything a thorough sanding to smooth the surface. Now it’s time to fill those seams!

Fill in the Seams
To protect my carpet from the mess, I rolled out carpet protection film before getting started.

Instead of wood filler, I used Bondo to fill the seams, plywood edges, and the brad nail holes. Just a heads up—Bondo hardens fast, so only mix a little at a time. And don’t forget your respirator because the smell can get intense!
Using a putty knife, I spread the Bondo over all the areas that needed filling on the DIY bunk beds. Once it’s painted, those seams and holes will be completely invisible.

After the Bondo dried, I sanded everything down. It was a dusty job! I could have used a shop vac to suck up the dust while sanding, but honestly, my arms were already exhausted, and the extra weight would’ve made it harder.

The mess was nothing a quick vacuum and shower couldn’t fix. Just be sure to wear a respirator when sanding, too!


Finishing Touches
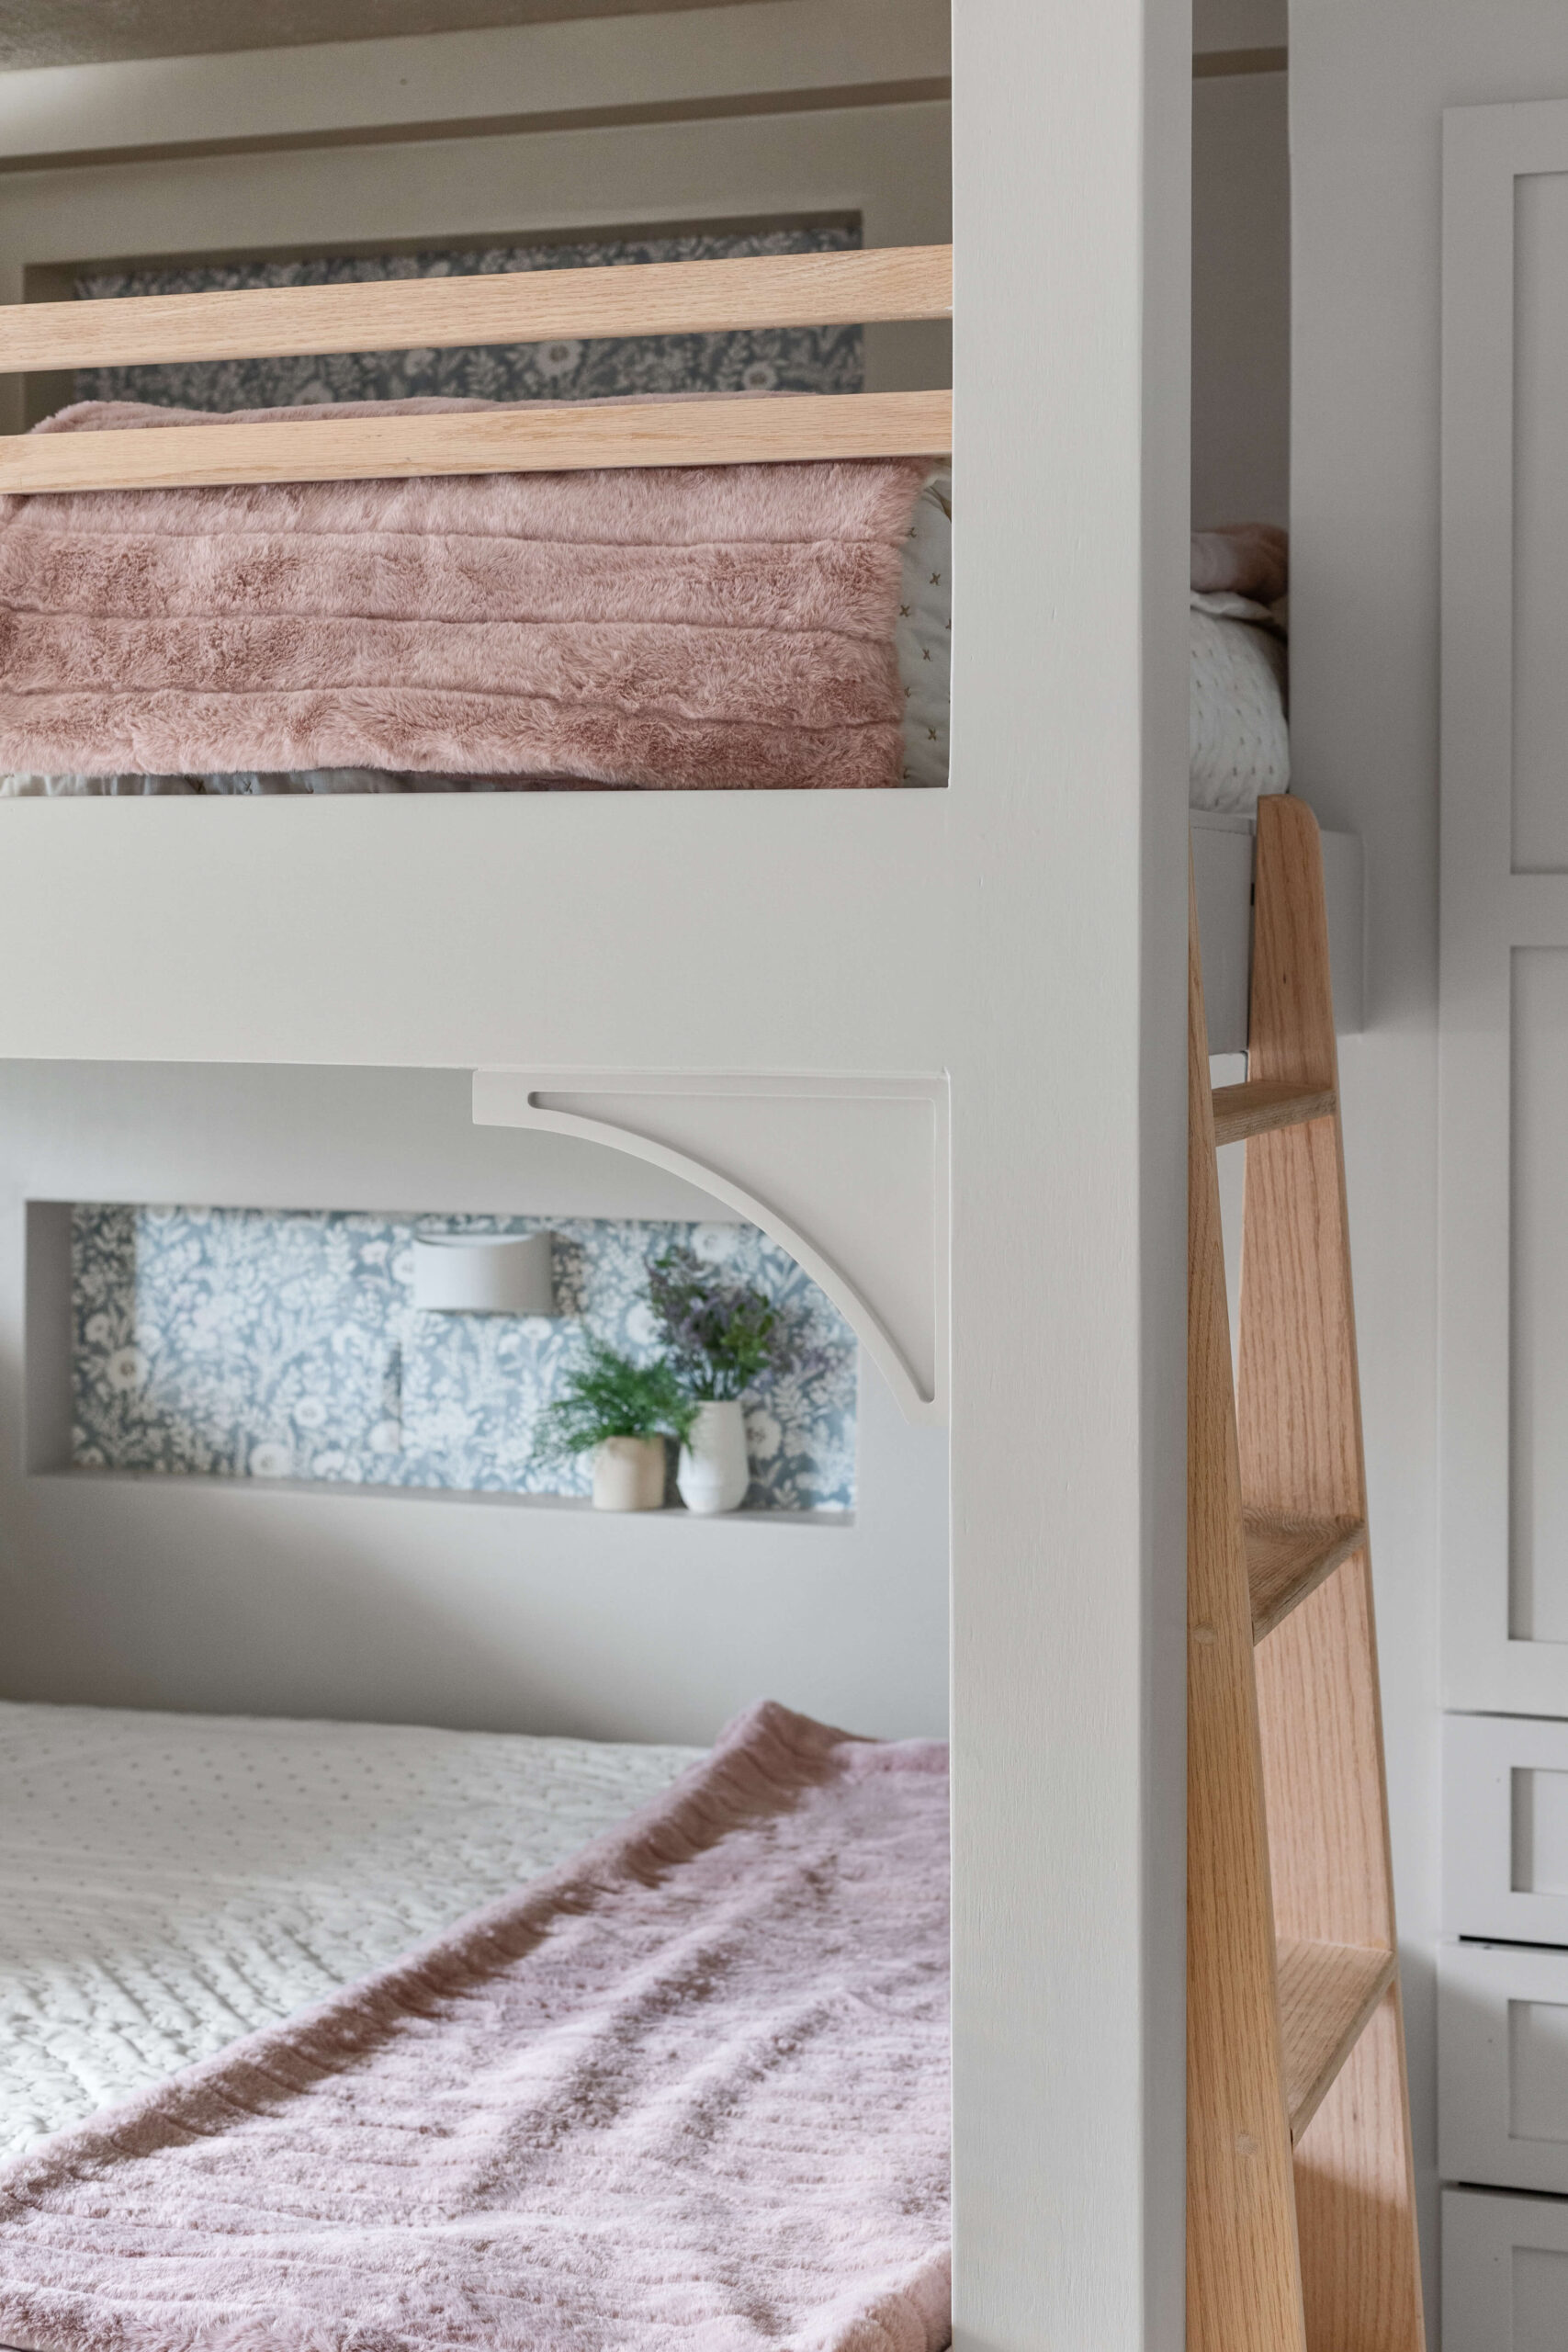
The corbels I chose will be the perfect finishing touch for these DIY Bunk Beds. I pre-screwed the screws into each corbel, then attached them to the corners of the bed. They add such a pretty, custom look! I filled the screw holes with wood filler, and they’re good to go. Next, I caulked all the inside corner seams.


Since this room is getting a full makeover, I also replaced the baseboards and window trim, so I can paint everything together for a cohesive look.


Spraying With Primer
I’m using my sprayer to prime and paint the DIY bunk beds, as well as around the IKEA Pax units. To protect areas I don’t want painted, like the drawers and natural wood side rails, I used pre-taped masking plastic—it’s a lifesaver for big projects like this!

I love using shellac-based primer because it helps the paint stick better and last longer. My paint sprayer is one of my favorite tools; it sprays in any direction, making it perfect for all the levels and nooks of the DIY bunk beds. I’ve used it to paint kitchen cabinets, our living room built-in shelves, and so much more.

I also took the opportunity to prime and paint the simple hollow-core door in this room. It’s not getting the full upgrade that I gave to other doors in my house, but a fresh coat of paint will definitely make it look better!

Priming and Painting Drawer Fronts and Cabinet Doors
Over the years, I’ve developed a foolproof method for painting drawer fronts and cabinet doors. First, I drill two small holes into the bottom edge of the drawer front or cabinet door, then insert small hooks into the holes. I hang them on a garment rack in the front yard, making it easy to spray them evenly.


After priming, I sanded everything with 120-grit sandpaper to smooth the raised grain. Then, using my blower, I cleared off the dust and started painting. I sprayed each piece one by one and hung it back up to dry.
I didn’t bother wood filling the screw holes since they’re tiny and barely noticeable. I was strategic with placement—on lower drawers, the holes face down, and for tall cabinet doors, they’re on the top edge. No one will ever see them!

Painting the DIY Bunk Beds
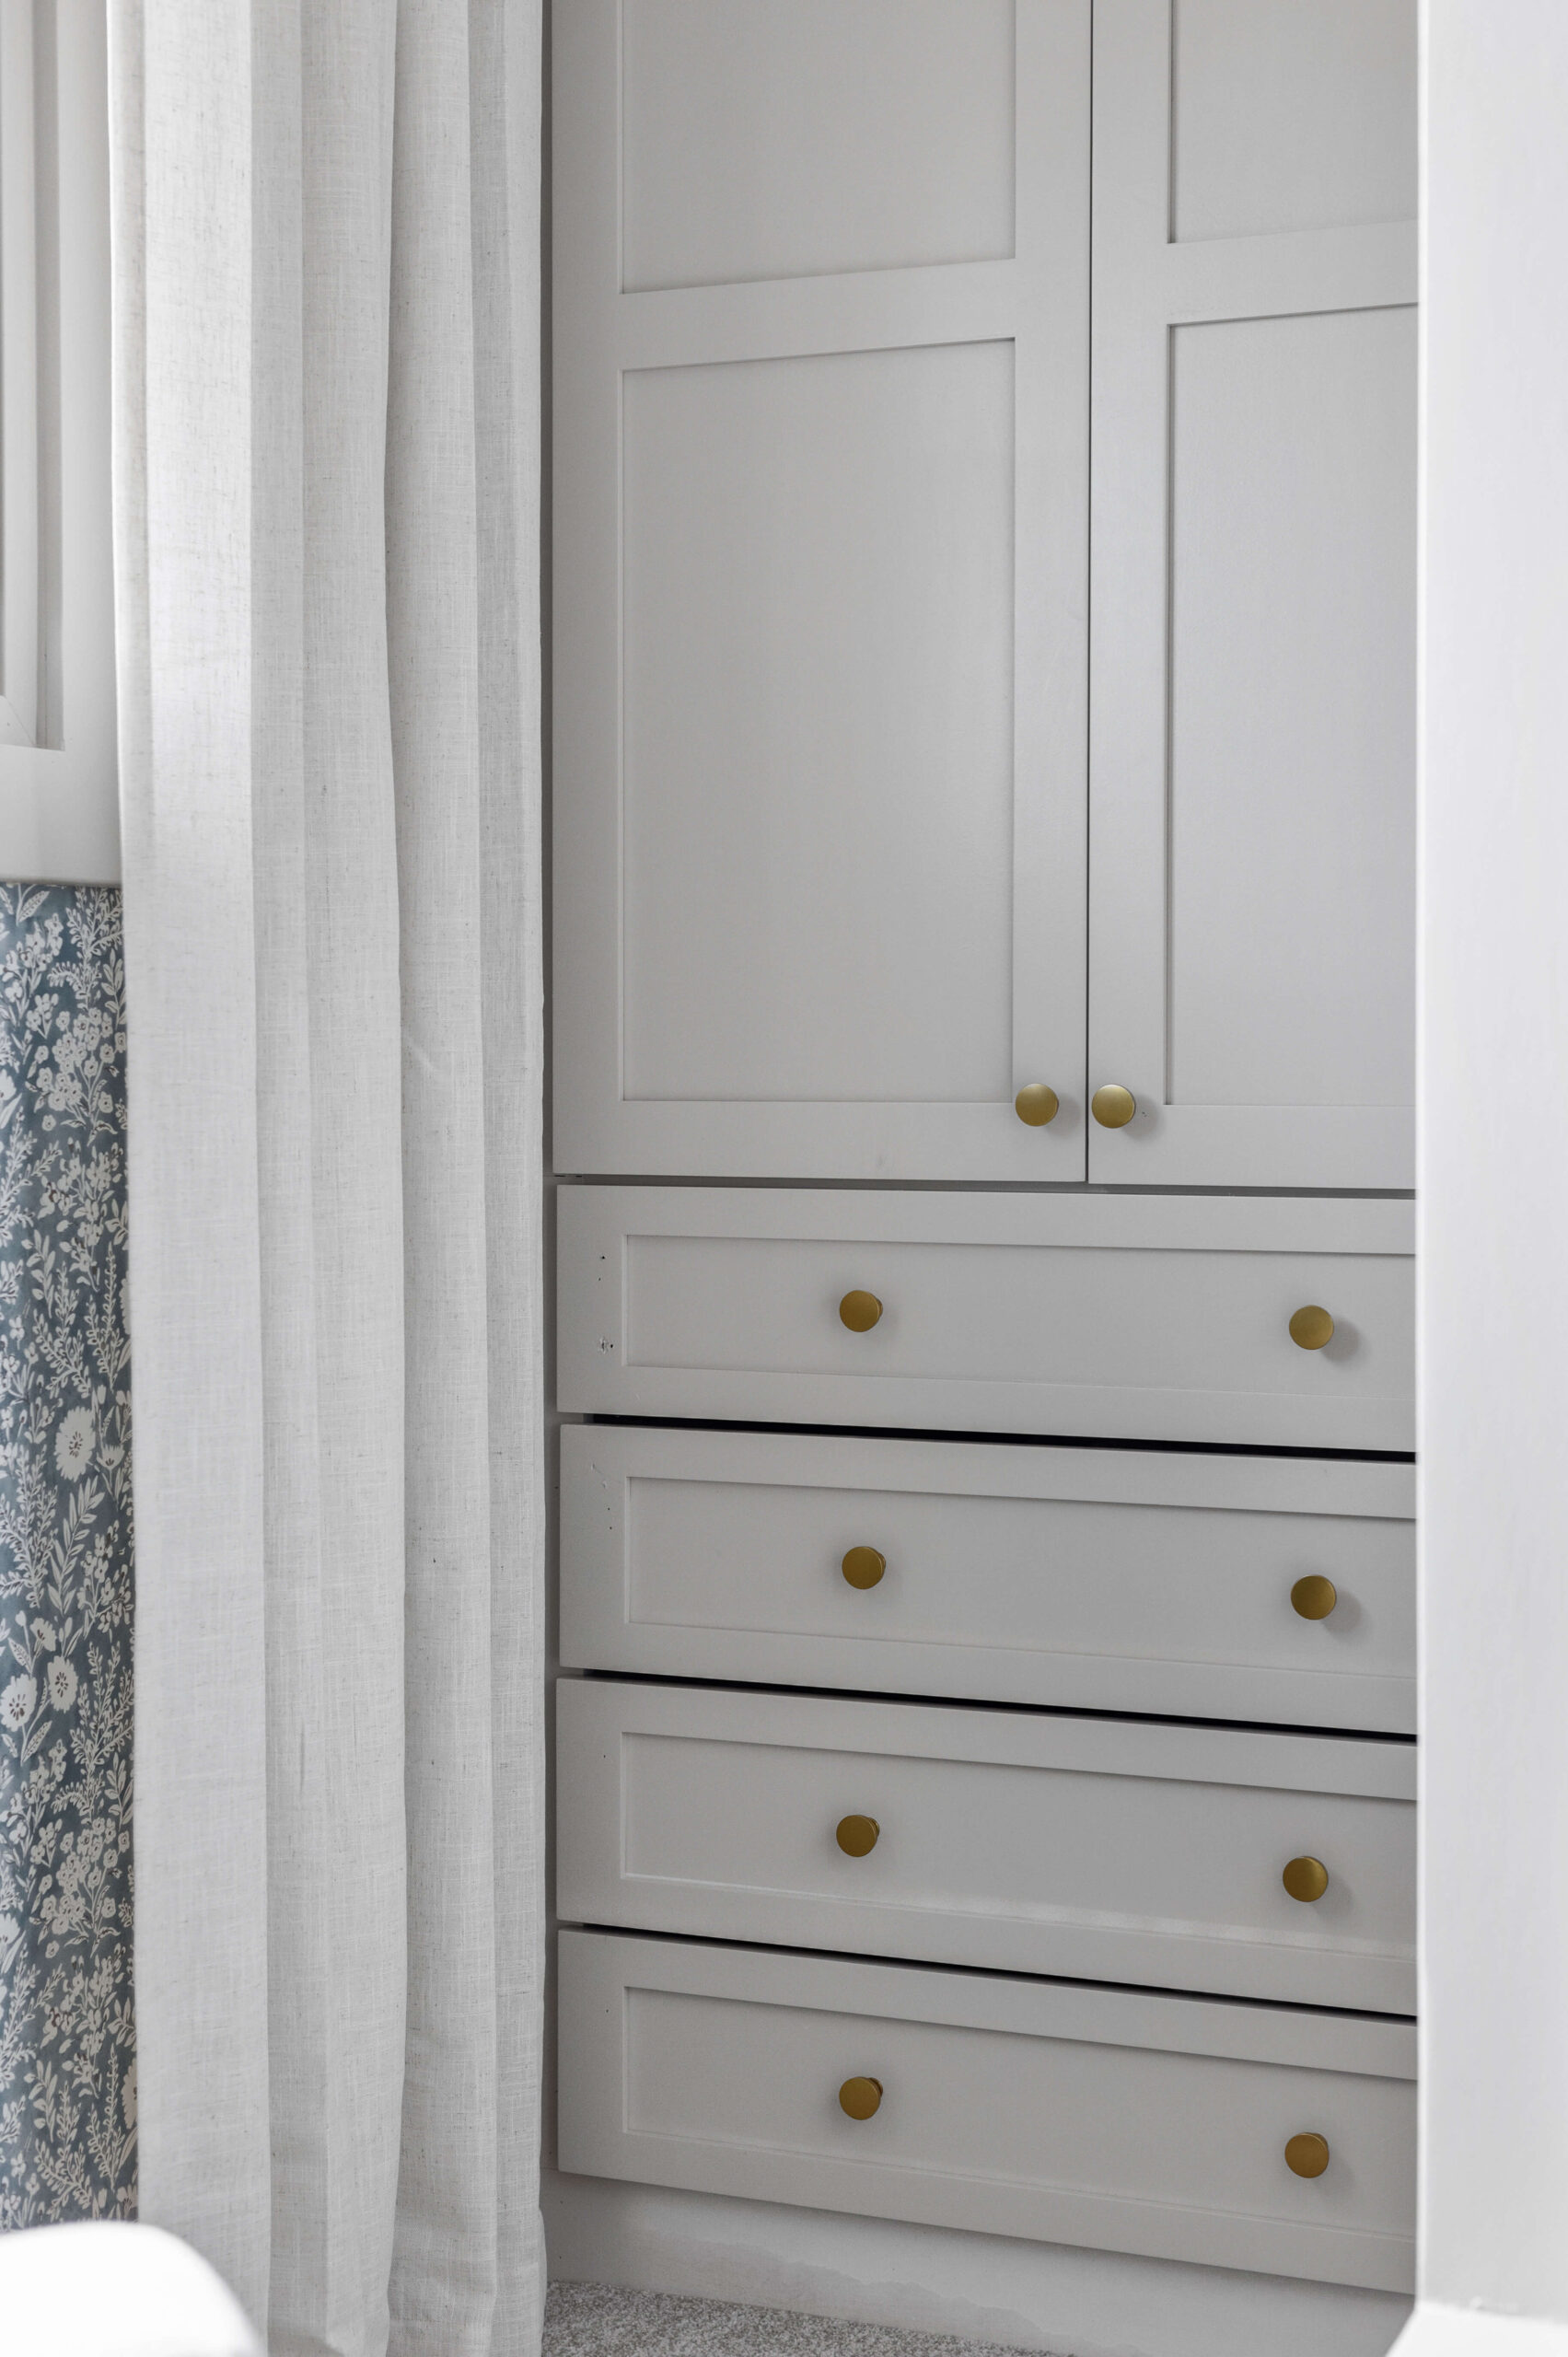
Once the primer dried on the DIY bunk beds, I gave them a light sanding with 120-grit sandpaper, then vacuumed away the dust. I tested a few colors for this room but ultimately went with Accessible Beige—it’s a creamy, warm neutral that I’ve used in several other rooms, and I knew it would be perfect here.

I recently tried out a new sprayer that attaches to my drill, and I think I’m in love! It worked just as well as my go-to sprayer, maybe even better.

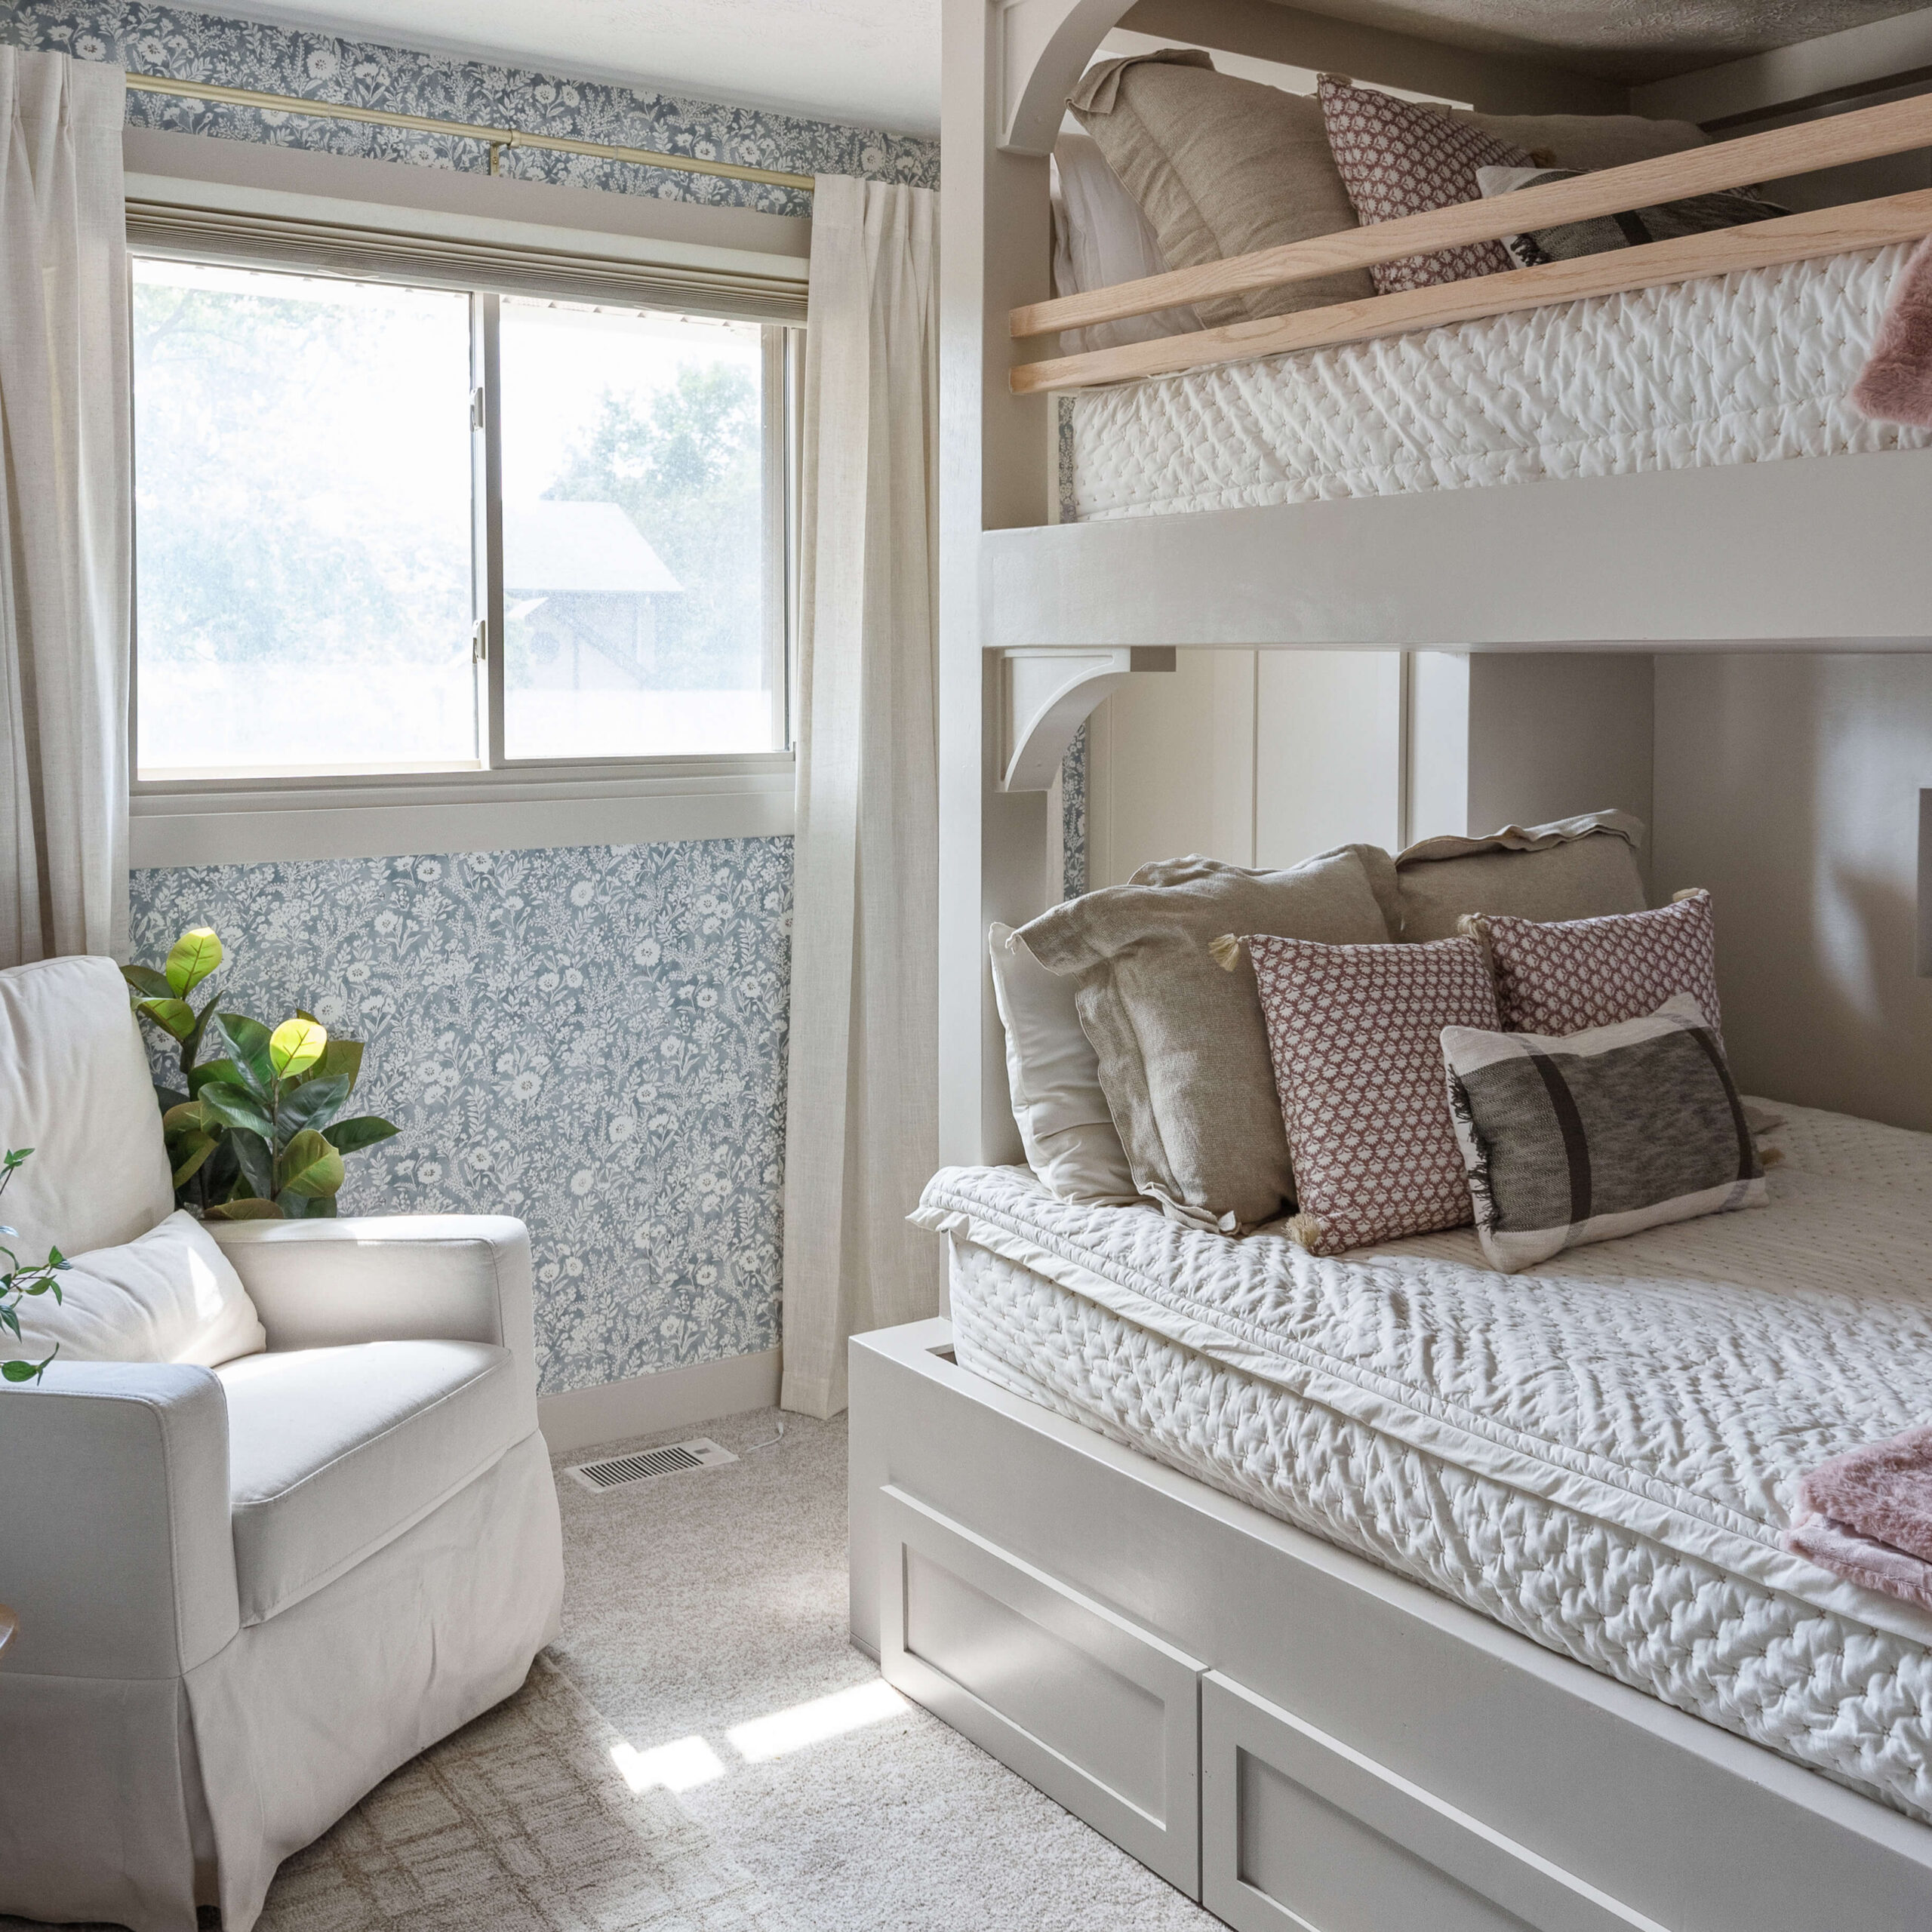
Check out how gorgeous these DIY bunk beds look all painted up! I’m so happy with how these beds are turning out.

Installing Drawer Fronts and Cabinet Doors
To install the drawer fronts, I held each one in place, leveled it, and secured it with my brad nailer. Then, I fastened them from the inside with wood screws.
For the cabinet doors, installation was easy—screw through the hinge holes into the pre-drilled spots in the cabinets.


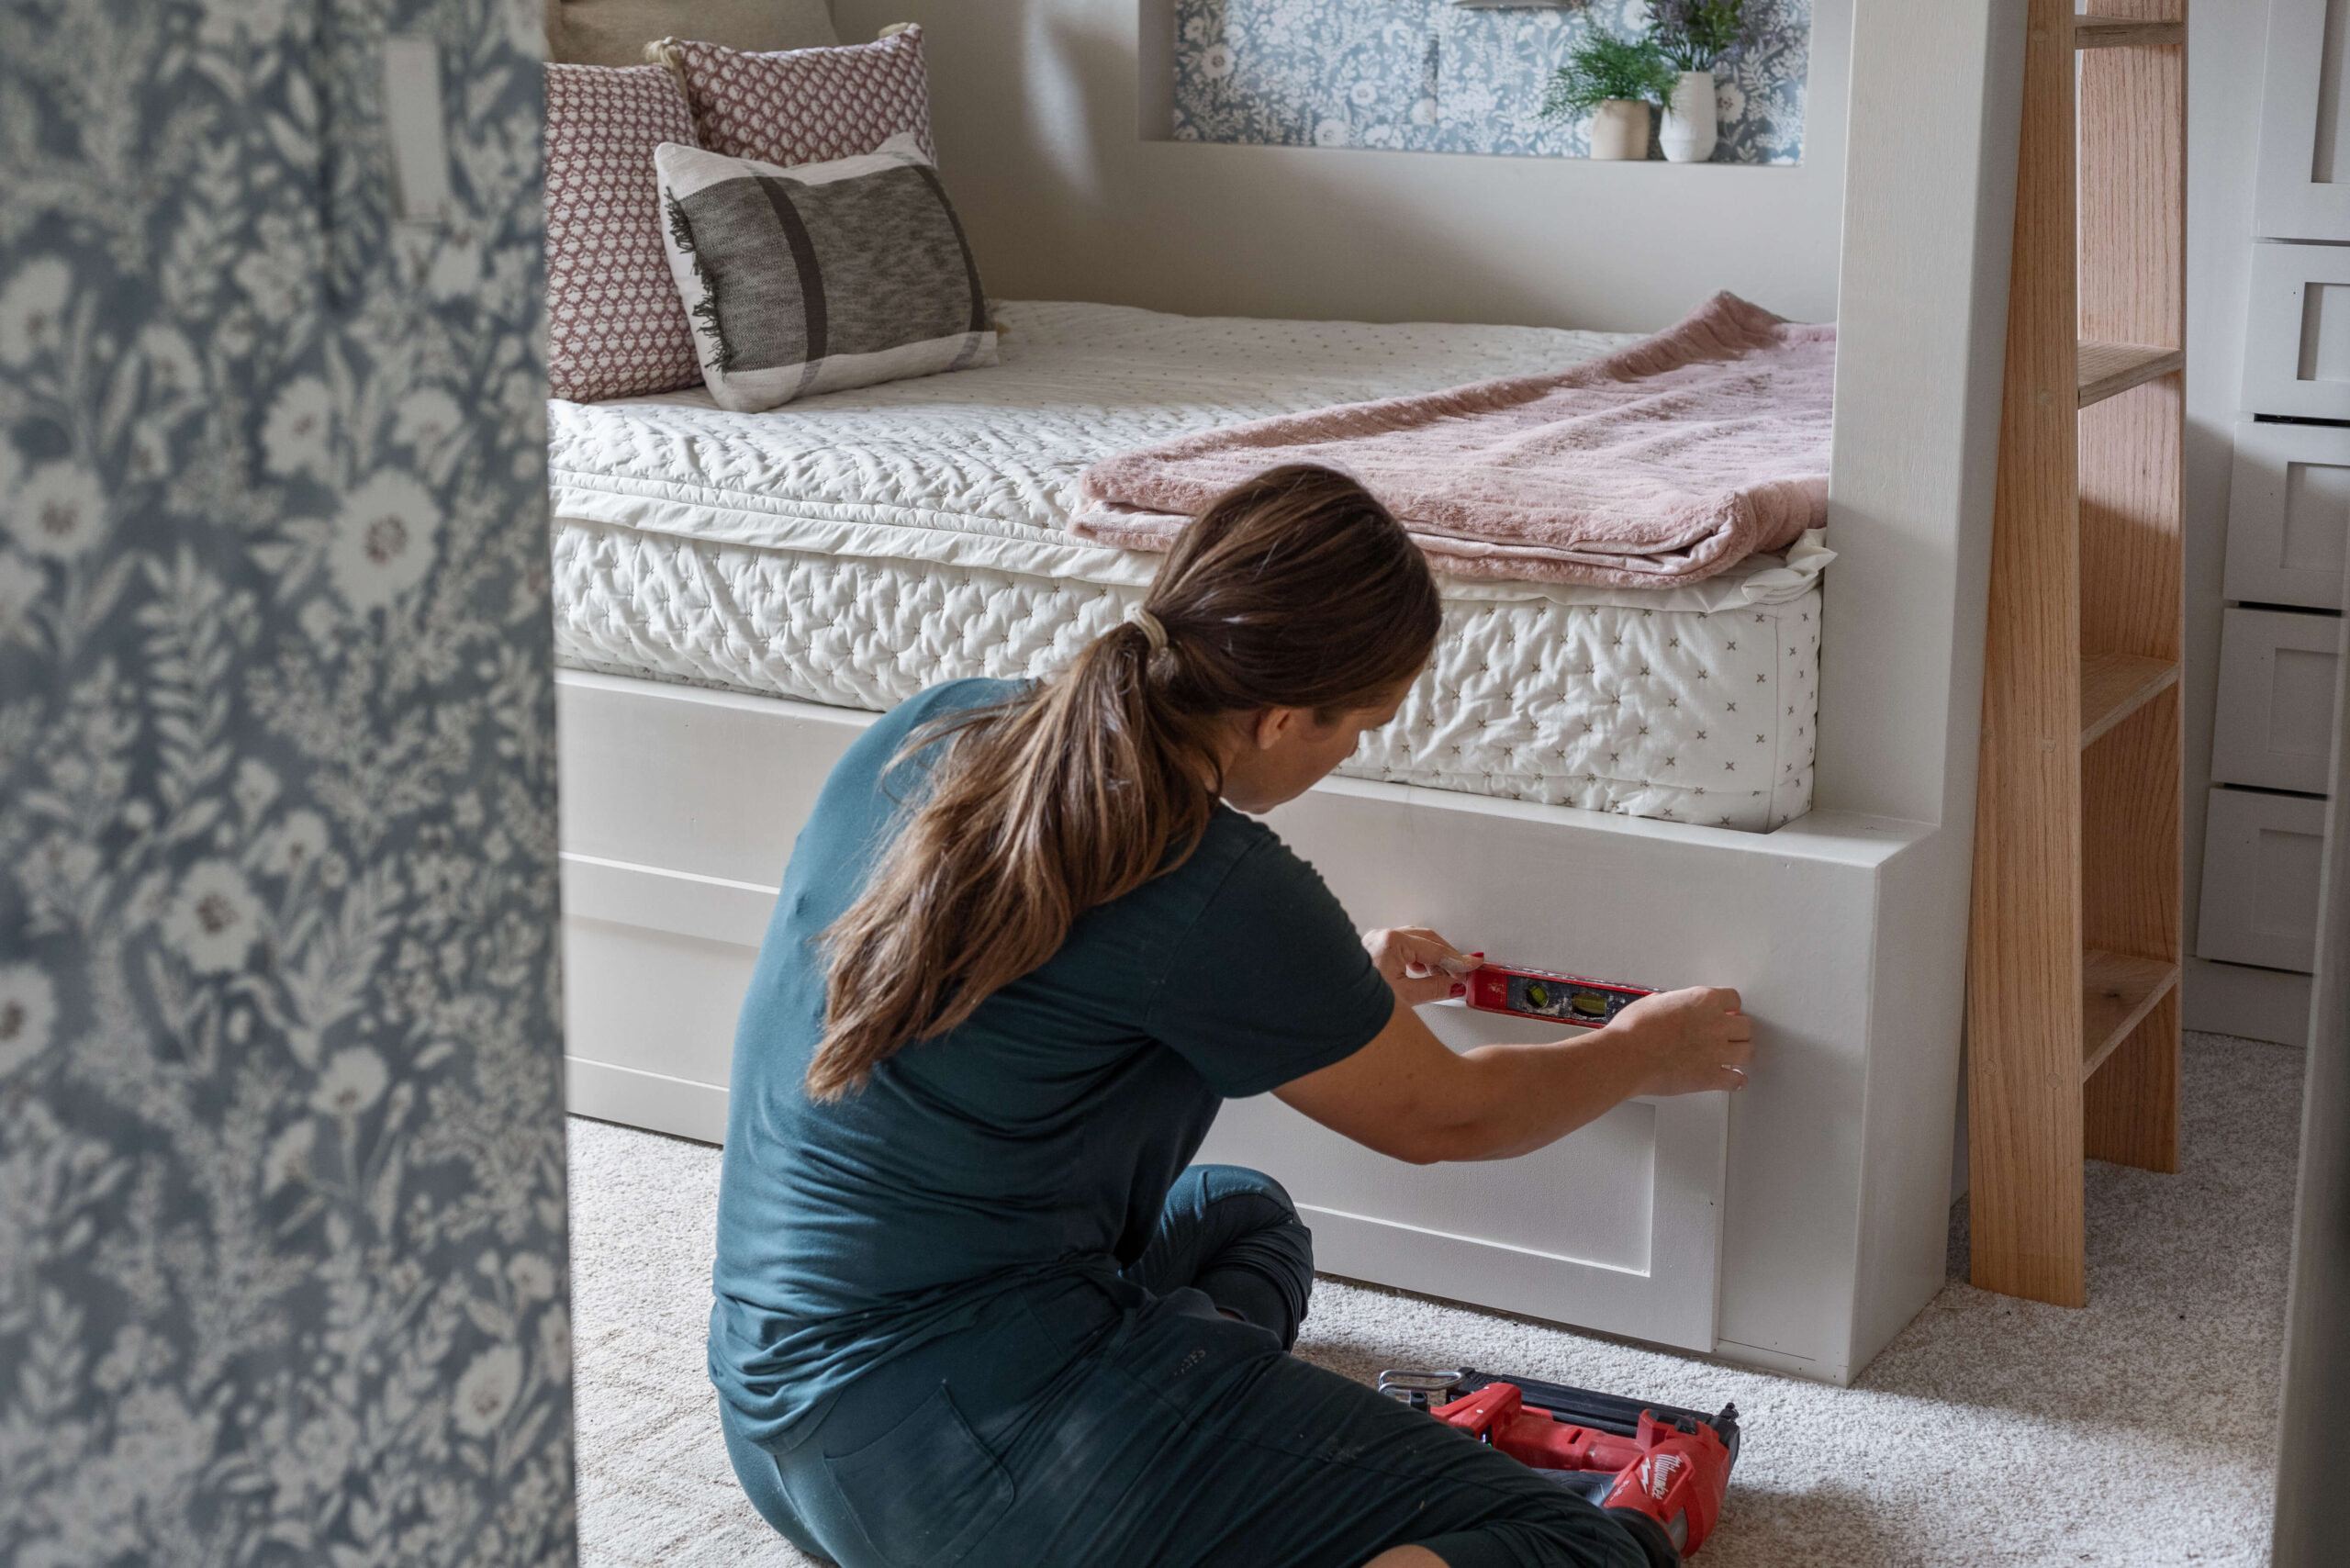
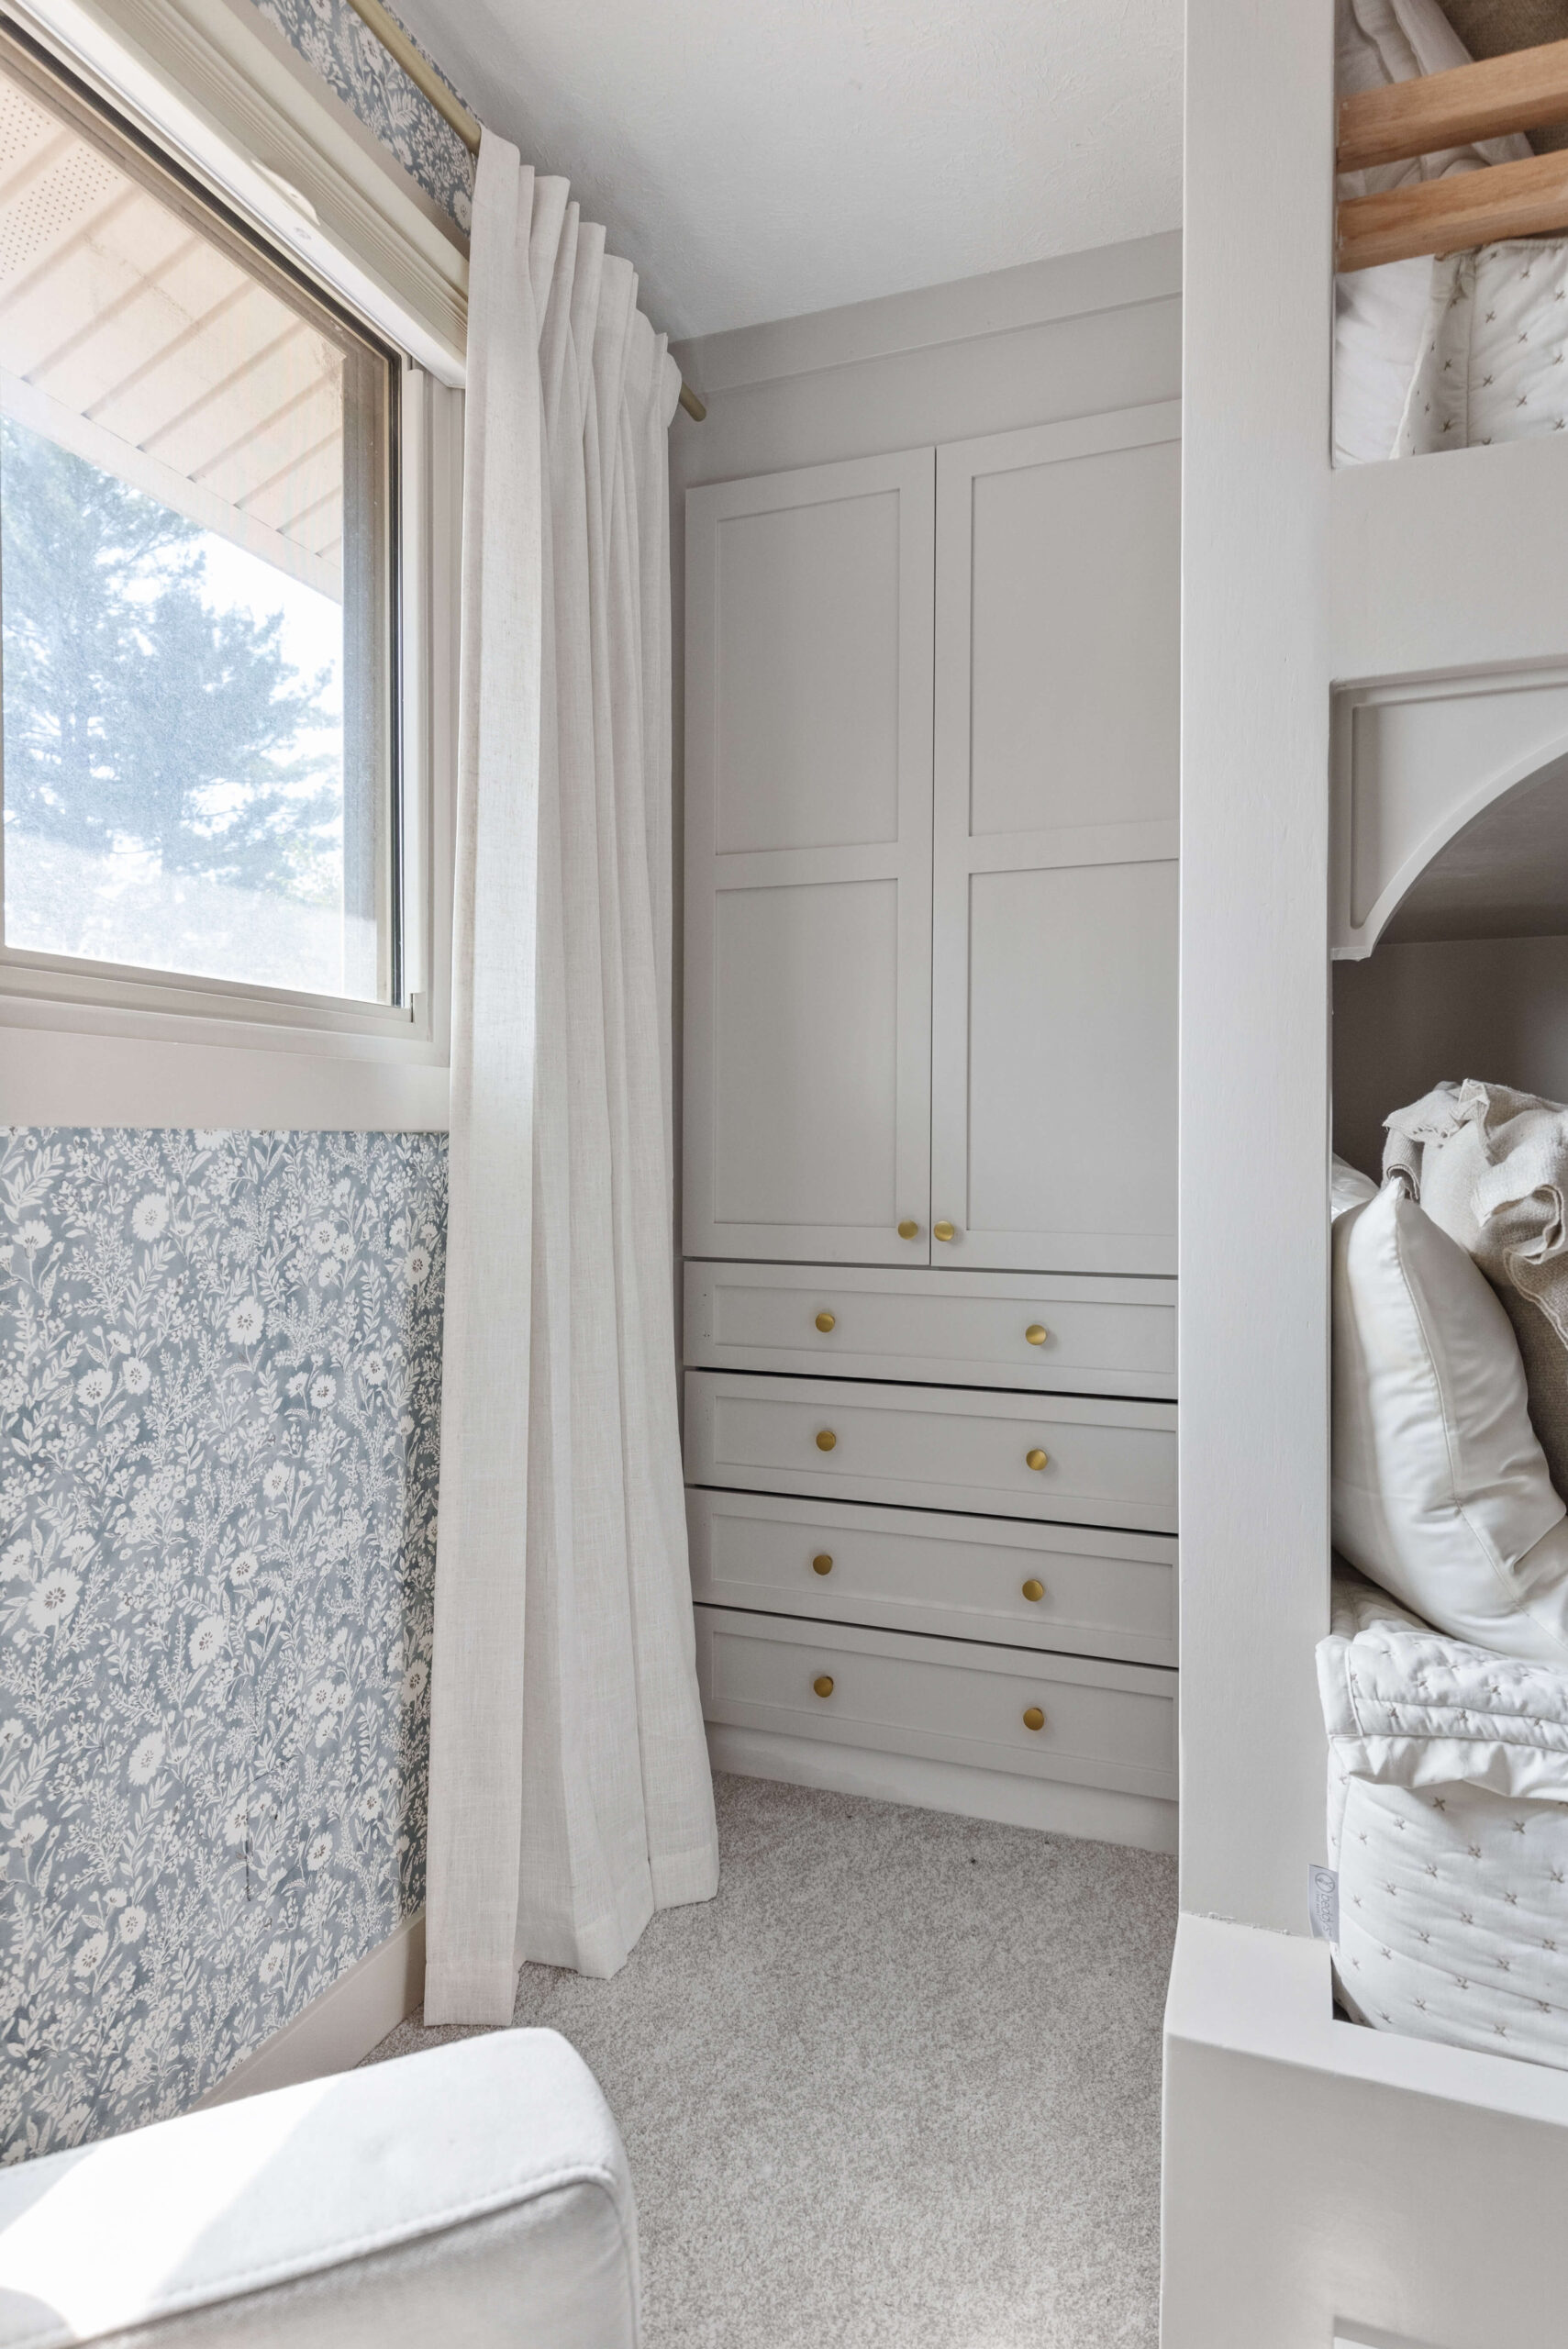
Lastly, it was time to add hardware to the cabinets and drawers. I made a template from scrap wood by measuring the width of the inset on the drawer front. Eight inches in from each edge looked perfect, so I drilled holes at those points on the template.

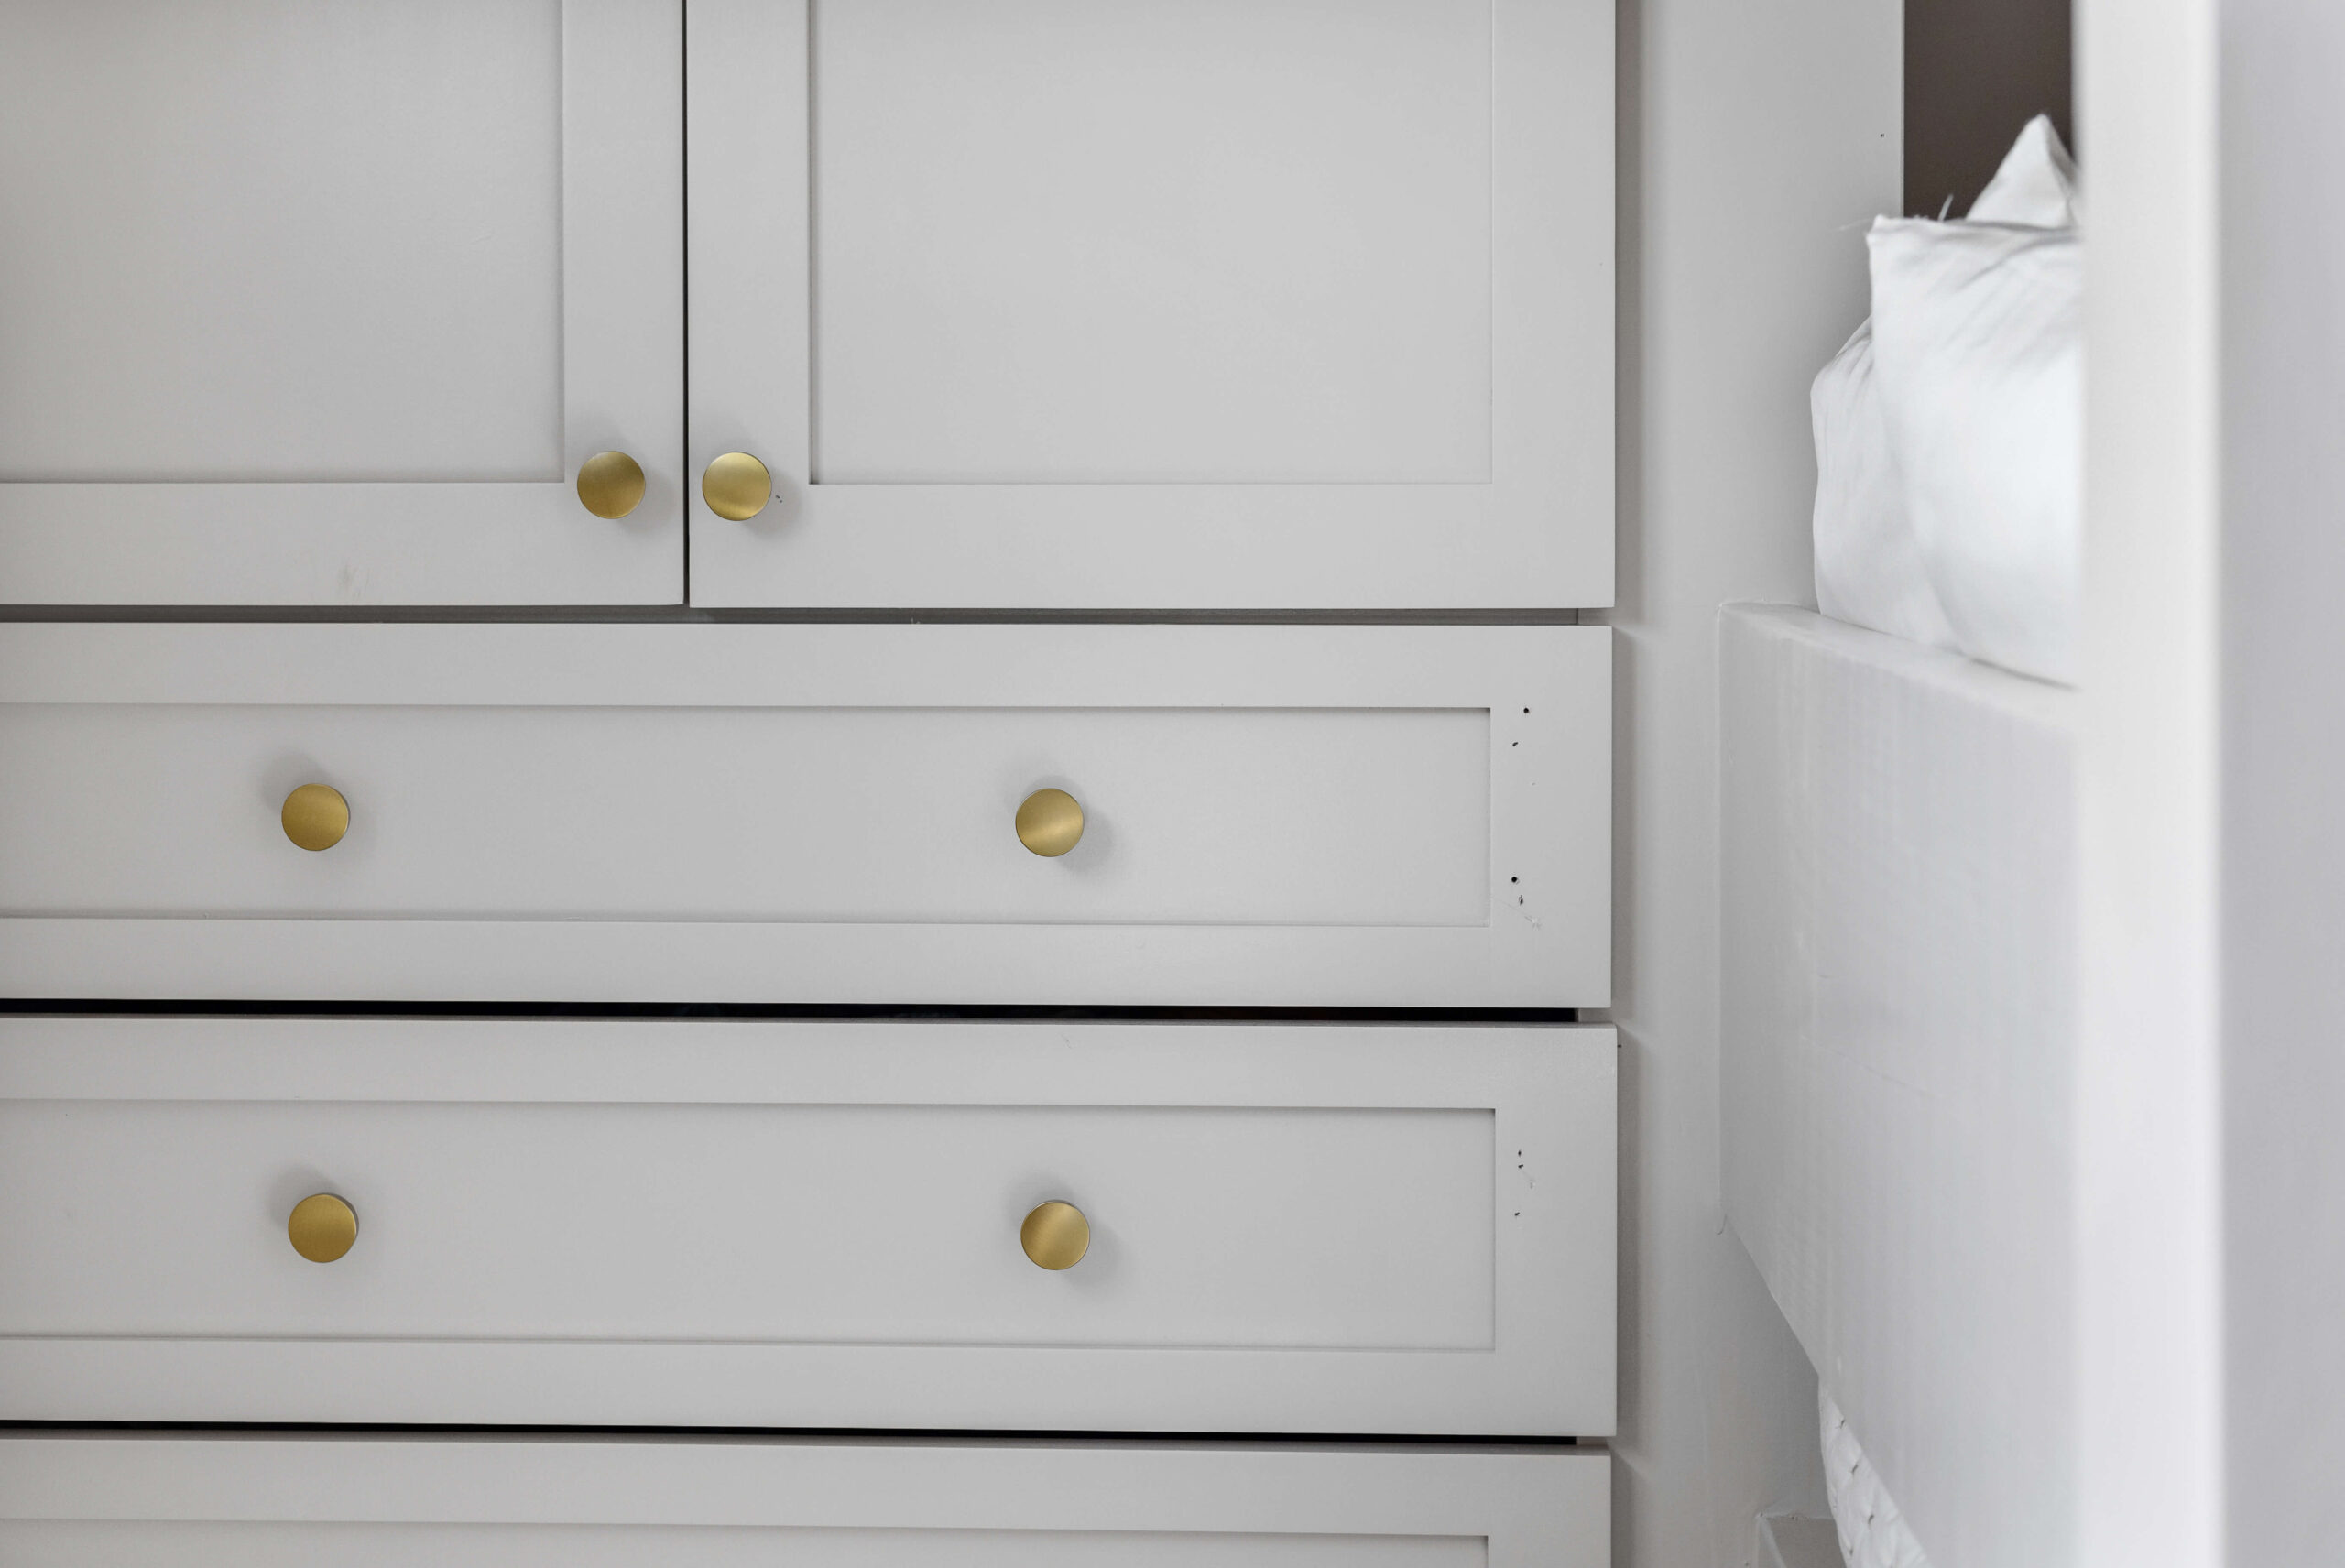
After centering the template on each drawer, I drilled through the marked holes and attached the knobs—easy as that! For the cabinet doors, I didn’t need a template. I just picked a spot that looked good, centered it, and lined up both doors.”


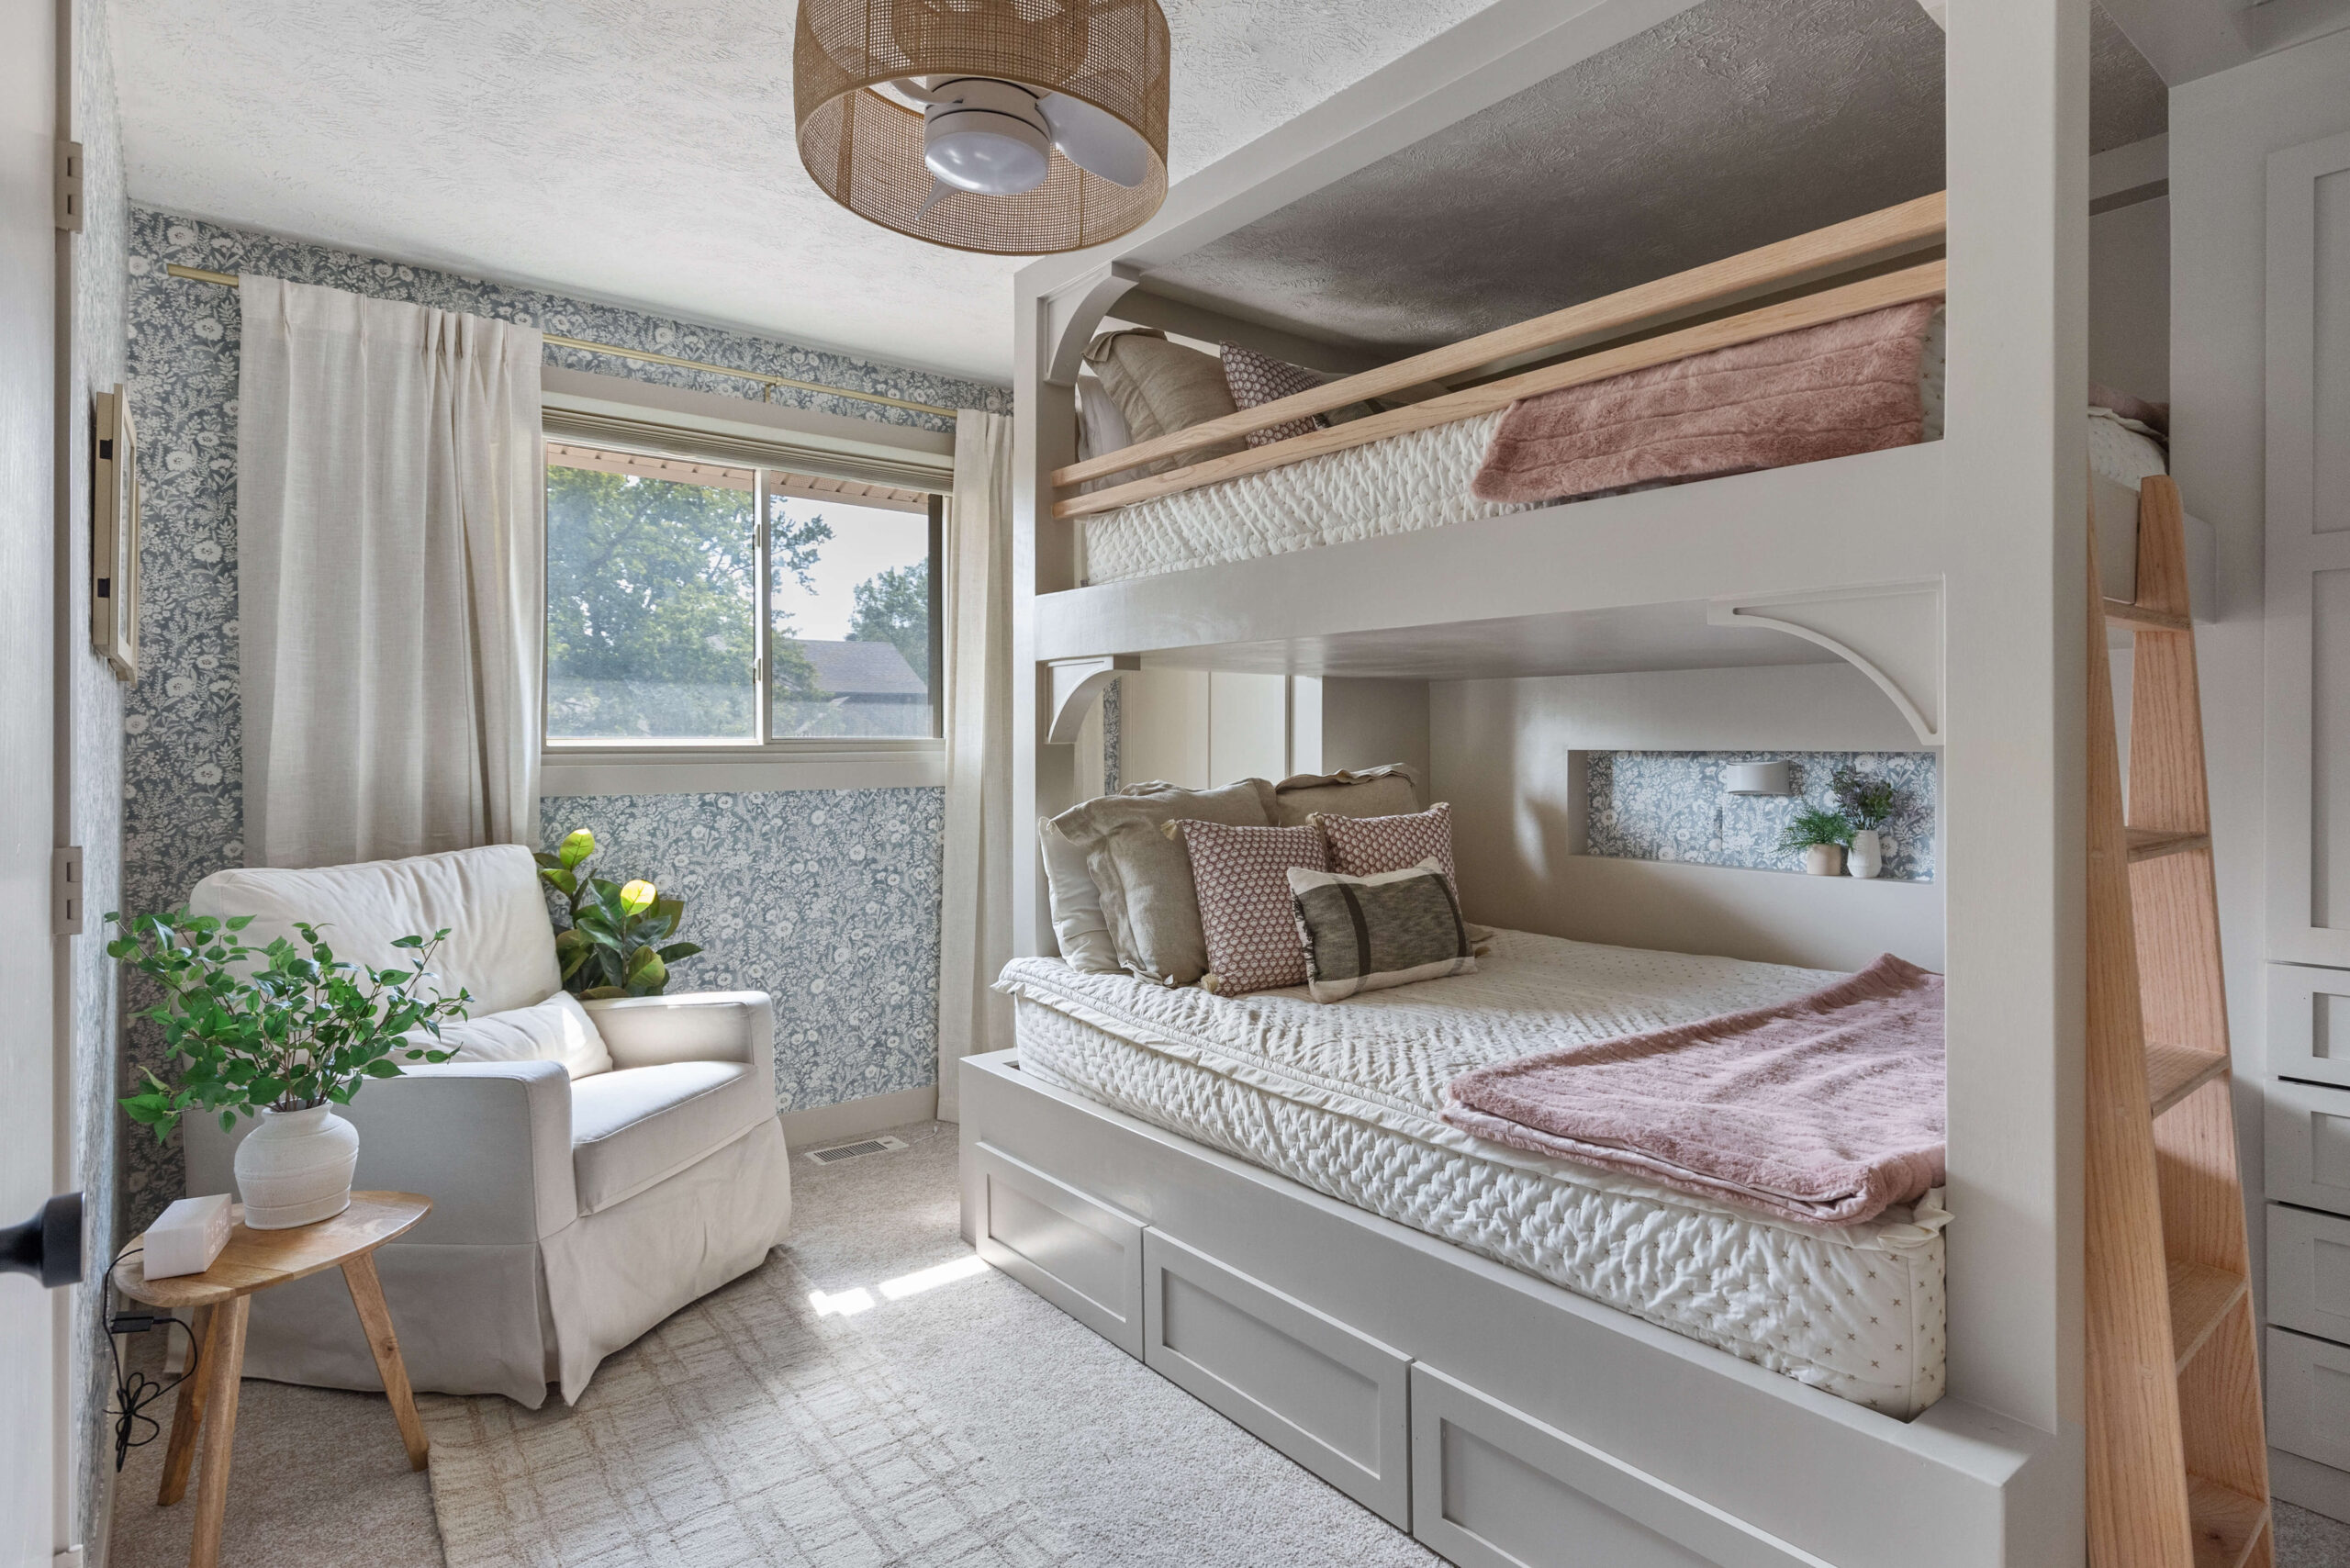
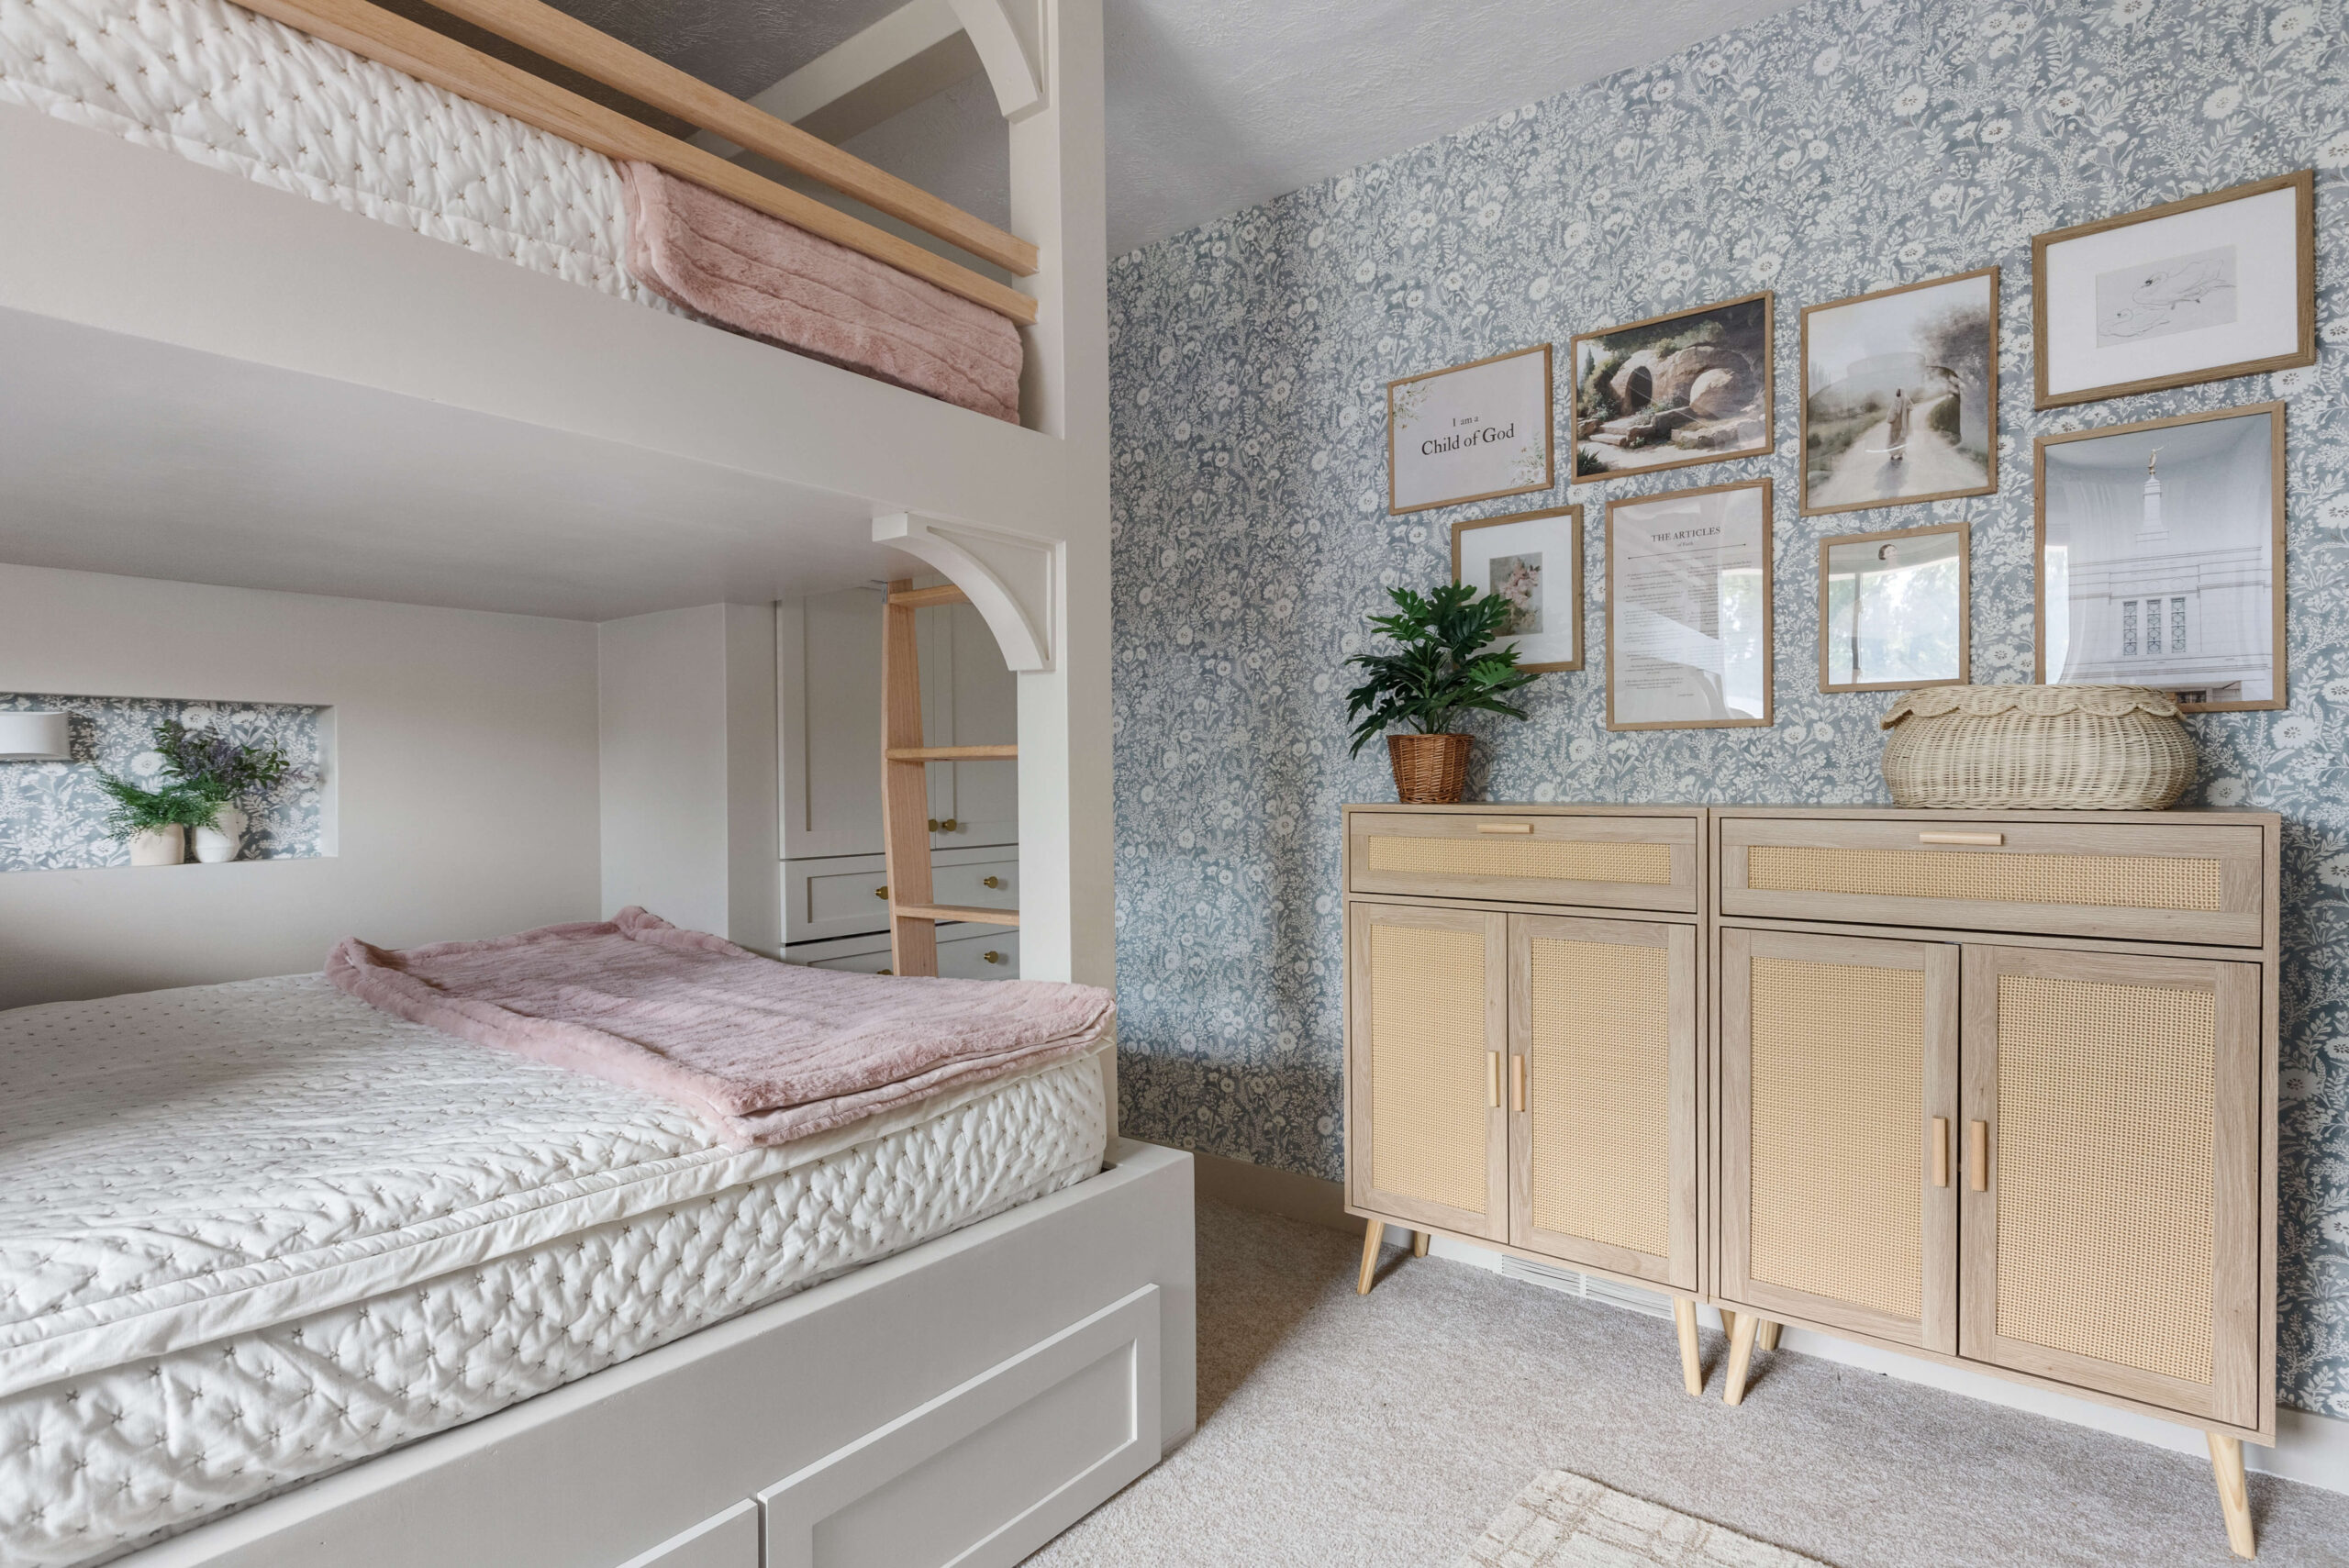
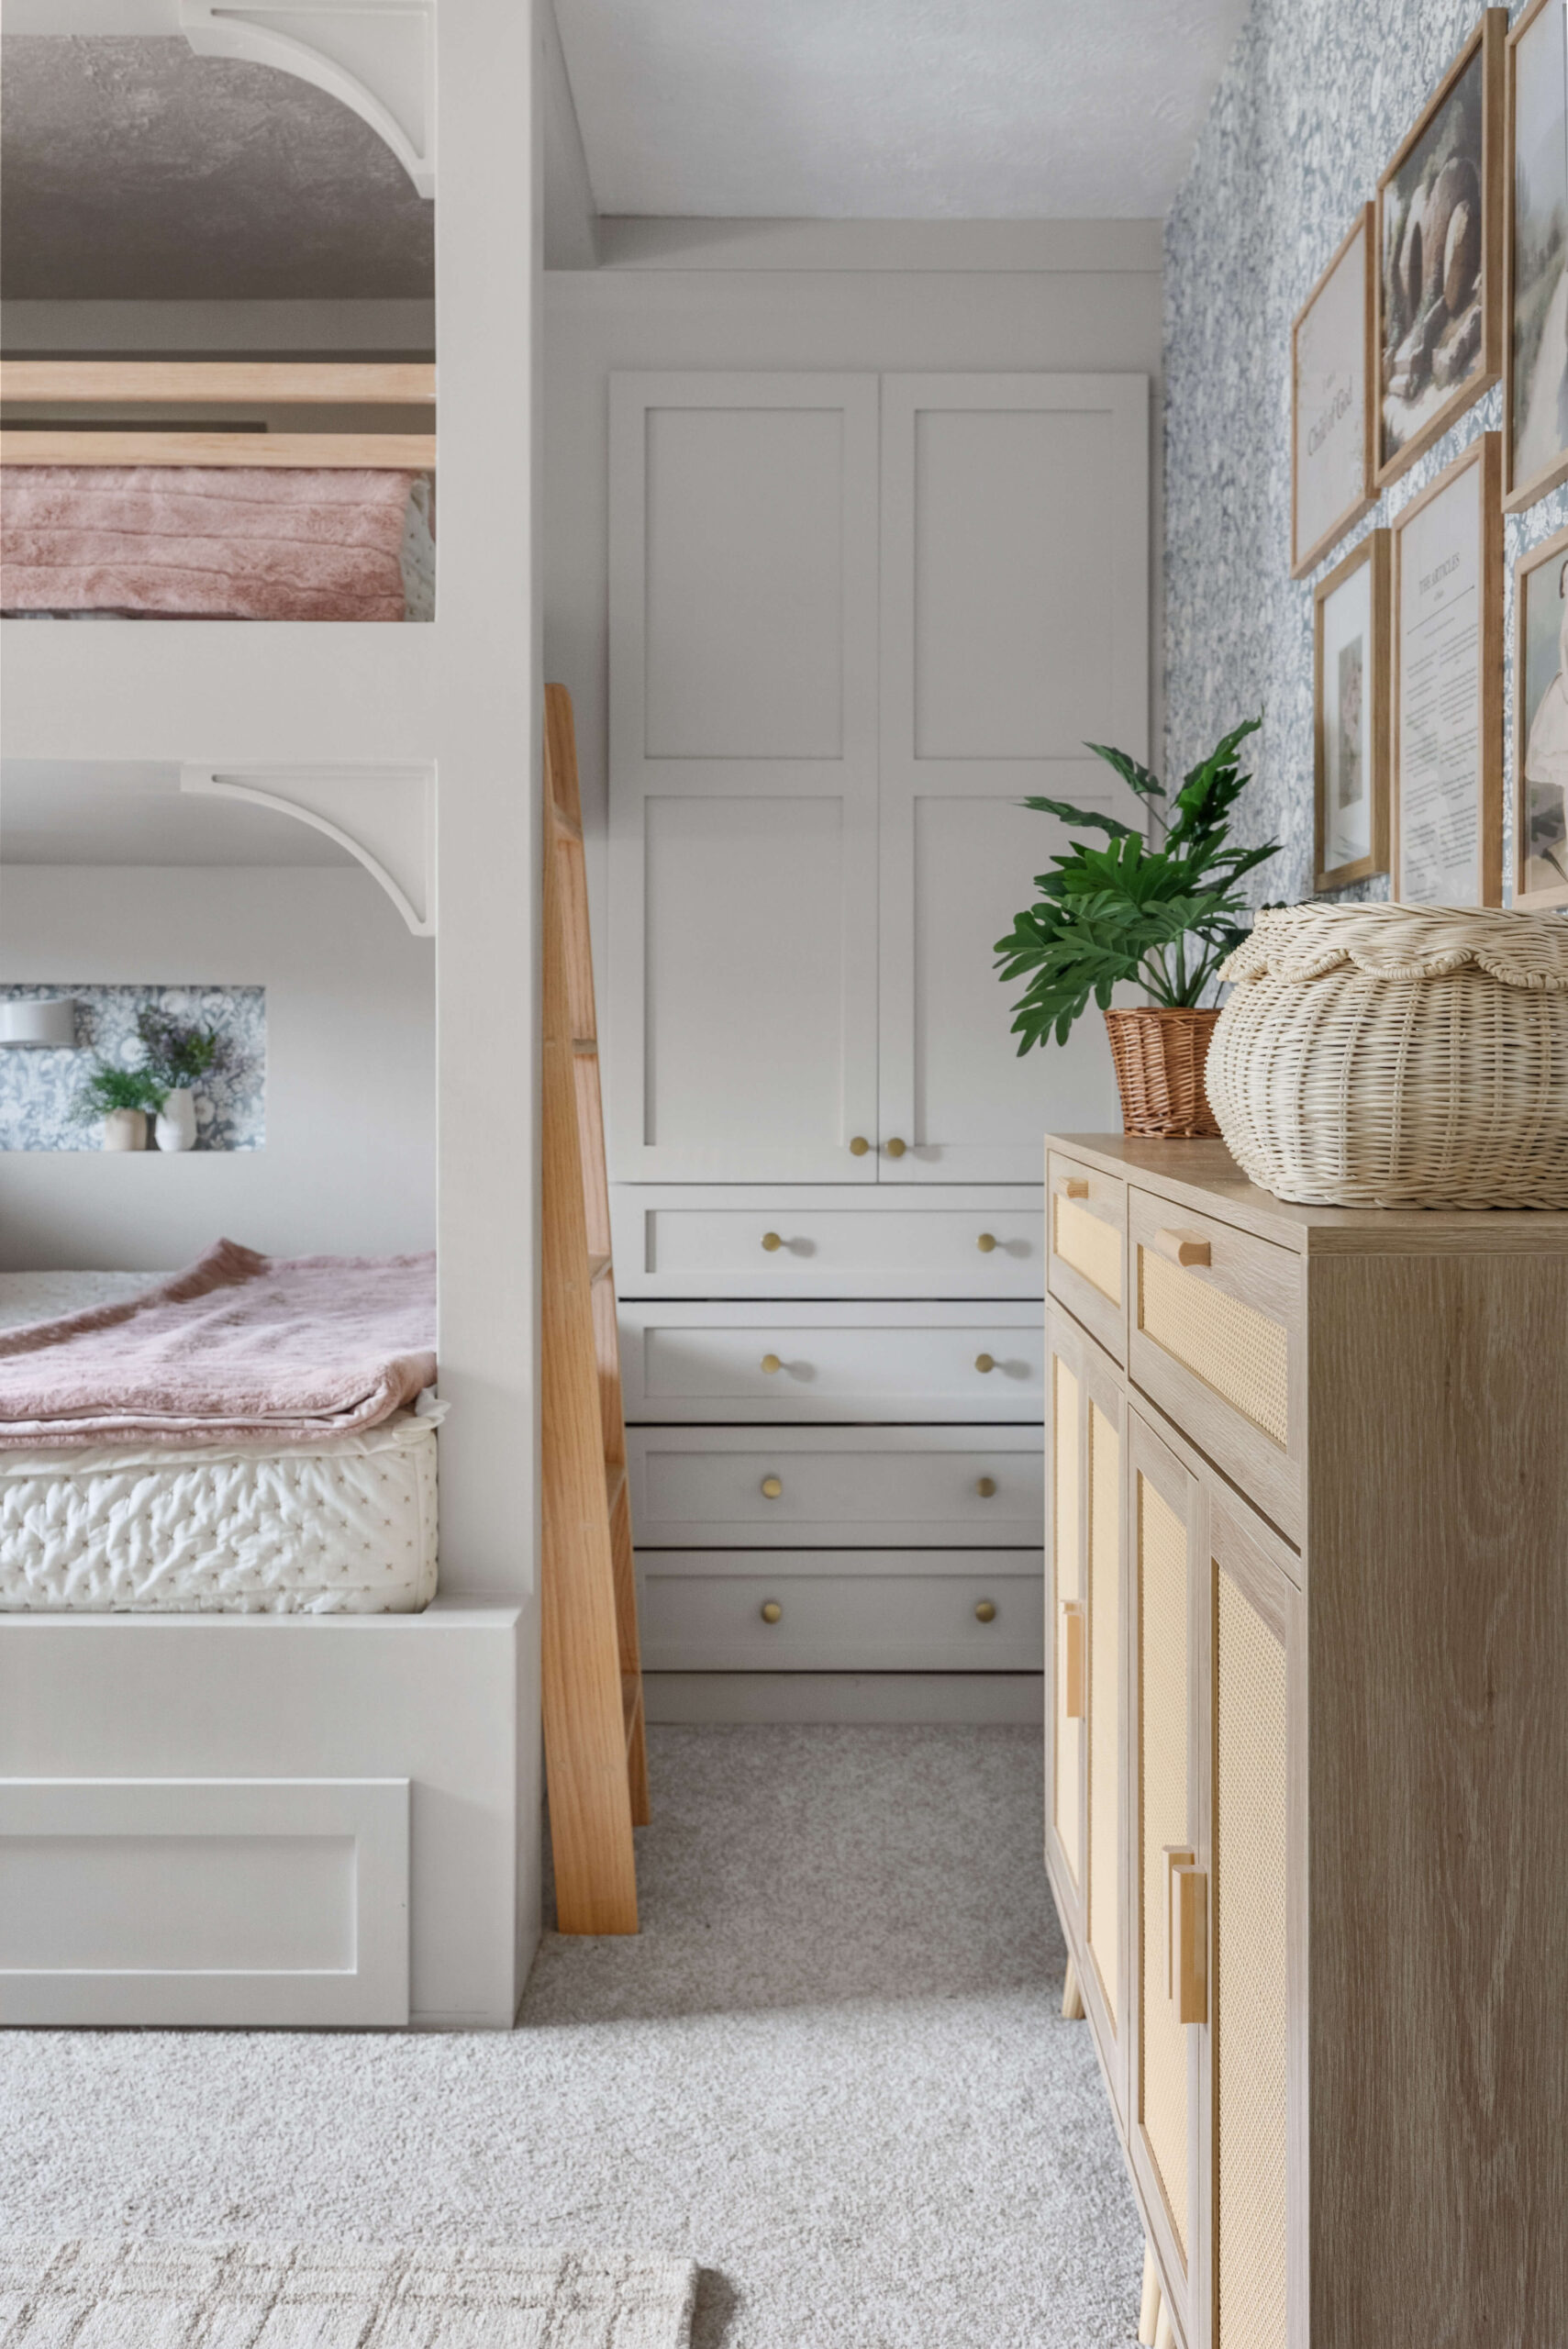
How amazing does the extra storage look on these DIY bunk beds? Everything feels custom and built-in, exactly how I envisioned!
In my next post, I will show you how I built a ladder for these DIY bunk beds. I also have a post detailing how I added all the finishing touches to the girls’ bedroom with links to everything I used.
Building DIY bunk beds for my girls and giving them a full-room makeover was a HUGE undertaking, but I’m so happy with the end result!