

Published December 5, 2025
Some things in the kitchen just make more sense stored vertically, which is where a DIY sheet pan organizer comes in. Cutting boards, sheet pans, serving trays, and even those big charcuterie boards all behave better when they are standing up in a row instead of stacked in a heavy tower you have to dig through. I built this custom cabinet insert to give those pieces an organized spot to live. It’s a simple plywood build, but it works great. The dividers are fully adjustable, so you can slide them around to fit cutting boards, baking pans, sheet pans, and serving pieces as your collection grows or changes.
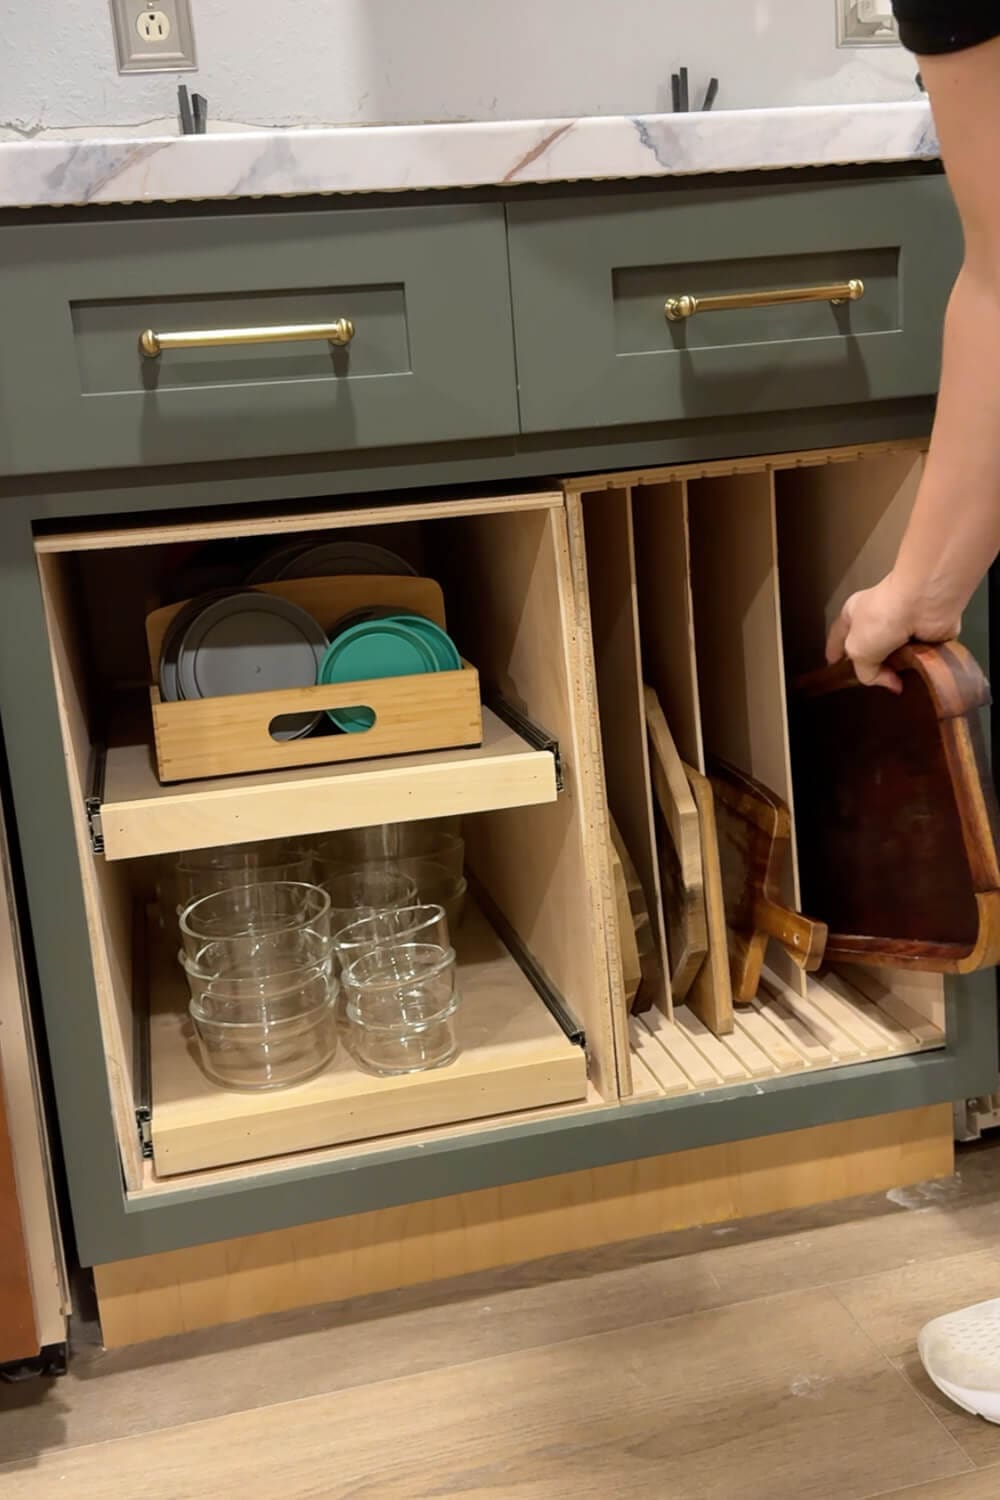
Table of Contents
- Tools and Materials for a Sheet Pan Organizer
- Prioritizing Kitchen Organization in Our DIY Remodel
- Step 1: Cut the Plywood for the Sheet Pan Organizer
- Step 2: Cut Adjustable Grooves With the Table Saw
- Step 3: Assemble the Cabinet Insert Box
- Step 4: Install the Sheet Pan Organizer in the Cabinet
- Step 5: Add the Dividers
- Step 6: Load Up Your New Vertical Sheet Pan Storage
- More Kitchen Organization Hacks
- 📌 Save This DIY Sheet Pan Organizer for Later
- FAQ About Building a DIY Sheet Pan Organizer
Tools and Materials for a Sheet Pan Organizer
Before we start cutting into plywood, let’s talk supplies. Here is everything I used to build this DIY sheet pan organizer. You can easily tweak the measurements or materials to fit your own cabinet, but this list will give you a solid starting point.
Materials
- 1/2 inch plywood for the box (sides, top, bottom)
- 1/4 inch plywood for the adjustable dividers
- Wood screws
- Brad nails
- Wood glue
Prioritizing Kitchen Organization in Our DIY Remodel
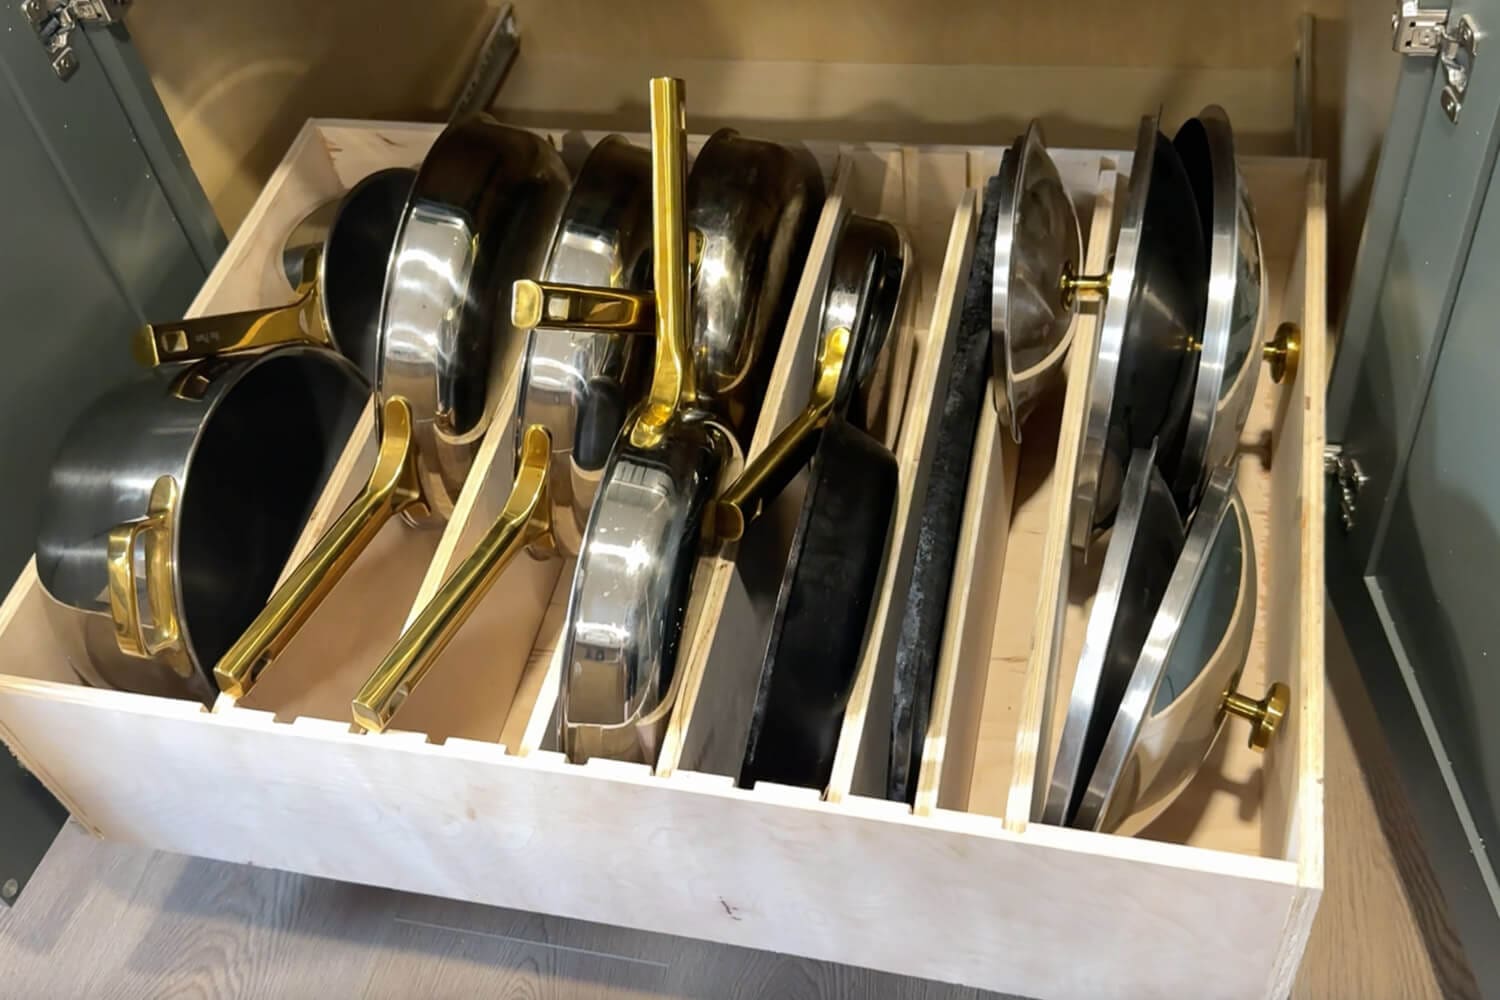
As we work our way through this DIY kitchen remodel, I am really trying to prioritize organization and function over the “pretty stuff.” I want this to be a space we can actually cook in and live in with five kids, not just a kitchen that looks good in photos. So for now, the backsplash gets to wait while I knock out projects like this sheet pan organizer, the pot and pan drawer, and a few other storage solutions that make day-to-day life so much easier.
Step 1: Cut the Plywood for the Sheet Pan Organizer
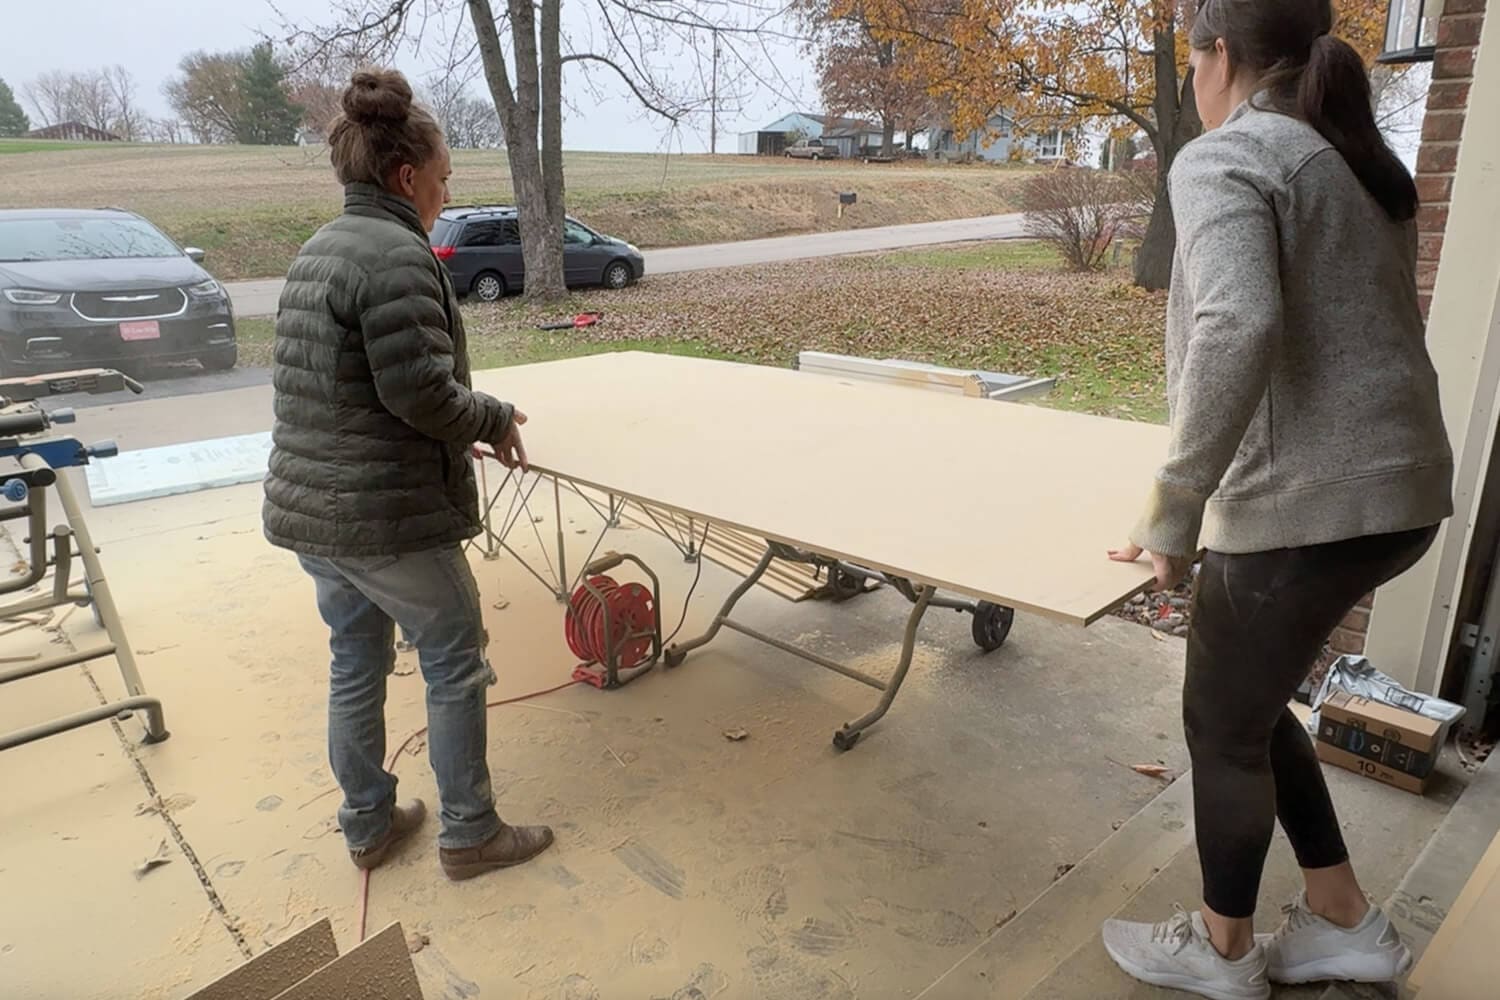
This is the time to phone a friend. A full sheet of plywood is almost impossible to maneuver through a table saw, safely by yourself. So if you can, grab a helper for this part. I start by ripping the plywood down to the widths I need for the cabinet insert. Next, I move over to my miter saw and cut each board down to its final length for the top, bottom, and side pieces.
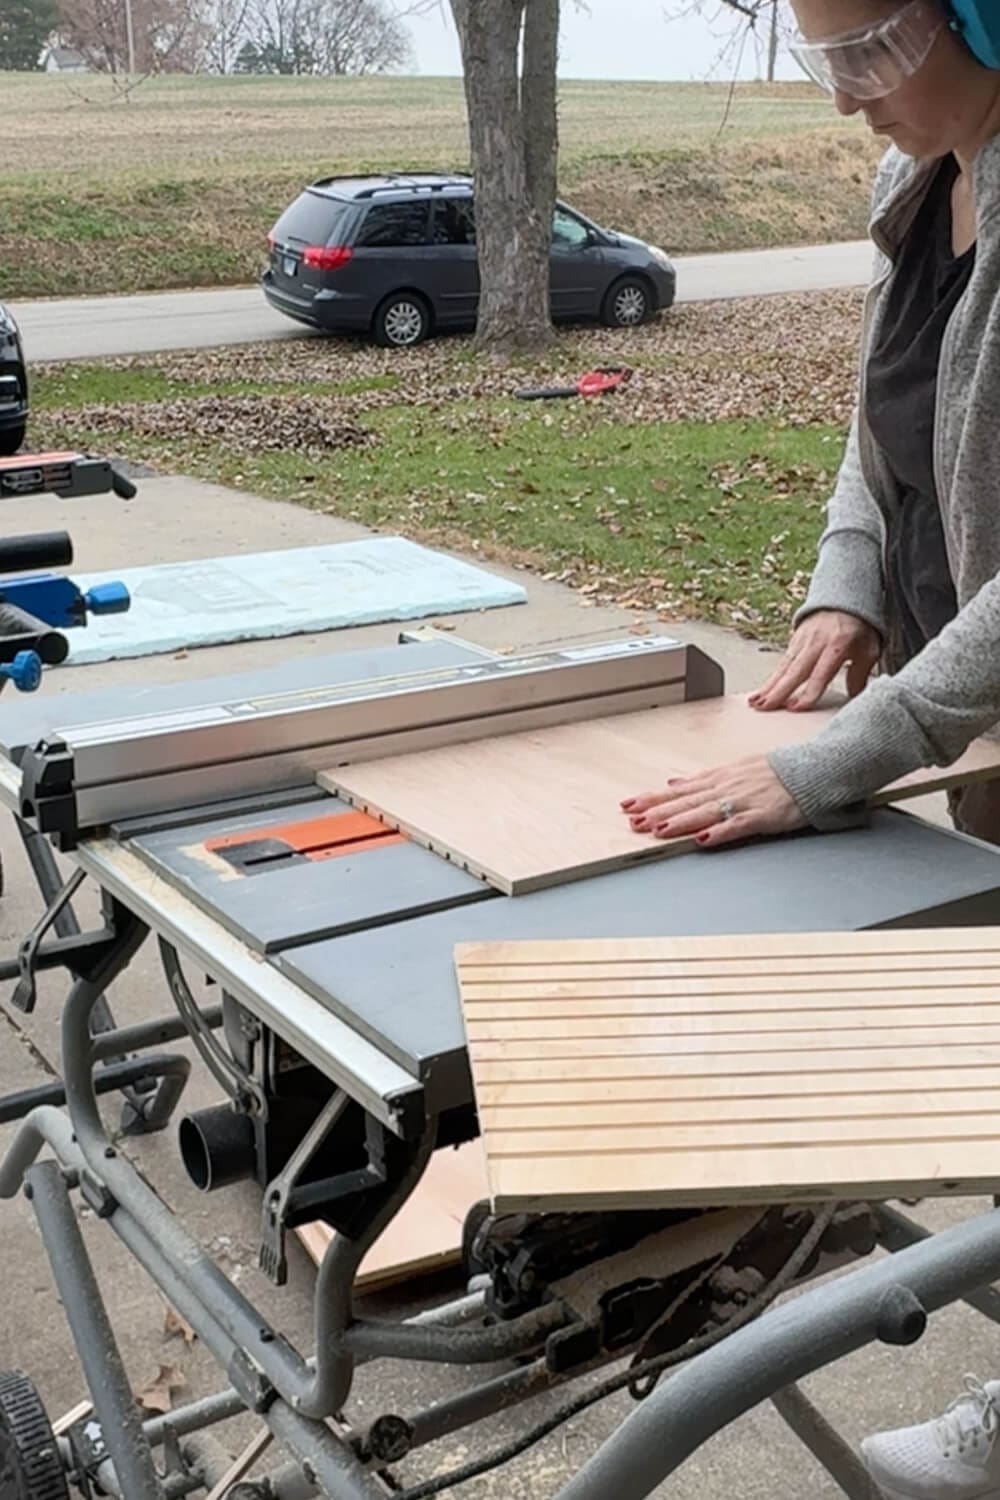
Step 2: Cut Adjustable Grooves With the Table Saw
To make this organizer adjustable, I added grooves in both the top and bottom pieces so I can slide dividers in. I made grooves like this with a router for my adjustable pot and pan drawer, but this time I wanted to show how you can do the same thing with just a table saw.
You’ll need to adjust the fence on your saw for each groove and take a few passes for every slot, nudging the fence just a little each time until the groove is wide enough. It takes a bit of patience, but it’s completely doable and a great option if you don’t own a router.

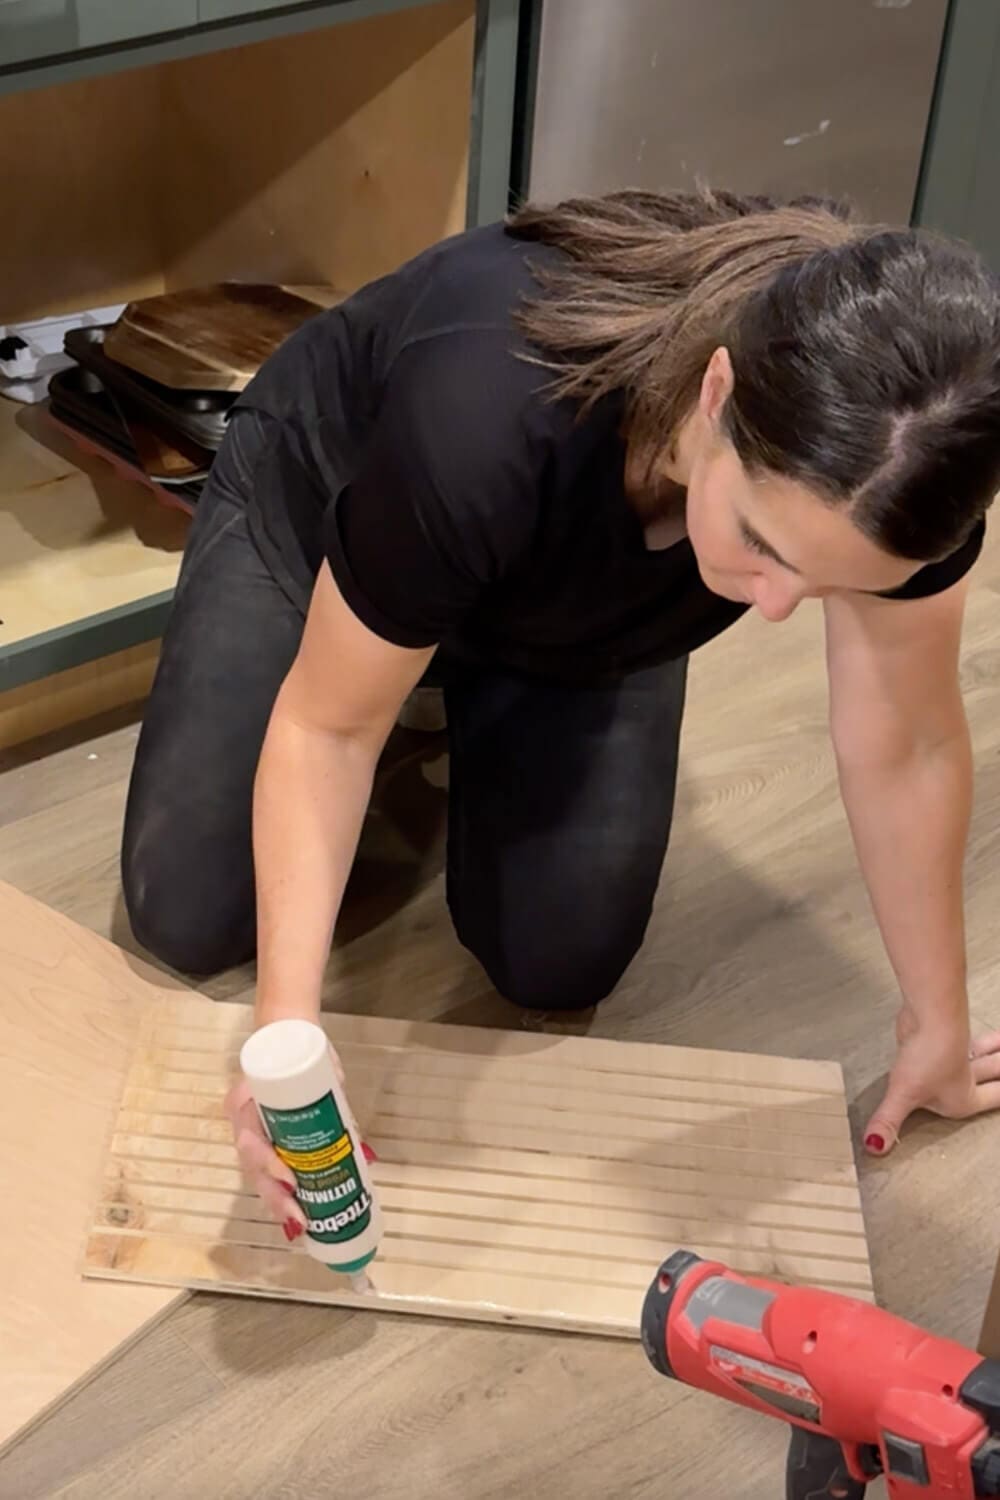
Step 3: Assemble the Cabinet Insert Box
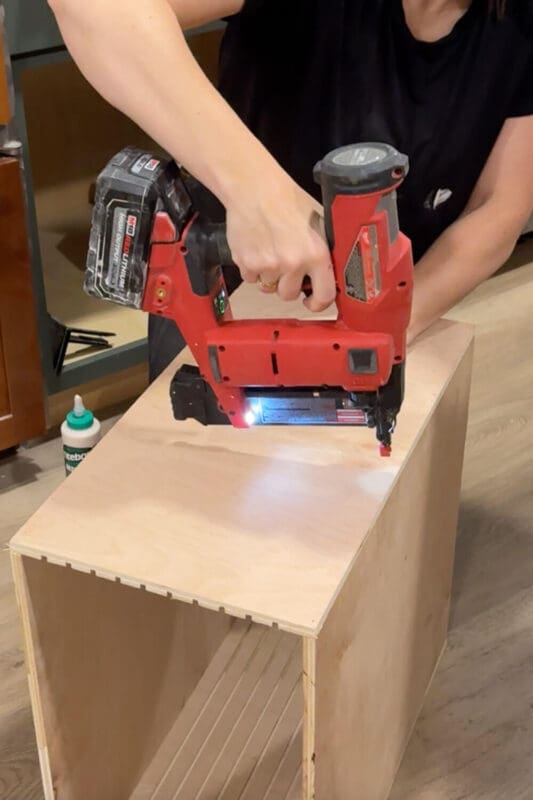
Once all the grooves are cut, it’s time to put the box together. I run wood glue anywhere two pieces of plywood touch, then tack everything in place with my brad nailer.
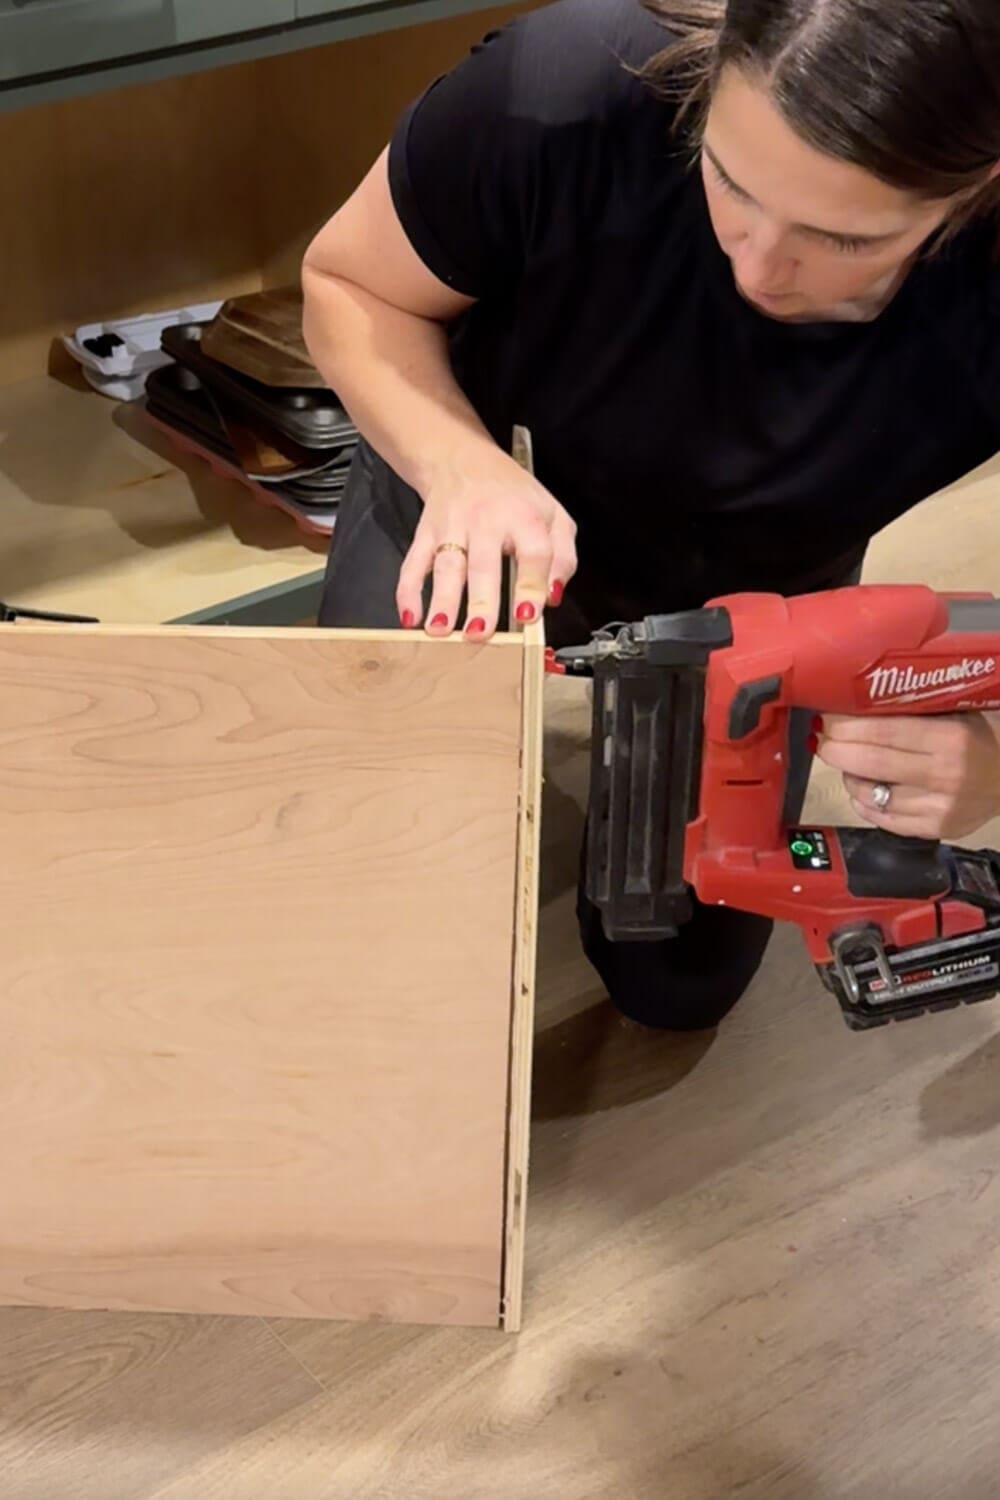
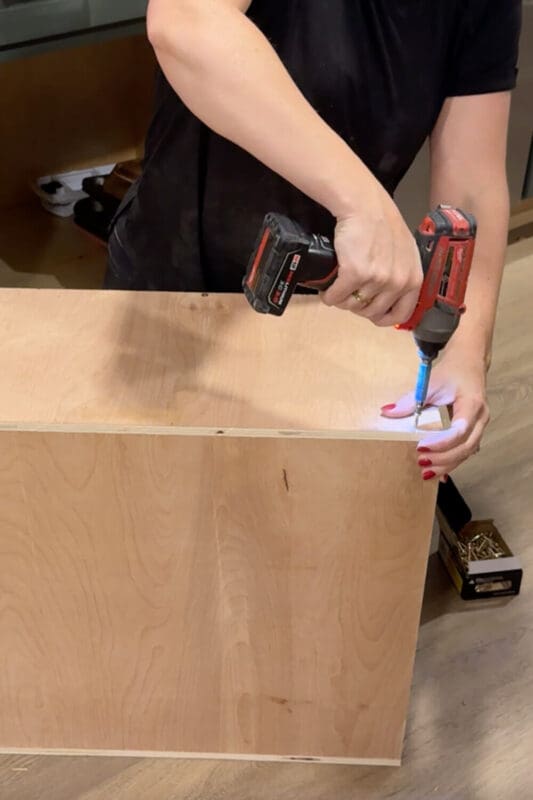
The brad nailer is easy to use one-handed, which makes it perfect for holding things together while I square up the box. After that, I come back with screws and my drill to lock the joints together for the long term.
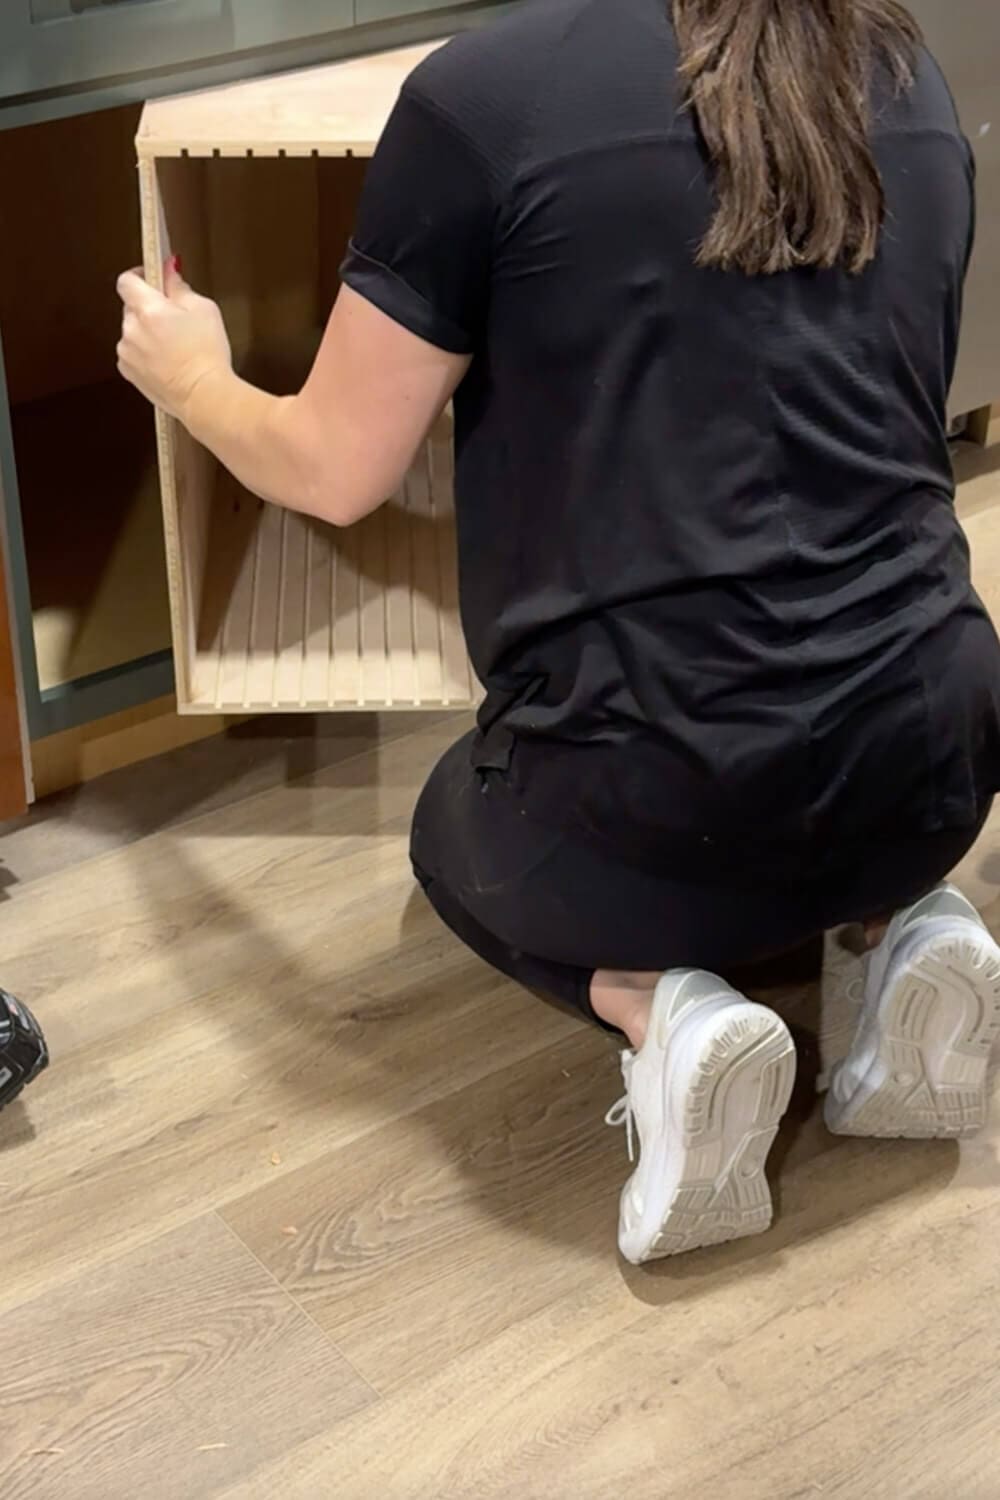
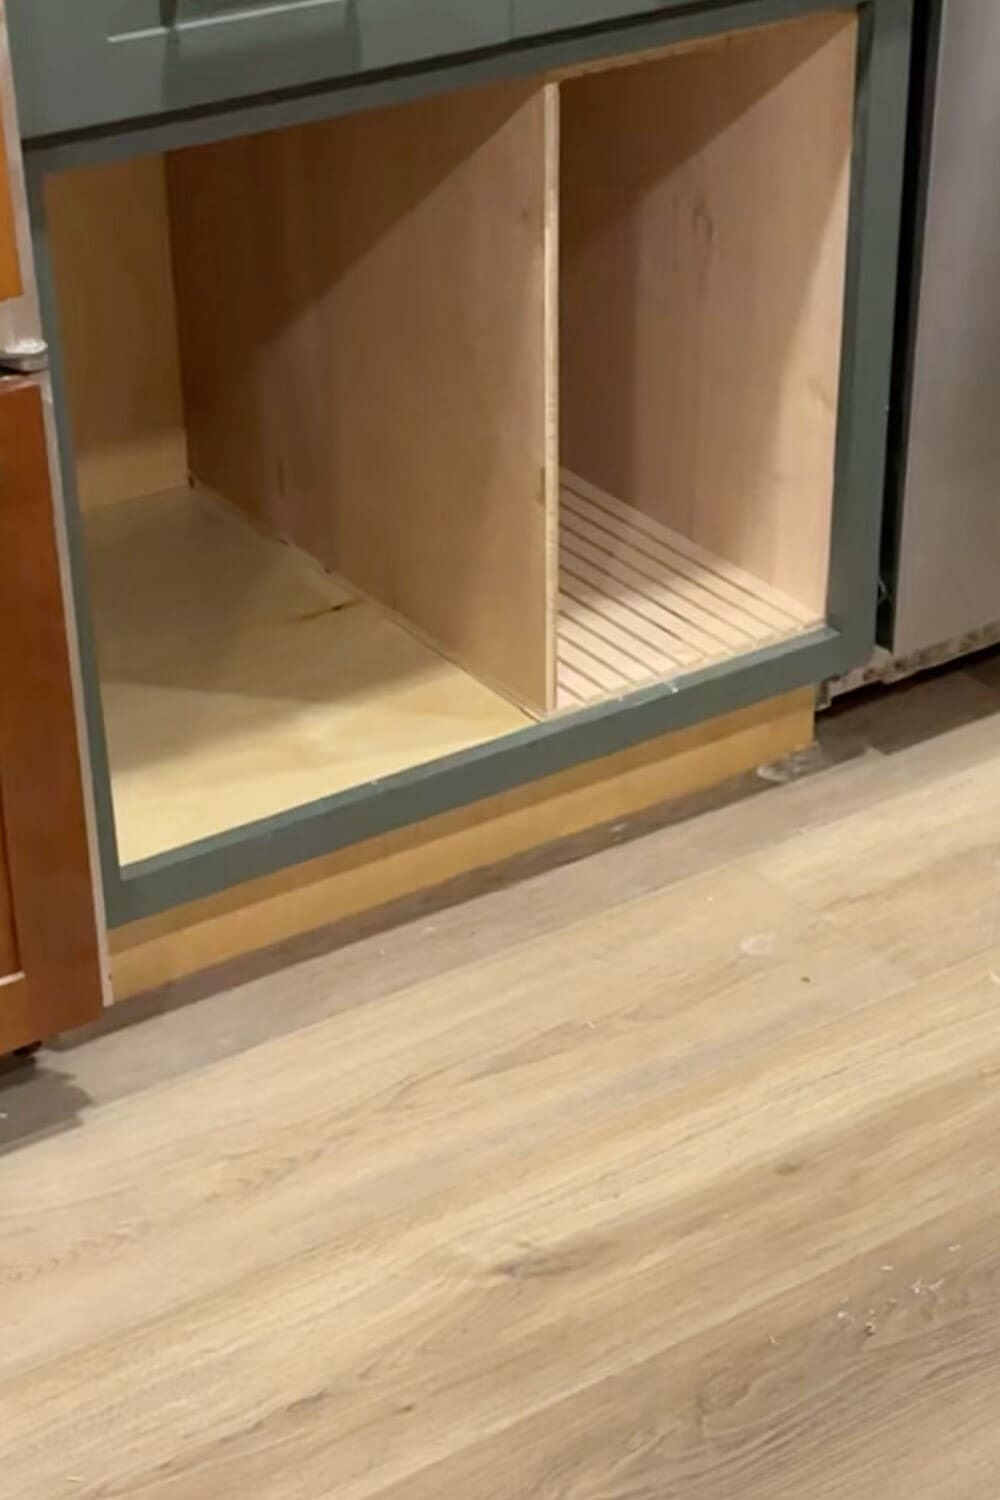
Step 4: Install the Sheet Pan Organizer in the Cabinet
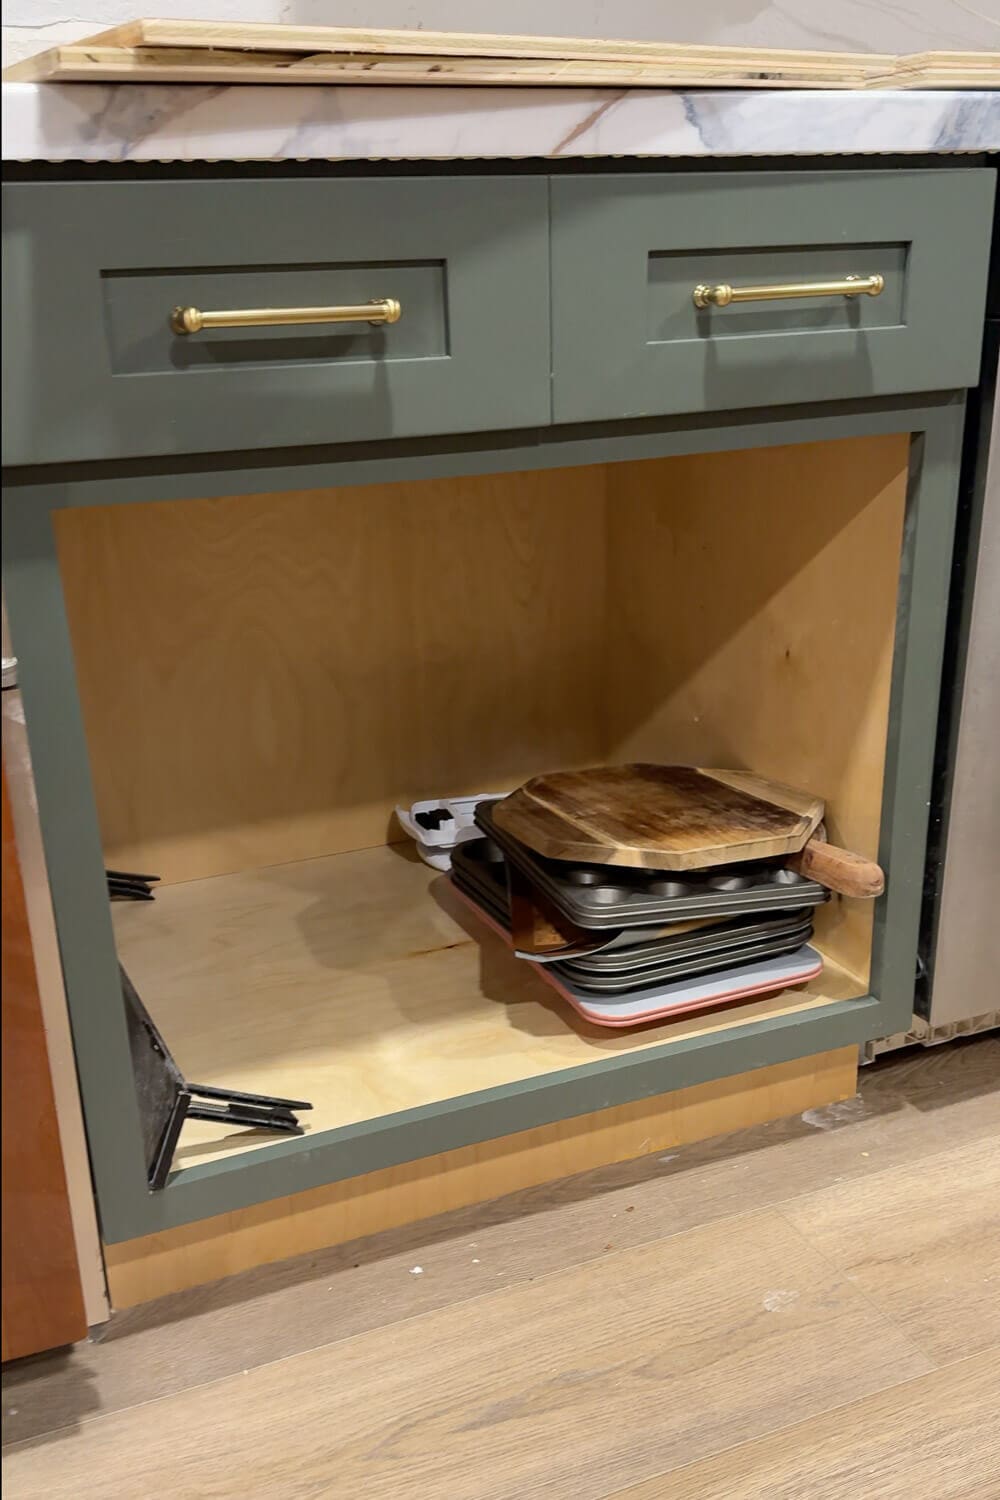
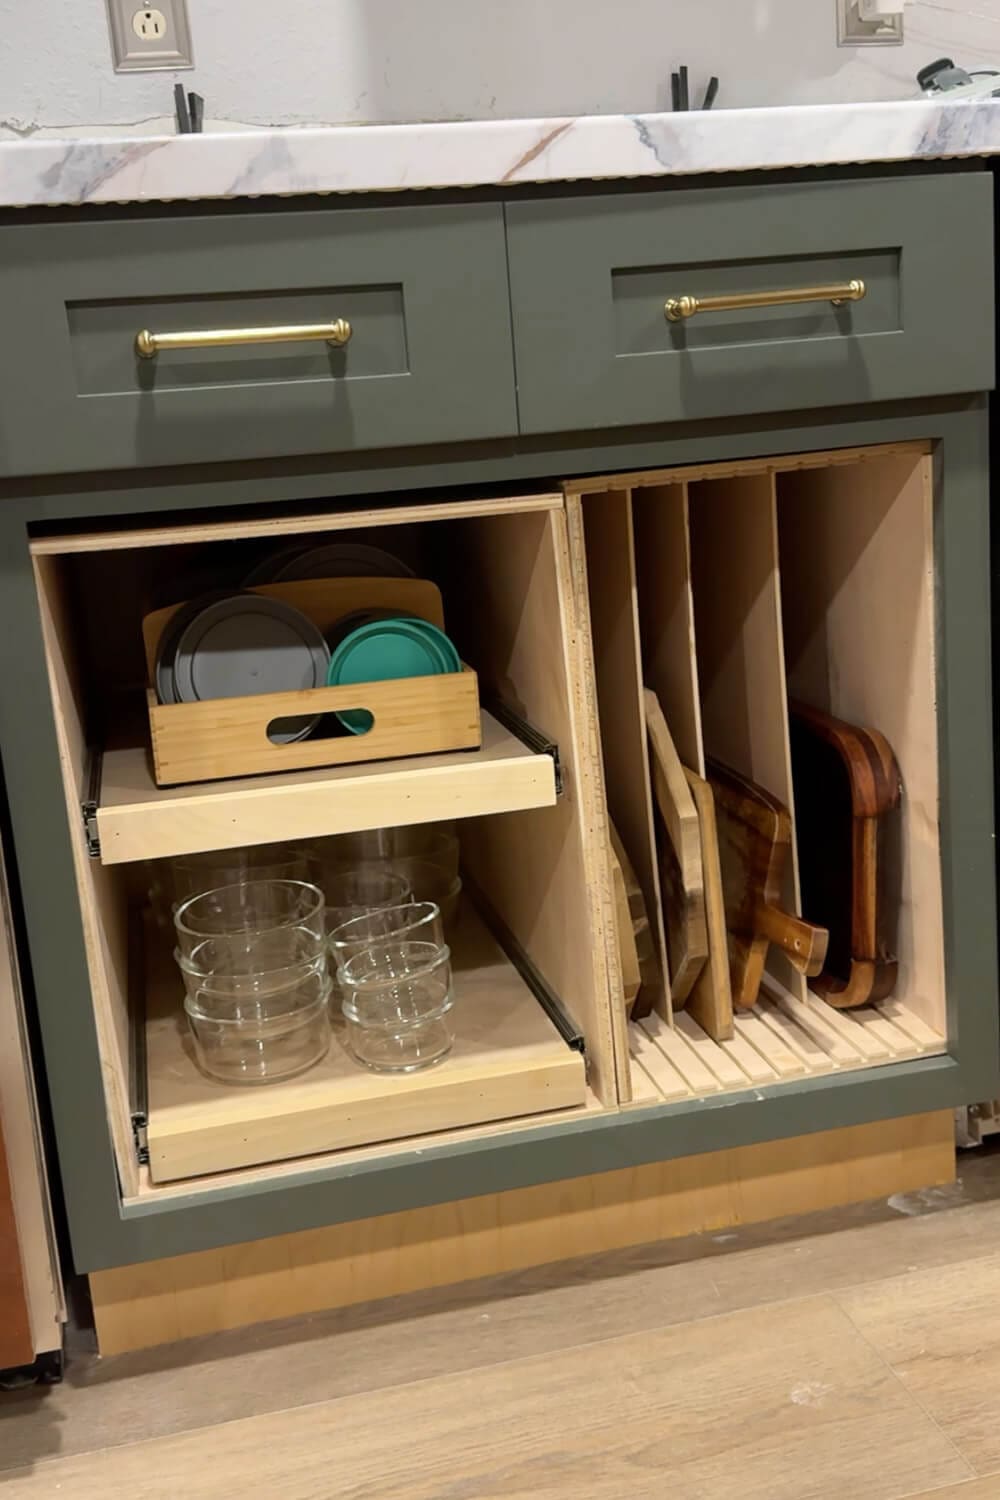
With the box assembled, I slide it into the right side of my lower cabinet. I built it for a snug fit on purpose, so there is no wobbling or wasted space. Once it is in place, you can really see how much vertical storage this deep cabinet is going to give me.
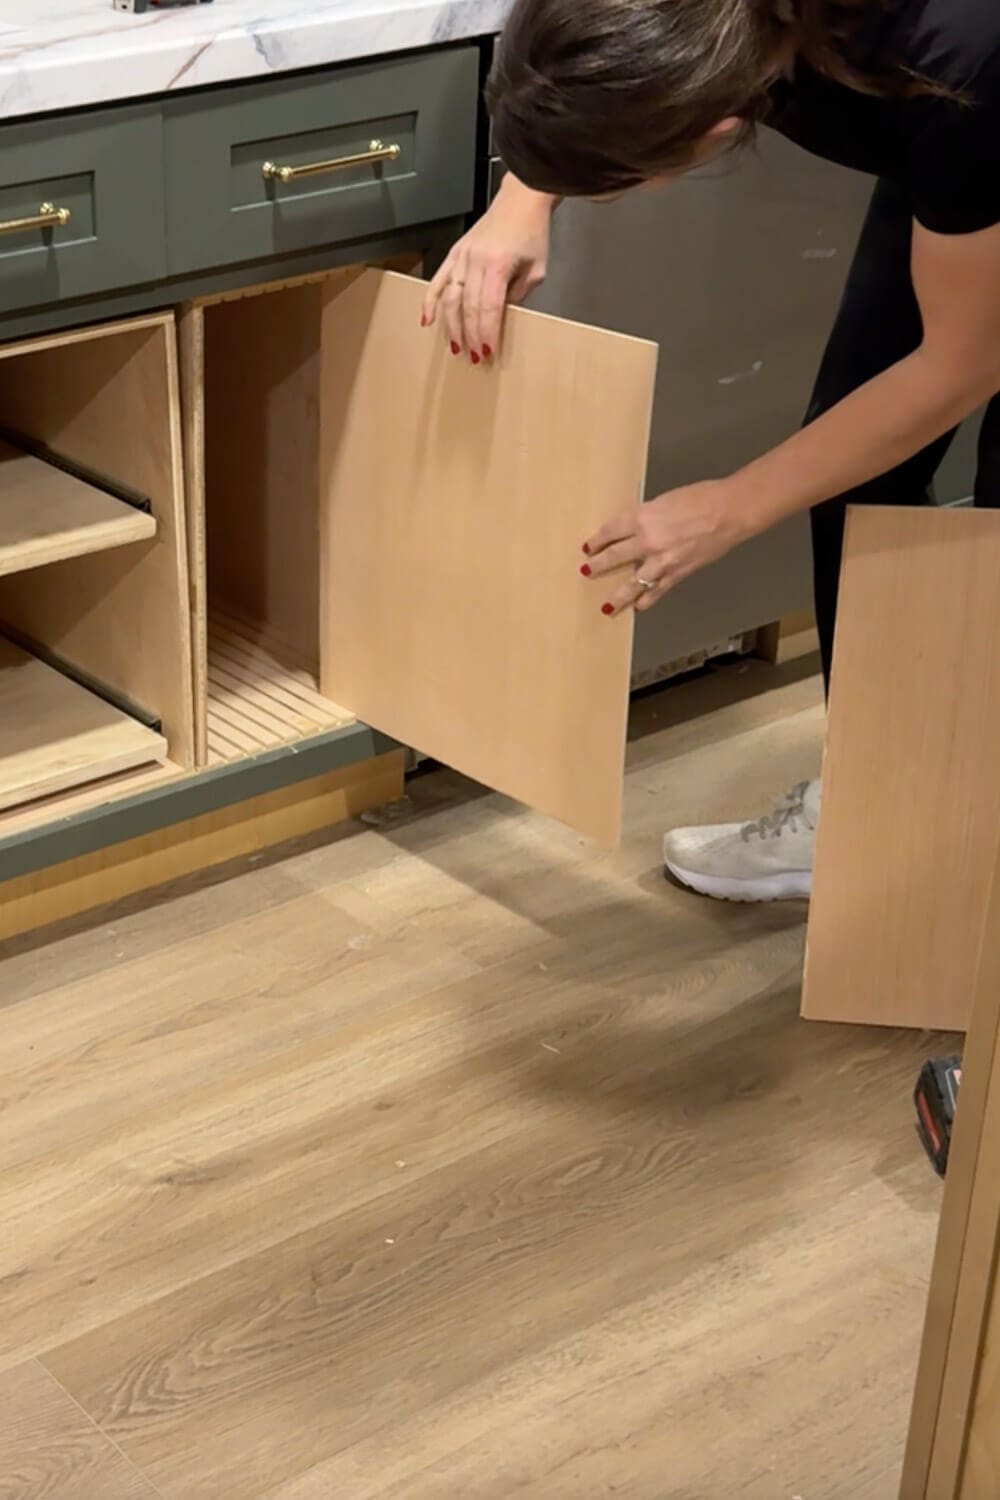
Step 5: Add the Dividers
For the actual dividers, I cut a few pieces of 1/4-inch plywood to match the height of the box and sized them to slide right into those grooves. These create the vertical slots that keep cutting boards, sheet pans, and baking pans standing up and organized instead of sliding into each other.
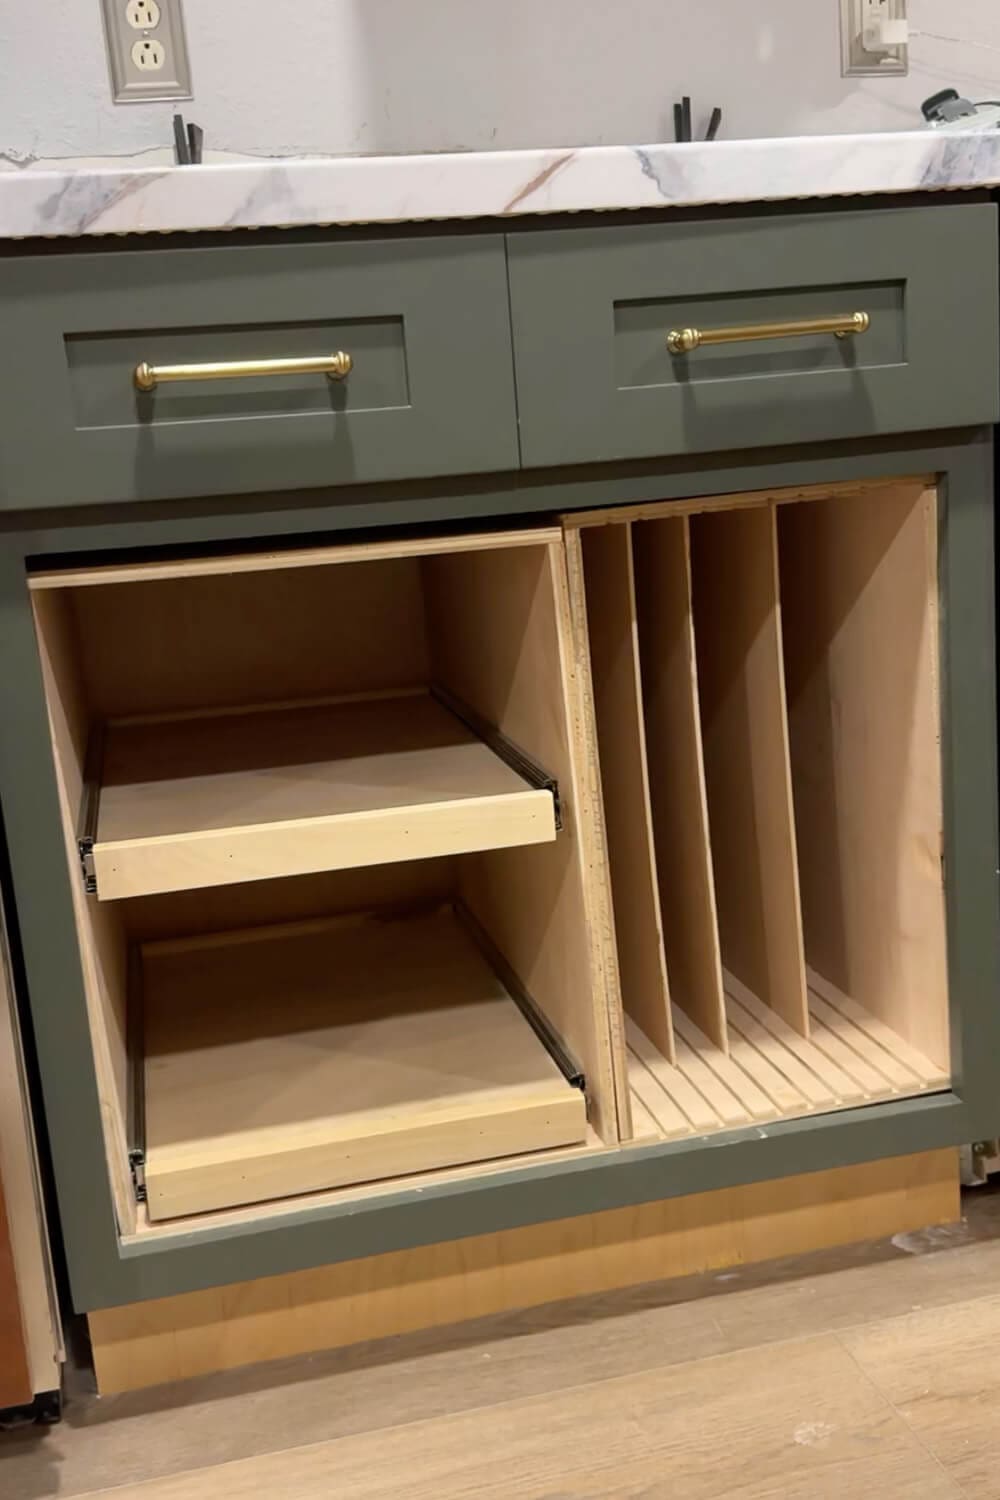
On the left side of the cabinet, I built a second insert with a couple of pull-out shelves. Those are perfect for corralling all of my food storage containers and Tupperware lids so they are not exploding out of the cabinet every time we open the door.
Step 6: Load Up Your New Vertical Sheet Pan Storage
On the left, I have the pull-out shelves I built to hold our glass food storage containers and lids. On the right, the vertical dividers keep my cutting boards lined up and easy to grab. This same setup would work perfectly as storage for baking sheets, muffin tins, cookie sheets, and serving trays. It is basically a custom, adjustable sheet pan organizer that makes this whole cabinet feel twice as big and about ten times more functional.
More Kitchen Organization Hacks
If you are on a kitchen organization kick too, make sure to check out the other projects I have done in here, like the DIY insert I built to organize all of my Tupperware and the adjustable pot and pan drawer organizer. They all work together to keep this kitchen running smoothly while we slowly tackle the rest of the remodel.
📌 Save This DIY Sheet Pan Organizer for Later
Working on your own kitchen makeover or dreaming of more organized cabinets? Save this DIY sheet pan organizer to your favorite Pinterest board so you can find it again when you are ready to build. Pin any of the photos from this post or grab my before-and-after shot of the cabinet to keep all your vertical sheet pan and cutting board storage ideas in one place.
FAQ About Building a DIY Sheet Pan Organizer
Most standard lower cabinets are 24 inches deep, which works great for a sheet pan organizer. As long as your cabinet is deep enough to hold your longest baking sheet or cutting board, you can customize the insert to fit your exact space.
I like to use 3/4-inch or 1/2 inch plywood for the main box so it’s sturdy and holds screws well, and 1/4-inch plywood for the dividers. Cabinet-grade plywood is ideal if you want a smoother finish, but you can use basic plywood like me as a more budget-friendly option.
Yes, you can cut the main pieces with a circular saw and a straightedge guide, but for the adjustable grooves, you’ll need a table saw or a router. If you do not need the dividers to move, you could skip the grooves and fix the dividers in place with screws and glue.
You do not have to (I didn’t), but a quick sanding and a coat of clear poly or paint will help protect the plywood from crumbs, spills, and scuffs. If you plan to store baking sheets and cutting boards you use all the time, a sealed surface will be easier to wipe clean, but it’s not necessary at all.
